 Fabulous Fall Home Tours
Welcome to the Fabulous Fall Home Tours! The tour features 8 fabulously talented bloggers who have opened their homes up so you can get inspired by some beautiful fall decorating. If you are just coming in from Sarah’s house, it’s nice to see you. Wasn’t her home gorgeous? Stick around, we have a great line up of talented bloggers who have graciously opened their homes to you.
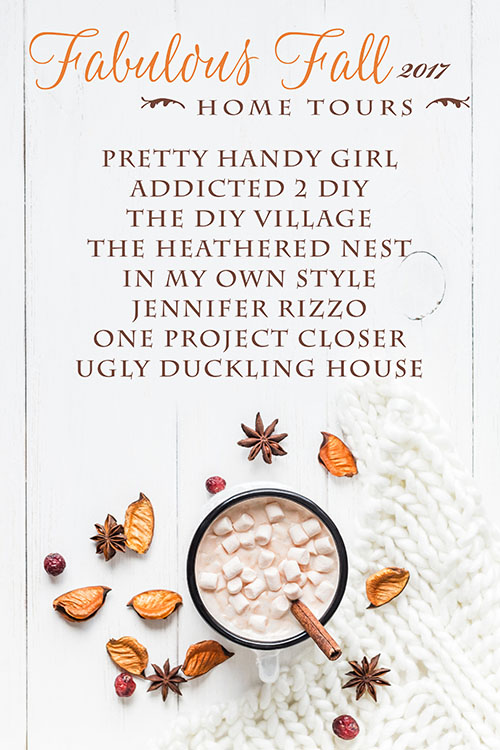
These are the other bloggers who are joining in today:
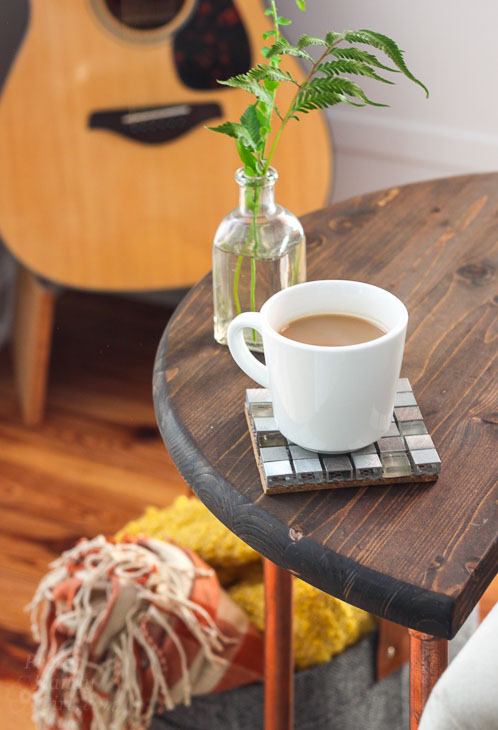
Here’s a warm cup of coffee with a little pumpkin spice added to it. Won’t you come on in.
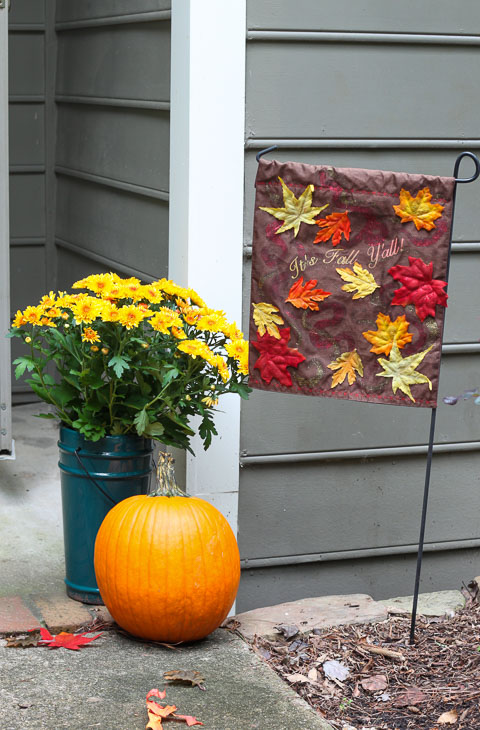
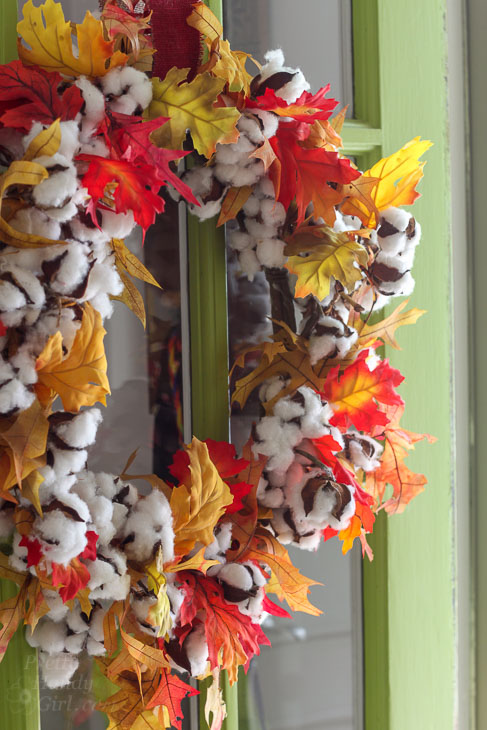
Like that little garden flag? Shh, I’ll tell you a secret: it’s made from a Dollar Store placemat and here’s the tutorial. Luckily my cotton fall wreath survived being stored for a year. I added a few more colorful leaves and hung it on the door.
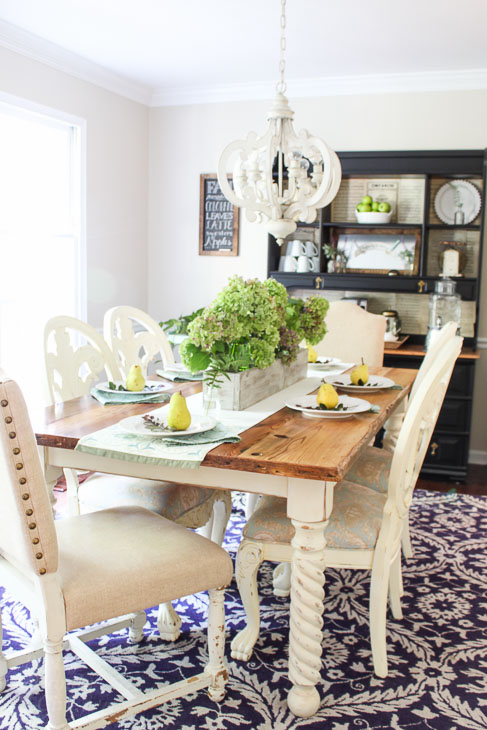
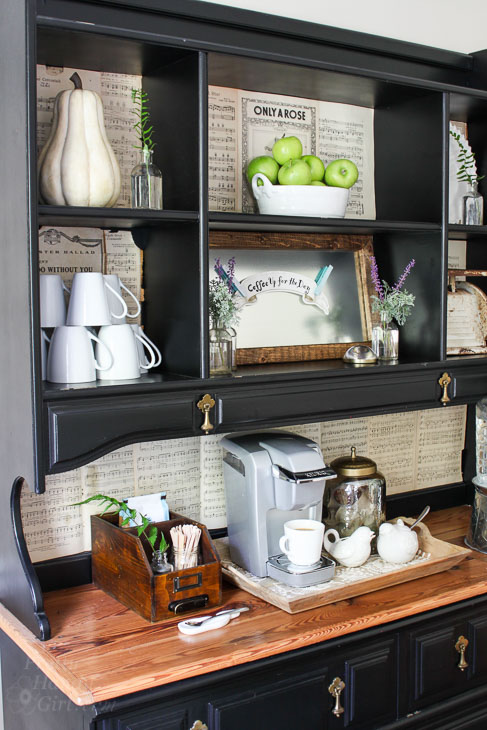
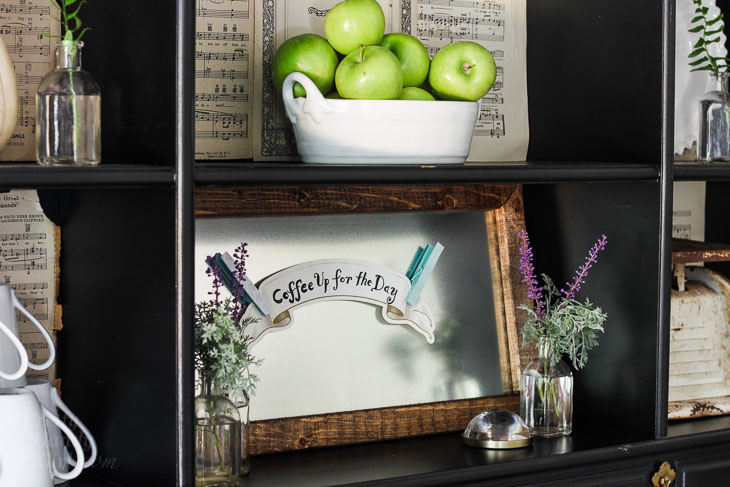
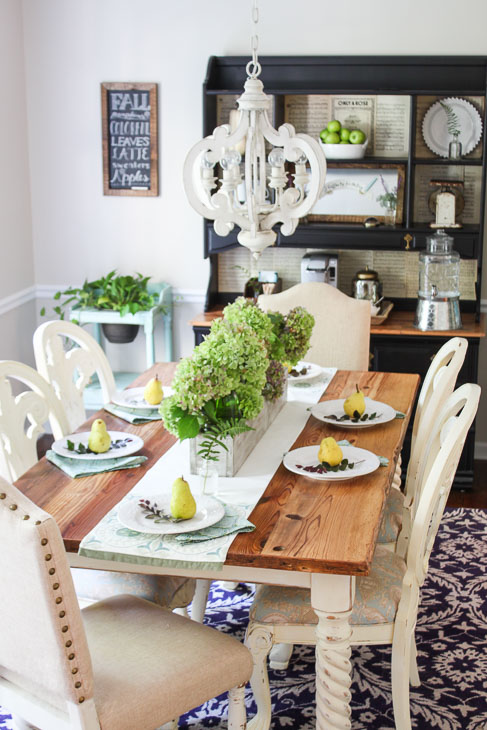
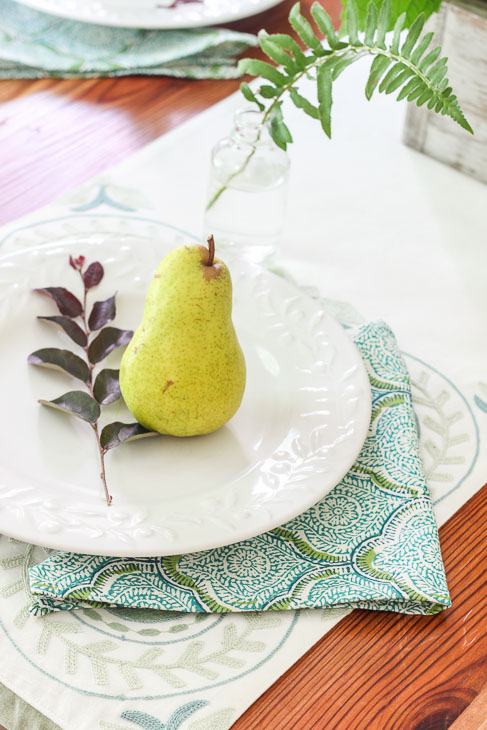
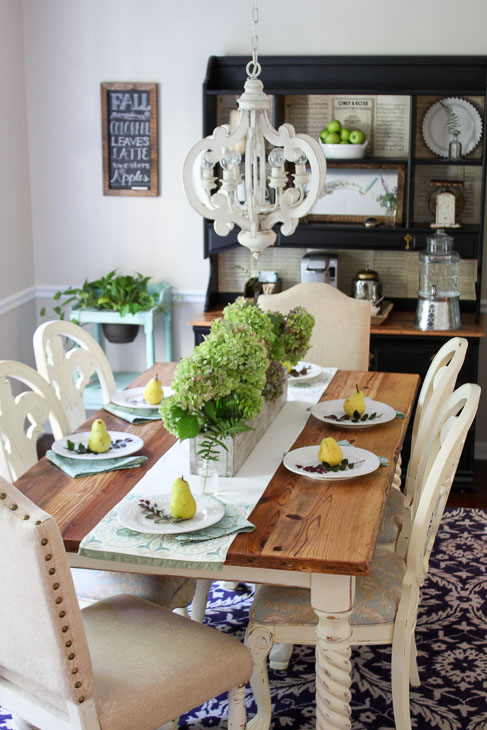
Yesterday I gave a tour of my dining room with its beautiful fall tablescape and coffee bar. If you want to peek in the dining room, I’ll wait right here.
Come on into our mudroom. This is our friend and family entrance. No one uses the front door much. Feel free to kick off your shoes and get comfortable if you want. We all walk barefoot around here.
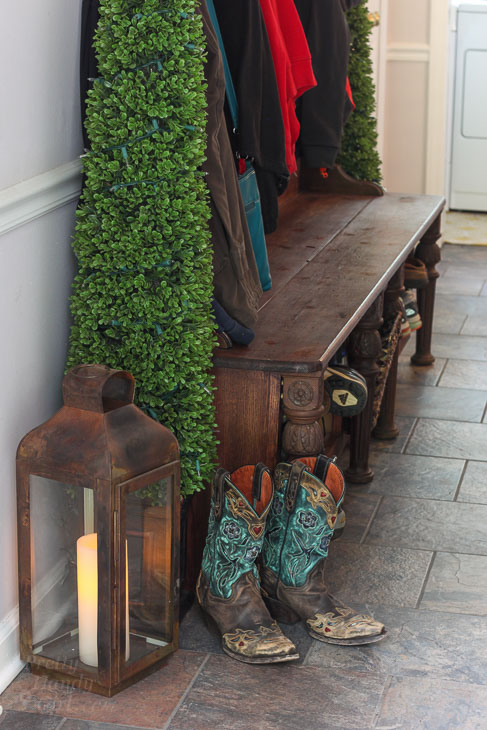
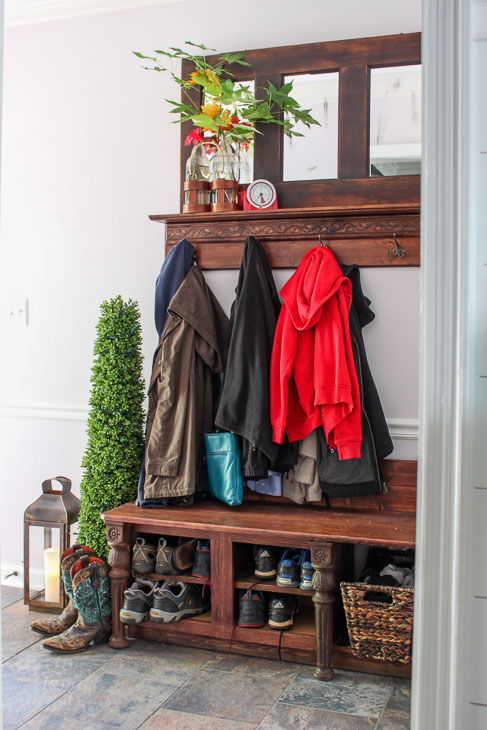
Several years ago I built that shoe storage bench using kitchen cabinets and some discarded shelves.
The coat rack was also made with reclaimed items. Can you guess what they are? You’ll have to read the tutorial to find out!
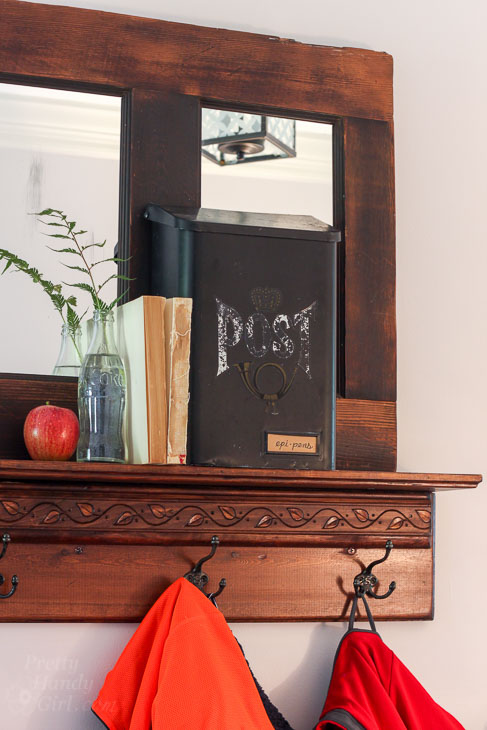
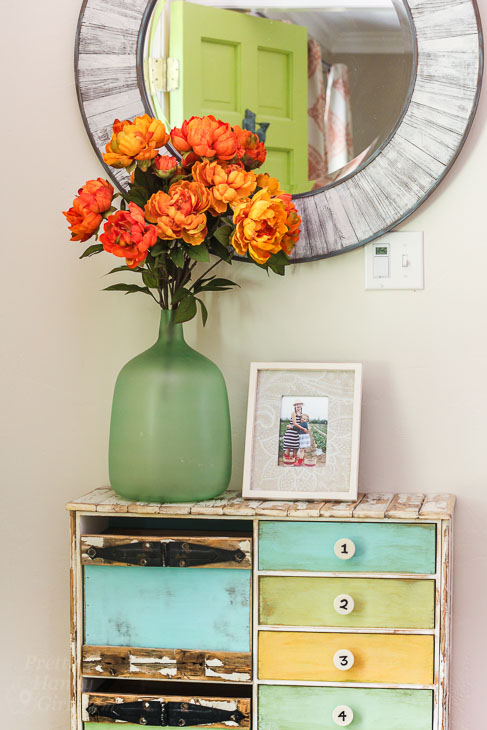
By our front door is a fun colorful little set of drawers. I transformed this old IKEA cabinet into one of my favorite furniture pieces in the house.
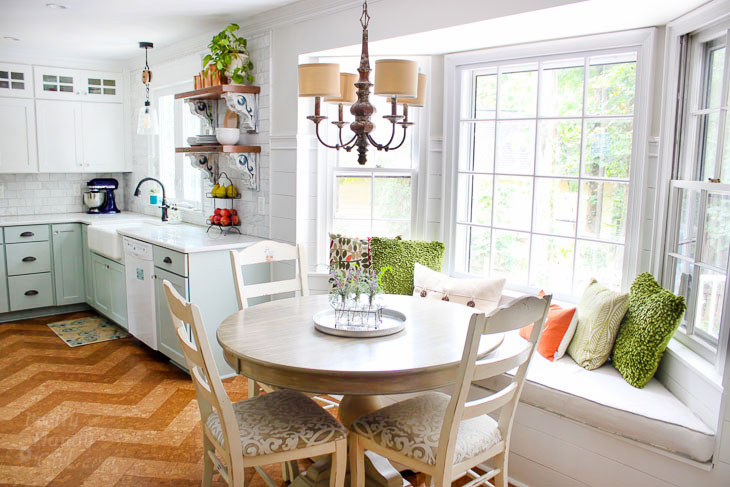
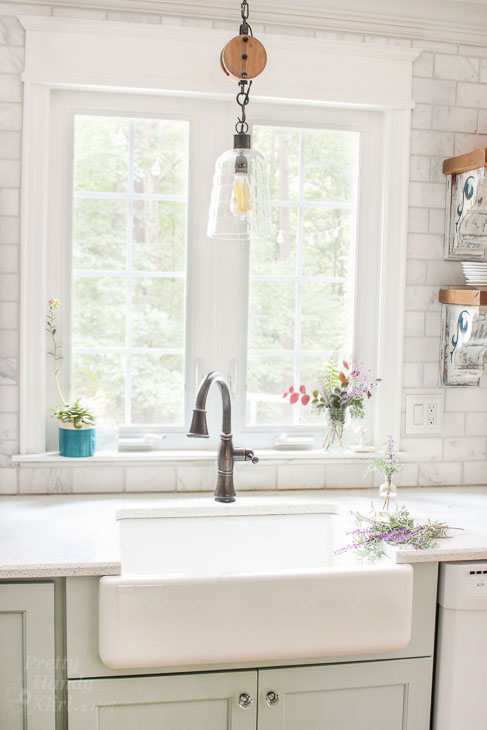
Let’s head to the kitchen, shall we? The kitchen is one of my favorite rooms in our house. Not because I love to cook, but because this room gets lots of daylight and I love all the changes that were made to the space. For example, I built a bay window seat with storage to allow us more room in the kitchen.
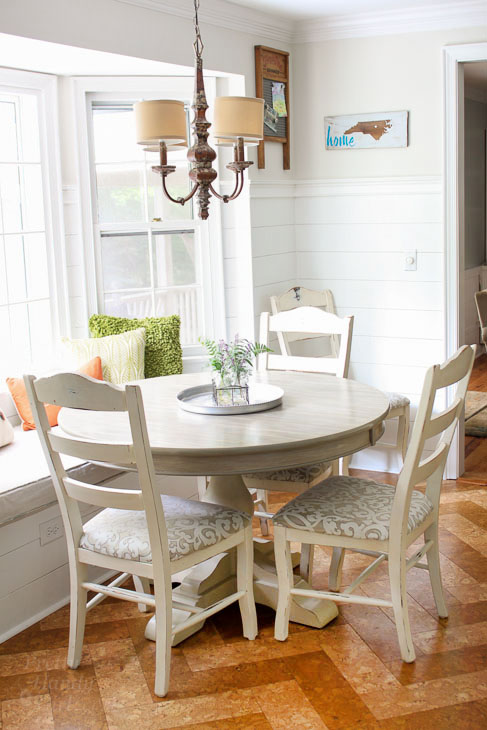
I also added all the planks (aka shiplap) and they cost me next to nothing. You can read how to DIY your own plank walls if you want to add shiplap to your home! A few years ago I faux painted that table to look like driftwood. It has held up pretty good.
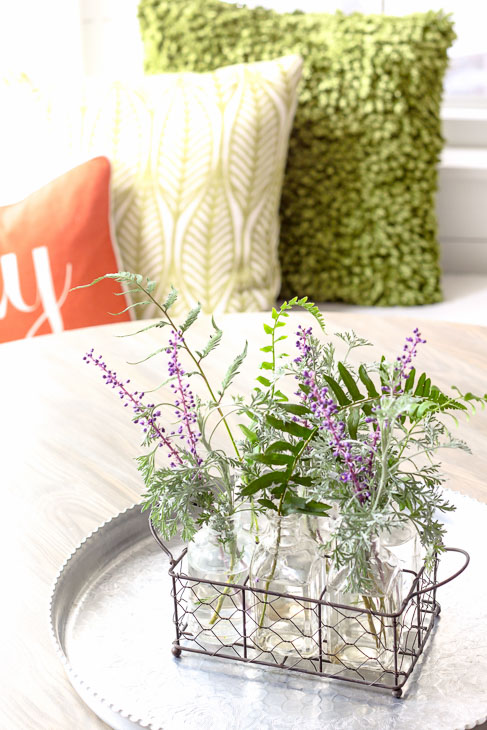
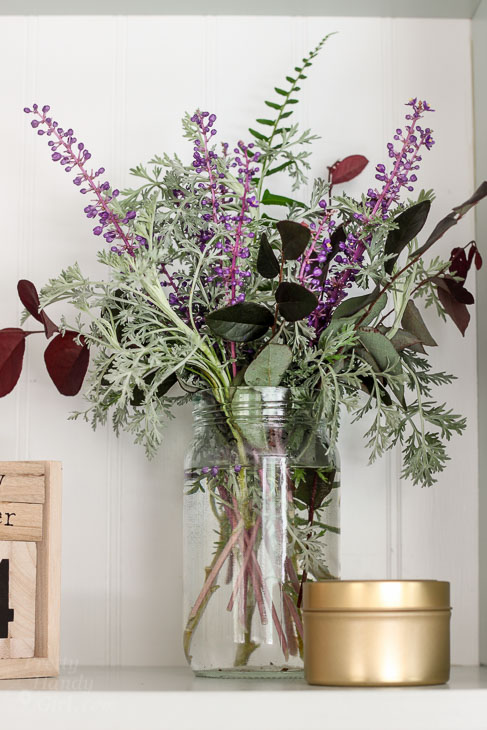
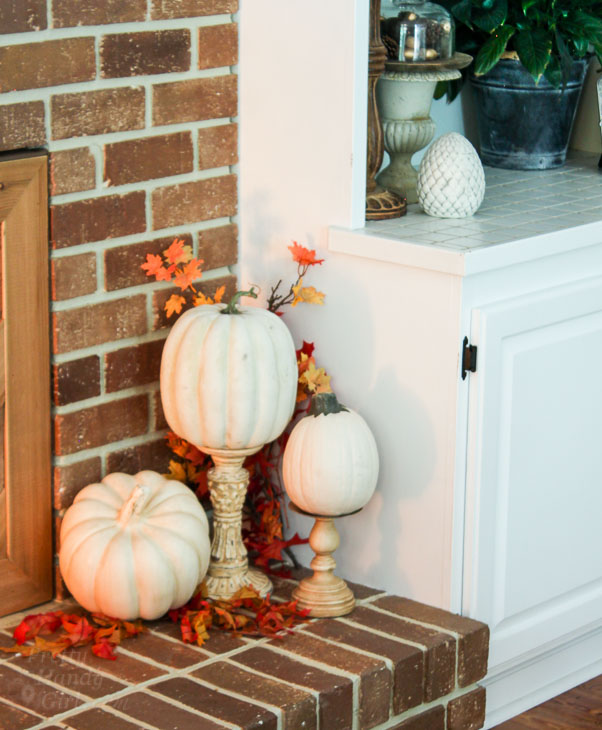
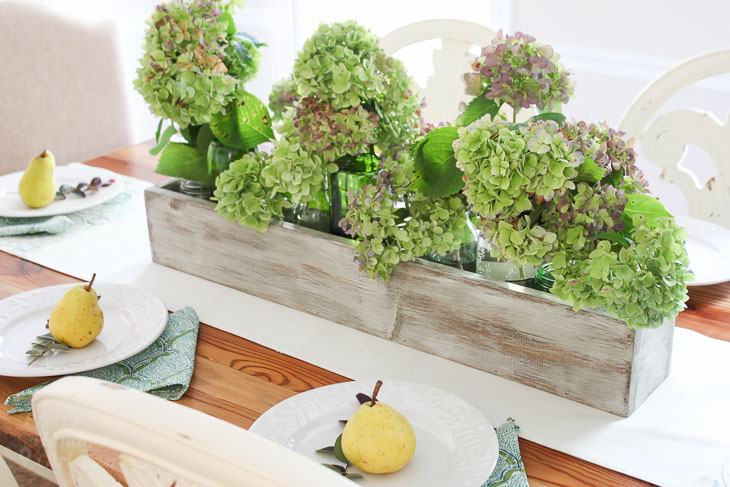
I vowed not to spend money on flowers and greenery this year. It was fun challenging myself and it forced me to go outside and “shop my yard!”
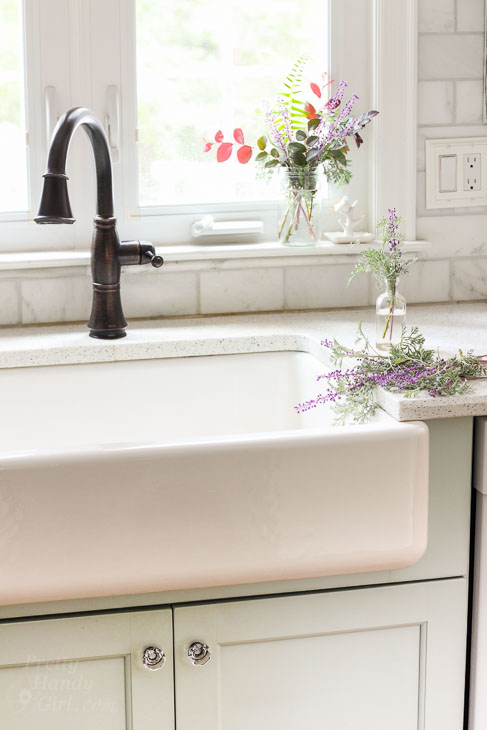
The results were abundant amounts of greenery using plants I don’t usually think of for home decor (like monkey grass blooms and fern clippings.)
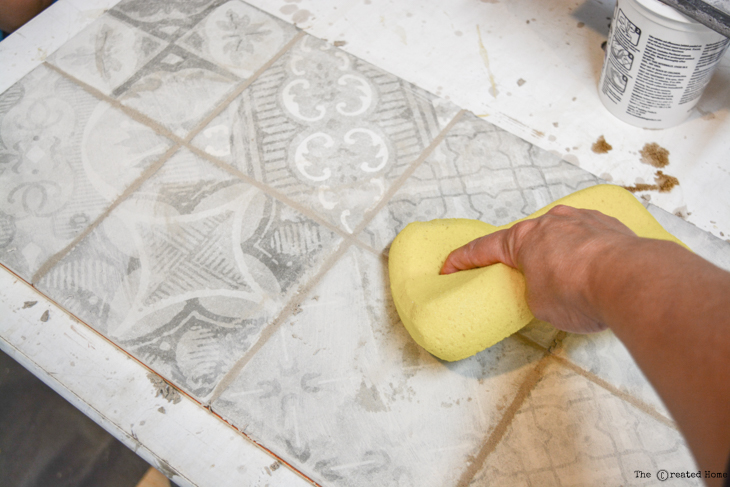
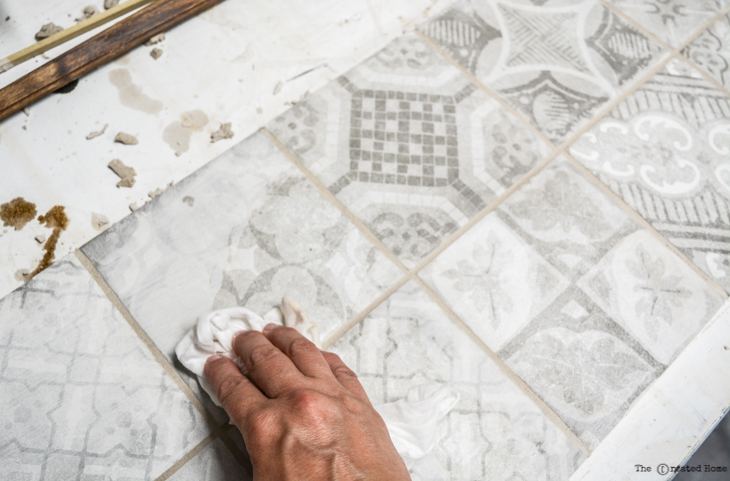
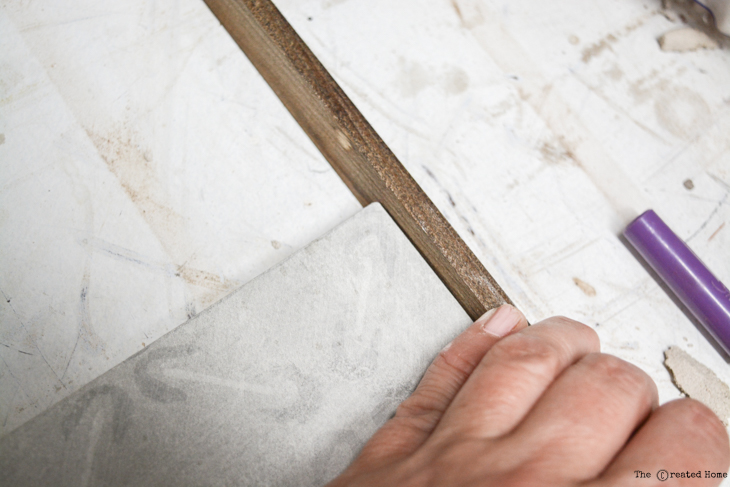
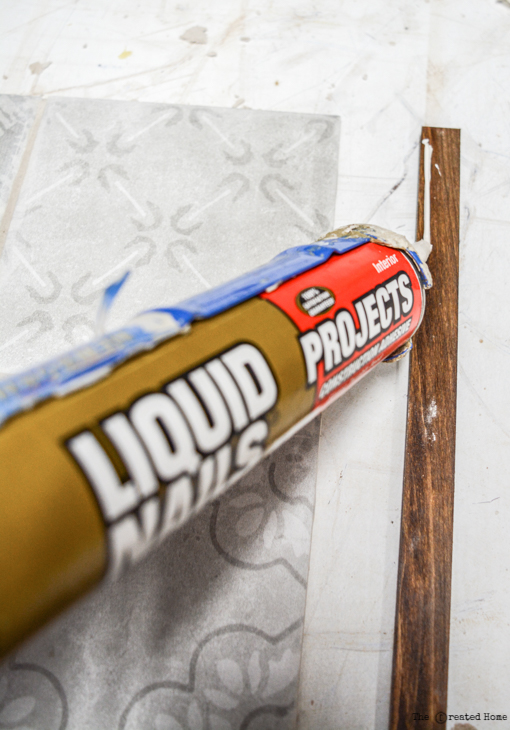
If you asked me what is my favorite element in my kitchen, it would be my reclaimed lumber open shelves. These babies are my pride and joy. I found the lumber at a local reclaimed lumber shop and painted the corbels myself to make them look old. Then I carefully drilled through the tile to hang the shelves.
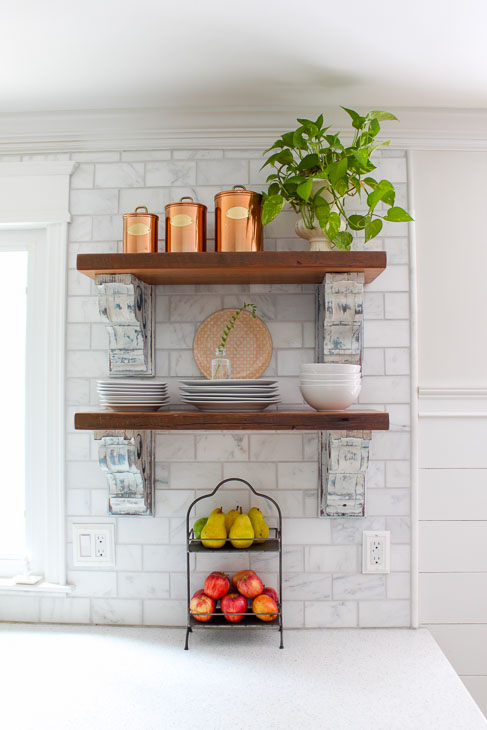

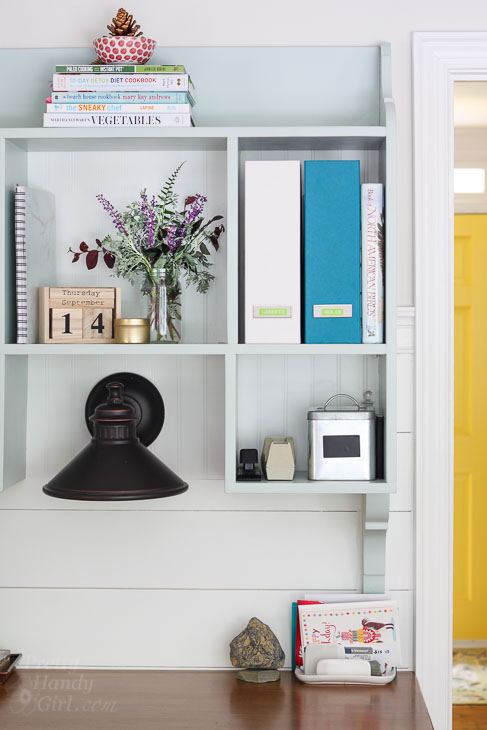
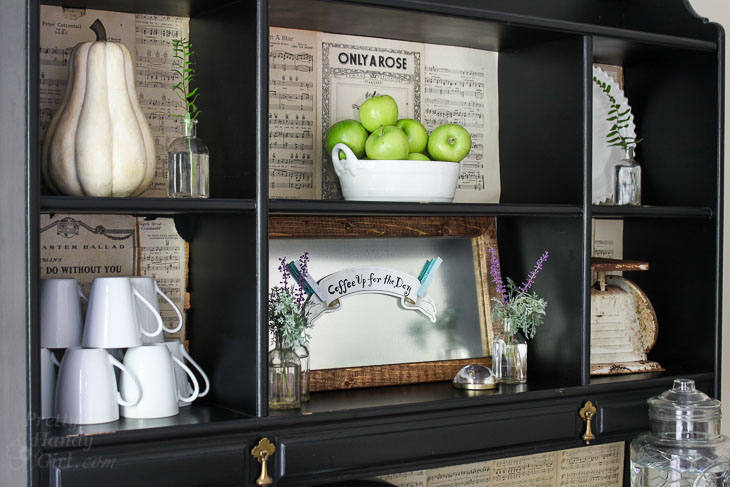
My DIY wall-mounted hutch is the place we hide all the paper clutter. I have a spot for everything here.
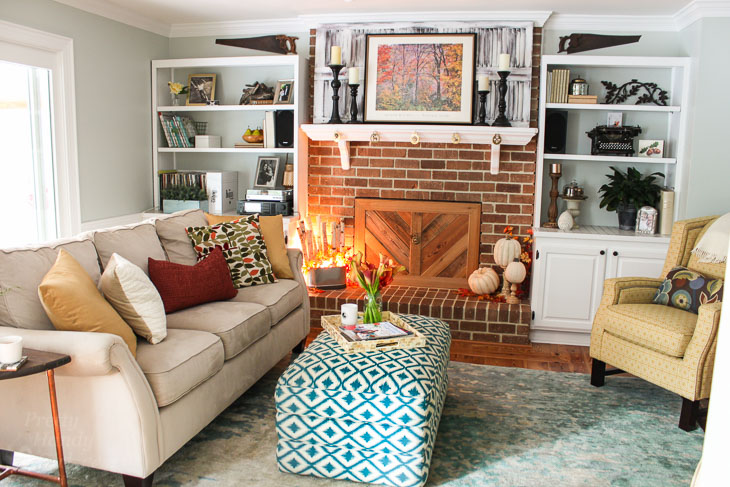
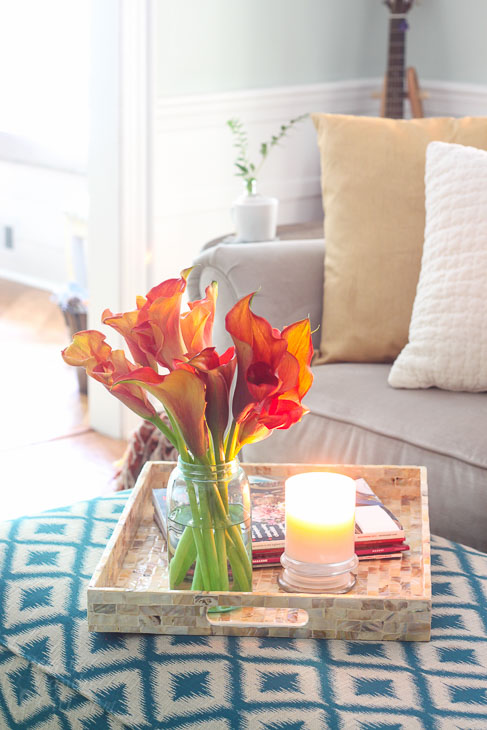
Step right through the doorway into our living room.
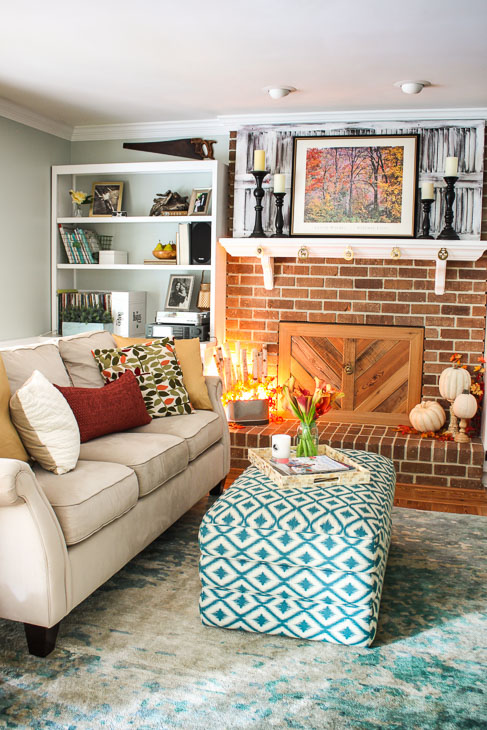
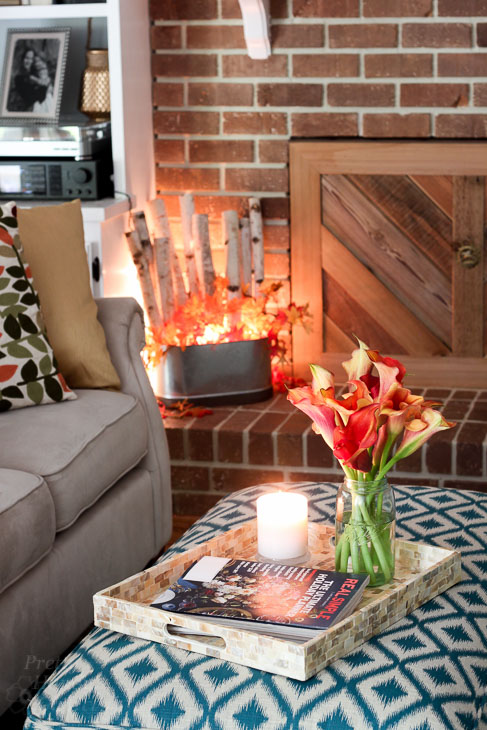
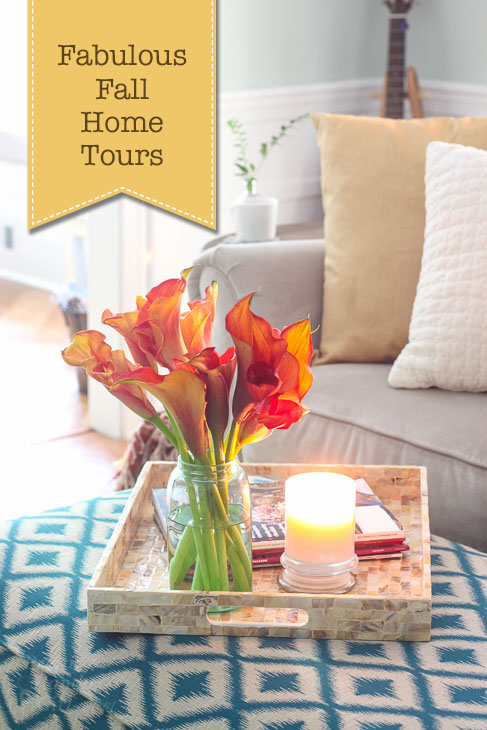
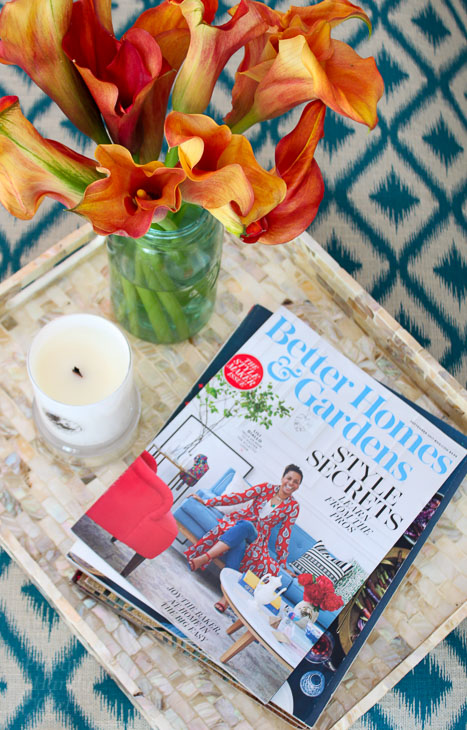
I have a confession to make. I cheated and bought one bunch of calla lilies at the grocery store. But, who could turn these down? They bloomed in the perfect fall colors!
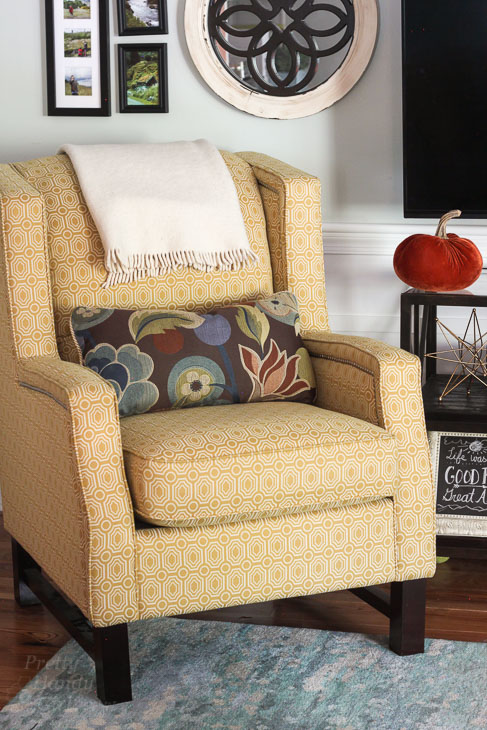
I waffled on ordering this yellow chair from La-Z-Boy a few years ago. I’m so happy with this chair because it works well with a lot of different color palettes.
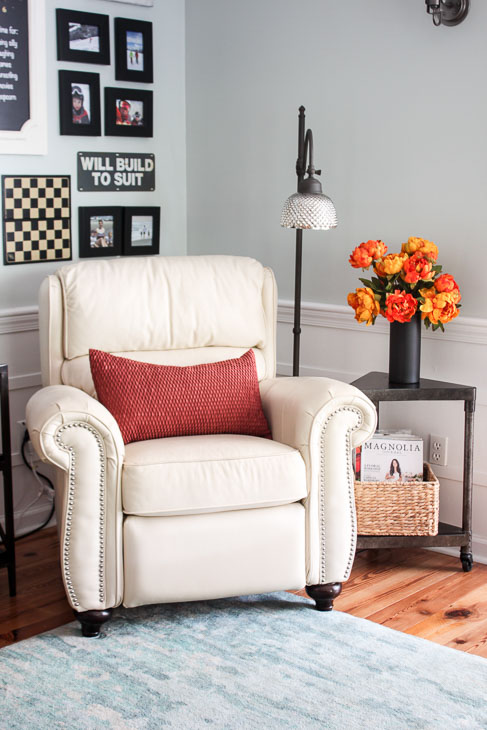
On the other side is our white leather recliner, also from La-Z-Boy. This is the chair that everyone fights over because everyone wants to kick back and relax in it.

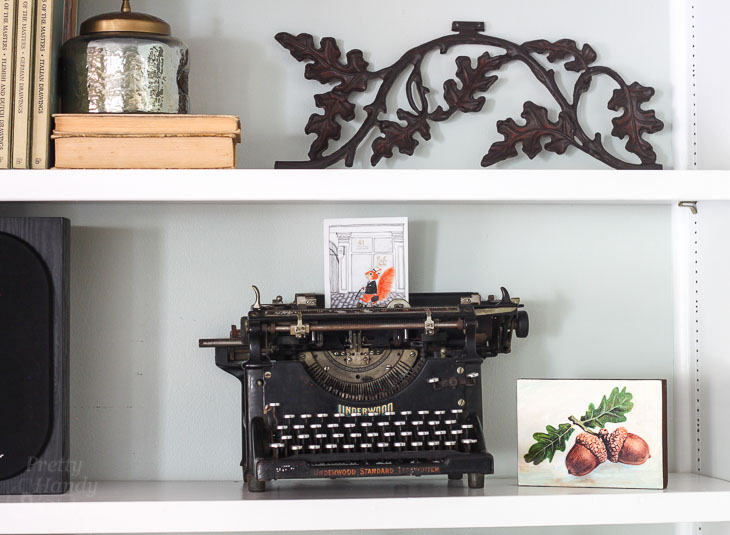
I found a stash of forgotten framed photos in our attic and decided to display them on the bookshelves.
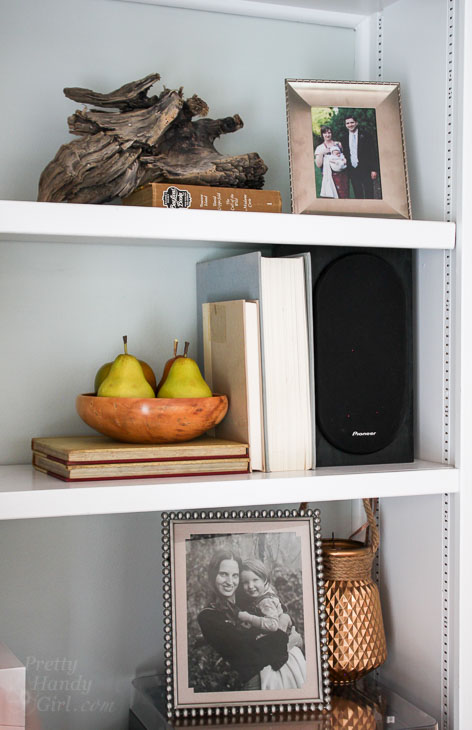
That’s my mom and me in the bottom picture. She looks like a teenager!
On a whim, I stuffed some white mini lights under some silk leaves.

I’m enjoying the cozy touches in our living room and it makes me want to curl up on the sofa with a warm drink.
I hope you enjoyed my Fabulous Fall Home Tour! It’s time for you to head over to Katie’s at Addicted 2 DIY. She’s waiting for you.
These are the other bloggers who are joining in today:
![]()
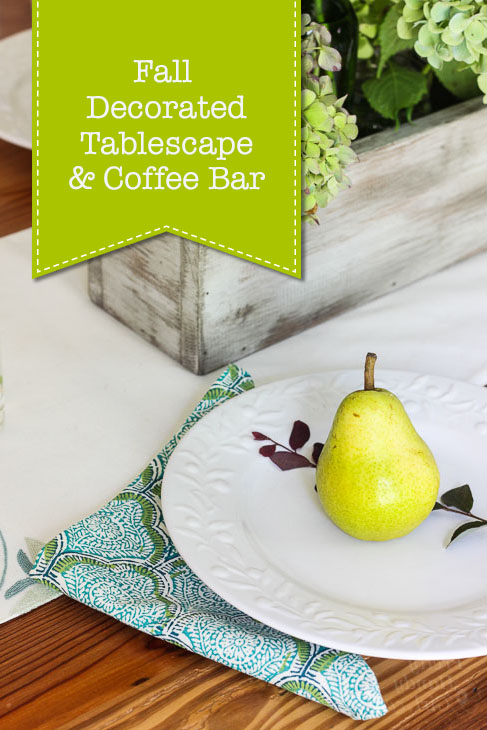 Fall Tablescape and Coffee Bar
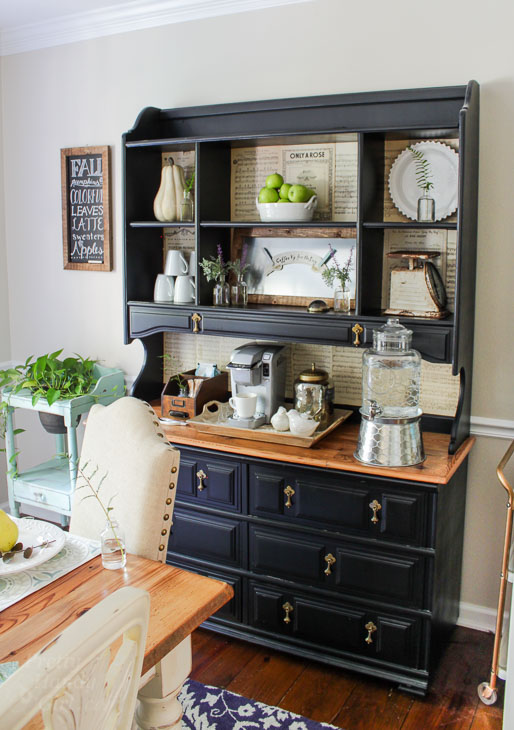

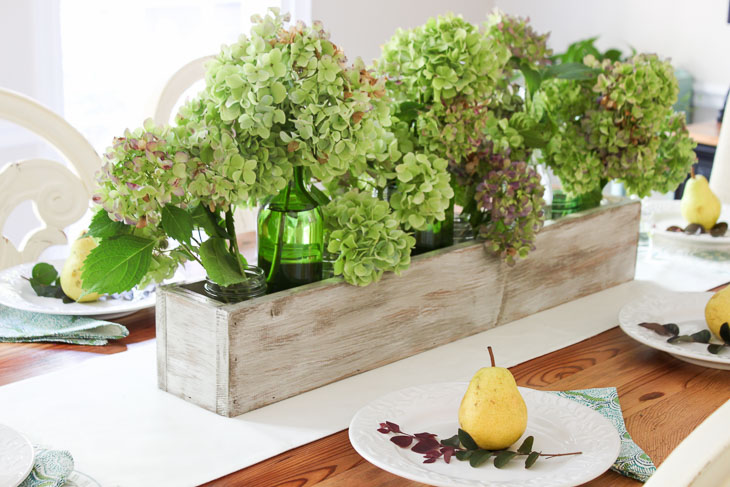
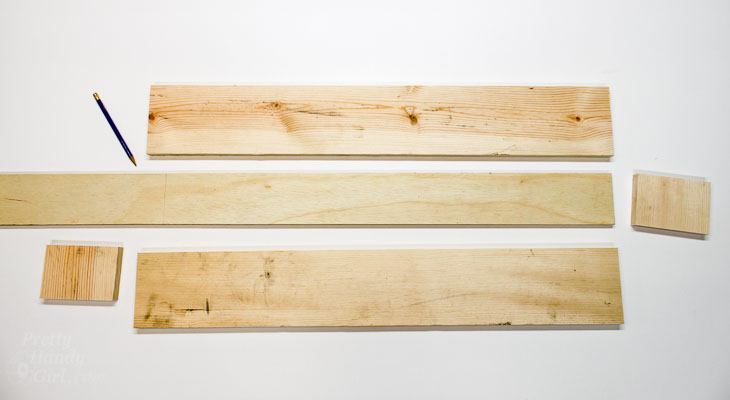
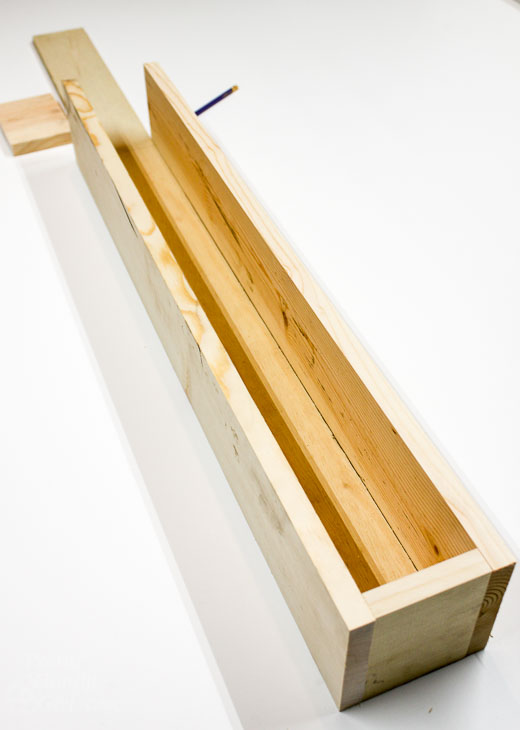
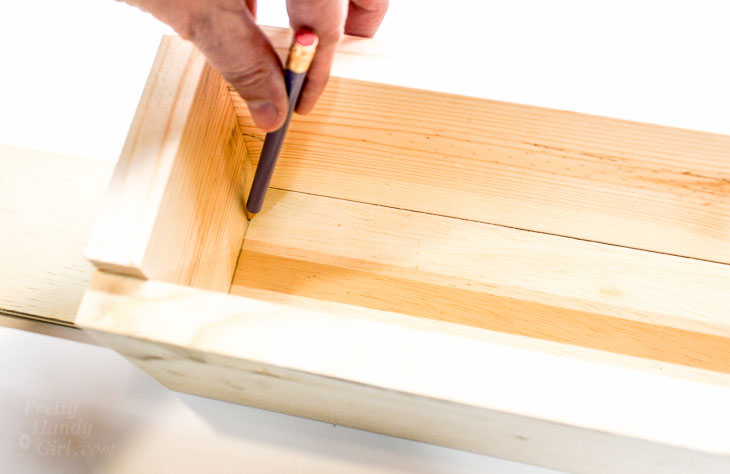
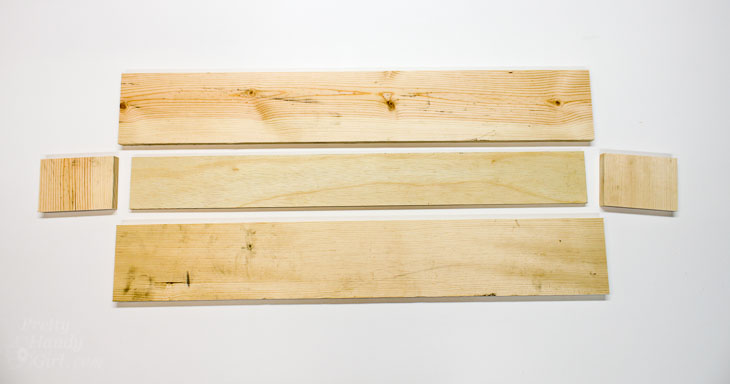
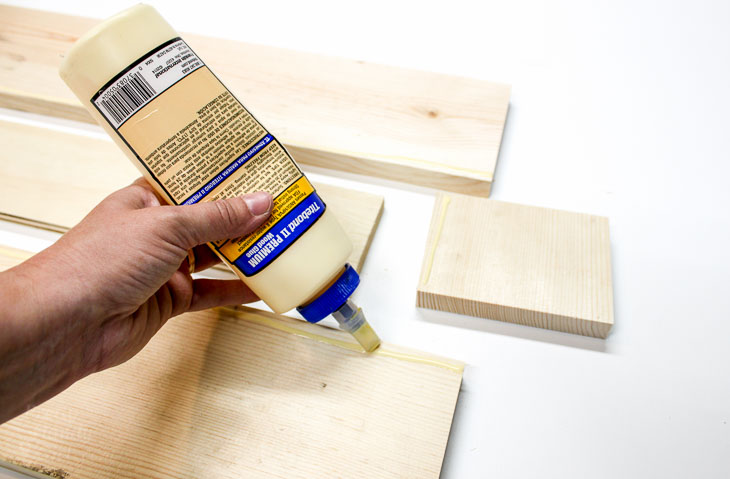
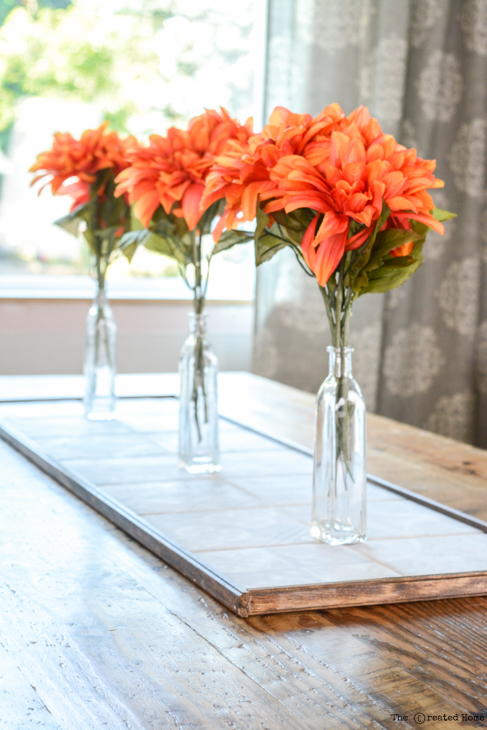
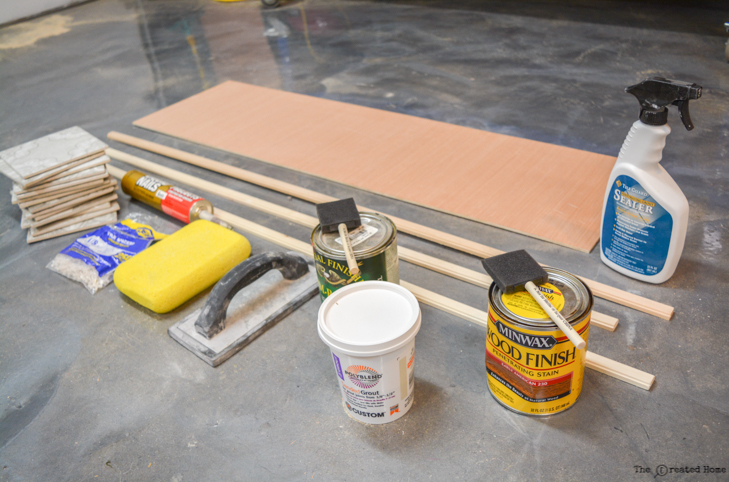
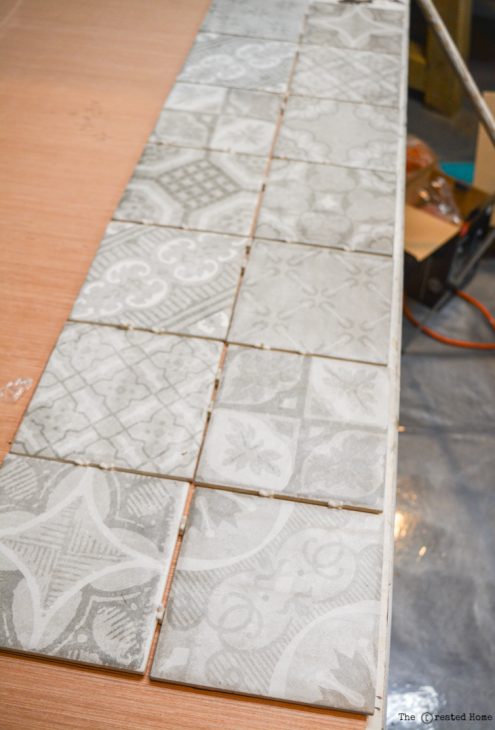
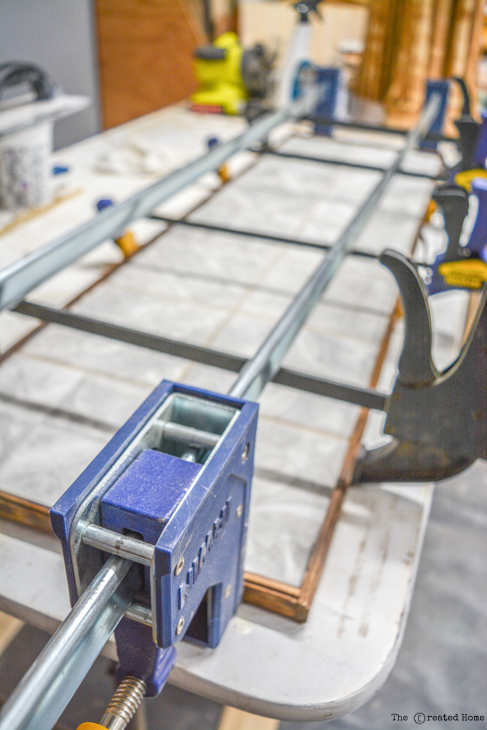
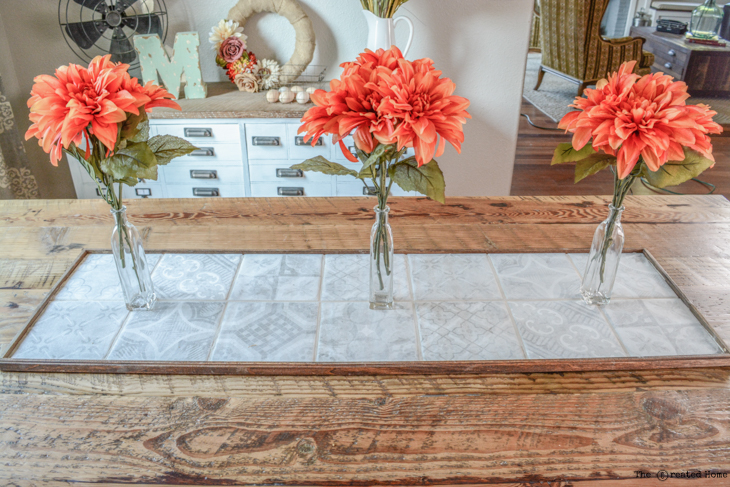
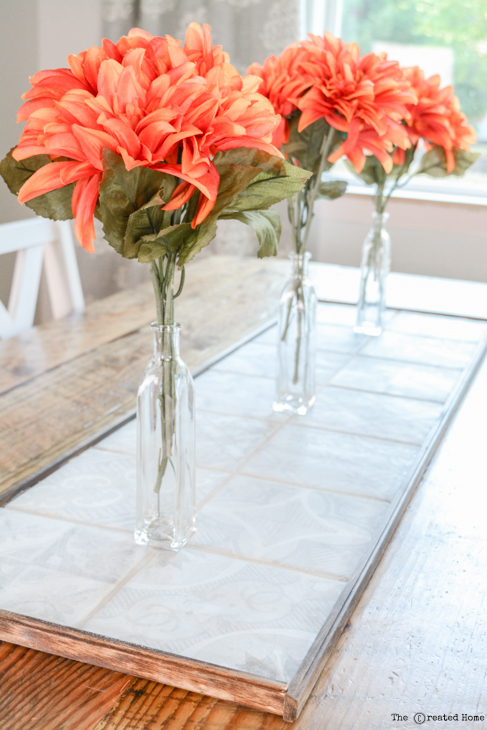
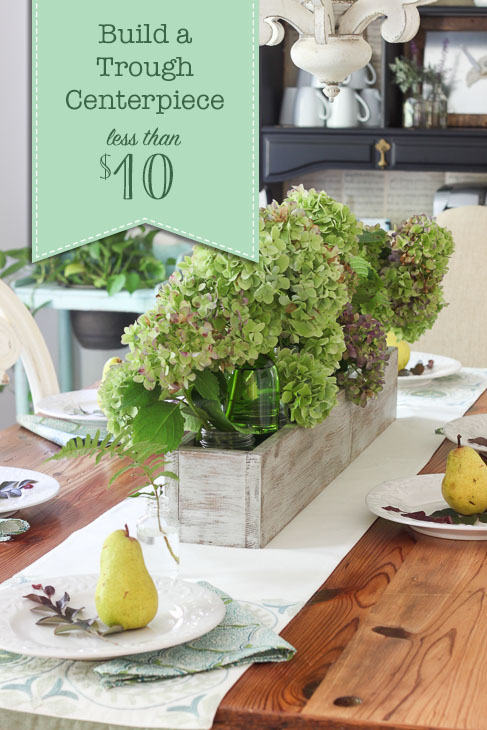 Build Your Own Wood Trough Centerpiece
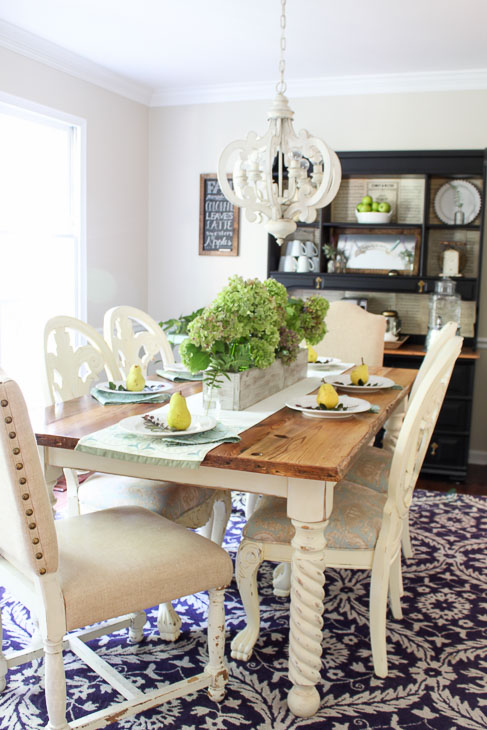


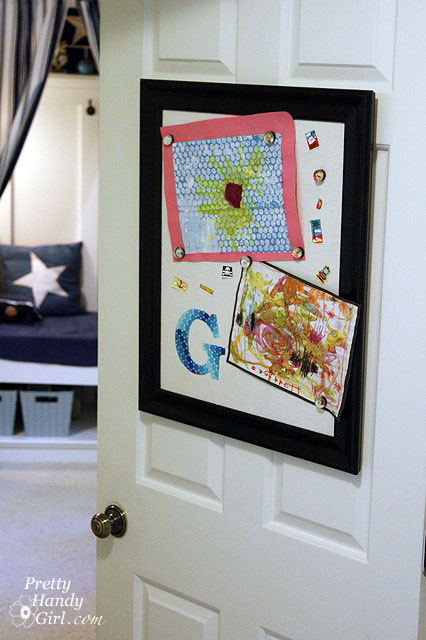
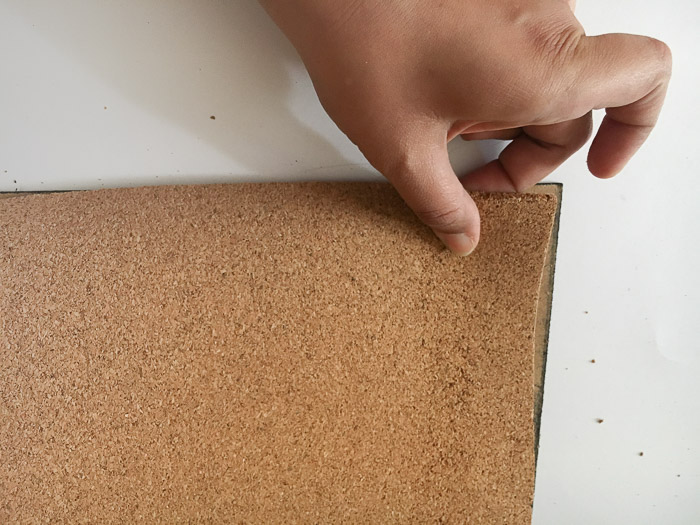
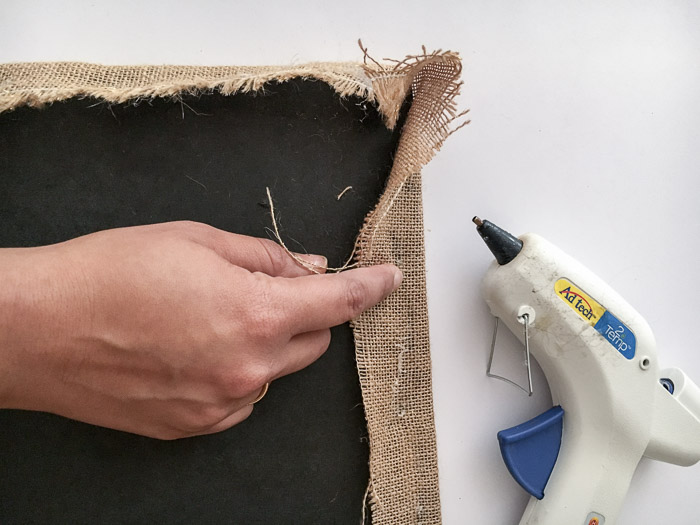
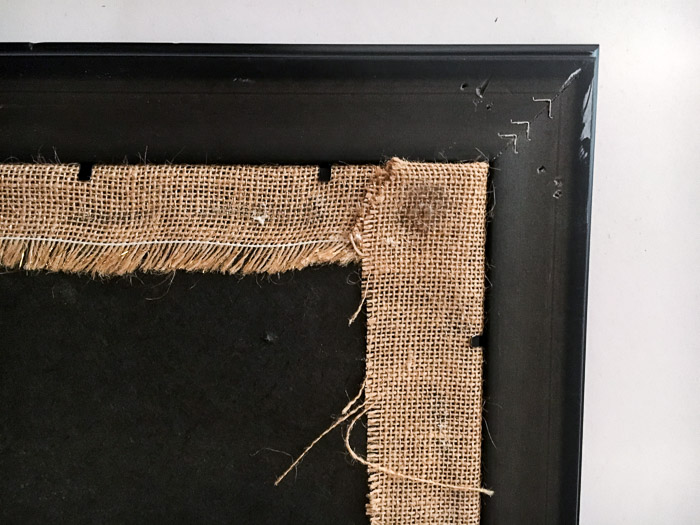
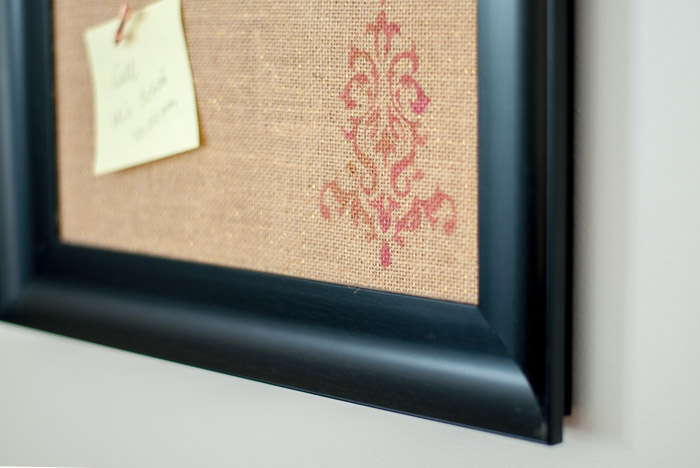
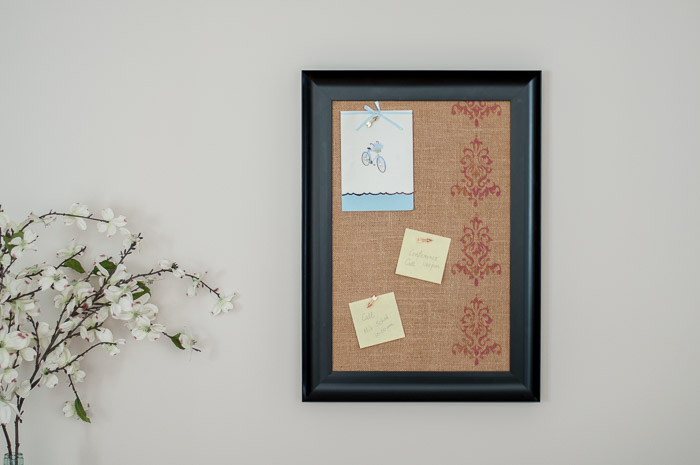
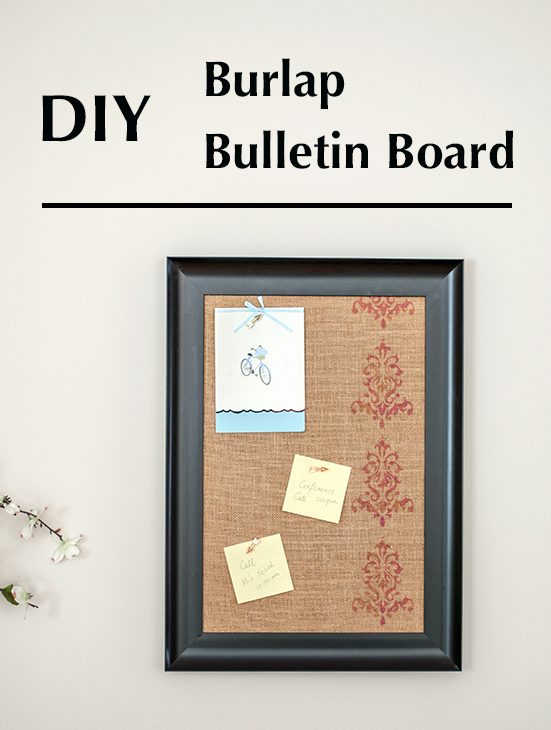 DIY Burlap Bulletin Board
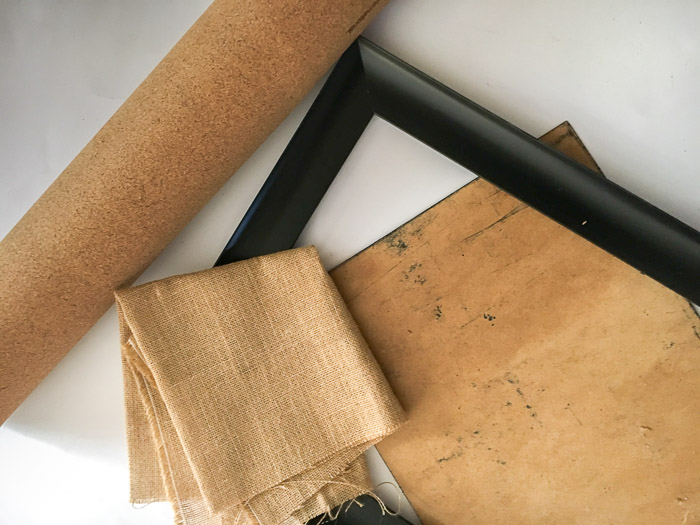
 ~ View more of