As the holiday party invites start to roll in, you might be struggling to come up with a new hostess gift idea. These chalkboard painted buckets are a quick and easy way to throw together a unique gift basket that will fill the recipient with joyful scents and treats.
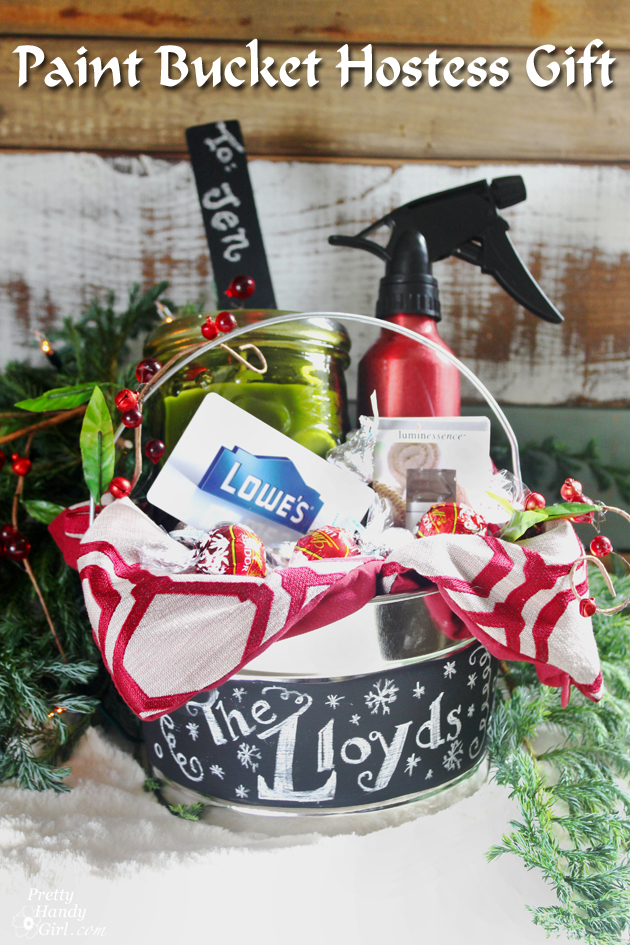
Hostess Gift Basket in a Paint Can
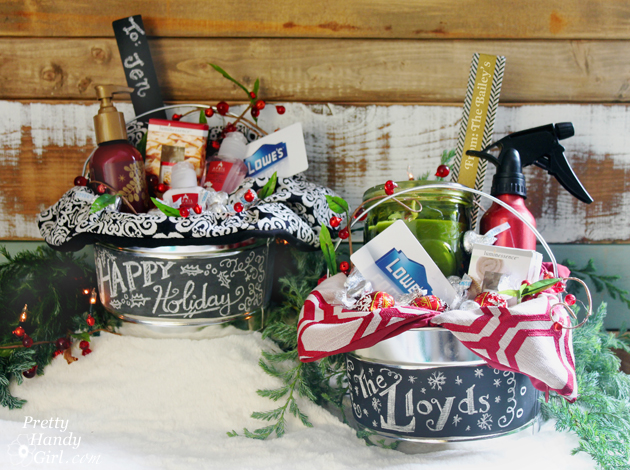
As the holidays approach, it’s a good idea to have last minute gifts ready to whip up. These paint pail gift baskets don’t get more simple. It only took me half an hour to line up a bunch of these metal paint cans and paint a stripe around the center.

When dry (and seasoned) I can grab one to write a personalized message. Then I’ll fill it with a candle, DIY scented room spray, a pillow cover, lotion or soap dispenser, a gift card to Lowe’s, and of course some Hershey’s kisses! If you have an eagle eye, you may have picked up that I used paint stirrers decorated with washi tape (or painted with chalkboard paint) to use as the gift tag.
Materials:
(I’ve included affiliate links for your convenience. I earn a small percentage from a purchase using these links. There is no additional cost to you. You can read more about affiliate links here.)
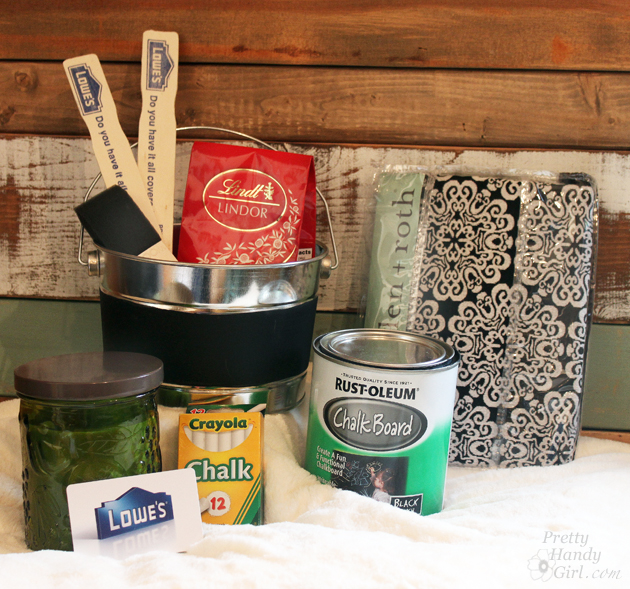
- Metal paint buckets
- Paint stirrer
- Chalkboard Paint
- Foam Brush
- Decorative pillow cover
- Chalk
- Gift basket filler ideas: candles, chocolate, soap dispenser, DIY scented room spray, Lowe’s gift card, etc.
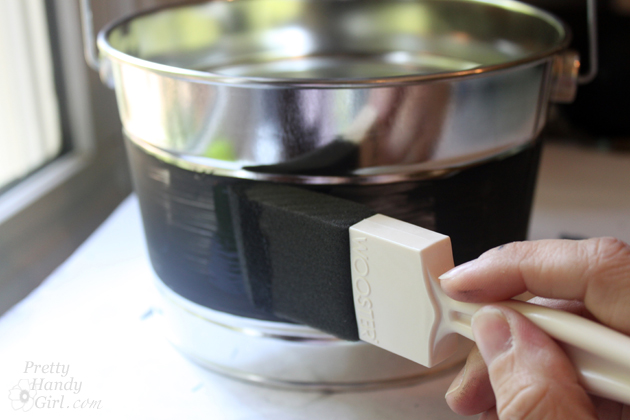
Instructions:
Clean and dry your paint pail. Paint a band of chalkboard paint with the foam brush. Let it dry and add a second coat.
After the paint has dried wait 24 hours. Season the chalkboards by rubbing a piece of chalk all over the band. Wipe off the chalk with a dry rag. Store the pails away until you need to grab one for a hostess gift.
Decorate the sides with a personalized chalk message. I love using a reusable item as a liner, like decorative pillow covers or a scarf. It’s fun to either throw a cover onto an old pillow to dress it up for the holidays.