feathered_nest_christmas_tree

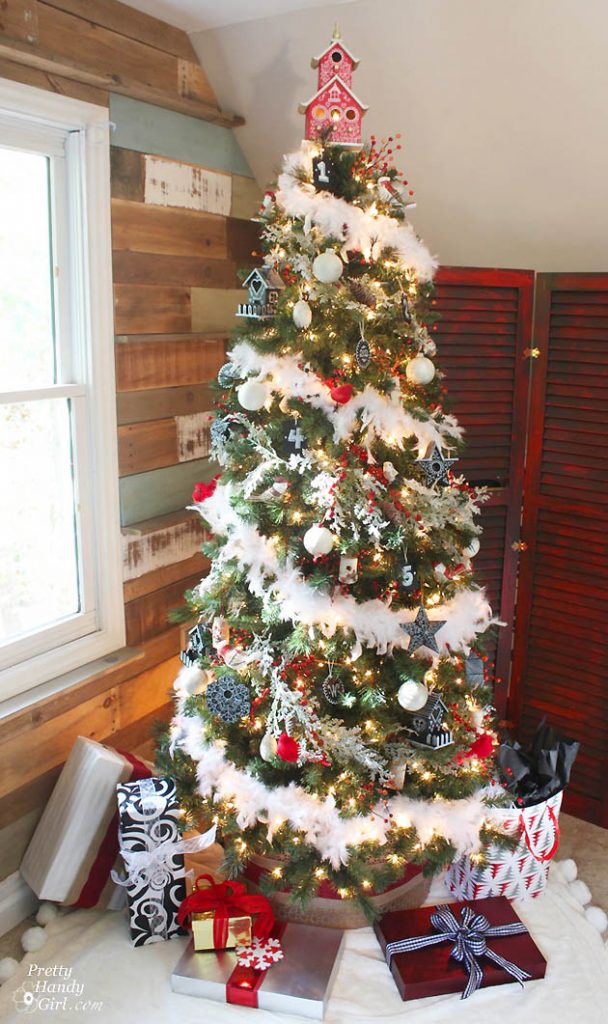
I know what you’re about to say…”What?! It’s not time for Christmas decorations!” Well, I received an email from Michaels asking if I’d like to participate in the Michaels Dream Tree Challenge. If you saw last year’s contestants and the resulting dream trees, you’ll completely understand why I was excited to be asked to join in this year. Plus, I’ve been working feverishly on the Très Frugal month of DIY Gift Ideas and having some Christmas décor set up has put me in the mood (and provides for a festive backdrop for photography!)

Once I received my pre-lit tree and the gift card to pay for my tree decorations, I hit up my local Michaels retail store. I really had no idea what theme I wanted to create, but I did know I wanted to be frugal and make my gift card stretch as far as possible.

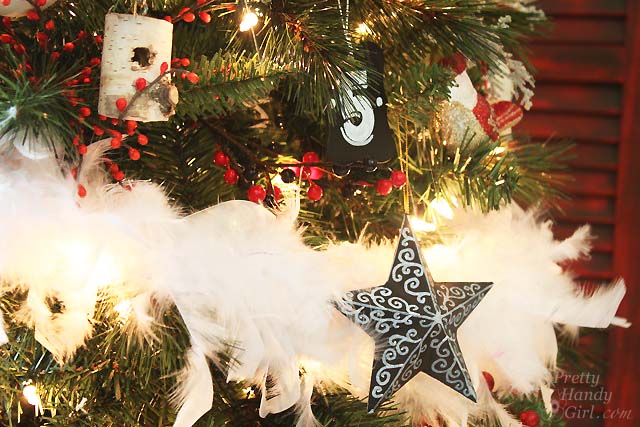
As luck would have it, there were lots of Fall berries on clearance. Can you tell the difference between fall red berries and Christmas red berries?  Read more

Painted Lampshade & a Quick Guest Room Makeover | Pretty Handy Girl

Painted Lampshade & a Quick Guest Room Makeover | Pretty Handy Girl

My mom was coming to visit his month. Since she’s a repeat guest, I wanted to give the guest room a little mini makeover for her. With the addition of some new pillows, curtains and a painted lampshade I gave it a new look in an afternoon.

Here’s the before:

GuestBed

And the after: Read more

Video Tutorial: How to Paint a Giant Abstract Ocean Painting

As promised, I created a tutorial to show you how you too can paint a giant abstract ocean painting. The easiest way for me to show you how was to share the video of the process. If you are viewing this post in your email, you will need to click on the link to view the video.

Materials: Read more

cupcake stand

Make these DIY industrial cupcake stands now and you’ll be ready for all the upcoming holidays, Thanksgiving and Christmas are fast approaching!  The cool black steel plumbing parts base combined with the natural wood slice platform lends itself to an unexpected industrial feel.

Each cupcake stand costs $5.50 in parts (not including the birch log), very reasonable for a unique, DIY project that could easily lend itself to become a favor or small gift.

cupcake stand 3

Supplies required (for one DIY Industrial Cupcake Stands):

  • 1/2″ black steel floor flange
  • 1/2″ x 3 1/2″ black steel nipple
  • birch log (approx. 5″ in diameter)
  • hand saw or circular saw
  • palm sander or sandpaper
  • drill
  • 3/4″ circular drill bit
  • E-6000 glue

DIY Industrial Cupcake Stands Instructions:

cupcake stand 4

Step 1: Using a handsaw or circular saw slice off 3/4″ thick disc of wood from the birch log. (If you’re concerned about bugs, you can bake them as shown here.)

Step 2: Sand wood slices smooth.

Step 3: Using a drill with a 3/4″ circular bit drill out a small hole for the nipple piece, only about 1/4″ deep, be careful not to let the tip of the bit pierce through to the other side of the wood slice.

cupcake stands 5

Step 4: Apply E-6000 glue to one end of nipple and screw it into flange.

Step 5: Apply E-6000 glue to circular hole in wood slice.

Step 6: Gently ‘screw’ other end of nipple into wood slice.

cupcake stand 6

Let the glue dry while the cupcake stands are upside down.

When dry, flip the stands over and load them up!  They are perfect not only for cupcakes but candles too:

cupcake stand 2

Cupcakes, candles and individual pies too!  Mini pumpkin and pecan pies are on definitely my Thanksgiving menu this year:

DIY Industrial Cupcake Stands

Jaime signatureLearn more about Jaime ~


Pin for later!

DIY Industrial Cupcake Stands

How to DIY a GIANT artist canvas | Pretty Handy Girl

Have you ever yearned to own a giant piece of artwork but the cost was prohibitive? Or you knew you could create some awesome abstract paintings, but buying large canvases would cost too much. Well, for those hesitant artists, I have this quick tutorial for building your own GIANT canvas!

Materials:

How to DIY a GIANT Artist Canvas

  • 2×2″ boards for frame supports (two sides, top, bottom and center support)
  • Kreg Jig and pocket hole screws
  • Drill
  • White fabric (canvas material would be best, but use what you have)
  • Staple gun and staples
  • Paint brush
  • Gesso (if you don’t have gesso, primer would probably work fine)

Instructions:

Cut your 2×2″ lumber down to size. Cut your top and bottom the full widths. Cut the two sides and the center support 3″ shorter to accommodate the height of the added top and bottom pieces. Note, if your canvas is portrait (instead of landscape), your support will be a center horizontal brace instead of vertical as shown. Read more