DIY gift caddies made from scrap trim is a great way to create an inexpensive gift basket AND use up all those little pieces of scrap trim in your wood pile.
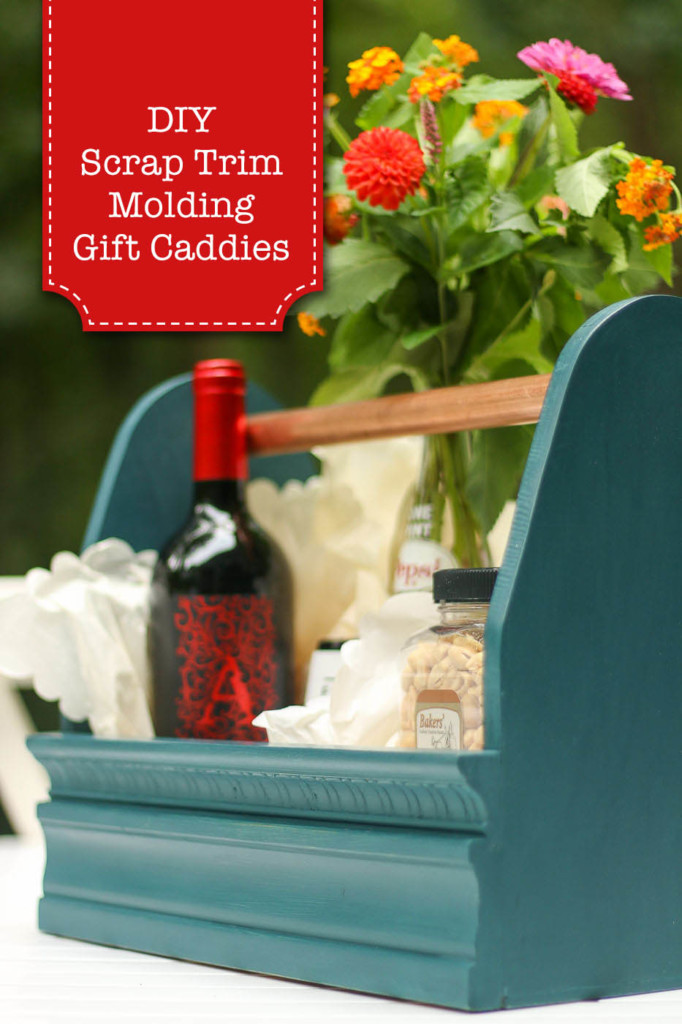
DIY Gift Caddies using Scrap Molding

Christmas is a few weeks away and I don’t feel like going shopping in the mall. I’m not really sure what to get everybody. But, after mulling over all the scrap trim in my scrap wood pile, I came up with a genius plan. Gift baskets are always a winning idea for anyone on your list because they can be filled with a variety of gifts in a theme. Fill these caddies with anything you like, but be sure to leave me a comment letting me know what you included in your gift caddies!

Ready to get started? Let’s turn this scrap wood pile into…
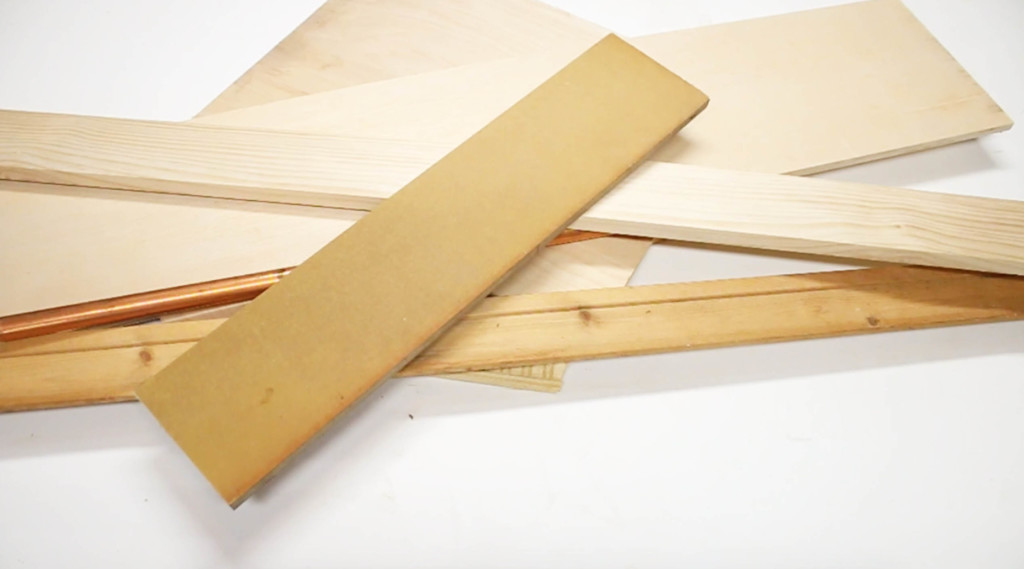
… beautiful DIY gift caddies!
Gather these materials and tools and then we can get building!

Materials &  Tools:

(I’ve included affiliate links for your convenience. I earn a small percentage from a purchase using these links. There is no additional cost to you. You can read more about affiliate links here.)

Protective Equipment:

Materials:

Tools:

Cut List:

If you need tips for cutting metal pipe, click here to see how easy it is to cut metal pipes by hand or watch my video:

Scrap Trim Ideas:

You can use any scrap trim molding you have on hand. For a simple caddy, use flat door casing or door stop. For a more decorative look, use trim with more details. No scrap trim? No problem! At Home Depot, you can purchase trim by the linear foot, so feel free to head over there and purchase a 3 foot section of decorative trim for your 18″ long caddy.

You’ll probably want to steer clear of polystyrene trim since it’s not as strong, nails will go right through it, and wood glue generally won’t hold it firmly.

Instructions:

To start this project, cut your wood from the cut list above. Definitely watch my video to learn how to make these simple DIY Gift Caddies using Scrap Molding!

The base of my gift caddy is  8” x 18”, but feel free to make your caddy a custom size based on your scraps or your gifts.

Cutting the top of the sides:

You can curve the top of your caddy by tracing the perimeter of a paint can or another round object.
Make Your Own Street Sign | Pretty Handy Girl

Alternatively, you can cut straight angles off the top corners as shown in the diagram below. Simply mark off two inches at the top of the sides. Then make an angled line down to the location where your trim starts on the sides.
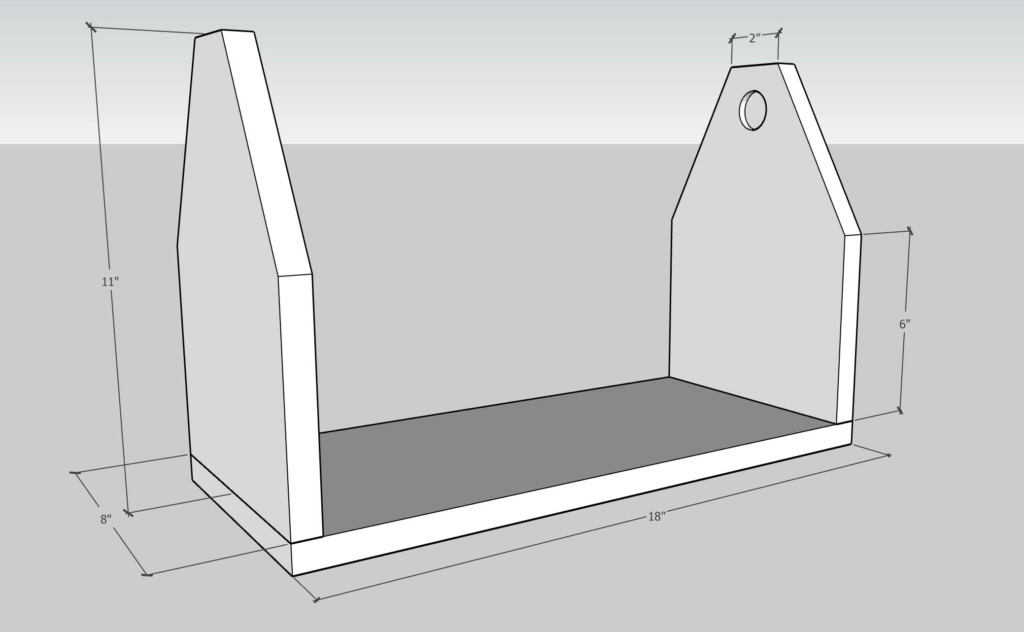
Cut the top profiles using a band saw or jigsaw. If you don’t have either, you can use a coping saw.

Sand off any rough edges from your plywood pieces using a sander.

Adding Scrap Trim:

Now it’s time to use all your fabulous scrap trim. You can use whatever trim you have laying around, there are no rules. I chose a piece of door trim and some decorative egg and dart trim for this caddy.

Cut your molding to 18” (the same length as the base).

Caddy Handles:

For the caddy handle, I happened to have some copper pipe in my scrap pile, but you can use a dowel, old closet rod, or even a branch like I used on this caddy.
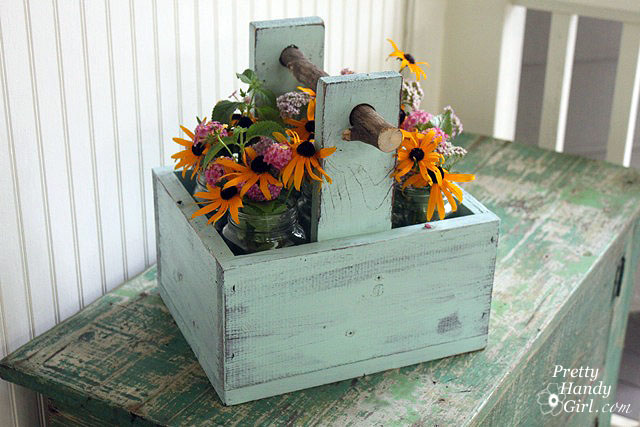
rustic-wooden-caddy-with-branch-handle

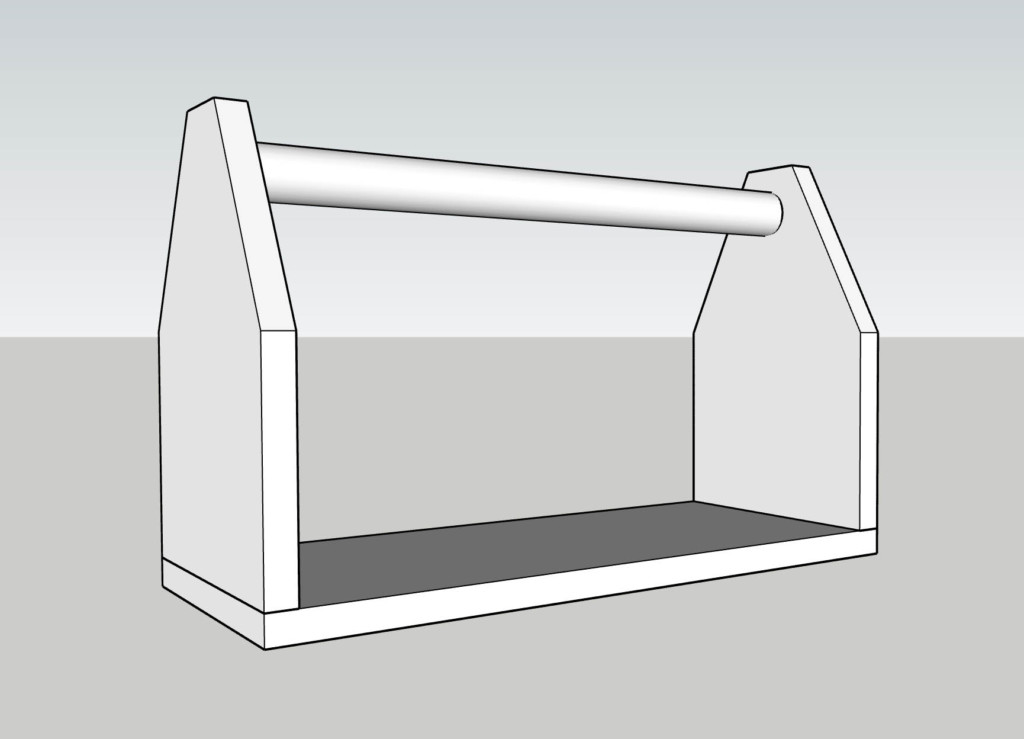
Use a forstner bit the same width as your handle to drill halfway into the caddy sides. (For the branch, you might want to drill completely through the sides.) The 3/4″ copper pipe is equal to a 7/8″ forstner bit.

Dry fit the handle into the sides. You’ll need to measure to make sure the width of your caddy is the same at the top and bottom. You might have to drill a little deeper into the sides until the top is equal to the bottom when the handle is fitted into the holes.
Assemble the Caddy:

Run a bead of glue along each end of your base. Then set the sides on top of the base.
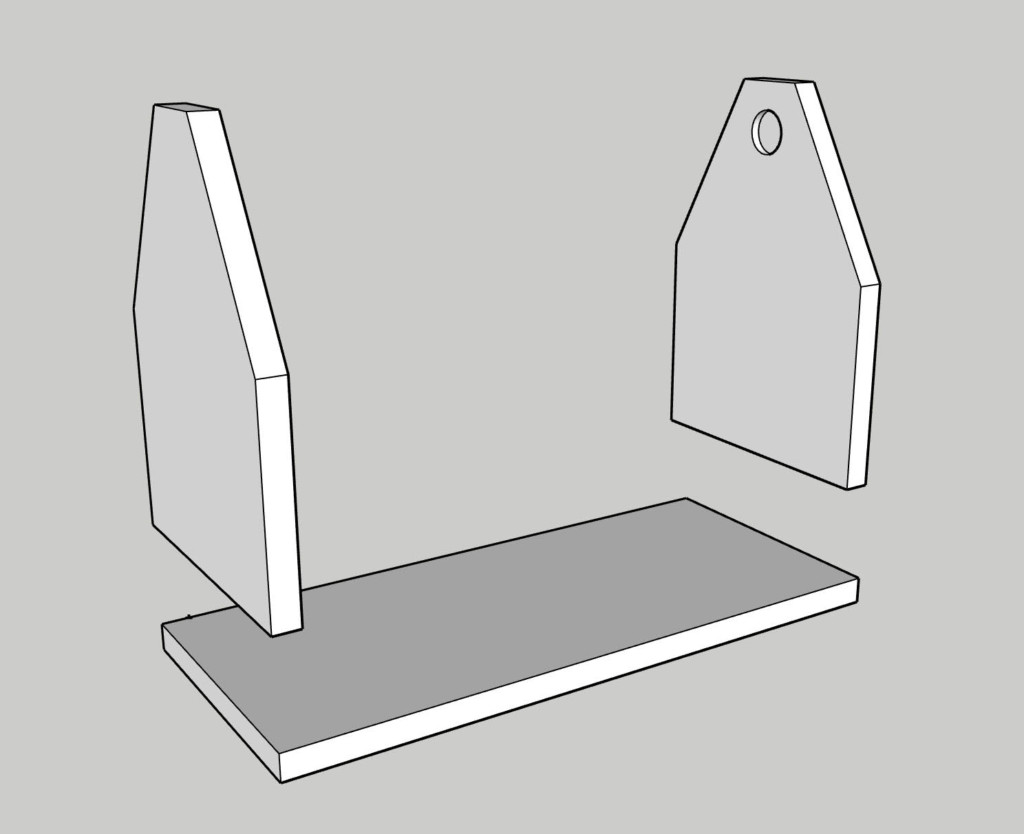
To secure the handle, add a bunch of construction adhesive into the holes you drilled into the sides.

Assemble the caddy. Clean up any glue squeeze-out. Flip your caddy onto its side and secure the base into the sides with several brad nails.

To secure the scrap trim sides. Use more wood glue along the edges of the side pieces. Then set the trim in place and secure it with a few more nails. Wipe off any glue squeeze-out.
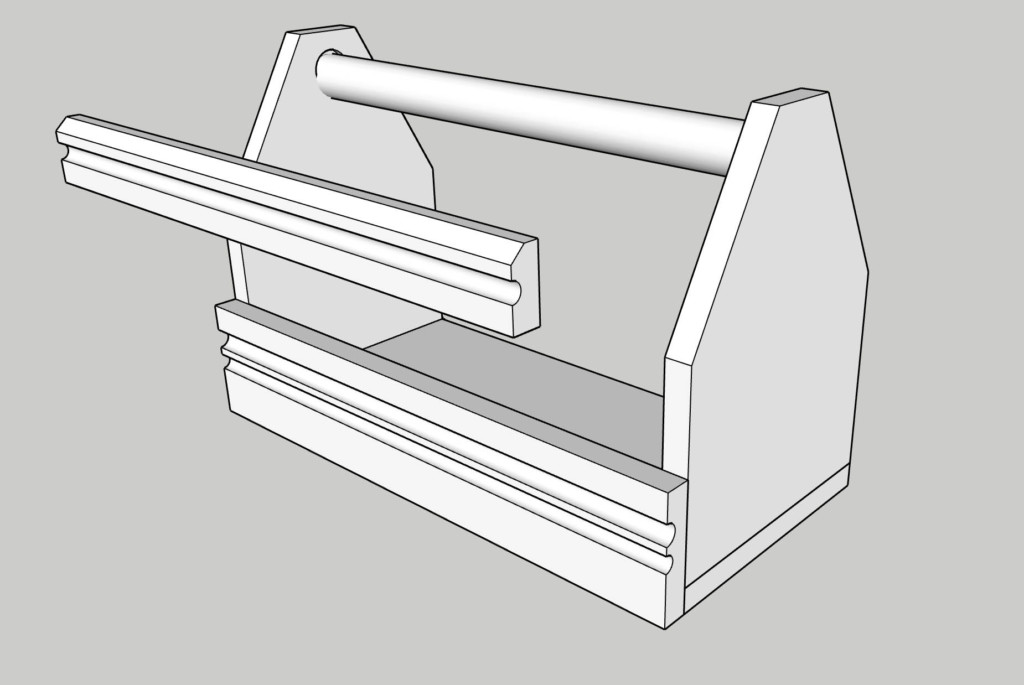
This next step is truly optional. I like to add a divider in larger caddies. If you want to do the same, cut a piece of one-by to fit inside the caddy. Add some wood glue onto the bottom and sides of the divider, then set it in place.
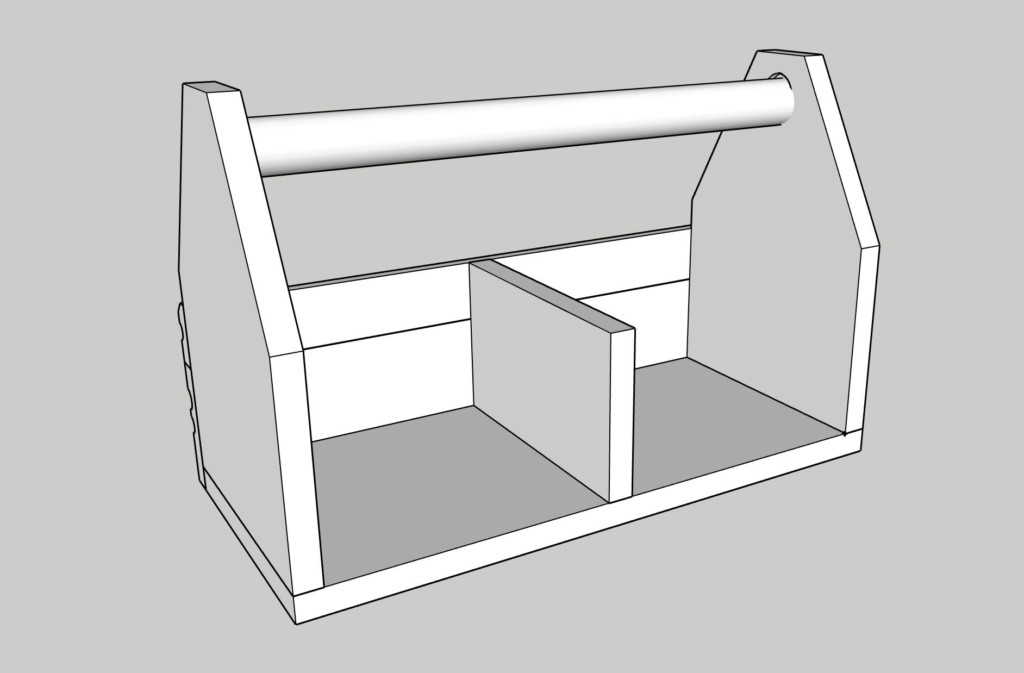
Finish off the caddy build by adding trim to the other side. Secure the trim and divider with nails.
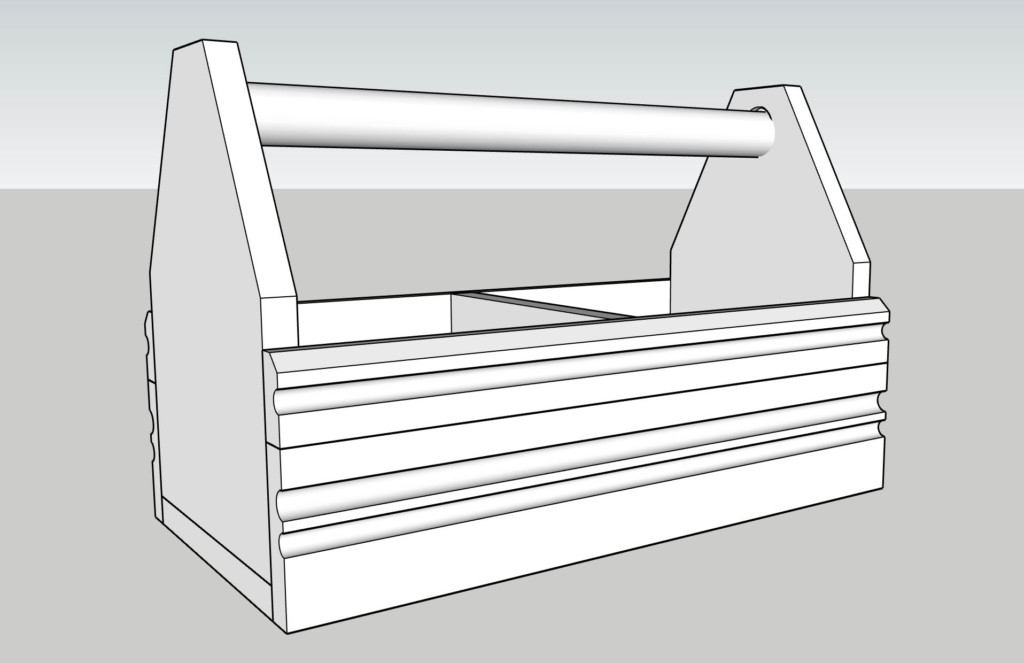
Finishing the Caddy:

Use a wood putty to fill in the gaps and nail holes. After the wood putty dries, sand it smooth.

Paint or stain the caddy in the color of your choice. Finish the caddy with polyurethane or wax to protect it.

Fill Your Gift Caddy:

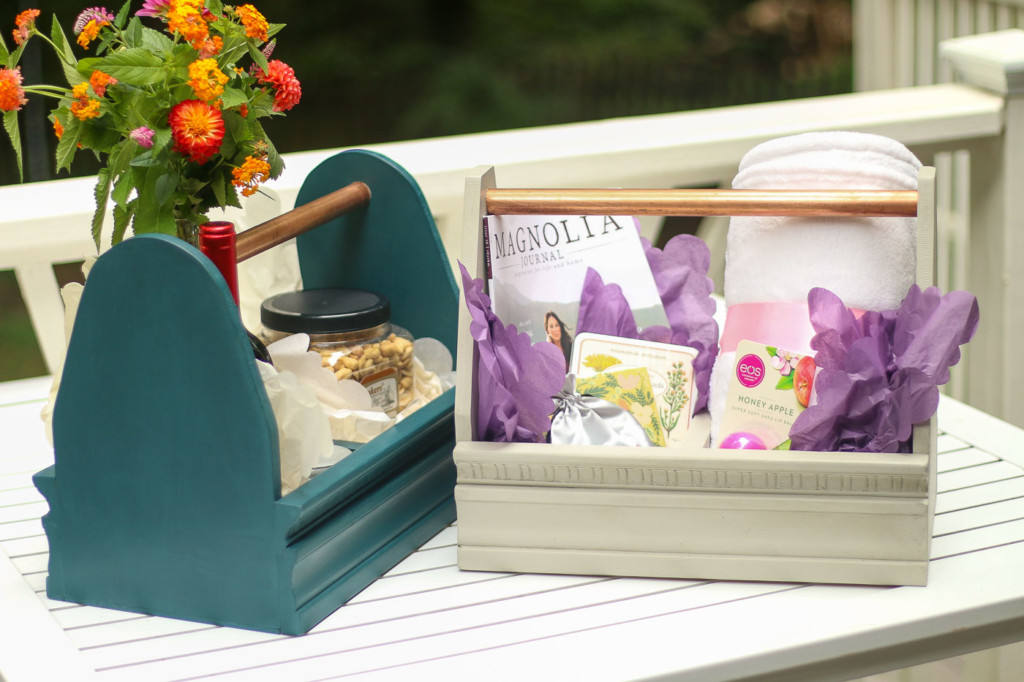
You can fill these caddies with just about anything! Create a snack basket:
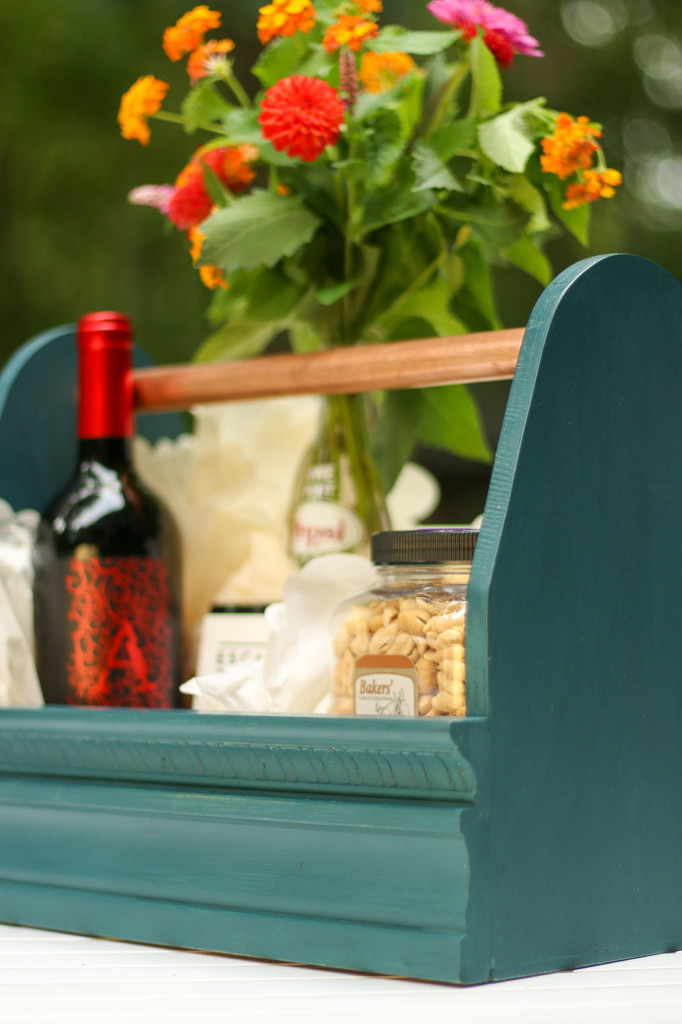
Or a fill it with a candle, eye mask, cozy blanket, and a magazine for a relaxation basket.
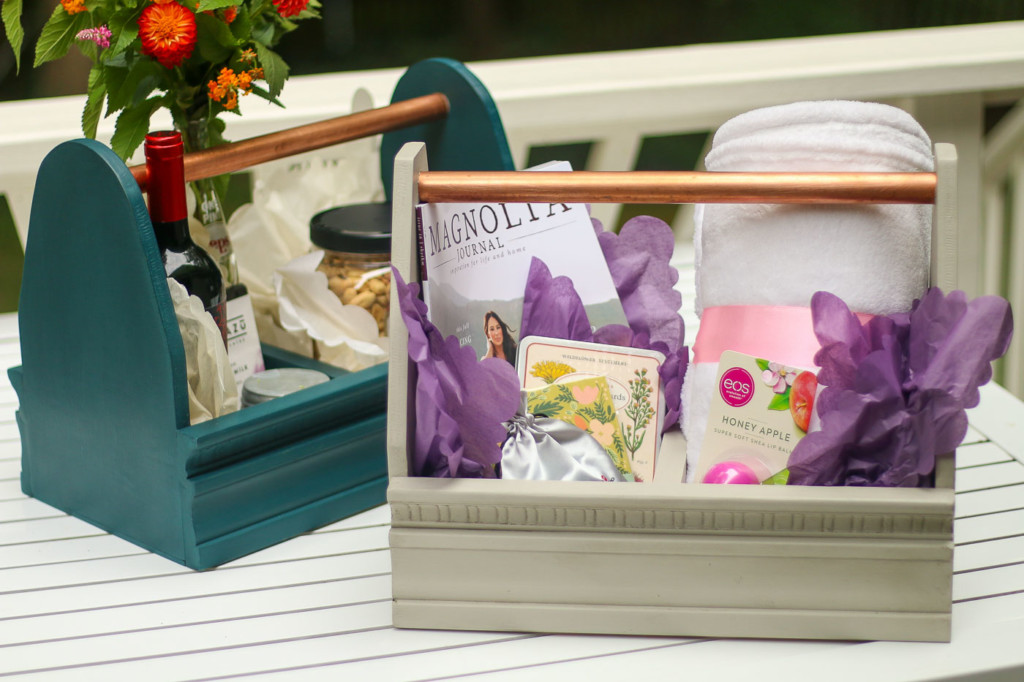
I would honestly love to hear your suggestions for things to add to these gift caddies in the comments below! Until next time, hope you have a very Happy Holiday season!

Like this gift idea? Then you’ll love these additional gift basket ideas:
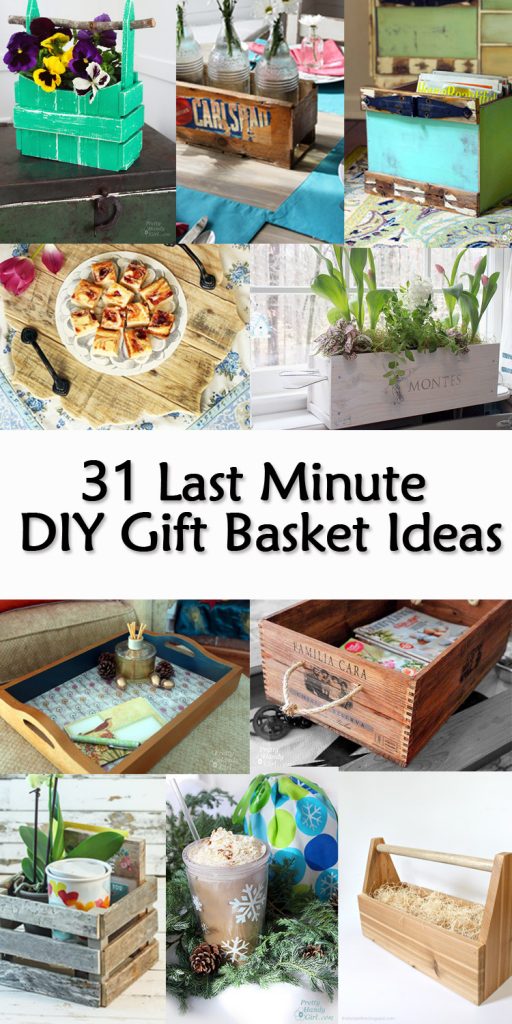

31 last minute gift basket ideas pinterest images

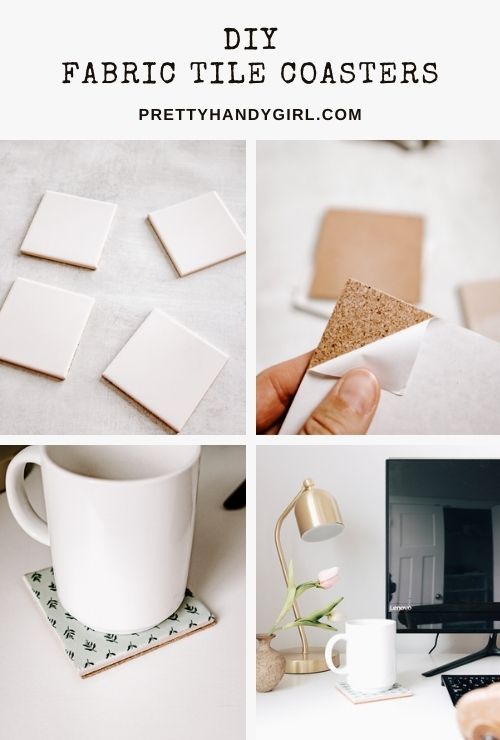
DIY fabric tile coasters

DIY Fabric Tile Coasters

Hello! How are we all doing?

The holidays may look a lot different this year, but the same sentiments and traditions are still here. If you have a tradition of making handmade holiday gifts, I have the perfect craft for you today! These DIY fabric tile coasters are a cinch to put together and you can customize them with any fabric you like.

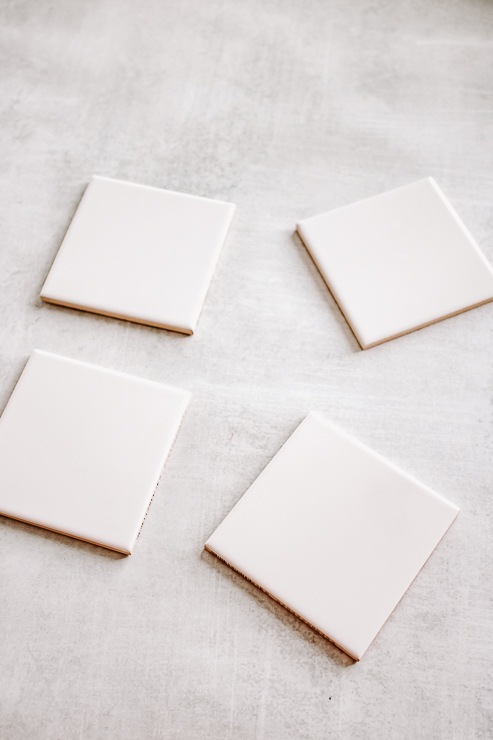
This project is not only easy, it’s inexpensive too. Pick up square tiles from a home improvement store for as little as 15 cents. Then grab some fabric scraps to make these coasters come together.

I’m sharing the full tutorial plus some tips on making your coasters waterproof! So, let’s get started.

How to Make DIY Fabric Tile Coasters

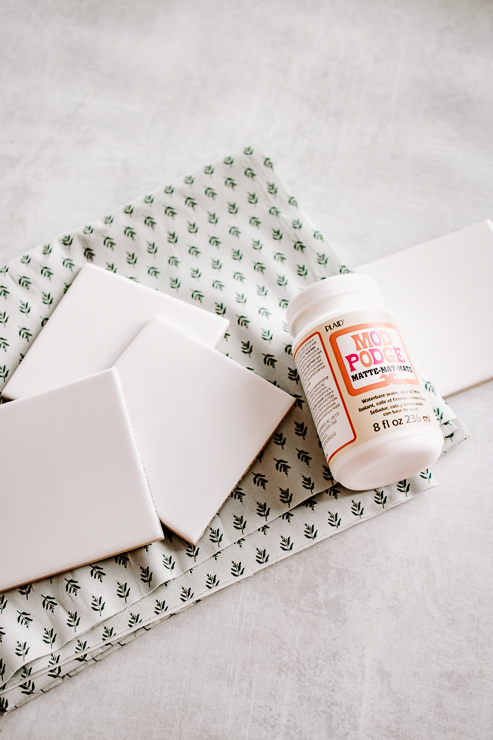
Materials:
(I’ve included affiliate links for your convenience. I earn a small percentage from a purchase using these links. There is no additional cost to you. You can read more about affiliate links here.)

Instructions:
Step 1: Cut Fabric to Size

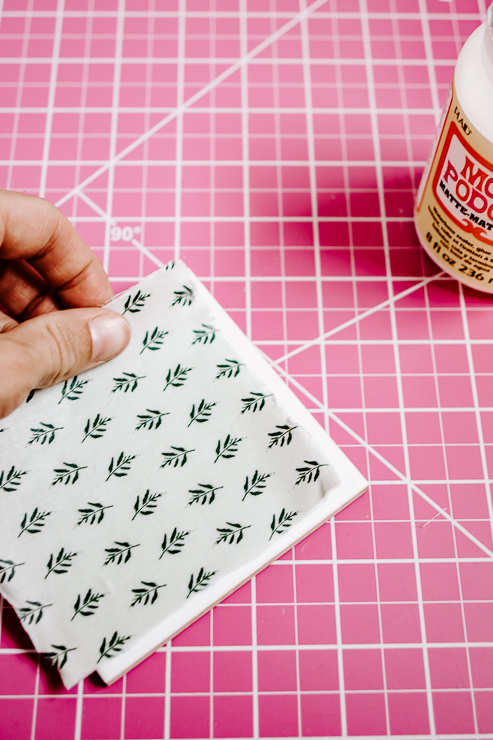
The first thing you need to do is cut your fabric to size. I tried this many different ways and by far the best looking option is to cut them slightly smaller than the tile. This will leave a small white border around the top of the coaster but it will look neater. Plus, it is much easier to apply this way.

Use a rotary cutter to get the neatest cuts, but if you don’t have one, use a pair of very sharp scissors or fabric scissors.

Step 2: Apply Fabric to Tile

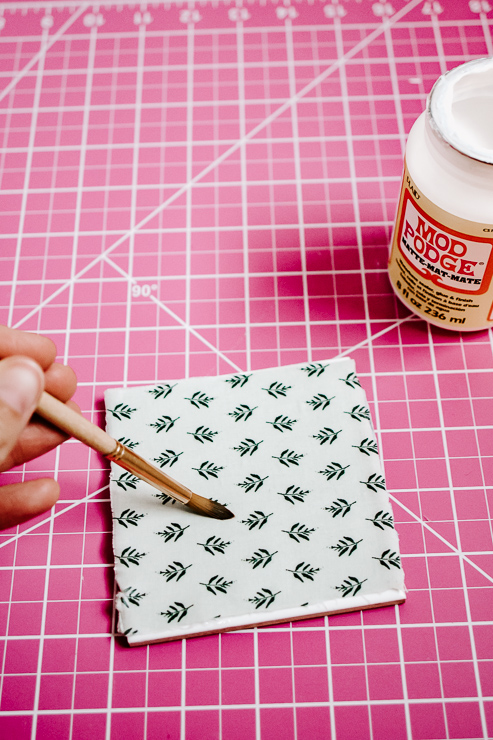
Take your foam brush and paint a layer of Mod Podge onto the top of your tile. Then, apply your fabric square to the tile, Smooth out bubbles as you apply.

Once your fabric is aligned properly and smooth, apply another layer of Mod Podge on top of the fabric.

Set aside your tile coasters to dry.

Step 3: Waterproof and Seal your Coaster

Once your Fabric and Mod Podge fully dries, you will notice it feels a little stiff and tacky. Eventually, this will go away but if you don’t have time on your hands and you really want to waterproof them, you’ll need to seal them.

With any of these sealers, you want to spray outdoors or in an area with really good ventilation – as the fumes are pretty strong.

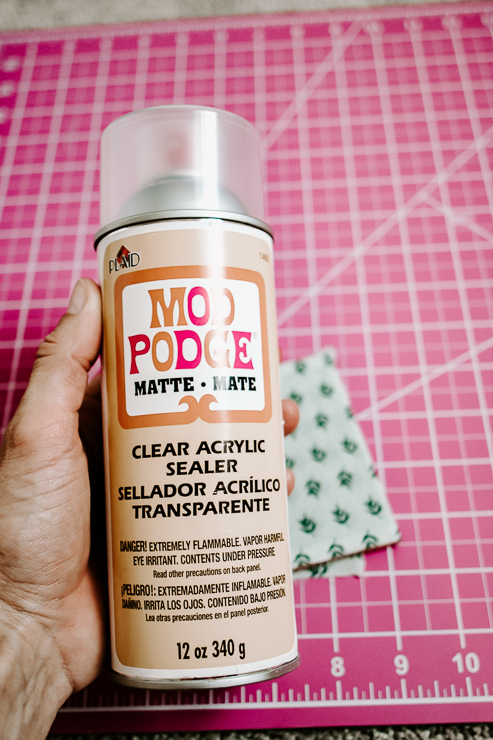
One way to seal them is to use an acrylic sealer spray from Mod Podge. You can buy this in gloss or matte. I only had matte on hand but I do think gloss is the way to go here.

Another sealer (which I haven’t personally tried yet) is called Engine Enamel. This is made by Rustoleum and is actually for cars! But I’ve heard it works here too. It will give a glossy finish to your coasters and protect them from water and heat.

Finally, a third option is to use resin. Resins can be more expensive than the first two options, so keep this in mind. EnviroTex Lite is a resin sold at Michael’s and other craft stores and gives your finished coaster a very high gloss, polished look. It’s really beautiful so if you are serious about your coaster making, this is definitely the winner here.

Step 4: Apply Cork to Bottom of Tile

After your coasters are dried and sealed, let’s finish the bottom. Tile squares can be a bit rough on the bottom, so we need to cover them.

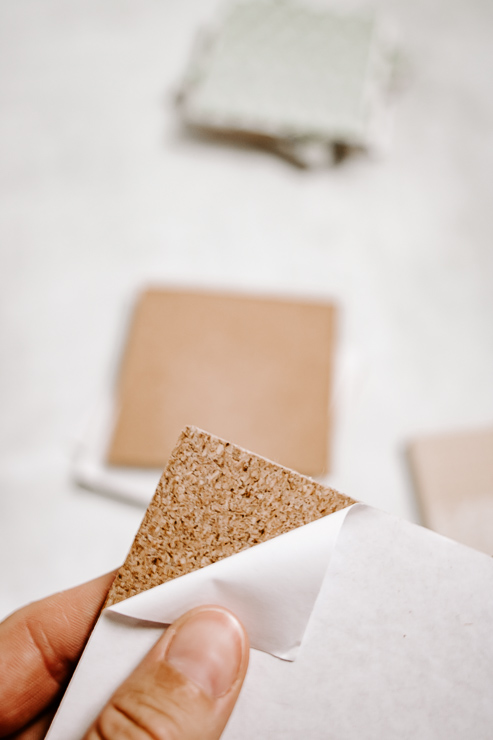
I found these cork squares on Amazon and they fit perfectly! They are also sticky on one side, so you just need to peel off the back and apply.

Another option is to use felt squares and hot glue them to the bottom.

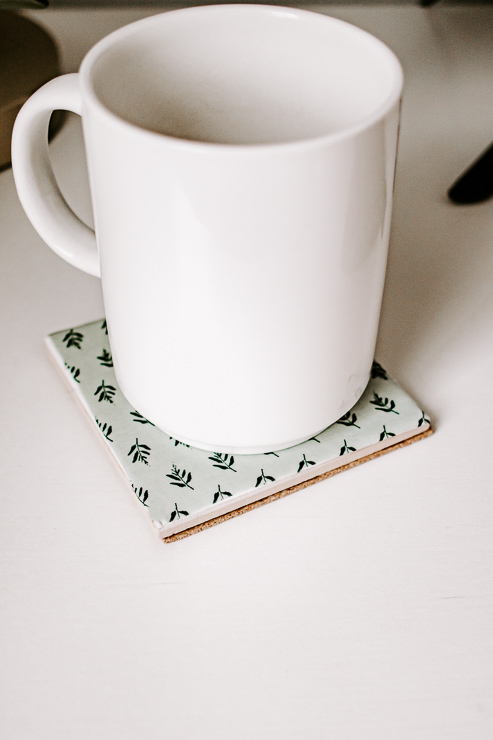
These coasters are easy to create and make wonderful handmade gifts – even for a hostess!

I hope you enjoyed this tutorial! Enjoy this holiday season, even if it does look a bit different. 🙂

karen signature

~ See More of Karen’s Tutorials ~


karen from decor hintHello!  I’m Karen, the creator of the Home Decor and DIY Blog: Decor Hint. I’m a Native of the East Coast, but I currently live in beautiful Seattle with my hubby, our two wonderful children, and our spunky wheaten terrier.

You can usually find me with some sort of craft in one hand and a coffee in the other. And I’m always rearranging furniture or moving lamps from room to room. I have a passion (read: obsession) for decorating, DIY, and gardening. In short, I love making my house into a home.

Like many, I’m inspired by what I see in home decor magazines, but I’m not so inspired by the price tags.  Consequently, I love finding and creating beautiful budget-friendly home decor items. In a head to head competition, I bet you’d never know the difference between the designer items and my DIY creations!  Many of my DIY projects focus on sewing, crafting, upcycling, and organizing. Some of my favorite projects have been making pretty wreaths, sewing my own tassel hand towels, and crafting these trendy wood bead garlands. I can’t wait to inspire you and spark your creativity through my DIY projects.

You can always connect with me on Pinterest, Twitter or Instagram.

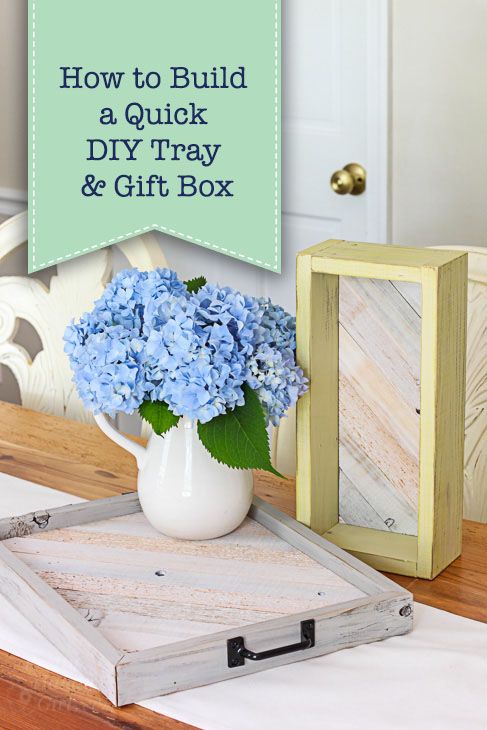
How to Build a Quick DIY Tray & Gift Box | Pretty Handy Girl

Growing up, my parents always told me homemade gifts meant more to the recipient than a store-bought gift. If you’re like me, and enjoy making things and have a lot of wood scraps, you’ll love making many of these Quick DIY Trays and Gift Boxes!

How to Build a Quick DIY Tray & Gift Box | Pretty Handy Girl

How to Build a Quick DIY Tray & Gift Box

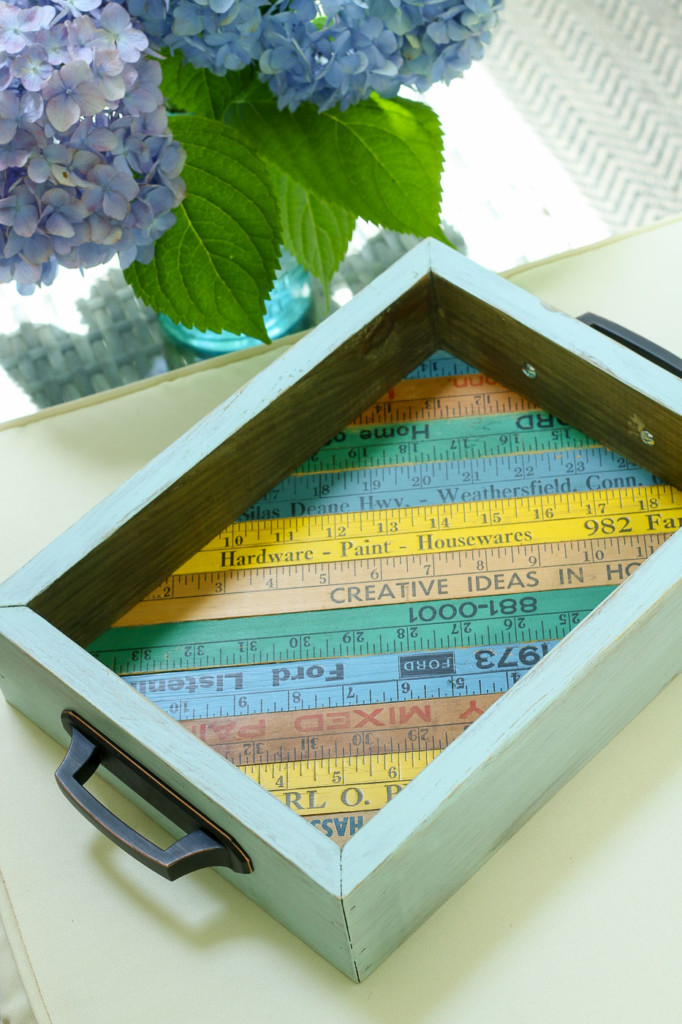
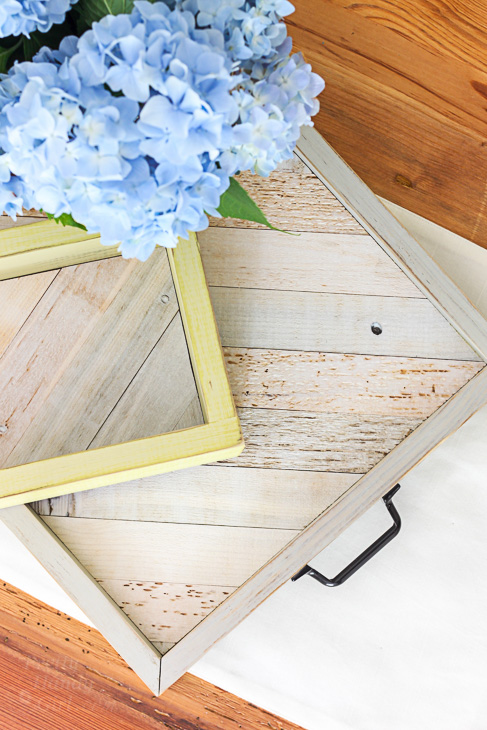
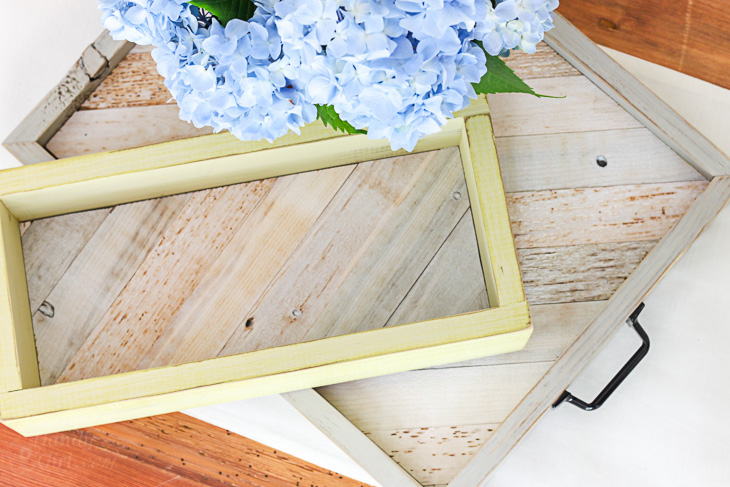
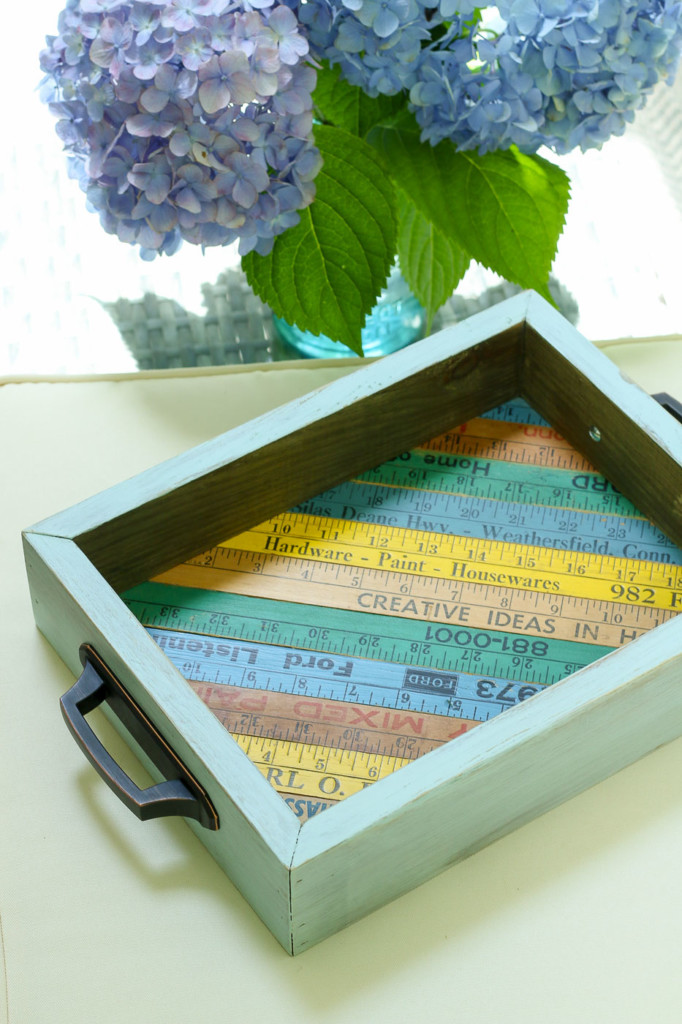
Several years ago I shared this tutorial, but I’m updating the post to show you an alternative base for your tray. You can use a variety of thin woods to cover the plywood for a more decorative look. Previously I used leftover Timberchic end caps. But, this past weekend I whipped up a tray for my girlfriend’s birthday using vintage rulers and I couldn’t be happier with the results.

vintage-rulers-on-tray-bottom

Instead of the self-adhesive Timberchic, use wood glue to affix any thin wood to a plywood base. Then build the sides and you have yourself a beautiful gift tray (or gift box if you make your sides taller.)

diy-vintage-ruler-tray-on-ottoman

Now it’s time to share the tutorial with you because this will be easy, quick, and frugal (all things I like in a good DIY project!) Let’s learn How to Build a Quick DIY Tray & Gift Box.

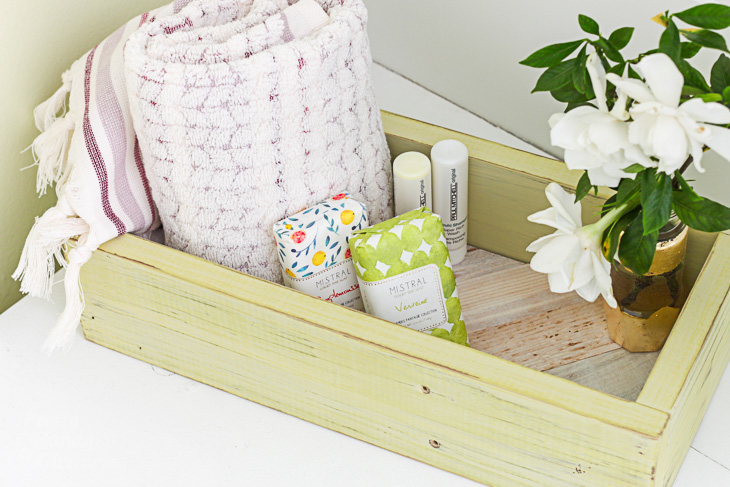
Question: What’s better than giving a one-of-a-kind gift? What’s better than giving a gift basket that will be useful long after the contents have been consumed? And what’s better than spending money on a gift basket?

Answer: Building your own Quick DIY Tray & Gift Box that will be used long after the contents are gone and it doesn’t have to cost you an arm or a leg when you are using scraps from your workshop! #Winning

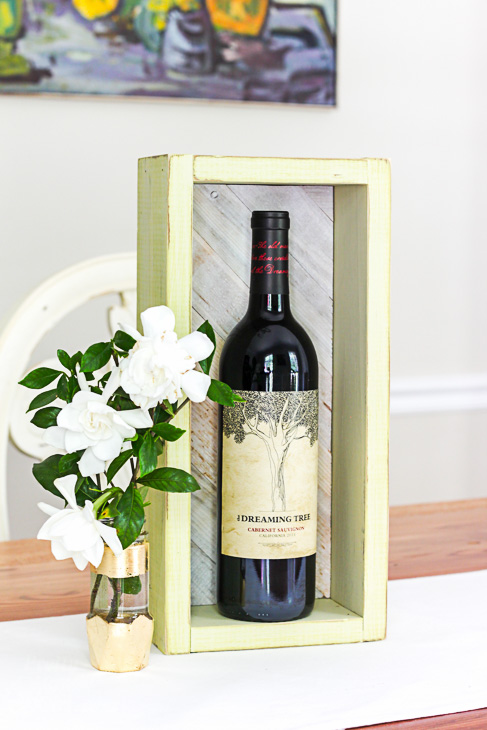
These rustic beauties are perfect for filling with a bottle of wine or to use as the base for a cellophane-wrapped gift basket.

How to Build a Quick DIY Tray & Gift Box | Pretty Handy Girl

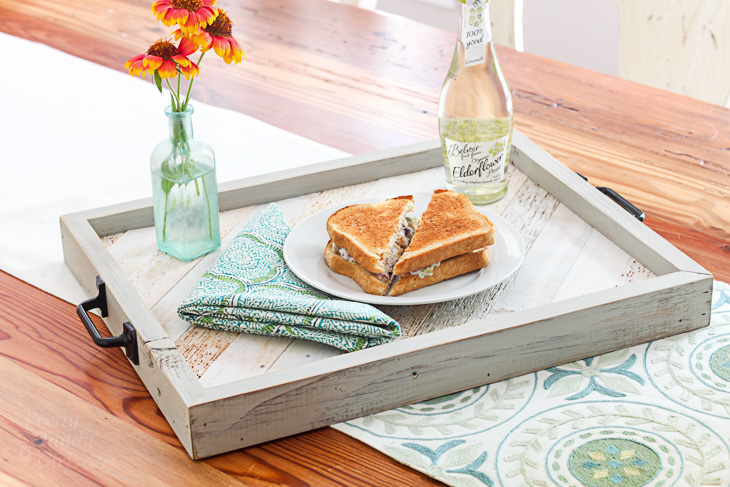
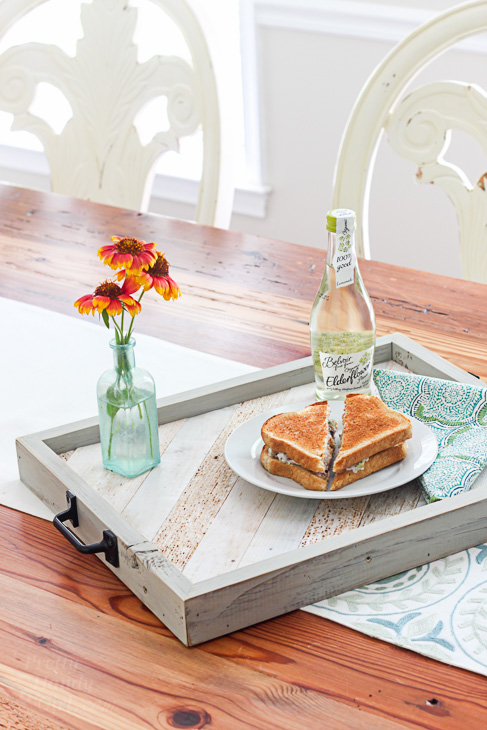
The tray is probably my favorite because you can use it to serve lunch on the porch (or breakfast in bed.) And who doesn’t love a good tray to corral loose items in your living room, bedroom, or kitchen?

How to Build a Quick DIY Tray & Gift Box | Pretty Handy Girl

The crate is a close second in my heart because it makes the perfect place to store toiletries for a guest. But, we all know it can also be used to organize desk supplies and much much more.

How to Build a Quick DIY Tray & Gift Box | Pretty Handy Girl

What do you need to make this Quick DIY Tray & Gift Box you ask? Well here’s the 411 on this project.

Materials:

(I’ve included affiliate links for your convenience. I earn a small percentage from a purchase using these links. There is no additional cost to you. You can read more about affiliate links here.)

How to Build a Quick DIY Tray & Gift Box | Pretty Handy Girl

Optional:

Instructions:

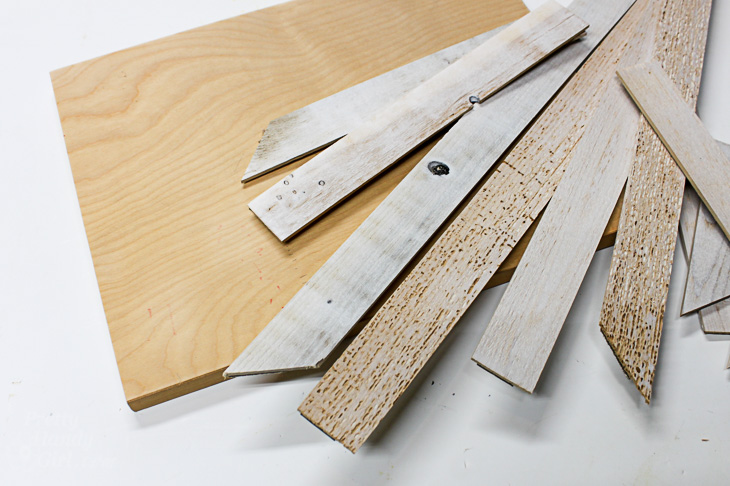
Cut your plywood base to size. (My tray was 11″ x 15″ and the gift box was 4″ x 10″.)

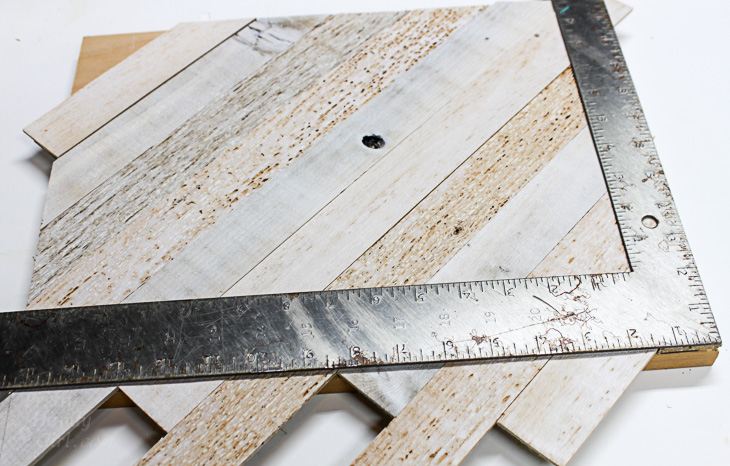
Set your slats on top of the plywood to figure out their ideal placement.

How to Build a Quick DIY Tray & Gift Box | Pretty Handy Girl

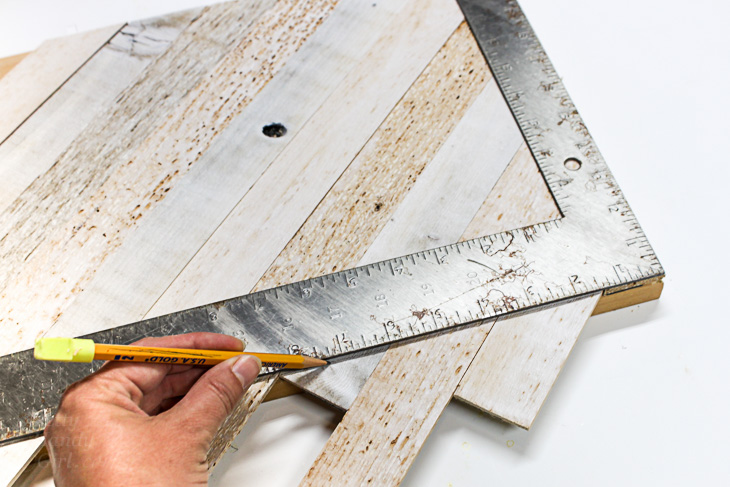
Use a ruler or square and your pencil to mark the cut offs.

How to Build a Quick DIY Tray & Gift Box | Pretty Handy Girl

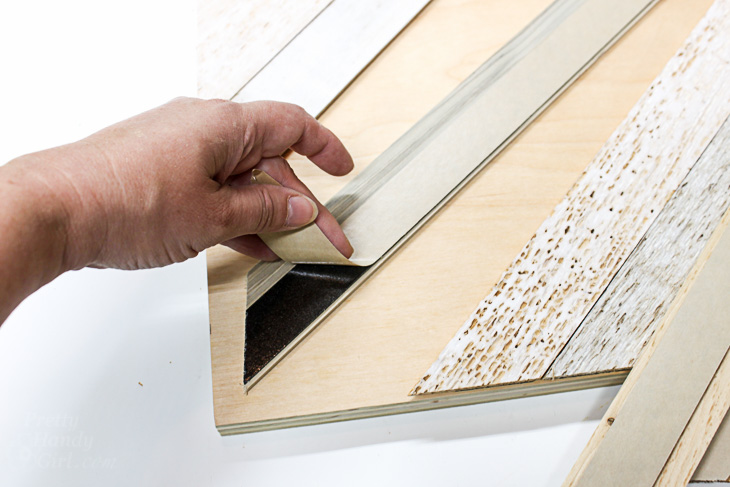
Cut the slats and return to the plywood base. If you are using the TimberChic end caps, remove the adhesive backing and place the slat on the plywood. (If using other slats, use wood glue to adhere them to the base.)

How to Build a Quick DIY Tray & Gift Box | Pretty Handy Girl

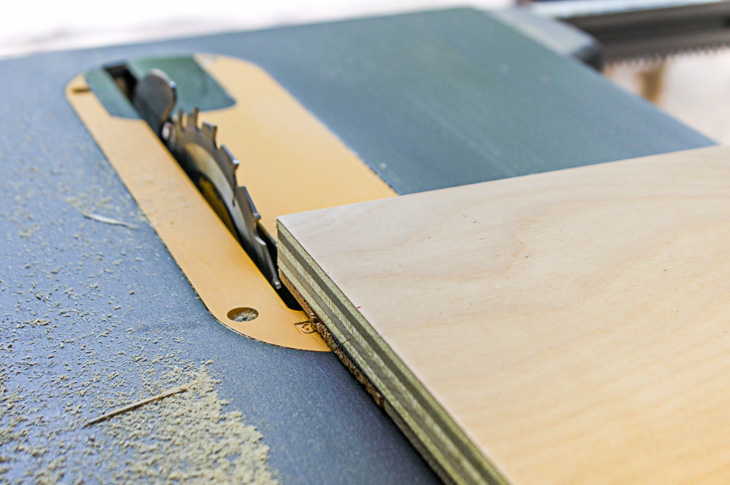
For a perfect edge, you can turn your base upside down and trim the edges on the table saw. (Not necessary, but gives you a cleaner edge.)

How to Build a Quick DIY Tray & Gift Box | Pretty Handy Girl

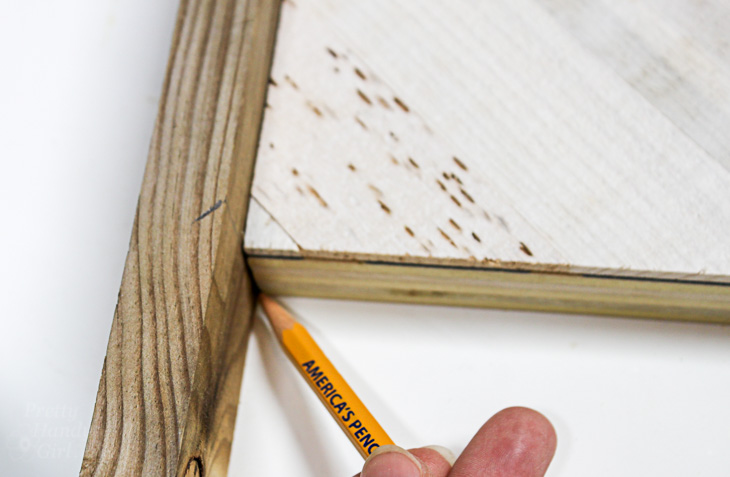
Line up your side material against the base and mark where to cut each piece.

How to Build a Quick DIY Tray & Gift Box | Pretty Handy Girl

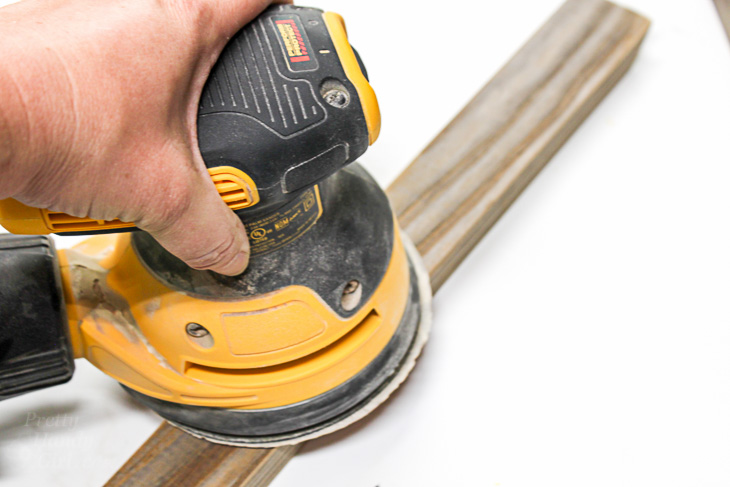
Cut the sides at a 45 degree angle to create mitered edges (or simplify the project by cutting 90 degree ends). Test fit the sides to make sure you have a tight miter at each corner. Sand the sides smooth to remove any rough spots.

How to Build a Quick DIY Tray & Gift Box | Pretty Handy Girl

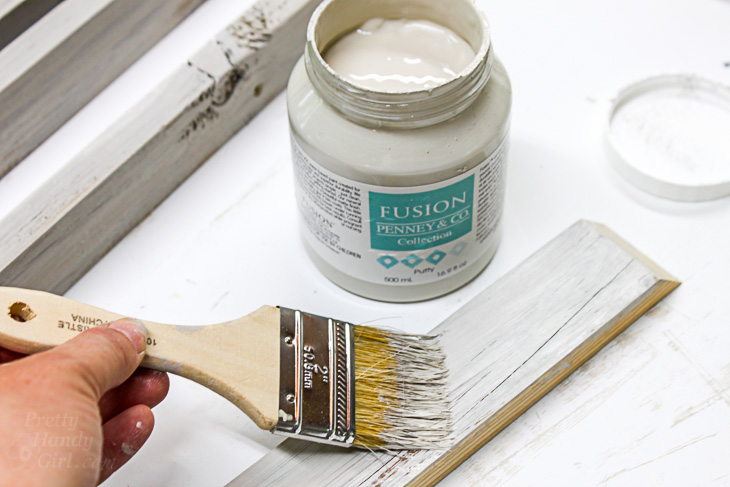
Paint your sides with Fusion paint (or chalk paint of your choosing.)

How to Build a Quick DIY Tray & Gift Box | Pretty Handy Girl

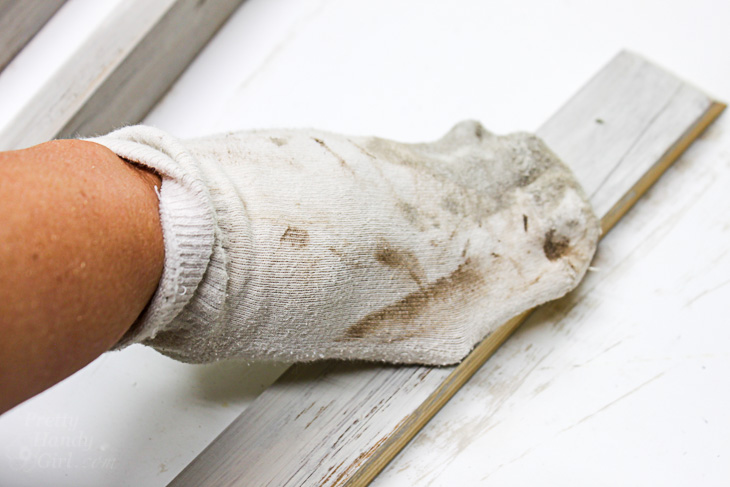
Wipe off immediately for a rustic look.

How to Build a Quick DIY Tray & Gift Box | Pretty Handy Girl

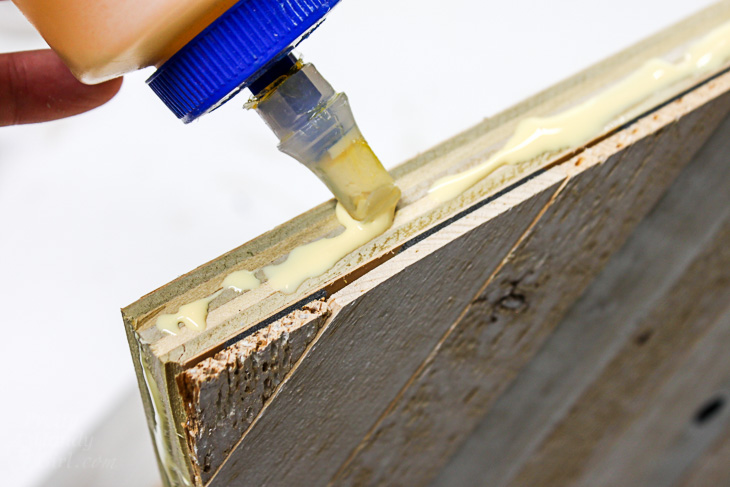
Run a line of wood glue along the side of your base.

How to Build a Quick DIY Tray & Gift Box | Pretty Handy Girl

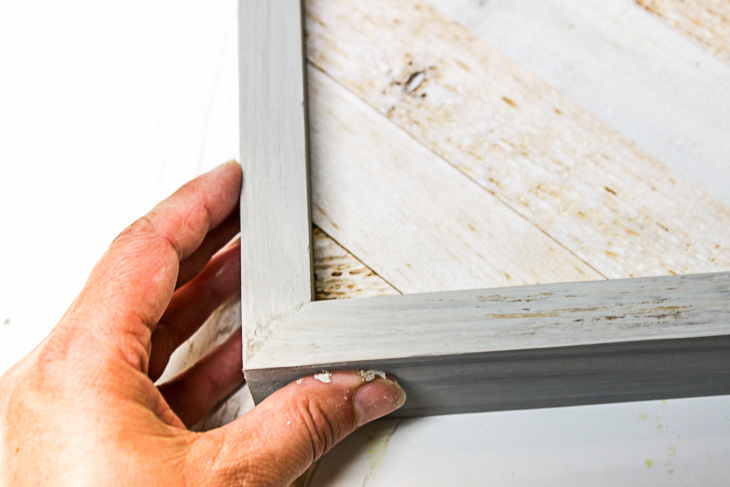
Press the sides in place.

How to Build a Quick DIY Tray & Gift Box | Pretty Handy Girl

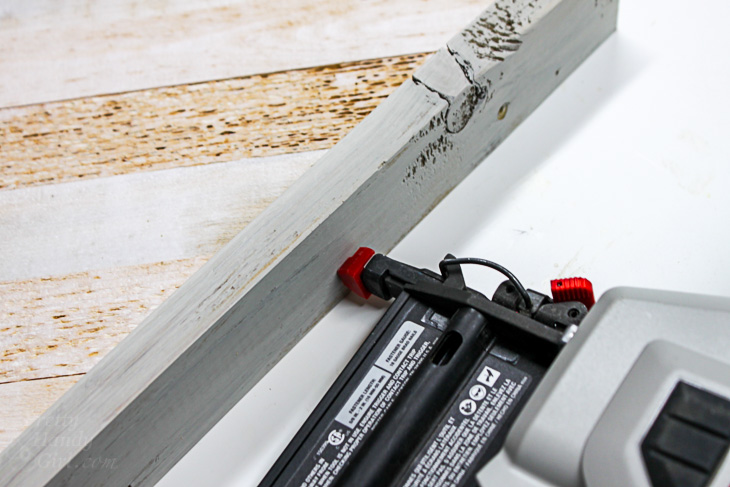
Nail brad nails through the sides and into the base to secure the sides while the glue dries.

How to Build a Quick DIY Tray & Gift Box | Pretty Handy Girl

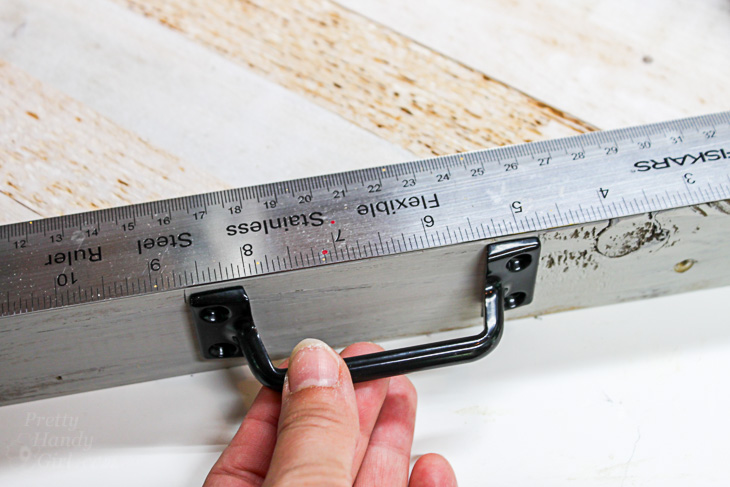
Find the centers on the two smaller sides of your tray. Center the door pulls on the sides.

How to Build a Quick DIY Tray & Gift Box | Pretty Handy Girl

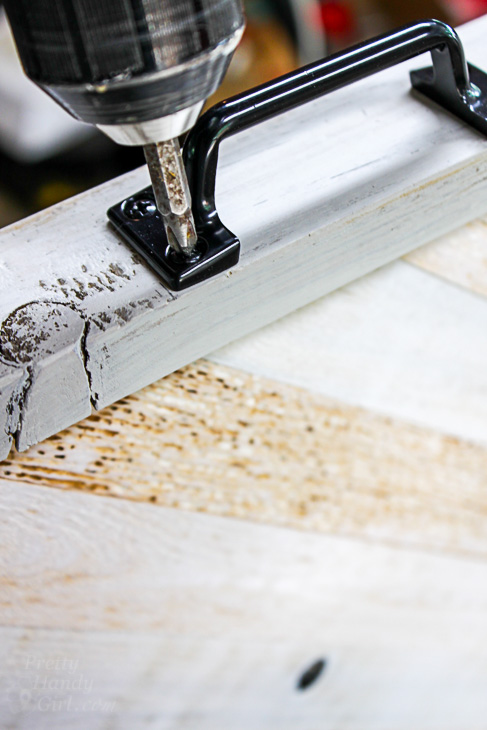
Attach the handle to the side of the tray with provided screws.

How to Build a Quick DIY Tray & Gift Box | Pretty Handy Girl

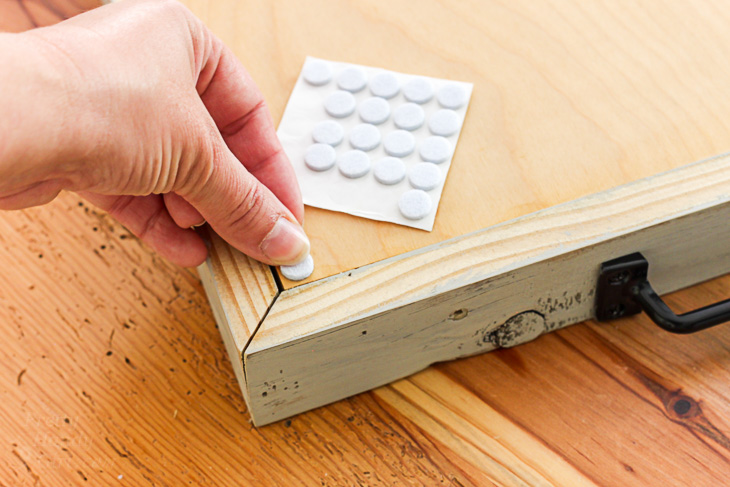
Add felt pads to the bottom of the tray to prevent scratching of surfaces.

How to Build a Quick DIY Tray & Gift Box | Pretty Handy Girl

Your tray and gift box are done! Fill them up with goodies your recipient will love.

How to Build a Quick DIY Tray & Gift Box | Pretty Handy Girl

diy-vintage-ruler-tray-on-ottoman

A bottle of wine should fit nicely in the gift box:

How to Build a Quick DIY Tray & Gift Box | Pretty Handy Girl

And when the gift tray and box are empty, they will be enjoyed for years to come.

How to Build a Quick DIY Tray & Gift Box | Pretty Handy Girl

How to Build a Quick DIY Tray & Gift Box | Pretty Handy Girl

Did you like this simple gift idea? Well, there’s lots more where that came from! Here’s a gallery of other DIY Gift Ideas!

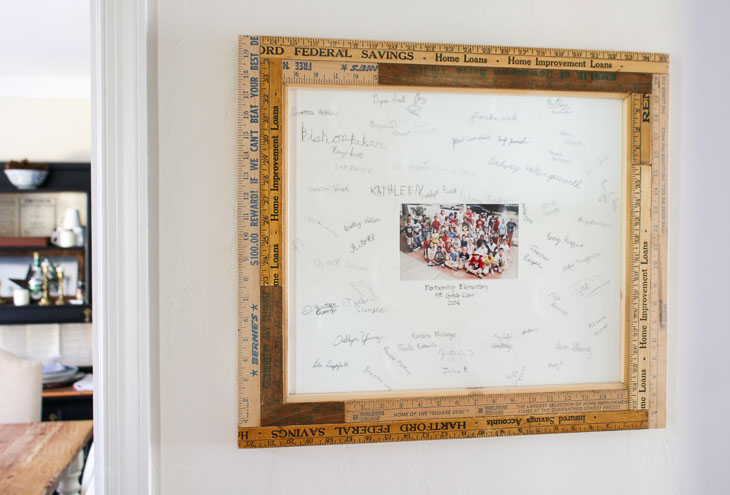
Like using vintage rulers? Check out this frame I made with more vintage rulers:

How to Custom Build a Vintage Ruler Picture Frame

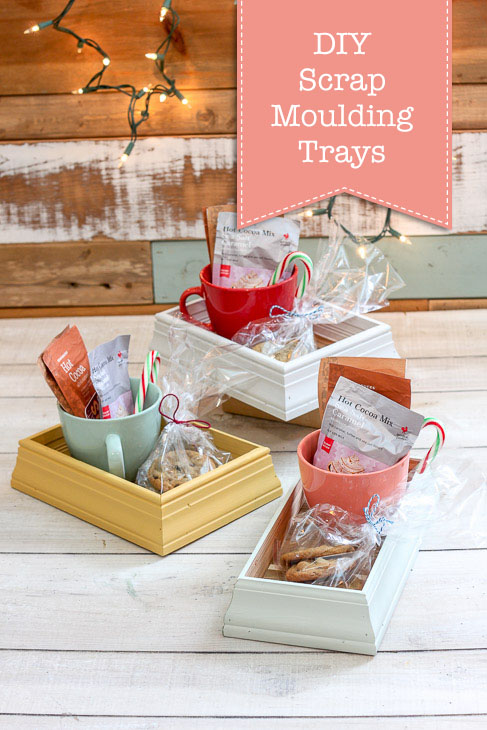
Or these scrap molding trays:

DIY Scrap Moulding Trays | Pretty Handy Girl

Happy gifting!


Farmhouse Painted (chalk like paint) Jar Vases | Pretty Handy Girl

This is by far one of my favorite gift crafts. Grab a few recycled jars or bottles and use your favorite chalk paint to create simple chalk-painted jars!

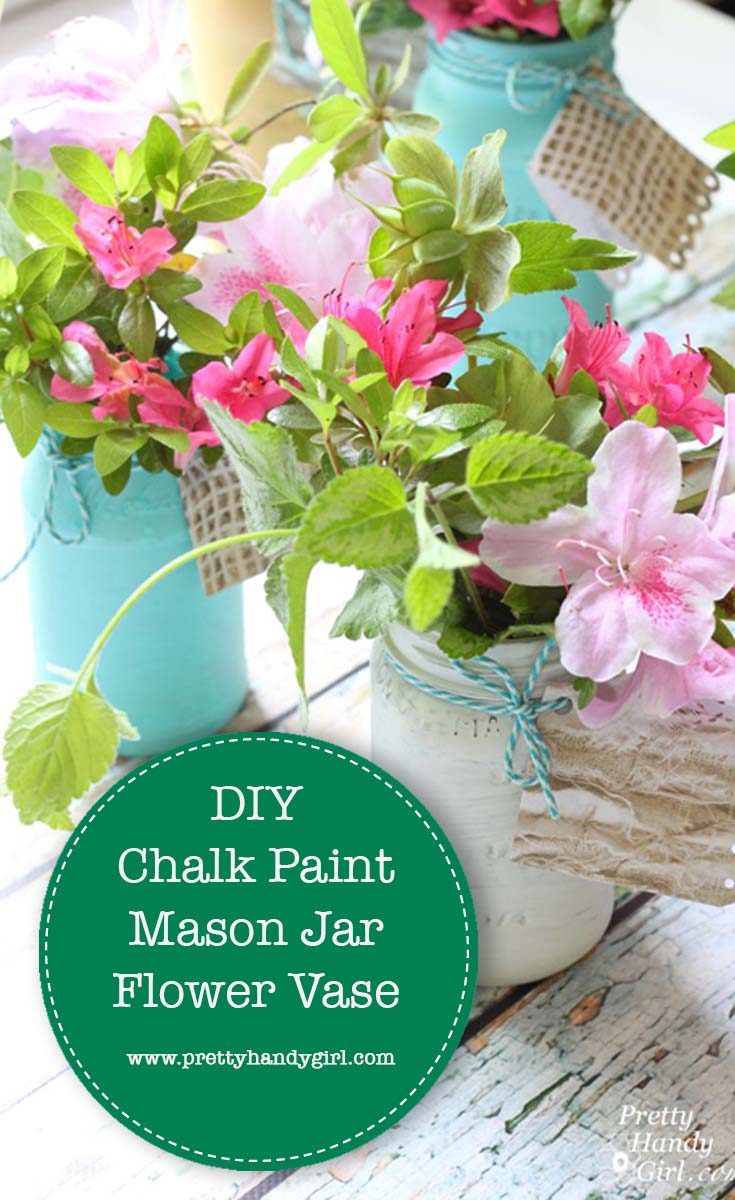
DIY Chalk Paint Mason Jar Flower Vase

Simple Chalk-Painted Jars

Two weeks ago I spent less than 20 minutes whipping up some really cute vases using recycled jars painted with Farmhouse Paint. Wait…What is this paint?

Farmhouse Painted (chalk like paint) Jar Vases | Pretty Handy Girl

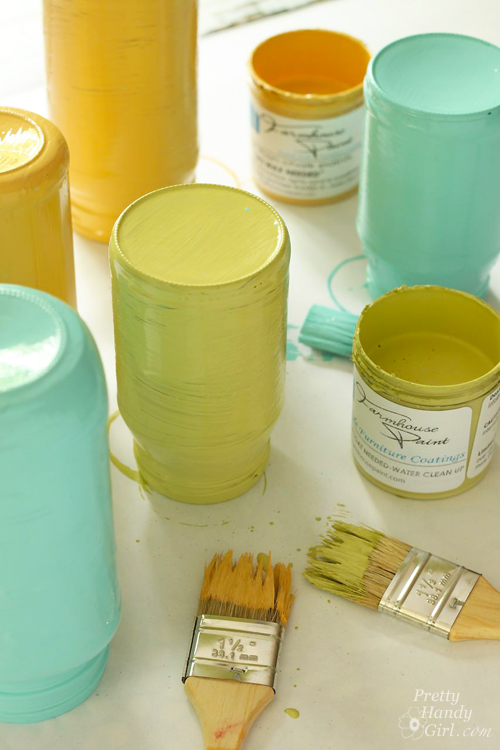
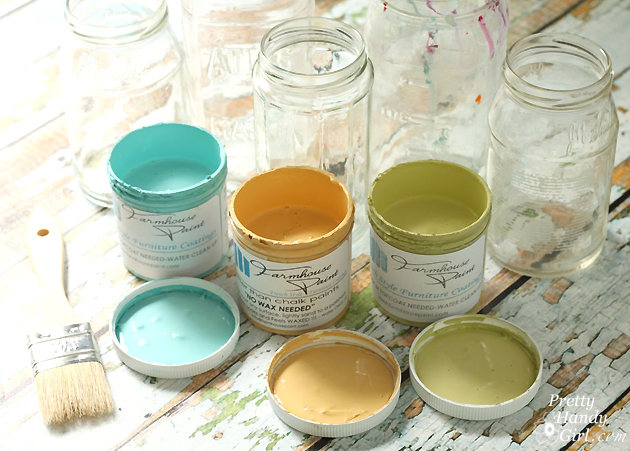
Well, it’s a one-step furniture paint (previously known as chalk paint.) I was sent a few jars to try. But, you can use any chalk paint you already have or make your own using this tutorial to make any color chalk paint.

Farmhouse Painted (chalk like paint) Jar Vases | Pretty Handy Girl

The key material is recycled jars, I like to keep a fair amount on hand.

Farmhouse Painted (chalk like paint) Jar Vases | Pretty Handy Girl

All you have to do is wash the jars well. Remove the labels and any glue residue. Here’s a great tutorial for easily removing glue from bottles.

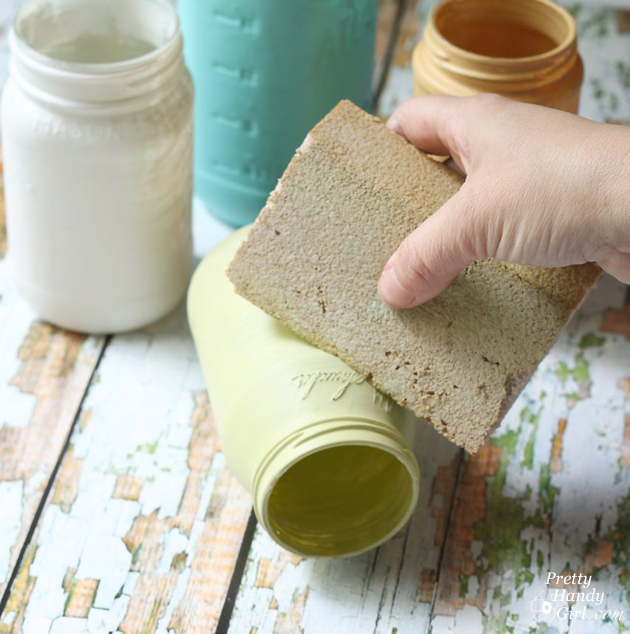
Dry the jars thoroughly then coat with two coats of chalk paint. I’m in love with the Farmhouse paint. The colors are vibrant and you don’t need to wax after painting. Just a light sanding with fine-grit sandpaper and it gives you the same soft sheen as waxing would.

Farmhouse Painted (chalk like paint) Jar Vases | Pretty Handy Girl

After the paint has dried, sand some areas (especially on any writing) to distress them.

Farmhouse Painted (chalk like paint) Jar Vases | Pretty Handy Girl

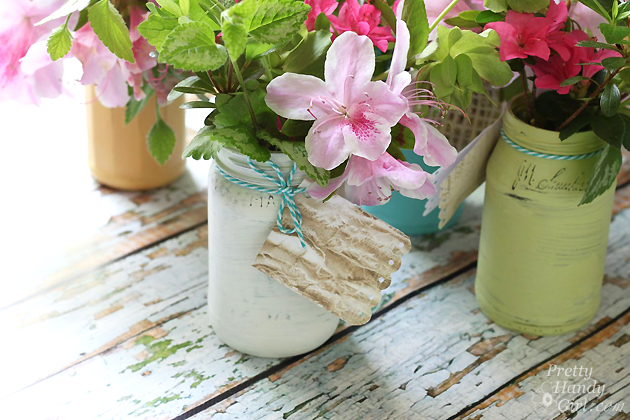
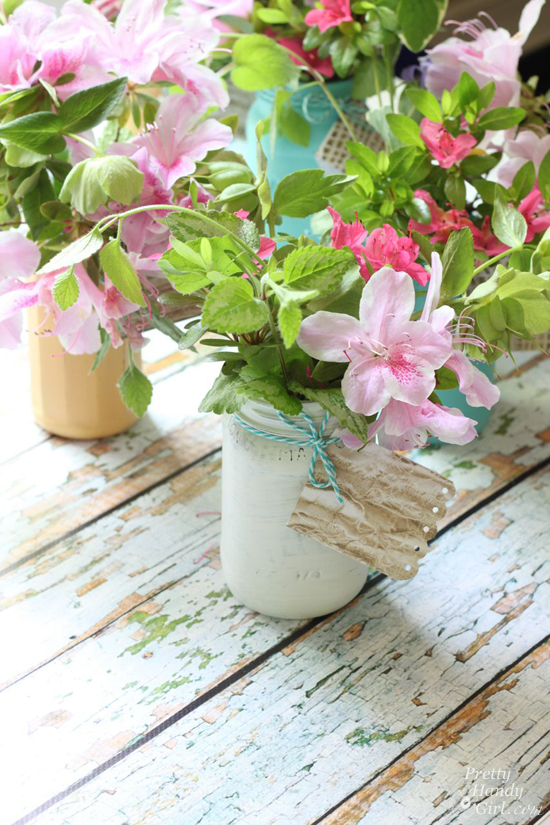
Finally, add some fresh cut flowers from the yard and tie a string around the neck with a personal message.

Farmhouse Painted (chalk like paint) Jar Vases | Pretty Handy Girl

These little vases were adorable. They were cute and they seriously took me less than half an hour to put together (20 minutes to paint and a few more minutes cutting flowers in the yard.)

In the past, I made these little chalk painted vases for teacher gifts. This year, sadly we never got to say goodbye to my sons’ teachers. For all you teachers out there, we appreciate you more than you can imagine. Especially as we do our best to homeschool our children during the COVID-19 outbreak.

Farmhouse Painted (chalk like paint) Jar Vases | Pretty Handy Girl

What do you say? Why not whip up a little chalk-painted vase to appreciate a friend, a loved one, an essential worker, or just to brighten your day!

PHGFancySign

P.s. Did you like the chippy paint board backdrop I used? It’s not real wood, it is actually a vinyl backdrop made by my good friend Leen the Graphics Queen. It rolls up and stores neatly away. She should be selling them soon.

Pin for later!

DIY Chalk Paint Mason Jar Flower Vase

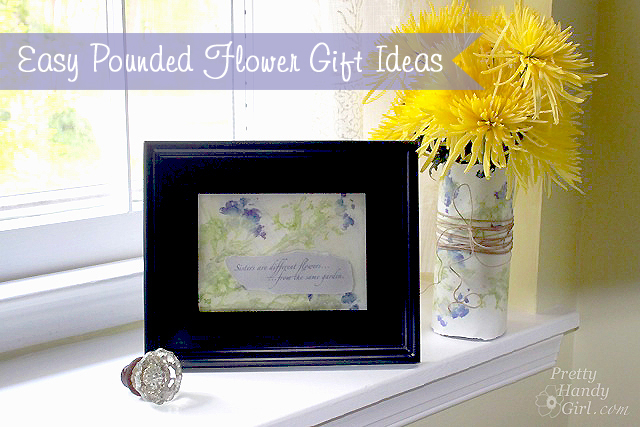
Spring is here and there are countless flowers awakening from the cold winter slumber. When it happens you can pick some blooms and turn them into easy gift ideas. Today I’ll show you how to make easy pounded flower art.

easy_pounded_Flower_Gift_ideasjpg

Easy Pounded Flower Gift Ideas

The results can be used for a framed quote, a paper-wrapped vase, notecards, and much more! I’d go so far to say, the results are close to high end (and expensive) handmade pressed flower paper.

Ready to make some beautiful pounded flower paper? I am (because I could also use an activity to get a little frustration out 😉.)

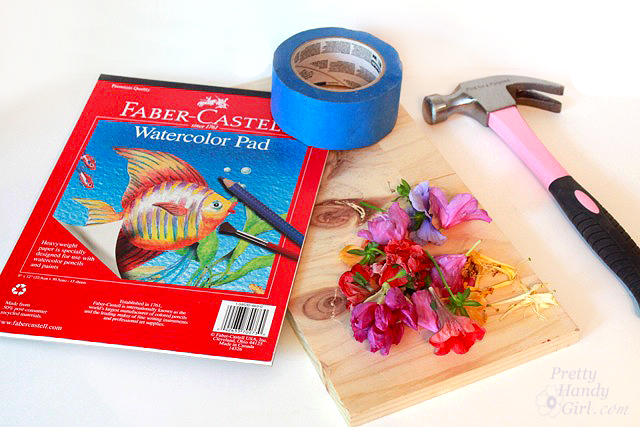
Materials:

(I’ve included affiliate links for your convenience. I earn a small percentage from a purchase using these links. There is no additional cost to you. You can read more about affiliate links here.)

materials

Instructions:

First, you’ll want to collect some flowers. Smaller colorful flowers work best. But, you can collect larger ones and experiment.

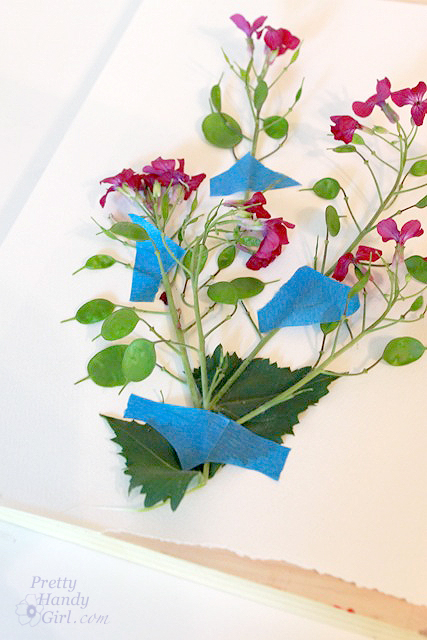
Lay one sheet of paper on top of the block of wood. Arrange your flowers on top of the paper and tape down any strands that don’t cooperate. (The flowers I picked are from a money plant that grows in our woods.)

tape_flower_into_shape

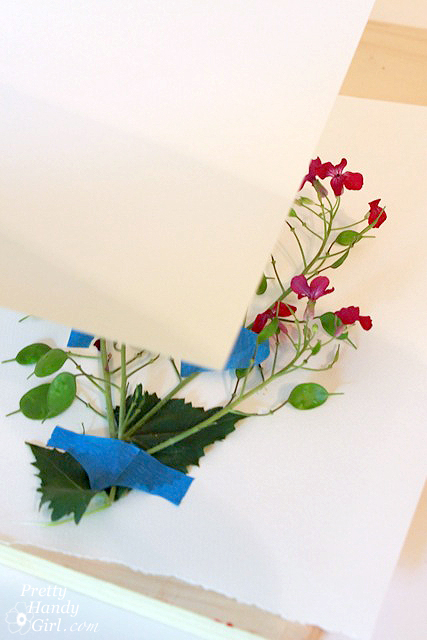
Lay a second sheet of paper on top of the flowers.

cover_flower_with_2nd_paper

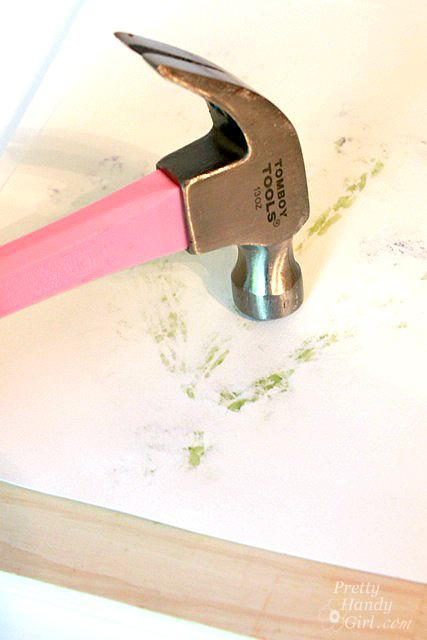
Pound the hammer around the paper until you have squished all of the flowers beneath. (This doubles as a stress relief exercise, trust me!)
hammer_paper_and_flowers

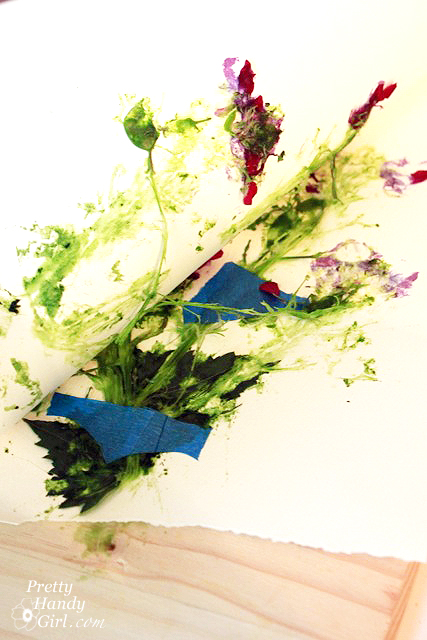
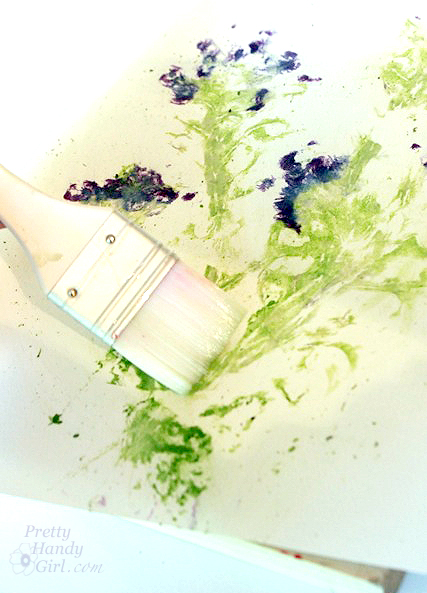
Peel apart the papers and you’ll have a pulpy mess.

pull_apart_papers

Remove the flowers and wipe off the excess bits and pieces with a clean chip brush.

wipe_off_flower_guts

Look at that! You got two prints that are a mirror image.

duplicate_pounded_flower_prints

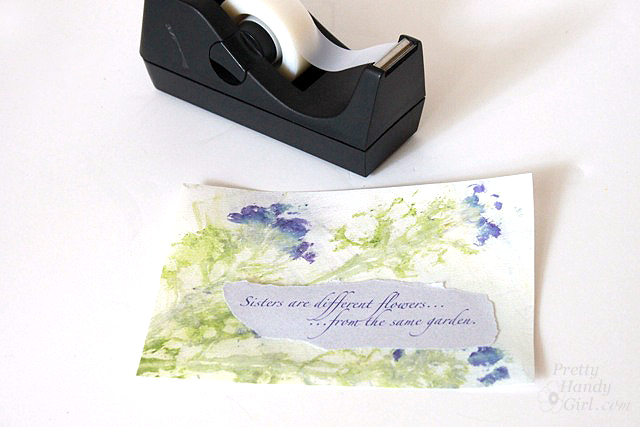
Print out a quote or type a message on coordinating paper and tear around it. Tape it onto flower paper.

tape_phrase_onto_paper

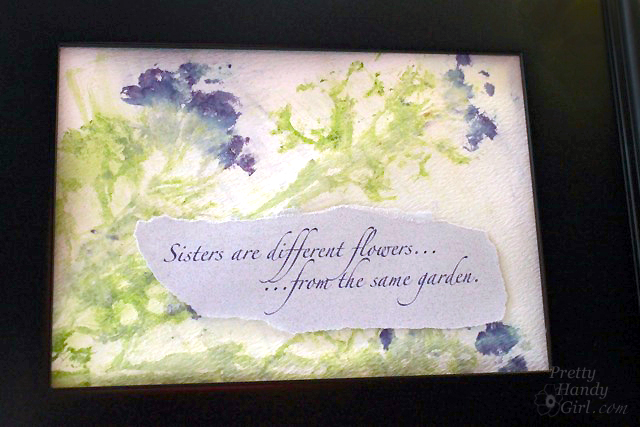
Put your verse artwork into a frame for a sweet gift to your sister, your mother, or a friend.

close_up_phrase_flower_art

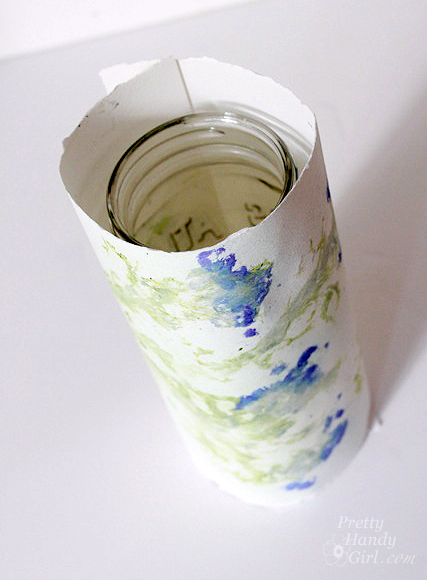
Take the other sheet and wrap it around a can, mason jar, or vase.

roll_paper_around_mason_jar

Wrap some twine around the paper to hold it in place. Add water to the vase and pop some fresh flowers in it.

close_up_pounded_flower_vase

Quick and easy gift idea, right?! Give a vase to brighten someone’s day. The best part of this gift is it only cost a pound! (Get it? Like a British £? I know, I have a corny sense of humor. You can blame it on my Dad, it runs on his side of the family.)

Maybe I’ve also been hammering a little too much lately. Leave me a comment if you have any corny jokes to share!

pounded_Flower_art

Do you have any creative ideas for using this pretty flower paper? I set some up for the kids and they had a blast pounding flowers.

PHGFancySign