Rustic Home Sign I Pretty Handy Girl

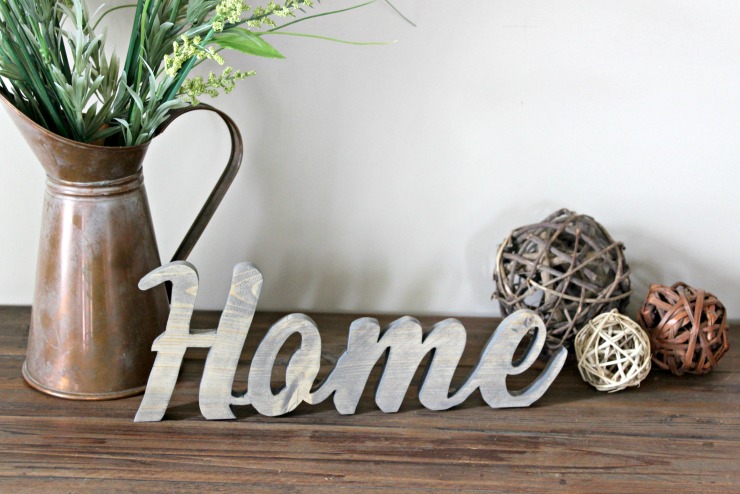
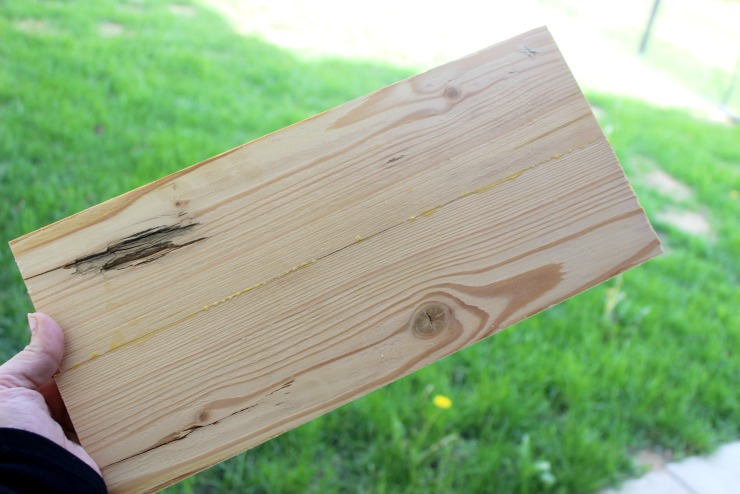
Hi everyone! This is Lindi, visiting again from Love Create Celebrate! I’m really excited to show you how you can make your own Rustic Home Sign. You’ve probably seen something similar in a home decor store, but didn’t want to pay big bucks for one. You’re in luck, I’m going to show you how to make your own Rustic Home Sign using a scrap of wood you might have sitting around. If your scrap wood isn’t wide enough, you can glue two pieces together.

Rustic Home Sign I Pretty Handy Girl

Materials: 

  • 1×6″ wood board (as big as you want your sign to be)
  • Pencil or stencil
  • Drill
  • Scroll Saw
  • Sandpaper
  • Wood Stain

Instructions: 

Cut your wood board down to the approximate size that you want your sign to be. Mine was about 12″ long. Make sure the edge that the sign will sit on is flat. If not, sand down that edge. Sand the front and back of the board (especially if you glued two boards together.)

Rustic Home Sign I Pretty Handy Girl

Trace the word “Home” on your board. Draw it by hand or transfer from a print out. Make sure that all of your letters are connected and that the bottom of the letters run off the bottom of the board (this way it will sit flat).

Rustic Home Sign I Pretty Handy Girl

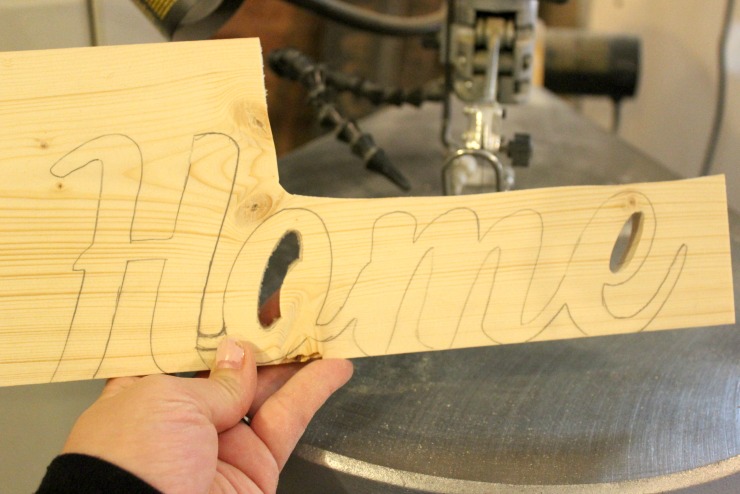
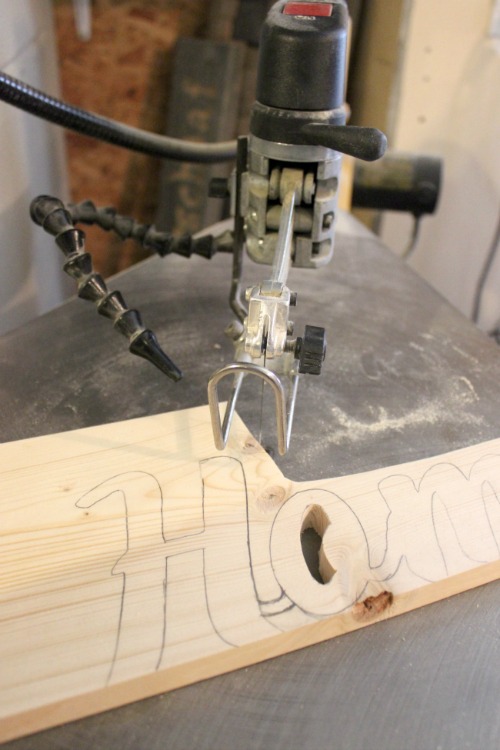
Using your drill, drill holes into the centers of the “o” and “e” that are enclosed. Use a scroll saw to cut around the word and within the letters. Use a very thin blade to allow you to navigate the edges and curves.

Rustic Home Sign I Pretty Handy Girl

When you are done cutting, double check that your piece sits flat. Use your sandpaper to sand all edges. (Folded up sandpaper and a nail file will help you get into the curves.)

Rustic Home Sign I Pretty Handy Girl

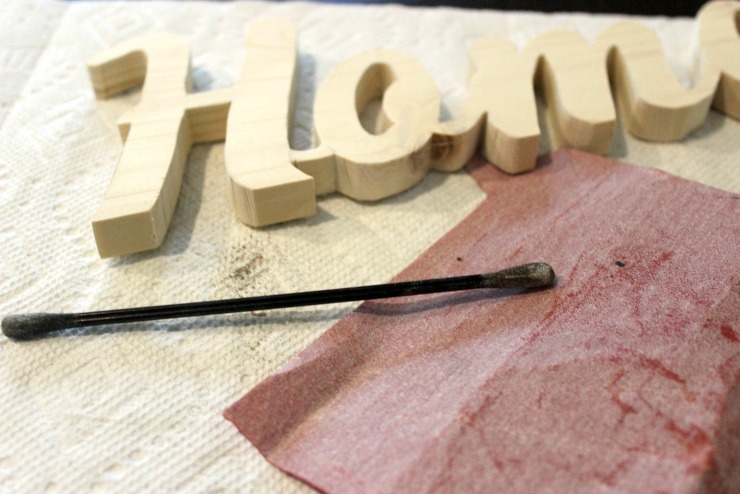
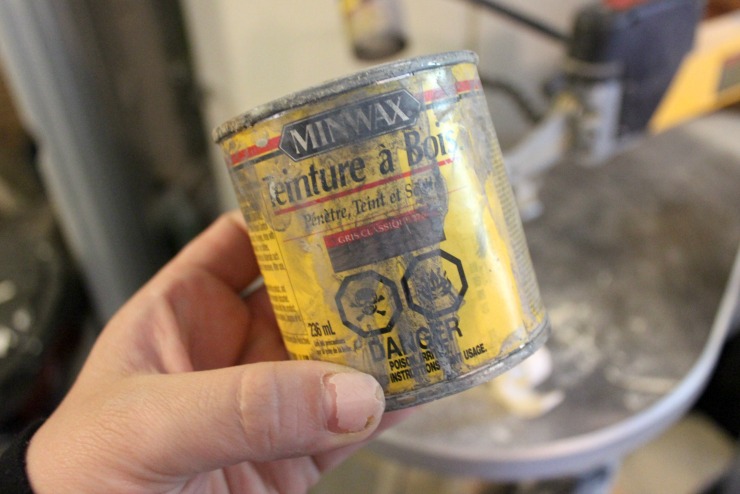
Stain your pieces using your favorite wood stain. (I used my well-loved can of grey.)

Rustic Home Sign I Pretty Handy Girl

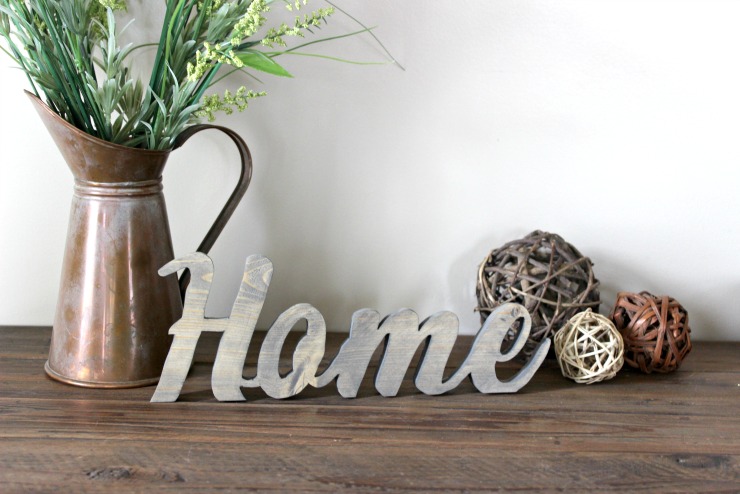
Let it dry, and display it proudly in your home!

Rustic Home Sign I Pretty Handy Girl

I love how this piece turned out.

Rustic Home Sign I Pretty Handy Girl

I can see myself using this piece on my mantle or any of the many shelves in my home!

Rustic Home Sign I Pretty Handy Girl

I may have to make a few more or make some with different words.

Rustic Home Sign I Pretty Handy Girl

For more DIY decor inspiration visit Love Create Celebrate.

Lindi Signature

~ view more projects by Lindi ~


Pin for later!

How to make your own Rustic Home Sign using a scrap of wood you might have sitting around. | DIY wooden home sign | Pretty Handy Girl | #prettyhandygirl #rusticsign #woodsign #DIYtutorial

Scrap Wood Wine Holder

Hey everyone!  Katie here from Addicted 2 DIY.  I don’t know about you, but I have a hard time letting go of good scrap wood.  If I think it could be used for anything in the future, I try to hold onto it.  Plus, my kids love to go through the scrap bin and see what they can put together.  It’s good, family fun!  I dug through my scrap pile recently and built this simple wine holder.  It was inspired by one that my aunt has in her kitchen that I just love.  It’s simple, it’s rustic, and it can be customized to hold however many bottles you like!

Materials:

  • 2 – 1×6 boards cut to 18″ long
  • 1 – 1×4 boards cut to 18″ long
  • 2 – 1×4 boards cut to 4 3/4″ long
  • brad nailer
  • 1 1/4″ brad nails
  • wood glue
  • drill
  • 2″ forstner bit or hole saw
  • 220 grit sandpaper
  • finish of your choice (I used Minwax stain in Espresso)

Instructions:

Step 1: Dig through your scrap pile and cut your wood pieces to size.

cut-wood-pieces

Step 2: Glue and clamp the 18″ 1×4 board flush with the top of the 1×6 boards.  Nail in place with 1 1/4″ brad nails.

glue-and-nail-front-and-back-pieces

Step 3: Glue and clamp the 1×4 ends and nail into place with 1 1/4″ brad nails.  This will form a box. Read more

Faking Wall-to-Wall Carpet with an Area Rug | Pretty Handy Girl

The closet renovation is coming along nicely, even though I’ve only been able to work on it in fits and starts. After I added a new light switch for the closet, I added any missing insulation. Then I filled any and all gaps with Great Stuff. This closet had always been very cold in the winter or super hot in the summer. I decided to climate control the closet as best as I could while the walls were open. Then I closed up the walls with sheet rock and painted the small closet. You would not believe how well sheet rock (aka drywall or wall board) insulates! When I added the last piece, it made a huge difference in the climate control in the room. Who knew?!

Every room we renovate, we like to leave little messages in the wall or on the floor. The boys and I had fun drawing before adding the carpeting.

Faking Wall-to-Wall Carpet with an Area Rug | Pretty Handy Girl

The closet dimensions are just under 5′ x 8′ which is perfect for an area rug. I wanted the closet to be as comfy and inviting as possible for the boys, so I settled on a super soft chenille shag rug.

I also purchased enough carpet padding from Lowe’s to line the closet floor. In the interest of climate control, I bought the thickest padding and opted for the Stainmaster brand to resist spills from seeping through to the subfloor.

Ready to get started Faking Wall-to-Wall Carpet with an Area Rug?

Materials:

Faking Wall-to-Wall Carpet with an Area Rug | Pretty Handy Girl

  • Utility knife
  • Scissors
  • Metal ruler or straight edge
  • Sharpie
  • Staple gun and staples (1/2″ – 5/8″)
  • Area rug large enough for your space
  • Carpet padding

Instructions:

Lay the carpet padding on the floor. Line up two edges and fold the other edges up against the wall.

Faking Wall-to-Wall Carpet with an Area Rug | Pretty Handy Girl

Use a pen to draw along the corner where the wall meets the floor.

Faking Wall-to-Wall Carpet with an Area Rug | Pretty Handy Girl

Cut the carpet pad to size. Read more

How to Remove Spray Paint from Metal

How to Remove Spray Paint from Metal

Spray paint is a great product to use to makeover almost anything. It comes in many colors and finishes and is great for imperfectly shaped pieces that you can spray much easier than brush with paint. It’s a DIYer’s dream!

But someday you might want to remove that spray paint from an object you made over.  Particularly a metal one like a wall hanging, hardware, or lamps.

How to Remove Spray Paint from Metal

While I love the deep blue color, I wanted to return this lamp to its former brass glory to add more metallic to our living room.

I’m happy to tell you that yes, you can undo your makeover in just a few easy steps.

Here’s how to remove spray paint from metal.

Materials:

How to Remove Spray Paint from Metal

  • Spray painted object
  • Citristrip
  • Paint brushes
  • Old toothbrush
  • Plastic scraper
  • Lint-free rags, such as an old t-shirt
  • Plastic gloves
  • Eye protection
  • Respirator
  • Acetone

Instructions

1. Place your object to be stripped on a rag.

2. Put on plastic gloves, respirator and eye protection.

3. Using a paint brush, spread the Citristrip over the piece in a thick coat. Follow the instructions on the Citristrip, letting it work for about 30 minutes. Test a section in 15 minutes. When the paint bubbles, you are ready to scrape it off. Read more

Pretty Handy Girl Holiday Home Tour Mudroom & Foyer

Last up on my holiday home tour is my mudroom and foyer. This year, I re-used the same wreaths for the front door, but I jazzed them up with silver holly leaf floral picks.

Pretty Handy Girl Holiday Home Tour Mudroom & Foyer

It’s incredibly easy to change the look of your wreaths. Try tucking in fresh clippings like these mahonia leaves:

Pretty Handy Girl's Holiday Home Tour 2014

Or tie ornaments onto your wreath to add some sparkle and shine. Get more ideas for updating your wreaths here.

Pretty Handy Girl's Christmas Home Tour

Inside the front door, I set up the advent calendars on our rustic IKEA hacked chest. Read more