Make Your Own Finger-Printed Star Pillows | Pretty Handy Girl

Make Your Own Finger-Printed Star Pillows | Pretty Handy Girl

Personalized finger-printed envelope star pillows are an easy and fun gift item to make. My boys and I enjoyed making these pillows for their home room teachers. We got the idea from Cristina’s beautiful seaside themed thumb print pillows.

Materials:

Make Your Own Finger-Printed Star Pillows | Pretty Handy Girl

  • Fabric (I used bleached and washed leftover drop cloths)
  • Pillow insert
  • Thread
  • Sewing machine
  • Freezer Paper
  • Fabric Paint
  • X-acto knife
  • Small Flat Brush
  • Permanent Marker
  • Scissors
  • Piping (here’s the tutorial to make your own piping)

Instructions:

Cut your front fabric with 1 inch excess around the pillow form. Cut the two back pieces of fabric with a 1 inch excess on all sides, plus allow for a 3″ overlap in the center.

Make Your Own Finger-Printed Star Pillows | Pretty Handy Girl


Fingerprinted Star Tutorial:

Here’s a great way to customize your pillow for the recipient. Let your little ones finger-print inside the star. Read more

Natural-accents

It’s time to make room on your bookshelf for two more beautiful books. The first is Natural Accents by Stacy Risenmay. Stacy is a good friend and fellow DIY blogger. She’s also a power tool rock star. Stacy recently released this colorful book filled with lots of ways to decorate and furnish your home with natural elements. This book follows in the footsteps of Stacy’s blog with easy to follow step-by-step tutorials.

natural-elements-flowers

Natural Accents is filled with projects that you can make with simple materials found in your backyard.

crayon-holder-tree-stub

My favorite project is definitely this plexiglass side table. Natural Accents is filled with many more brilliant ideas!

plexi-glass-side-table

Get your copy today, because you’ll find at least half a dozen projects you’ll want to tackle this weekend.

Natural Accents by Stacy Risenmay $22.58 on Amazon (affiliate link)

page_break_2

new-ceramic-surface-design

New Ceramic Surface Design by Molly Hatch is a book full of ceramic eye candy. If you’ve ever wanted to dabble in ceramic arts, this is the book you want to devour. And even if you have no interest in ceramics, this book is filled with beautiful photos on each page. I found myself being drawn through the entire book enjoying all the gorgeous art pieces.

inside-new-ceramic-surface-design

Molly filled New Ceramic Surface Design with everything you need to know about working with clay, glazes and more. She gives her expert advice and tips to help you avoid botched projects.

types-of-clay

I leave you with one of my favorite images from the book. This beautiful Mishima Slip Inlay design in blue and white belongs on my shelf!

blue-mishima-slip

Get your own copy of New Ceramic Surface Design by Molly Hatch for $20.27 on Amazon (affiliate link)

PHGFancySign

Disclosure: Natural Accents by Stacy Risenmay and New Ceramic Surface Design by Molly Hatch were sent to me at no charge to review. I was not told what to write or say about these books. 

cupcake tray carrier collage

Jaime here from That’s My Letter today sharing a DIY cupcake tray carrier.  It’s summer and that means lots of friends getting together for BBQ’s and outdoor parties.  You can’t show up empty-handed to party, so why not take along this cupcake carrier?  It makes the perfect display tray and portable carrier all-in-one, plus a very useful hostess gift too!

I filled this tray with 24 regular size cupcakes, chocolate on chocolate is the favorite around these parts.

cupcake carrier 2

The tray is a fairly simple build, the trick is to create space between the top board (with all the cupcake holes) and the base so the cupcakes have a spot to sit down into.

cupcake tray carrier detail

Keep reading and I’ll show you how to make these holes as smooth as possible without tearing up the plywood.

cupcake carrier 1

Materials:                                                    

  • 1- 1x2x8 pine board
  • ¼” plywood handy panel
  • ¾” circular wood dowel
  • ¾” square dowel (6′ total)
  • wood glue
  • pencil
  • measuring tape
  • 1 ¼” & 3/4″ finish nails
  • 2 1/8” hole saw
  • ¾” spade bit
  • circular saw, chop saw
  • finish nailer

cupcake tray carrier


Cut List:

  • 2 – 1×2 @ 17 3/4” (long sides)
  • 2 – 1×2 @ 14” (short sides)
  • 2 – 1×2 @ 8 ½” (handle supports)
  • 2 – ¾” square dowel @ 17 3/4” (long spacers)
  • 2 – ¾” square dowel @ 12 1/2” (short spacers)
  • 2 – ¼” ply @ 17 ¾” x 12 1/2” (top & base)
  • 1 – ¾” round dowel @ 17 ¼” (handle)

cupcake tray carrier step one

Step 1: Sketch grid as shown above onto one piece of ¼” plywood. The orange portion indicates where to drill 2 1/8” holes using a hole saw.

cupcake carrier draw grid

Step 2: Drill holes using 2 1/8” hole saw.  To make the holes as smooth as possible without much tear out begin drilling on the grid side about 1/8″ down.

cupcake carrier start hole

cupcake tray carrier step two


Flip the board over and find the center hole.  *Be sure board is hovering over edge of table.  Place hole saw bit into the center hole and finish drilling the hole.

cupcake carrier hole back


cupcake carrier hole complete

The circular plywood piece should pop through to the ground.   Repeat this process for all 24 holes.

cupcake carrier all holes

Sand the edges of the holes smooth.

Step 3: Attach long spacers to long side of top using glue and ¾” finish nails down through top.

cupcake tray carrier step three


Step 4: Attach short spacers to short ends using glue and ¾” finish nails.

cupcake tray carrier step four

Then attach base from underside using glue and ¾” finish nails.

cupcake tray carrier base1Step 5: Attach long sides using glue and 1 ¼” finish nails.

cupcake tray carrier step five

Step 6: Attach short sides using glue and 1 ¼” finish nails.

cupcake tray carrier step six

Step 7: Predrill ¾” holes into handle supports near top end, drill only about ½” deep into 1×2. Attach handle supports to tray using glue and 1 ¼” finish nails.

cupcake tray carrier step seven

Step 8: Insert handle in between supports. Glue and attach using 1 ¼” finish nails through ends.

cupcake tray carrier step eight

Fill all holes with wood putty then sand smooth.  Paint your cupcake tray carrier with semi-gloss or gloss finish for easy clean up of any messy frosting!

cupcake carrier 3

Hope you enjoy this fun small build project.

cupcake carrier title

This cupcake holder makes a great party accessory or gift idea too!

Jaime signature~learn more about Jaime~


Pin for later!


This DIY cupcake carrier makes the perfect display tray and portable carrier all-in-one, plus a very useful hostess gift too! | DIY cupcake carrier | DIY cupcake tray | Pretty Handy Girl #prettyhandygirl #DIY #cupcaketray


Housewarming Gift Crate | Pretty Handy Girl

Housewarming Gift Crate | Pretty Handy Girl

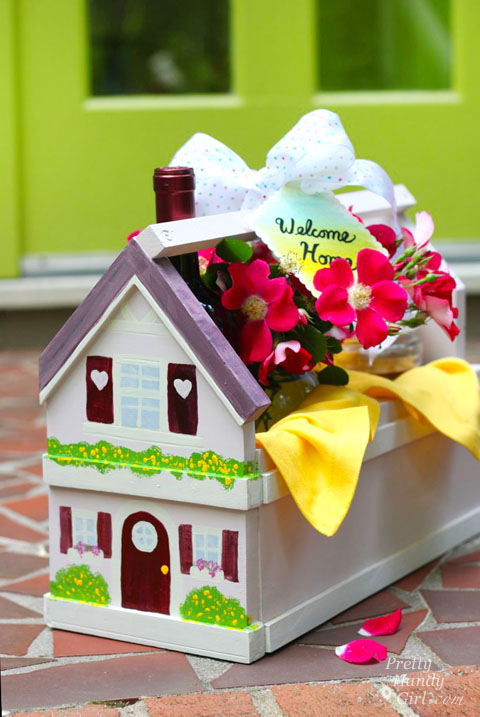
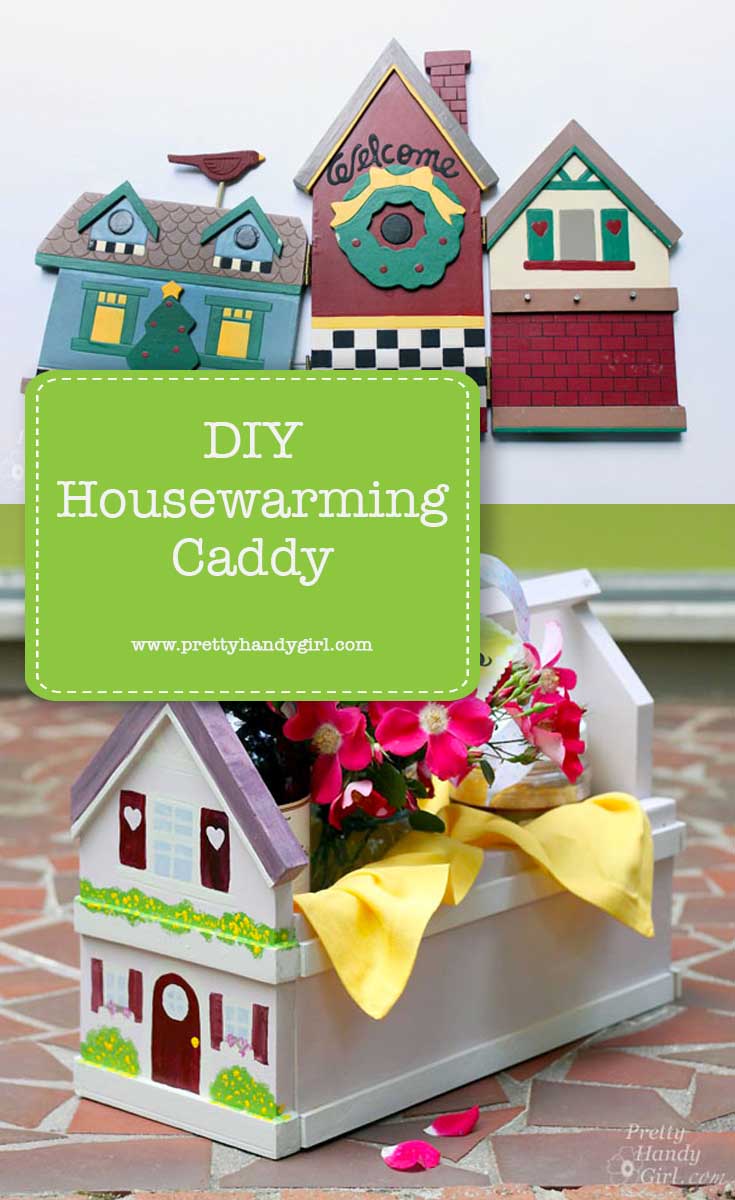
Do you have a new neighbor or know someone who just moved? It’s time to celebrate with them by giving them a housewarming gift caddy! This is an easy gift tote that you can customize to any size you like. Plus, the recipient can use the caddy for storage or display after the gift has been enjoyed.

Before we begin, I need to back up and tell you that this project is part of The Mystery Thrift Off.

#TheMysteryThriftOff is the brainchild of Lindsey from Better After. She chose a handful of people to take part in this challenge. After scouring her local thrift shops for ugly and hopeless items, she shipped off the chosen items to those of us in the challenge. I signed up—because frankly—I love a challenge. And, I love saving ugly items from the landfill. Be sure to see some of the other Mystery Thrift Off transformations at Better After and vote for your favorite.

But, when the box arrived from Lindsey, I was terrified to open it up! I mean what if she had sent me a ceramic scabies bear!  Yikes. You can imagine my relief when I opened the box to reveal this dated Christmas village.

Chalkboard Arrow Sign (Mystery Thrift Off) | Pretty Handy Girl

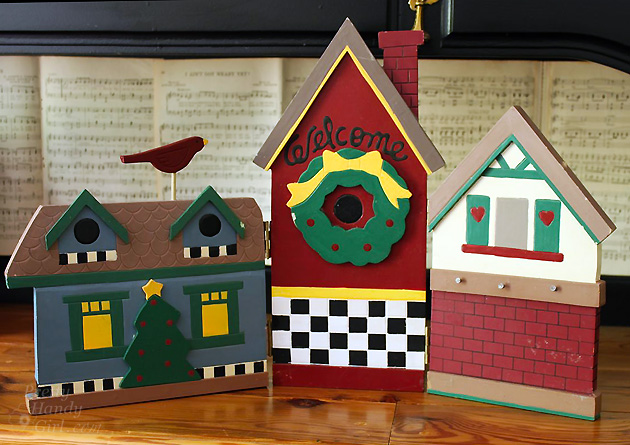
Not too bad looking is it.? Truth be told, it was falling apart and the colors were hunter green, colonial blue, mauve and fleshy tan.

Chalkboard Arrow Sign (Mystery Thrift Off) | Pretty Handy Girl

I quickly pulled the three houses apart and began to transform them into A Chalkboard Arrow Sign, a Little Playhouse and the Housewarming Gift Caddy I’m going to show you today.

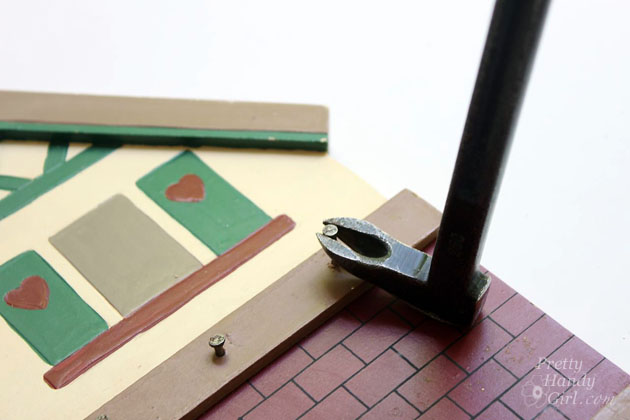
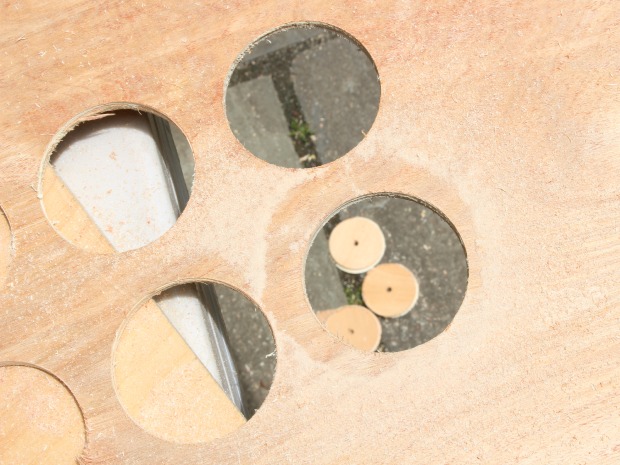
Before I got started, I removed some nails from the house on the right. And then I was ready to get building.

Housewarming Gift Crate | Pretty Handy Girl

Ready to create your own caddy? Let’s get to it.
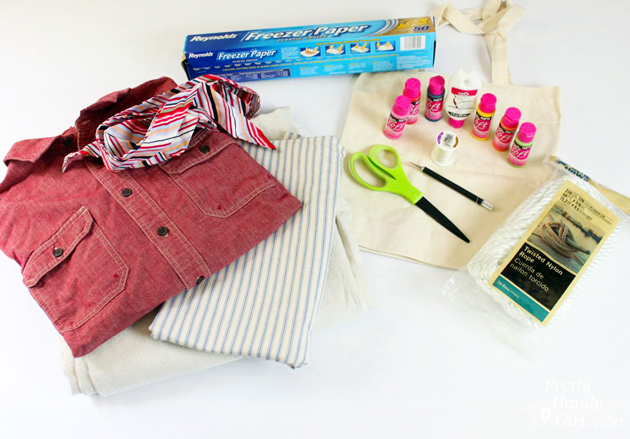
Materials:

  • 1″ x 6″ board
  • Wood glue
  • Finish nails
  • 1″ x 1″ square dowel
  • 1/2″ lattice trim (or other decorative trim)
  • 2″ screws
  • Spray primer
  • Paint (used Botanical Home Decor Paint)
  • Craft paint
  • Paintbrushes
  • Patch-plus-primer
  • Putty knife
  • Sandpaper

Instructions:

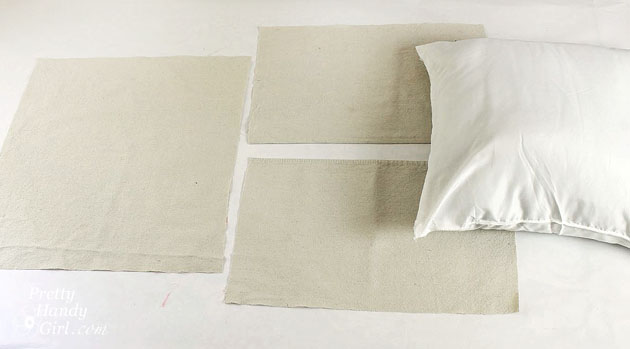
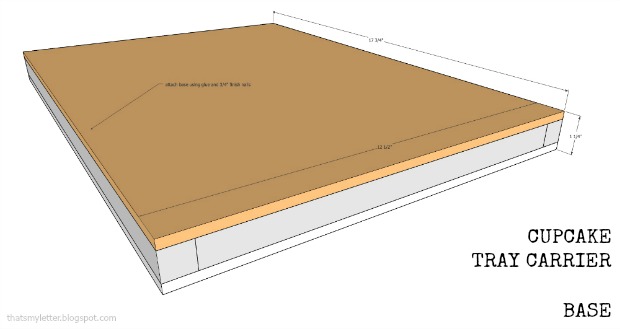
Cut the 1″ x 6″ into 5 pieces:
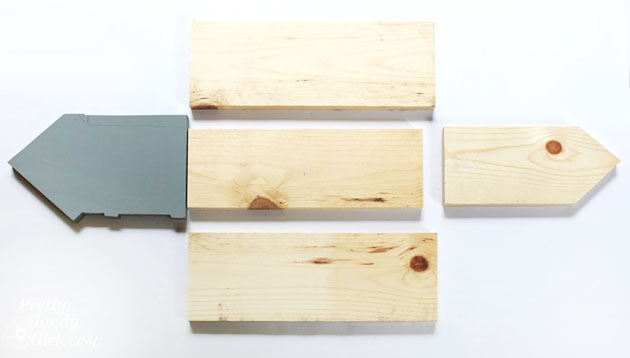
Housewarming Gift Crate | Pretty Handy Girl

  • 2 – 6″ x 15″sides
  • 1 – 6″ x 15″ base
  • 2 – 6″ x 11″ front & back pieces with a 45 degree corners cut into the tops

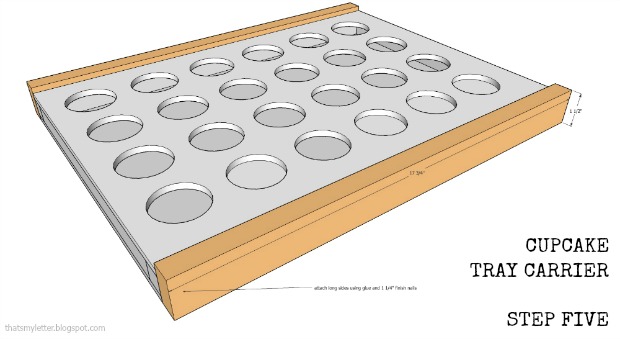
Add a line of glue along the bottom of the front and back of the caddy.  Attach them to the base with finish nails.

Housewarming Gift Crate | Pretty Handy Girl

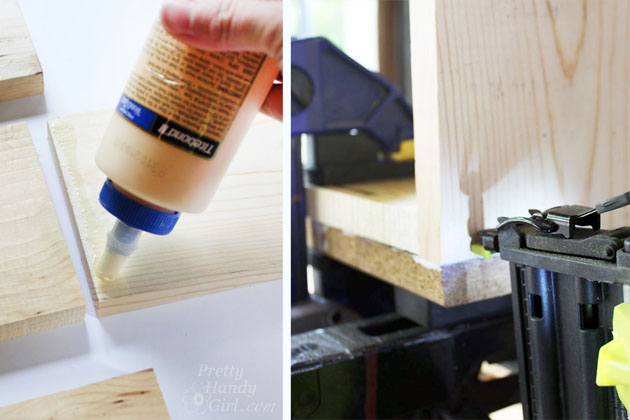
Add a line of glue to cut ends of the sides and add a line of glue to the bottom of the sides.  Attach the front to the sides with finish nails. Repeat for the back piece.

Housewarming Gift Crate | Pretty Handy Girl

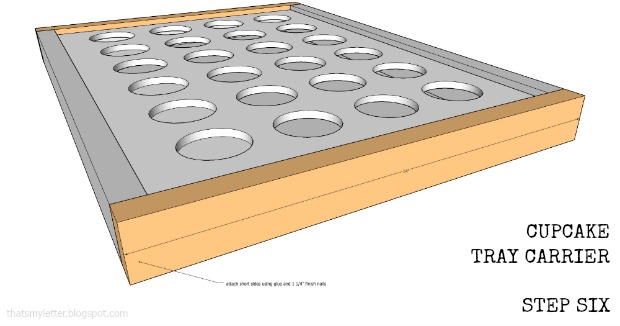
Attach the sides by nailing through the bottom and into the sides.

Housewarming Gift Crate | Pretty Handy Girl

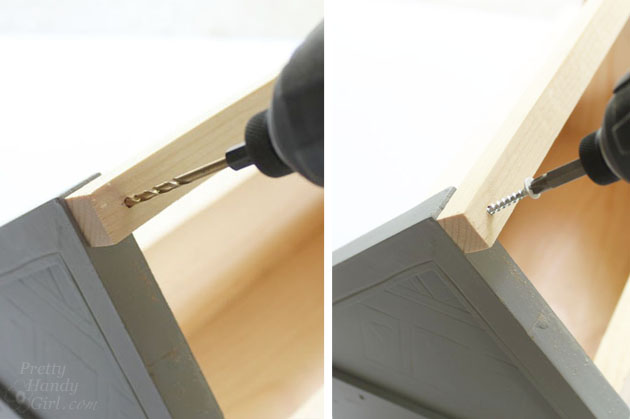
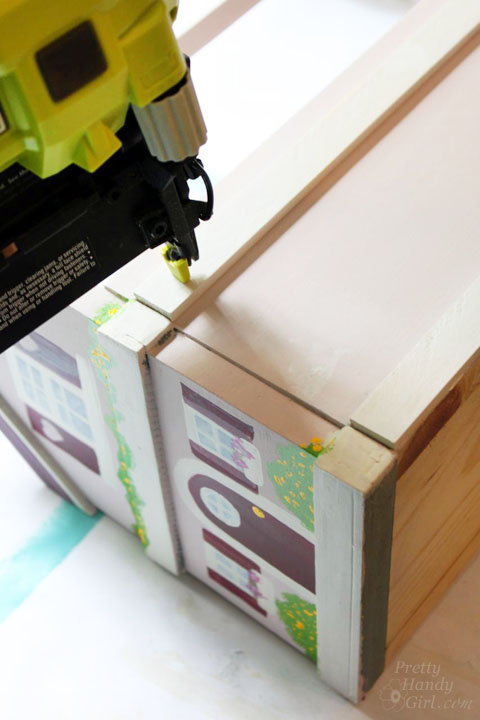
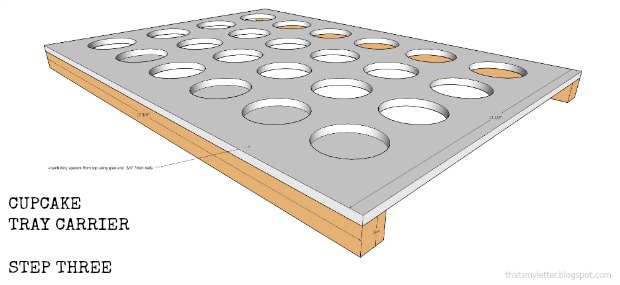
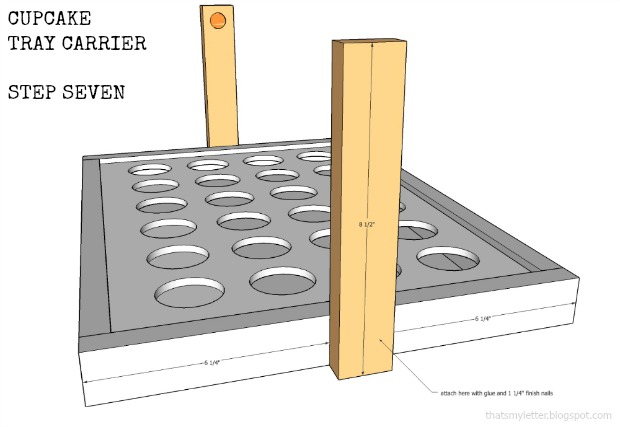
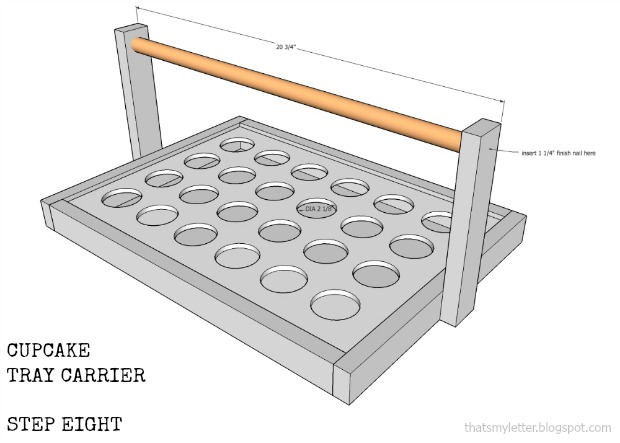
Pre-drill a hole into each end of the 1″ x 1″ square dowel. Attach the square dowel to the top of the front and back pieces with the 2″ screws.

Housewarming Gift Crate | Pretty Handy Girl

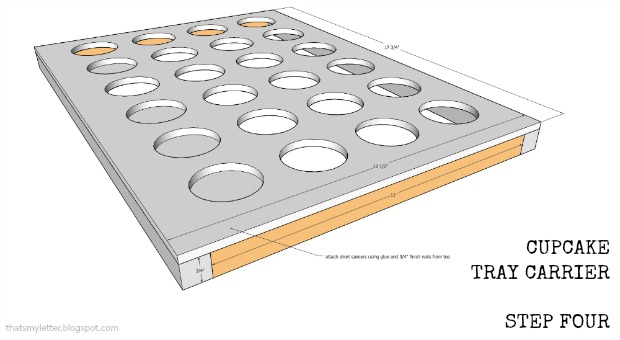
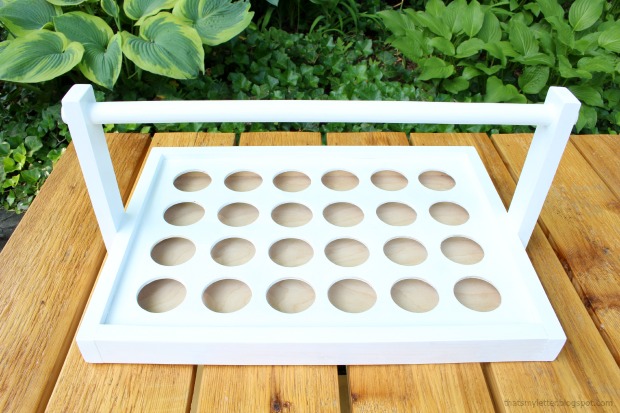
The completely assembled crate should look like this:

Housewarming Gift Crate | Pretty Handy Girl

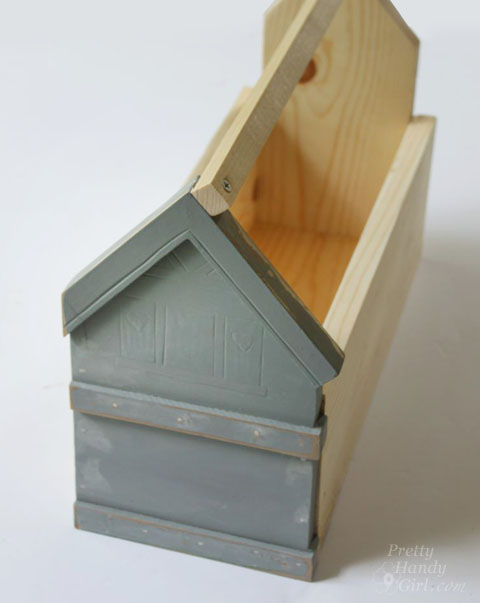
Spray the caddy with spray primer inside and out.

Housewarming Gift Crate | Pretty Handy Girl

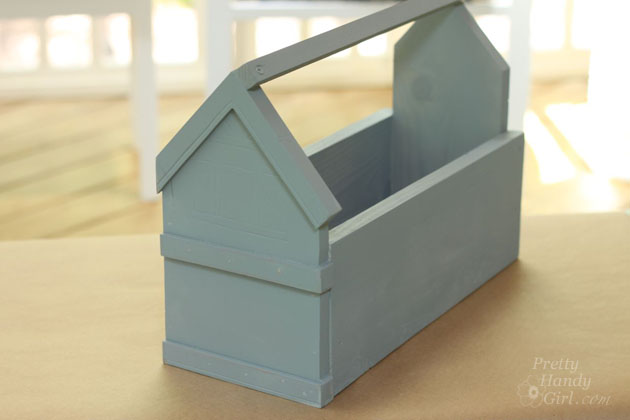
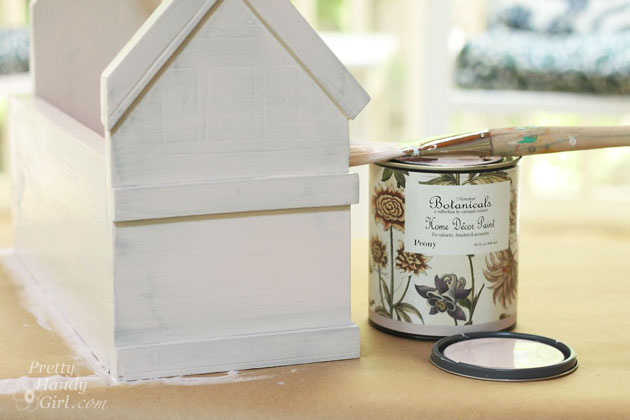
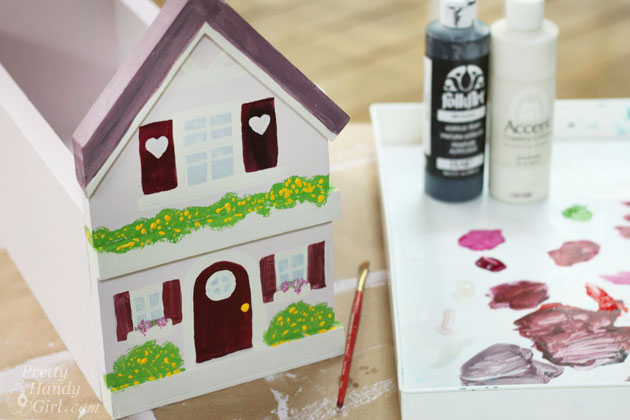
Paint caddy with a solid color first. (I used a new paint and love the texture and coverage. Botanicals Home Decor Paint in Peony went on smoothly like chalky paints.)

Housewarming Gift Crate | Pretty Handy Girl

Use the craft paints to paint details like windows, shutters and a door onto the front of the caddy. If you’re feeling truly artistic, you can paint the back too.

Housewarming Gift Crate | Pretty Handy Girl

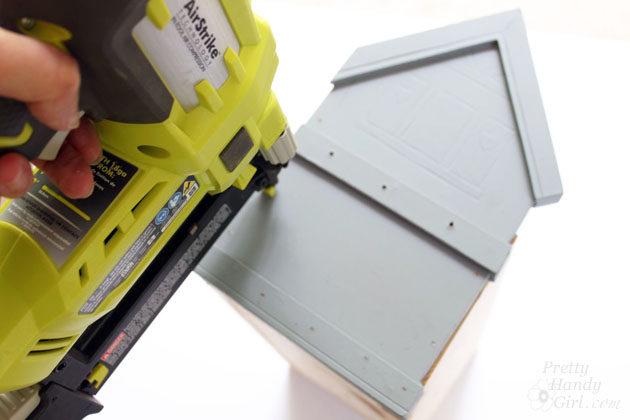
Nail the lattice trim pieces to the sides of the caddy for a little decoration.

Housewarming Gift Crate | Pretty Handy Girl

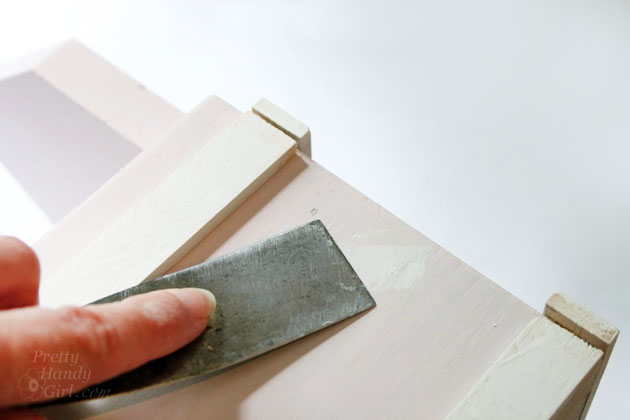
Putty all nail holes.

Housewarming Gift Crate | Pretty Handy Girl

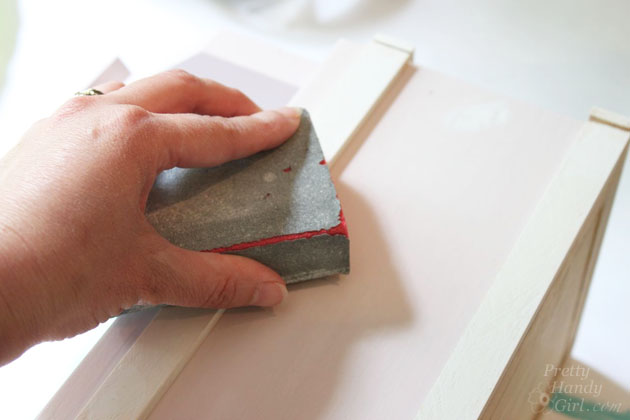
Sand the putty smooth after it has dried. Touch up paint the putty holes.

Housewarming Gift Crate | Pretty Handy Girl

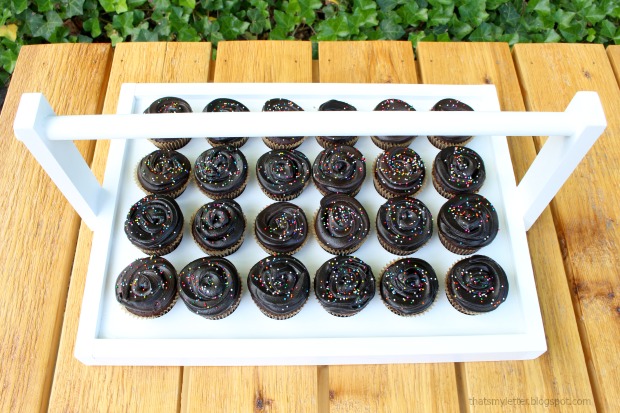
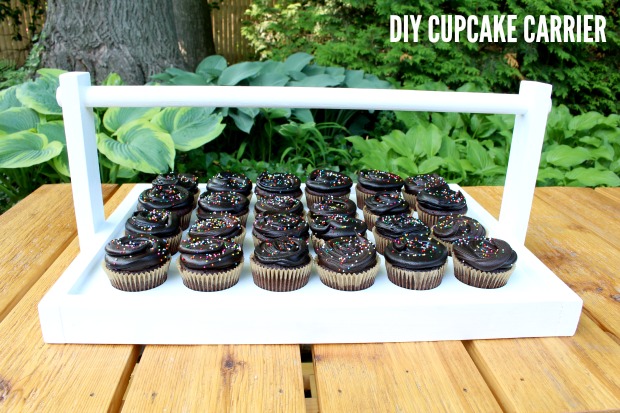
Fill your caddy with wine, flowers, food or other goodies to celebrate the new homeowners.

Housewarming Gift Crate | Pretty Handy Girl

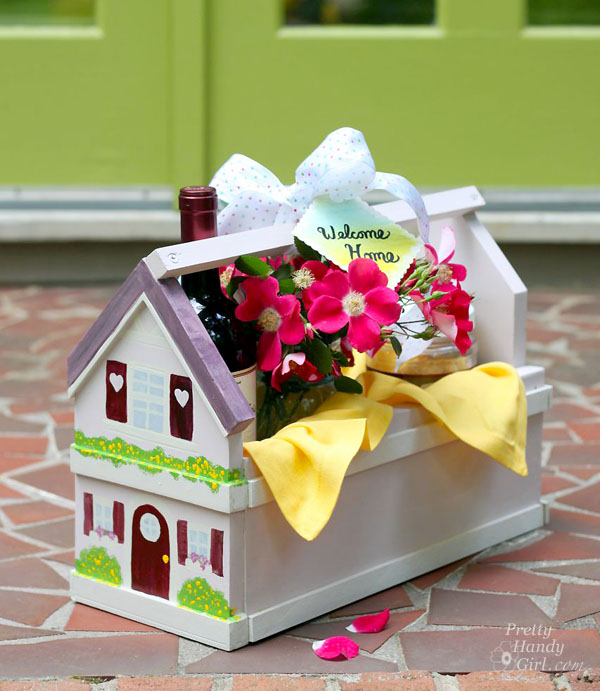
The recipient will be tickled pink. Haha, get it, a little pink house?

PHGFancySign


Pin for later!

12 Father's Day Gifts - Way Cooler than a Tie | Pretty Handy Girl

12 Father's Day Gifts - Way Cooler than a Tie | Pretty Handy Girl

Father’s Day is coming up next week. The conundrum of what to get your Dad or your spouse is waging war in your mind. I scouted far and wide on the interwebs to come up with 12 Father’s Day Gift Ideas that are Way Cooler than a Tie!

(I’ve included affiliate links for your convenience. I earn a small percentage from a purchase using these links. There is no additional cost to you. You can read more about affiliate links here.)

 For the Music Lover:

10 Father's Day Gifts - Way Cooler than a Tie | Pretty Handy Girl

Upcycled Vinyl Record Notebooks

What to get the music fan that has everything? How about an upcycled vinyl record notebook. Real records were harmed (some scratched too much to listen to anymore) to make this one-of-a-kind spiral bound notebook.


10 Father's Day Gifts - Way Cooler than a Tie | Pretty Handy Girl

Cassette Tape Mobile Phone Case

Remember the old days with this fun cassette mix tape mobile phone case. You can customize the words to add your guy’s name or his favorite album.


10 Father's Day Gifts - Way Cooler than a Tie | Pretty Handy Girl

Outdoor Water-Resistant Blue Tooth Wi-Fi Speaker

Need tunes while washing the car; camping; lounging by the pool; at the beach or outside playing basketball? The number of places you can play music are now infinite. This water-resistant speaker can also be used in the shower or on your back deck during your next BBQ.


For the Tech Geek: Read more