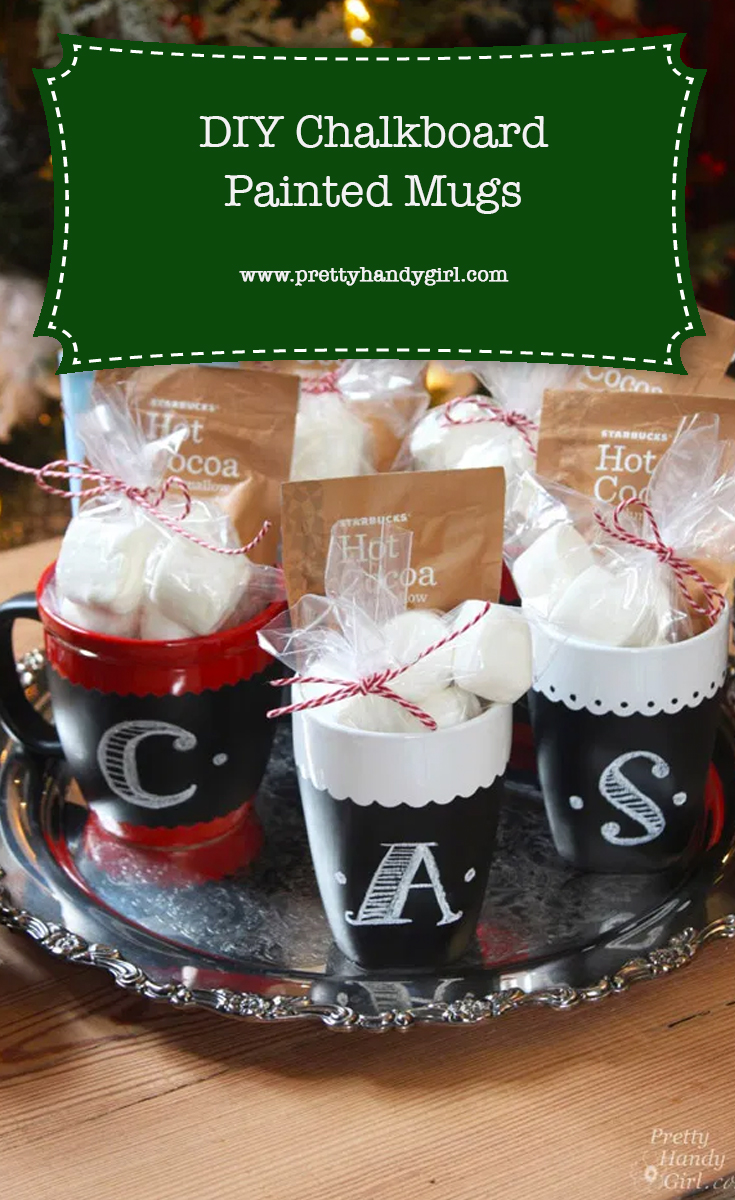
The holidays are fast approaching and the last thing I want to do is wander through the stores aimlessly looking for gifts for my friends or for the service providers in my life. Instead, I came up with the perfect gift idea: DIY Chalkboard Painted Mugs!
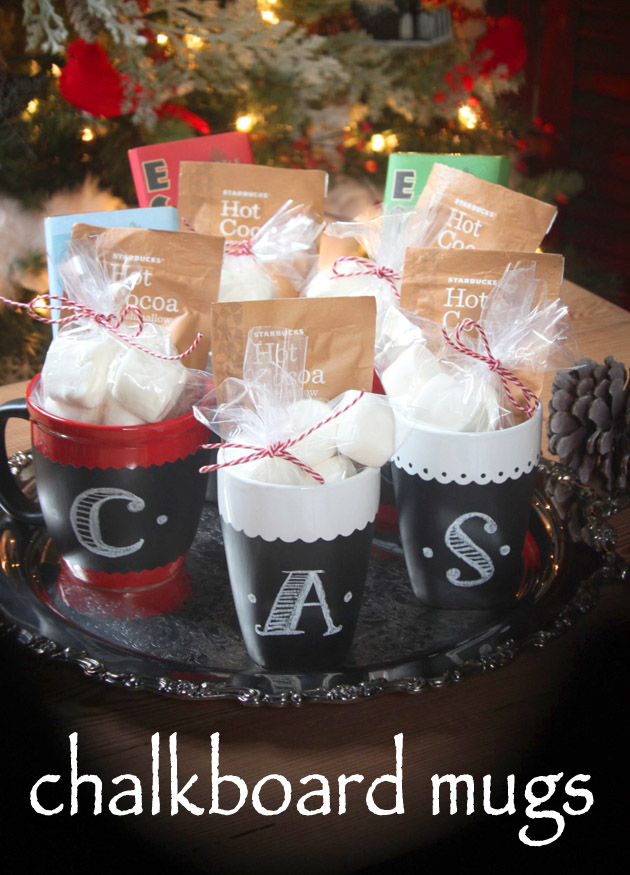
DIY Chalkboard Painted Mugs
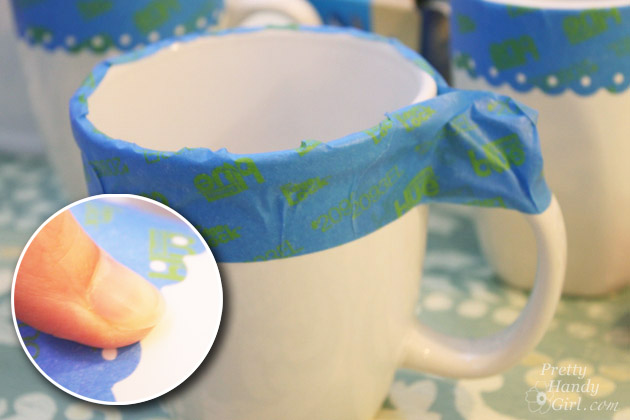
Have you seen those cute chalkboard mugs at Starbucks? They are so fun and I think it would be funny to write crazy messages on them daily. I decided to try my hand at a DIY painted version. Let me say upfront that I did a little test using Rustoleum Chalkboard paint on one mug and Porcelaine Chalkboard paint (made for glass and ceramics) on a second one. I expected the regular chalkboard paint to flake off, especially after seeing this happen after just one coat:
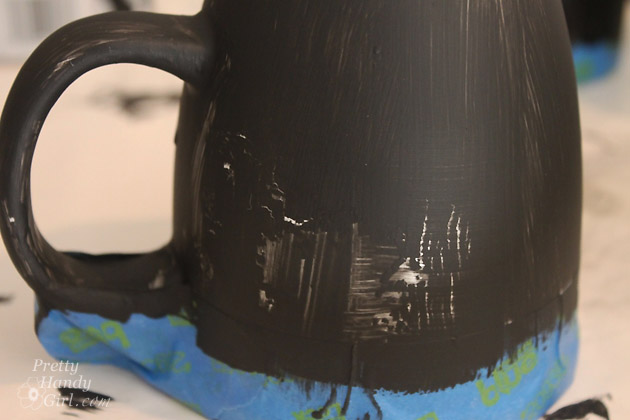
However, after a second coat and baking it in the oven, it appeared to hold up after an initial dishwasher run. I can chip off some of the regular paint with my fingernail on the edges. But, overall the paint seems to be hanging onto the mug. That being said, based on the way the Porcelaine paint immediately took to the mug and appears to be harder to chip, I expect the Porcelaine painted mug to hold up much longer. So, if you want a chalkboard mug that will last longer, use Porcelaine paint.
Chalkboard Painted Mugs Materials:
(I’ve included affiliate links for your convenience. I earn a small percentage from a purchase using these links. There is no additional cost to you. You can read more about affiliate links here.)
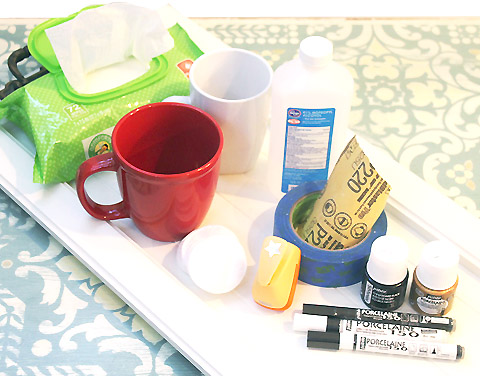
- Mugs (Dollar Tree, Thrift Store, or Scour Your Cupboards for Mugs!)
- ScotchBlue Painter’s Tape
- Freezer paper
- 220 grit sandpaper
- Rubbing alcohol
- Cotton pad or clean rag
- Wet rag or wipes for clean up
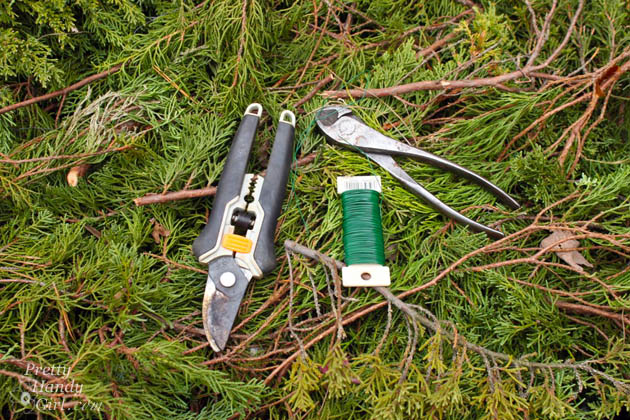
- Crafting scissors and/or hole punch
- Regular scissors
- Porcelaine Chalkboard paint (Rustoleum chalkboard paint can be used as a slightly less suitable substitute paint)
- Disposable cup
- Foam brush
- X-acto knife
Chalkboard Painted Mugs Instructions:
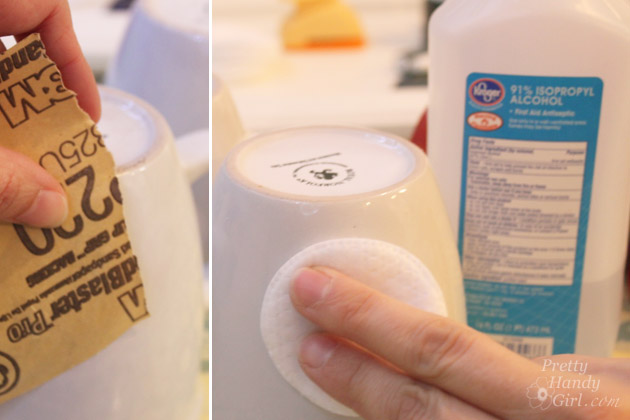
Lightly sand the sides of the mug where you intend to paint. Wipe off any dirt and oils with a cotton pad soaked in rubbing alcohol.
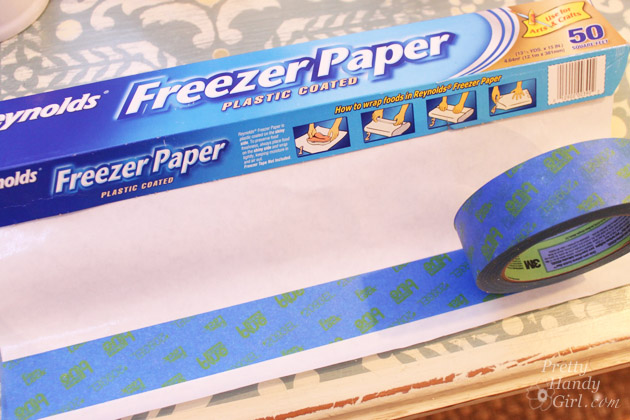
Creating Decorative Borders:
Lay a strip of painter’s tape onto freezer paper.
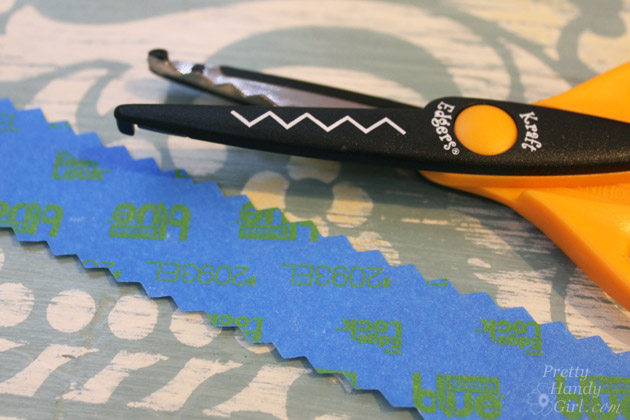
Cut along one edge (or both) with craft scissors. Cut in the middle with regular scissors to give you two pieces of decorative edged tape.
Using a Decorative Border Hole Punch:
- Cut along the top edge of the tape to create a straight edge.
- Align the cut edge in the border punch and punch along the top of the tape.
- Peel tape off of the freezer paper.

Tape off the top of your mug to protect it from paint. (This should be safer because you really don’t want people drinking liquid against the paint.) Be sure to press the edges down firmly. You can also tape along the bottom if you want a centered band of chalkboard on the mugs.
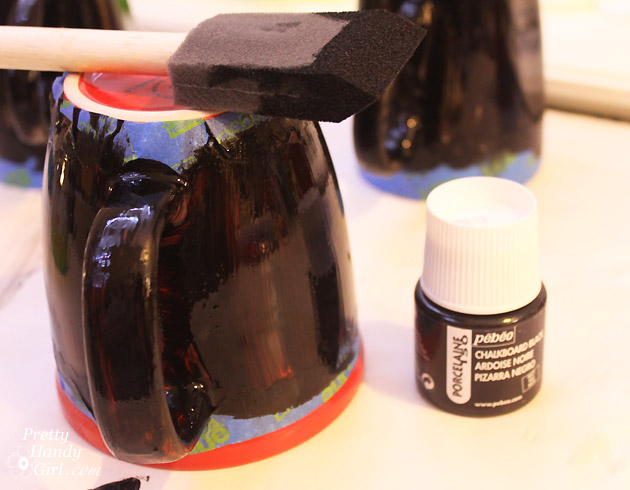
Pour a small amount of the Porcelaine paint into the disposable cup. Use the foam brush to evenly coat paint onto the mug. Check for drips before the paint dries. After the first coat dries, paint a second coat for complete coverage. (Occasionally three coats may be necessary.)
After the paint has thoroughly dried (allow 24 hours to dry), remove the painter’s tape. Clean up any seepage or drips by scratching off the paint with the x-acto knife.

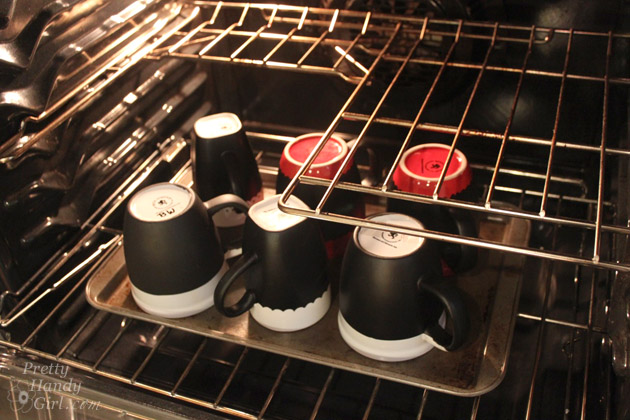
Place mugs in a cool oven. Heat oven to 300F and bake for 30 minutes. Let oven cool with mugs inside.
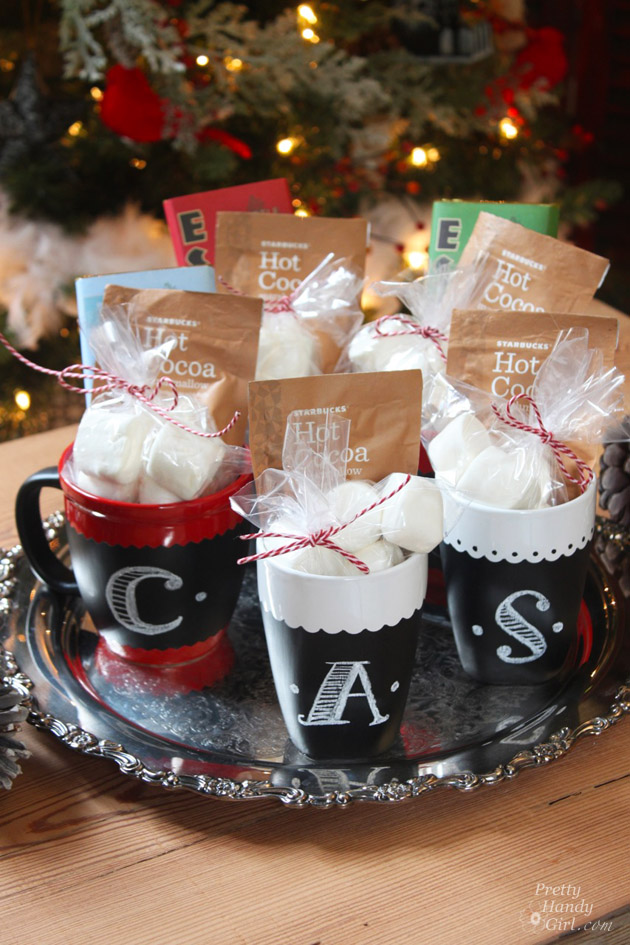
The mugs are ready for decorating now! Add some hot cocoa and marshmallows for an instant chocolatey gift.Better yet, you could make these yummy hot cocoa on a stick gifts!
These are so incredibly fun! I can’t wait to use one and write something witty on it. At $1 each for the mugs and $10 for the Porcelaine chalkboard paint (enough to paint about 8-10 mugs) this is truly a thrifty gift idea!
So, please tell me, what should I write on DIY Chalkboard Painted Mugs?
- Fill ‘er up
- Don’t Let Me Run on Empty
- High Octane Please
- Do Not Disturb until I’ve Finished this Cup
- ___________________
![]()
Pin for later!