DIY scalloped planter box centerpiece - free plans Hertoolbelt

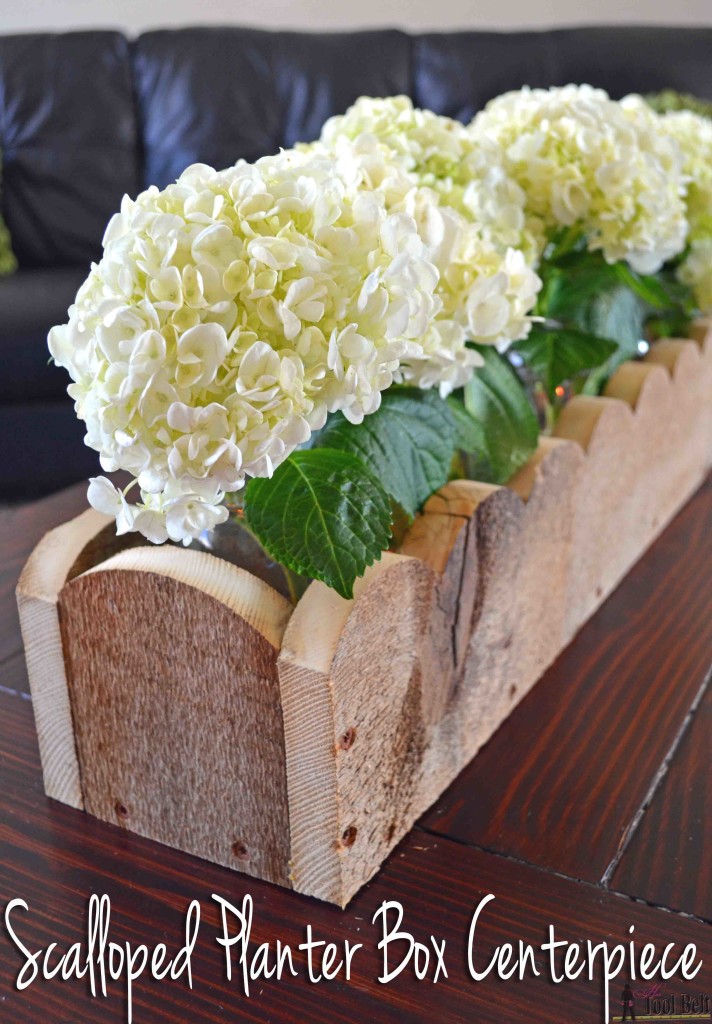
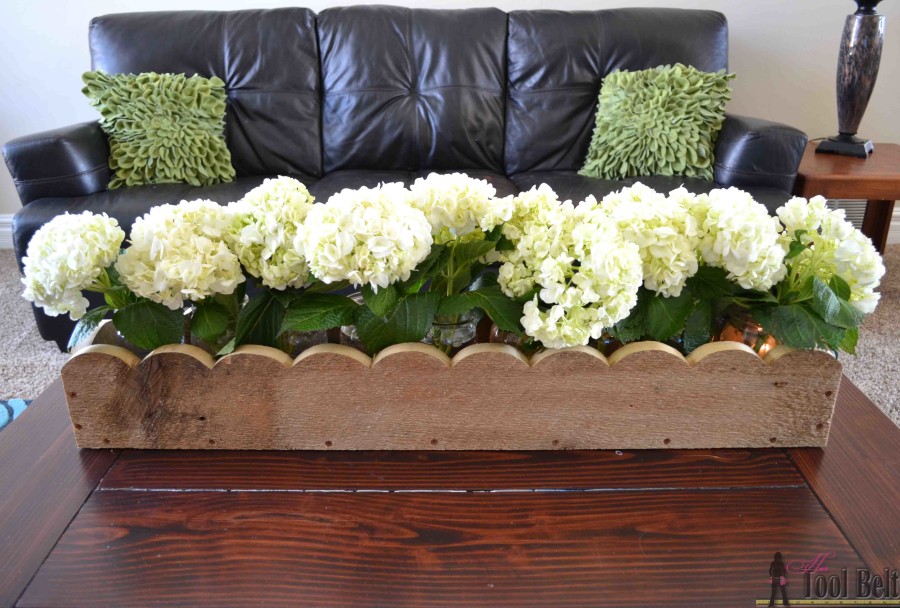
Today on the Rockstar DIY stage is Amy, with the tutorial to make this perfectly rustic Scalloped Planter Box Centerpiece.

Rockstar DIY Series

Amy is the creative artist and builder behind Her Tool Belt! You may remember her amazing rustic chevron twin bed that crashed Pinterest (well, not really, but it should have.)

Well, the very talented Amy is in the wings right now and I just got word that she’s headed to the stage. So, without any further delay, here’s AMY!

page_break_2

Hi! I am Amy from Hertoolbelt and I’m so excited to be visiting with you today. A couple of years ago I dismantled an old barn at my parents farm, now I have a good supply of barn wood. I enjoy building projects with barn wood because of the unique weathered and rustic look of each piece. It works great for planter box centerpieces. I like to have a few planter boxes on hand for party decorations. I wanted to make this one have a more feminine feel, so I added scallops.
DIY scalloped planter box centerpiece - free plans Hertoolbelt

How to Build a Scalloped Planter Box Centerpiece

DIY scalloped planter box centerpiece - free plans Hertoolbelt

Materials

  • 2 – 1″ x 6″ x 6′ boards (or barn wood), actual 3/4″ x 5 1/2″
  • 1 1/2″ minimum length screws (I used 1 5/8″ deck screws)
  • wood glue
  • sand paper

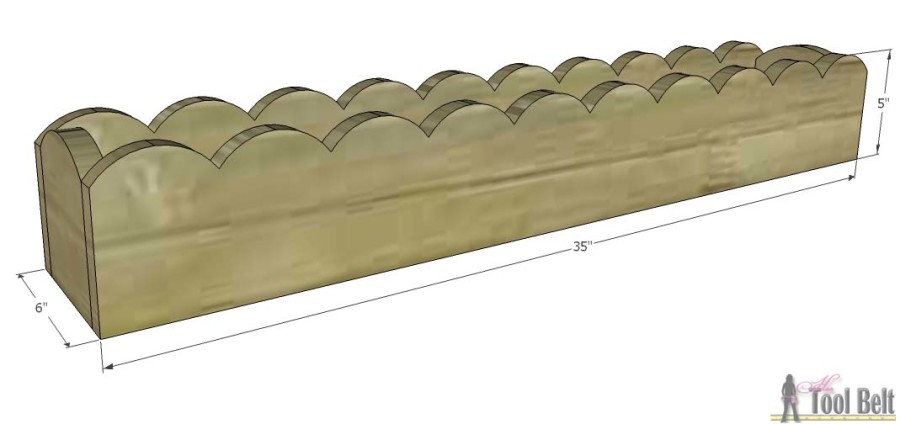
You can modify these plans for whatever size of centerpiece you need. I designed the inside width to fit mason jars.

Cut List

  • 2 – 3/4″ x 5″ x 35″
  • 2 – 3/4″ x 5″ x 4 1/2″
  • 1 – 3/4″ x 4 1/2″ x 33 1/2″

Step 1

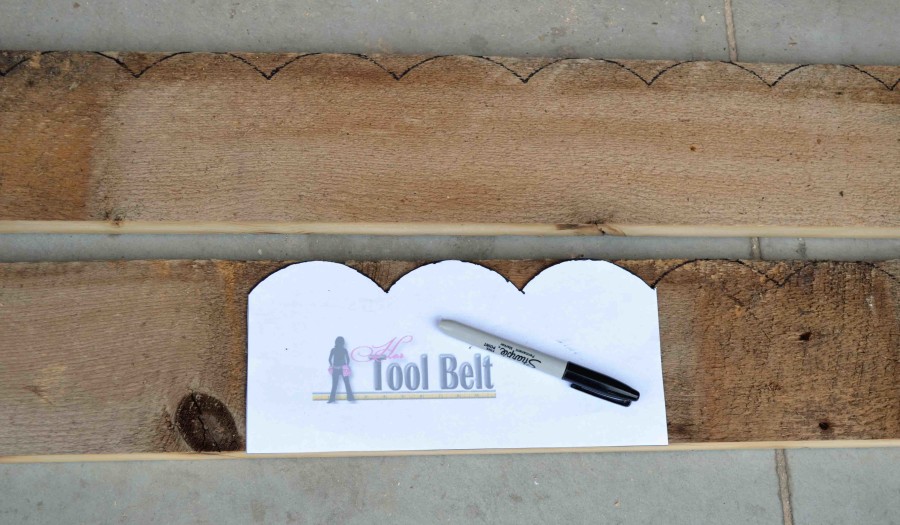
Cut the boards out according to the cut list above. Download and print the pattern for the scallop. When printing make sure your print settings are on 100%, not fit to page. Cut out the pattern and trace it on the 2 – 35″ boards.

DIY scalloped planter box centerpiece - free plans Hertoolbelt

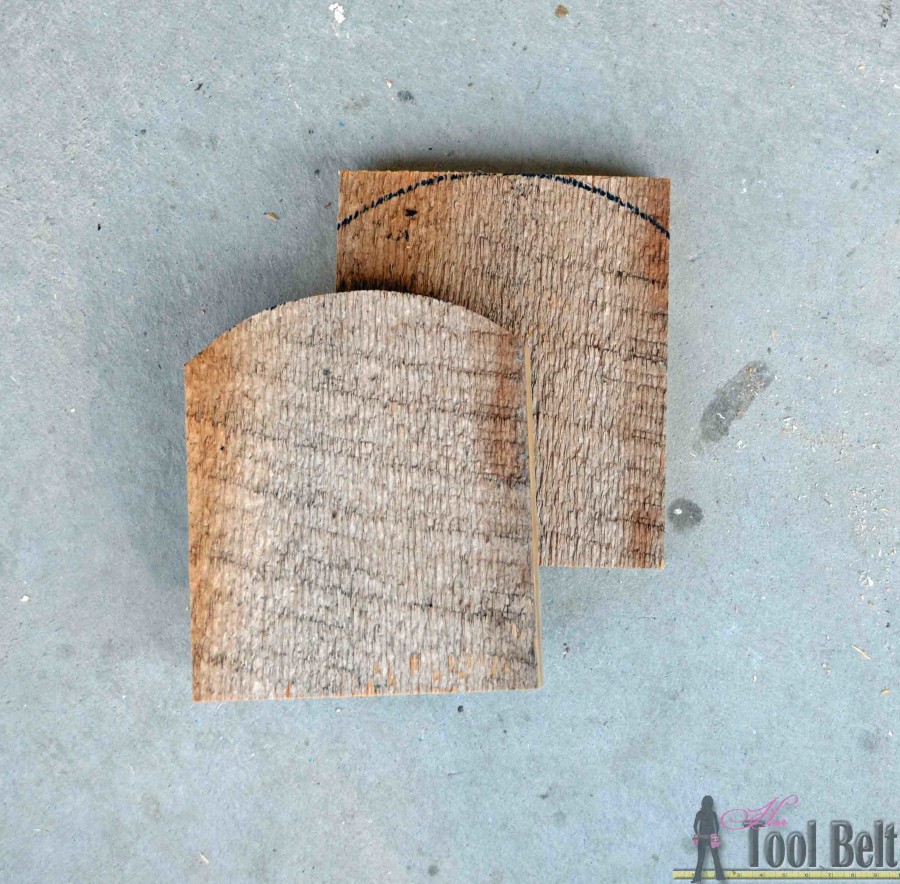
Use a band saw, jig saw or scroll saw to cut out the scallop design (I used a band saw). Sand the cut edges as necessary.

On the end pieces, if you want a curve, use a paint can to trace a curve. Cut out the curve and sand if needed.

DIY scalloped planter box centerpiece - free plans Hertoolbelt

Step 2 Read more
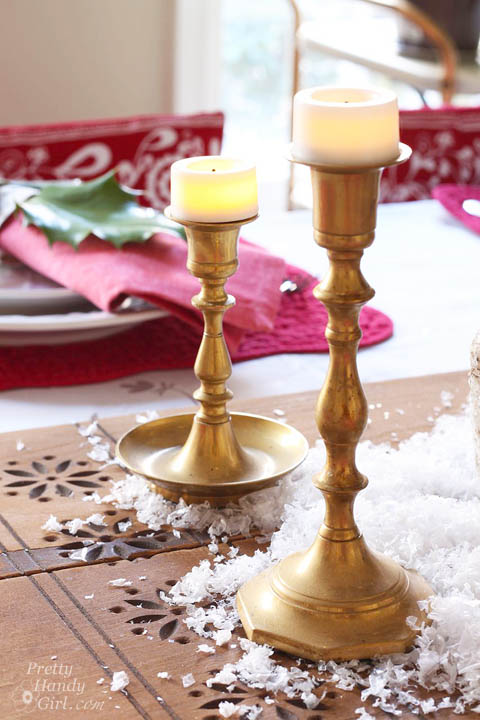
Spring Foyer Vignette | Pretty Handy Girl

Spring Foyer Vignette | Pretty Handy Girl

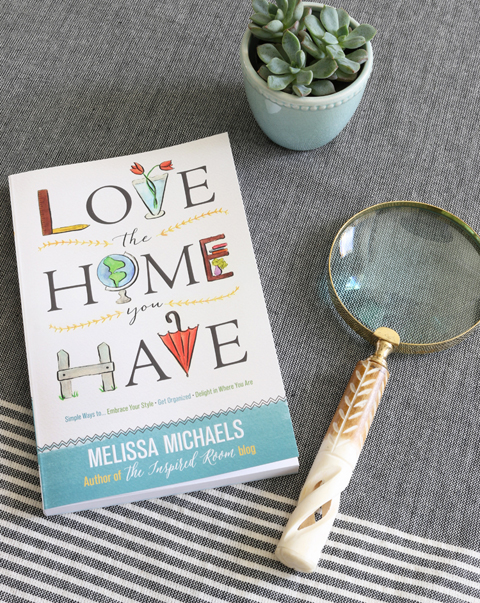
My blogging friend Melissa Michaels just published a wonderful new book to help you “Love the Home You Have.” She focuses on simple things you can do to embrace the home you live in. With easy suggestions and achievable goals, she breaks down all the barriers you have when it comes to truly loving your home.

Love the Home You Have by Melissa Michaels

To help Melissa promote the book, I agreed to take on a quick little Love Your Home Challenge. Her book has 31 Small Challenges to help you love your home again. Each one is simple, quick and easy.

Love Your Home Challenge | Pretty Handy Girl

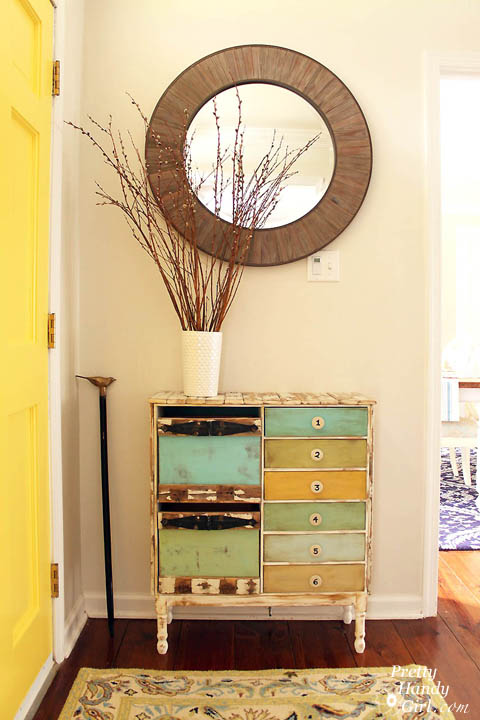
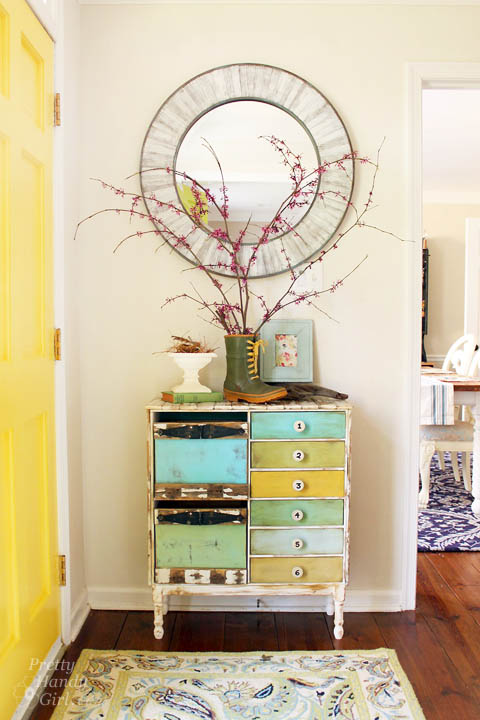
I decided to focus my efforts on our foyer. I still loved the little rustic IKEA hack chest, but the mirror was a little to drab. I’d been staring at the pussy willows all winter and needed an infusion of color.

foyer-before

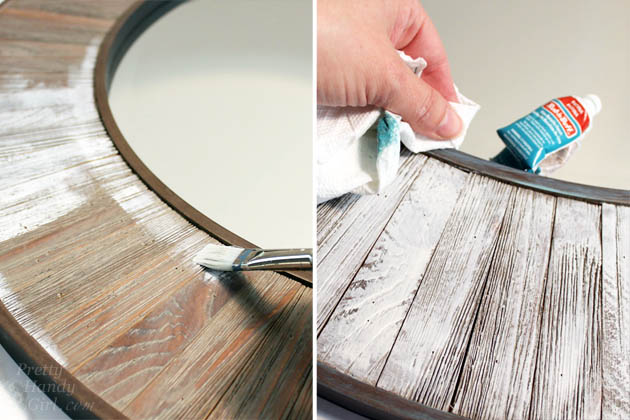
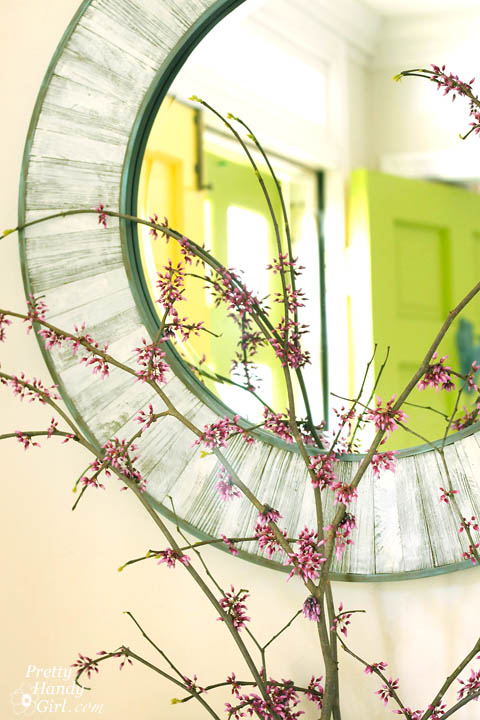
Originally, I chose to work with the Day 30 suggestion to Paint Something. I removed the mirror and within 30 minutes I painted the wood slats with white chalk paint. Then I used some patina Rub ‘n Buff to give the edges an aged metal look.

Spring Foyer Vignette | Pretty Handy Girl

Much better.

Spring Foyer Vignette | Pretty Handy Girl

To continue adding some cheer to the foyer, I incorporated the Day 11 Challenge by Adding Fresh Flowers.

Spring Foyer Vignette | Pretty Handy Girl

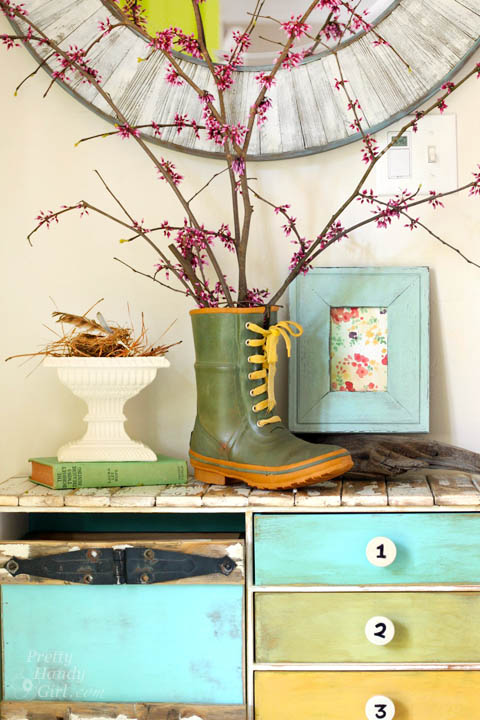
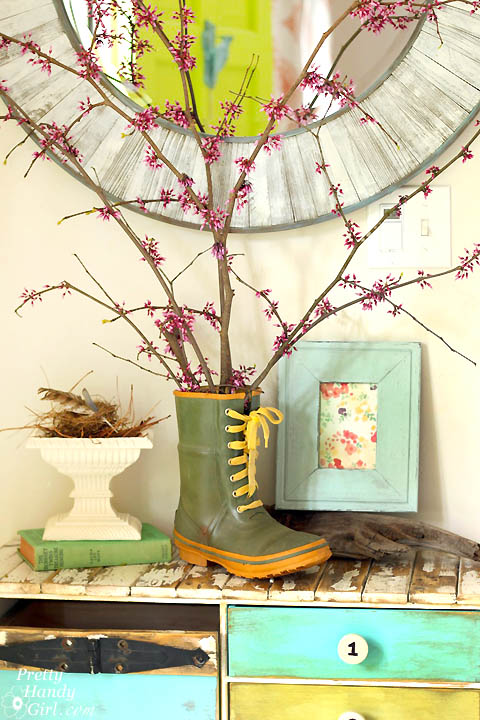
I didn’t spend a dime on my flowers or vase. The red bud branches were clipped from our tree. And I slipped a mason jar into the boot for a fun and quirky vase. I think it’s a nod to the saying, “April Showers Bring May Flowers.”

Spring Foyer Vignette | Pretty Handy Girl

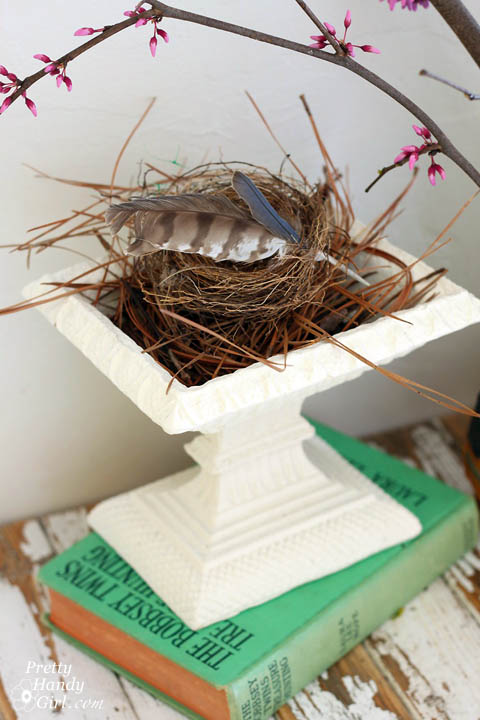
A small collected birds nest and feathers add an additional nod to springtime.

Spring Foyer Vignette | Pretty Handy Girl

I also painted an old frame with blue chalk paint and popped a piece of scrapbook paper into the frame for instant art.

Spring Foyer Vignette | Pretty Handy Girl

My total cost was $0! I can honestly say that seeing this springtime foyer vignette has made me happy.

Spring Foyer Vignette | Pretty Handy Girl

Within an hour, I was able to love this corner again. What can you do for $0 in your home? Read more
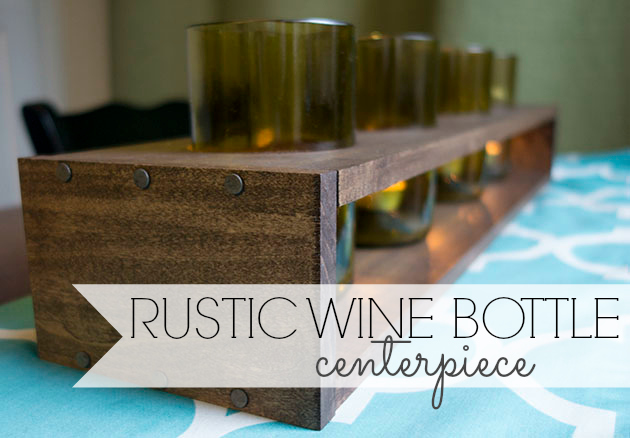
rustic wine bottle centerpiece

Hey everyone!  Jacque here from The DIY Village again to bring you another quick DIY tutorial! A few years ago I was given a really cool set of drinking glasses made out of old wine bottles.  Recently we purchased some new glasses but I wasn’t ready to donate the old glasses quite yet and decided to come up with a way to recycle them and keep them functional in our home.  After some thought, my rustic wine bottle centerpiece was born.

MATERIALS:

  • 1/2″ x 4″ x 4′  Poplar Board – Cut into 2- 5 1/2″ wide pieces
  • 1/2″ x 5 1/2″ x 4′ Poplar Board – Cut in half
  • 12 – 8 Penny Nails (Truss Hanger Nails)
  • 1/8″ Drill Bit
  • Drill
  • 3 1/2″ Hole Saw
  • Clamp
  • Sandpaper
  • Drill Press
  • Straight Edge (Speed Square)
  • Sliding Rule Square
  • Walnut Gel Stain
  • Foam Brush
  • Paper Towels
  • Pencil

Instructions:

measure in

Start by cutting the 5 1/2″ board in half to leave you with  two boards approximately 24″ long.

measure over 7

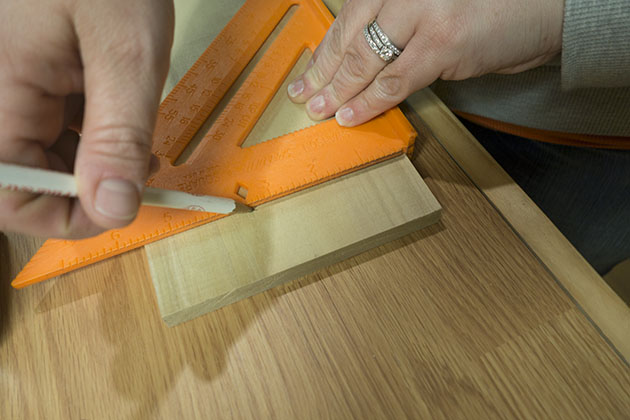
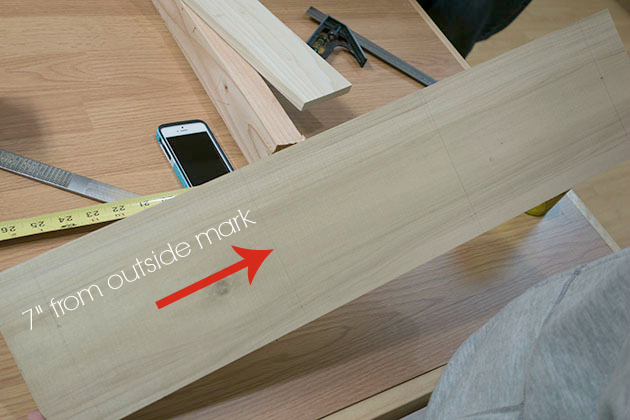
Measure 3.5″ out from the center line and mark a line with your speed square. Repeat on the opposite side of your center line. Measure 7″ out from the two center lines and make a mark with your speed square. These will be the center points for your four openings.

find center

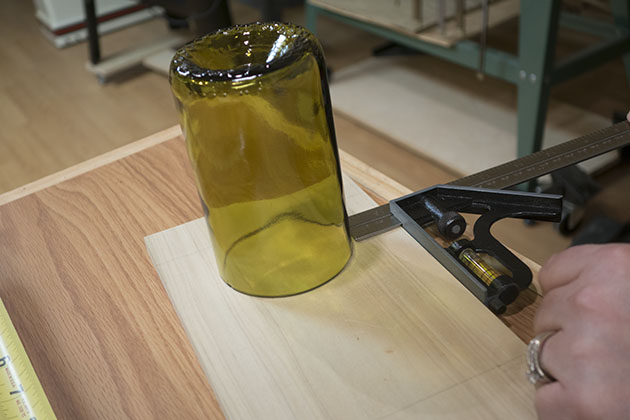
Use the wine bottle glass as a guide to help center the glass on the board.  Set the sliding rule square and use as a guide so that the glasses will be straight across the rest of the board.  Using a pencil to trace around the outside edge of the glass, repeat for all four holes. Read more
Holiday Tablescape | Pretty Handy Girl

Holiday Tablescape | Pretty Handy Girl

Can we be honest for a minute? This year when Jen Woodhouse from The House of Wood asked me if I wanted to participate in a holiday tablescape blog tour I nearly replied, “No way!”

Holiday Tablescape | Pretty Handy Girl

Not because I was too busy…

Holiday Tablescape | Pretty Handy Girl

… and not because I didn’t want to.

Holiday Tablescape | Pretty Handy Girl

The truth is, I’ve never created a tablescape before. Yup, it’s true. Go ahead and google “Pretty Handy Girl tablescape,” I’ll wait.

Holiday Tablescape | Pretty Handy Girl

Did you see my Pinterest board filled with tablescapes pop up in the search results? Yup, I had to create one for inspiration.

Pinterest board of Tablescapes

The other reason I was cringing at the idea of a tablescape is because I don’t own chargers. Well, I own lots of chargers for my battery powered cordless tools. (Bah da dun. Sorry bad joke.) How can you create a tablescape without chargers?! Read more

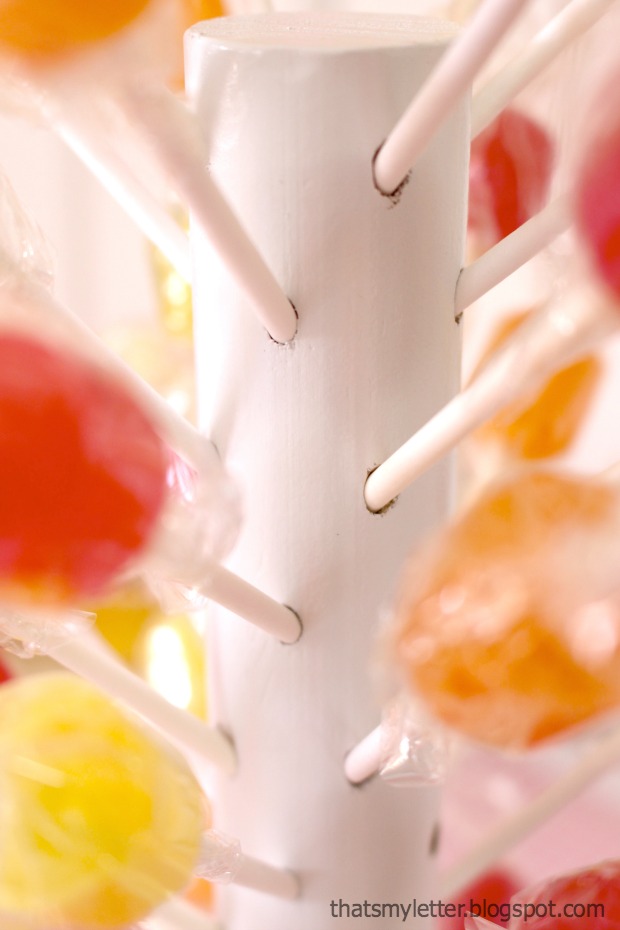
lollipop stand

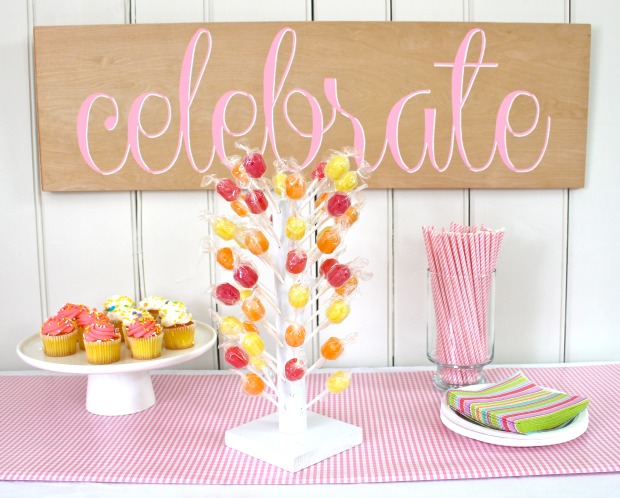
Happy Spring folks!  Jaime here from That’s My Letter back to share a fun DIY party decor idea: make your own lollipop stand.  I promise it’s fast and easy and adds tons of charm and sweetness to any party.

lollipop stand 2

This lollipop stand holds a ton of lollipops – 52 to be exact!  You could probably even use this stand for cake pops.  (The tutorial for the ‘celebrate’ script sign can be found here.)

lollipop stand 3


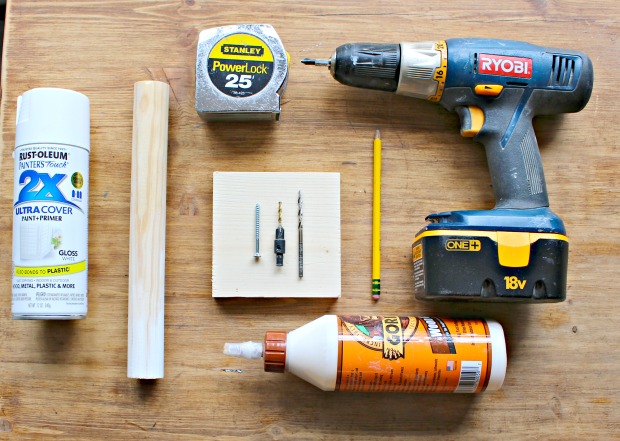
Materials:

lollipop stand supplies

  • 1 – 1 1/4″ wood dowel x 11″ long
  • 1 – 1×5  cut to 4 1/2″ (or any scrap wood 4 1/2″ square x 3/4″thick)
  • white gloss spray paint
  • sandpaper
  • 1 – 2″ wood screw
  • countersink bit
  • 5/32 drill bit
  • pencil
  • tape measure
  • drill
  • glue
  • scotch tape

Instructions:

Step 1: Mark the center point on the 4 1/2″ square wood base. Read more