There I was digging things out of the recycling bin again. Pretty Handsome Guy gave me a raised eyebrow, but he knew better than to question my motives. I had that idea bulb flashing over my head, and I was ready to transform some jars and tins. With Springtime just around the corner, it was time to force a little vibrant color into our home. I introduce to you the cheapest way to bring Radiant Orchid color into your décor! If you have recycled jars and tins, you are set!
(I’ve included affiliate links for your convenience. I earn a small percentage from a purchase using these links. There is no additional cost to you. You can read more about affiliate links here.)
Materials:
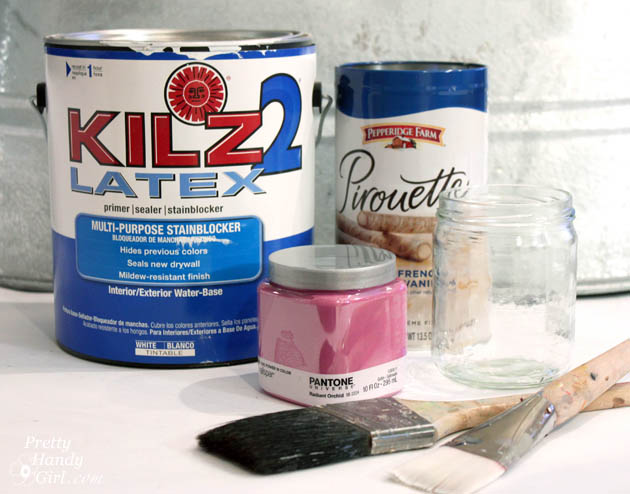
- Kilz Primer
- Paint brushes
- ScotchBlue Painter’s tape
- Sample pot of Pantone Radiant Orchid
Optional: Gold vinyl stripes or washi tape
Instructions:
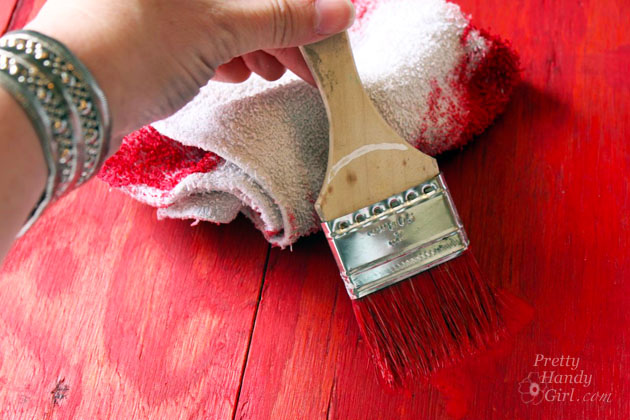
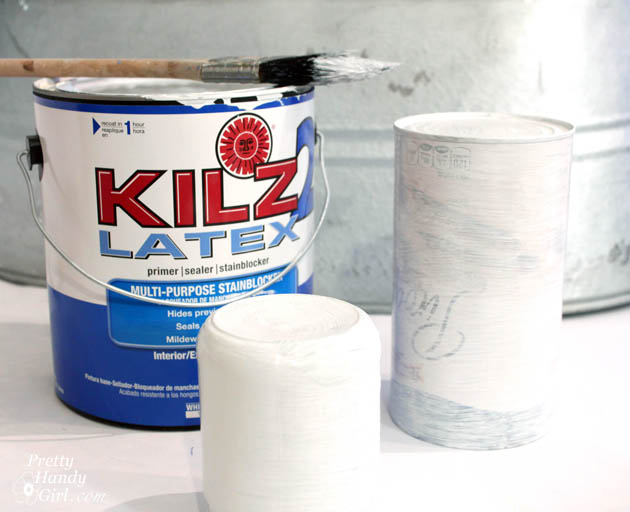
Clean out your jars, bottles or tins.
Coat the exterior of your recycled vessel with primer. Allow to dry.
Paint each bottle and tin with radiant orchid paint. Allow to dry. You might need two coats depending on the coverage. Read more