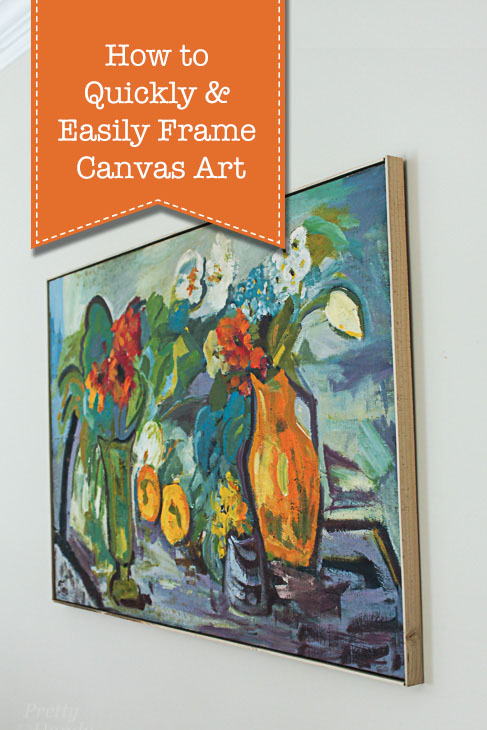
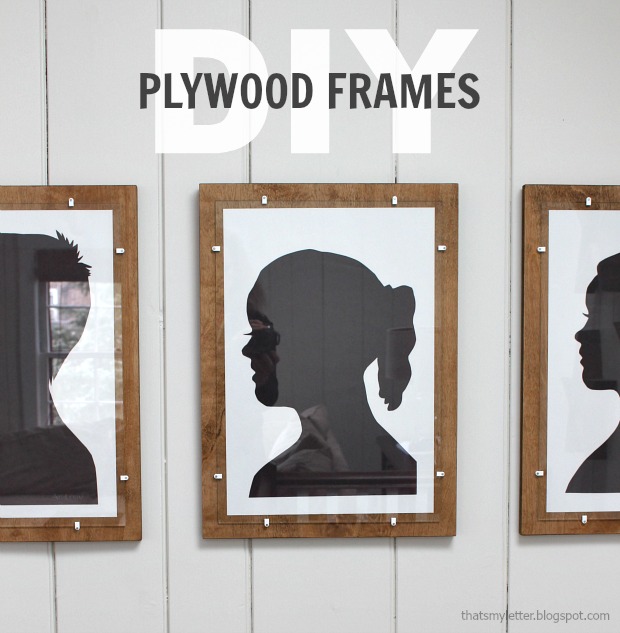
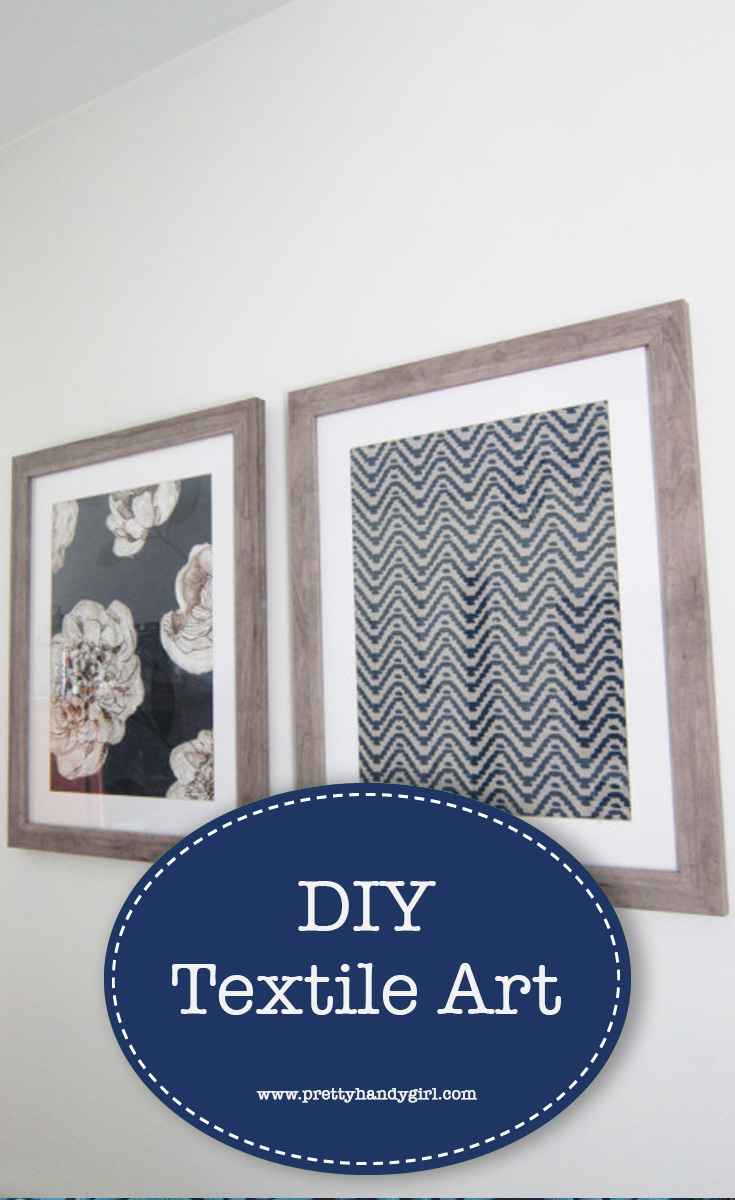
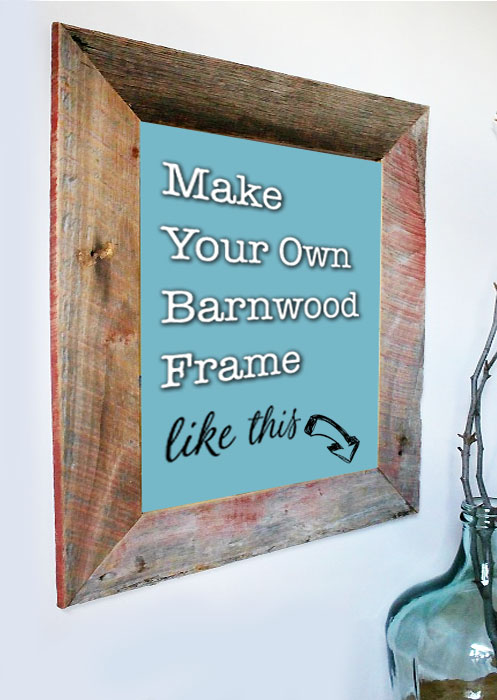
 DIY Barn Wood Picture Frame
Hey all, it’s Shara here again from Woodshop Diaries! Today, I’m excited to show you how to make a simple barn wood picture frame!
A friend of mine tore down his family’s tobacco barn recently and he asked me to make a few things out of the wood for him. I recently finished a dining table and bench. I also made a few barn wood frames and they turned out beautifully!
In fact, they came out so great, I knew I wanted to show you how to make your own!
Materials:
(I’ve included affiliate links for your convenience. I earn a small percentage from a purchase using these links. There is no additional cost to you. You can read more about affiliate links here.)
- Barn wood (if you don’t have any, some 1x boards will work, too)
- Glass pane the size you want your picture (I did 16″x20″)
- ¼” plywood
- 5/8″ wood screws
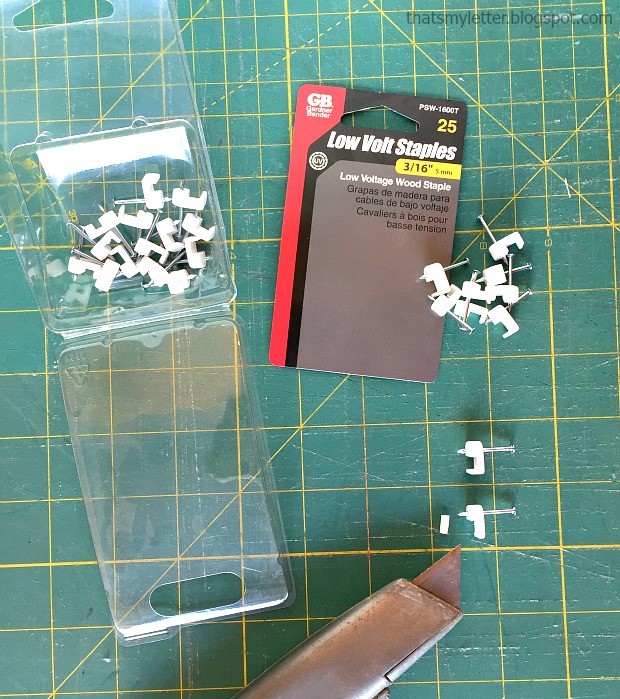
- Picture hanger hardware
- Corner clamp
- Wood Glue
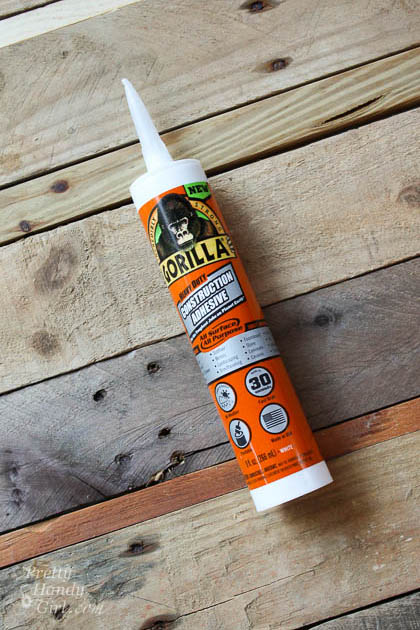
- Gorilla Clear Glue
- Staple Gun and 3/8″ staples
- Table Saw
- Miter Saw
- Router and 3/8″ rabbet bit
- Drill
- Chisel
- Hammer
Cut List for 16×20 frame:
- (2) ¾” x 4″ x 27 3/8″ (both ends mitered 45 degrees NOT parallel)
- (2) ¾” x 4″ x 23 3/8″ (both ends mitered 45 degrees NOT parallel)
- ¼” x 18″ x 22″ backing
Instructions:
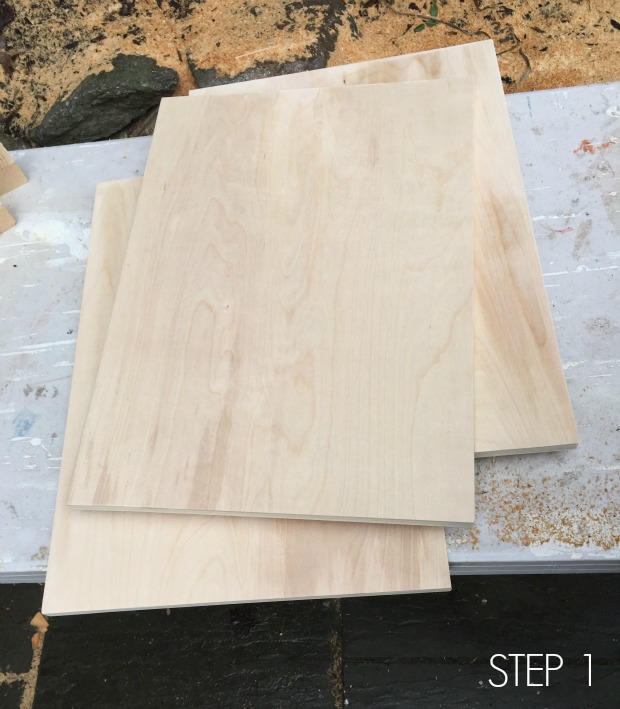
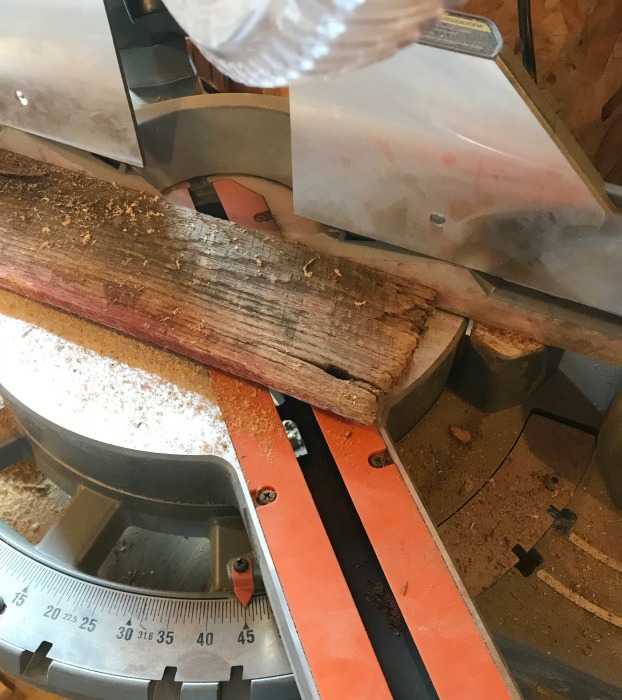
Step 1: Cut frame boards to size per cut list above.
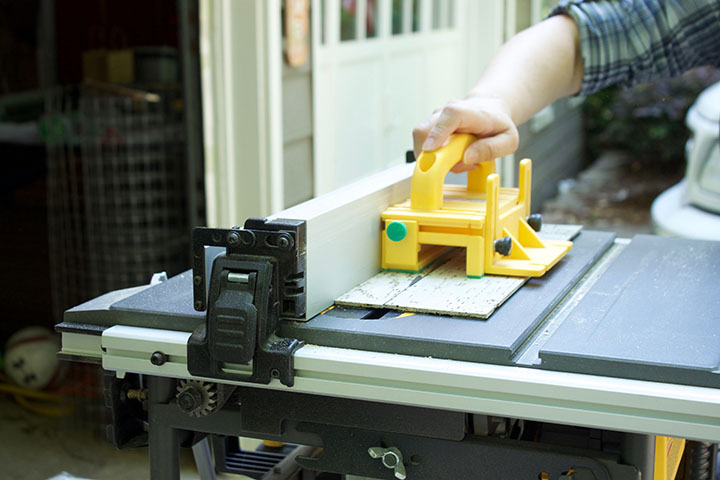
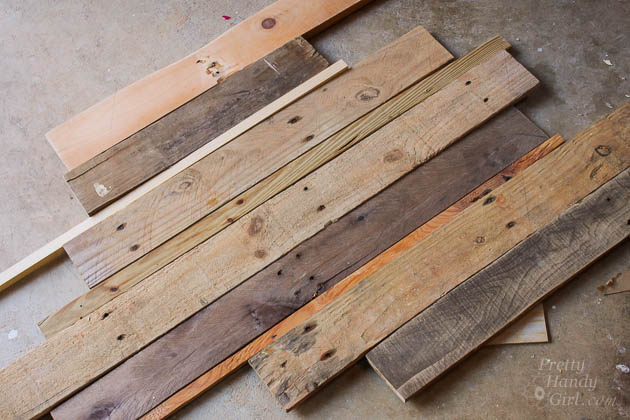
For this project, I used barn wood. It was old, dirty, and rough. None of it was cut to the same size, so the first thing I did was rip all my boards the same width. If you are using old barn wood, or pallets, you’ll want to rip all your lumber to the same width. If you are using new boards from the lumber store, you can skip this step.
To achieve the same width as my barn wood frame, rip all boards to 4 inches wide. (Remember, if you buy new boards, 1x4s are only 3 ½” wide and 1x6s are 5 ½” wide, so your measurements will be slightly different than mine since I used 4″ wide boards.)
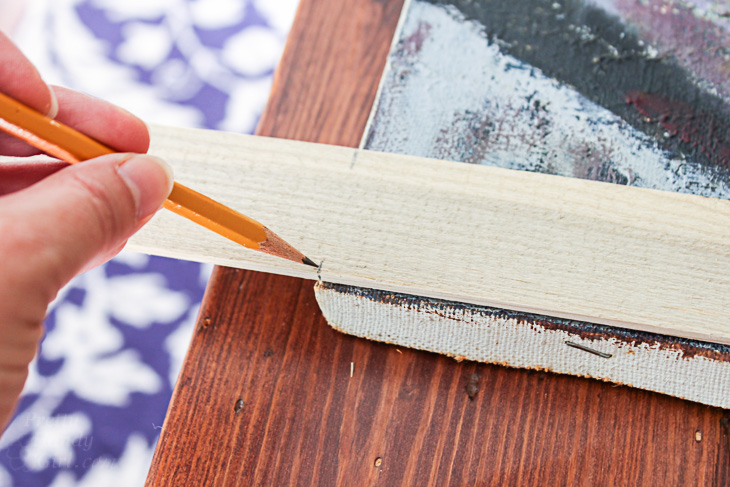
Miter the ends of each board 45 degrees.

Step 2: Glue frame together
Dry fit the frame pieces together and make sure they fit and everything is square.

Use wood glue to join all the corners and press together.
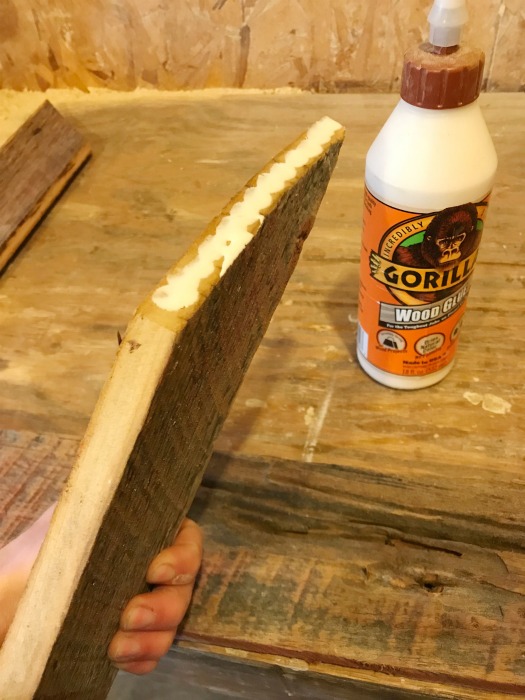
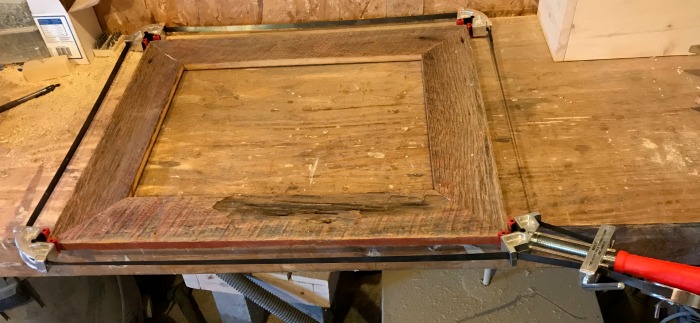
Use either bar clamps, or a corner clamp to hold the frame together while the glue dries. Reinforce the joints by stapling the back side of the corners. Alternatively, you can use metal L brackets, just make sure the screws don’t go all the way through your frame.
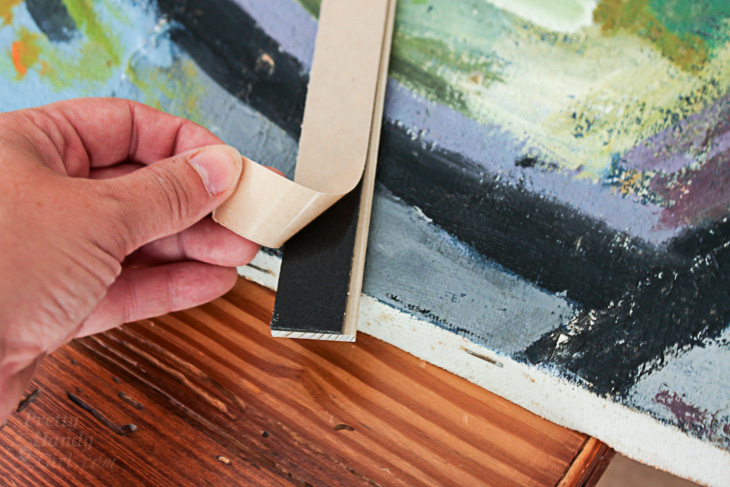
Step 3: Route out back side for glass panel
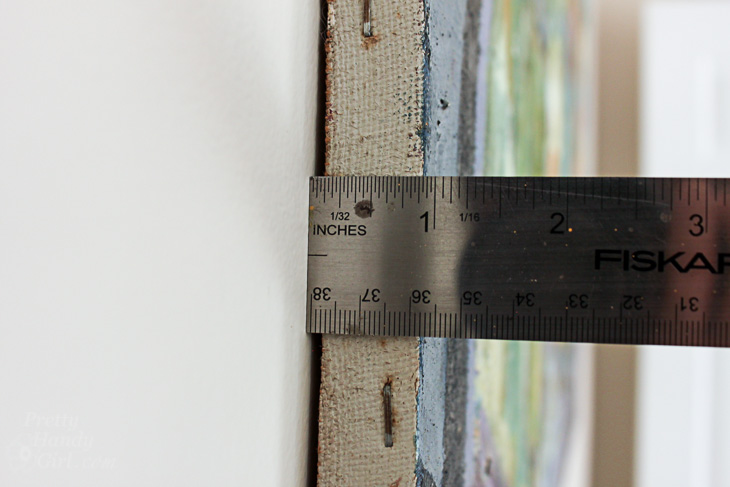
Using a router and a 3/8″ rabbet bit, route out the inside opening of the back of the frame like shown. Set your cutting depth the same or slightly more than the thickness of the 16×20 glass panel for the frame.
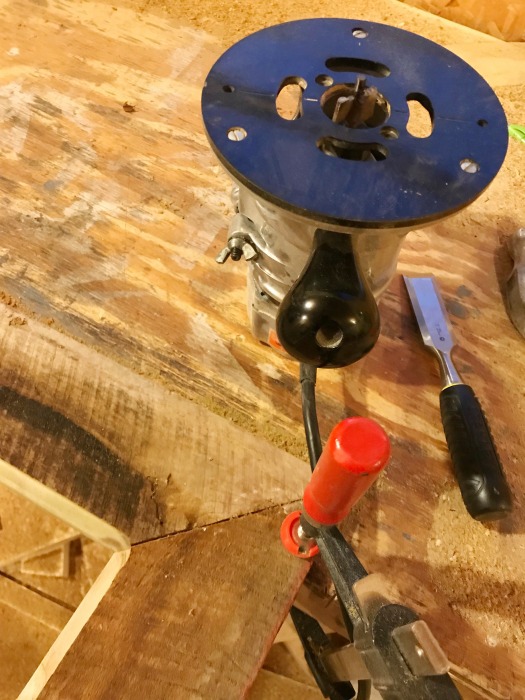
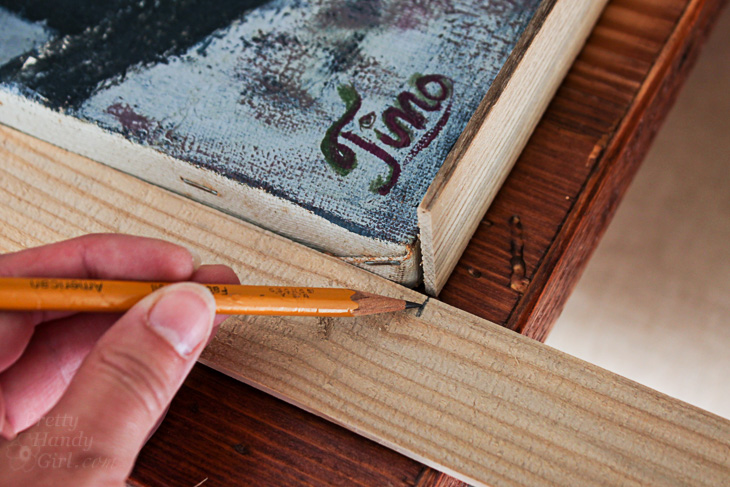
Clean up and square off the corners using a chisel.
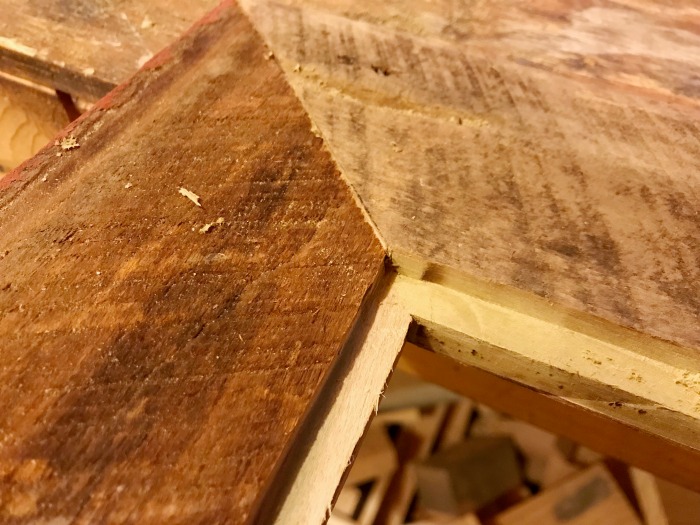
Set your glass panel in place to make sure it fits. If it doesn’t, chisel out any material keeping it from fitting in place.
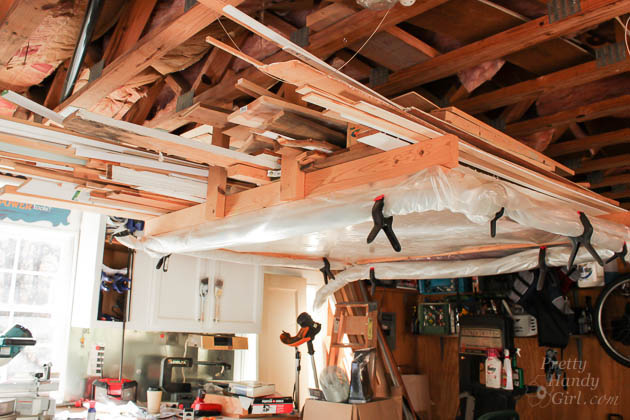
Step 4: Glue glass in place
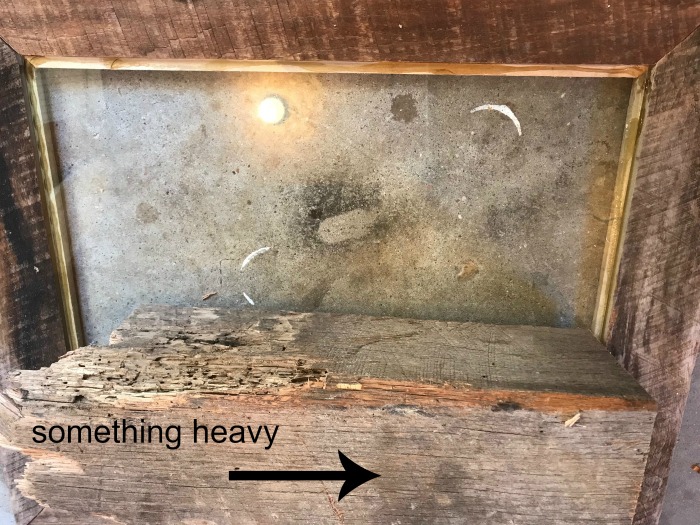
Using Clear Gorilla Glue (which, by the way, is awesome stuff), run a bead of glue in the groove you cut in step 3 and place glass panel in place.

Set something heavy (but not too heavy) on the glass to hold in place until the glue dries.
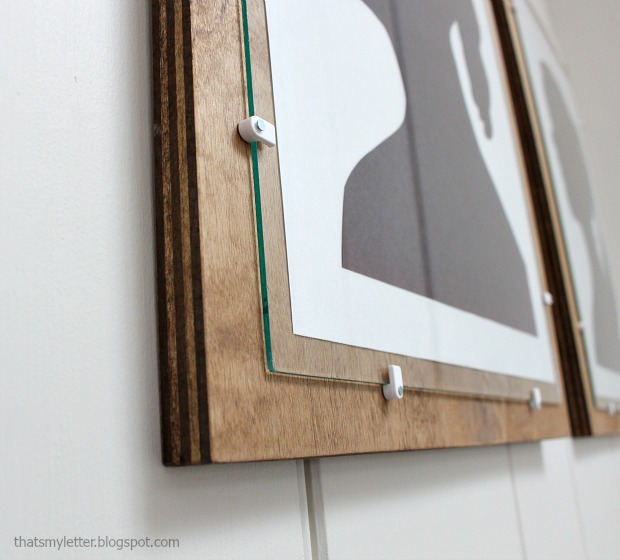
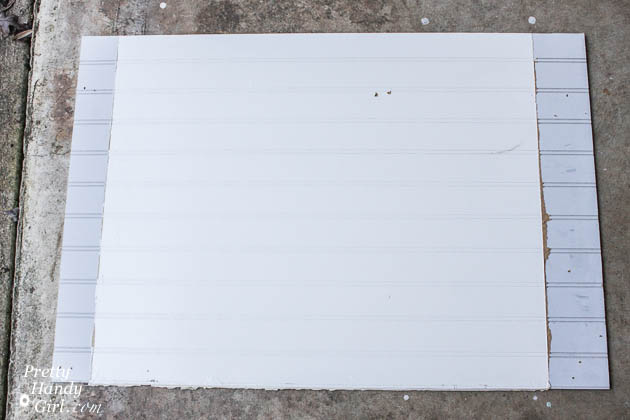
Step 5: Add backing
Once the glue is dry, place your picture in the frame, then attach the backing and hanging hardware. Use 5/8″ wood screws to attach the ¼” plywood backing like shown. Attach the hanging hardware in your frame.

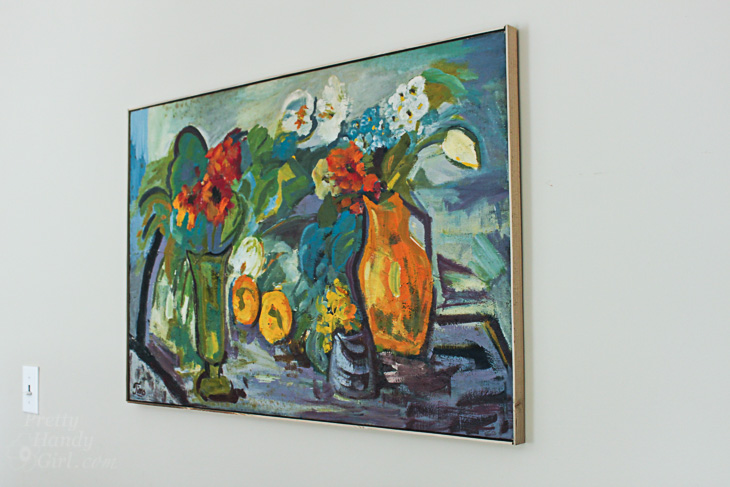
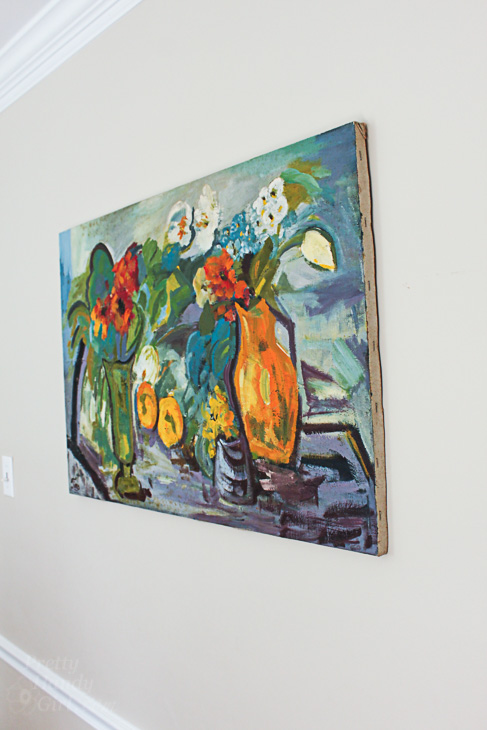
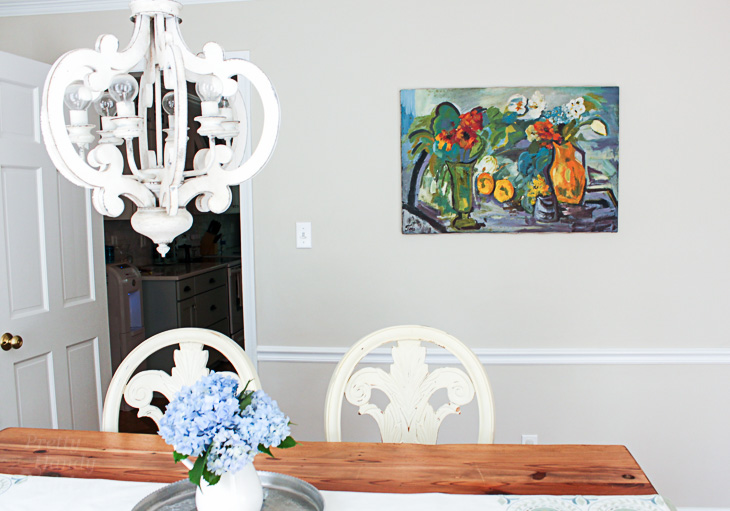
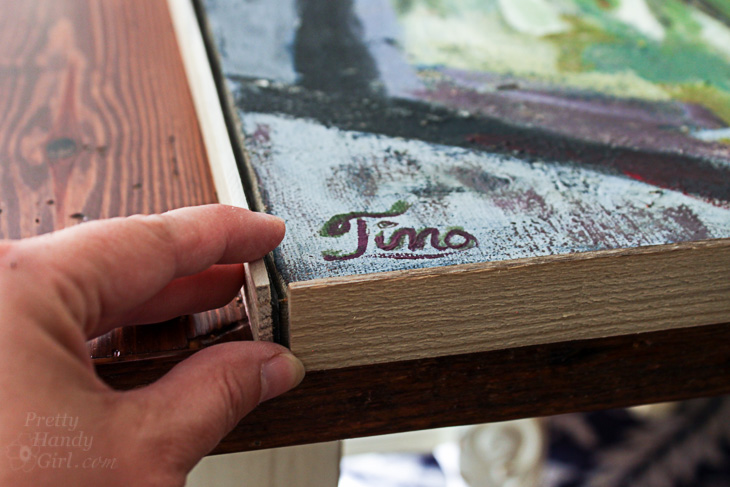
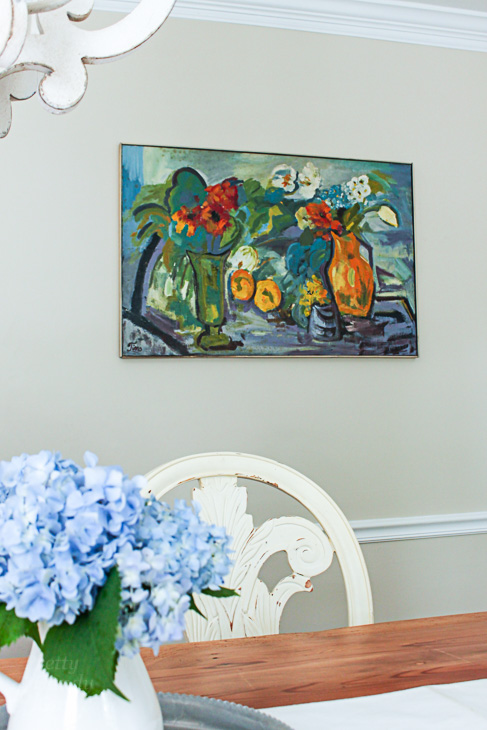
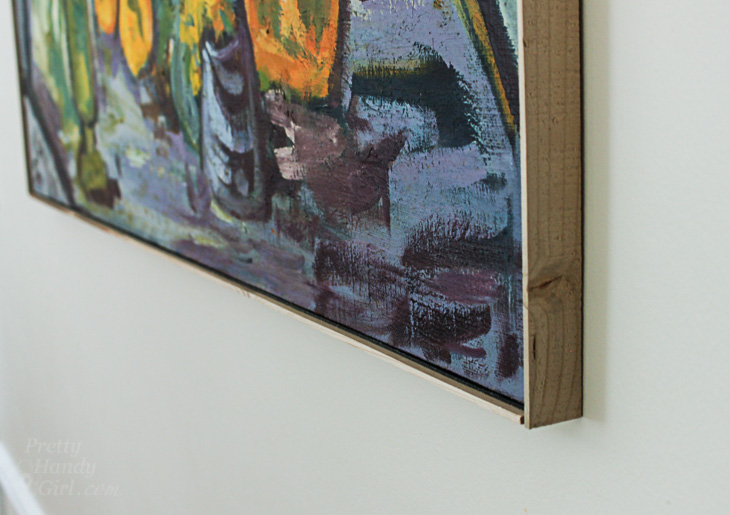
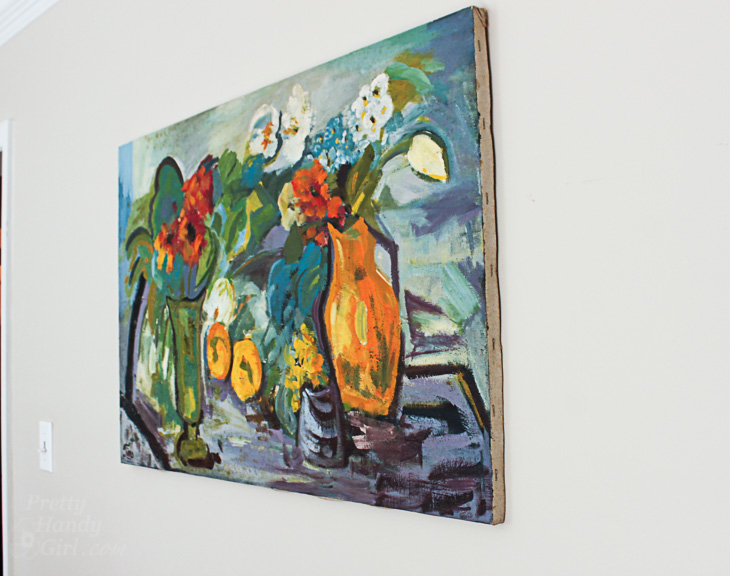
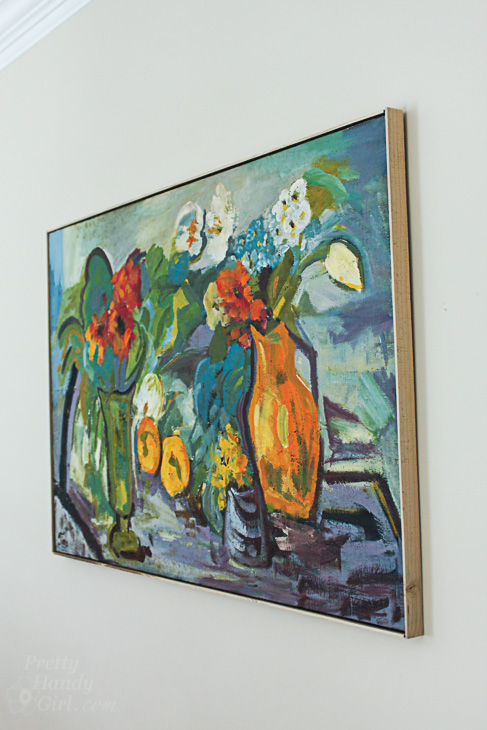
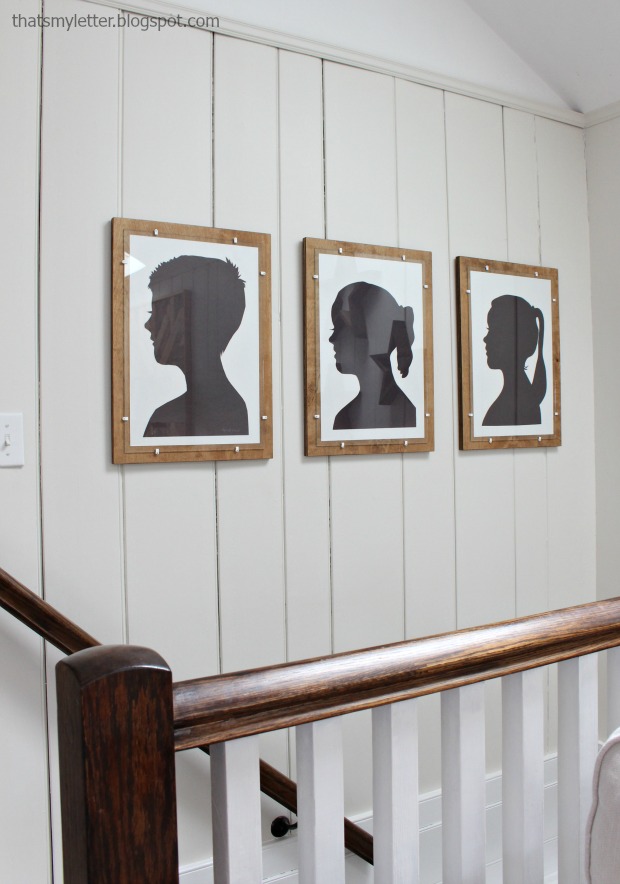
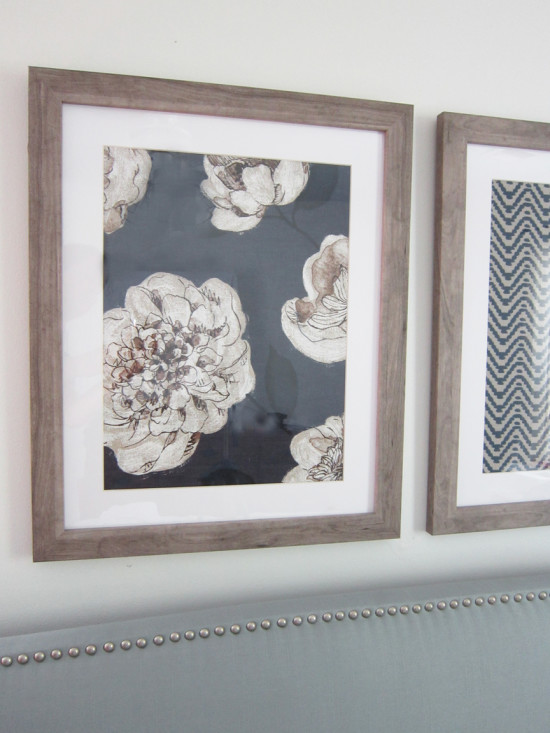
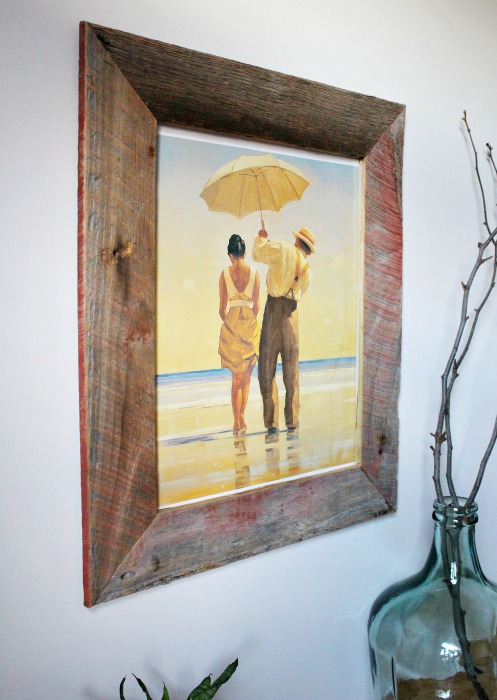
And that’s it! Your DIY Barn Wood Frame is ready to hang!
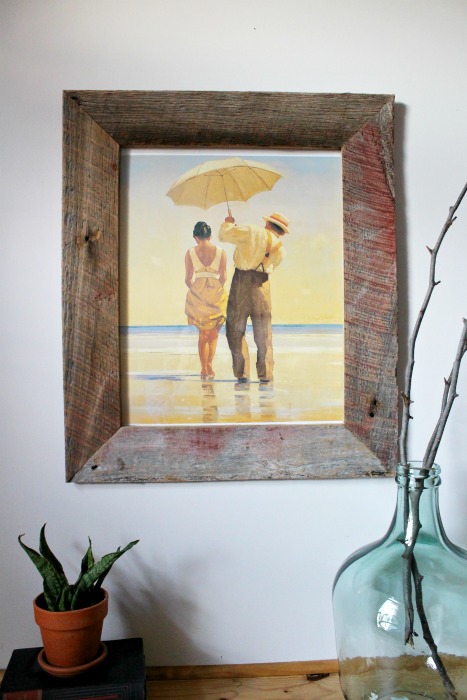
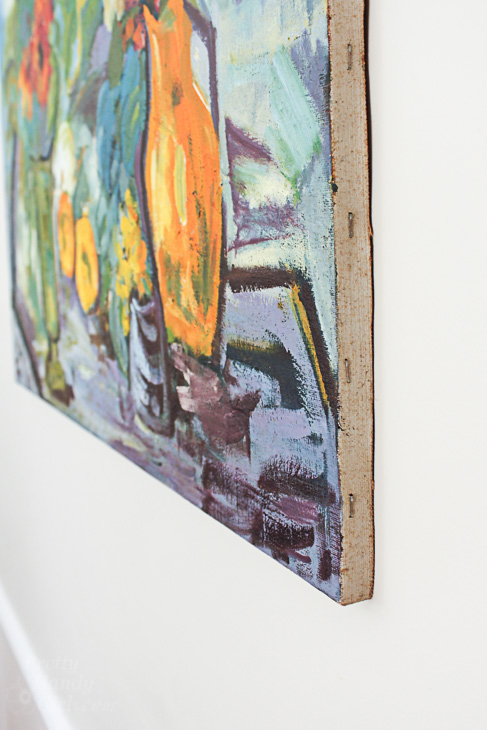
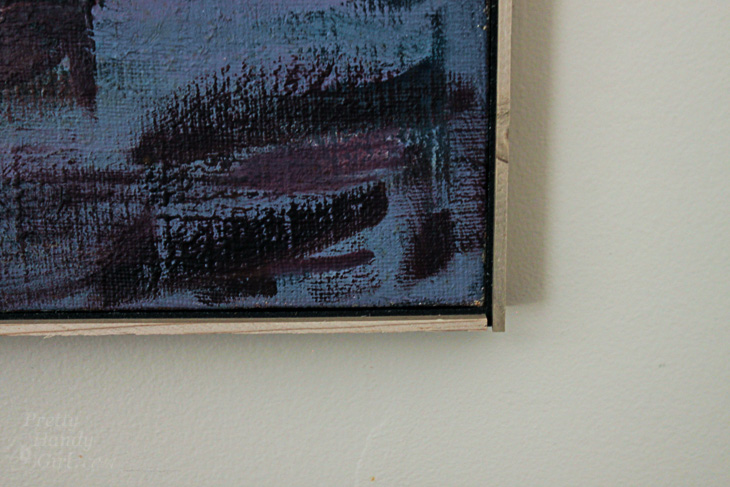
The detail on this old wood is so pretty!
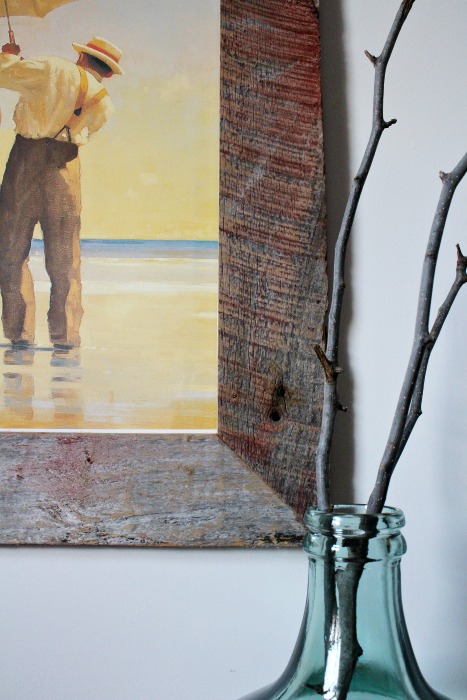
This would also be a great project for pallet wood or any old reclaimed wood if you don’t have actual barn wood available!
I hope you enjoyed this tutorial and give it a try for yourself! Happy building!