How to Quickly & Easily Frame Canvas Art
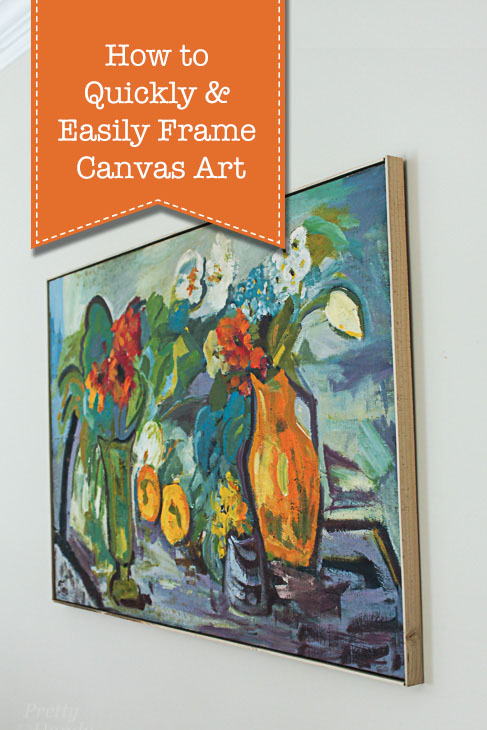
Are you guilty of hanging canvas art with no frame? (Yup, my hand is raised.) There are no longer any excuses for this behavior once I show you How to Quickly & Easily Frame Canvas Art. If you want to remain frameless and oblivious, close your browser now. For the rest of us, behold how easy it is to frame canvas art! Ready to get framing?
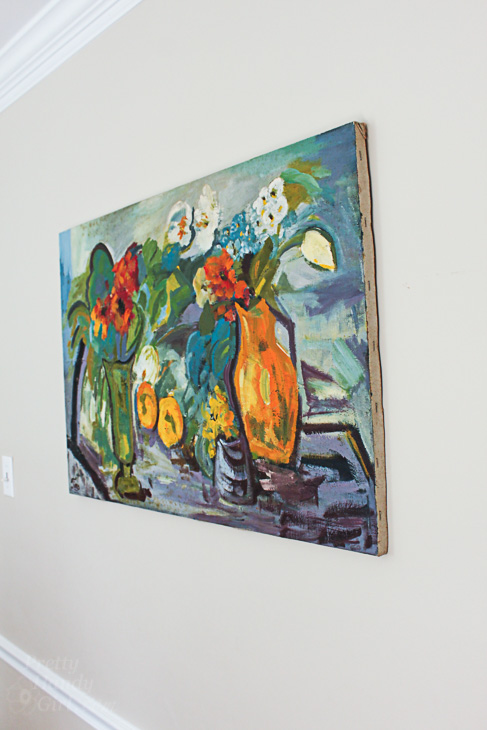
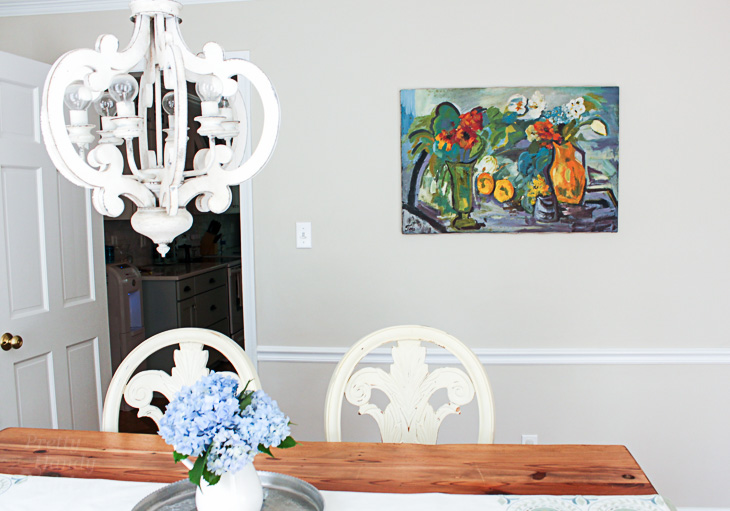
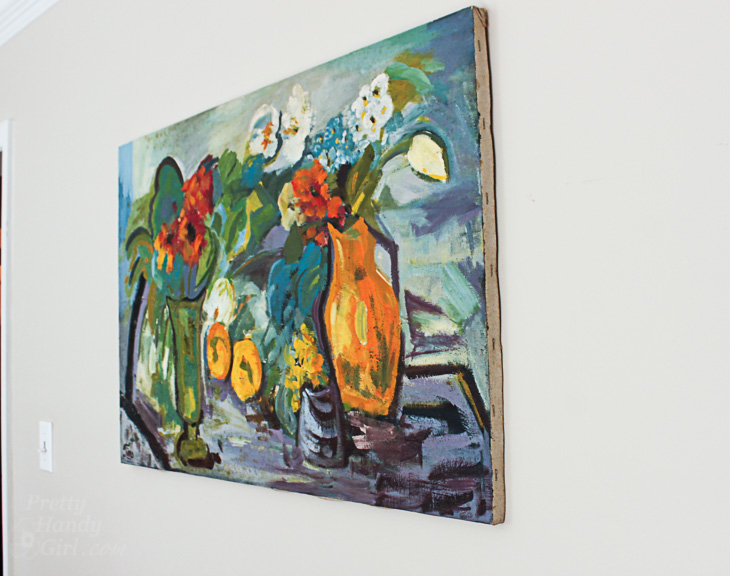
We have a painting in our dining room that I love. It was created by my husband’s grandmother. I will always appreciate that I had the opportunity to meet her when she was still alive. She discovered she liked paining much later in life. Being an art major myself, we would frequently talk about art when we got together. At the time I was a tight brushstroke and detail oriented painter, but I longed to loosen up and paint more abstract paintings. For this reason, I cherish this painting she made. Of course, you probably wouldn’t realize it by its state of framelessness.
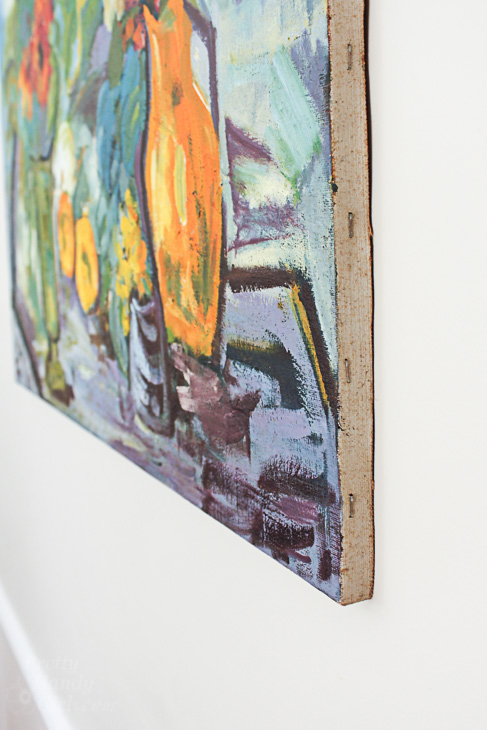
Gasp! Raw canvas edges. . . how could I leave it naked for so many years? In my defense, if you look at the painting straight on from across the room, you can’t see those edges. I know, that’s a lousy excuse.
Let’s go ahead and cover those raw edges and end my shame right now. I had some leftover Timberchic planks from my pantry project that I was able to use for this project. (Disclosure: I was provided with the Timberchic planks for free in exchange for mention in my pantry project.)
Materials:
(I’ve included affiliate links for your convenience. I earn a small percentage from a purchase using these links. There is no additional cost to you. You can read more about affiliate links here.)
- Timberchic end caps (or 1/4″ x 1″ balsa wood)
- Pencil
- Ruler
- Double-stick adhesive or brad nails (if not using Timberchic panels)
- Brad nailer (if not using Timberchic panels)
- Saw
Instructions:
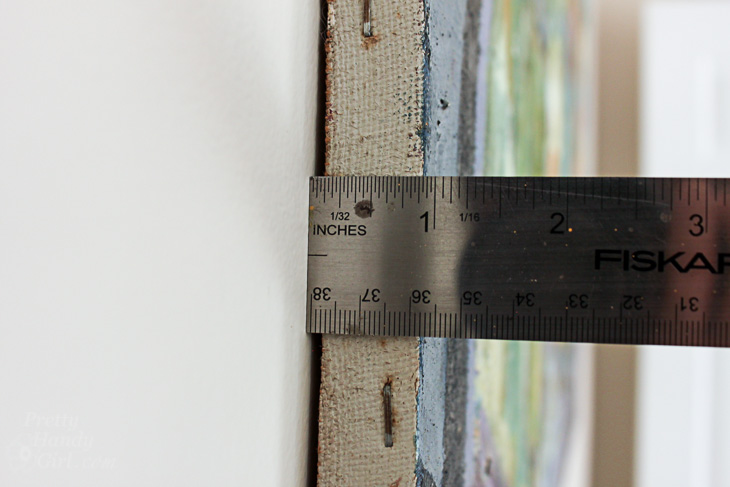
If you are using Timberchic panels (or scrap 1/4″ material), measure the width of your canvas. Add about 1/8″ to the measurement.
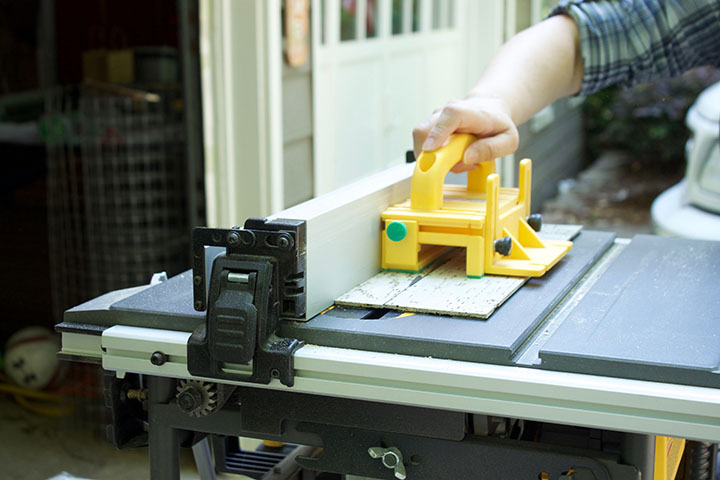
Rip the panels to the desired width. (I used 1″ widths)
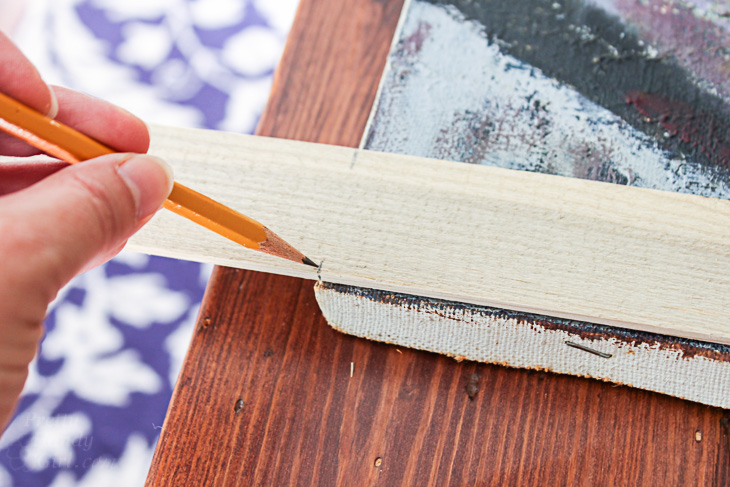
Line up one edge of your wood slat with the bottom of your canvas. Mark the other side of the canvas and cut the slat to size. Repeat for the top of the canvas.
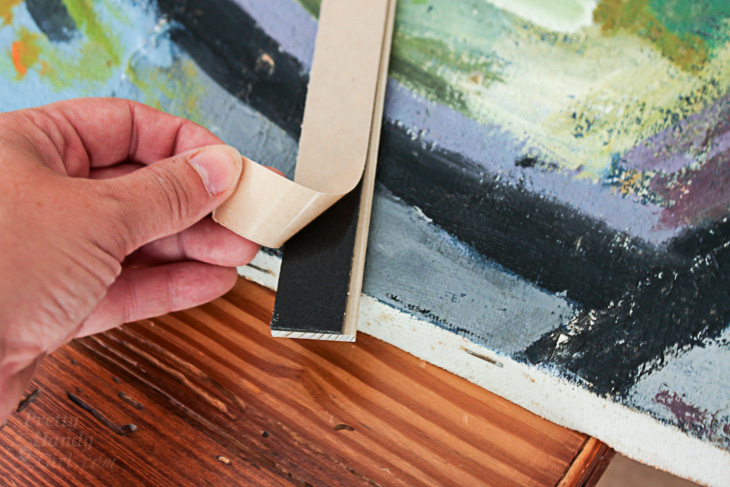
Remove the adhesive backing and secure the slats to the top and bottom of the canvas. (Or use brad nails.)
Line up another slat against the side of your canvas. Mark to the edge of the previously secured slats.
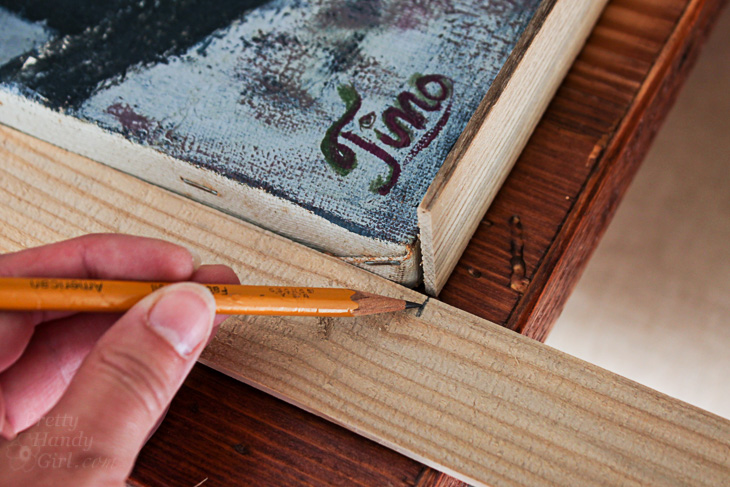
Cut the side slats and secure to the sides of your canvas. (Use brad nails or adhesive tape.)
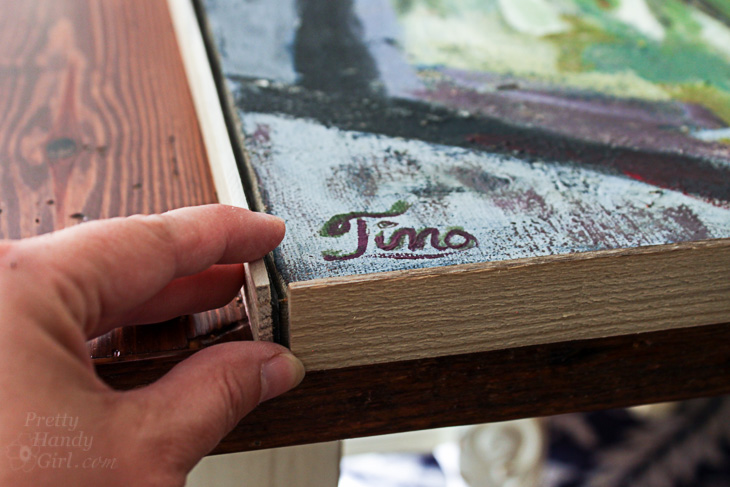
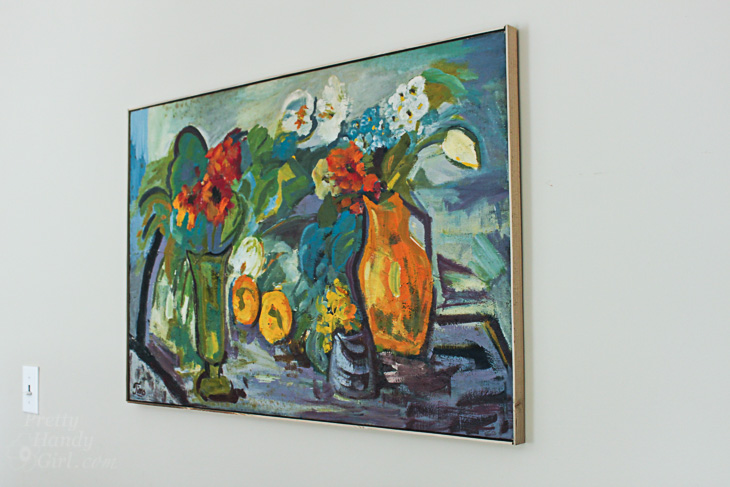
All done! Hang up your framed canvas proudly.
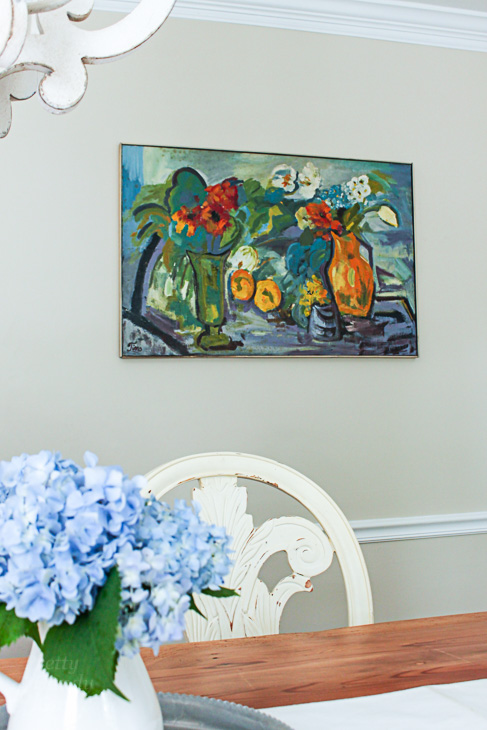
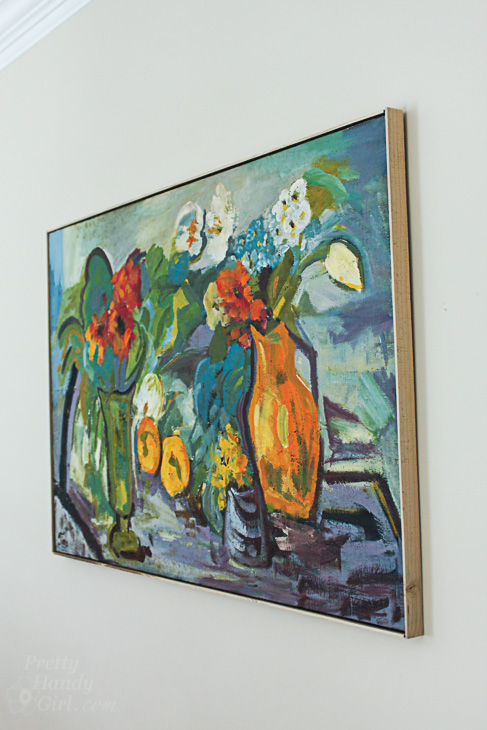
That looks much better.
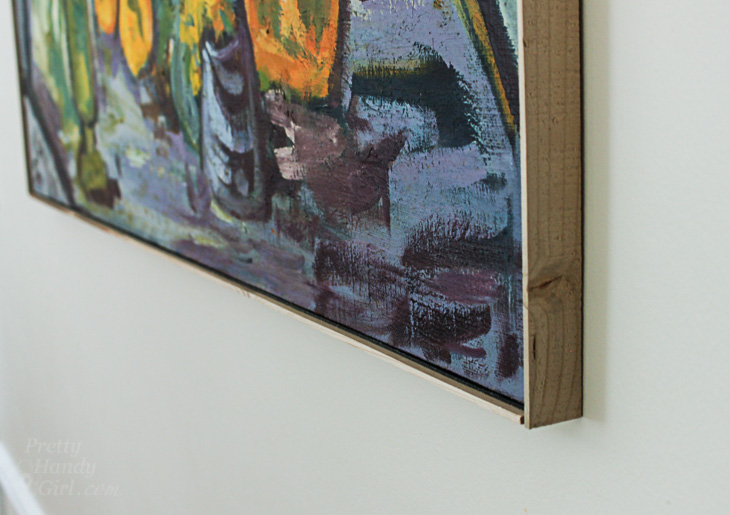
To be truthful, the slats won’t line up perfectly if you use the adhesive tape. But, no one is looking that close.
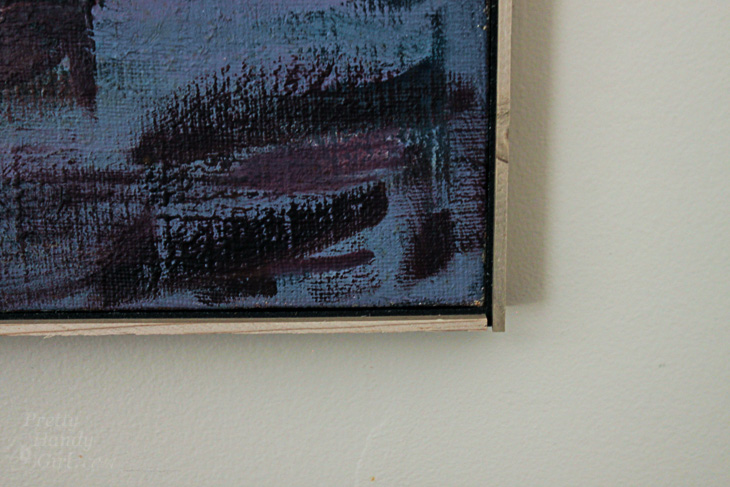
When compared to the before. . .
. . . that after looks much more finished. Am I right?
Do you have any canvas artwork that needs a little finish framing? Can you think of anything easier than this method?
![]()

This is a great post! For those who don’t have time, I have even a better idea. AC Moore has the Home Essential frames – they are $12 each. They fit the 16 x 20 standard size, thinner cut width. I got it done in less than 30 min and total cost for 4 frames was $45.00
I saw it from a mobile device. My 44 year old back can’t sit at a desk long lol. An ad or two cut off would help. But where there is a will, we will read your blog!!
This post inspired me to frame a canvas I had hanging for years without a frame. I used screen molding that fit perfectly. I stained, mitred the corners and used wood glue to attach. It’s perfect!
Canvas is my favourite art form. Your frames are beautiful
I hope you get rich from all of the ads that you have placed everywhere on this site. Probably a nice site if you could read it. I know that I sound hateful but really are a few pennies worth your soul??
How the hell do you think she’s able to support such a well done and tasteful blog. Jeez, you’re a buzzkill.
Yes, you do sound hateful but perhaps you have a hateful life. If so, I’m sorry for you.
Carol, I’m sorry you found the ads so obtrusive. The ads help pay for the large expenses I incur to run this blog. Did you know the server costs alone are almost $300 per month?
That being said, I try to keep the ads from distracting from the content. I’d love to know if you are viewing my blog from a mobile device or laptop. And what was so distracting about the ad. There shouldn’t be any ads that takeover the screen (those would indicate malware on your computer.)
I have not heard of these planks & I absolutely must check them out. Now I’ve got some great ideas where I could use them. Thank you & I love that painting she created.
Fast and easy! I like the raw wood but could also see it painted black. Great job!
Black would be very smart looking!
Don’t know what happy with my above email, should say, “look so beautiful framed”….
Fabulous! Ithe really look beautiful framed.
This will be perfect for my Wine and Canvas paintings I have done. I rotate them out by season. The edges are painted but this will give it a more finished look. And soooo easy.