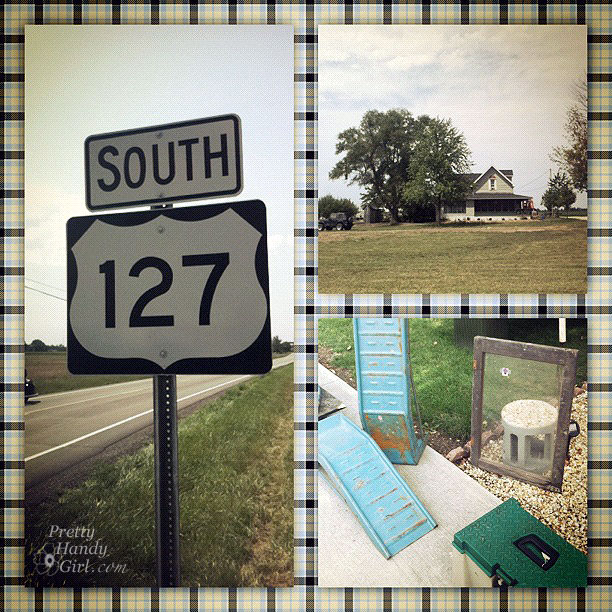
On Day 3, despite our best efforts to maximize our time, we ran into a few distractions. Here are a few words of wisdom and things we learned today: Read more
I made it home safely on Sunday night after an exhausting but fulfilling week. I apologize for not posting in real time, but there was truly no way for me to do it. Sleep was a bit of a priority for me ;-). But, we’ll just roll back our clocks and I’ll take you along for an adventure of a lifetime!
As you know, GMC flew six of us (Brooke from All Things Thrifty, Donna from Funky Junk Interiors, Lindsey from Better After, Cy & Traci from Beneath My Heart, and myself) to Michigan to take part in the World’s Longest Yard Sale and for a charitable cause. After our arrival in Detroit, we toured the OnStar command center, did some quick shopping at the Habitat ReStore in Detroit and then headed to our hotels for the night.
The next morning we woke up early to start the adventure! We each drew a piece of paper from our GMC organizer’s hand. On the paper was a room name. The room corresponded to a REAL room in a brand new Habitat for Humanity house in Birmingham, AL. The owner, Alexcia Moore, was set to receive the keys and move in on Sunday, August 5th.
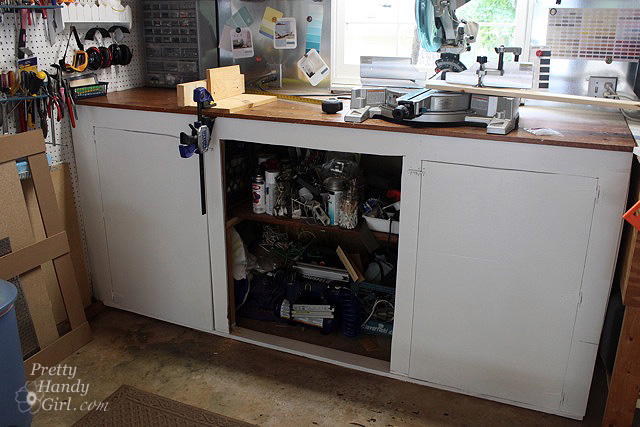
A few months ago when I got the call that Woman’s Day wanted to send a photographer to photograph me and my garage, I kind of freaked a little. I mean, it was my garage, the least attractive room in our house! Part of the unattractiveness stemmed from my workbench with a huge gaping hole in it.
It was suggested that I could just cover the hole with some fabric (which, yes, I could have done.) But, being that it is my workshop and a sawdust producing place, I felt I could do a little a little better than just some fabric. I decided to build custom doors for the opening. Luckily they turned out to be less of an involved project than I originally anticipated. (I love when that happens.)
Come on in the workshop and I’ll show you how I built these open frame cabinet doors. Read more
Well, I arrived safely in Detroit and hit the ground running. It is going to be a whirlwind of activity from now until Sunday, August 5th! Are you up for the adventure? If so, I’ll take you along for the ride.
First, I met up with fellow Junk Warrior, Donna. I know y’all know this famous junkster as Funky Junk Interiors. Donna is such a sweet gal (errr, I mean a tough chick!) Read more
How to Replace Garage Door Rollers
Let’s give a big round of applause and a thank you to Jeff from Home Repair Tutor for his tutorial on Changing Your Garage Door Extension Springs.
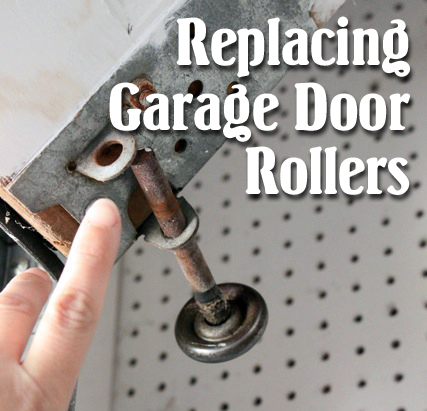
Today I’ll help you learn how to replace your garage door rollers! After that, with a little maintenance, your garage doors should continue to operate smoothly for a while.
Materials:
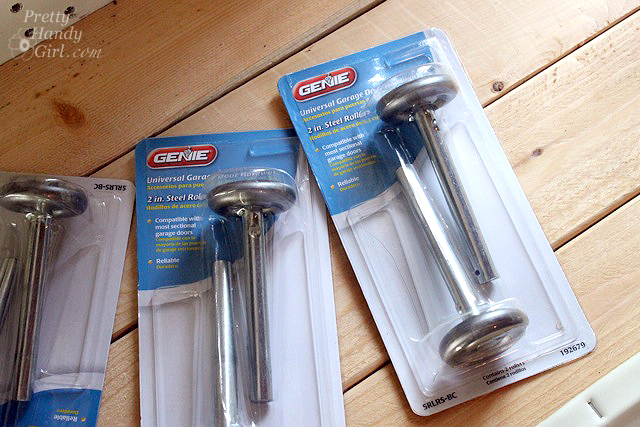
- New Garage Door Rollers
- Clamp
- Pliers
- Large flat head screwdriver
- Prybar
- A Helper
How to Replace Garage Door Rollers Instructions:
Start by opening your garage door completely.
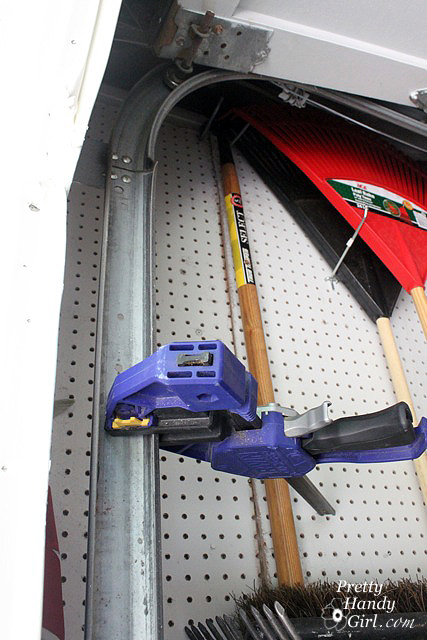
Place a clamp on to the track about 2/3 of the way up the door opening.
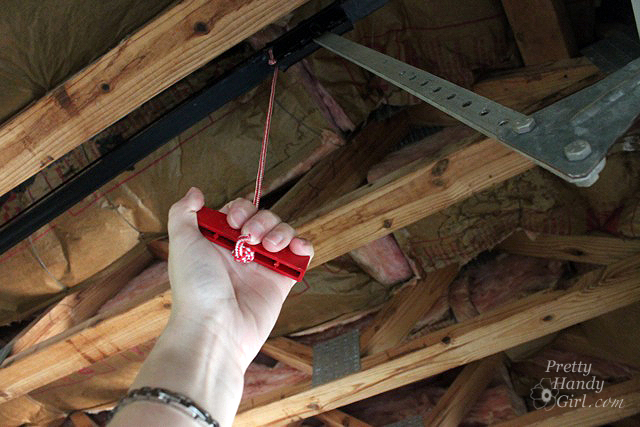
Release the garage door from the power opener by pulling on the attached release rope.
For added safety, unplug the garage door opener from the outlet.
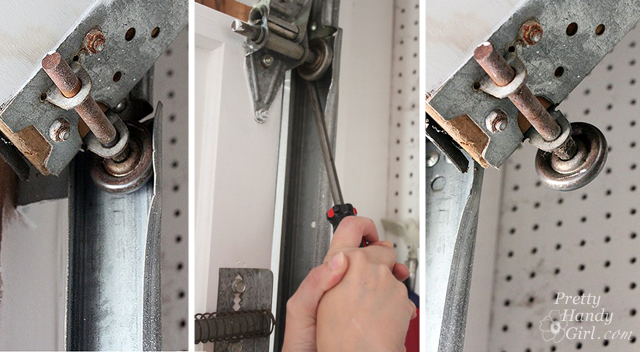
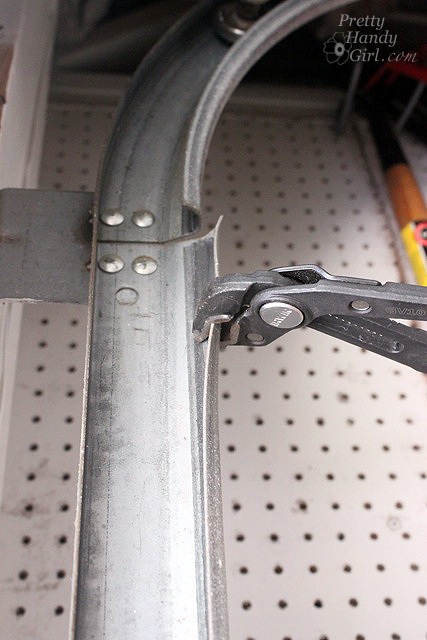
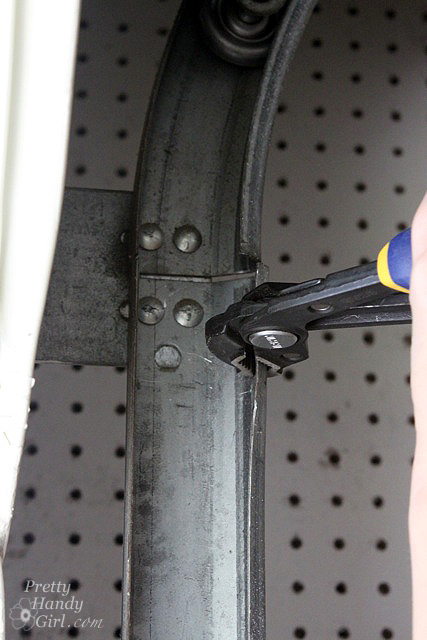
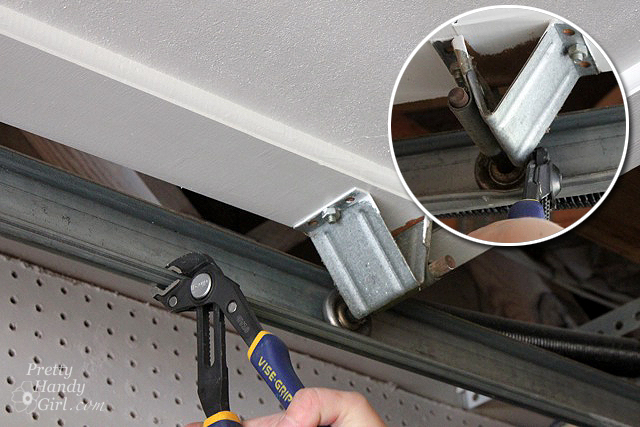
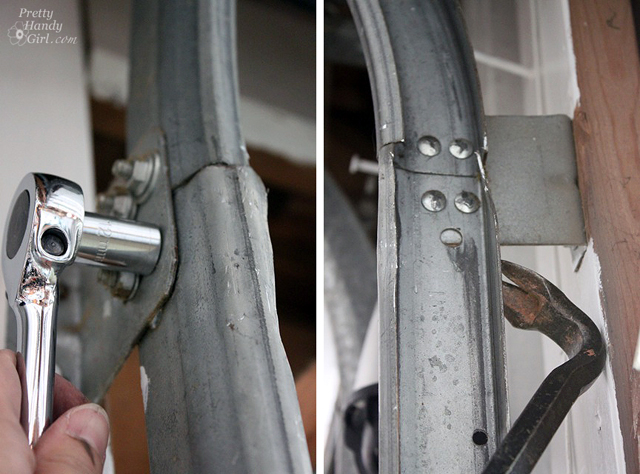
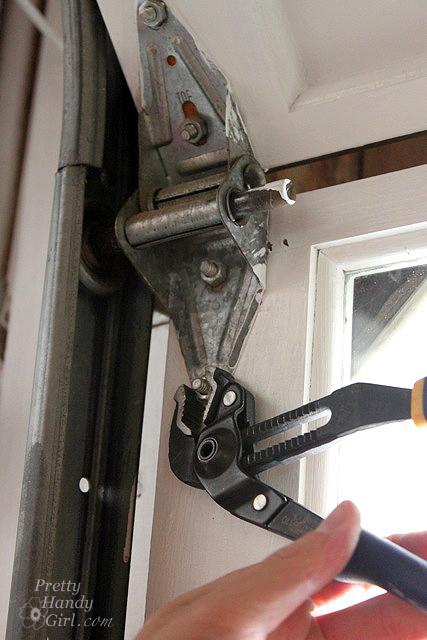
Near the top of the track use pliers to bend the track slightly open.
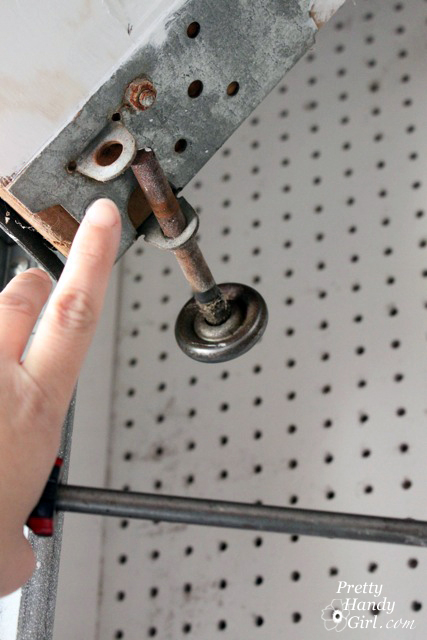
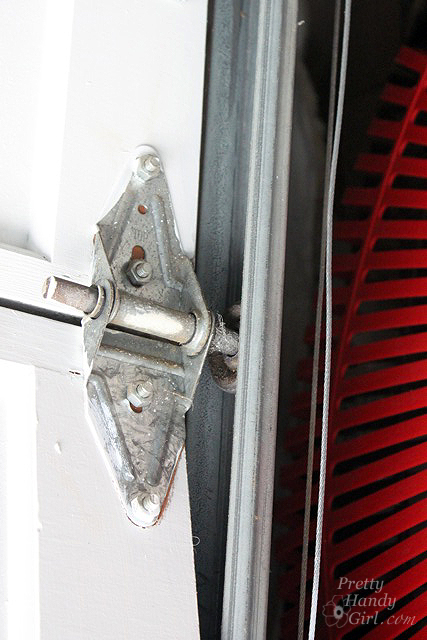
Line up the first roller with the opening. Use the flathead screwdriver and wedge it between the roller and the track. Pry the roller out of the track.
Remove the old roller.
Slide a new roller in and insert the roller back into the track.
Roll the door down to the next roller and repeat the same process for removing and replacing the rollers.
When you have replaced the bottom 4 rollers, you’ll realize that you won’t be able to replace the top one because it won’t line up with the opening in the track. Bend the track back into alignment and then roll the door all the way open.
Bend a section of track in the middle of the overhead section.
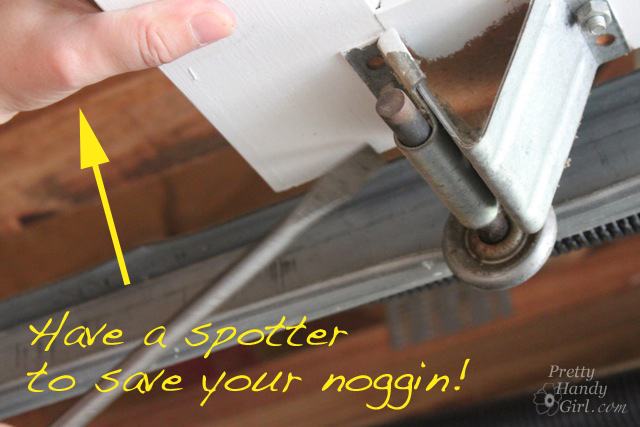
Be sure to have your helper spot the door or it could slip from the track and bonk you on the head. (Home Repair Tutor shows how to use a 2×4 clamped to the track to support the door if you don’t have a helper available. He also has a different method for replacing the rollers, so be sure to watch his video.)
(Oh yes, this did happen to me! I got knocked hard enough to have me down for the count, but I got right back up and kept right on swinging.)
Pry the last roller out and replace it. Use your pliers to bend the track back into shape.
Remove the clamp from the track. Plug the door opener back in. Re-attach the door to the garage door opener by pressing the button that controls the operation of your door (usually on the wall of your garage.) The door should automatically re-attach to the opener.
Close the door and watch for any misalignment of the track.
If you need to adjust the tracks, loosen the bolts on the side of the track and re-align the track. I used a prybar to give a little leverage to move the track small increments.
Tighten all the bolts. While you are at it, make sure all screws and bolts on the garage and the tracks are tightened because the vibration of the door can usually shake things loose over time.
And that’s it folks!
For more maintenance tips on keeping your garage in tip top shape, check out Home Repair Tutor’s post on garage door maintenance.

