I’ve been keeping a secret from y’all and I just can’t live with it anymore. I have a miracle stain remover recipe that has time and again proven to work on some of the most stubborn stains. Plus, find out why we don’t need dryer sheets anymore!
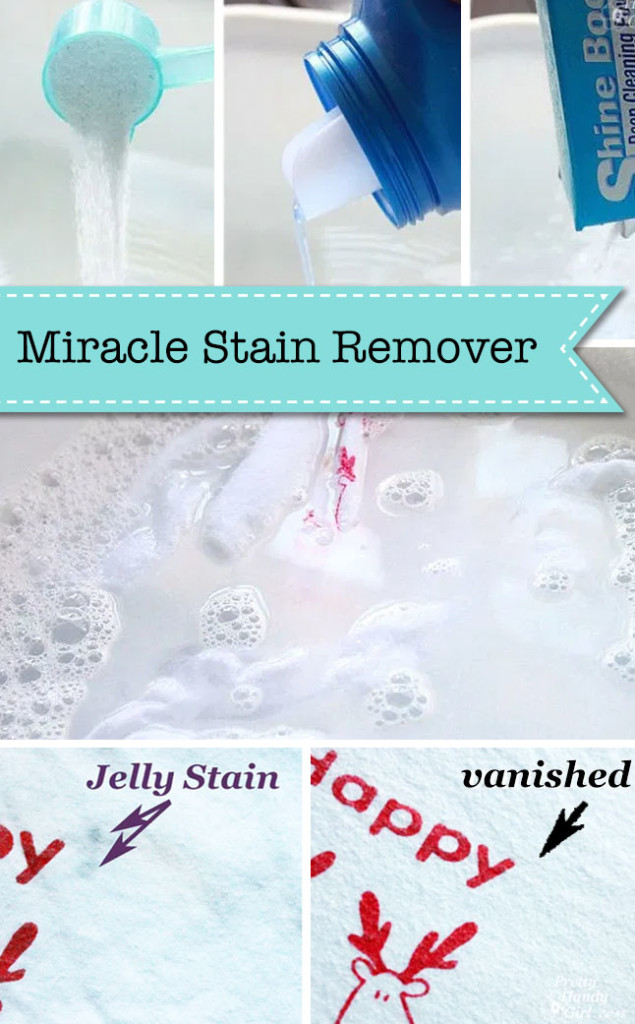
miracle stain remover

Miracle Stain Remover and a Healthier Alternative to Dryer Sheets

Recently, Pretty Handsome Guy came back from a business trip with a stained button-down shirt. It had wing sauce on it AND it had been allowed to settle for a few days AND he hadn’t pre-soaked it or used any stain remover. (Have I not taught him anything?! Sigh.) I thought for sure the shirt was a goner. But, I decided to put my miracle stain remover recipe to the test. Low and behold after 24 hours of soaking in the concoction, the stain was magically gone! No scrubbing, it was simply gone. Can I apply for a magic wand now?

I can’t lay claim to the recipe. I found it on our local “Mommy” message board back when I was a new mom. But, this recipe has worked on more stains than I can count.


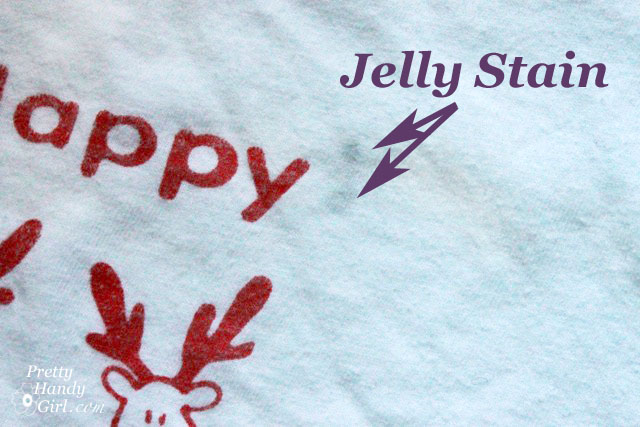
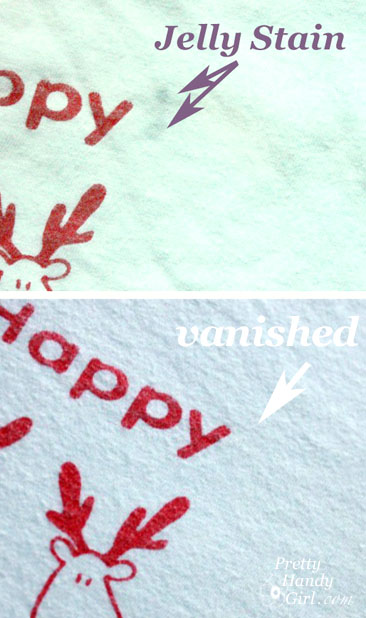
I mixed up a batch today to try on one of my son’s shirts that got blueberry jelly on it. My mom tried to wash it to get the stain out, but it was still there after laundering. Normally once a stain goes through the dryer it is set in. But, that didn’t deter the me from trying my Miracle Stain Remover. Sit back and learn young Jedis (we watched Star Wars last week, so it is on my brain.)

Miracle Stain Remover…

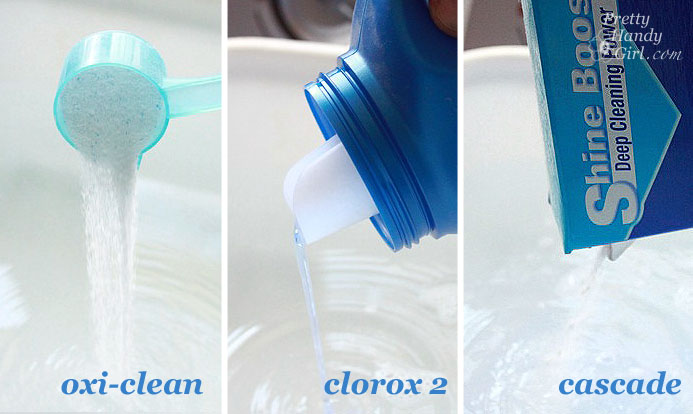
Ingredients:

(I’ve included affiliate links for your convenience. I earn a small percentage from a purchase using these links. There is no additional cost to you. You can read more about affiliate links here.)

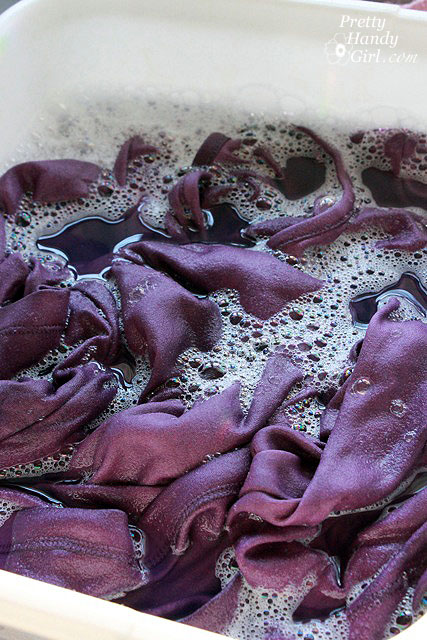
Fill your basin with warm water then add the Oxi-clean, Clorox 2, and powdered Dish Detergent. Give it a swirl and mix until the powders dissolve and bubbles form.

Place the stained garment into the mixture, being sure the stain is submerged. After two hours you can take a peek! My stain was gone.

For tougher stains, let it soak overnight. Remove the clothing to behold the miracle! Normally I will throw the garment into the wash, but you could simply rinse and dry it.

And, this formula is also safe for colors as well!

Laundry Detergent…

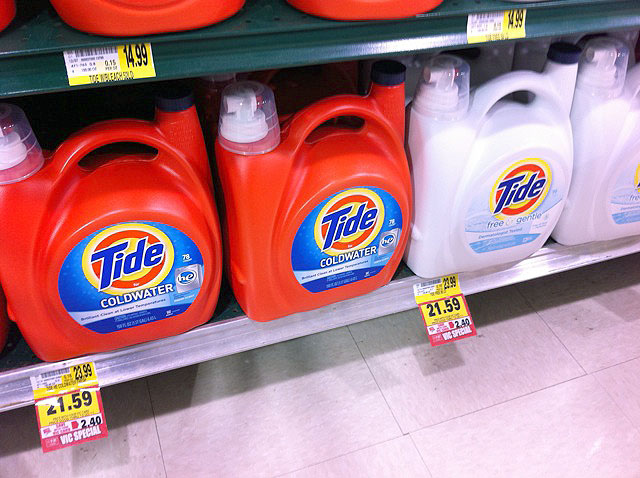
In the spirit of sharing, I also have this recipe for Making Your Own Laundry Detergent for only $1.25 per year! I mean, have you seen the price of laundry detergent lately?! 200 oz. for “gulp” $35! Whereas the recipe I made yielded 250 oz. for….are you ready for this…$0.61! This is a 97% saving on detergent by making your own.

And the best news is that it is safe for HE washers. You only need 1/4 cup per load. Click Here to Get the Recipe for Making Your Own Laundry Detergent for $1.25 per year!

Drying clothes…

And since I’m talking laundry today, this post wouldn’t be complete without mentioning my secret weapon for drying clothes.

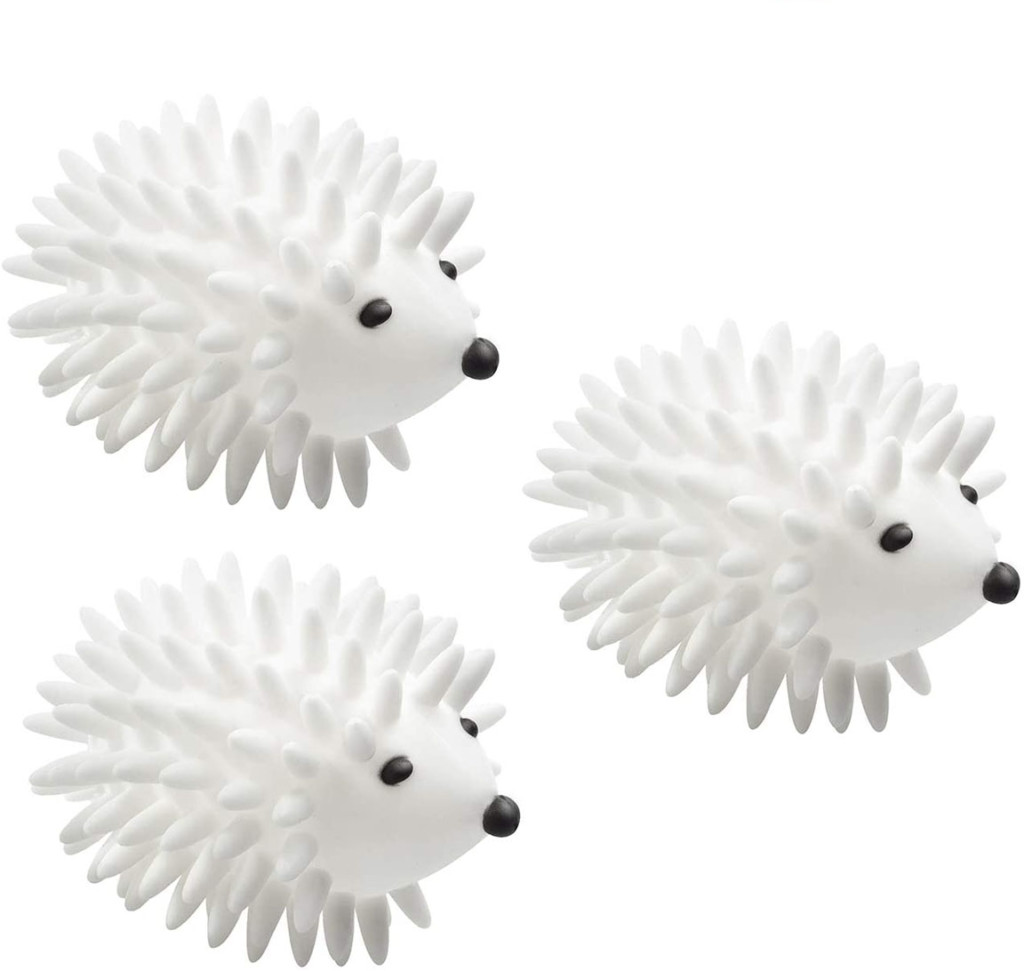
I use two of them! They may look like medieval torture devices or rabid animals, but these little hedgehog dryer balls have completely kicked our fabric softener sheets to the curb! I haven’t used dryer sheets in over 9 years now! At first I was concerned about static (the bane of my hair’s existence), but then a friend told me that you can eliminate static by not letting your clothes over dry. Simply shut off the dryer when your clothes are about 95% dry. Don’t let the dryer run and run and run until the clothes are piping hot and there isn’t a spot of dampness on them. Instead, let the moisture sensor (if you have one) do its job and it should shut off right before the clothes are dry. The waistbands in jeans or sweatpants may feel slightly damp, but everything else feels dry. And most importantly, pull out fleece, polyester, or synthetic clothes about halfway through the cycle.

The dryer balls (you should use two) work together to punch, separate, fluff, and dry your clothes. They also help keep wrinkles to a minimum, but I’m not afraid of a few wrinkles (see my no iron solution to wrinkles post.) The Dryer Balls cost less than $10, but the cost savings of not using dryer sheets is definitely worth it. Plus, you don’t have to stress about the chemicals that are in dryer sheets. These little wonder balls (I can’t believe I just typed that) last for a long time, but it’s good to have three in case one hedgehog loses a nose (it can happen.) I have been using mine for over nine years. They start to get darker on the nubs from dye in your clothing, but it doesn’t transfer and it doesn’t hurt their effectiveness.

I hope you found these laundry tips helpful. Please share with a friend!
miracle stain remover

The other day I was lamenting the condition of our laundry room. It was beautiful about a year ago, but continual use and lots of cleaning paint brushes had left the wall looking like this.

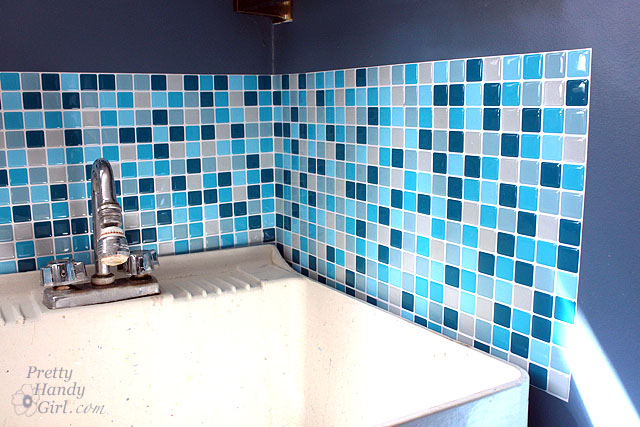
Since Jackson Pollock walls are not in style, I decided to give the utility sink a quick face lift. Of course glass mosaic tiles would be really fab here. But, I didn’t have the time or desire to grout the walls and tiles. Luckily I had some Smart Tiles patiently waiting for me to try them. I chose the Lagoon Mosaik tiles for my laundry room. But, there are a wide variety of colors and sizes to chose from. These self-adhesive tile sheets have the look of mosaic glass tiles but not the hassle and mess of mixing grout, laying tile, and cleaning the grout afterwards.

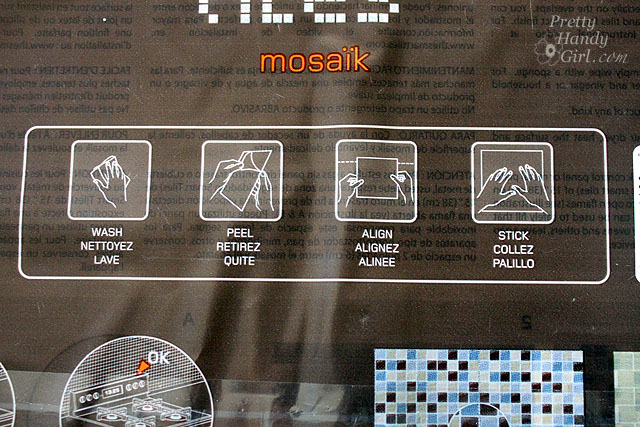
Installing them is a cinch. It is as simple as wash, peel, align and stick! See:

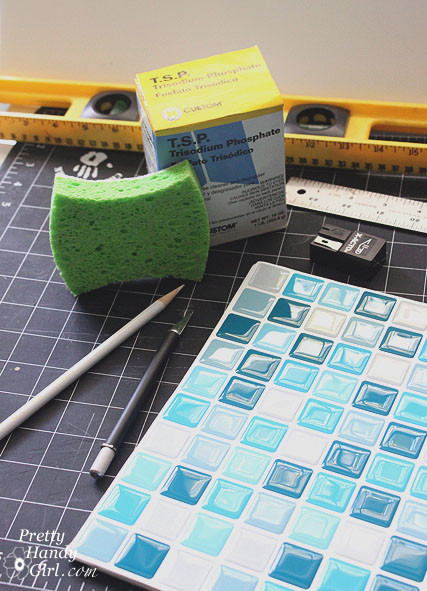
You’ll need a few materials before you start:

(I’ve included affiliate links for your convenience. I earn a small percentage from a purchase using these links. There is no additional cost to you. You can read more about affiliate links here.)

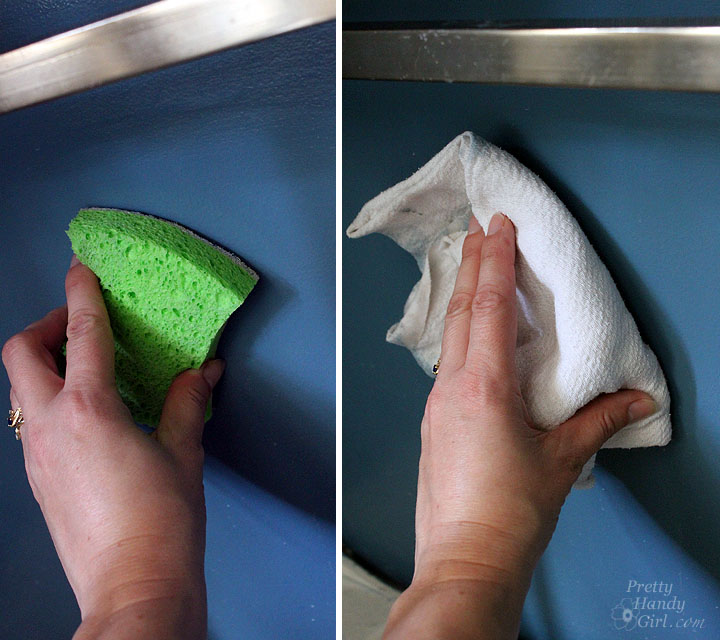
Clean the walls according to the directions on the TSP cleaning solution box. Wipe the walls dry.

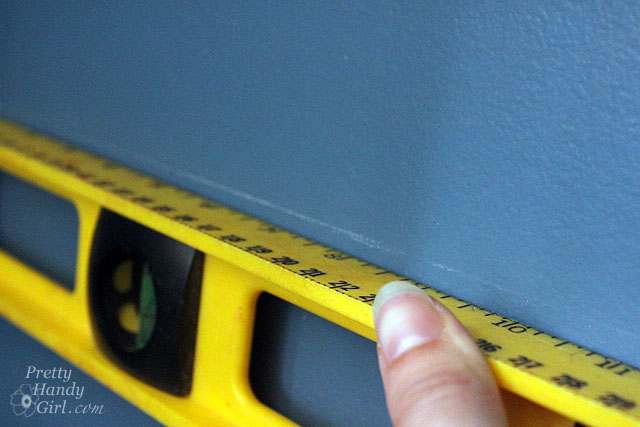
Use a level and a pencil to mark a line where the top of the smart tiles will be installed.

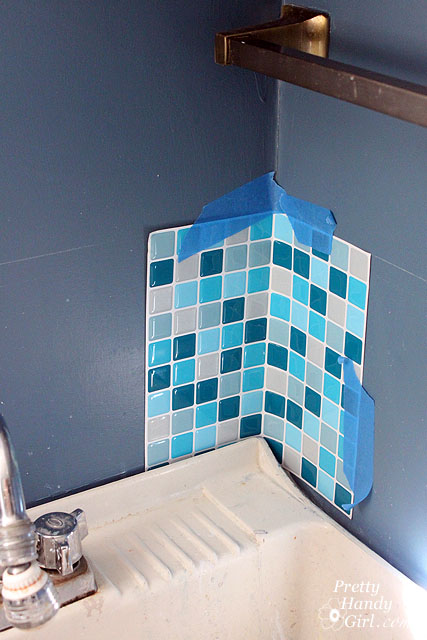
Dry fit all the tiles sheets. Start in the corner (if you have one.)

 Tape up all the tile sheets using painter’s tape.

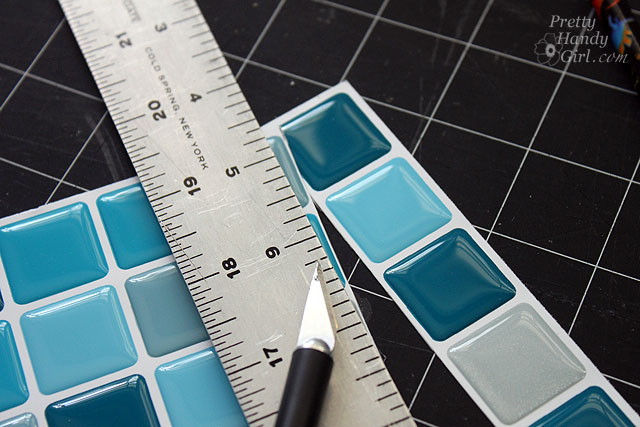
Cut any excess off the sheets and cut any additional tiles needed for the installation.

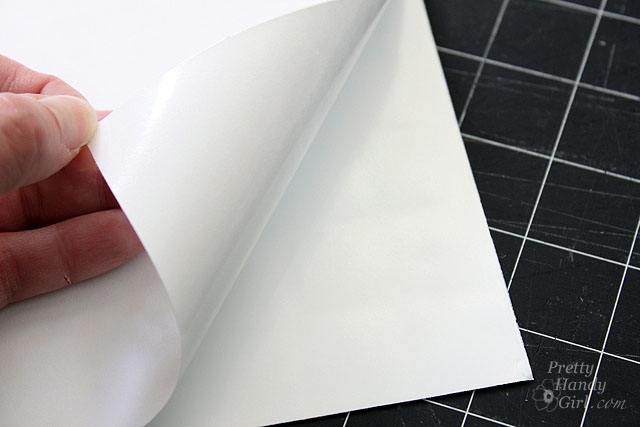
Peel the backing off and carefully adhere the tile sheet to the wall. Try very hard not to touch the adhesive backing.

Line the tile up with the level line.

Press firmly against the wall and smooth your hand over the sheet to remove any air bubbles.

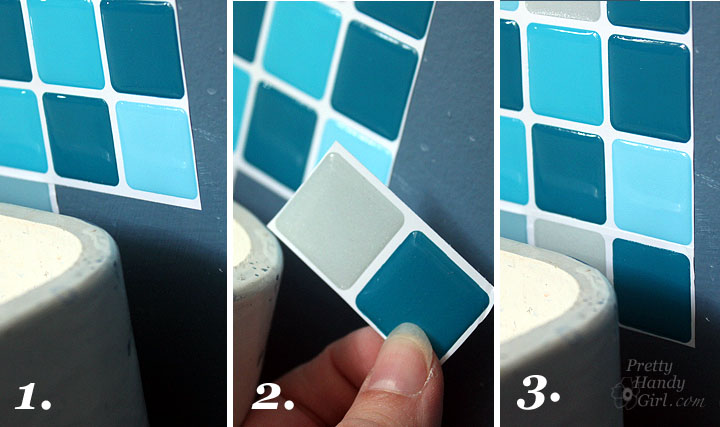
For any holes: 1) Count tiles for the hole. 2) Cut out that many tiles. 3) Stick them on and admire how well they blend with the existing tiles.

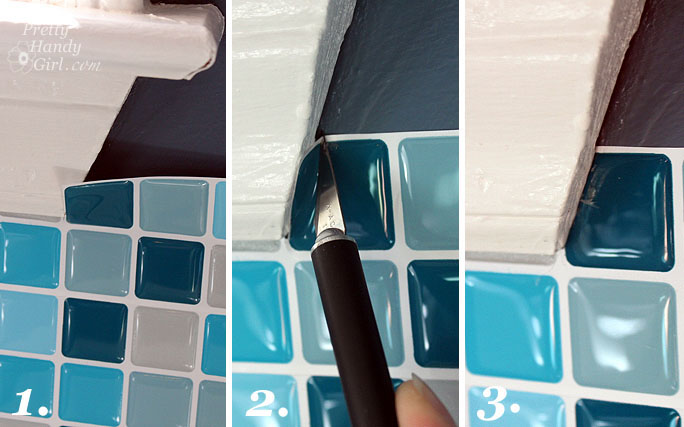
Another reason the Smart Tiles are a breeze to install is because they are flexible, you can wrap it around an object, then mark the cut and use an X-ACTO knife to cut away any excess.

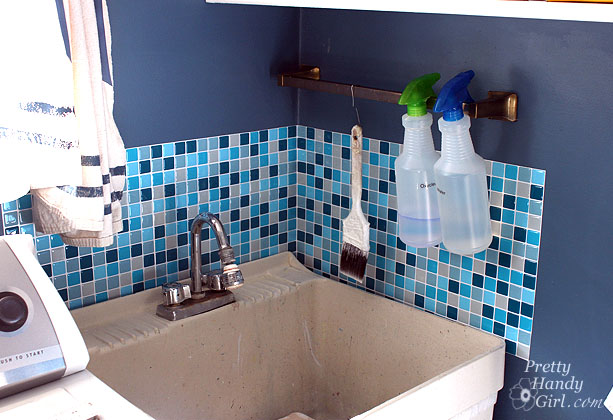
That is all there is to it! Stand back and admire your handy work!

I loved the ease and simplicity of the Smart Tiles. They look real until you get up real close and notice that they are not as thick as glass tiles on the side. To fake the sides, you could fit a thin piece of molding on the sides and the top to give it a more finished look.

Although these tiles are easy to install, they cost about the same as the real thing. However, you will save money on grout. And you will definitely save time (and we all know that time is money!)

The tiles I installed have wiped off very easily and they don’t show splashes. A few of the corners have started to peel up where I wasn’t  careful about not touching the adhesive backing. The rest of the seams are holding tight.

If you are looking for a quick and easy solution to update your backsplash, I highly recommend the Smart Tiles.

That being said, if you want a more permanent solution, I recommend spending about the same amount of money and take the time to install glass mosaic tiles.

Note: They cannot be installed inside a shower where the conditions are very wet. In the kitchen, if installing behind a gas range without a back panel, you need to leave a safety zone.

You can purchase them at your local Home Depot in the US,  online, or at these locations.

Update: The Smart Tiles I installed eventually started to peel and didn’t look so smart. I’d recommend this for a temporary backsplash, but for a more permanent solution go ahead and tile your backsplash. It may be a little more work, but it’s not difficult to tile.

Disclaimer: I was sent one packet of 6 Smart Tiles to try. This is not a paid review, all opinions and the project are my own. If I don’t like a product, you won’t see a review on my blog. For more information about product reviews and my disclosure, read this.

Photobucket

ANNOUNCING the Best DIY Project of 2011 CONTEST!!!

Stacy from Not Just a Housewife is hosting a contest to find the Best DIY Project of 2011. As the power tool wielding writer of a very popular DIY blog, she is the perfect person to host such a competition!

Here are the details:

  1. Go to Not Just a Housewife on January 2nd.
  2. Link up your favorite DIY projects you did this year.
  3. Sit back and wait for some esteemed DIY guest judges to pick the top 5 projects.
  4. Then you get to vote! ALL of you will have the chance to vote for your favorite project to win the Ultimate DIYer prize package!!!!!

The top 5 will be announced on January 9th. Voting will start the 9th and run that whole week. The winner will be announced on January 16th.

Here’s a little sneak peek of the companies who are donating prizes:


The projects will be judged by these super handy DIY bloggers!!!! Check out the line up:

The projects will be judged based on creativity, how well it was executed, and visual interest. Basically, if we like the project and think you did a good job 🙂

Here are the DETAILS:

*You must be a follower of Not Just a Housewife

*You may link up a max of 3 DIY projects (cause I know how hard it is to pick just one….)

*The project(s) must have been done by you (it is alright if you had a little help but the idea and the majority of the work should be YOU)

*The project needs to to have been completed and posted about in 2011

*You need to add the contest button in the post or on your sidebar (I will provide the button code when the contest goes live)

Head forth and link up your projects!!!!!!!