You Rule Valentines | Pretty Handy Girl

On Friday, I shared my tutorial for making You Rule Candy-Free Valentines.

(I’ve included affiliate links for your convenience. I earn a small percentage from a purchase using these links. There is no additional cost to you. You can read more about affiliate links here.)

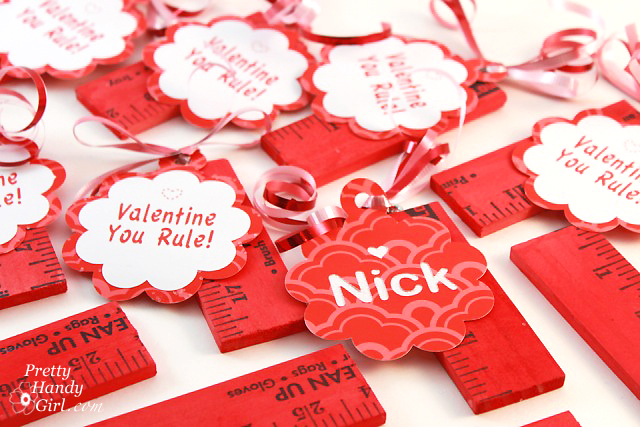
I also created a tutorial for making those cute tags. If you have a Silhouette or other craft cutter, I have a few tricks for making the cut out tags. In particular, I want to show you how to attach the centers (technically called the counters in typography) of letters so they don’t drop out after being cut. You could simply glue them back in, but when you are making 50 tags that can become time intensive. I guess an alternative would be to  simply change your child’s name to something like Nick where there are no letters with centers. 😉 Yeah, maybe not. Here’s how I dealt with those pesky letters with centers: Read more

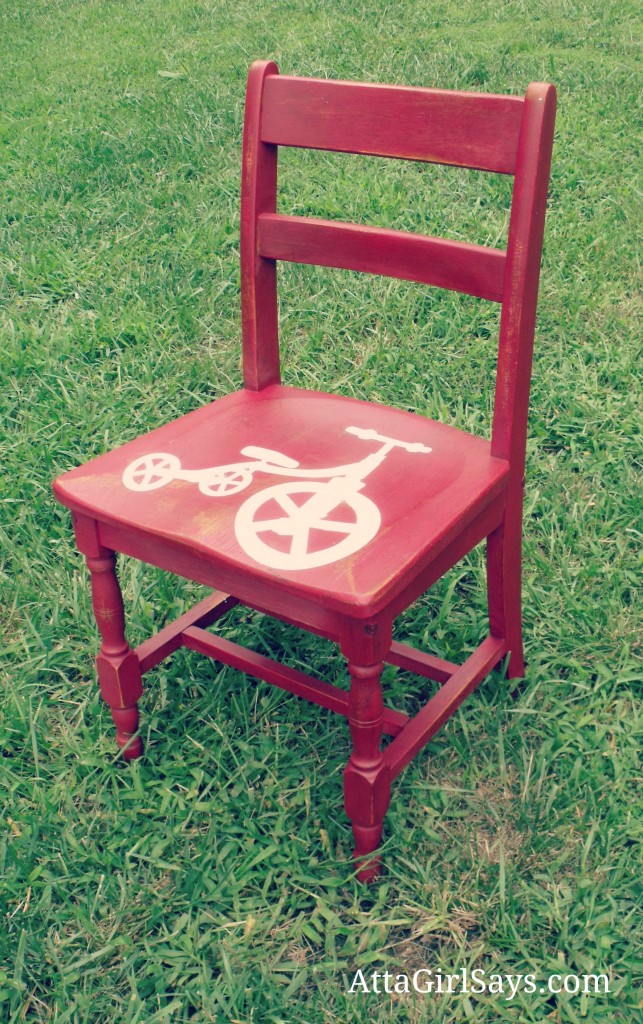
Last month, I was a little nervous to try a new power tool. I know…I know…shock and disbelief! But, y’all came to my rescue and helped share all your tutorials for using the Silhouette and other craft cutters. You really have to see all the wonderful projects that were linked up, like Atta Girl’s Tricycle Chair:

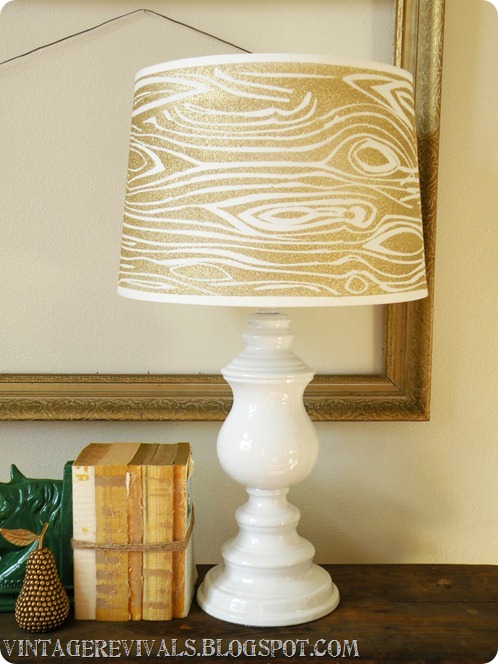
And Vintage Revival’s Wood Grain Lamp:

and I yelled “Stick a Fork in Me I’m Done Procrastinating!” when I laid eyes on All Things Thrifty’s Knife and Fork curtains:

After reading all your project tutorials, I was able to get a handle on my fear of the unknown and try out the Silhouette. Read more


I was so excited to receive my package from Silhouette recently. I couldn’t wait to try the machine out. I opened the package, read all the instructions, plugged it in… and then I froze. Seriously! I know — I’m not afraid of power tools but I honesty wanted to make something really cool with my new Silhouette Cameo and couldn’t think of a single thing to make with it. I sent out a plea to some of my blogging friends begging them to share their ideas with me. They graciously sent me some of their project links. Then I started searching Pinterest and created a board of Silhouette (and other Craft Cutter) projects.

It was like getting a crash course in using a Silhouette from the pros! I was all ready to proceed and then WHAMMO! I got hit by the crud (see my post from yesterday). As I am taking time to recover, I hope you’ll take me under your wing and share some of your Silhouette and other craft cutter projects with me in the linky collection below.

Please share your craft cutter projects so I can learn some of the cool things I can make with my new Silhouette. I’m an eager student! (Linking back to this post would be greatly appreciated so you can share the knowledge.)


Disclosure: I’ve included affiliate links for your convenience. I earn a small percentage from a purchase using these links. There is no additional cost to you. You can read more about affiliate links here.

I actually reached out to Silhouette to ask them about sending one of their machines for a product review since I had heard many good things about it. I’ll be sure to give you my feedback when I do try it.


My kids like to raid our recycling bin. They make the most imaginative things out of milk jugs, strawberry pints and toilet paper rolls. In fact, my five year old has been making his own Halloween costume from paper bags and tape. So, when #CollectiveBias sent out a challenge to make trick or treat bags with Elmer’s Craft Bond Glue Spots and Elmer’s Foam Board, I knew right where to head for supplies: Walmart AND the recycling bin! I hereby invite you to join me (and my escort) as we gather the supplies for this project.

Materials:
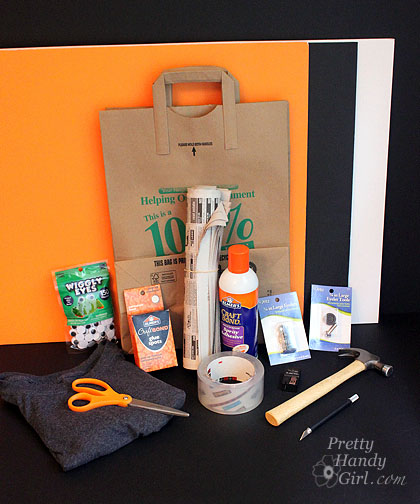

Instructions:

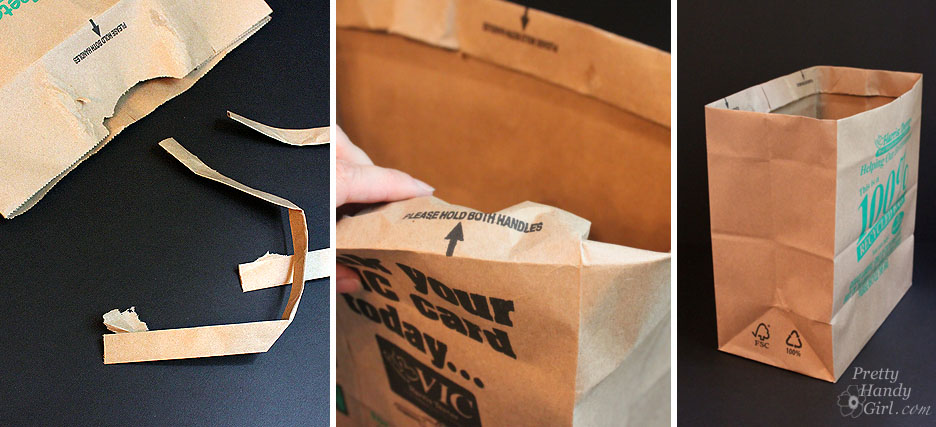
Start by removing the handles from the paper grocery bag and then cuff the top of the bag by rolling it under two times.
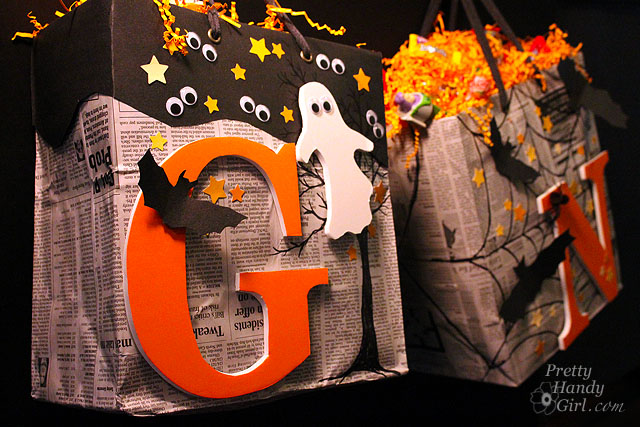
Pick out two sheets of newspaper (I used the obituaries. Truly Halloweeny don’t you think?!) and bring the paper bag and newspapers outside and spray them with spray adhesive.

It is important to wrap the paper bag with the newspapers as soon as possible for a maximum bond.
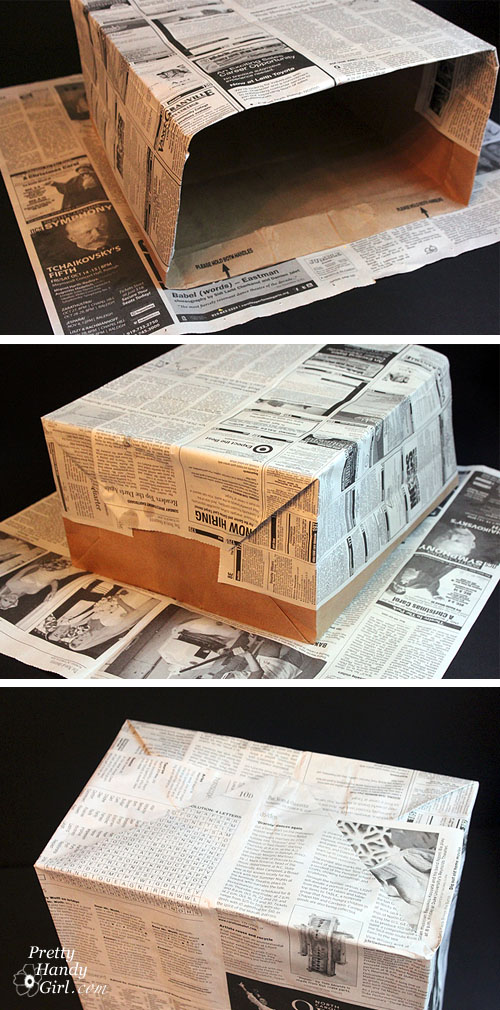
Wrap the bag neatly like a present with the newspaper. Use clear packing tape to tack any loose edges down. Also add a strip of packing tape to the inside of the bag cuff for extra support for the handle (should your child bring home pounds of candy!)

Take out your sharpie pen and draw lines in a spiderweb pattern on the bag.

Set the bag aside and collect the orange foam board, x-acto knife (with a fresh blade), pencil and the letter print out.
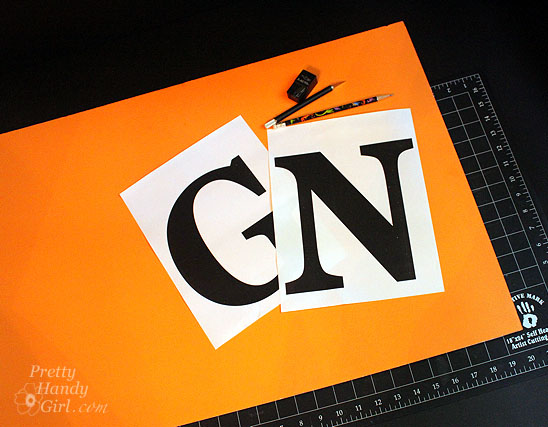
Set the letter on top of the foam board. I usually line the edge of the letter up with the edge of the foam board for less material waste.

Press firmly with the pencil as you trace around the letter. When you remove the print out you should see an indented outline.
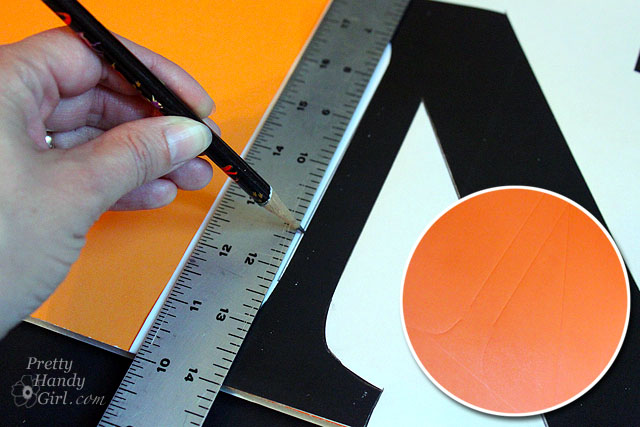
Using the x-acto knife, cut out your letter shape. Use a metal ruler to cut straight lines. If your knife starts to tug and pull at the foam board, put a new blade in.
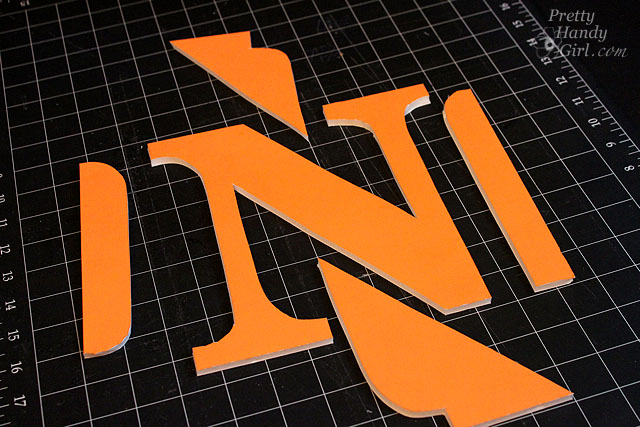
Clean up any ragged edges with the x-acto knife.

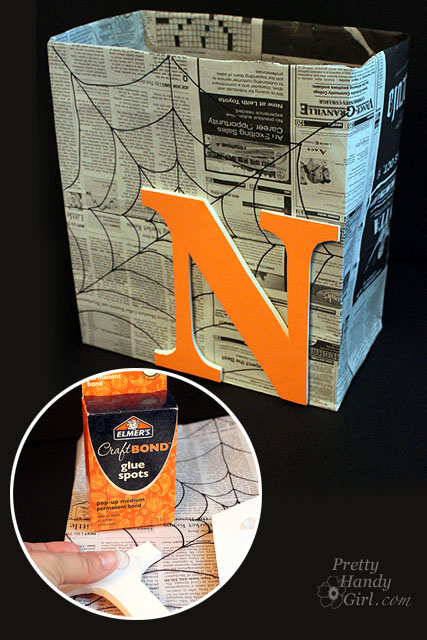
Use a few Elmer’s Craft Bond glue spots to affix the Elmer’s foam board letter to the bag.
To create a little spider, glue two pom-poms together with another glue spot. If you have black twisty-ties you are good to go aren’t you special, you don’t have to color them. (I only had white ties so I colored them with the black sharpie.) Wrap four twisty-ties around the middle to create the spider’s eight legs.
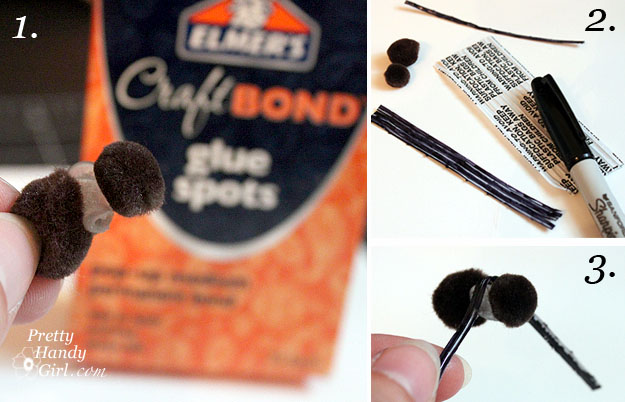
Use another glue spot to glue the spider to the bag.

Print out a bat silhouette downloadable template and layer it on top of black poster board. Cut out a few bat silhouettes.
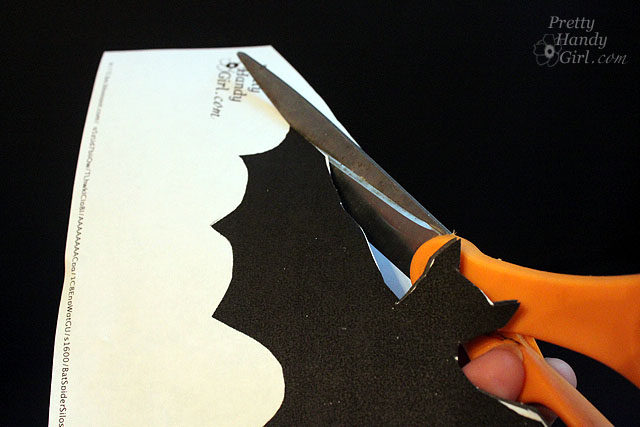
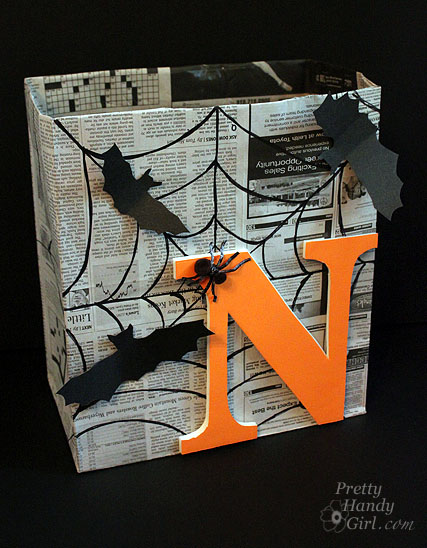
Use a glue spot on the center of each bat to glue them to the bag. Fold the bats wings up for more dimensional interest.
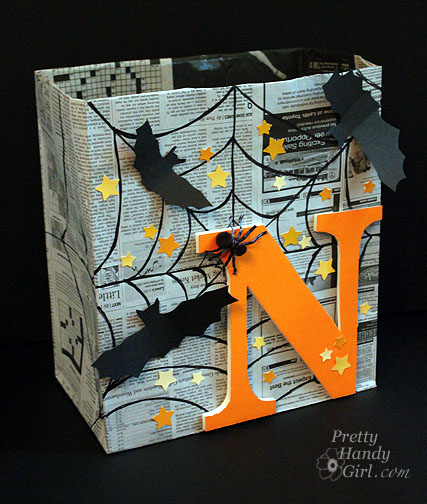
Add stickers (or pre-punched paint chip stars using Elmer’s Glue-All multi-purpose glue) to the bag.

I incourage you to decorate your bag anyway you like. Bust out your craft supplies for inspiration.
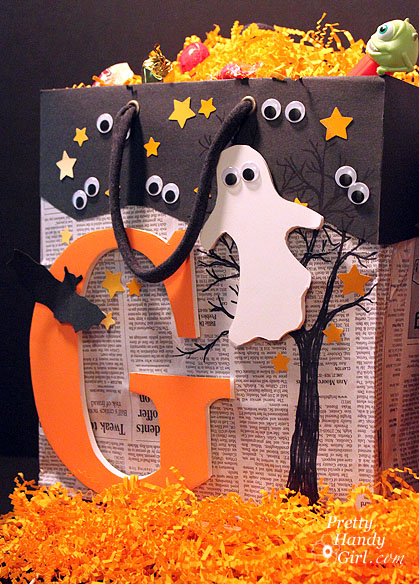
If spiders and bats aren’t your thing. How about spooks and spirits?
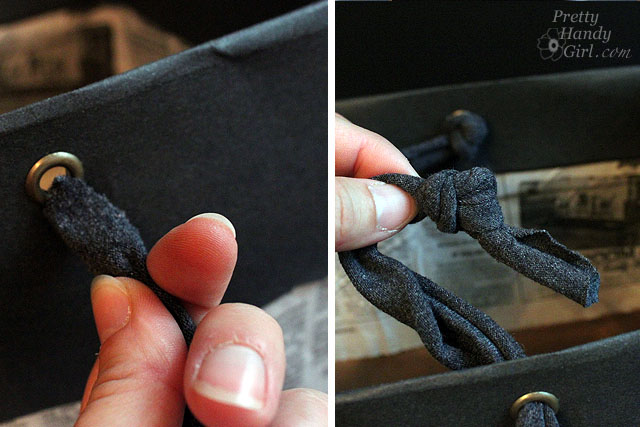
To add the handles, follow the directions on your grommet kit. 1. Punch a hole in the bag at the top of the bag using a hole punch. 2. Insert a long grommet through the hole. Lay a short grommet on top. 3. Hammer the grommets together using the metal rod tool that came with the grommet kit.

Cut off the sleeves from a t-shirt. Cut two 2.5 – 3″ wide strips. Then stretch the sleeve loop in opposite directions. This will make the shirt material roll.

After you have stretched and rolled the sleeve loops, cut them at the seam. Then thread each end through the grommets on the bag and tie a double knot on the inside of the bag.
Now gather up your little trick-or-treater and give him this unique candy collection bag! My sons’ had the biggest smiles on their faces. Definitely worth the effort to make these bags.

This eency weency spider is my favorite!

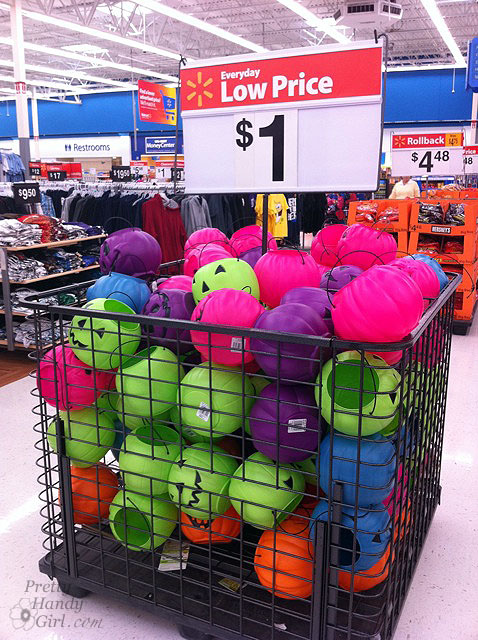
Way more personalized than these generic plastic pumpkins, don’t you think?!
Which one is your favorite? I can’t decide, because I love them equally as much. Spook or Spider?
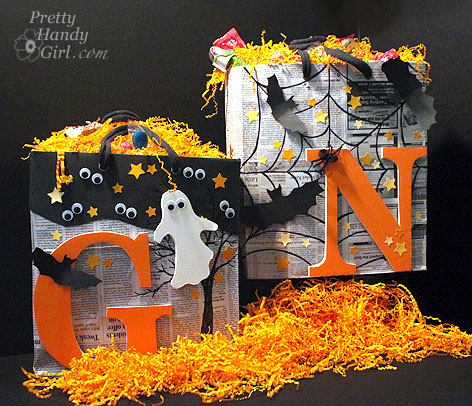
Eeeeeekkk, we can hardly wait for October 31st!
Disclosure: This project has been compensated as part of a social shopper insights study for Elmer’s #gluenglitter #CollectiveBias #CBias. The ideas and opinions shared in this post are purely my own from my own crazy creative head.

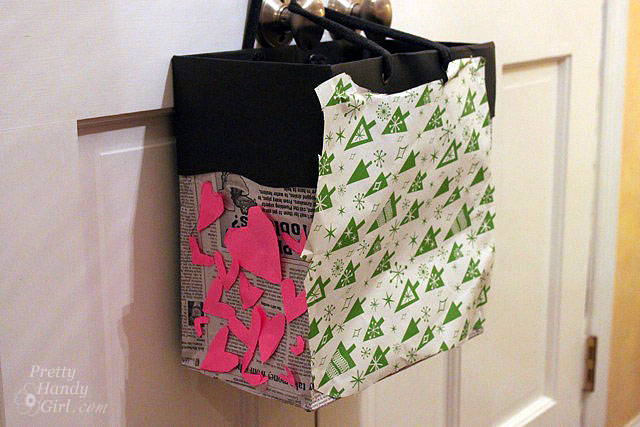
Follow up: Well, my youngest loves his bag so much that he told me, “Mom, we should decorate every side with a different holiday.” And that is exactly what he did today during quiet time. I just want to stop time and keep him five forever!

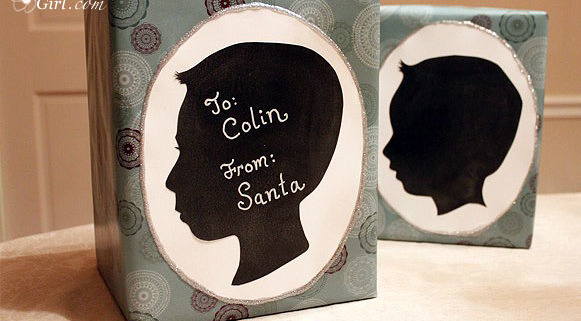
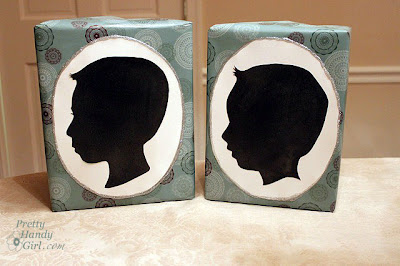
Now that the Christmas hype has died down and my cold has lost its grip on my sinuses, I’m back with a quick little tutorial on creating a special silhouetted gift for your child.

Thank you to my dear Pretty Handsome Guy for his guest post. I’m glad you all enjoyed a good laugh at his expense.

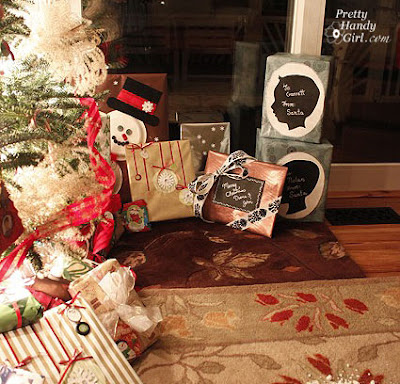
Christmas morning my boys were greeted by magical North Pole snow footprints (baking soda) leading up to the tree.

In an effort to keep the Santa myth alive, the two presents from Santa were constructed in a different style from the other presents under the tree.

My six year old exclaimed Christmas morning, “MOM! Santa knows what we look like!” So, I think I fooled them again this year.
Materials:
Scissors
X-acto knife (optional) and cutting surface
Profile picture of your child
Spraymount
White sheet of letter size paper
White cardstock paper
Black cardstock paper or construction paper
Chalk, Bistro marker, or White paint pen
Pencil
Glitter spray
Glitter glue

Start by creating your child’s silhouette. (My silhouettes took many steps in Adobe Photoshop, but I’ll give you instructions for the easy way.) Simply take a photo of your child turned sidewards (preferably in front of a blank wall.) Then enlarge the photo on a copier to the size you want to use. Lay the paper on top of the black cardstock and cut them both at the same time. I prefer to use an X-acto knife for the cutting, but you can use scissors if you like.

Unless you have a graphic program or a template to draw perfect ovals, you will need to draw one freehand. Wait, wait, don’t freak out. You can do this!

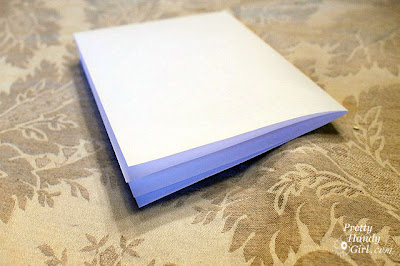
First, fold a letter sized paper into fourths.

Draw a curve on the paper with the fold sides inside the curve.

Cut along the line.

Open up your paper to reveal your oval. If you don’t like it, try it again.

Once you are happy with your oval, trace the folded oval onto white cardstock paper and cut it out.

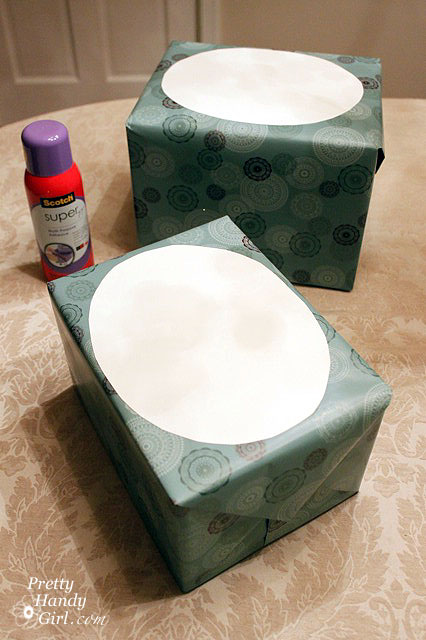
Wrap your present (be sure to use wrapping paper that your child has never seen in your home!)

Spray the back of your cardstock oval with spray mount and adhere it to the present.

I added some glitter spray to the wrapped package to give it a little extra sparkle! (I know, it doesn’t really show up in the photo.)

So, here is a close up of the glittery goodness:

Spray the back of your silhouette head with the spray mount and lay it inside the oval.

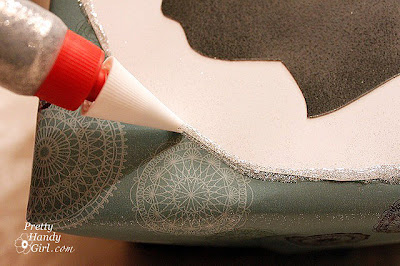
Next, add a bead of glitter glue around the edge of the oval. Note of caution: Allow the glue to dry before setting your package upright or it WILL run. Of course I learned the hard way and had to unglue my package from the shelf it was sitting on. Drat!
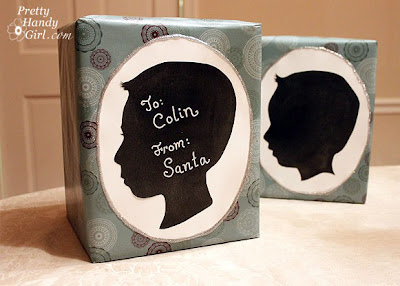
Here are the presents before I added the “To & From” on them.
You can write your child’s name on the silhouette using chalk, bistro marker or white paint pen. Or leave it blank if you wish, your choice.
That’s it, not too hard, but the results are stunning. You could use this gift wrapping technique for any special present.
I have to share with you a little something that warmed my heart Christmas morning. My oldest carefully cut off the fronts of all the presents that I gave him to preserve the creative gift wrap designs.
He saved them all including his silhouette from Santa.
In stark contrast, my youngest tore into the packages as any other eager four year old boy would.