Protect Spigot from Frozen Burst Pipes | Pretty Handy Girl

31 Days of Handy Home Fixes | Pretty Handy Girl

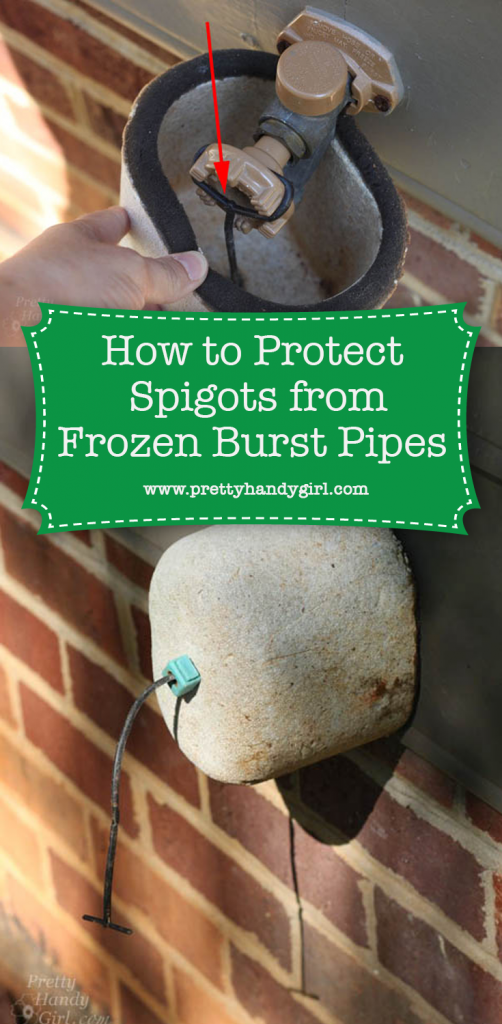
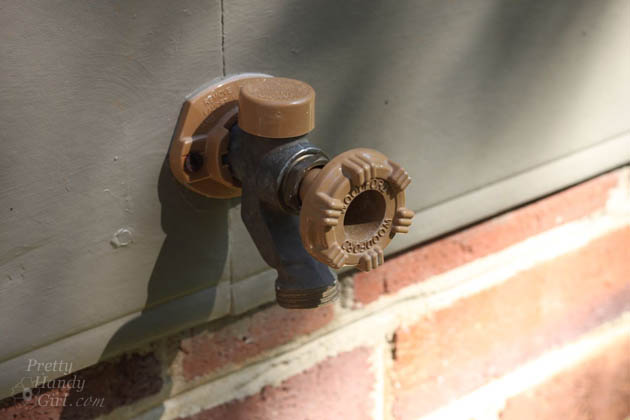
Winter is coming and this year I want to help you protect your home from a burst pipe because it froze. Much like your water pipes (which should have foam insulation sleeves on them,) it’s important to protect your spigot on the outside of your house from freezing.

Protect Spigot from Frozen Burst Pipes | Pretty Handy Girl

Luckily, Frost King makes this handy dandy Insulated Outdoor Faucet Cover.

Day 12: Protecting Spigots from Frozen Burst Pipes

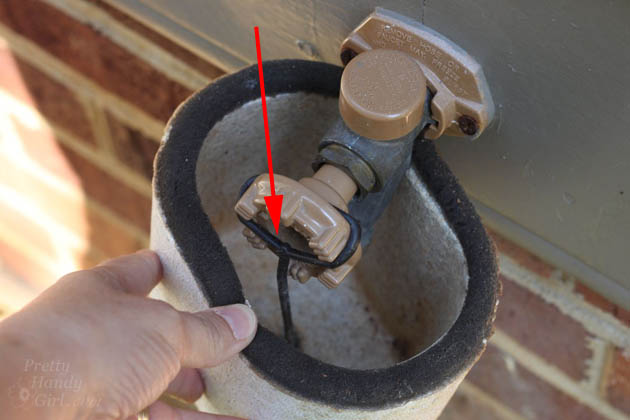
To install the insulated cover, you simply slip the interior cord loop over the spigot handle.

Protect Spigot from Frozen Burst Pipes | Pretty Handy Girl

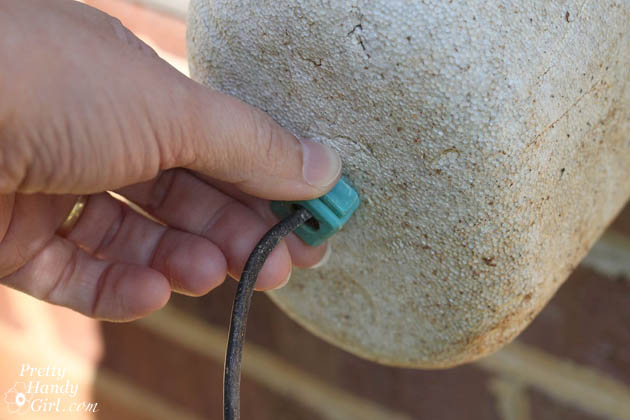
Cinch the cord lock tight onto the styrofoam cover.

Protect Spigot from Frozen Burst Pipes | Pretty Handy Girl

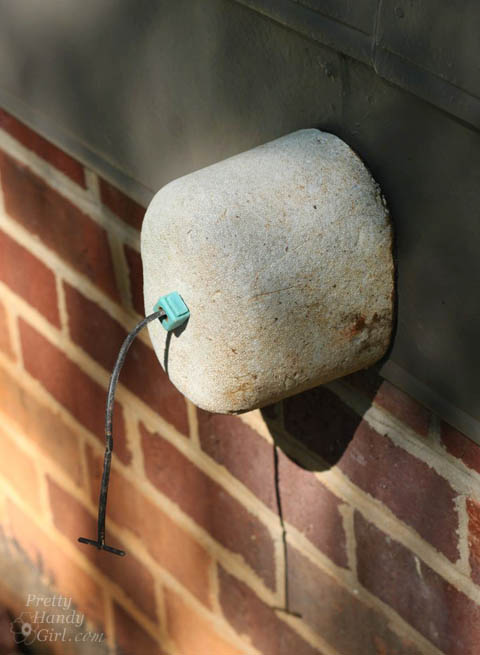
And your spigot is protected from freezing leading to a costly burst pipe.

Protect Spigot from Frozen Burst Pipes | Pretty Handy Girl

The nice thing about these covers is they can be installed and removed in seconds. If you need to use your spigot, it’s simple to remove and then replace the cover.

PHGFancySign

Pin for later!

protect frozen pipes from bursting

I’m participating in Nester’s 31 Days Challenge. Check out all the other bloggers who are participating!

31 Day Writing Challenge

Don’t miss a single tip! Sign up to get all the tips in your email:


Sign Up for Email Subscription


Other tips in the 31 Days of Handy Home Fixes series:


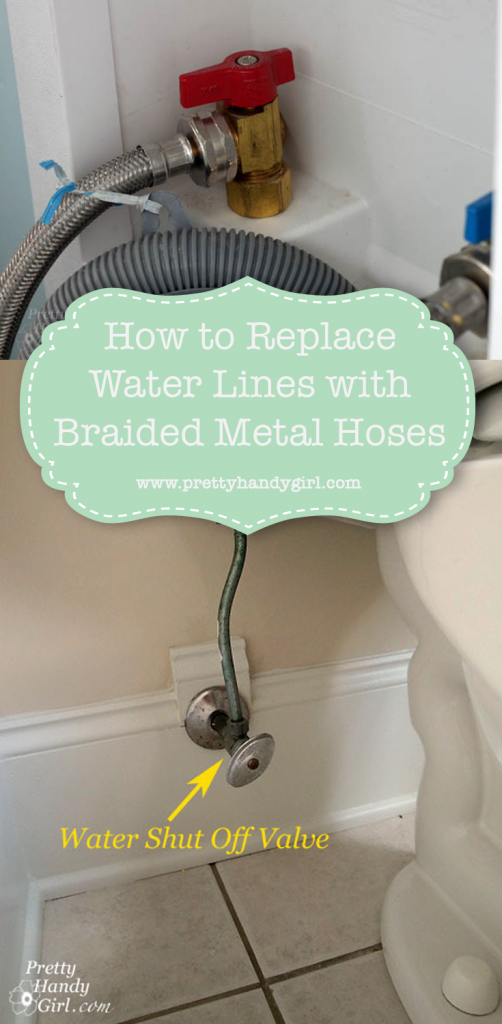
Replace Water Lines with Braided Metal Hoses | Pretty Handy Girl

31 Days of Handy Home Fixes | Pretty Handy Girl

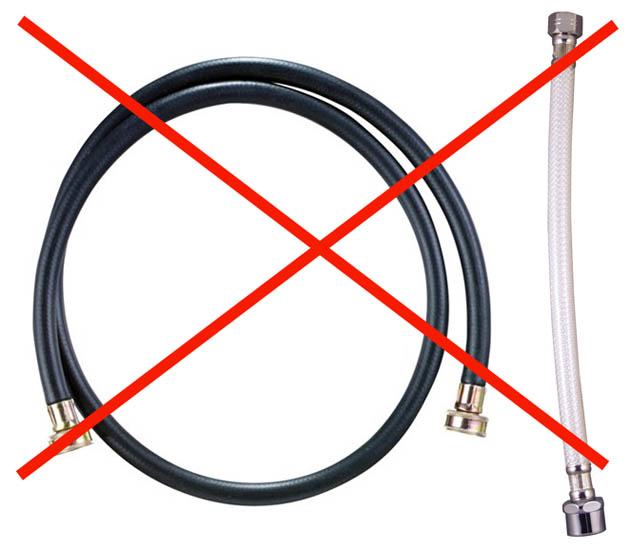
Welcome to Day 9 of my 31 Days of Handy Home Fixes. Would you believe that a burst water line can cause tens of thousands of dollars worth of damage to your home? It’s true! If one of your water supply lines is not braided metal, you could be putting your home in danger of a massive leak; leading to a flood; which can lead to rot, mold and termites! Yup, termites love moist wood.

Day 9: Replace All Water Lines with Braided Metal:

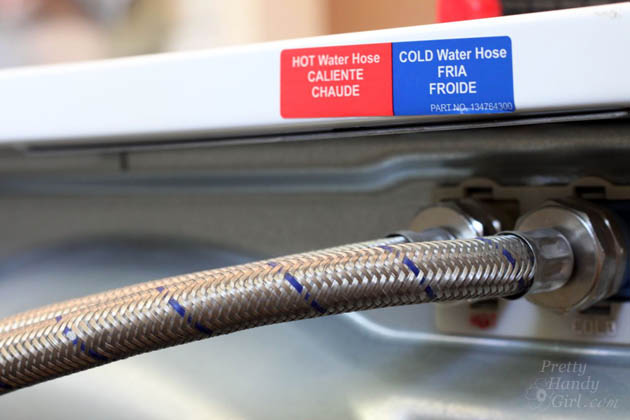
Take a few minutes to look behind your toilet, behind your washing machine and under sinks to see if you have water supply lines that look like these:Replace Water Lines with Braided Metal Hoses | Pretty Handy Girl

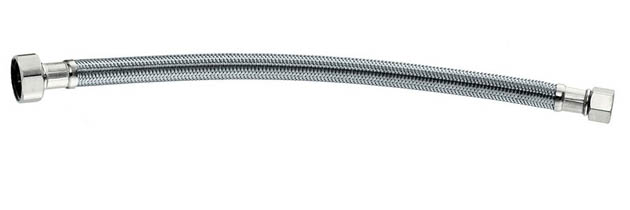
If you do, it’s time to change them out for braided metal water lines:

Replace Water Lines with Braided Metal Hoses | Pretty Handy Girl

And if you are purchasing a new washer, dishwasher or refrigerator, request braided metal water supply lines instead of the basic lines that are sold with the appliance. The cost difference is literally a few dollars in some cases. That extra dollar or two could save you tens of thousands of dollars!

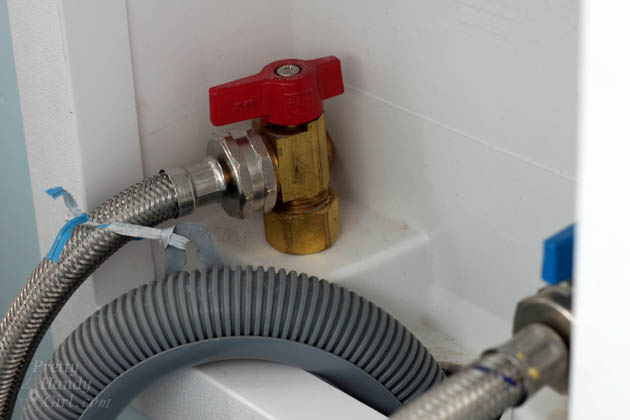
Replacing the water lines is as easy as attaching your garden hose. To replace your washing machine hoses, locate the water shut off (usually it is behind the washer.) Turn the knobs off. Then remove the supply line from the shut off and the back of the washer. Have a towel underneath to capture any drips.

Replace Water Lines with Braided Metal Hoses | Pretty Handy Girl

Tighten the new braided hoses onto the washing machine and the water shut off valve. Turn the water back on and look for any drips or leaks. You might need to use a wrench to tighten up to half a turn more if you notice any drips after you turn the water back on.

Replace Water Lines with Braided Metal Hoses | Pretty Handy Girl

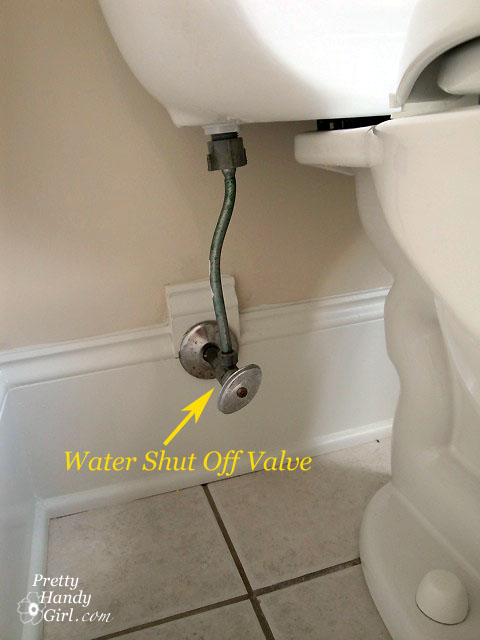
Replacing the water lines to your toilet and sink is almost as easy, usually the shut off valve looks like this:

water_shut_off_valve

Replacing the dishwasher water line can be a bit trickier if it is behind your cabinets. You might need to call in a helper to help you remove the dishwasher.

PHGFancySign

Pin for later!

water line replacement


I’m participating in Nester’s 31 Days Challenge. Check out all the other bloggers who are participating!

31 Day Writing Challenge

Don’t miss a single tip! Sign up to get all the tips in your email:


Sign Up for Email Subscription


Other tips in the 31 Days of Handy Home Fixes series:


Easy! How to Install a New Showerhead | Pretty Handy Girl

Easy! How to Install a New Showerhead | Pretty Handy Girl

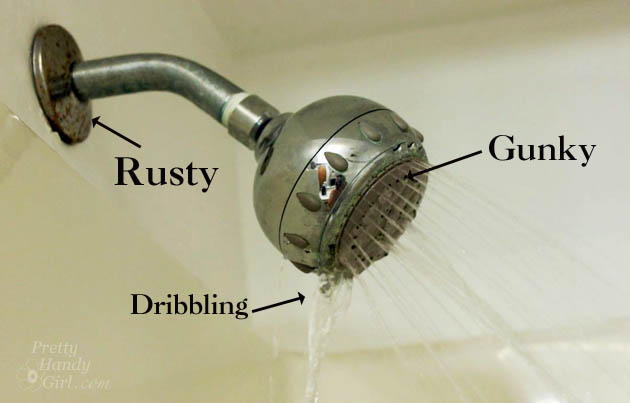
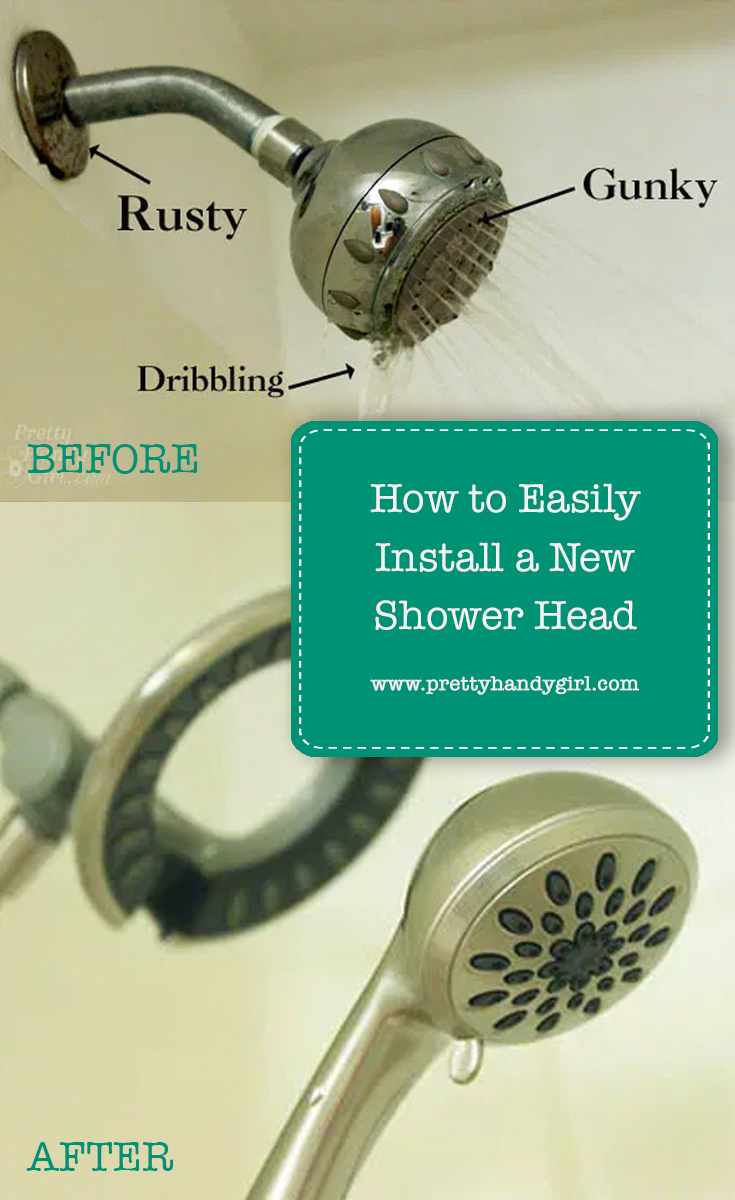
Raise your hand if you have a sad excuse for a shower head! Is it drippy, rusty or clogged? If you answered yes to any of those questions, I’m about to show you why there is no excuse for you being able to install a new shower head yourself! It’s super easy.

Easy! How to Install a New Showerhead | Pretty Handy Girl

Materials:

(I’ve included affiliate links for your convenience. I earn a small percentage from a purchase using these links. There is no additional cost to you. You can read more about affiliate links here.)

Easy! How to Install a New Showerhead | Pretty Handy Girl

Easy! How to Install a New Showerhead | Pretty Handy Girl

  • Optional: Shower arm & flange, rag to protect new shower arm

Instructions:

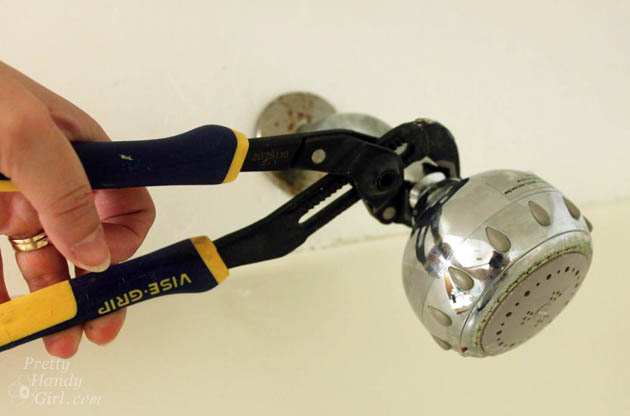
1. Remove the old shower head by unscrewing it from the pipe arm. Use pliers to help get it started.

Easy! How to Install a New Showerhead | Pretty Handy Girl

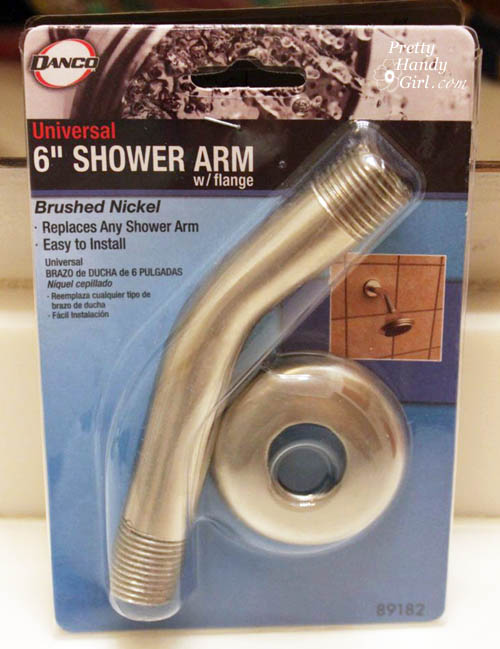
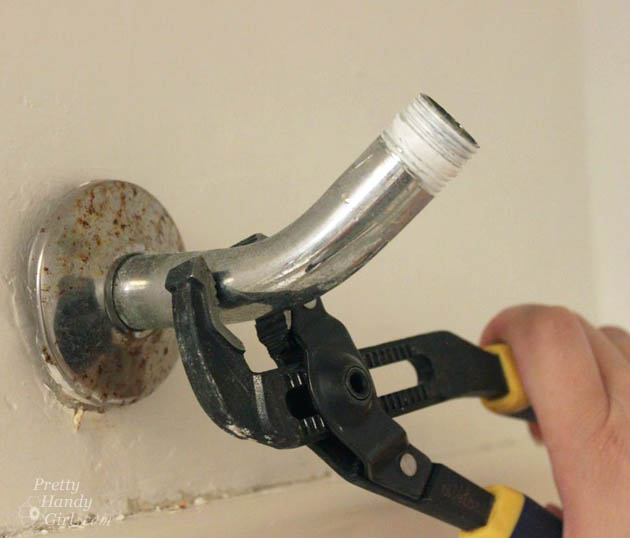
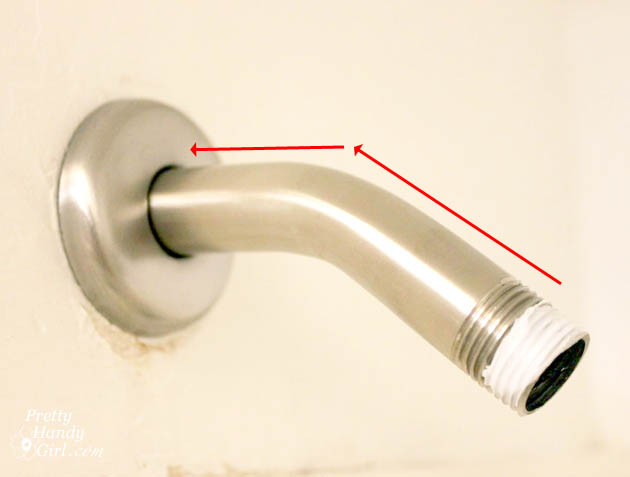
2. Unscrew the old shower arm if it is rusty or won’t match the new shower head. Remove that rusty flange (now is the time to do it! Don’t put it off any longer.)

unscreEasy! How to Install a New Showerhead | Pretty Handy Girlw-old-shower-arm

3. Replace the old shower arm with new one by screwing it into the plumbing pipe in the wall. Then slide the new flange over the arm.

Easy! How to Install a New Showerhead | Pretty Handy Girl

Wrap the end of the shower arm with plumber’s tape (wrap it clockwise to keep it from bunching up when you attach the new shower head.)

Easy! How to Install a New Showerhead | Pretty Handy Girl

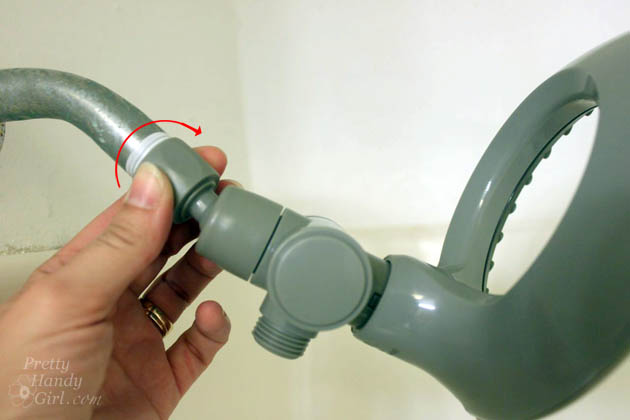
4. Screw the new shower head onto the end of the shower arm. Hand tighten the head. Then put the rag over the spot base of the shower head and use the pliers to tighten it 1/4 turn.

Easy! How to Install a New Showerhead | Pretty Handy Girl

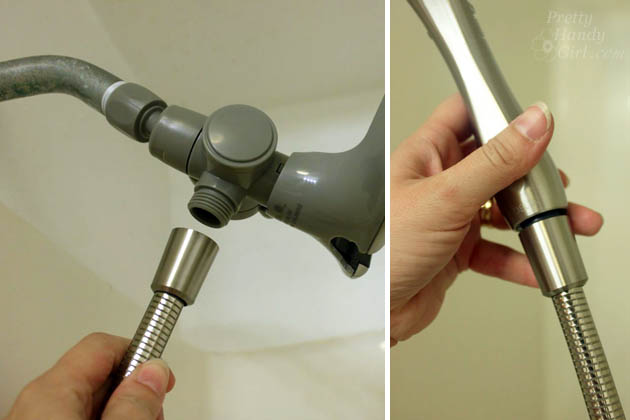
5. If your shower head has an extension hose, attach that at this time by screwing it onto the shower head and attaching the other end to the body sprayer.

Easy! How to Install a New Showerhead | Pretty Handy Girl

Turn on the water and test the spray! Beautiful! No drips or clogs? If you have some leaks anywhere, give an extra 1/4 to 1/2 turn to tighten it the shower head or hose.

I installed the Delta In2ition shower head in the Topsail Beach Condo we renovated. I’ve been intrigued by this shower head and after trying it out, I love it!!!

Easy! How to Install a New Showerhead | Pretty Handy Girl

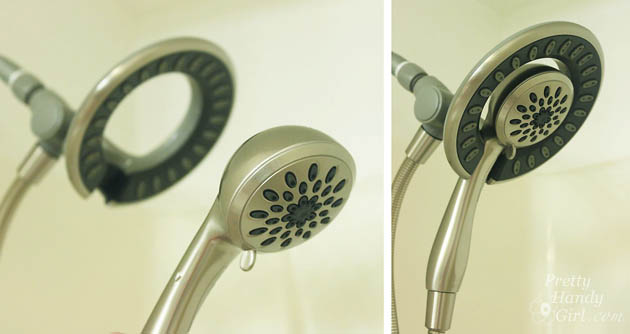
Because who wouldn’t love a shower head that sprays from the top even when you want a body spray too?

The interior head is fully removable and nests back into the outer ring when done body spraying.

Easy! How to Install a New Showerhead | Pretty Handy Girl        

The only initial drawback I found was getting used to setting the body sprayer back into the ring. Once I realized you have to push it in and down firmly, there was no problem.

Wasn’t that easy? Go on and replace your shower head today if you’ve been putting it off!

PHGFancySign

Disclosure: No disclosure necessary. I wasn’t paid or provided with the Delta In2ition shower head. My stepmom paid for it to be installed in the beach condo. I chose this shower head because I wanted to try it out.  


Pin for later!

How to Easily Install a New Shower Head

Plumb Crazy over these Christmas Ornaments

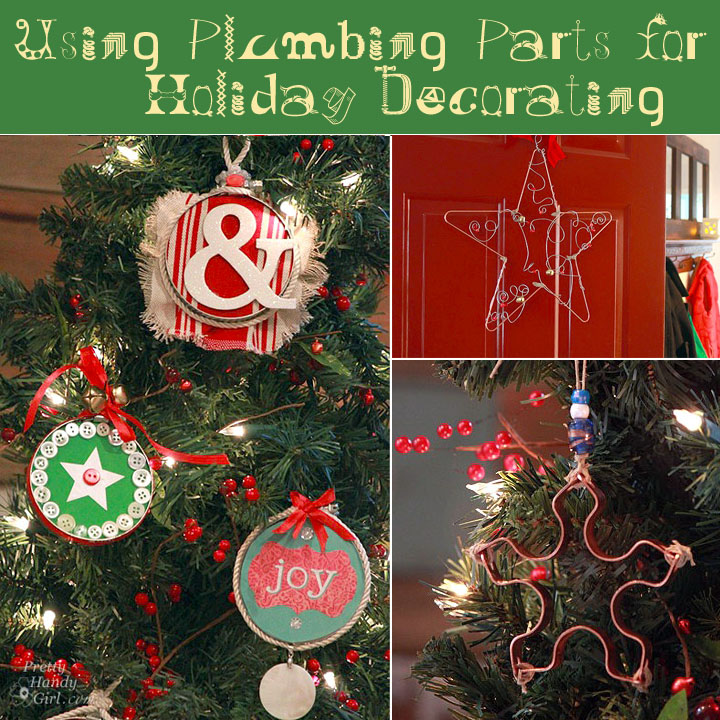
You must think I have plumbing on the brain. After all our leaks, I’ve spent some time in the plumbing aisle. While there I came across these three things:

They are beautiful, don’t you think?! Can’t you see them hanging from your Christmas tree or on your door? What? No?

Okey dokey, come along I’ll break it down for you, this is going to be fun.

 Star Decoration

Materials:
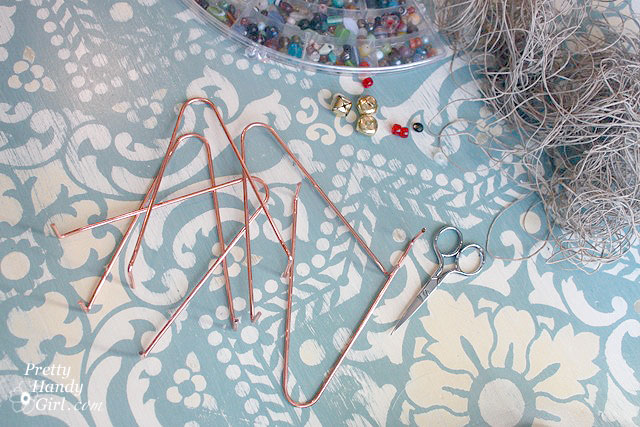
Instructions:

Lay out the hooks in a star formation.
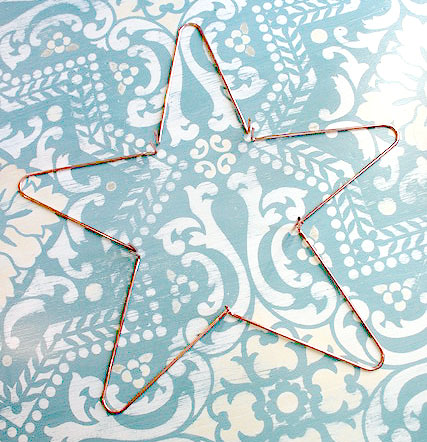
Wrap two ends with the hemp string to attach them to each other.

Continue attaching all the hooks together. Be sure to weave down and around the elbows for better hold.
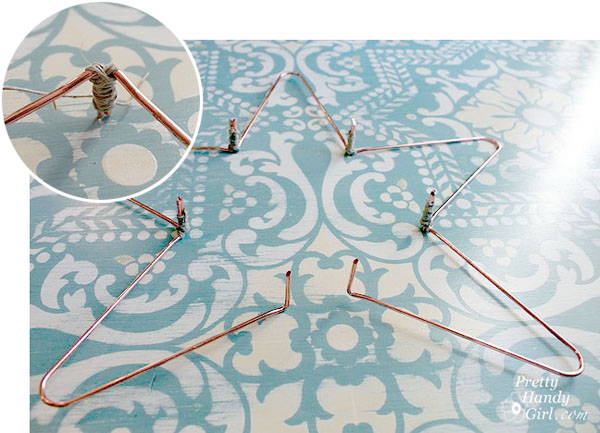
Shape the hooks until they are in a perfect star shape.

Cut a length of utility wire and wrap it around the star shape. Add curly q’s, bends and spirals…
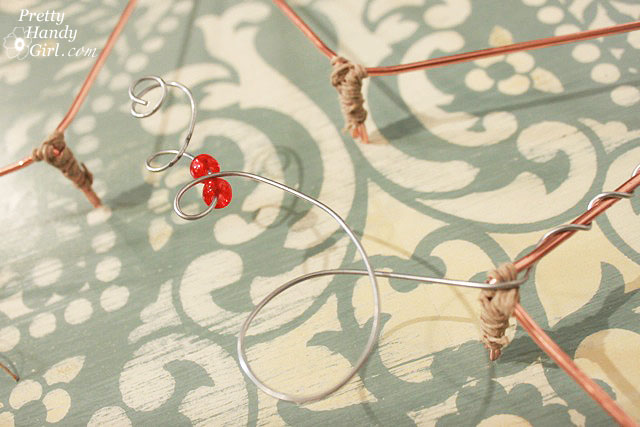
…thread beads and jingle bells periodically.

Cut more wire and continue to decorate the star with beads and curled wire.

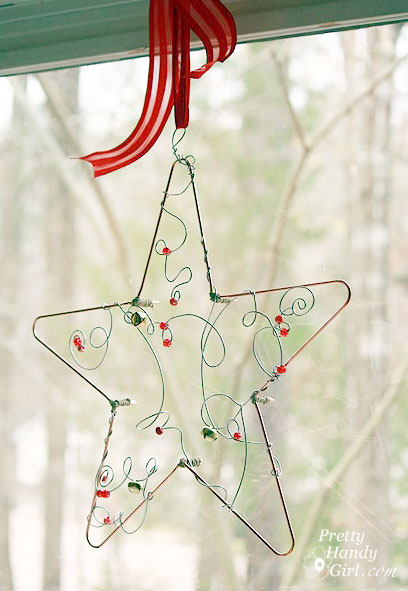
Finish off by adding a loop to the top of the star to act as a hanger.

Thread a ribbon through the loop and hang it on your door,

a window or another prominent spot.
 

Hoop Ornaments

Materials:
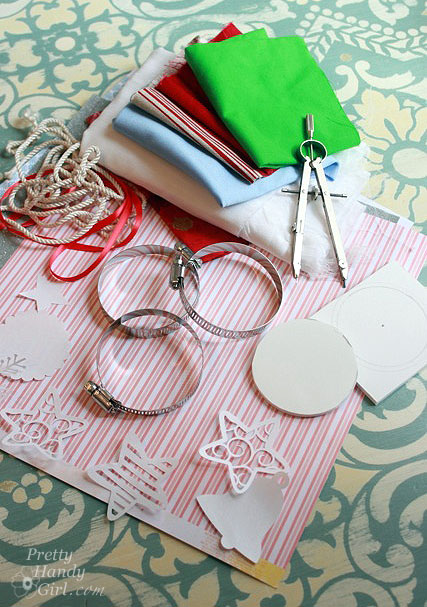
Instructions:

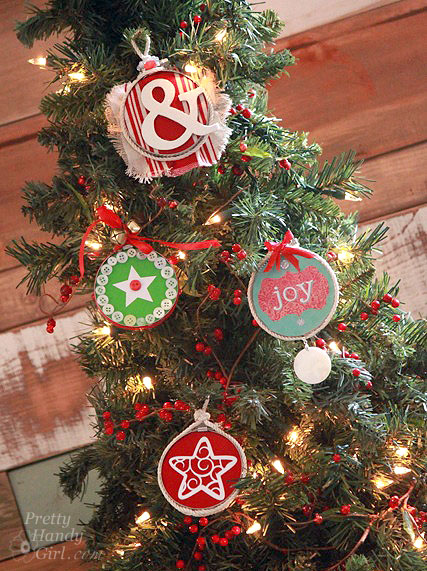
Measure the diameter of your hose clamp (at its most open setting while it is still attached.) Set your compass to half the diameter and draw a circle onto the foam board. Cut out the foam board with the x-acto knife.

Widen your compass and draw a wider circle onto a piece of fabric. Cut out a piece of fabric and center it over the foam board circle. Lay the hose clamp over the foam and fabric.

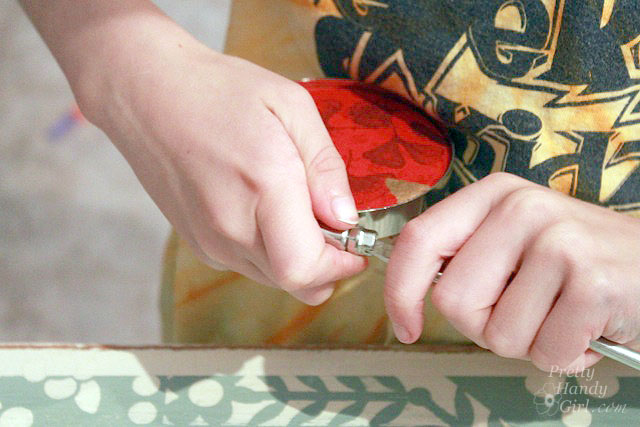
Tighten the hose clamp with the screwdriver until it is snug enough to hold the fabric, but not tight enough to crush the foam board.
Decorate your circle with stickers, buttons, trim, ribbon, or whatever, you’re the creator!
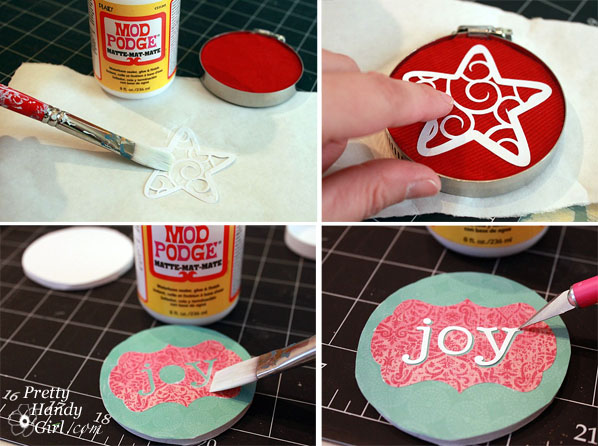
You could also use scrapbook paper instead of fabric. The star and joy ornament decorations were created with the Silhouette CAMEO.
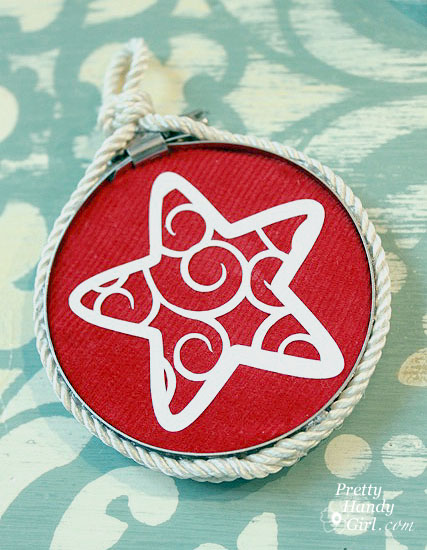
Hot glue the excess fabric to the back (or fray it to look like a mini-embroidery hoop. Glue ribbon or trim around the hose clamp.
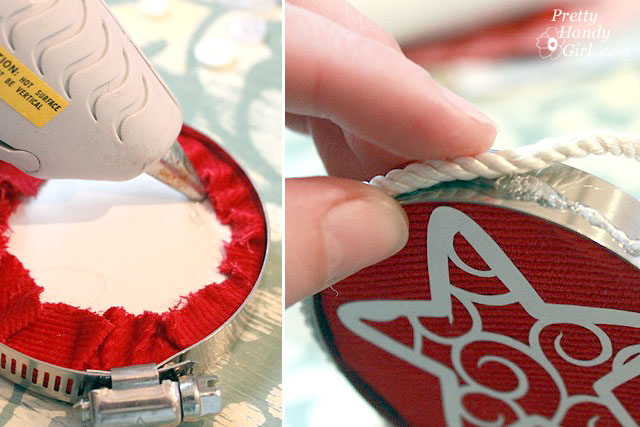
Create a loop at the top for hanging the ornament.

My little guy insisted that we need to make an ornament for Santa 😉
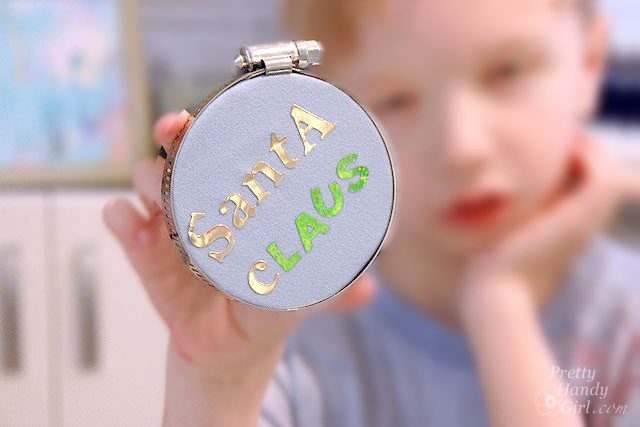
These ornaments are so fun and easy. Be creative and let the kids have fun with this project. I can see a little handprint on the center of one for a keepsake ornament. The possibilities are only limited by your imagination.

Brass Snowflake Star
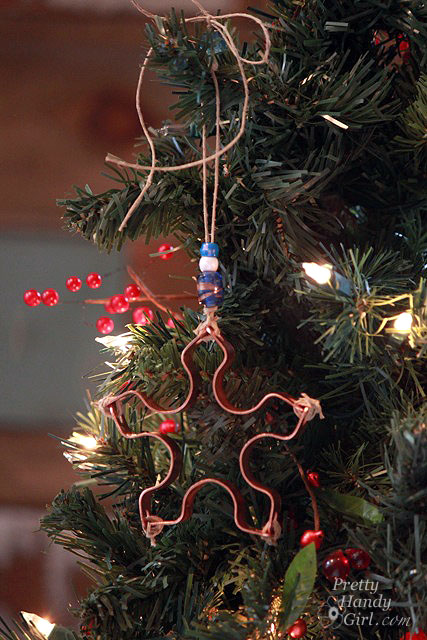
Materials:

Instructions:

Lay out the pipe straps in a star shape.
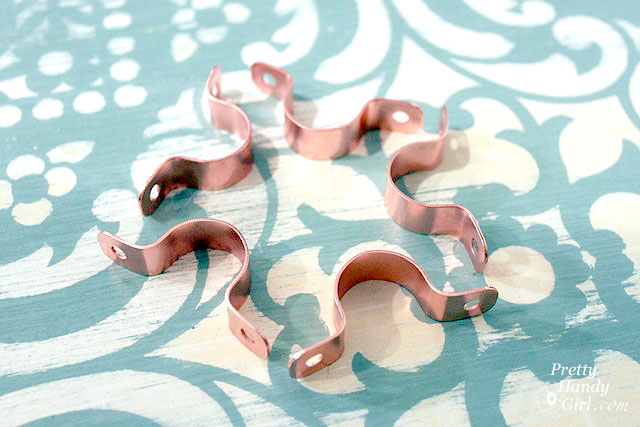
Thread hemp string through the holes on two straps. Knot the end of the string.
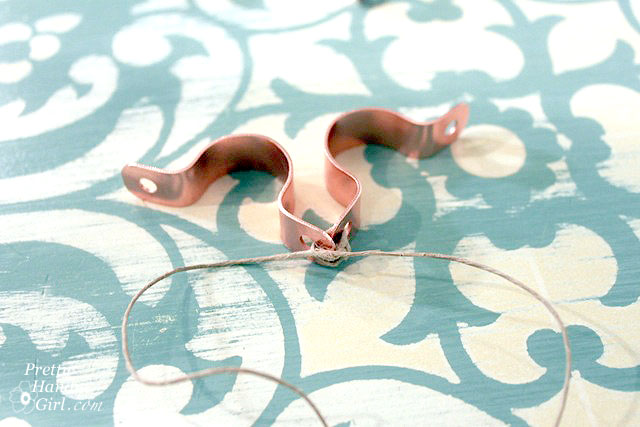
Continue until you have completed the star snowflake form.
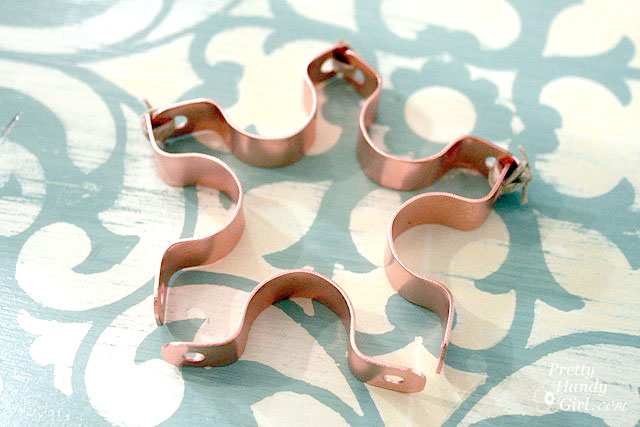
You will need to finagle the star form until it looks good to you.
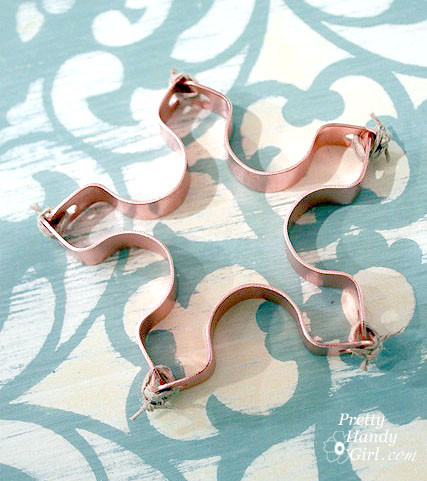
Tie a string through one of the star points. Add beads and tie a loop to hang your ornament.

What do you think? Am I plumb crazy or are these truly adorable ornaments I made from plumbing parts?
Disclosure: I have partnered with Lowe’s as a Lowe’s Creative Influencer. I was provided with a Lowe’s gift card to complete my project. The tutorial, photos and opinions expressed in this post are my own. I was not told what to write. #LowesCreator

I’ve included affiliate links for your convenience. I earn a small percentage from a purchase using these links. There is no additional cost to you. You can read more about affiliate links here.
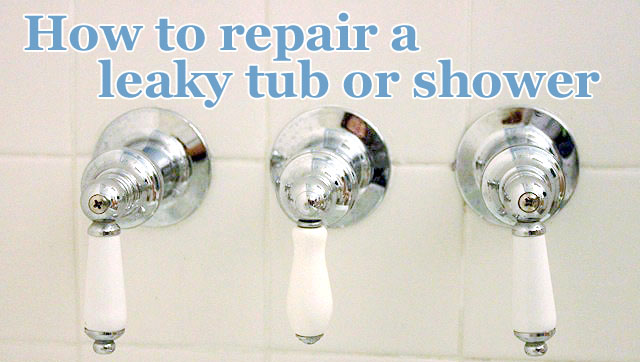
Leaky Shower or Tub Faucet

You know that saying, when it rains it pours? That statement has become an actuality in our home. While we are trying to build back from the plumbing leak, one of our tub faucets developed a leak. When I tried to tighten the handles to stop the dripping, this is what happened:

Leaky Shower or Tub Faucet

Oops. Luckily, I knew the fix was an easy one, if you can screw in a light bulb, you are qualified to fix a leaky faucet!

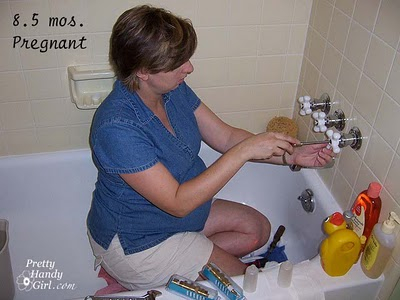
I’ve solved this problem in a few tubs and showers (including one on the day I went into labor with my youngest.) Yup, you could say that the faucet wasn’t the only thing that sprung a leak. LOL.

Leaky Shower or Tub Faucet Read more