Replace Water Lines with Braided Metal Hoses | Pretty Handy Girl

31 Days of Handy Home Fixes | Pretty Handy Girl

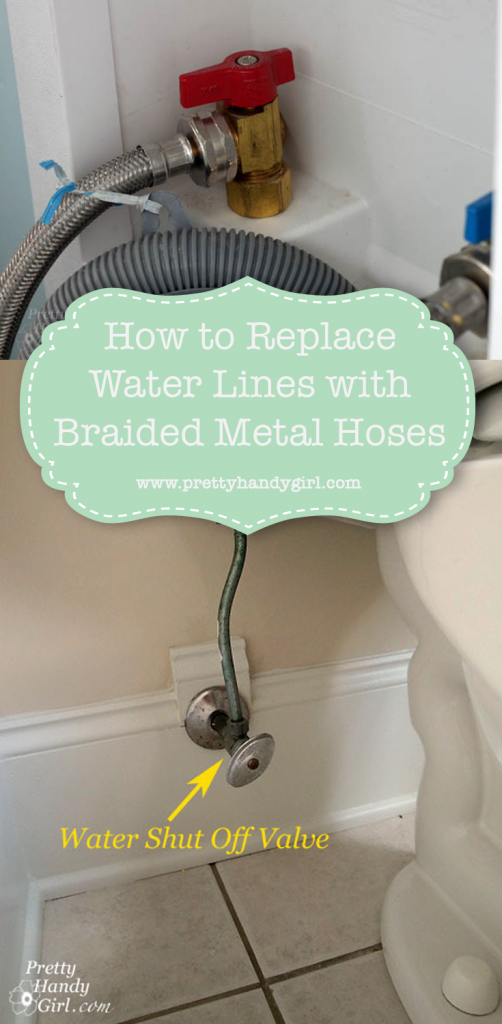
Welcome to Day 9 of my 31 Days of Handy Home Fixes. Would you believe that a burst water line can cause tens of thousands of dollars worth of damage to your home? It’s true! If one of your water supply lines is not braided metal, you could be putting your home in danger of a massive leak; leading to a flood; which can lead to rot, mold and termites! Yup, termites love moist wood.

Day 9: Replace All Water Lines with Braided Metal:

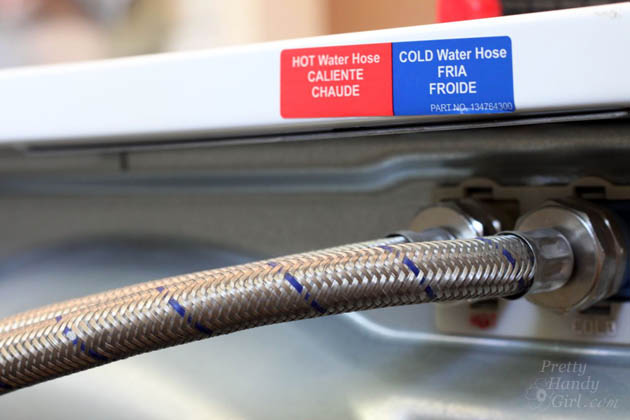
Take a few minutes to look behind your toilet, behind your washing machine and under sinks to see if you have water supply lines that look like these:Replace Water Lines with Braided Metal Hoses | Pretty Handy Girl
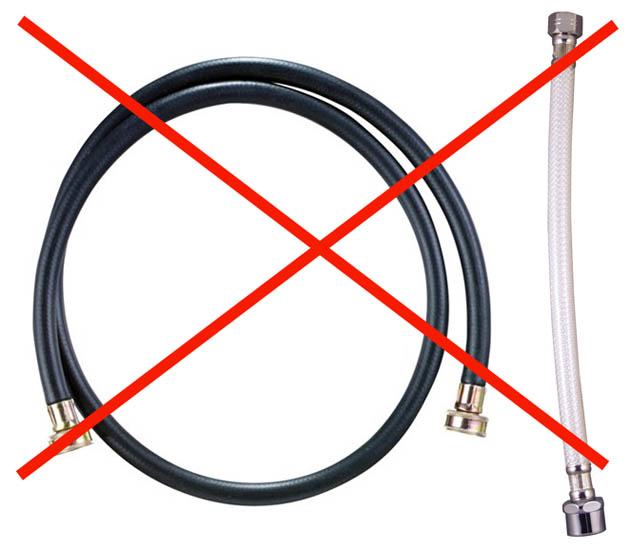
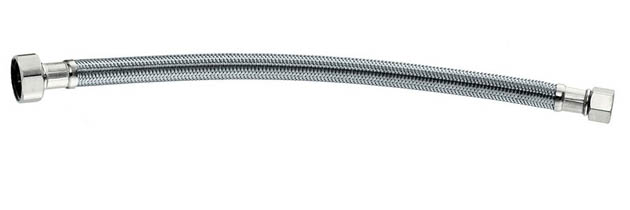
If you do, it’s time to change them out for braided metal water lines:

Replace Water Lines with Braided Metal Hoses | Pretty Handy Girl

And if you are purchasing a new washer, dishwasher or refrigerator, request braided metal water supply lines instead of the basic lines that are sold with the appliance. The cost difference is literally a few dollars in some cases. That extra dollar or two could save you tens of thousands of dollars!

Replacing the water lines is as easy as attaching your garden hose. To replace your washing machine hoses, locate the water shut off (usually it is behind the washer.) Turn the knobs off. Then remove the supply line from the shut off and the back of the washer. Have a towel underneath to capture any drips.
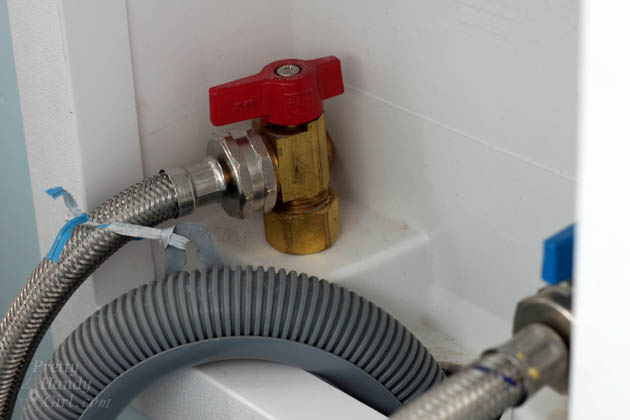
Replace Water Lines with Braided Metal Hoses | Pretty Handy Girl

Tighten the new braided hoses onto the washing machine and the water shut off valve. Turn the water back on and look for any drips or leaks. You might need to use a wrench to tighten up to half a turn more if you notice any drips after you turn the water back on.

Replace Water Lines with Braided Metal Hoses | Pretty Handy Girl

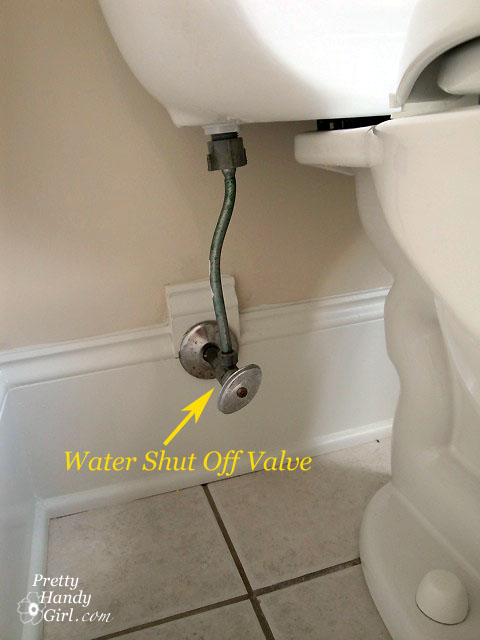
Replacing the water lines to your toilet and sink is almost as easy, usually the shut off valve looks like this:

water_shut_off_valve

Replacing the dishwasher water line can be a bit trickier if it is behind your cabinets. You might need to call in a helper to help you remove the dishwasher.

PHGFancySign

Pin for later!

water line replacement


I’m participating in Nester’s 31 Days Challenge. Check out all the other bloggers who are participating!

31 Day Writing Challenge

Don’t miss a single tip! Sign up to get all the tips in your email:


Sign Up for Email Subscription


Other tips in the 31 Days of Handy Home Fixes series:


vacuum out your dryer duct | Pretty Handy Girl

31 Days of Handy Home Fixes | Pretty Handy Girl

Welcome to Day 8 of my 31 Days of Handy Home Fixes. Today I have a VERY IMPORTANT tip to prevent a fire from starting in your laundry room.  I’m going to show you how to replace your flexible foil or plastic dryer vent duct with a much safer semi-rigid ductwork. Before we go any further do you know what type of dryer duct hose you have? Go run and check. I’ll be waiting right here when you get back.

Day 8: Replace Plastic or Flexible Foil with Semi-rigid Dryer Duct:

Does your vent hose look like this semi-rigid type:

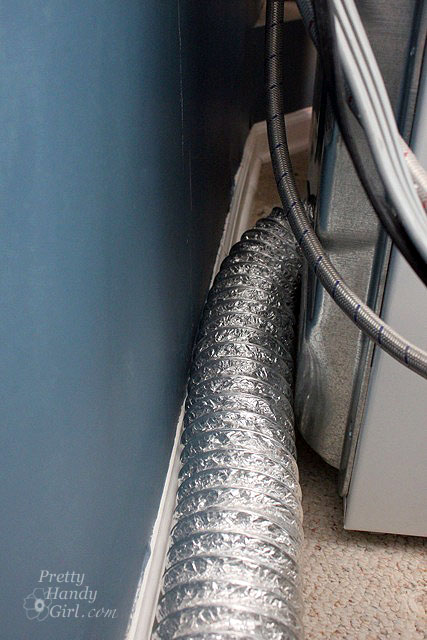
Or the shiny foil flexible type:

Which do you have? If your dryer ductwork is semi-rigid or solid metal ductwork you can skip the rest of this post and come back tomorrow.

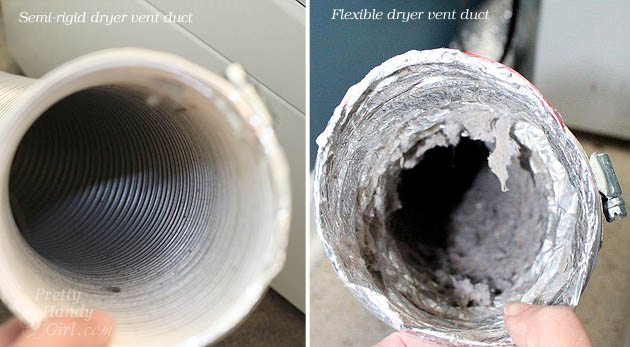
What’s the difference? Well, let me show you what each of these ducts look like after one year of use:

Semi-rigid vs. flexible dryer duct | Pretty Handy Girl

Which one do you think is safer? Exactly! The semi-rigid doesn’t collect lint as easily as the flexible duct! Therefore, you have less of a chance of the lint catching fire.

To replace the duct hose, measure the length of ductwork you need to replace. You can order semi-rigid flexible aluminum duct from Amazon or head to your local home improvement store to purchase it. Be sure to pick up any dryer vent adjustable elbows and hose clamps you might need as well.

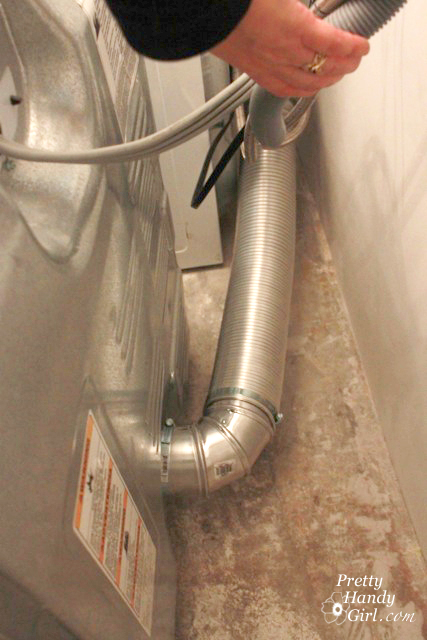
Remove the flexible duct and replace it with the new semi-rigid. For more detailed directions you can follow my tutorial for installing semi-rigid dryer hose.

How to Replace Your Flexible Dryer Hose | Pretty Handy Girl

Don’t forget to continue to clean out your dryer vent ducts 1-2 times a year! It’s an easy maintenance task you can do yourself (once you get the dryer out from the wall…which may be the hardest task.)

vacuum out your dryer duct | Pretty Handy Girl

PHGFancySign

Pin for later!

dryer foil replacement


I’m participating in Nester’s 31 Days Challenge. Check out all the other bloggers who are participating!

31 Day Writing Challenge

Don’t miss a single tip! Sign up to get all the tips in your email:


Sign Up for Email Subscription


Other tips in the 31 Days of Handy Home Fixes series:

31 Days of Handy Home Fixes | Pretty Handy Girl

Welcome to Day 7 of my 31 Days of Handy Home Fixes. We’re sticking with the laundry room theme for a few days. Today I have a tip to help protect your home from a fire. Cleaning out your dryer vent duct is an extremely important home maintenance task. The good news is that you can do most of this maintenance yourself. I recommend cleaning out any lint build up at least once a year (preferably in the late summer before the drier and static filled air sets in.) Twice a year is best.

Day 7: Clean Out Your Dryer Vent Duct:

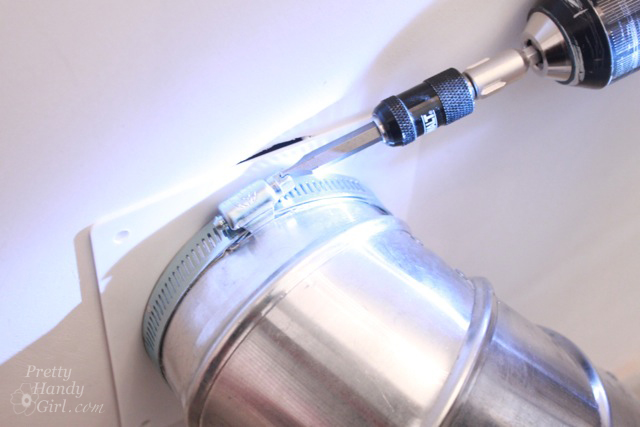
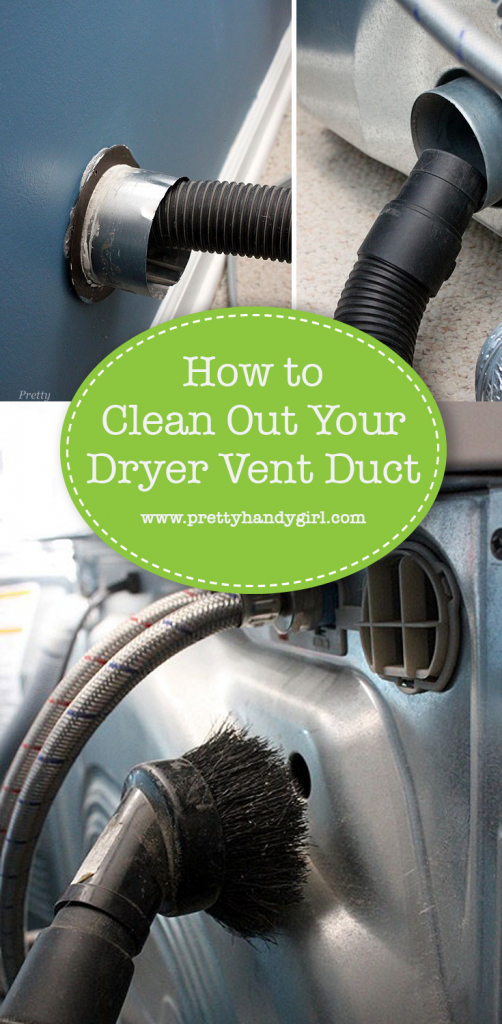
 Pull the dryer away from the wall and disconnect the vent duct tube from the wall and the dryer. Normally the duct is held on with a hose clamp. Use a flat head screwdriver to loosen the bolt attached to the clamp.

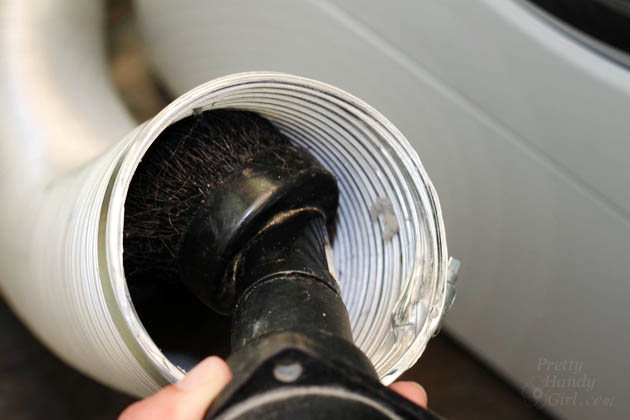
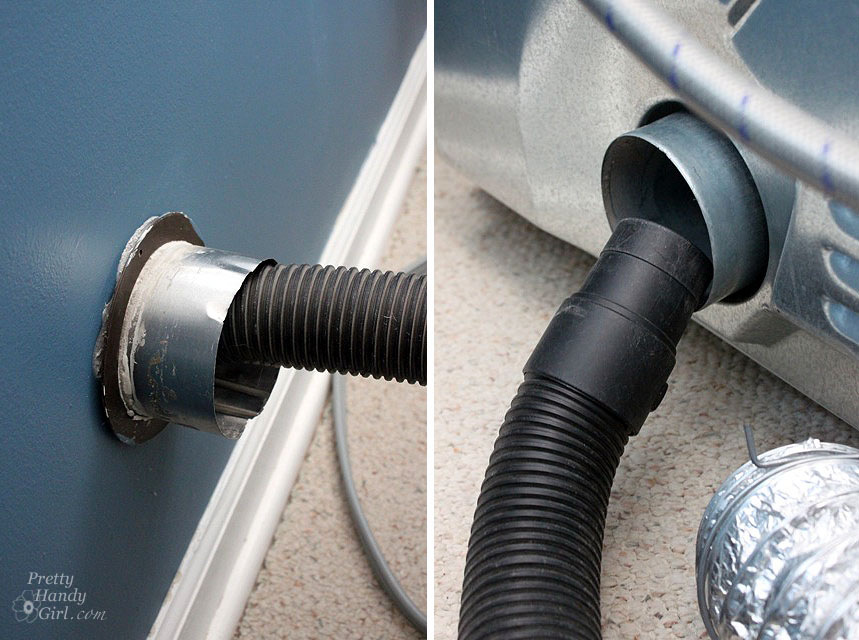
Remove the duct and use your shopvac to clean out both the dryer and wall ports.

Then clean as far as possible in both ends of the duct hose.

vacuum out your dryer duct | Pretty Handy Girl

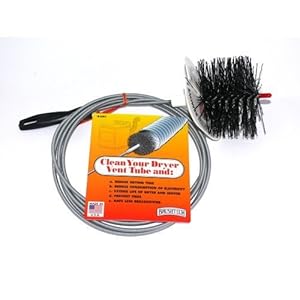
If your duct is long or difficult to clean out, you can purchase a long dryer vent duct cleaning brush like this one:

Brushtech B68C 10-Feet Long Dryer Vent Duct Cleaning Brush

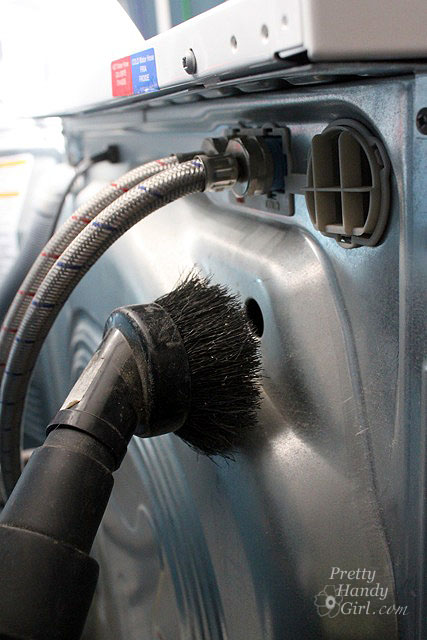
While you have the dryer pulled out, vacuum off the back of the dryer, the washer, and the wall behind both. Eliminate as much lint as possible. A clean laundry room is less prone to fires.

Re-attach the ductwork to the wall and the dryer. Tug gently on the hose to make sure it is secure. Gently push the dryer back towards the wall being careful not to crush the tube.

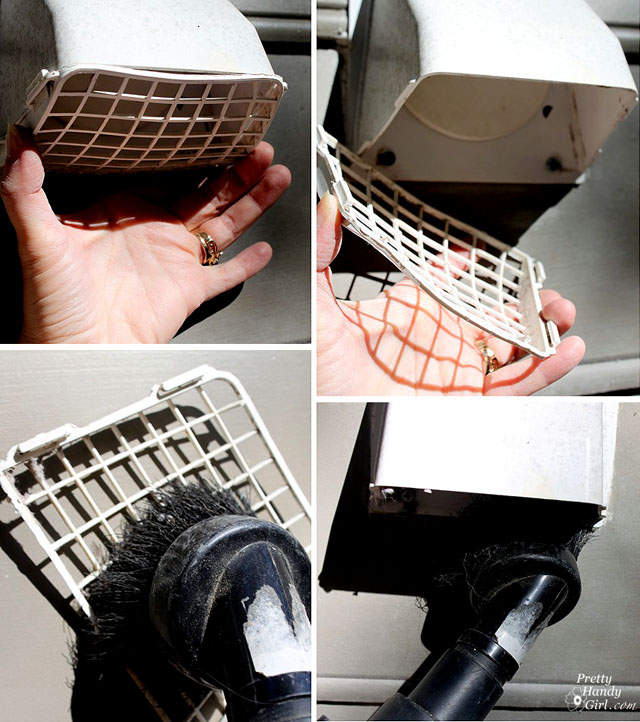
If you can reach the exterior vent, go ahead and clean it out also. Make sure the vent closes properly when the dryer isn’t running. Otherwise you may get birds, rodents or bugs in your vent. That reminds me when we had our new dryer delivered. As the delivery guys were removing the old one. I heard the sound of the dryer crashing down, followed immediately by squealing and screaming. Apparently a mouse had made his way into the dryer but electrocuted himself. His dead body dropped out on the floor just as the guys were picking up the dryer. I’m telling you, that guy was the size of a line backer and he was terrified of a dead mouse! I tried so hard not to laugh, but couldn’t control myself. Needless to say, I double check the exterior vent more often now.

Tomorrow I’ll be showing you one more way to keep your laundry room from becoming a fire hazard.

PHGFancySign

Pin for later!

how to fix a dryer vent

31 Days of Handy Home Fixes | Pretty Handy Girl

Welcome to Day 6 of my 31 Days of Handy Home Fixes. So you finally upgraded to an HE washer. You have to be careful because if you don’t take care of it you’ll have a stinky funky mess. Funky music = good. Funky washer = bad! The HE washers (front load especially) are air tight, which can be the perfect environment for growing mold.

Have no fear, this tip will take 30 seconds of your time! Keeping your HE washer funk free and like new is super easy.

Day 5. How to Keep Your HE Washer Funk Free

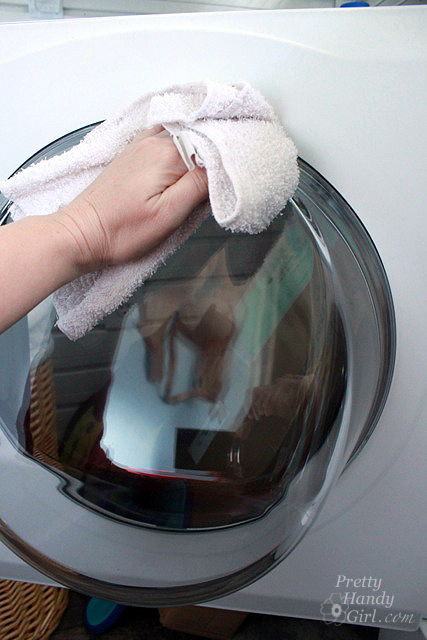
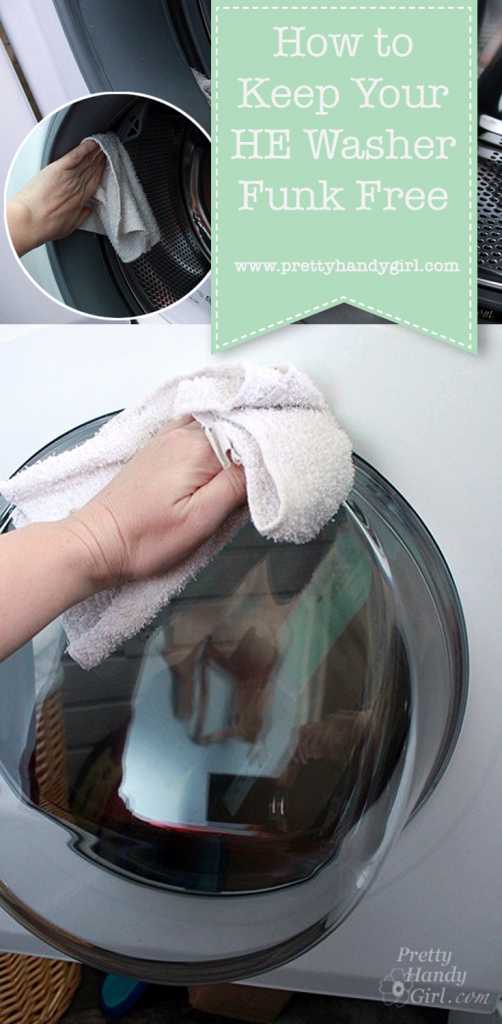
After each wash load,  grab a dry wash cloth or rag and wipe off the door.

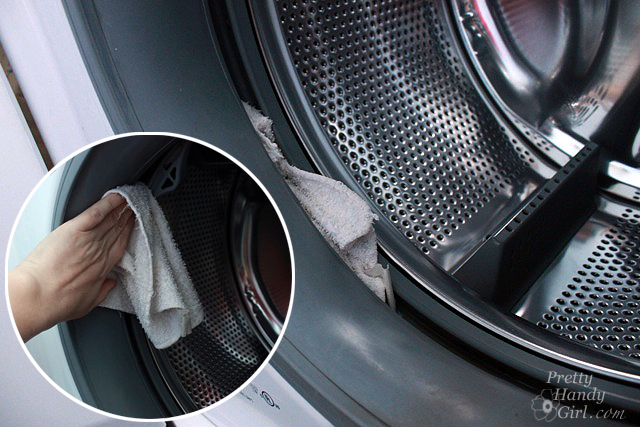
Then wipe out the gasket (top to bottom) to remove any water and moisture. This is the main area that will get mildewy first. Gently pull the gasket towards you to get into the fold.

Open the detergent dispenser drawer and wipe out any visible moisture. Finally, leave the detergent drawer and washer door open to thoroughly air out your washer.

If you are already stuck with a funky washer, follow these tips for cleaning it out and eliminate any odors. Be sure to read the comments because my readers have a bunch of tips to help keep your washer clean!

PHGFancySign

Pin for later!


I’m participating in Nester’s 31 Days Challenge. Check out all the other bloggers who are participating!

31 Day Writing Challenge

Don’t miss a single tip! Sign up to get all the tips in your email:


Sign Up for Email Subscription


Other tips in the 31 Days of Handy Home Fixes series:


How to Trim Closet Doors with Dremel UltraSaw | Pretty Handy Girl

How to Trim Closet Doors with Dremel UltraSaw | Pretty Handy Girl

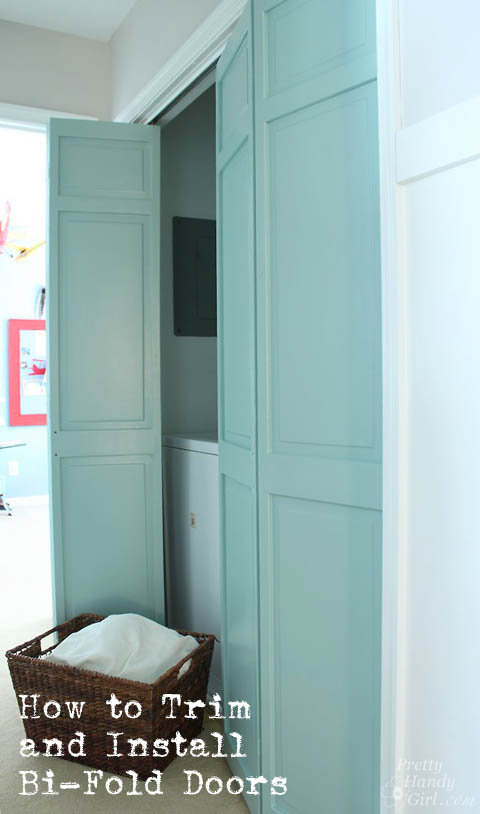
I have a friend named Holly. She and I live in the same neighborhood and we help each other out with DIY projects. Last week she asked me to help her come up with a solution to hide her dirty laundry.

How to Trim Closet Doors with Dremel UltraSaw | Pretty Handy Girl

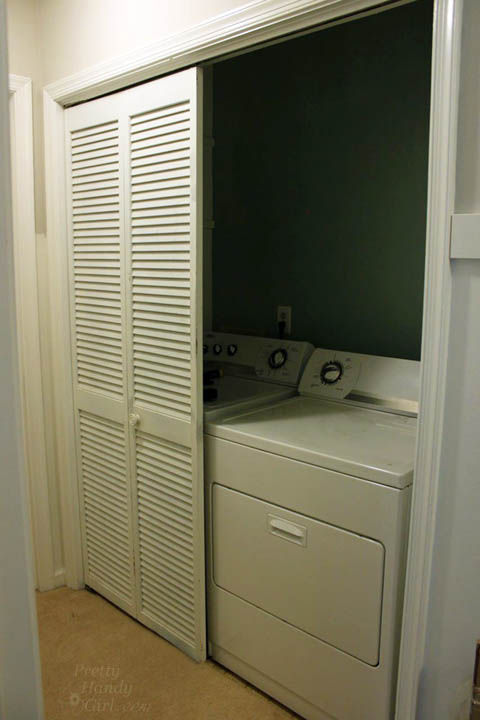
Holly and I were trying to figure out how to replace her sad laundry room door(s). The right side door had broken off and was unusable. We floated several ideas, originally thinking about creating inexpensive sliding barn doors. But, we scaled back that idea after realizing that inexpensive pipe hardware (spanning over 8 feet) was still too expensive for the budget. We began discussing buying cheap bi-fold doors and dressing them up. However, even new bi-folds aren’t super cheap. I mentioned she “might” have luck going to the Habitat ReStore to find the exact size doors. We both knew that was a slim chance. Then an idea hit me like a bi-fold door falling off its hinges! Among the multitude of things I have stored in my attic, were two sets of closet doors! One that used to be on my son’s reading nook closet. And the second set used to be on the pantry.

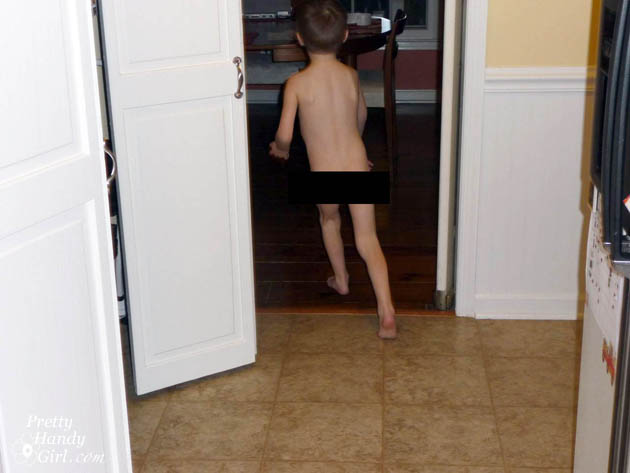
Would it be fitting that the only before pictures I have of the pantry doors are these gems?

How to Trim Closet Doors with Dremel UltraSaw | Pretty Handy Girl
The Streaker

How to Trim Closet Doors with Dremel UltraSaw | Pretty Handy Girl
The Goofball

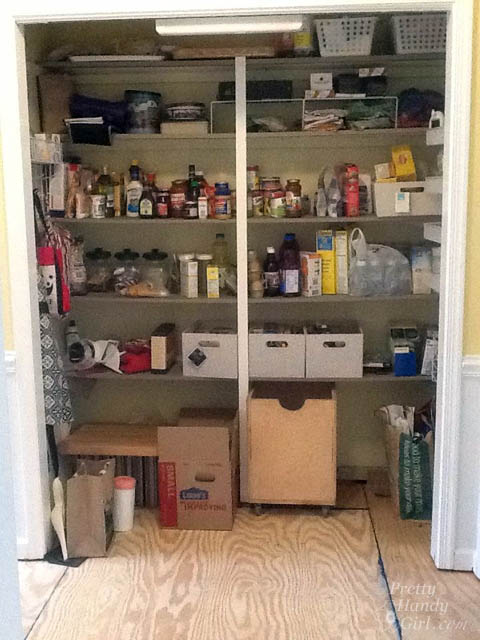
You get the picture. They are ordinary bi-fold doors. After the doors were removed from our pantry I liked how open it was. Although sometimes I wonder if I am just too lazy to open and shut the doors every time I want food.

How to Trim Closet Doors with Dremel UltraSaw | Pretty Handy Girl

Regardless, I liked the open concept, but not necessarily our food being constantly ON DISPLAY. I have plans to add built-in cabinets and shelving to the pantry, similar to what my friends The DIY Village created, but for now we just have it open.

I ran home to dig through the attic and find the two sets of doors that might work for Holly. I held my breath (partly because the attic was stifling hot) as I measured the doors. My son’s closet doors were…too narrow. Whomp wah. The pantry doors were… a perfect width!!! But, they were 2″ too tall. No worries, I knew I could trim them down.

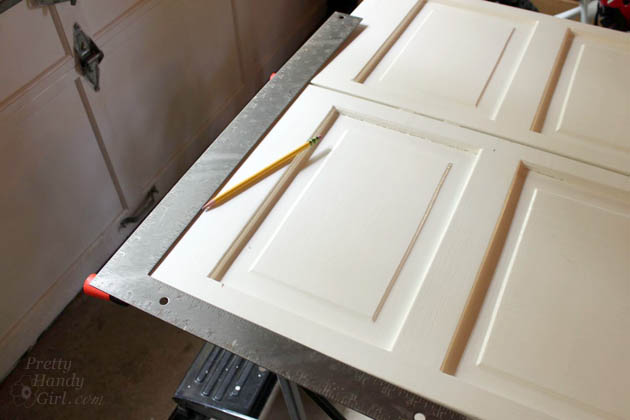
Here’s how to remove (and install) closet doors and cut them down to size using a Dremel Ultra-Saw:

Read more