
DIY Modern Hoop Wreath for Spring
Hello! I’m so excited to be here to show you how to bring a little Spring into your home. I’m betting we all need a little Spring at this point in the year. After two back-to-back snowstorms and weeks of frigid temps here in Seattle — I’m so ready for it! A great way to bring beautiful spring vibes into your home is with this DIY modern hoop wreath.
I love creating modern hoop wreaths because they are so fun to create and one of my favorite DIY projects ever! Not only do they look beautiful – they are easy on your wallet since you don’t need much to assemble one. Hoop wreaths can be made for any season or holiday, so let your imagination run wild with ideas!

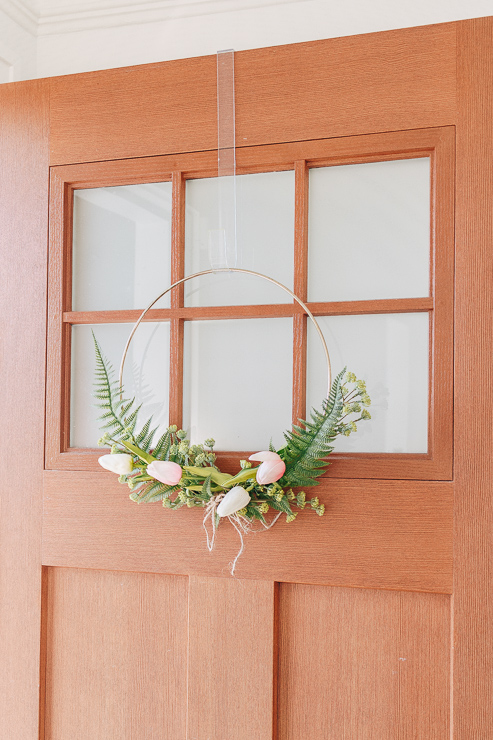
Today I’m going to show you how to make a floral version of a modern hoop wreath —perfect for Spring. Let’s get started!
Materials :
(I’ve included affiliate links for your convenience. I earn a small percentage from a purchase using these links. There is no additional cost to you. You can read more about affiliate links here.)
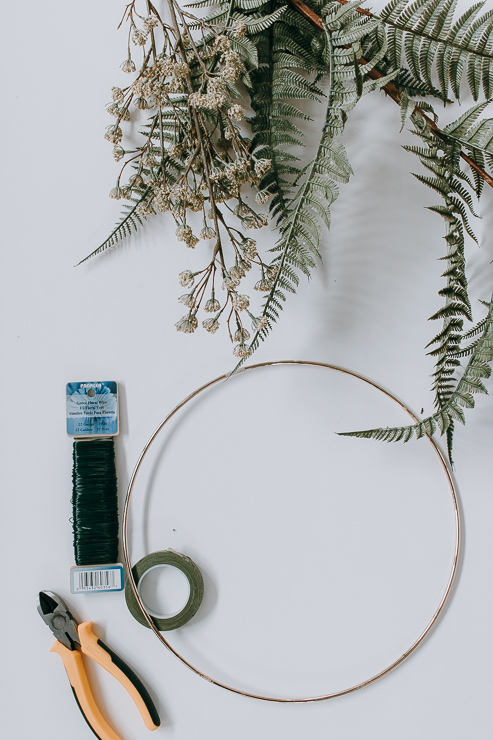
- Hoop Ring or Embroidery Hoop
- Scissors
- Floral Wire
- Wire Cutters
- Jute Twine
- Faux Greenery and Flowers – I used tulips, ferns and Queen Anne’s lace (Michael’s, Target, Joann Fabrics, Amazon and Afloral.com are good sources)
How to Choose Your Faux Greens and Flowers:
Before we begin, here are a few tips for choosing greens and flowers for the wreath. Hoop wreaths are particularly beautiful if either one main floral/greenery is used or when a collection of three different flowers are used together.
For this wreath, I used the rule of threes.
Assembling Hoop Wreaths:
First add greenery as a base on the hoop. Then add a secondary green or floral. Finally add your main florals on top for the true showstoppers. For example, this is the order we’ll assemble the Modern Spring Hoop Wreath:
- A base of greenery – ferns
- Secondary accent of greens or flowers: Queen Anne’s Lace
- Main Florals – Pink and White Tulips
I find Michael’s and Afloral.com have the best selection and most realistic looking faux flowers and greenery. However, Target is also stepping up their game lately. These faux ferns and Queen Anne’s Lace were from Target’s Hearth and Hand collection and are very pretty and semi-realistic looking. (I tend to be super picky about my faux flowers!)
Instructions :
Step 1: Cut the leaves and flowers from your faux plants (if needed).

Snip off a few pieces of fern while leaving a little stem to attach to your hoop. It’s usually easier to snip off the individual leaves which will give you the most flexibility when designing your wreath.
Step 2: Arrange your greens on the hoop until you like the layout.

Step 3: Snip off a piece of wire and use floral wire to attach your fern/greenery to the hoop.
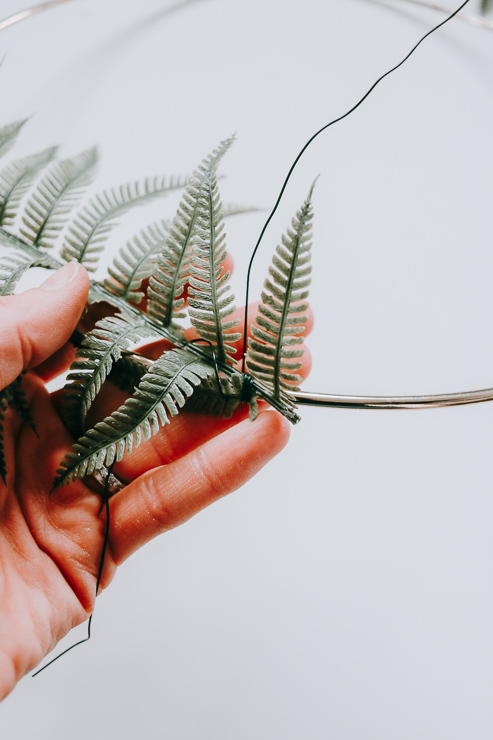
Bend and train the greenery as you wrap it with wire. Luckily the wire is thin and can be easily hidden with the greens and/or flowers. But, you will need to wrap it fairly tight to keep the greenery from moving when the wreath is hung up.
Step 4: Repeat Steps 2-3 again, using the secondary flowers or greenery.

Tuck the Queen Anne’s lace around and on top of the ferns. It’s really coming together now!
Step 5: Add the main florals – these beautiful spring tulips!

Use your floral wire to attach the stems to the hoop wreath, and then use the greenery you attached earlier to hide the wires. It works perfectly every time. You may have to play with it a bit until the wires are hidden, but no one will notice once you do.
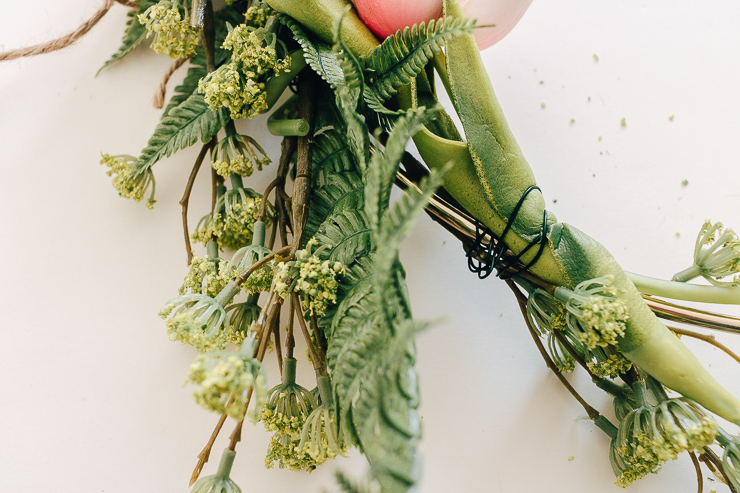
Step 6: Tie a little bow of jute twine around the center for a sweet rustic finishing touch.
The jute bow helped hide more of the floral wire and gives the wreath some extra holding power.
That’s all there is to it!
Tips for Hanging and Displaying your New Wreath :
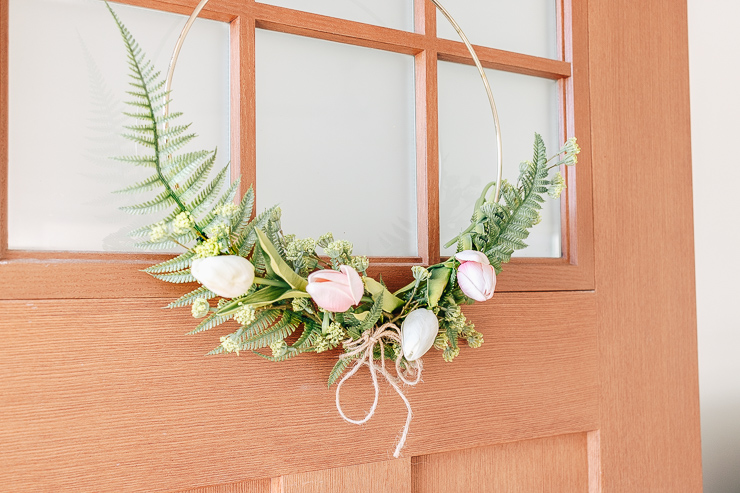
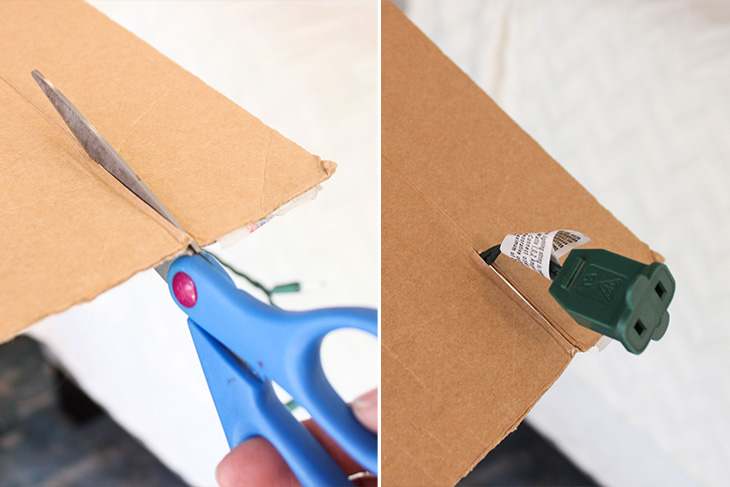
Modern hoop wreaths can be hung with the flowers on the side or at the bottom. You can use a wreath hanger or a Command light clip. The light clips hold these hoops perfectly and are clear, so you can’t see them. You can also use a suction cup hook or a magnetic hook if you have a metal door. Or tie a pretty ribbon to these wreaths and hang them from the ribbon. I purchased a clear wreath hanger from Amazon that hooks over the door. These wreaths look beautiful not only on your front door but also on your interior walls, closet doors, hutches, over mirrors etc.
Feel free to get creative with placement and add some spring to all parts of your home!
When you are ready for a change, simply snip off the wire and reuse your greenery and florals for another project. These modern hook wreaths end up being a very cost effective decor project.
I hope you all enjoyed this tutorial. I’m looking forward to connecting with you again next month!
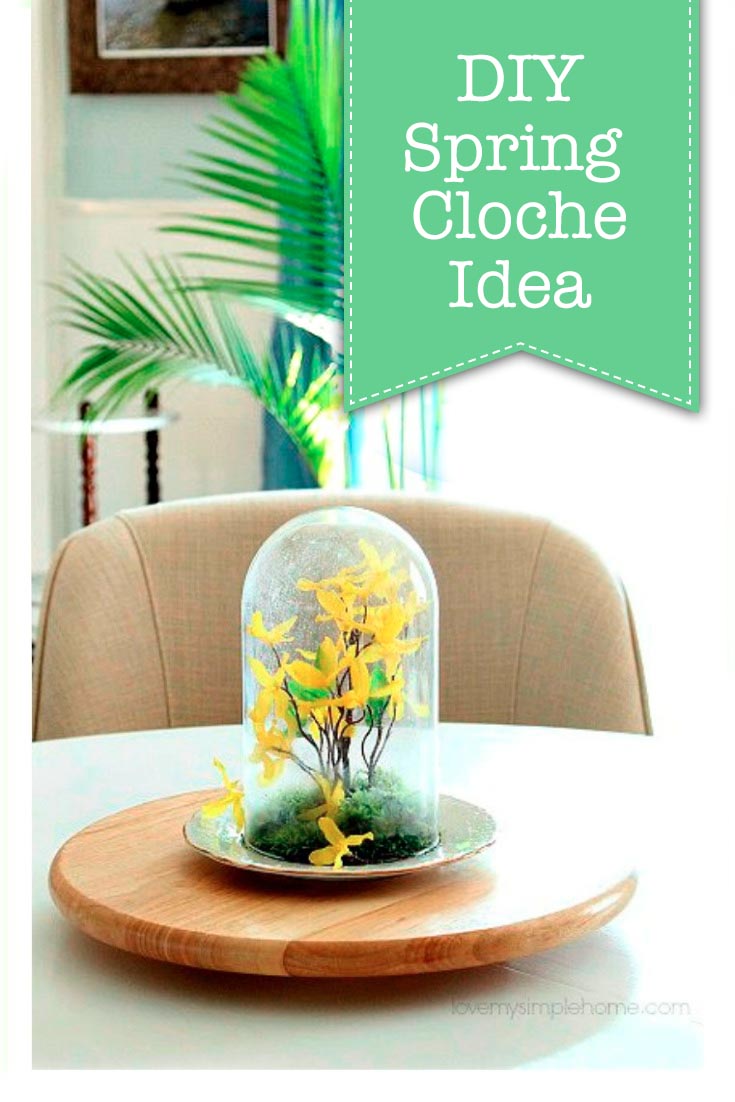
In the meantime, check out these beautiful spring decor projects on Pretty Handy Girl.

~ See More of Karen’s Tutorials ~

 Hello! I’m Karen, the creator of the Home Decor and DIY Blog: Decor Hint . I’m a Native of the East Coast, but I currently live in beautiful Seattle with my hubby, our two wonderful children and our spunky wheaten terrier.
You can usually find me with some sort of craft in one hand and a coffee in the other. And I’m always rearranging furniture or moving lamps from room to room. I have a passion (read: obsession) for decorating, DIY, and gardening. In short, I love making my house into a home.
Like many, I’m inspired by what I see in home decor magazines, but I’m not so inspired by the price tags. Consequently, I love finding and creating beautiful budget-friendly home decor items. In a head to head competition, I bet you’d never know the difference between the designer items and my DIY creations! Many of my DIY projects focus on sewing, crafting, upcycling and organizing. Some of my favorite projects have been making pretty wreaths , sewing my own tassel hand towels, and crafting these trendy wood bead garlands . I can’t wait to inspire you and spark your creativity through my DIY projects.
You can always connect with me on Pinterest , Twitter or Instagram.


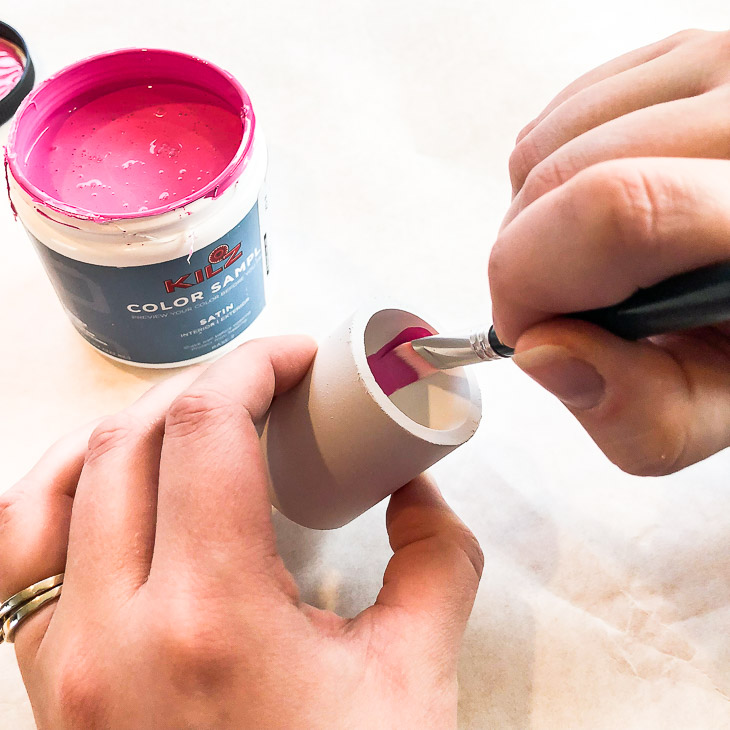
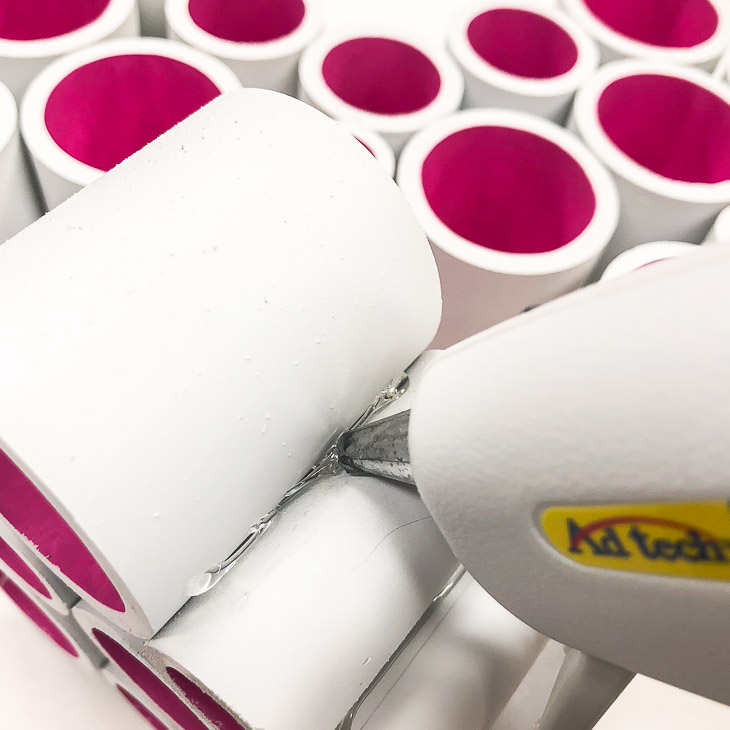
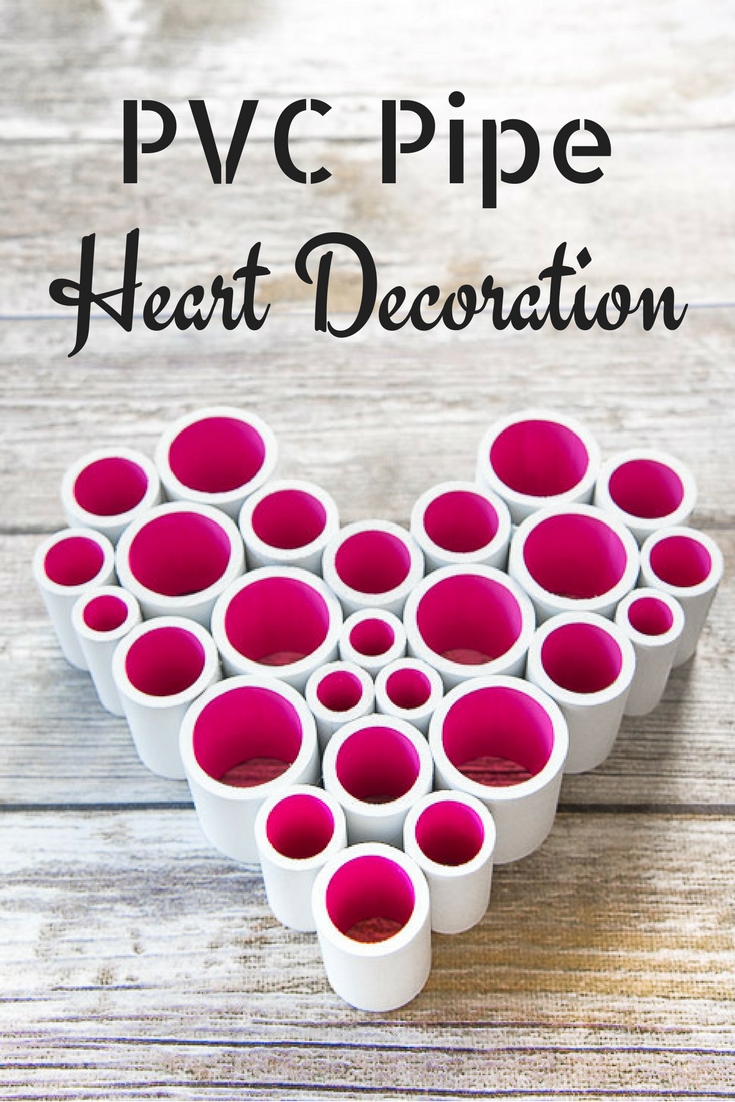 PVC Pipe Heart Decoration


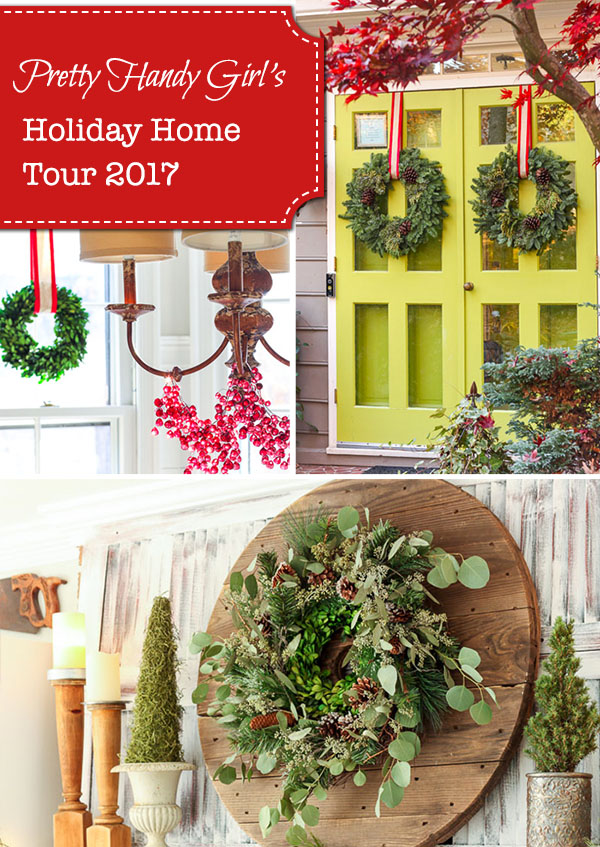
 You’ll definitely want to see inside each of their homes: