
31 Days of Handy Home Fixes | Pretty Handy Girl


Do you have a garage? Are your garage doors insulated or weather stripped? Or do you have big gaps in the sides like this:
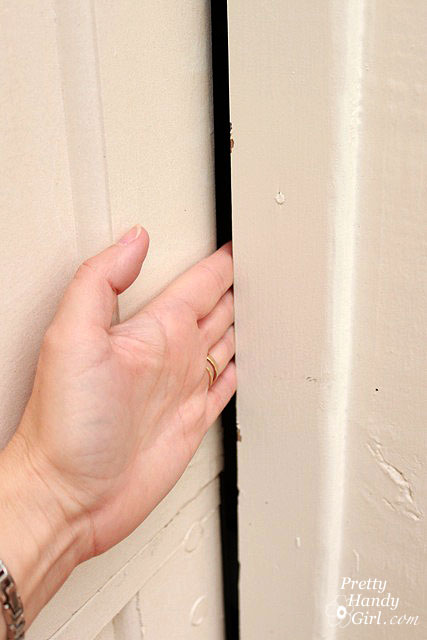
gap_in_garage_door

If you don’t have weather stripping on your garage doors, you could be throwing away money on heating spaces above and/or next to your garage. Not to mention, making it uncomfortably cold for any of us Handy Peeps who work in the garage.

Day 26 – Weatherstrip Your Garage Doors

In an hour you can seal the gaps around your garage door. This could make a huge difference in the temperature of your garage. And you could improve the temperature in adjacent rooms. After installing the weather stripping we noticed a huge difference in the temperature of our bonus room that sits on top of the garage.

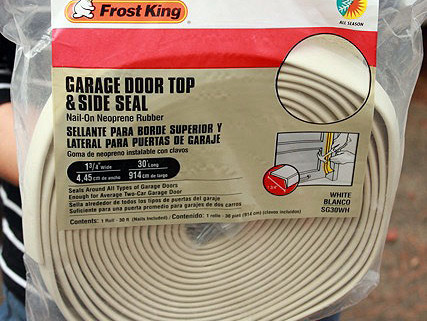
Garage Door Side and Top Weather-strip Kit costs less than $20. Be sure to measure the sides and top of your garage doors and order enough to cover.

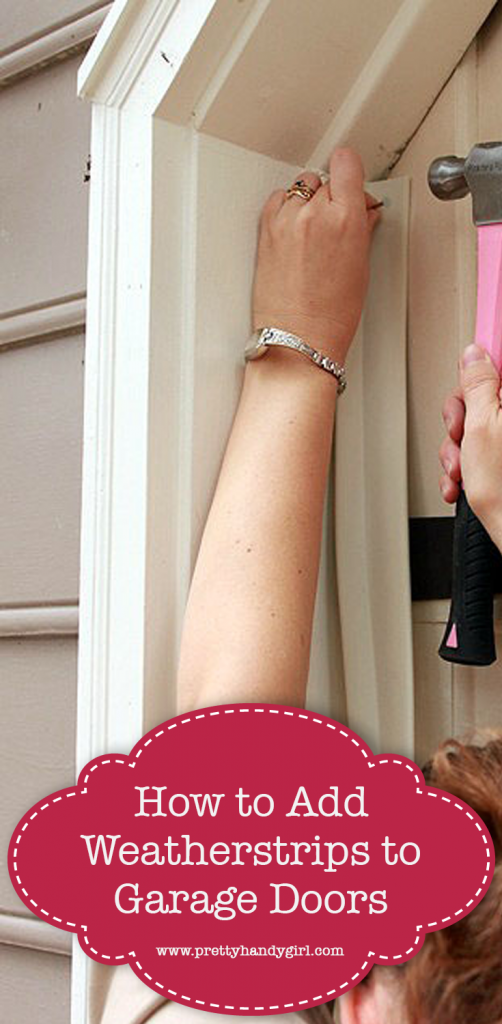
Use the nails included in the kit to secure the garage door seal against your doors.
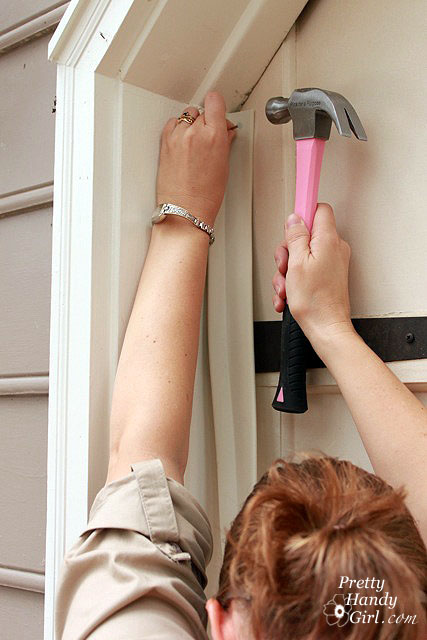
For a time saving tip and more detailed directions you can follow my full tutorial for installing garage door weatherstripping.

These were the resulting temperature shifts after I installed the weather stripping on our garage doors:

Before Weather Stripping:

Outside Temperature Inside Garage Temperature Temperature Difference
45˚F 55˚F 10 degrees
30˚F 45˚F 15 degrees


After Weather Stripping: 

Outside Temperature Inside Garage Temperature Temperature Difference
45˚F 65˚F 20 degrees
30˚F 58˚F 28 degrees


Go ahead and seal those gaps and enjoy a warmer garage and home this winter.
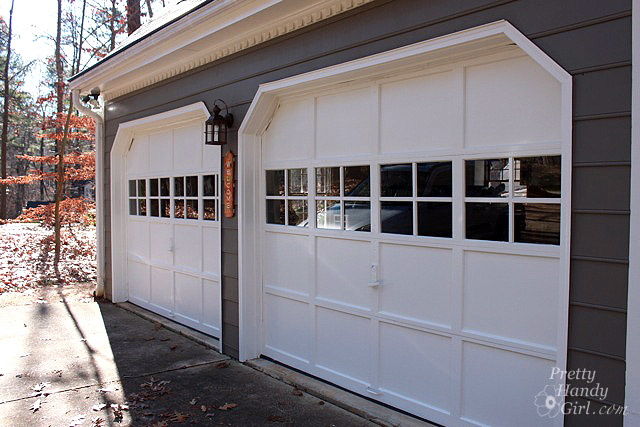
garage_doors

PHGFancySign

Pin for later!

adding weatherstrips to garage door

Do You Open or Close Crawlspace Vents | Pretty Handy Girl

31 Days of Handy Home Fixes | Pretty Handy Girl

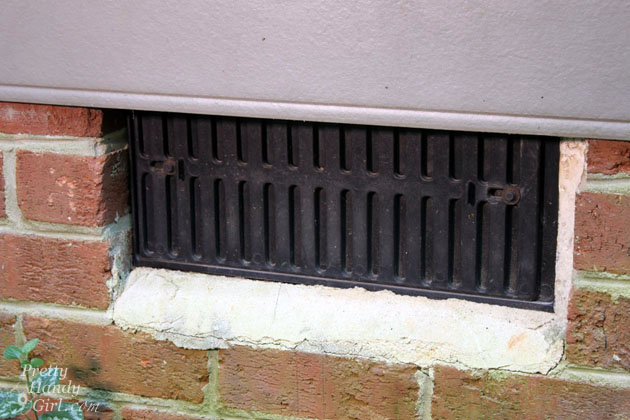
Do you leave your crawlspace vents open or closed? The great debate ends now.

Do You Open or Close Crawlspace Vents | Pretty Handy Girl

If you guessed open, you are right. If you guessed closed, you are also right!

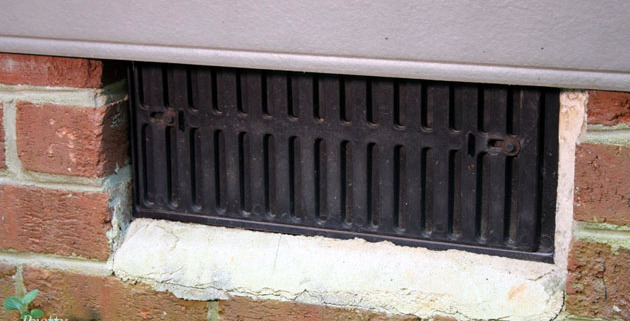
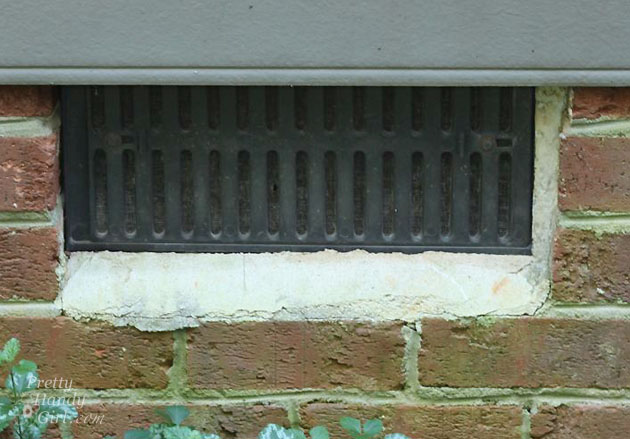
Crawlspace vents should be opened in the spring and closed in the fall. The reason being that you want to preserve any heat in your crawlspace in the winter. This will help protect your water pipes from freezing and keep your home a little cozier on those cold days.  Once spring arrives, go ahead and open the vents to allow better air flow in the crawlspace and to eliminate moisture build up.

Adjusting the vents should take you 5-10 minutes total.

Do You Open or Close Crawlspace Vents | Pretty Handy Girl

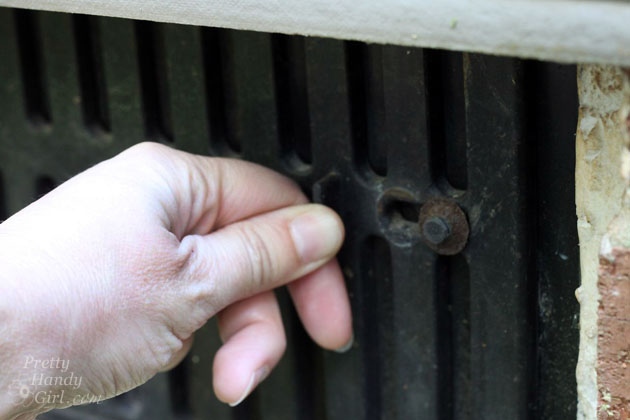
Usually, they will slide freely open and closed with your own hand strength.

Do You Open or Close Crawlspace Vents | Pretty Handy Girl

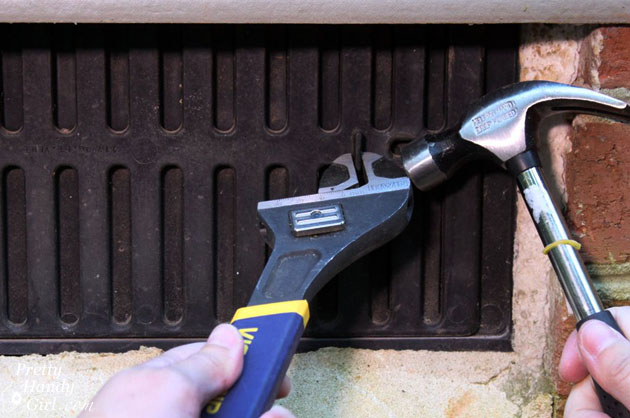
Occasionally you’ll run into a stubborn vent that might be rusty or stuck.  Use pliers or a wrench to grab the vent tab as close to the base as possible and gently tap on the wrench with a hammer.

Do You Open or Close Crawlspace Vents | Pretty Handy Girl

The only time you shouldn’t close your vents is if you have high radon; an appliance that can build up fumes; or excessive water and moisture problems. If you have these issues, you have bigger problems than worrying about your vents being opened or closed. Consult with an expert to remedy those situations immediately.

PHGFancySign

Adding Foam Weatherstripping | Pretty Handy Girl

31 Days of Handy Home Fixes | Pretty Handy Girl

Welcome to Day 5 of my 31 Days of Handy Home Fixes. Winter is fast approaching and now is a good time to assess your doors and windows. Do you feel a draft by your window when the wind kicks up outside? Can you see daylight seeping through your door?

Adding Foam Weatherstripping | Pretty Handy Girl

If you answered yes to either of those questions, you are throwing away money on heating and cooling your home. Today I’ll show you a super quick fix to make your home more energy efficient and weather tight.

Day 5. Add Weatherstripping to Doors and Windows

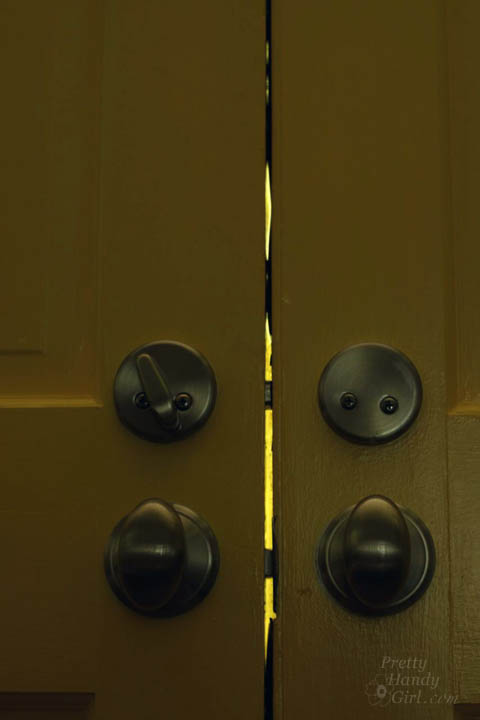
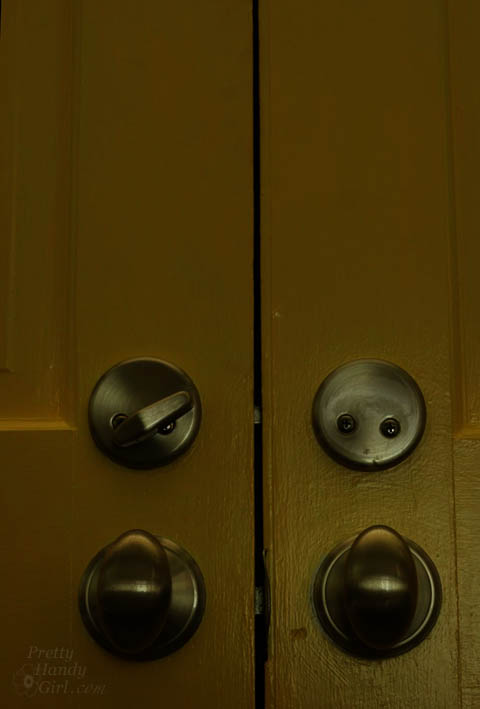
The photo above is a picture of the gap between our front doors. We were losing heat and letting the cold air inside through this gap. The solution is as simple as buying a roll of foam weatherstripping.

Adding Foam Weatherstripping | Pretty Handy Girl

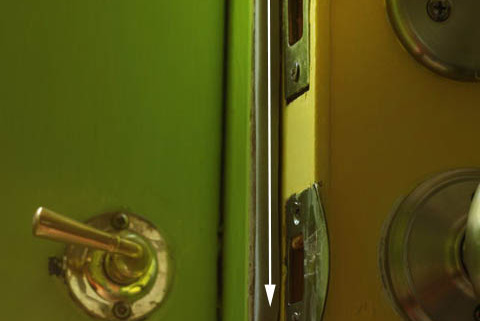
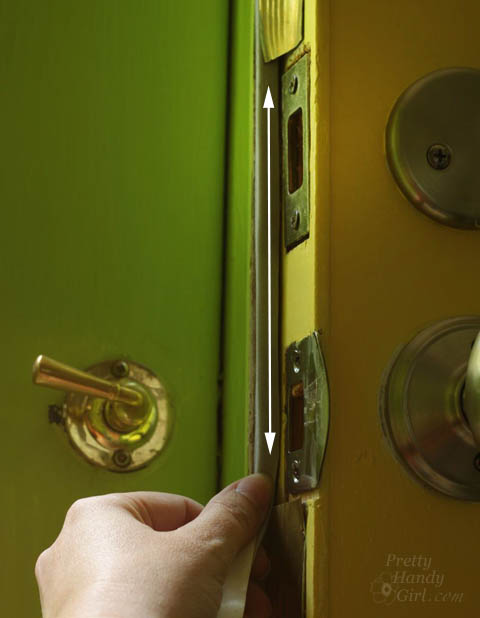
Peel off a section of weatherstripping. Press it onto the door jamb. Peel off the protective paper. Test your door by closing it and look again for light.

Adding Foam Weatherstripping | Pretty Handy Girl

No drafts will be sneaking in here! You can also use the same weatherstripping on the bottom of your old windows.

PHGFancySign

Are you ready to get toasty today? Today is the day that I’ll be showing you how to install the WarmlyYours TempZone radiant floor heat. Can I tell you a little secret? I was terrified! I was so fearful of breaking the heating wire, that I handled this roll with kid gloves. And I yelled at ANYONE who dared step on the mats in shoes. I realize now that I may have been paranoid and overreacted a little. I was just so anxious to have warm floors that I protected our radiant floor elements like a Mama bear of her cubs.

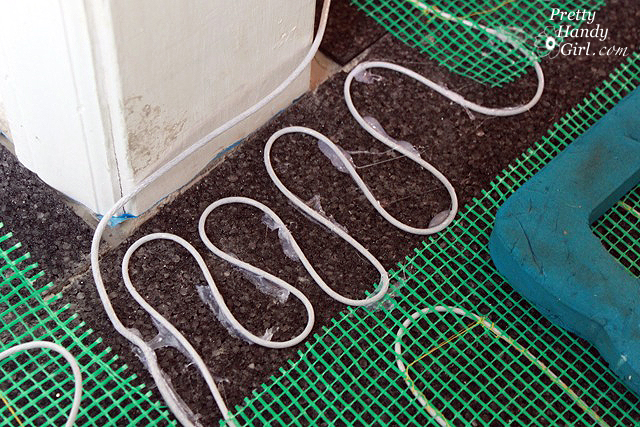
Remember on Wednesday how I told you how I had chosen WarmlyYours radiant heating systems because of their awesome warranty? Well, I also read feedback about their customer service and it ROCKS as well! That service starts with the ordering process.  I was in contact with a representative from WarmlyYours who helped answer ALL of my questions (of which I had many.) She reviewed my room layout and suggested the TempZone Cut & Turn Rolls which is one long mesh roll with the heating element woven and evenly spaced throughout the roll. I was doubtful and wasn’t sure how the roll would fit through the doorway and “roll” around our laundry room. But, she reassured me that they would send me detailed plans for installation. And that a DIYer like myself should have no problem with the installation.

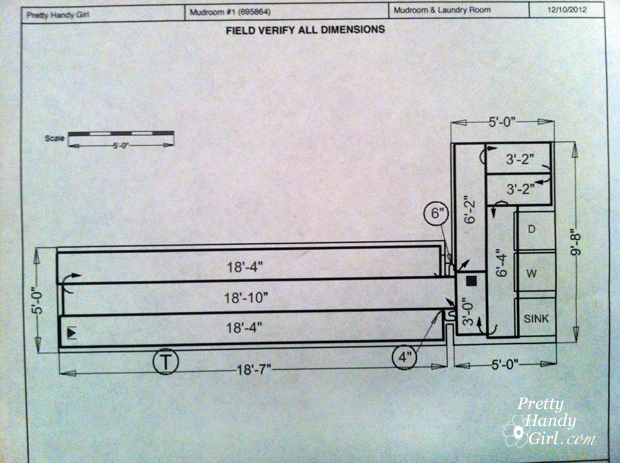
Within a week, I received my custom TempZone roll with a layout just for MY space.

Not just a standard layout, but a custom plan for my exact room dimensions and usage. I was extremely impressed to say the least, because the plan was very detailed showing the exact location of the cuts I needed to make in the mesh mat (not the wire.) Having this map saved me hours of brain-twisting planning at the least.

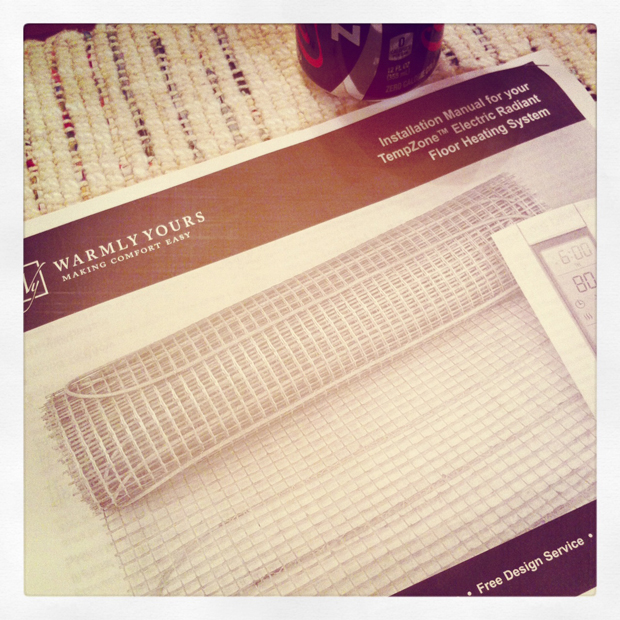
Before installation, I read the instruction manual in its entirety (highly recommended.) Remember, I was a little nervous and didn’t want to do anything to damage the heating mat. I even made sure I was hopped up on caffeine so I could absorb every nugget of the lesson.

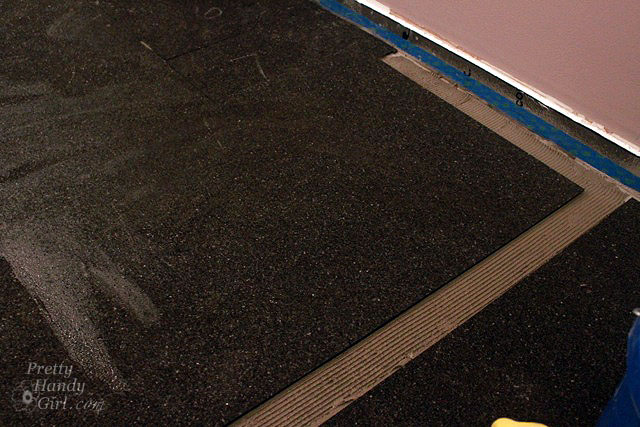
I also prepared the floors by installing cork underlayment (as detailed in this tutorial.) Are you ready for the tutorial to install radiant mats? It wasn’t as difficult as I anticipated and this part went fairly quickly. Let’s roll! Read more

After you read the title, I guess the cat’s out of the bag. It’s true, I installed radiant floor heating in our mudroom/laundry room and I couldn’t be more thrilled. One of the positives of having a plumbing leak and subsequent gutted room, is being able to make changes that you otherwise wouldn’t have considered. Tile floors with radiant heating underneath was one such change we never entertained until our flooring was ripped out.

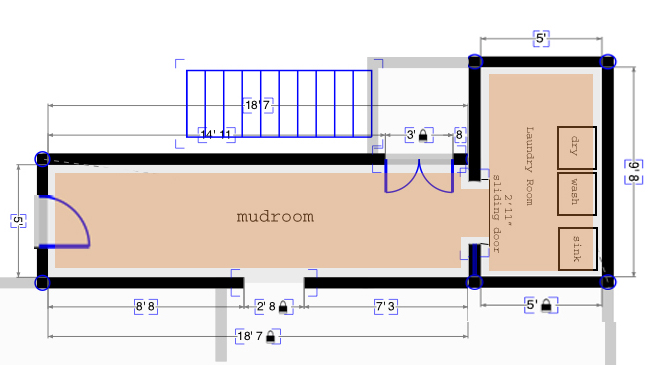
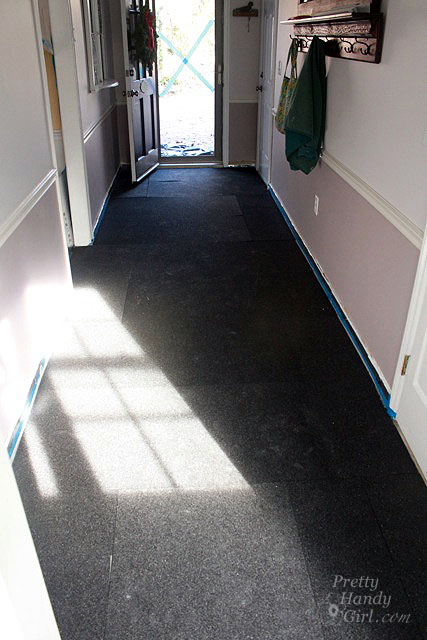
Here’s the low down on those two rooms. Our long hallway mudroom that ends in the laundry room was an addition to our home back in the 80’s. It was built on a concrete pad and the owners must have decided not to tie those two rooms into the heating and air conditioning. Consequently, in the winter, these rooms are brrrrrrr…chilly willy! (It’s true, my blood has thinned over the years from living in the south. I think I’d turn into a useless popsicle if I had to spend more than an hour in Alaska like Ana White.) The linoleum flooring that was there didn’t do much to dampen the chill. And, I knew since we were installing tiles in these areas that it would only contribute to that polar ice effect (wimpy wimpy wimpy, I know).

I decided that I wanted to try to add radiant heat in the floors. After a few nights of research, I settled on a company that makes custom configured TempZone radiant heating mats  for your home.

Read more