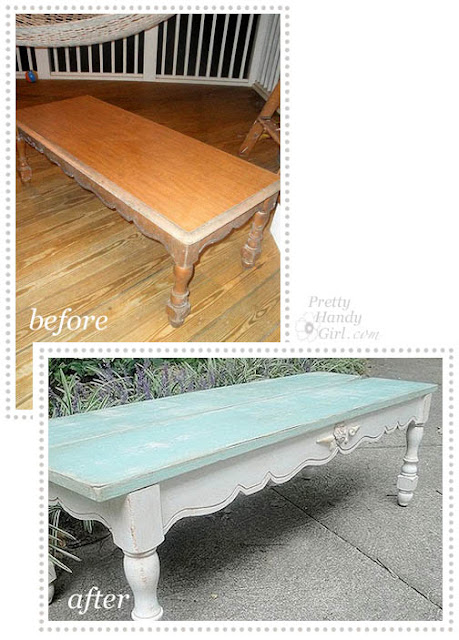
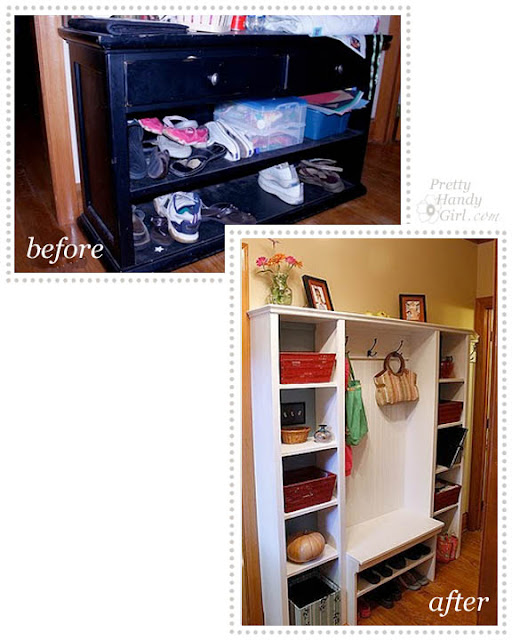
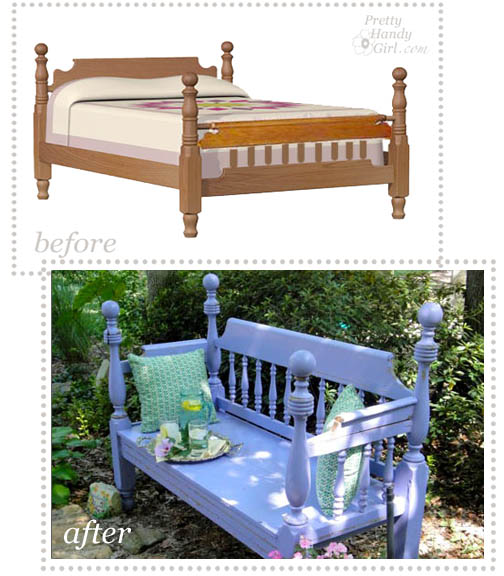
The end of 2010 is near and several bloggers are parading out their best of 2010 projects over at Southern Hospitality. So, in the spirit of parades and looking back, I thought you might like to go back with me to the very beginning of Pretty Handy Girl. We are going way back to June of 2010. Not too long ago, but it has been a project filled 7 months.

So, won’t you pull up a comfy seat and travel back in time with me?

The Best Before & Afters of 2010


Wow, what a year! I can’t wait to share some brand spankin’ new projects with you in 2011!
 Wash…Rinse…Dry…Repeat…Wash…Rinse…Dry…Repeat…

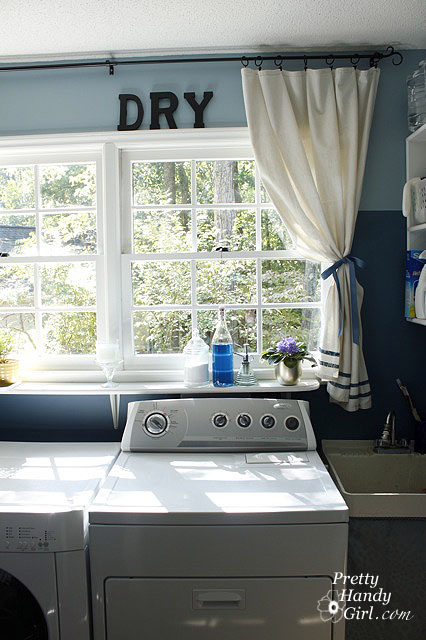
This is the story of my life. We are a family of four and yet, I wash three loads of laundry two times a week. That is six loads per week! Or broken down, it is 1.5 loads per person per week. Is this a lot for a family of four? Maybe I’m too clean? Regardless, with all the time I spend in the laundry room, I wanted it to be attractive.

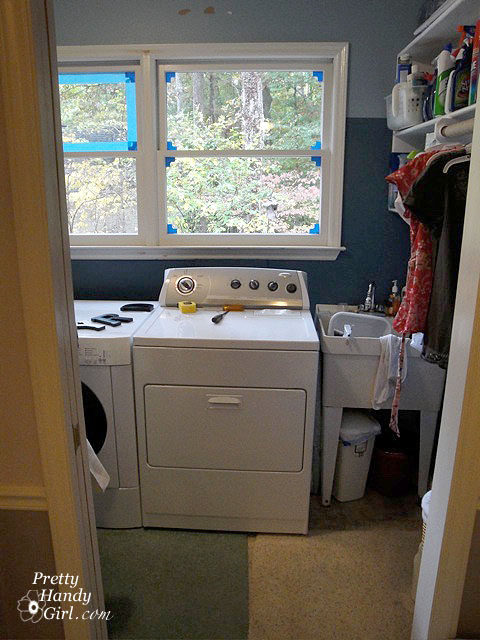
Our My laundry room looked like this right before we bought the house:

 
If you look up “blah” in the dictionary, you’ll see that picture.

So, I set to work and painted dark blue on the bottom 2/3 of the room and the same color with some white mixed in to the top 1/3 of the room. I also painted the windows and trim a glossy white. It is amazing how much easier it is to dust a newly painted surface (a definite must in a lint-filled laundry room.)

Next, I bought several sections of peg racks and painted them the same color as the trim. I screwed them into studs, or

if there wasn’t a stud to screw into I used Toggler anchors:

Then I set forth to cloak the biggest eye-sore in the room, the utility sink. All I did was cut a curtain down to size and used double-stick velcro. Then I hot glued some roped cording to the top. Abra-ca-dabra, it was sufficiently hidden.

Next I cut a piece of 1″ x 6″ pine to the length of my two windows. I rounded the corners with my jig saw and then used a router to give the edge a decorative finish.

After painting the shelf to match the windows, I mounted it to the wall with metal shelf brackets.

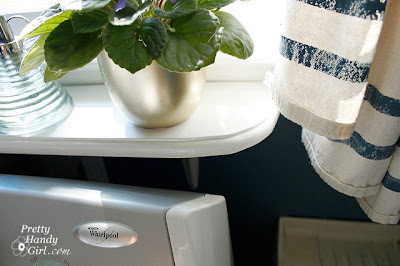
This gave me a sunny spot to rest my plants…

…and laundry supplies (Oxy clean powder, liquid laundry detergent and water spritzer for ironing wrinkles).

I also hung some drop cloth curtains that I painted stripes on (tutorial to come);

added a few letters above the windows;

and now I have a laundry room that I want to spend time in!

This makeover was very low budget. I had the paint leftover from our master bathroom. And the sink cover was one panel on clearance at Target for $3. The letters were $1.50 each and the drop cloths were $5 each. The curtain rod was stolen from another room in our house. And the shelf was from my wood pile. So, all-in-all, I spent about $25.

Some day I’d love to install cabinets with doors on them to hide all the supplies. But, until that day, I’m happy with the transformation.

So, am I the only one doing loads and loads and loads of laundry?

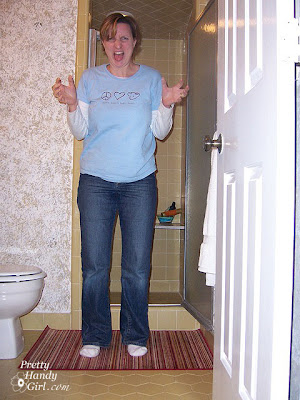
I can’t believe I’m about to show you my dirty little secret. But, I feel bad for my friend Sandra from Sawdust and Paper Scraps. She has some work to be finished in her master bathroom. So, I hope she’ll feel better after I share my awfully tiny and incredibly outdated bathroom.

I’m warning you now, what you are about to see is disturbing. If you have children, please escort them from the room.

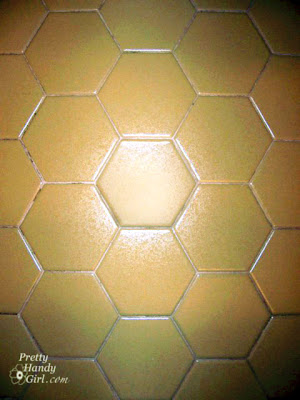
Exhibit A. Harvest Gold Tile
 Exhibit B. Jackson Pollock sponge paint and stamping
Exhibit C: Ugly Wall Cabinet on the Wall
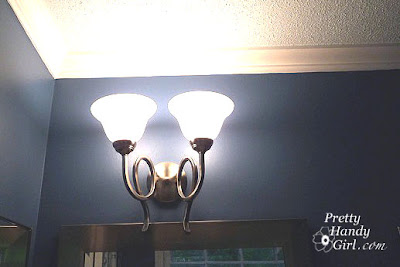
Exhibit D. Outdated Oak Cabinet and Light Fixture
Exhibit E. Coffin-like shower.
 I know, SCARY, right?!

Pretty Handsome Guy and I knew that one day we would be gutting this bathroom. Therefore, we decided not to do anything to the bathroom knowing that it was going to be euthanized renovated at some point.

Well, after about a year, I couldn’t stand it anymore. As a surprise for Pretty Handsome Guy, I gave our teeny 1970’s bathroom a minor face lift while he was away on business. I spent about $100 to give us a calmer start to our morning.

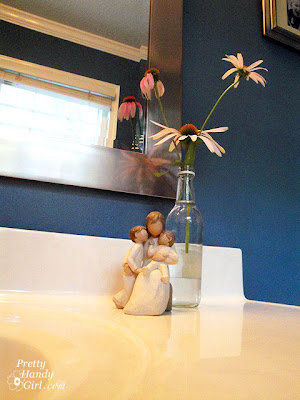
First I took down that ugly wall cabinet. Then patched all the holes in the wall. I sanded the walls to remove some of the bumps from all the random paint. I painted all the trim a glossy white. And the walls got a fresh coat of Ralph Lauren Durango Blue. I chose a deep color to draw attention away from the harvest gold tiles.

Then I hung some pictures…
…and a new mirror (bought on clearance at Target).

I ditched the Hollywood strip lights and replaced them with this very affordable Craig’s List find.

I really did not want to spend a lot of time on the vanity (stripping and sanding), so I roughed it up a little and put some Brazillian Rosewood gel stain on it. And left it for 24 hours to dry. Yup, that’s right, I didn’t wipe off the stain.

You know what else I didn’t do? I didn’t put a protective coating of polyurethane either!
I also didn’t bother staining the inside of the cabinet. This is so opposite to my DIY code of conduct! I’m usually a perfectionist and I do it right the first time or I don’t do it at all. But, as I said, this bathroom is slated for demolition one day, so why put a lot of time or money into it.
Finally I installed some new towel bars and put new knobs on the cabinet.
Okay, sure the ugly tile is still there. And the shower still looks like this.

But, we now have a bathroom that we can enter without the risk of leaving with a migraine.

I am able to live with the bathroom as it is, until the happy day when I can knock down some walls, haul out some outdated tile and build my dream master bathroom.

Here are my plans for this dream:

Existing Floor Plan: Luckily an old washer and dryer closet backs up to the other side of this bathroom. This will give us another 3′ of space along one wall!

Renovation Floor Plan:

And this is what I envision our bathroom will look like one day!

Thanks to Lori Gilder of Interior Makeovers, Inc., who somehow has a window into my mind to see what I want our master bathroom to took like. She posted these photos from her portfolio on Houzz.com. She’s a fabulous interior designer who lives in Beverly Hills. Check out her blog and portfolio.

Sooooo, do you have a room or a space that is hideous? But, you don’t have the time, money, or effort to give it a full renovation? Why not make a few frugal changes so you can live with it until you can DESTROY IT (and then rebuild it of course.) It is amazing what some paint, new towels, pillows and/or a few fixtures can do.

I am a lucky gal to have a very wonderful friend in my life.

 This is my good friend Renee
Isn’t she beautiful? I wish I could have her hair and smile.  Renee has been a motivational force in my life. She talked me into doing my first triathlon two years ago. She was also a motivator for this blog! (So you should definitely thank her for that.) But, overall, she is just a fabulous friend who I enjoy spending time with.

A few months ago Renee called me with some super exciting news. She was pregnant with her second child. This was a much anticipated pregnancy and the phrase, “Good things come to those who wait” enters my thoughts when I think about how long she and her husband Toby have wanted this baby.

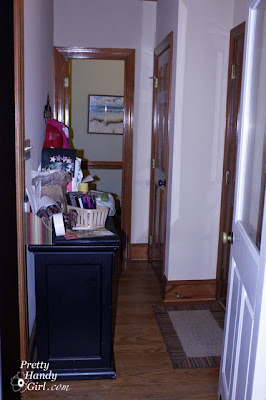
I wanted to do something very special for my good friend. Especially something to help with those pesky pregnancy nesting tendencies.  I knew that she had been struggling with storage solutions for the hallway between her garage and kitchen. This was her catch-all location and it was a narrow 38″ wide hallway I might add.

Plus, there are six doorways coming off this hall. Yup, talk about a challenge! This hall has access to a bathroom, a storage closet, the garage, the bonus room, the back deck and the kitchen.

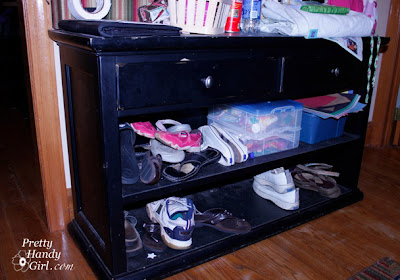
Smack dab in the center of this hallway was a console unit that she bought in an effort to get some storage and organization. Well, needless-to-say, it wasn’t working for her.

She bought this console off of Craig’s List to help organize the hallway.

Renee, really needed a highly functioning location to store anything and everything that didn’t need to come into her home.

Initially I drew up some quick sketches and showed them to her and her hubby. They both liked the idea, so the next step was to take some measurements and tape out our plans.

We taped the outline of two storage towers, a bench with storage underneath, and coat hooks. (Do you like our hanging coats? The vertical strips of tape.)

Plus, we taped the footprint of the unit. It was very important to keep the shelves as shallow as possible, so as not to impede the traffic flow.

Renee was tasked with buying some baskets to use on the storage towers and picking out a paint color for the back of the towers. She knew she wanted bead board behind the coat storage and she wanted black coat hooks. Buying triple hooks allowed her to maximize the amount of coats and bags that could be hung.

Then we got to work. (Yes, I said we! Renee helped with all the steps, because she wanted to learn some new DIY skills. I think she learned a lot on this project!)

We used Ana White’s blog (previously Knockoff Wood) plans for the storage towers, but altered them to fit our size requirements. The tutorial for the rest of the storage unit that we built is here. In the meantime, I hope you will enjoy these after pictures!

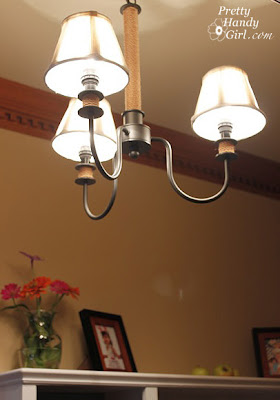
First off, you might notice that the before pictures weren’t just cluttered. The lighting in their hallway was pretty dismal. Thanks mostly to a builder grade flush mount light fixture and one CFL bulb. But, we fixed that too.

So, do you recognize that chandelier?! My twitter followers saw the picture here. $10 at the Habitat ReStore! What a steal!

A pretty place for flowers and pictures on top of the unit.
Coats and bags have plenty of hanging space.
The cranberry red baskets allow each family member a place to put their things.
Plenty of shoe storage for the whole family.

Here is the tutorial for that cute little blue striped storage box above. Its purpose is to halt all the junk mail. Renee can flip through the mail and put the junk mail in there to be recycled.

So, what did we do with that big console? 
 

It is sitting happily around the corner in her large kitchen. Renee bought some storage bins that we used in the lower half for more storage.

Now Renee’s daughter has plenty of access to her arts and craft supplies.
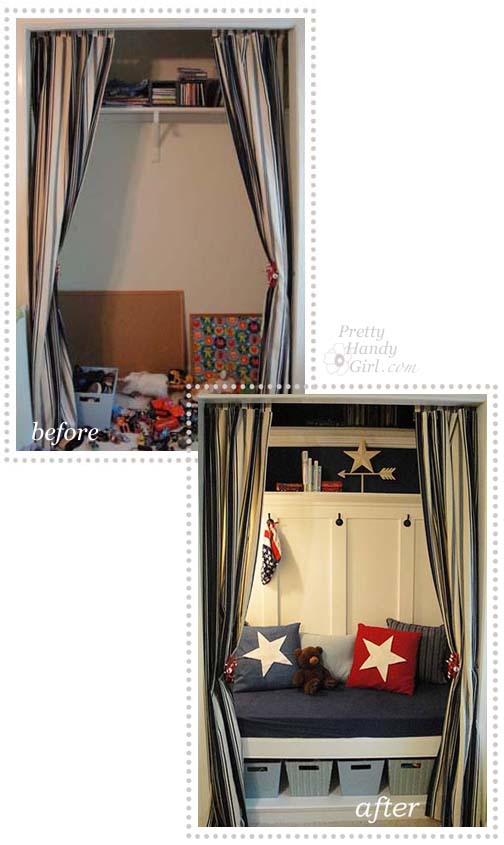
And, because who doesn’t love a really amazing before and after!
Before:
After:

I am in love with those adorable french provincial dressers. The flourishy handles are what really get my heart pounding.When I saw this dresser on Craig’s List for $35 dollars, I pounced!

 Disclaimer: I stole this picture from the previous owner’s Craig’s List Ad.

Oooo baby, don’t you just love that faux gold outlined accents and off white laminate top. Yes, I said laminate. But I wasn’t afraid of it. For $35 who cares if it gets messed up. If you never take the risk, you’ll never learn anything new, right?!

The drawers were still in good shape, but a little loose around the joints, so I squirted my new favorite Gorilla Glue into the joints and clamped lassoed them up!

Then I used newspaper to protect any of the areas I didn’t want sprayed.

After sanding all the surfaces to rough them up, I put a coat of primer on everything. Loving that crisp clean white, but the dresser told me to “Keep Calm and Carry On.”  So, I cooperated and continued on to another color.

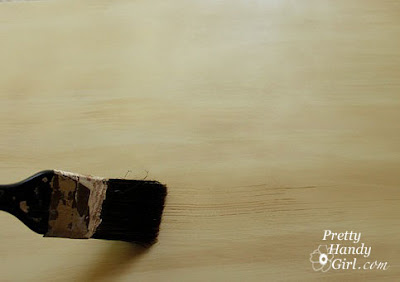
Next, I sprayed Rustoleum Heirloom White and distressed the surface with a wood stain.

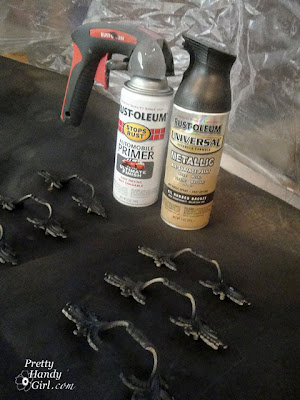
The drawer pulls got their own treatment of automotive primer followed by Oil Rubbed Bronze paint. Thank goodness they were happy with their new color because – I’m telling you – that dresser was certainly acting like a diva! She was still demanding a new color.

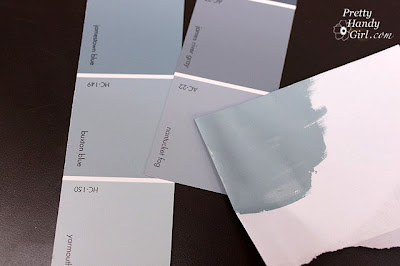
I have seen many Nantucket Fog makeovers and decided to make a run to Ace Hardware to pick up a small sample of that blue gray color. And I grabbed a can of artistic glaze.

After two coats of the Nantucket Fog glaze, that little dresser still wanted something else. Sheesh! So I pulled out some leftover blue paint from my dormer window shutters.

Finally, she shut up! It’s a good thing too, because I LOVE this color. I love it so much that I hauled my tired hiney back over to Ace to match the color just for you.

Does anyone else get starry eyed and entranced by all these fabulous colors?

The closest match is Buxom Blue from Benjamin Moore. Not too far off from Nantucket Fog, but you know those divas they want what they want!

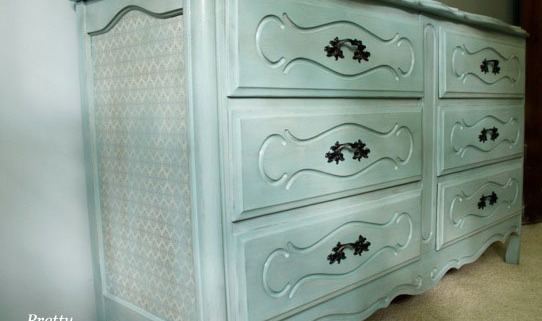
Now, all important divas need something to wear that gets them noticed. Thus, I decoupaged some wrapping paper on the side (tutorial is here.)

And then because I liked the pattern so much, I blew it up and added it to two corners of the dresser top (tutorial for adding a sharpie stencil.)

I added some beachy blue glaze over the wrapping paper and the top graphic.

And I have to tell you that – halleluiah – I finally figured out the proper technique when using the valspar glazes (the tutorial is here.)

I finished up with three coats of a semi-gloss polyurethane.

And here is that stunningly beautiful diva of a dresser. Transformed from Cinderella to the Belle of the ball!

Isn’t it amazing what a little oil rubbed bronze can do!
 
 Hard to believe this was wrapping paper in a previous life!
 Peek-a-boo I see a cute stencil.

Now, I have to convince Pretty Handsome Guy that our master bedroom furniture doesn’t have to be all matchy matchy!

 Because I LOVE our Pottery Barn Sleigh Bed. 
But not the matching dresser.
 I love the new-old dresser! What do you think?

Any helpful hints on using Jedi mind tricks on unsuspecting Pretty Handsome Guy?

Update: Thank you to my readers that pointed out that I installed the handles upside down. They have been fixed now ;-).