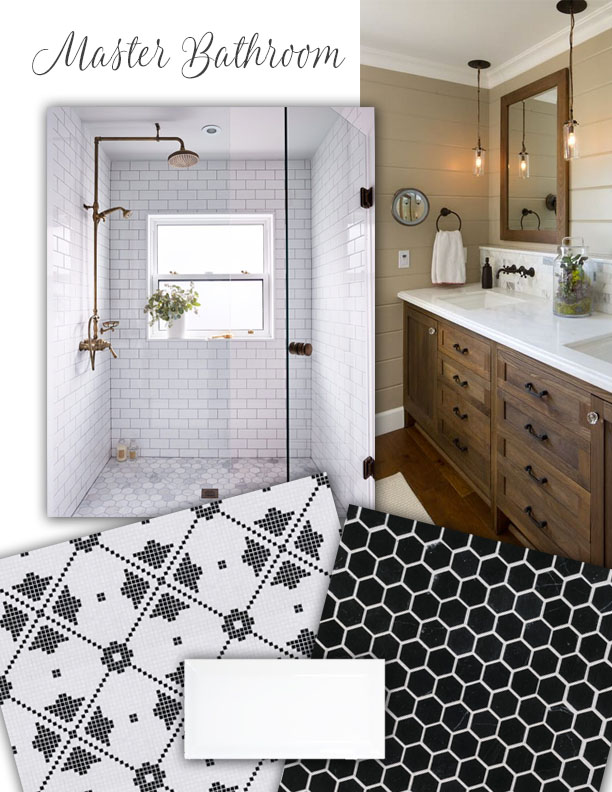
Downstairs Bathroom Plans at Saving Etta
Thank you so much for your feedback and comments on the master bathroom mood board for Saving Etta. While preparing for the plumbing, I had to start picking out all the fixtures. If you’ve been following me on Facebook and Instagram, you know that I ran into a little issue with the tub in the downstairs bathroom. The space was wider than the tub. I asked for your opinion and a lot of you wanted to keep the tub centered on the window.
(I’ve included affiliate links for your convenience. I earn a small percentage from a purchase using these links. There is no additional cost to you. You can read more about affiliate links here.)
Ultimately, we framed out two walls on either side of the tub. At the foot of the tub, I will be installing a shampoo niche like this one. I bought it off Amazon because the price was much better than local stores.
One thing I forgot to mention on the master bathroom mood board is the addition of one of these beauties in the shower:
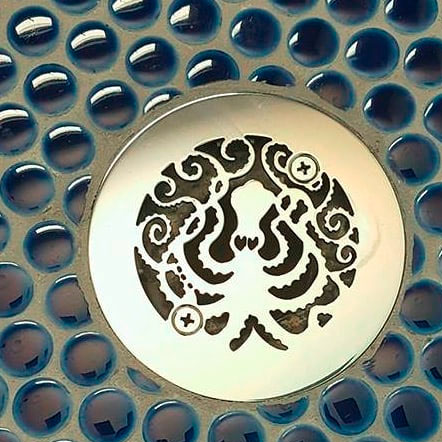
I stumbled across Designer Drains while on Instagram one day. Their beautiful drains are a wonderful way to upgrade the standard shower drain. In the master bathroom, the floor tiles will be black, which will make the brass show up nicely.
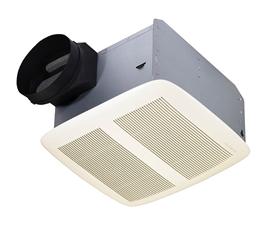
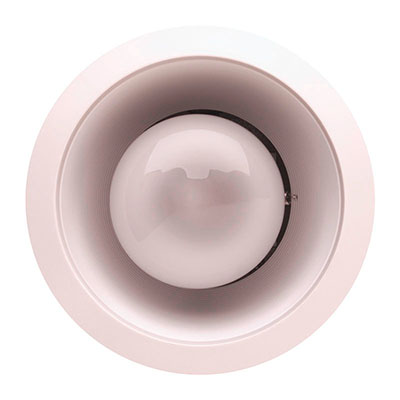
Back to the downstairs bathroom. In this bathroom, I’m using an exhaust fan by Broan that looks (and performs) just like a recessed light. It will be installed over the tub to provide adequate ventilation during hot steamy showers (my favorite.)
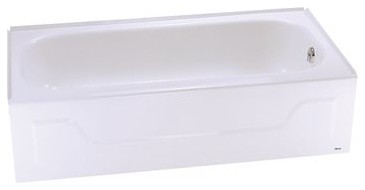
For the bathtubs, I turned to Wilkinson (our local plumbing supply house), to talk to them about bathtubs. Emily told me I couldn’t beat a Bootz tub for price and quality. At under $200 each, these tubs don’t break my budget. Plus, they have a finish that makes it feel like a cast iron tub, when in actuality they are super lightweight.
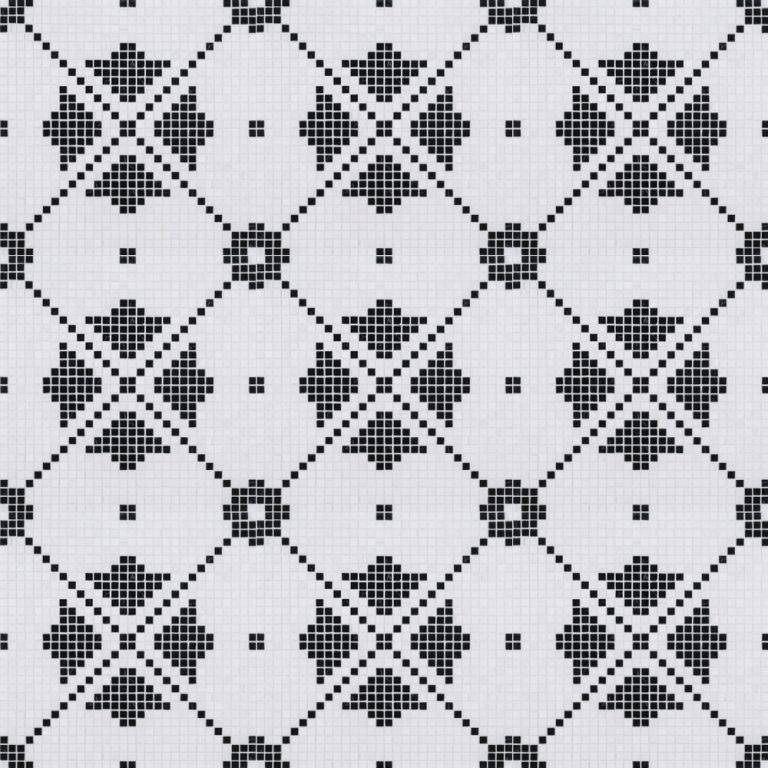
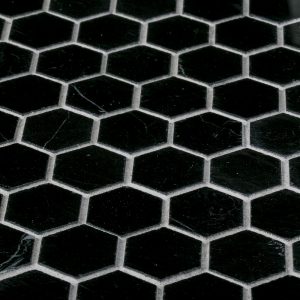
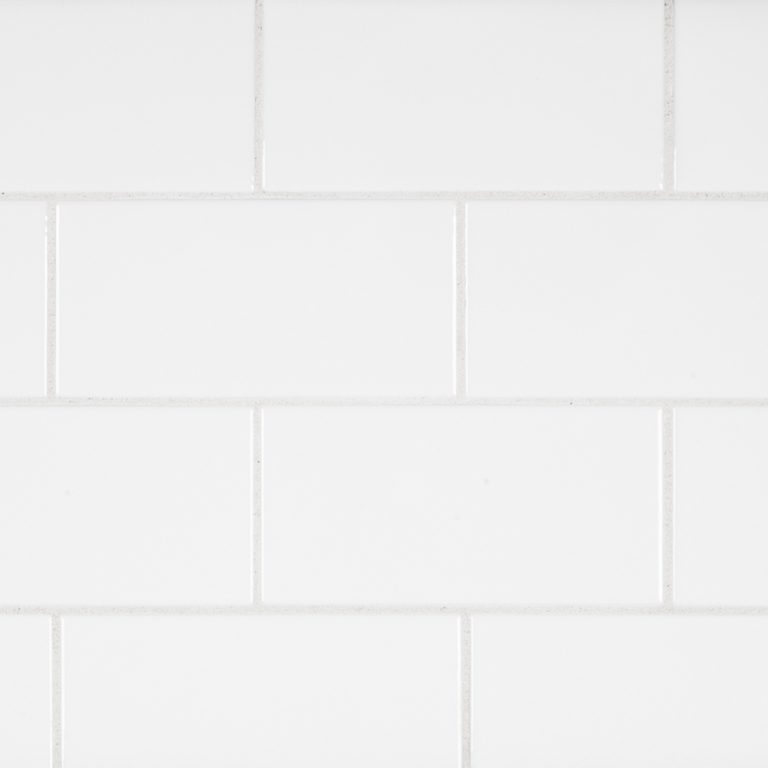
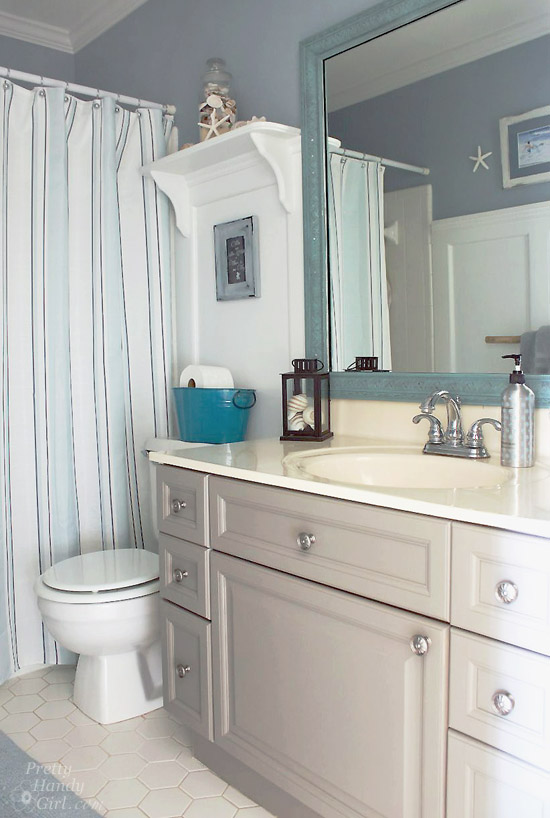
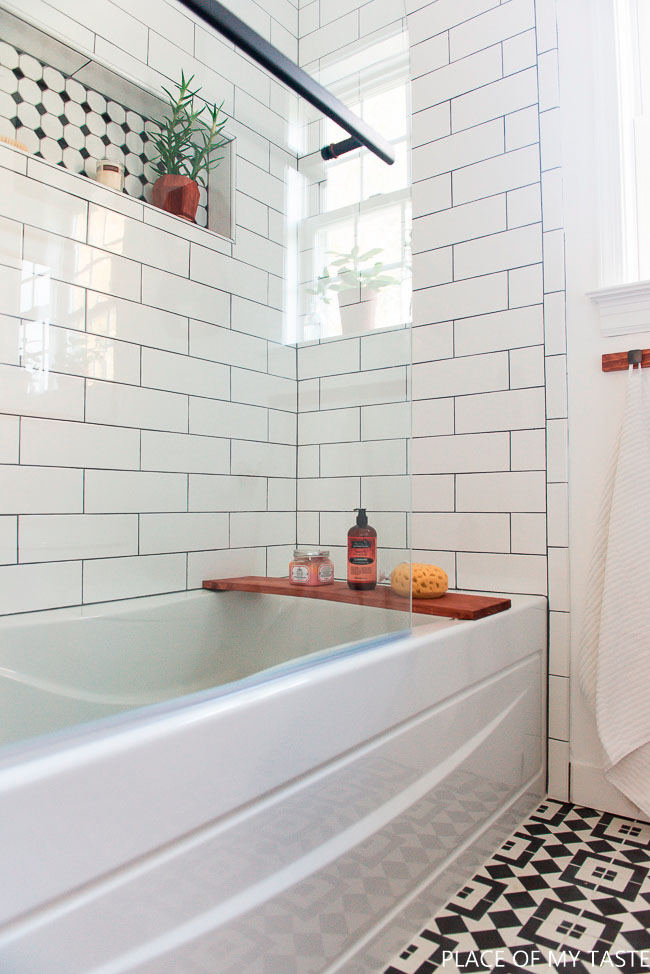
The idea for this bathroom is simple. White subway tile walls, maybe black hexagon flooring and some small hex tiles to accent the back of the shampoo niche. One of the photos I was drawn to on Pinterest is Aniko’s bathroom makeover from A Place of My Taste. You really need to see what she started with! As much as I’d like to use color in a bathroom, I think I should keep the tile and fixtures neutral to appeal to more buyers.
What do you think? Do you like the fixtures I’ve chosen for the downstairs bathroom? Is it too much black and white? Do I need to add some color?
These are links to the material sources:
(I’ve included affiliate links for your convenience. I earn a small percentage from a purchase using these links.
There is no additional cost to you. You can read more about affiliate links here.)
Bronze Wide Spread Bathroom Sink Faucet
Bathroom Vanity with Marble Top
![]()
Disclosure: Broan, Designer Drains, and Jeffrey Court are sponsors of the Saving Etta project. They will be providing complimentary products for the project.