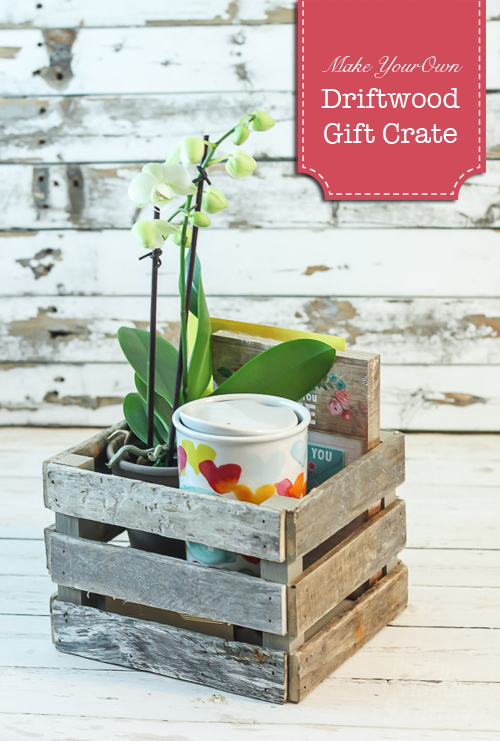
Make a Driftwood Gift Crate
I love making small crates or boxes to use as gift baskets for friends. It’s a great way to use up scrap wood and give a gift that can be used to organize a desk or shelf. Stick around today and I’ll show you How to Make a Driftwood Gift Crate.
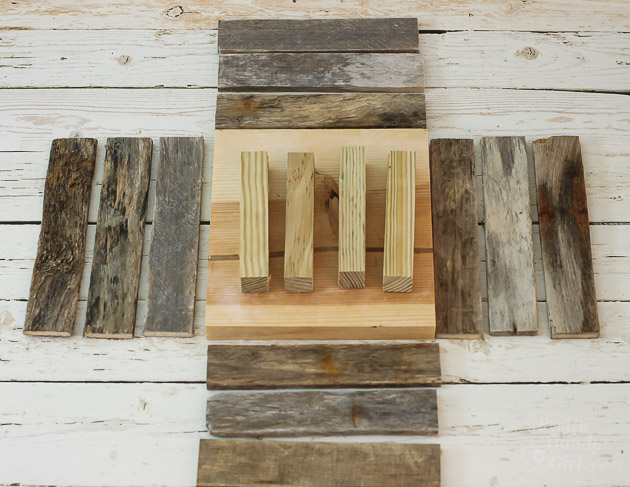
After a short walk on the beach, I was able to collect many broken pieces of dune fencing that had turned into nice weathered driftwood. I knew I could use it to make some beautiful gifts. Here is one idea.
Materials:
(I’ve included affiliate links for your convenience. I earn a small percentage from a purchase using these links. There is no additional cost to you. You can read more about affiliate links here.)
Optional: wood glue for stronger joints
Instructions:
Paint the base and corner supports gray to blend in with the driftwood.
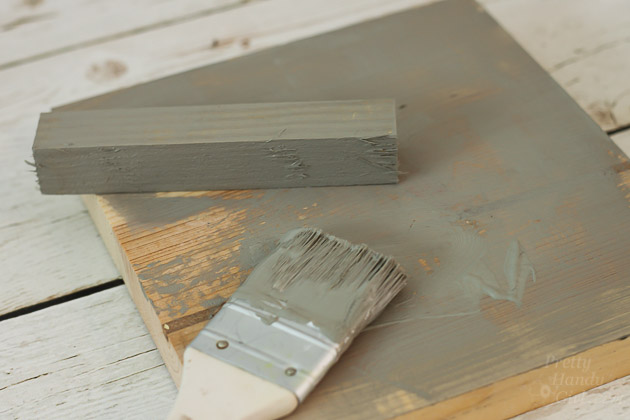
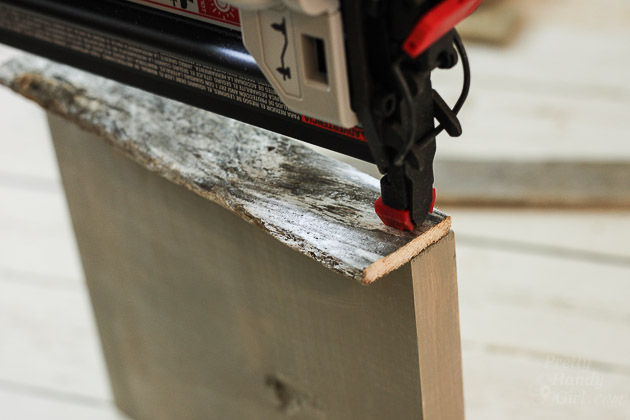
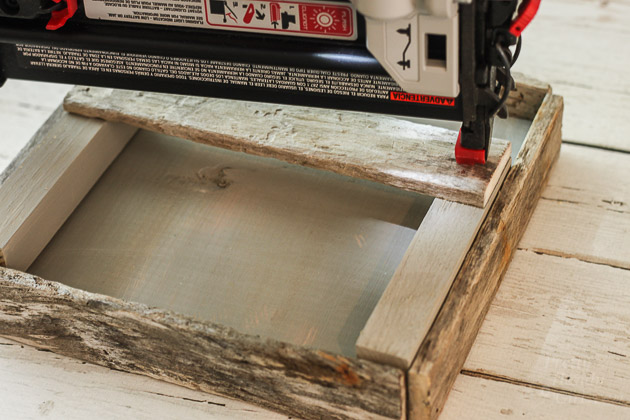
Allow paint to dry and nail strips of driftwood framing the 8″x8″ base. For a more secure hold, you can use wood glue around the base before nailing.
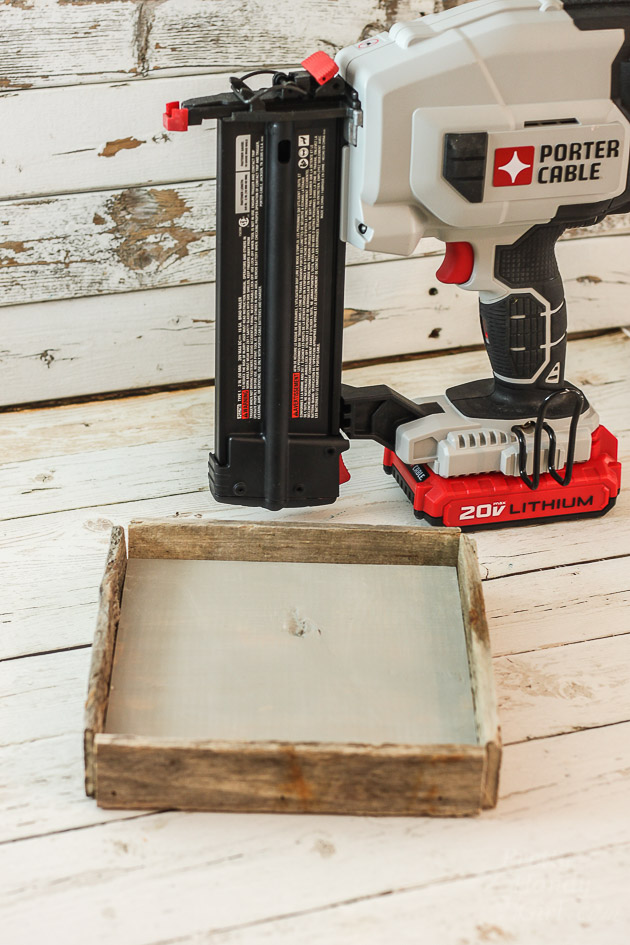
Can we take a one minute break so I can tell you about this Porter-Cable 20 volt Lithium 18 ga. air nailer? It is battery powered, no compressor needed and it is da’bomb! Porter-Cable sent it to me to try out a while ago. I’ve been using it all winter and have had no issues with jamming or misfiring (like my Ryobi Airstrike nailer frequently does.) The weight is a little heavier than a nailer that needs a compressor, but the benefits of being cordless and quiet in between firing makes it my go-to brad nailer. Sorry for the diversion. I just had to share a little more about my new favorite tool.
Finish framing the base. Add the top rail to the corner supports for two sides.
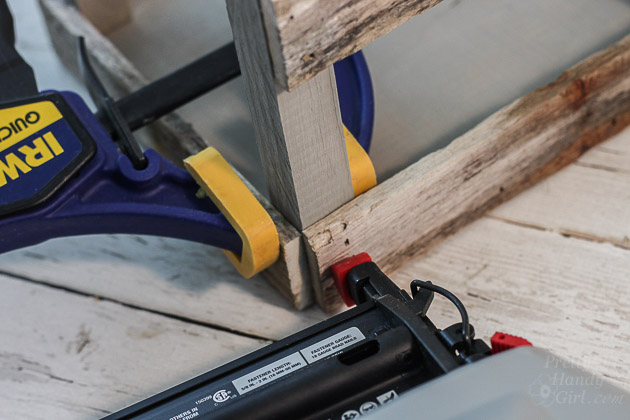
Stand up the connected corner supports and nail through the base into the corner support. A clamp will help hold the corner supports while you nail them.
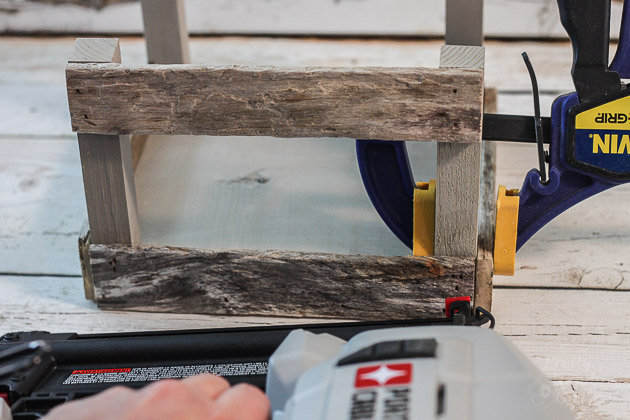
Nail all corner supports into the base on two sides.
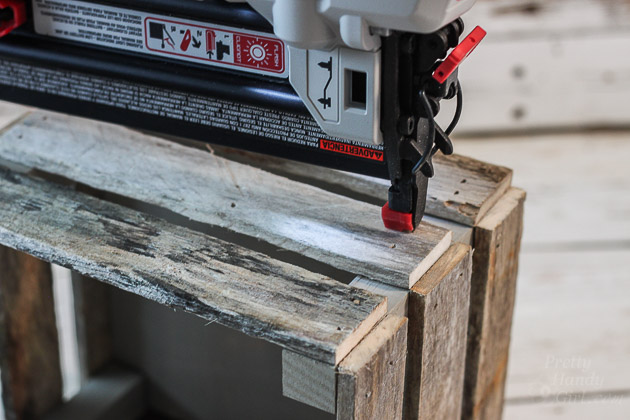
Continue attaching side rails until your crate is complete.
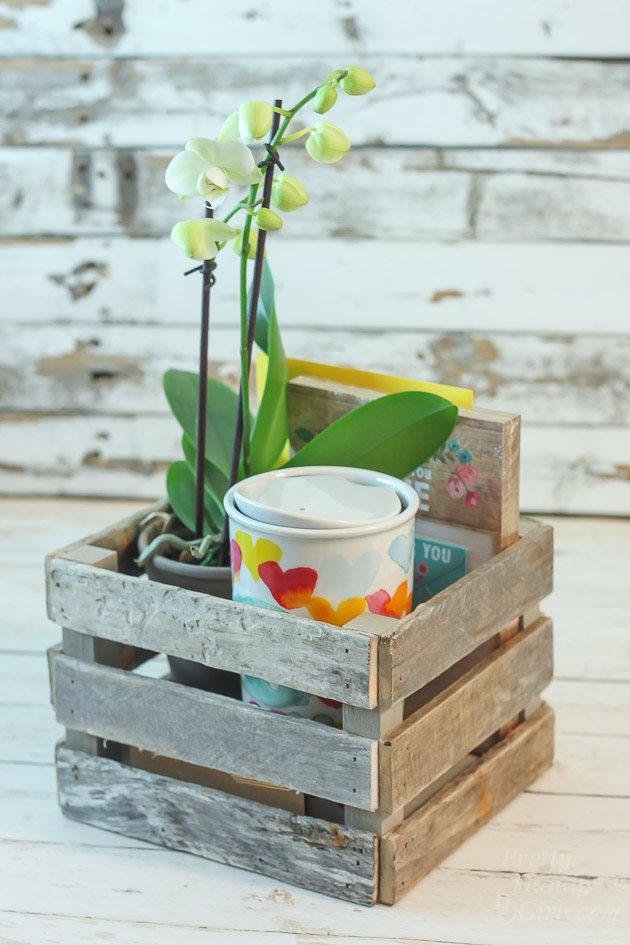
Fill your driftwood crate with goodies and give it to a friend.
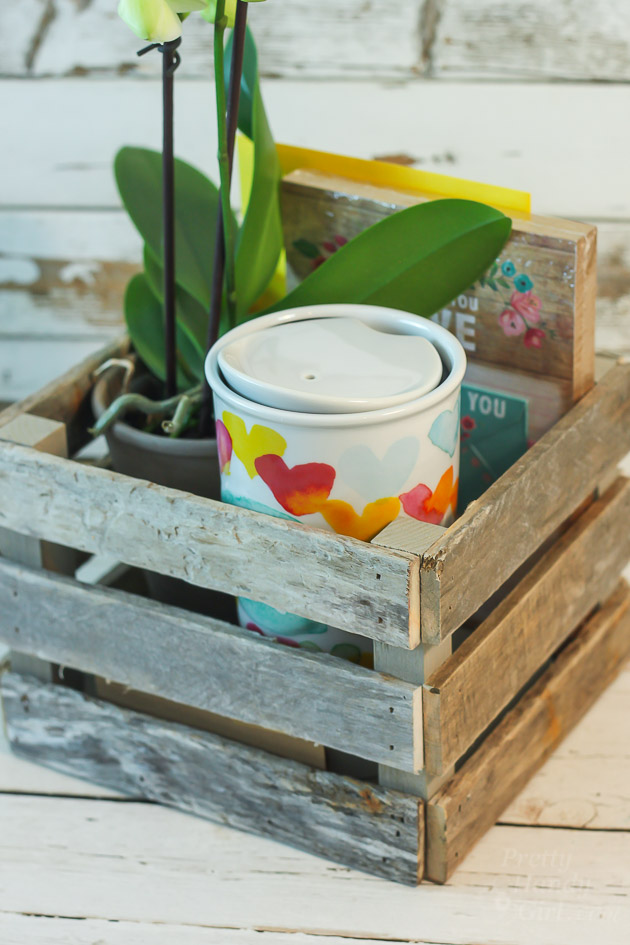
They will surely enjoy receiving this little Driftwood Gift Crate.
Do you collect driftwood at the beach? Or do you have an excess of scrap wood you can use to make gift crates? If you don’t have driftwood, pieces of broken lattice or paint sticks will work just as nicely.

Disclosure: Porter-Cable sent the Porter-Cable 20 volt Lithium 18 ga. air nailer (affiliate link) to test. I was not paid to review this tool, nor was I told what to write. All opinions are my own. I am very particular about the products I share with you and will always let you know when something was given to me to review.