Family Game Night Hack How to Pause Monopoly

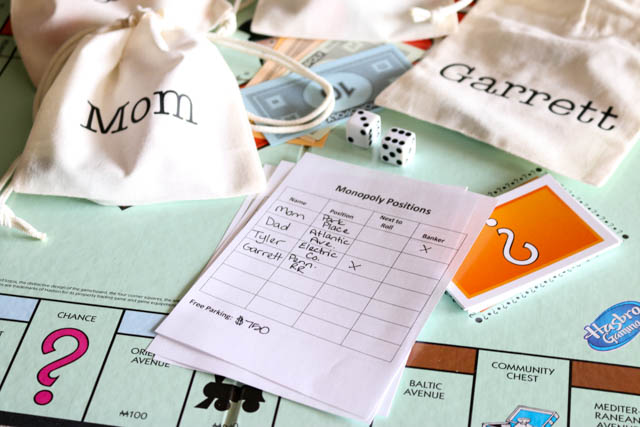
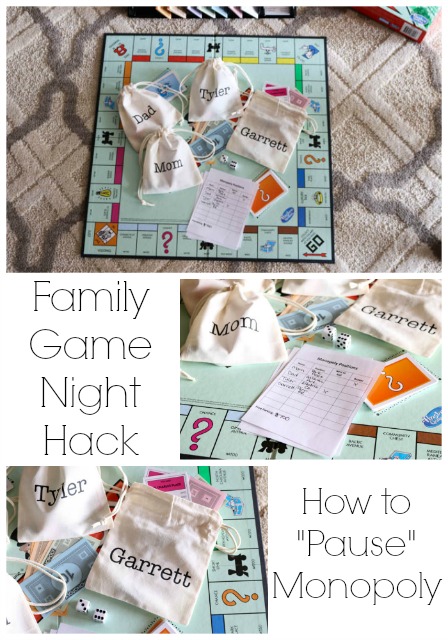
Hi everyone!  It’s Katie from Addicted 2 DIY again!  I have an easy and fun family game night hack to share with you that has helped us to enjoy one of our favorite board games until the very end!  We love to play Monopoly together as a family, but sometimes we don’t have the patience to stick it out until the end in one sitting.  We used to just slide the game to the end of our dining table and pick up where we thought we left off on another day.  I hated having to leave the game board out all of the time.  After being annoyed with it for too long, an idea popped into my head: ” We could actually “pause” the game.”  It’s so simple and it was one of those #facepalm moments where I wondered why I didn’t think of it sooner!  I even made up a printable that goes along with the idea.

Materials:

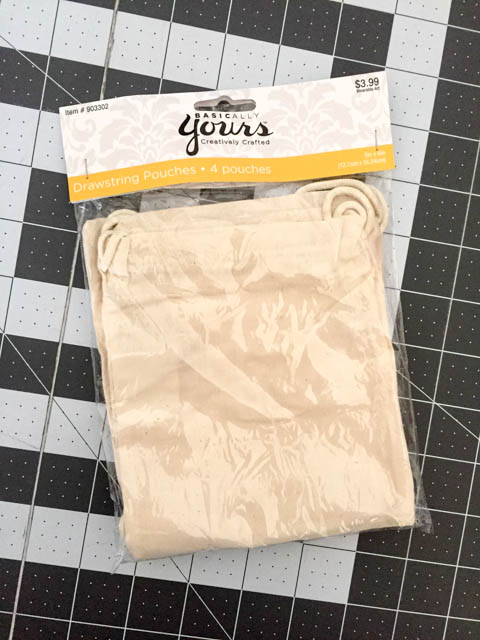
  • Canvas or muslin drawstring bags
  • Heat transfer vinyl (or you can make a vinyl stencil)
  • Silhouette die cutting machine
  • Printer
  • Copy paper
  • Printable game position download

Instructions:

Pick up some canvas or muslin drawstring bags to store your game pieces.  Most craft stores carry then, but I picked these up at Hobby Lobby and used my 40% off coupon.

family-game-night-hack-bags

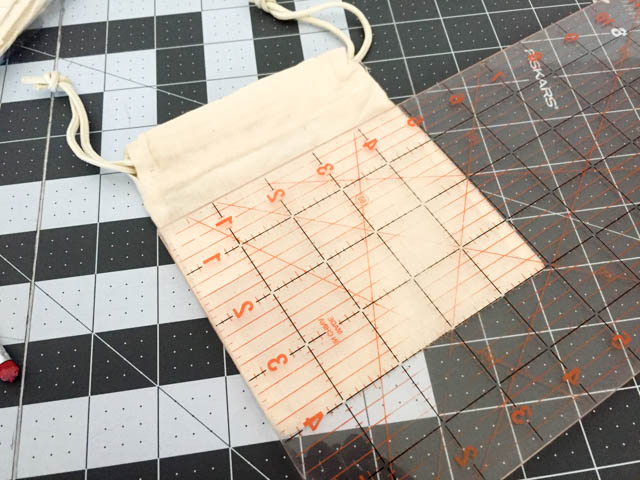
Measure your bags to figure out what size you need to cut your letters out.

family-game-night-hack-measuring

If using heat transfer vinyl, cut the names out on your Silhouette or Cricut and weed the excess vinyl away.  I used the American Typewriter font for these bags.  Make sure you mirror the design before you cut!  Otherwise your names will be backwards when they’re ironed on. Read more

Build a Snowman and Win a Getaway for 4 on a Disney Cruise! | Pretty Handy Girl

Build a Snowman and Win a Getaway for 4 on a Disney Cruise! | Pretty Handy Girl

Do you wanna build a snowman? Come on let’s go and play! Ha, my apologies if you have that popular Frozen song in your head now. Do you have snow where you are? We are on the tip of an “epic” winter storm that is rolling into North Carolina right now. I hope we’ll get some pretty white stuff. Unfortunately, we usually get a heaping dose of slick ice and sleet, and not the fluffy white powder.


How to Build a Snowman without Snow:

Build a Snowman and Win a Getaway for 4 on a Disney Cruise! | Pretty Handy Girl

Do you have snow? If not, want some help making your snowman without snow? No worries, I got your back. You’ll need a few tools and supplies to build a snowman without snow. Keep in mind you can substitute any of the materials for something you already have on hand.

Materials:

Read more

diy owl bookends

Pretty Handy readers Happy New Year!  Jaime here today from That’s My Letter to share how to make scrap wood DIY Owl Bookends.  It’s January and everyone is in cleaning, purging, and organizational mode.  While you’re cleaning out the scrap wood bin, save a few scraps to make these cute owl bookends. They are adorable and will help straighten up your bookshelf, too.

I used scrap wood pieces straight from my cut off bin to quickly put together these bookends.  These wood pieces happen to be different colors (some stained, some cedar, some painted) but you could easily use new lumber and paint the owls in fun colors.

owl bookends 1

This is a great gift idea for adults and kids alike!  I sent this pair off to my sister who happened to have an owl get down her chimney (someone left the flue open!) and was flying around in her house.

owl bookends 3

Below are the step-by-step instructions including materials and a cut list.  Always follow all safety precautions when using power tools.

owl bookend tml

Materials: Read more

It's inevitable your little ones will get bump or bruise. Make them a Boo-Boo Bear to sweeten those tough times by Prodigal Pieces www.prodigalpieces.com #prodigalpieces

It's inevitable your little ones will get bump or bruise. Make them a Boo-Boo Bear to sweeten those tough times by Prodigal Pieces www.prodigalpieces.com #prodigalpieces

Hello PHG readers! I’m coming over from my blog, Prodigal Pieces, to share with you a sweet DIY that is easy to whip up and will make everyone smile (not to mention it makes a perfect last-minute gift!).

Do you remember the days as a child when you would stumble and hurt your knee or have some bump that required a little TLC? As a mom to 6 wonderful kids, I know how precious those times can be, and that’s where Boo-Boo Bear (a rice ice and heat pack) can sweeten those troubled times.

Boo-Boo Bear is sweet little friend who serves as a comforting ice pack that is the perfect temperature for those bumps and bruises that come along, AND he can also be lightly warmed in the microwave to soothe aches and pains. Want to make one for a special little person in your life? Read more

fabric & wood coasters

Pretty Handy readers we are nearing ever so close to the big day!  Jaime from That’s My Letter here today to share a quick and easy last minute gift idea.  These fabric and wood coasters add just a touch of holiday cheer to any coffee table and you just might already have the supplies on hand to make them!

fabric & wood coasters wrapped

All stacked up and tied together they make a great hostess gift or a charming diy gift anyone is sure to appreciate.

fabric & wood coasters 3

The plaid fabric is completely on trend this year as we are seeing plaid and tartan everywhere!  You could use nearly any fabric, this plaid happens to be a thicker woven cotton.

fabric & wood coasters 1

Below are the step-by-step instructions to make your own fabric and wood coasters.  Always use all safety precautions when operating power tools.

Materials:

  • 4×4 wood post scrap (1/2″ thick for each coaster)
  • miter saw
  • measuring tape & pencil
  • sandpaper
  • fabric (4″ square for each coaster)
  • mod podge
  • paint brush
  • rotary cutter & self healing mat

Instructions:

Step 1: Mark the 4×4 post for a 1/2″ cut.  I recommend setting up a stop block (the 2×4 on the right in the picture below) and clamp it to your saw.  This stop block allows you to make multiple cuts of same length without having to re-measure and mark your wood every time.

fabric & wood coasters step 1

fabric & wood coasters cut complete

Step 2: Sand the edges of the wood cuts smooth.  Apply a generous layer of mod podge onto the wood and press fabric in place smoothing any wrinkles.  Let dry. Read more