DIY Sheet Metal Vase

DIY Sheet Metal Vase

Last month I shared an easy way to make faux flowers look real. It’s a simple way to add life and color to your decor. Today we’re going to make a vase for all of those flowers!

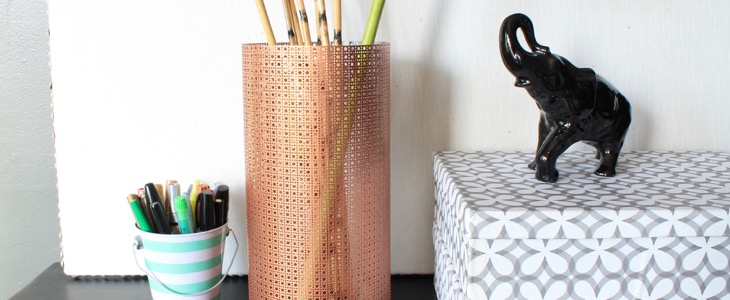
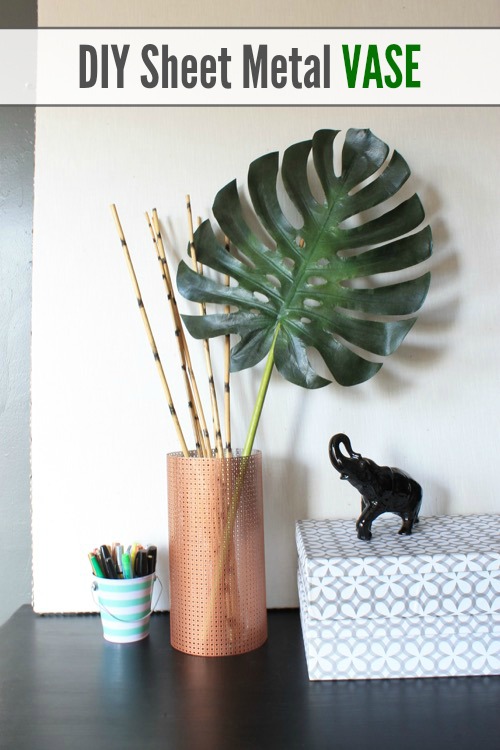
You can make containers or vases using a multitude of items. We’ll be using decorative sheet metal and spray paint to hold a faux palm leaf for a beautiful green arrangement. You can add your own creative touch to this quick project with your favorite colors and stems.
Fake Flower Arranging

Let’s get creative, shall we?

Materials:
How to Arrange Fake Flowers

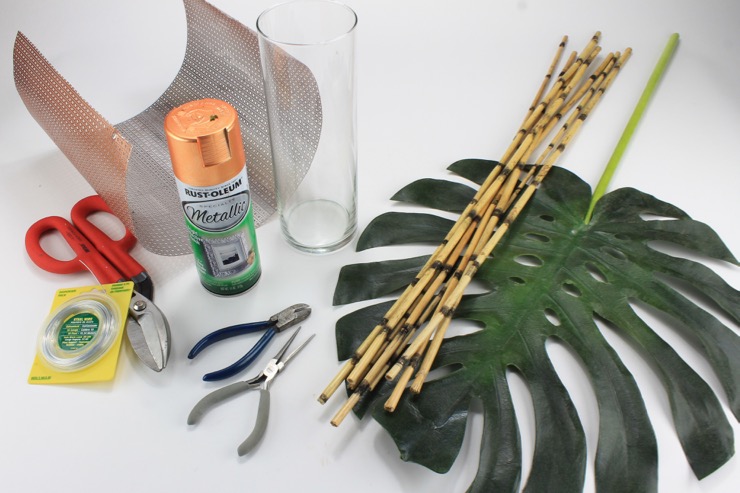
  • Decorative aluminum sheet
  • Tin snips
  • Heavy work gloves
  • Eye protection
  • Spray paint (optional)
  • 19 gauge wire
  • Wire cutters
  • Glass vase
  • Stems of fake flowers

The glass vase and bamboo sticks are from the dollar store. The palm leaf was purchased at a craft store. The rest of the supplies can be purchased at your local home improvement store.

Instructions:

1. Get a piece of decorative sheet metal from the home improvement store. Wearing work gloves and using the tin snips, cut the sheet to a size that will roll around a glass vase with at least a one inch overlap.

(I spray painted my piece in copper for a different look. If you paint it, you only have to paint one side.)

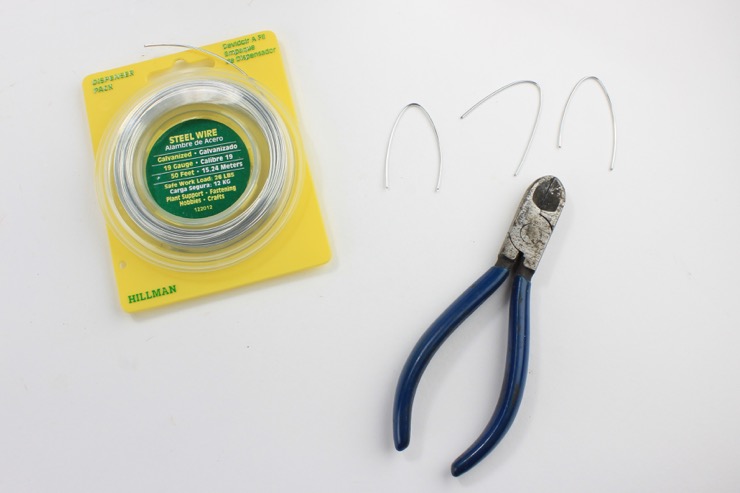
2. Create a tube with the aluminum so the long ends overlap. Cut 3 small pieces of wire of equal length and bend them in half. Make sure you wear eye protection during this step.
DIY Sheet Metal Vase

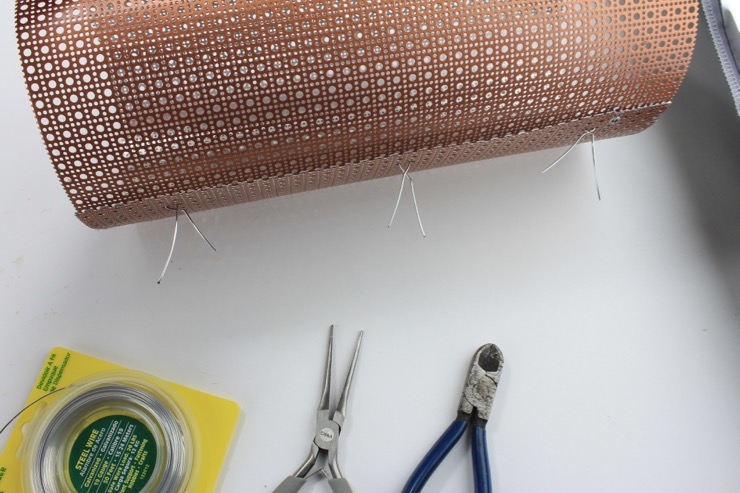
3. Roll your aluminum sheet into a column to fit around your glass vase (making sure the ends overlap.)  Once in this shape, insert both ends of a piece of wire through the holes in the overlapped section of aluminum sheet. Repeat with the remaining two pieces of wire.  Twist the wire together to hold the sheet metal in place.
DIY Aluminum Sheet Vase

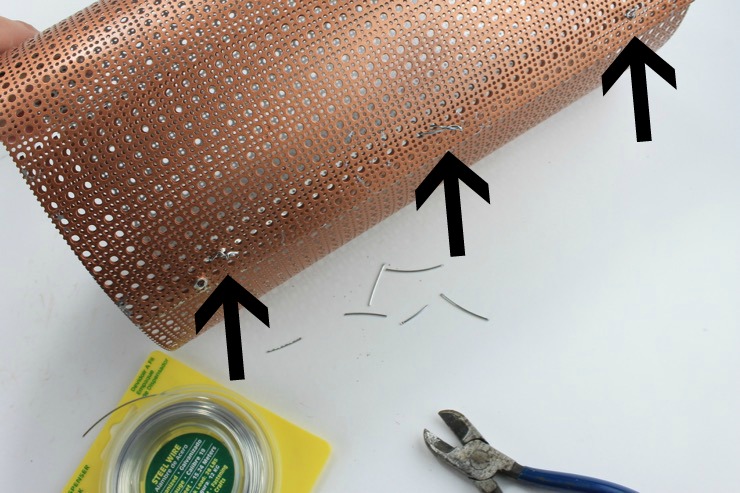
4. Twist the wire a few times around itself and trim off the excess with wire cutters. Notice the arrows where the wire is below.
DIY Aluminum Sheet Vase

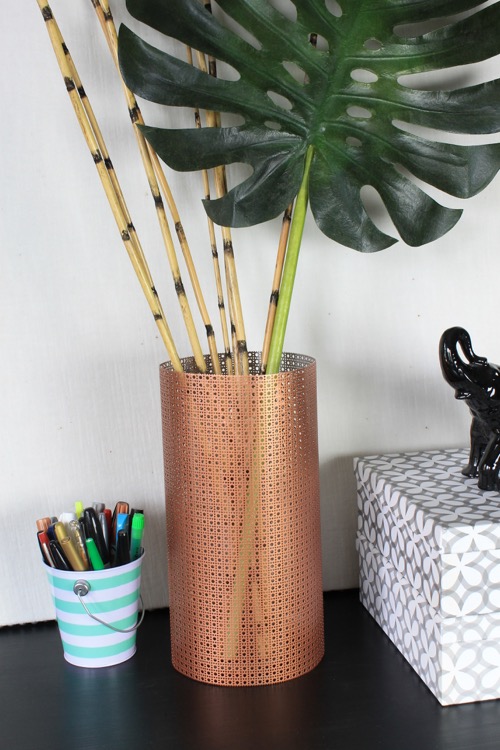
Now your aluminum sheet “vase” will stay in its round shape and you can slip it over a glass vase. Add your greenery and faux flowers.

For this arrangement I used bamboo sticks and a large palm leaf from the craft store. Greenery adds life to any space. Every room should have some flowers or leaves to liven things up.
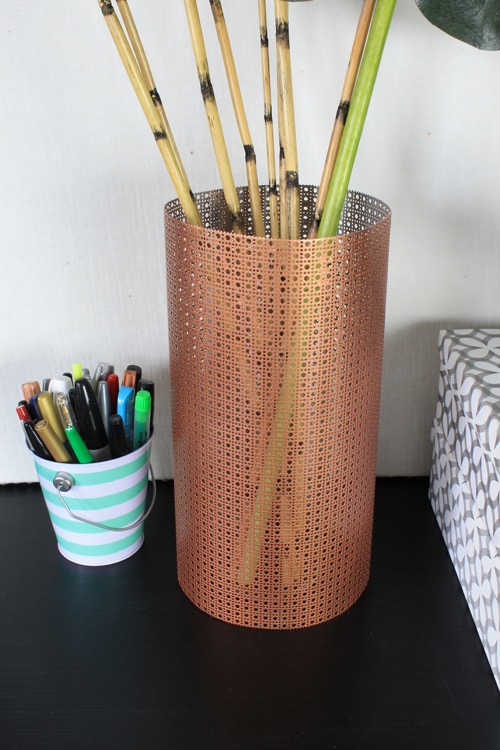
Fake Flower Arranging

When using a glass vase inside the aluminum sheet you can add water and real flowers if you like.
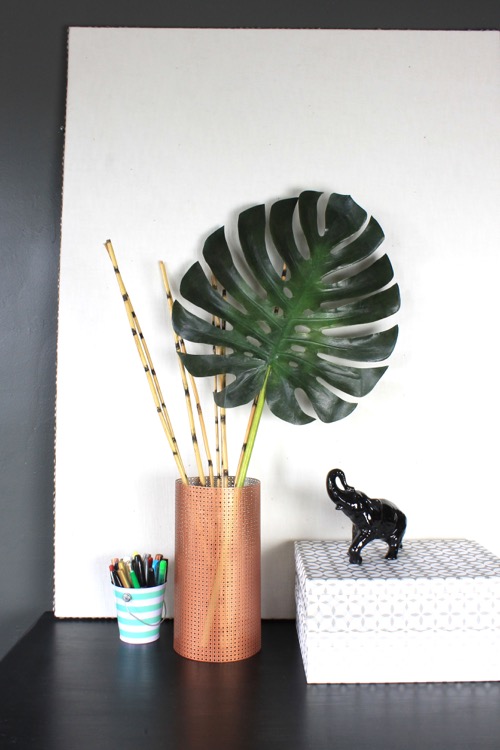
Fake Flower Arranging

Want more tips on arranging faux flowers?
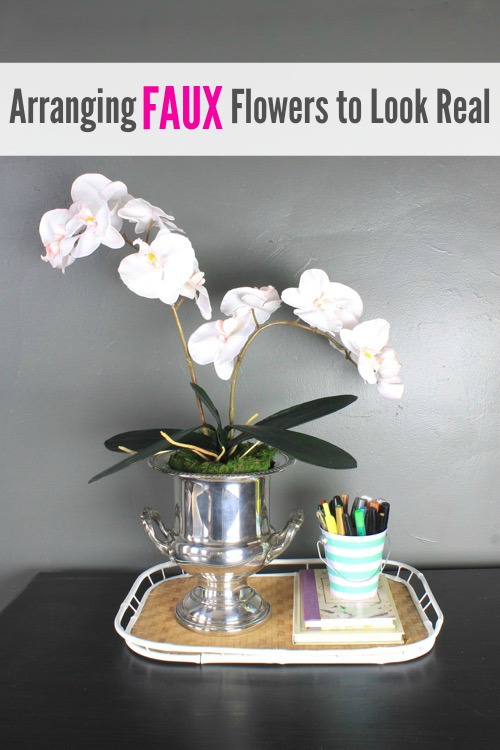
Arranging Faux Flowers to Look Real

Have fun with your new flowers and see you at Decor Adventures soon.

Decor Adventures Blog

~ Read Jessica’s Other Posts ~


Pin for later!
Decorative sheet metal and spray paint are all you need to upgrade that boring glass vase! | DIY flower vase | Pretty Handy Girl #prettyhandygirl #DIY #craft

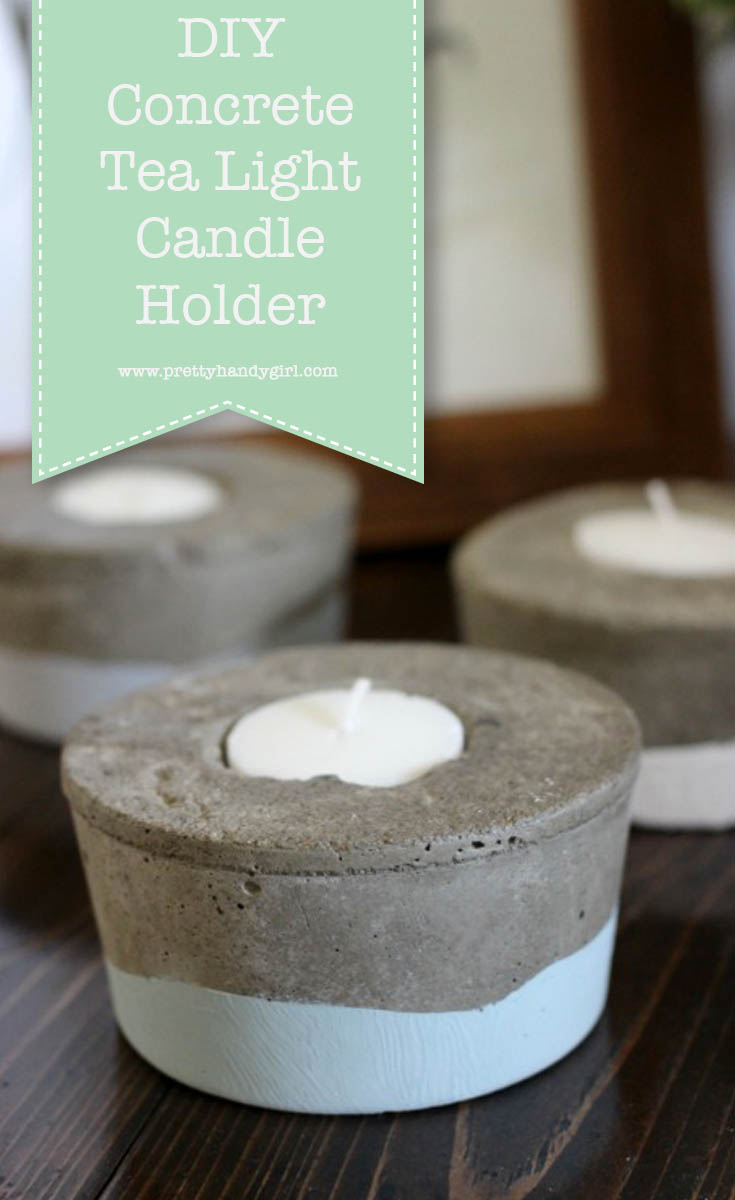
Concrete Tea Light Candle Holders | Pretty Handy Girl

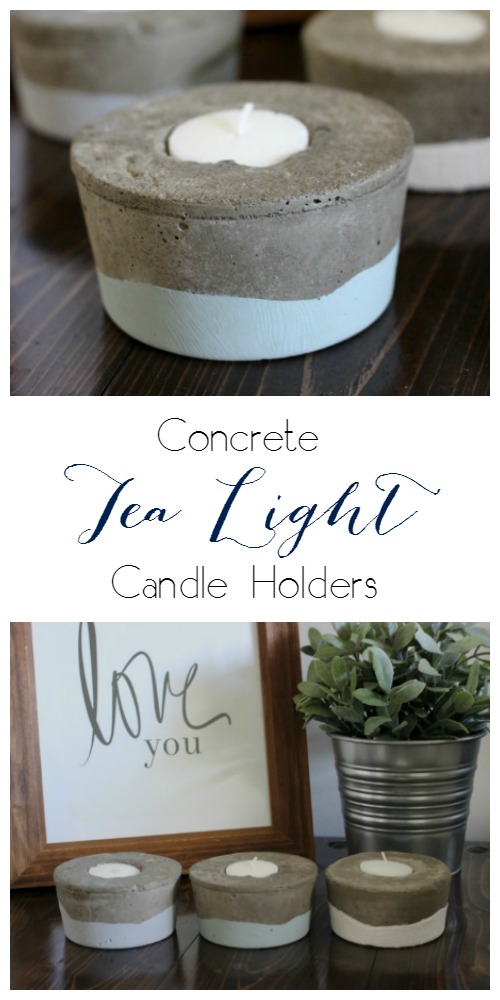
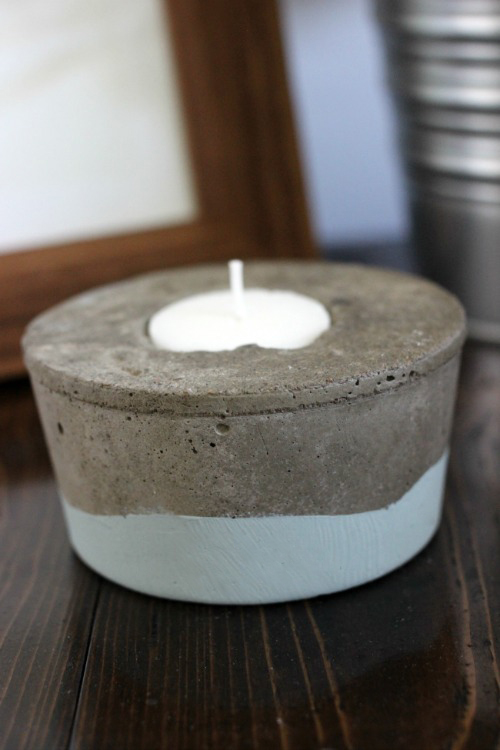
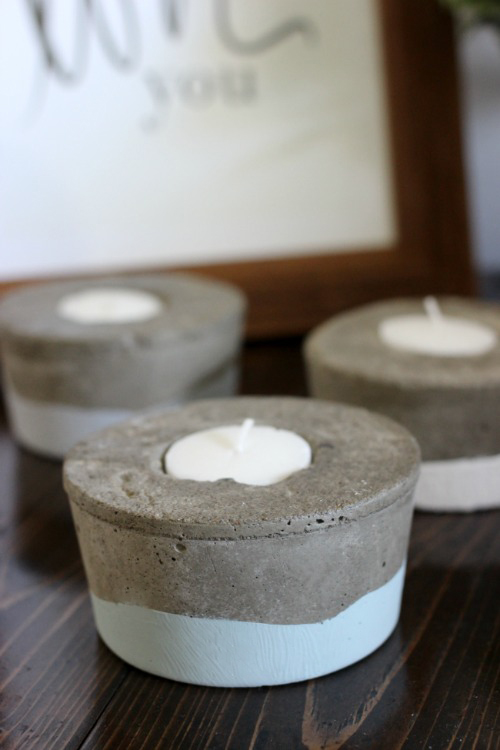
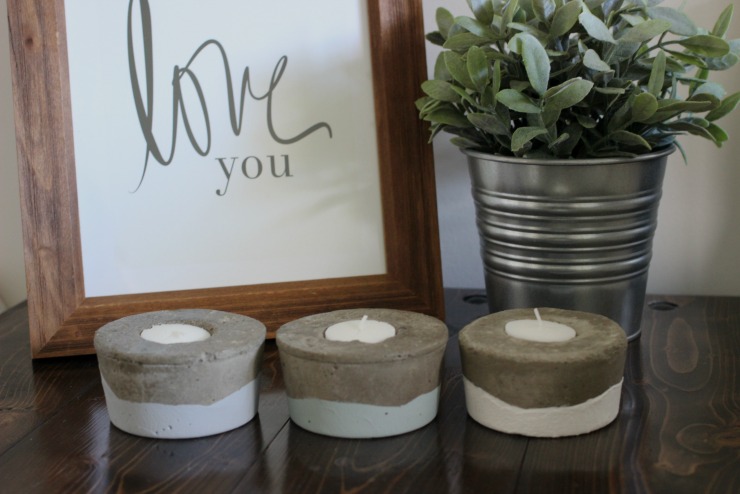
Hi everyone! This is Lindi, visiting again from Love Create Celebrate! Have you ever made anything with concrete? I’m not just talking about the patio outside! I’ve noticed concrete projects slowly making their way indoors and I’m loving it! The sleek industrial feel of concrete projects makes for some beautiful and unique home decor projects. If you haven’t tried it yet, these DIY Concrete Tea Light Candle Holders are the perfect project to start with!

Concrete Tea Light Candle Holders | Pretty Handy Girl

Materials: 

  • Concrete mix (buy a whole bag for less than $10!)
  • Plastic container
  • Tea light
  • WD-40
  • Clear Matte Spray Paint
  • Paint (optional)

Instructions: 

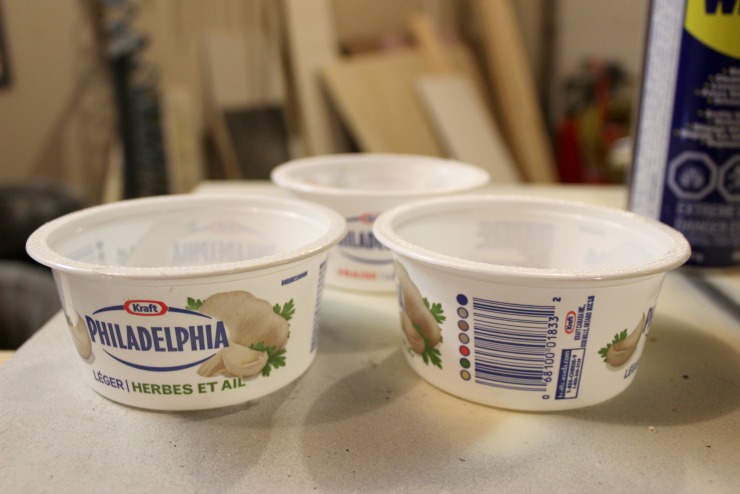
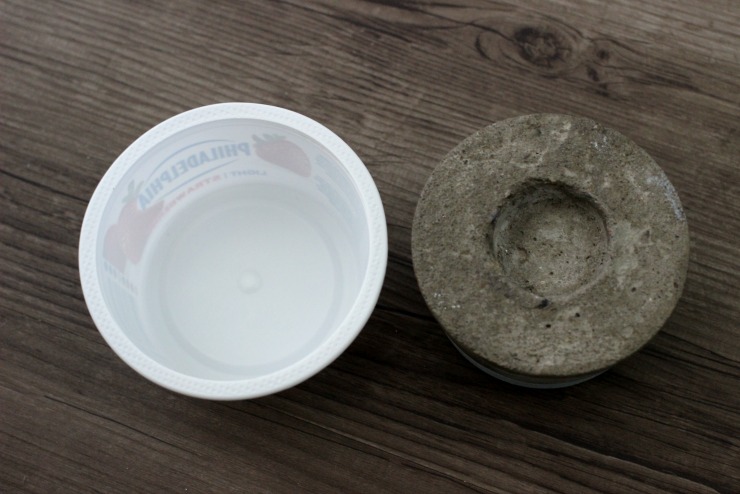
Chose some plastic containers from around your home to pour the concrete into. I used old cream cheese containers and they were the perfect size, but you can definitely chose larger containers too!

Concrete Tea Light Candle Holders | Pretty Handy Girl

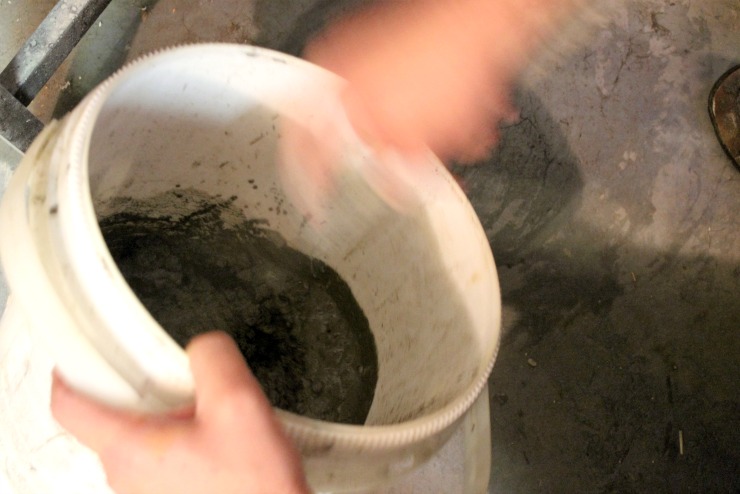
Mix your concrete according to the instructions on the bag. I made three little candle holders, so I used just over 3 scoops of concrete (same size as my containers). Wear gloves when working with concrete. Mix in a bucket or a plastic containers. Mix well until all chunks are gone. When you are done, simply water down any concrete that remains and dump it – this will keep your container clean.

Concrete Tea Light Candle Holders | Pretty Handy Girl

Give your plastic containers a good spray with WD-40 to ensure that the concrete doesn’t stick to the plastic.

Concrete Tea Light Candle Holders | Pretty Handy Girl

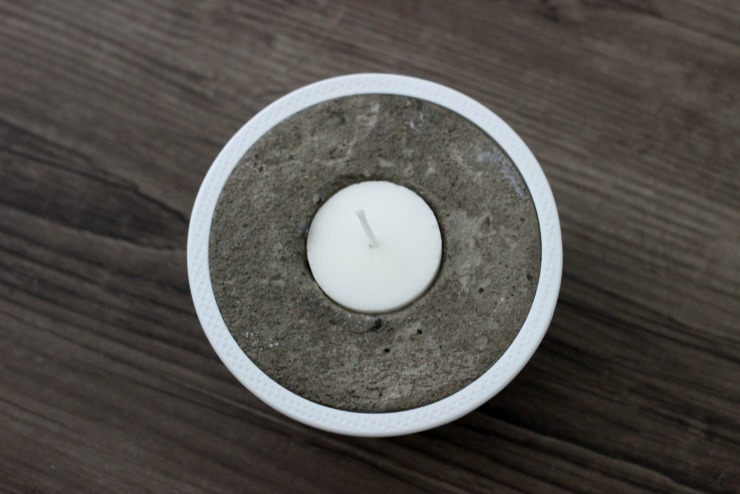
Fill your containers with the concrete mix and tap your container against your table or surface a few times. This will level out the concrete and remove any air bubbles. Grab your tea light and place it in the center. Push the tea light down until level with the concrete. Go back in five to ten minutes and push the tea light down if it has popped out of the concrete a bit.

Concrete Tea Light Candle Holders | Pretty Handy Girl Concrete Tea Light Candle Holders | Pretty Handy Girl

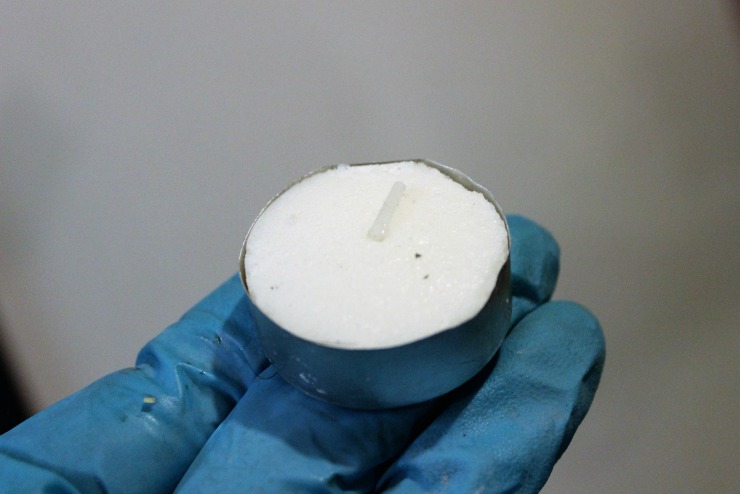
Leave your candle holder to set for up to a week. When it is hardened, pull out your tea light, and gently lift out the tea light backing. You may have to fold and pry a little to get it out. Then, slide the entire candle out of the plastic container.

Concrete Tea Light Candle Holders | Pretty Handy Girl

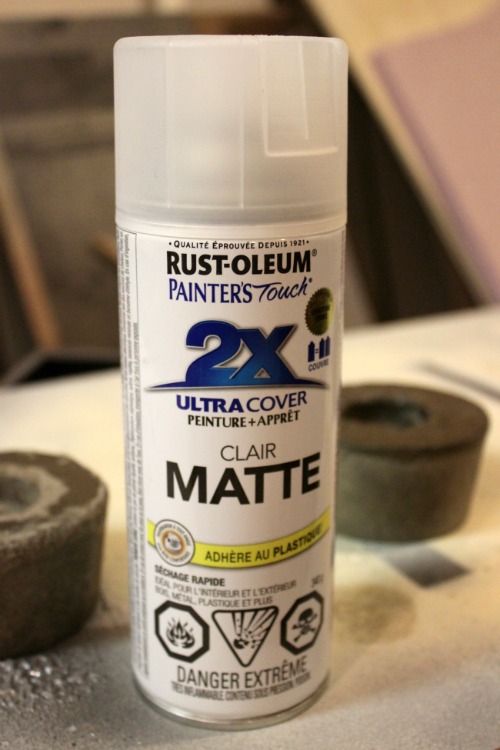
Grab your clear spray paint and spray your candle holders to protect and seal them. The concrete will soak up a lot, so don’t worry about overspray!

Concrete Tea Light Candle Holders | Pretty Handy Girl

If you like, you can paint your candle holders. I dipped mine in three different colours of paint. I love the dipped paint effect!

Concrete Tea Light Candle Holders | Pretty Handy Girl

Set them up outside on a patio table or on your coffee table in the living room.

Concrete Tea Light Candle Holders | Pretty Handy Girl

I love how versatile and unique these candle holders are! You are guaranteed to have a guest comment on them. 😉

Concrete Tea Light Candle Holders | Pretty Handy Girl

For more DIY decor inspiration visit Love Create Celebrate.

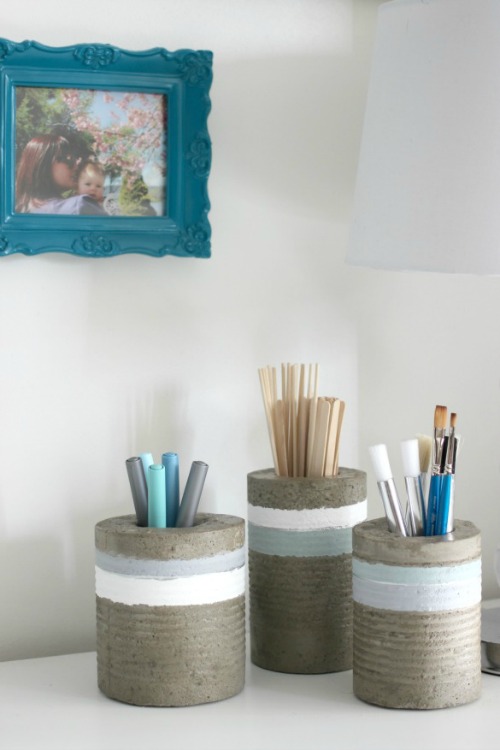
If you love the modern industrial look of concrete, you will love these simple DIY Concrete Vases!

Concrete Vases for PHG

Lindi Signature

~ view more projects by Lindi ~


Pin for later!

Cute Critter Plant Stakes | Pretty Handy Girl

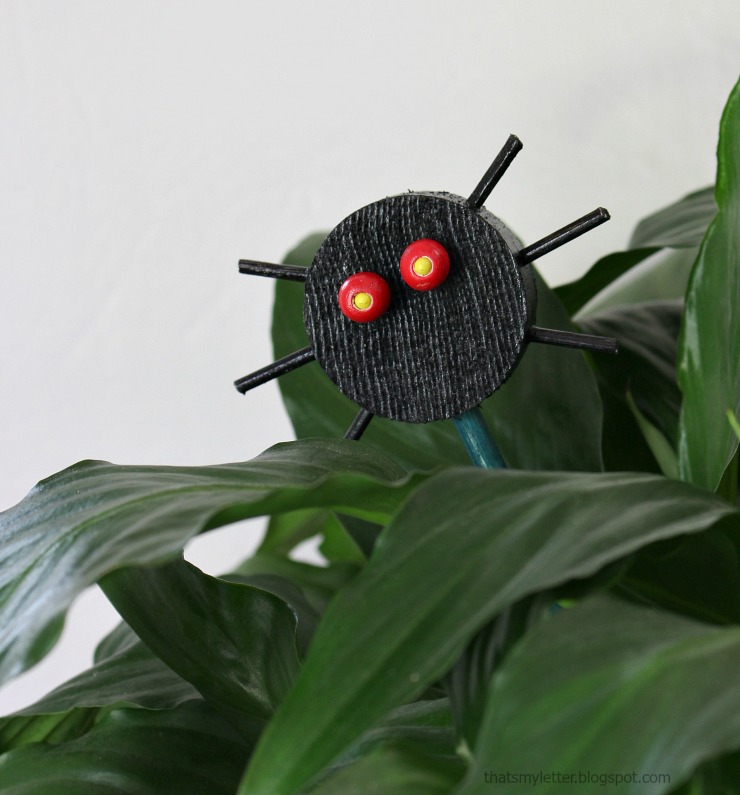
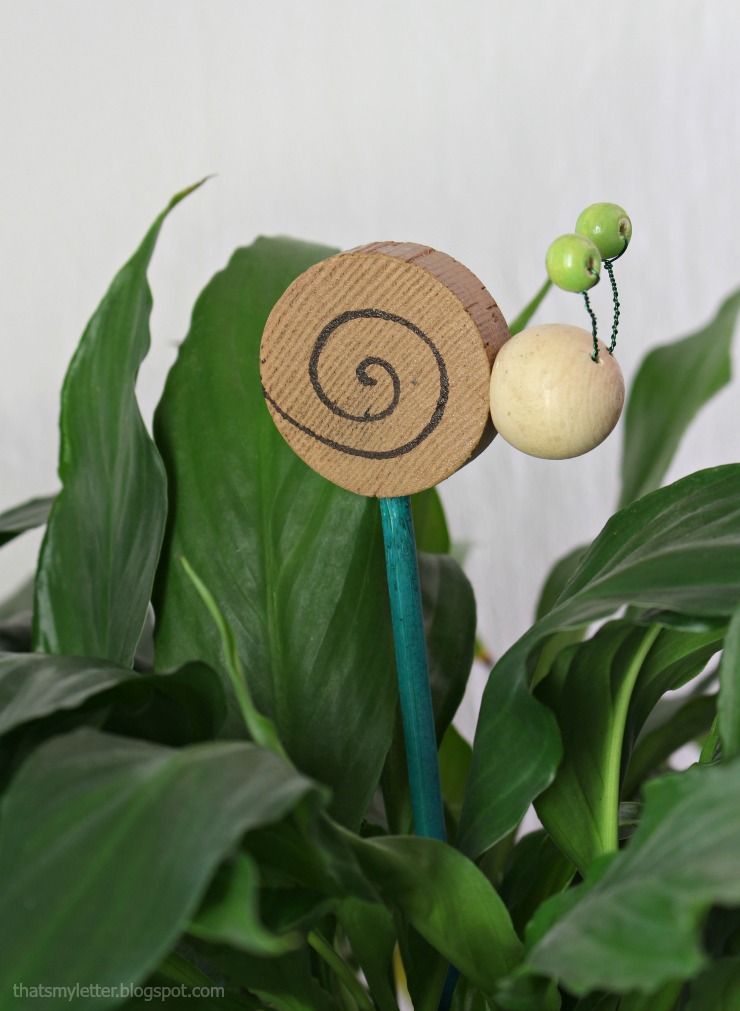
critter plant stakes

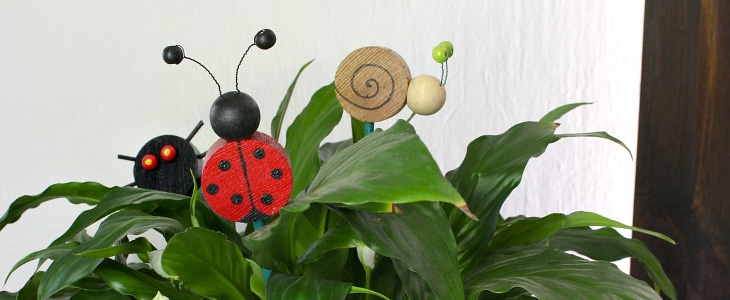
Spring is here and so brings the critters, but these are the cute kind you’ll want to keep.  Jaime here from That’s My Letter sharing how to make cute critter plant stakes using wood parts and pieces.  I’m a sucker for any project with wood and today is no exception.  Gather up all the wood parts you have and let’s make some cute critter plant stakes!

critter plant stakes 3

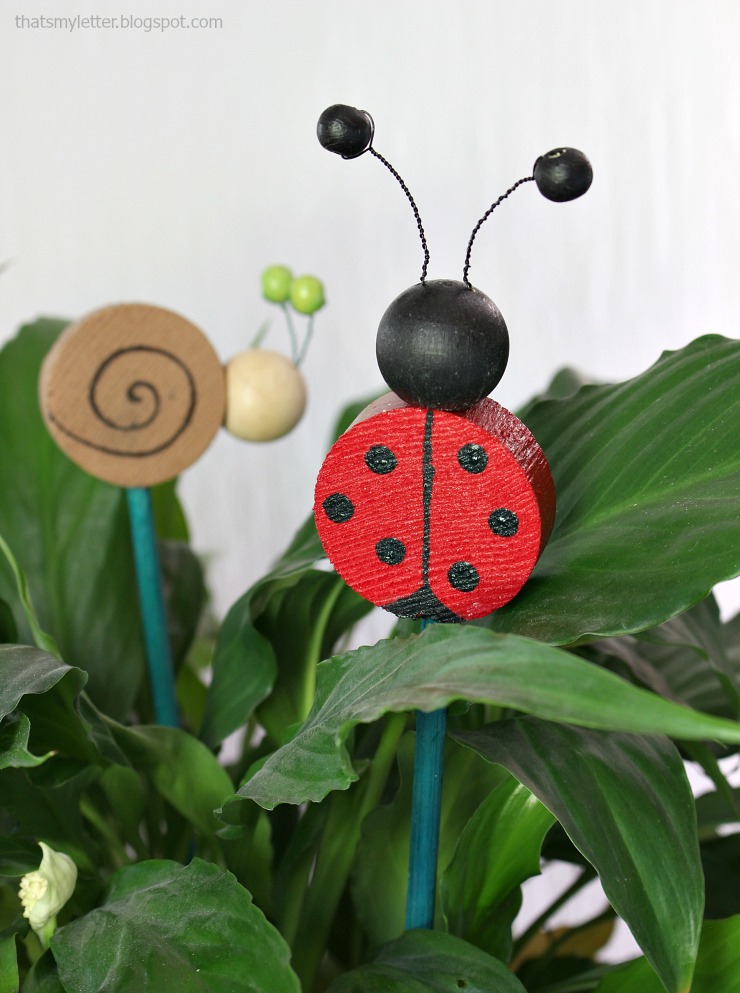
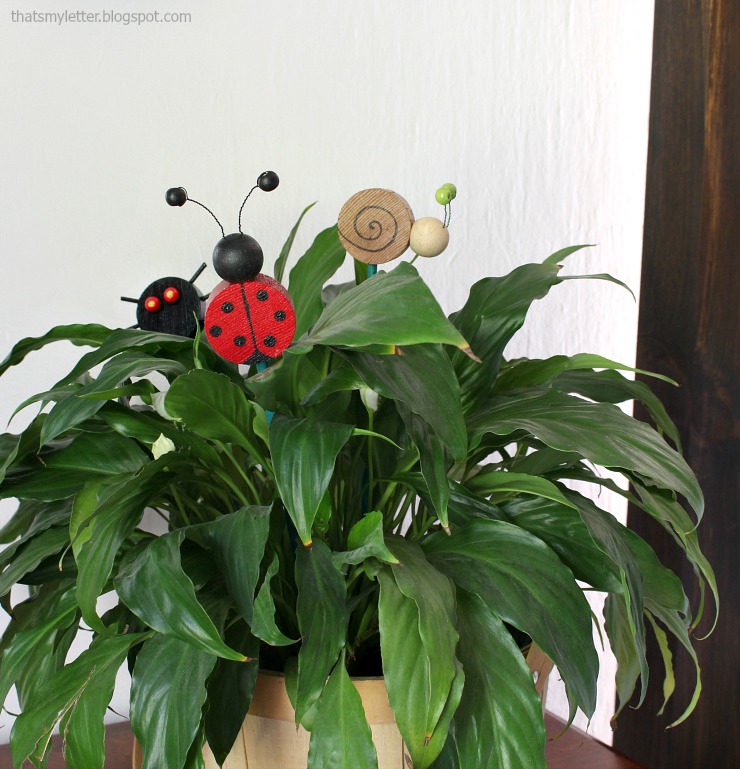
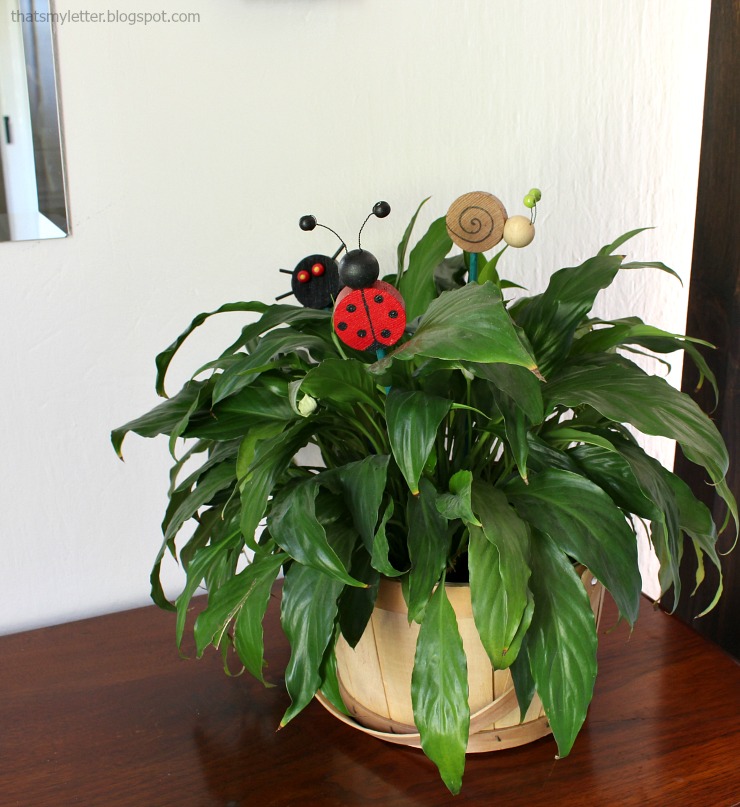
No slime on this snail, he’s just hanging out in the plant with his ladybug and spider friend.  You could create any kind of critter and paint them many fun colors.  My kids wanted in on this project so I added it to our summer ‘to-do’ list. I can only imagine the creations they will come up with.

critter plant stakes 2

How cute are those ladybug antennae?  I sprayed the critters with clear gloss poly so they could live in my outside planters.

critter plant stakes 5

critter plant stakes 4

Below are step-by-step instructions to make these cute critter plant stakes.  Get creative and attach parts as you like, it doesn’t have to be true to form.

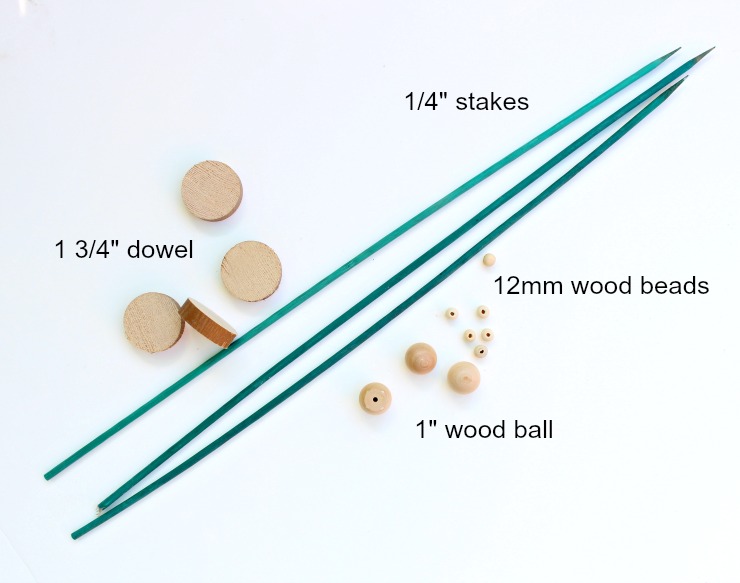
critter plant stakes supplies

Materials:

  • 1/4″ plant stakes (you can repurpose from yard fertilizer sign)
  • 1 3/4″ dowel cut into 1/2″ thick slices (bodies)
  • 1″ wood balls (heads)
  • 12 mm wood beads (antennae & eyes)
  • wood skewers
  • acrylic craft paint
  • paint brush
  • drill and drill bits
  • wood glue
  • small saw or scissors
  • colored craft wire
  • colored straight pins (spider eyes)
  • clear gloss spray poly for exterior

Instructions:

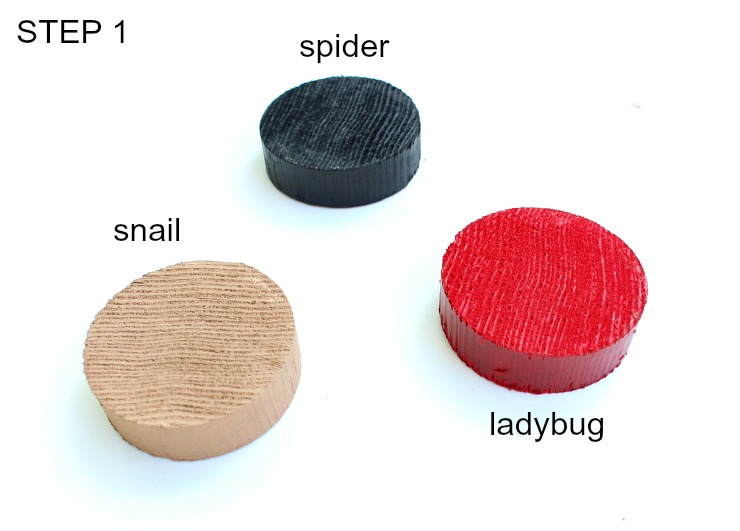
Step 1: Paint critter bodies using acrylic craft paint.

critter plant stakes step 1

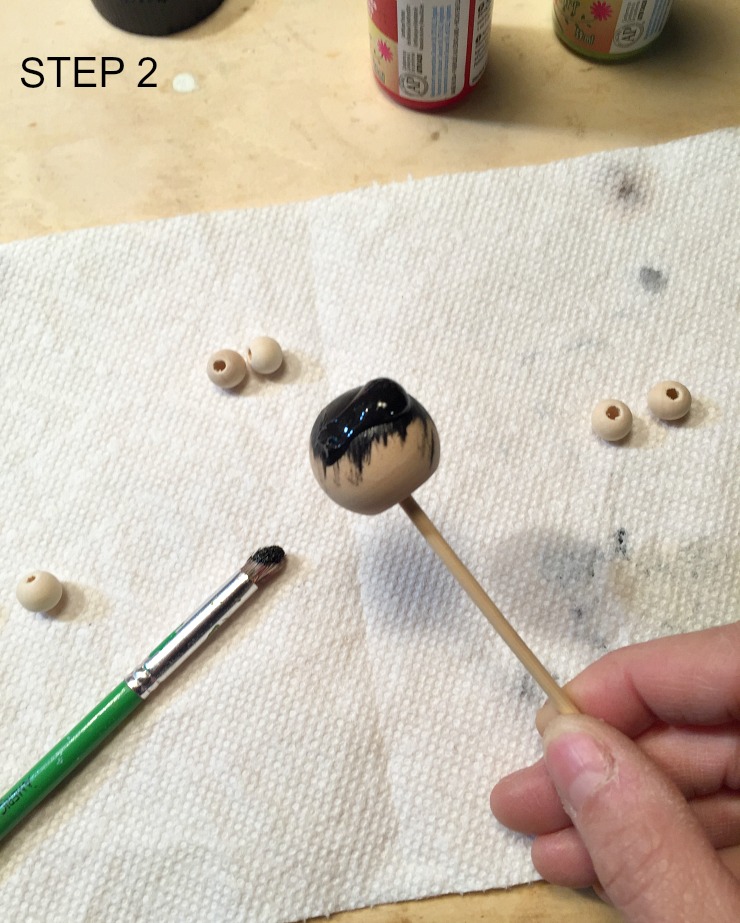
Step 2: Paint remaining body parts, use a skewer to hold balls and beads while painting.

critter plant stakes step 2

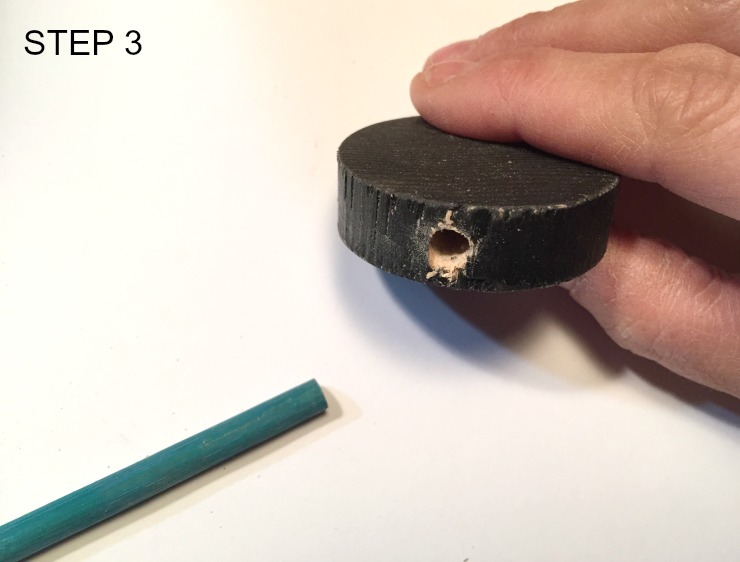
Step 3: Pre-drill hole for plant stake using matching size drill bit.

critter plant stakes step 3

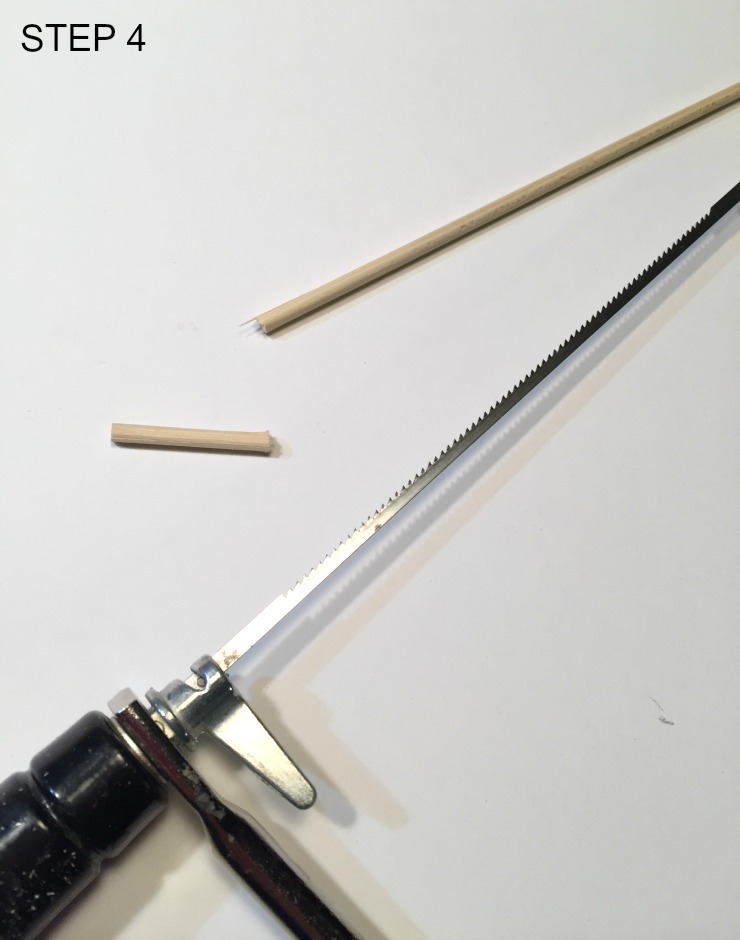
Step 4: Cut skewers about 1″ using coping saw or scissors.

critter plant stakes step 4

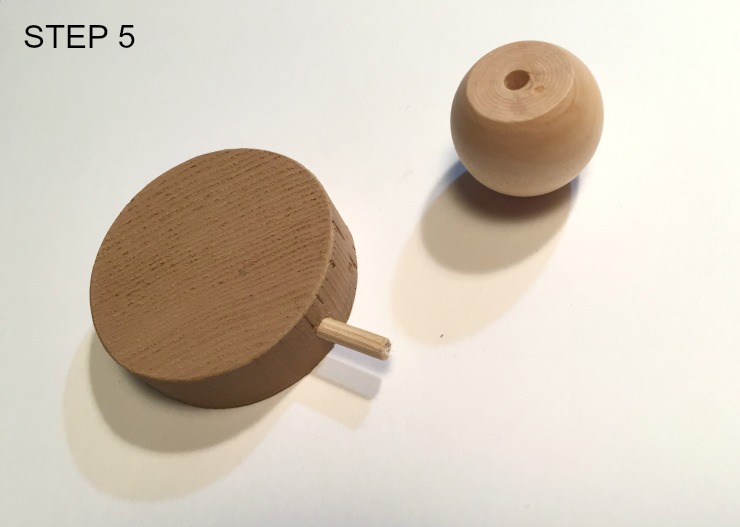
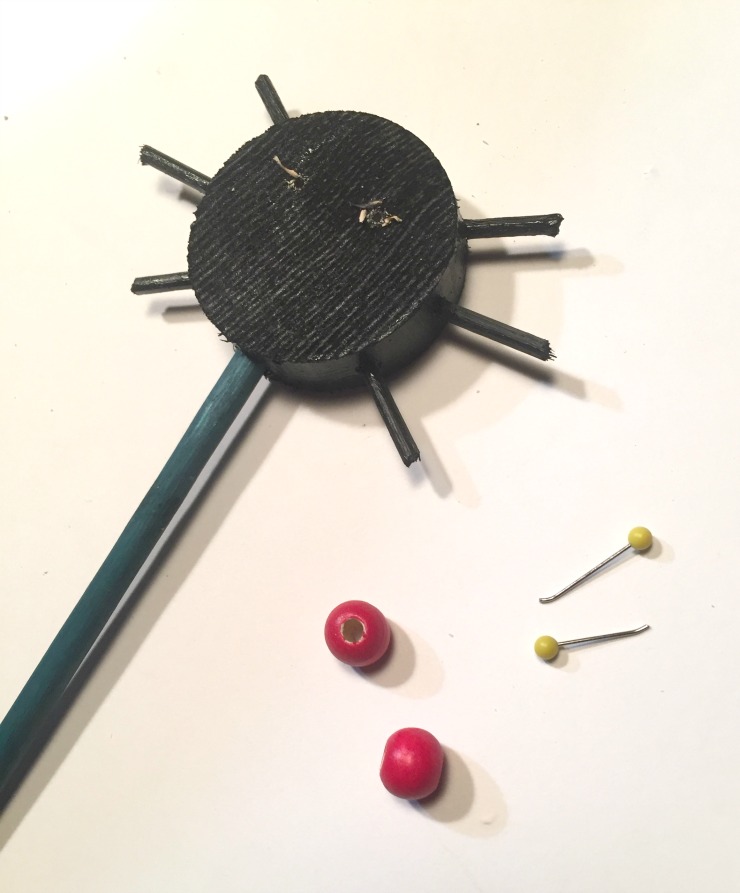
Step 5: Pre-drill body for skewer and insert using wood glue. Set head onto other end of skewer.

critter plant stakes step 5

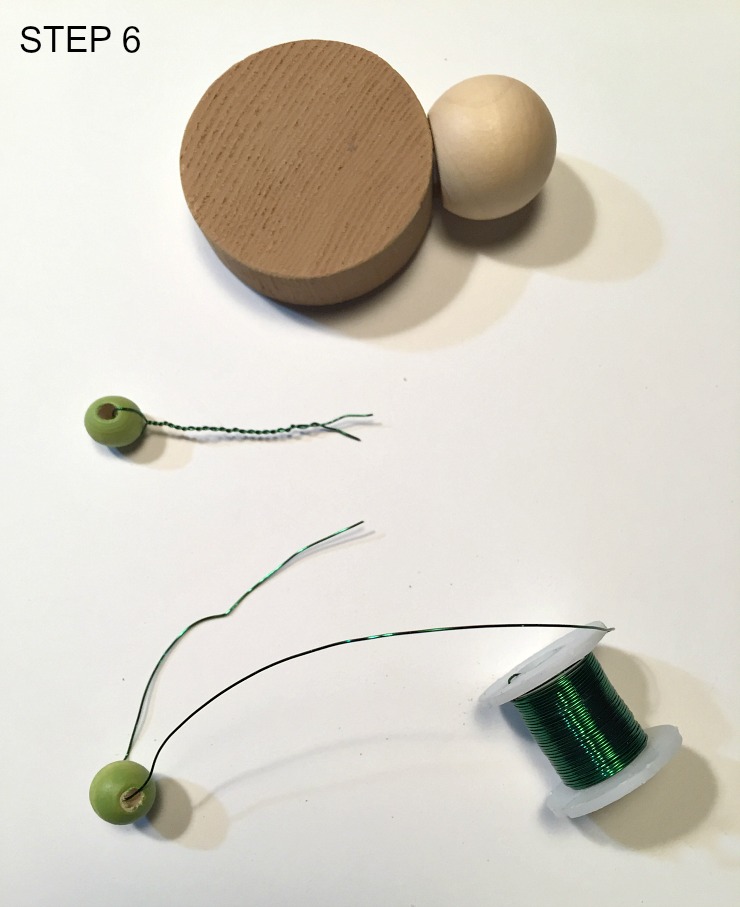
Step 6: Add colored wire to antennae beads and twist ends together.  Pre-drill a tiny hole in head for wire then fold a short portion of end of wire in half and insert into critter head with wood glue.

critter plant stakes step 6

For the spider eyes use colored straight pins.  Pre-drill holes in spider head then insert pins down into bead, use wood glue.

critter plant stakes spider eyes

Spray the critters with clear gloss poly for exterior use to seal the paint and protect from the elements.

critter plant stakes 1

Stick all the critters plant stakes down into the soil. Now you have a fun addition to any plant, inside or out!  These are the type of cute critters I can enjoy. Hope you do to.

Jaime signature~ read more of Jaime’s tutorials ~

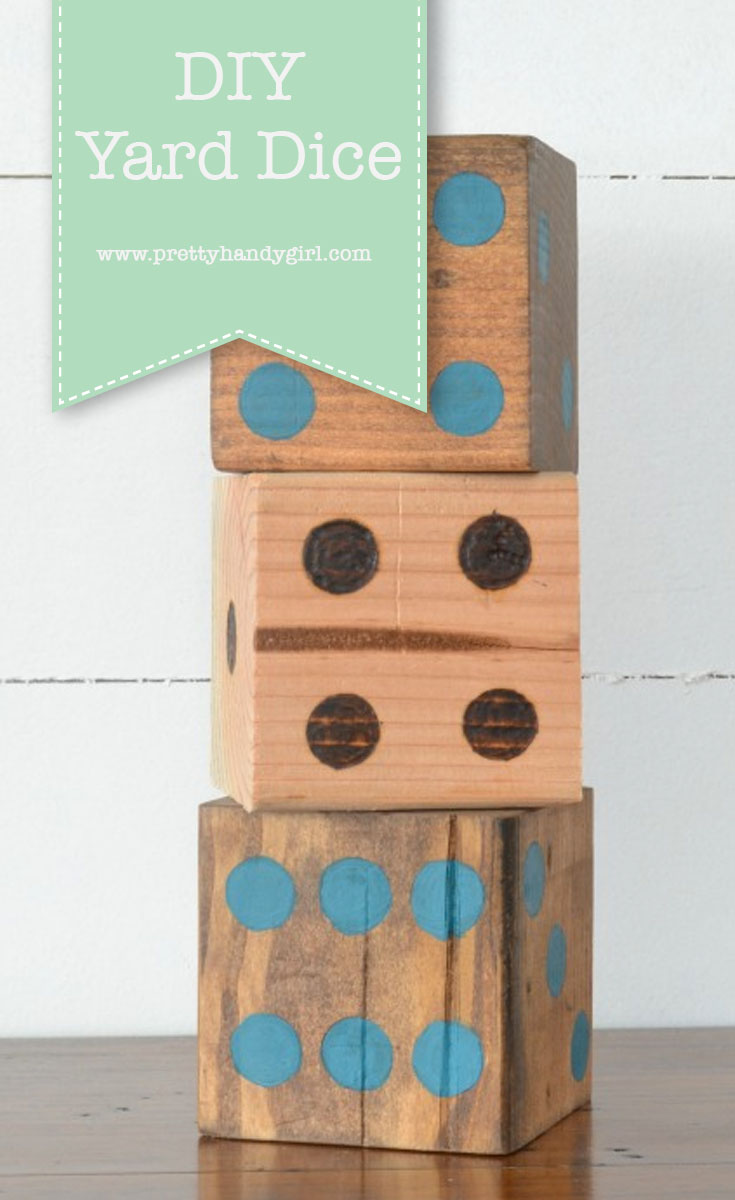
How to make yard dice | Outdoor Games | Pretty Handy Girl

How to make yard dice | Outdoor Games | I Am a Homemaker | Pretty Handy Girl

When the days start getting longer and warmer, my projects start to focus on the outdoors. I love having fun things for my family to do while we are soaking up some sun and fresh air.

While I was out shopping one day, I saw a set of yard dice and promptly added it to my “Things To Make” list.  They turned out to be pleasantly simple to make and they are so much fun to play with!

Here’s how to make your own set of DIY Yard Dice:

Materials:

  • 1 – 4×4 post (large scraps will do just fine)
  • Sand paper
  • Wood stain (optional)
  • Paint, Wood burning tool or stickers to make the dots
  • 6 dimes – this will make sense at the end, promise 🙂

Instructions:

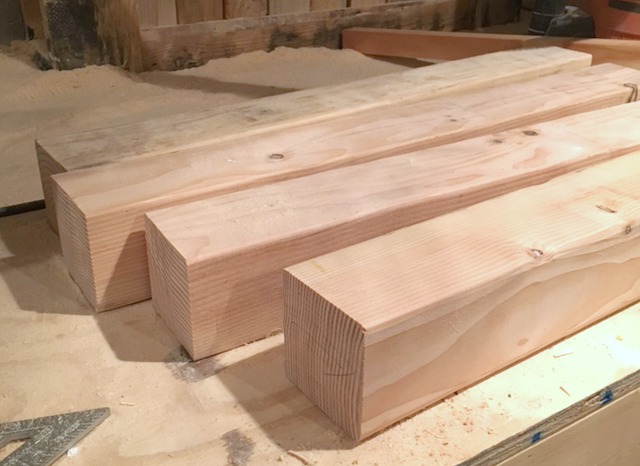
Cut your 4×4 into 3.5″ pieces to make as many dice as you would like. If you have 4×4  scraps to use, this project can be practically free.

How to make yard dice | Outdoor Games | I Am a Homemaker | Pretty Handy Girl

Sand down the edges of your squares to make them smooth. You can use an orbital sander with 120 grit sand paper, to wear down the edges to a more rounded shape.

How to make yard dice | Outdoor Games | I Am a Homemaker | Pretty Handy Girl

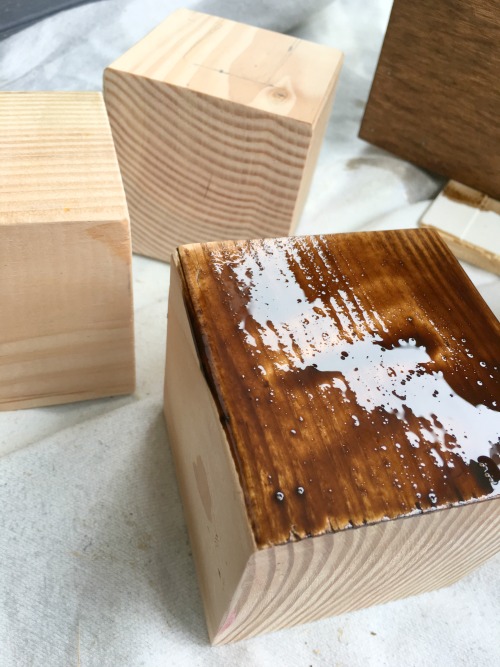
Next stain your dice, if you so choose.

How to make yard dice | Outdoor Games | I Am a Homemaker | Pretty Handy Girl

Add the numbers. (I tried to be technical with the measurements but then I realized that eyeballing it is works fine too.)

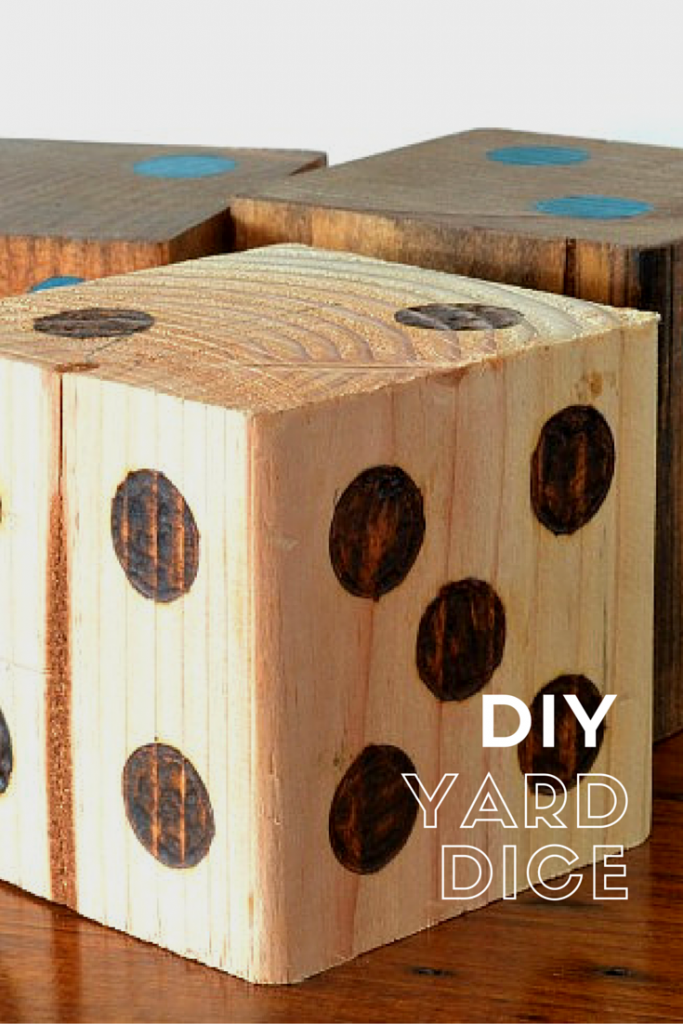
Use the dimes to lay out the pips. Did you know that is what the circles on dice are called? I didn’t until just now when I looked it up.

How to make yard dice | Outdoor Games | I Am a Homemaker | Pretty Handy Girl

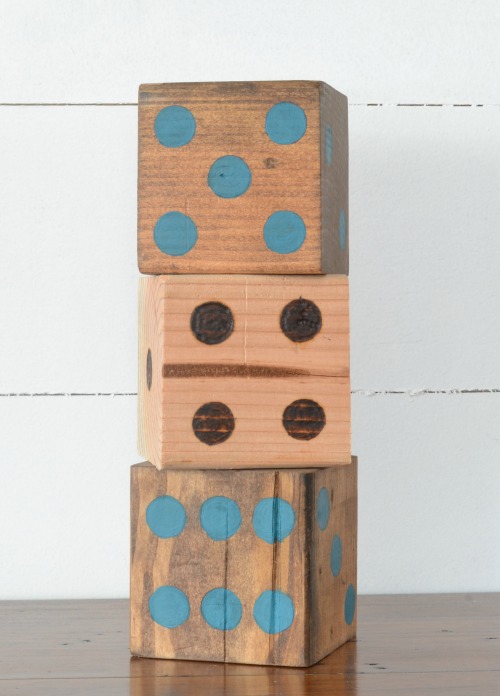
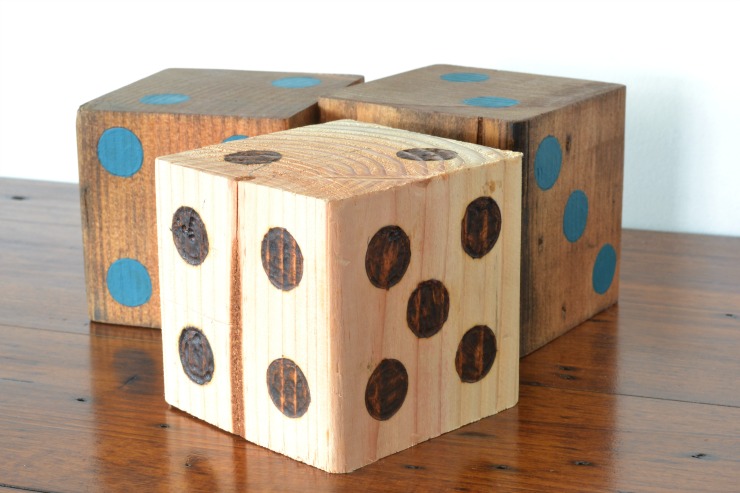
Once you have your pip placement, decide how you will mark them. I tried out my wood burning tool on one set and painted the other.

How to make yard dice | Outdoor Games | I Am a Homemaker | Pretty Handy Girl

You could also use stickers or vinyl circles cut from a Cricut or Silhouette, but they might need to be sealed to be more permanent.

How to make yard dice | Outdoor Games | I Am a Homemaker | Pretty Handy Girl

How simple was that?!

How to make yard dice | Outdoor Games | I Am a Homemaker | Pretty Handy Girl

Now you can use them to play Yahtzee or other dice games. And, you can use them to help your kiddos learn math.

Jillian's Signature

~ Read more of Jillian’s tutorials ~


Pin for later!
Easy_washi_tape_vases

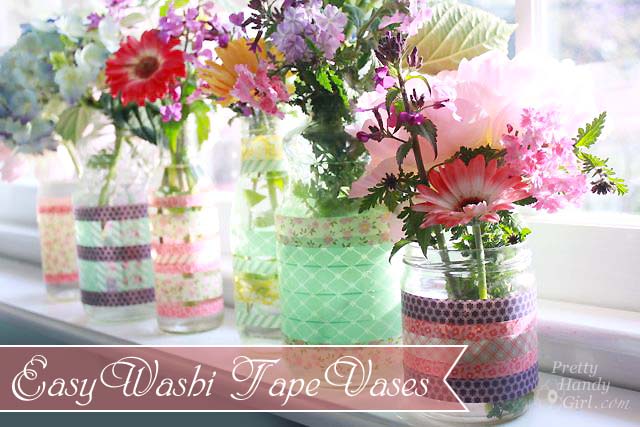
Teacher’s Appreciation Week is coming up.  I needed a gift that would be special and would make the teachers’ smile. And, I needed a gift that would require very little time to create. As I strode by the recycling bin, I grabbed some jars and had a wild idea. I’d make some Simple Washi Tape Vases for teacher appreciation gifts! And best of all, the cost would be next to nothing.

Welcome back to the Teacher Appreciation Gift Idea Series! All this week, we’ll have simple and inexpensive last minute gift ideas for the teachers in your life.

Teacher Appreciation Gift Ideas Series | Pretty Handy Girl

Teacher Appreciation Gift Ideas:

Decorated Chalkboard | Thank You for Nurturing My Child Plant | Apple Pencil Holder | You Rock Gift 3D Card | Simple Washi Tape Vases

Materials:

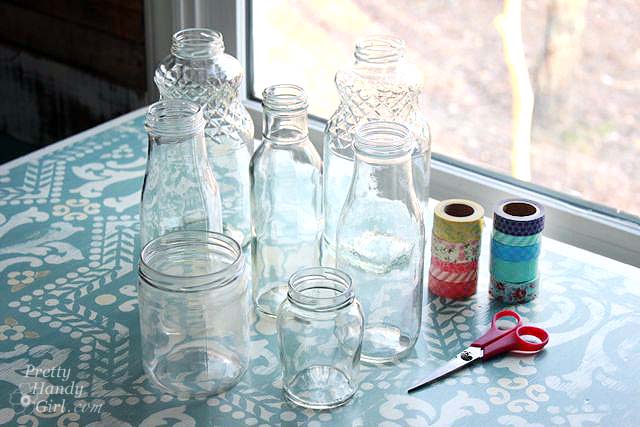
recycled_jar_vases

  • Recycled jars
  • Washi tape
  • Scissors
  • Flowers

Instructions:

Are you ready? This is complicated, so pay attention! (You know I’m kidding, right?!) Read more