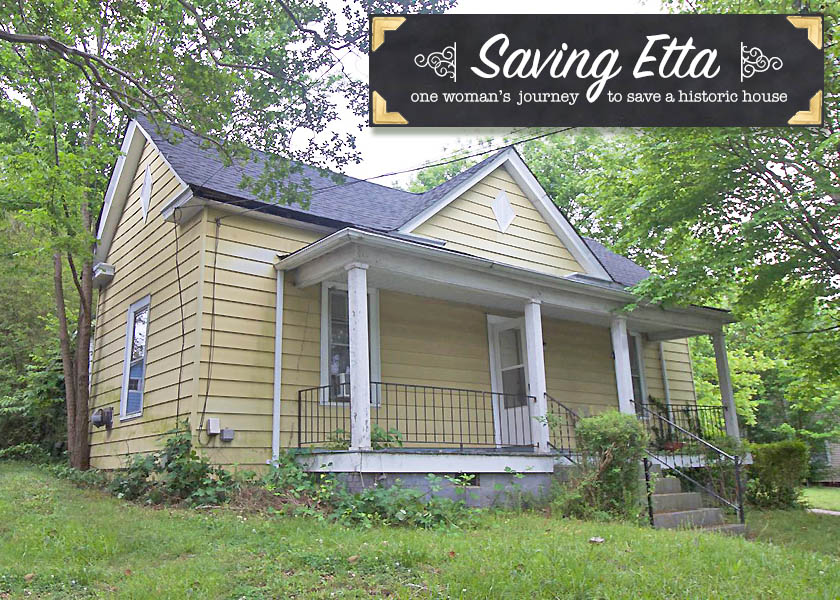
Saving Etta: Chapter 13 – The Truth
This is the true story about a house built in 1900 that is in serious disrepair. It’s also the story about my journey toward becoming a general contractor and my attempt to save a home from being bulldozed. I hope you’ll follow along as I embark on a journey into the unknown perils and rewards of flipping a home in downtown Raleigh, NC.
If you are just joining the story, you may want to read all the Saving Etta chapters for more of the back story.
Be sure to follow me on Facebook and Instagram as I share live updates about this project I’m calling Saving Etta.

Behind the cardboard was wood lathe. I pulled a few pieces out and the carcass of a petrified mouse fell out of the wall. I scooped out the remains of her nest between the two studs. Suddenly, I stopped digging in the wall. What I saw behind the nest made me jump with excitement.
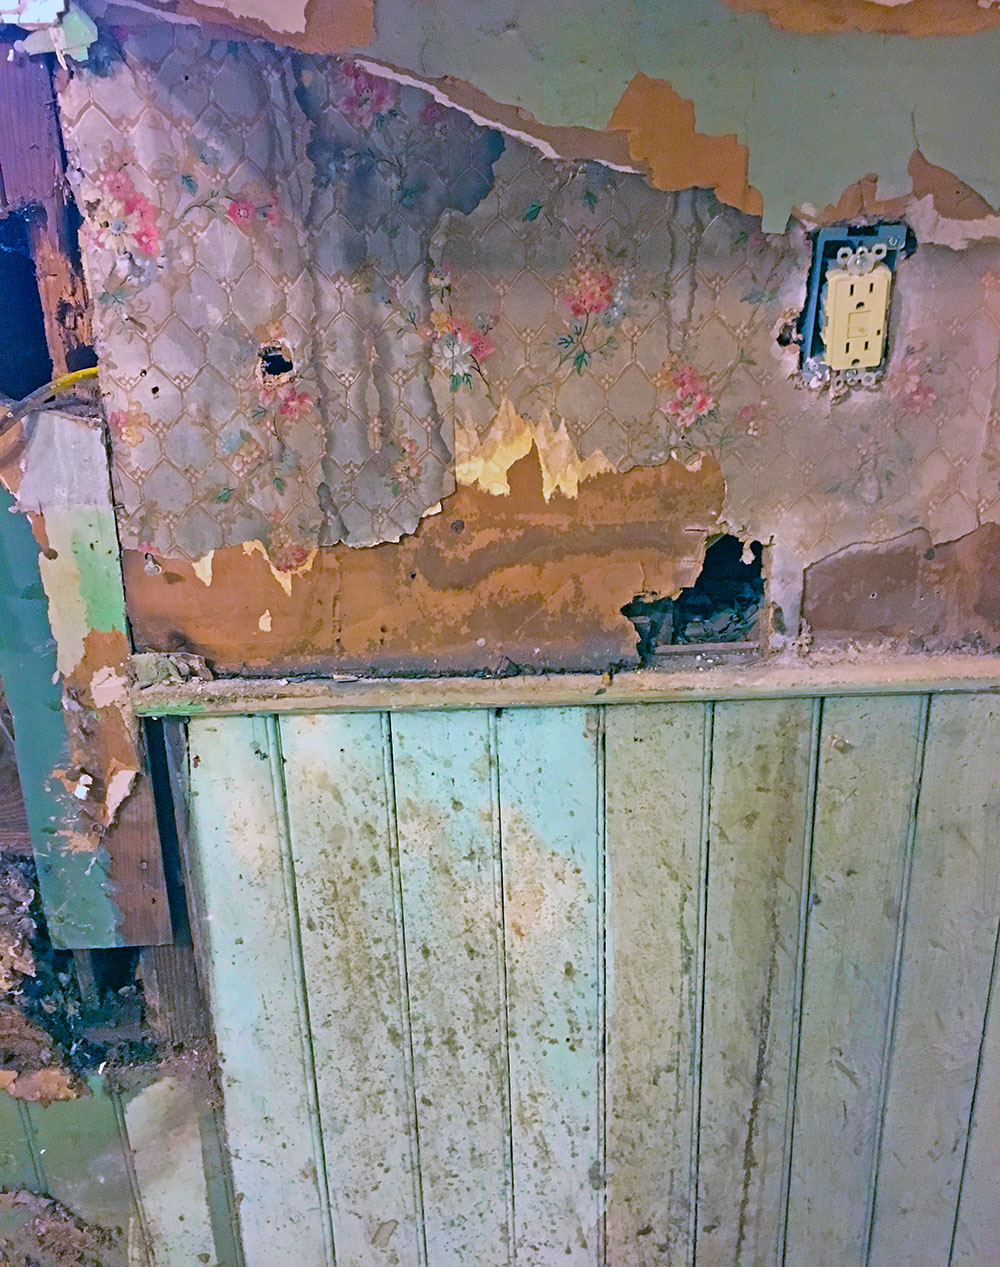
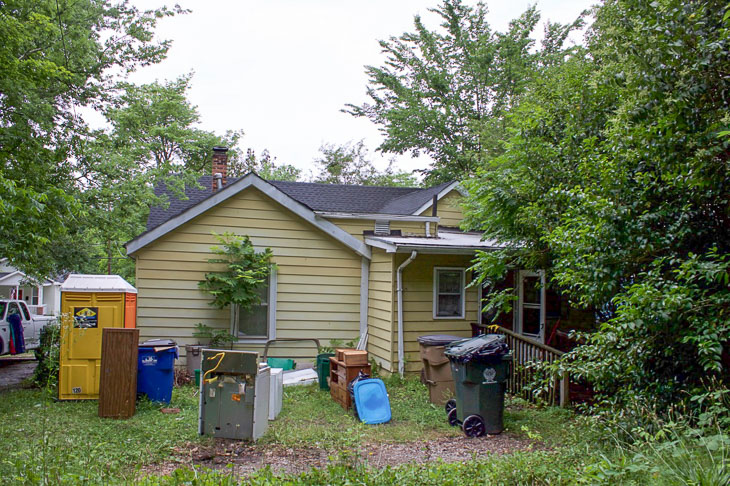
There it was—plain as day—the backside of the original wood siding. I couldn’t believe it. I had hoped for it, but up until this moment, I had not seen any of the original siding. All this beautiful wood was hiding beneath the faded yellow aluminum siding on the outside. It looked to be in decent shape except for a hole big enough for rats and mice to get in around the gas pipe. Sheesh, just a little steel wool would have prevented all the rodent mess.
After gazing at the old siding a few minutes longer, I pulled myself away and packed up to leave. Before I took off the respirator, I shoveled the rodent feces, mouse nest, and wall debris into a trash bag. Once outside I quickly lifted the lid of the trashcan and deposited it on top of the bags with rotting meat inside. Thankfully I was still breathing the filtered respirator air. I rolled the first trash can down to the curb. Using all my strength to keep from being pulled down the hill, I rolled three more completely full trashcans and left them next to the first one. Finally removing the respirator, I said a silent prayer hoping the trash guys would take all the garbage and not leave any of it behind. The neighbor had warned me that the city was notorious for leaving your cans full if you didn’t bag your waste to their specifications. I knew laying beneath the “meat bags” were many loose items deposited in the garbage from the previous owner. I dreaded the thought of having to haul those stinky bags out of the trash to deliver them personally to the dump.
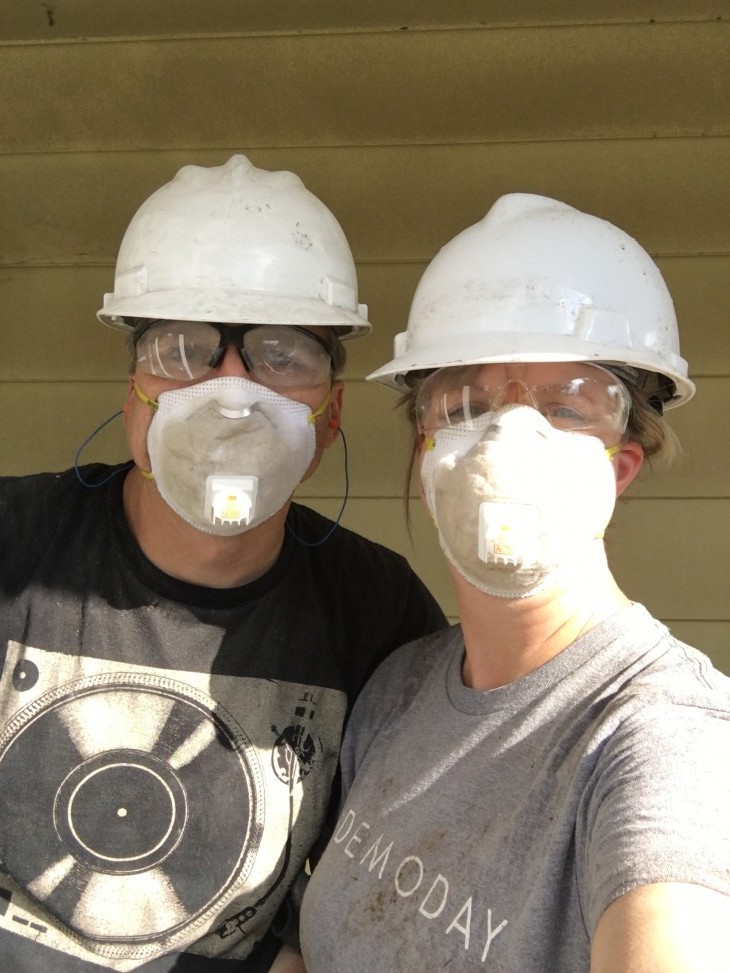
Hopping into the front seat of my truck, I caught a glimpse of myself in the rear view mirror. I was a sight to see in a drywall dusted shirt and sweaty plastered hair. The respirator had left a funny triangular shaped mark around my nose and mouth. I shrugged off my appearance and drove to the lab once again.
Opening the glass door at EMSL, I was greeted by Stacy who sat behind the front desk.
“How’s the project going?” she asked.
“It’s going,” I replied. “Hopefully these samples will come back negative for asbestos.”
Stacy raised a hand and crossed her two fingers. I nodded, knowing I’d be lucky to get a clean report.
“The results should be back within 48 hours,” she said.
I thanked her and headed home to take a much deserved shower.
~Friday~
It was 7:30am and, as usual, I was multi-tasking: simultaneously grabbing a scoop of dog food for Bandit and cereal for my son. My cell phone rang. It was the driver from the dumpster company calling. He wanted to know where to leave the dumpster.
“In the backyard, please. Leave it just beyond the fence so I can still open and close the gate,” I said.
“Got it,” the driver replied and hung up.
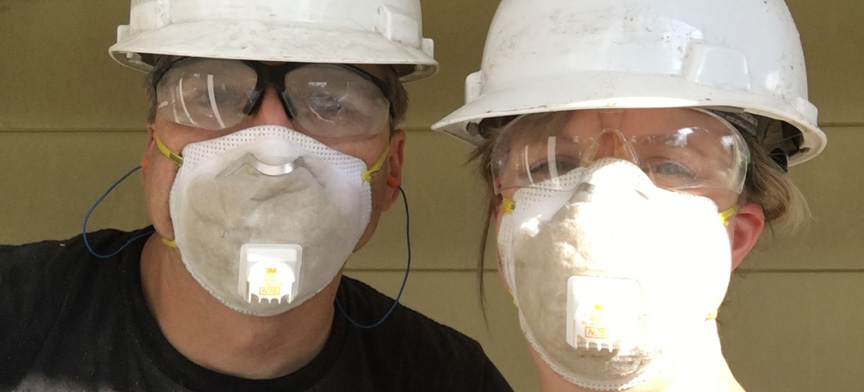
Mike took the day off work to help me with demolition and clean up work. We both dressed in grungy work clothes and hopped into the truck.
Pulling into the driveway downtown, we saw the dumpster had been delivered. Unfortunately it was pushed too far back (about 20 yards farther than I wanted) in the yard. Plus, the back was up against a small tree preventing me from opening the hinged door. I punched the numbers on the side of the dumpster into my phone and a gruff voice answered, “Yep.”
“Is this the dumpster company?” I asked.
“Yup,” came the reply.
“I had one of your dumpsters delivered, but it’s pushed too far back in the yard and is up against a tree so I can’t get it open,” I said to the man of many words.
“Well, you should have been there to tell the driver where to deliver it. I can’t send my guy back out there today. I’ll see if he can come tomorrow.” He quickly hung up the phone before I could say anything more.
“Okay then, hope it gets moved tomorrow,” I said after the call had ended.
Mike and I walked down to the street to check the trash cans. I lifted the first trash lid and was relieved to see the garbage was gone. It was a small miracle when we saw the trash men had taken the contents of all four cans. From now on we’d be able to use the dumpster, but would have to heft everything up and over the 5 foot high rim until the dumpster was moved.
After all the garbage cans were brought back up to the house, we went inside to assess the tasks for the day.
- Move any remaining furniture and items into the back of the house.
- Remove the carpeting in the south parlor and front hallway.
We were leaving the north parlor’s carpeting alone. I had learned my lesson years ago about disturbing mold spores. Instead, I shut the door to the north parlor and left it for the mold remediation team to deal with.
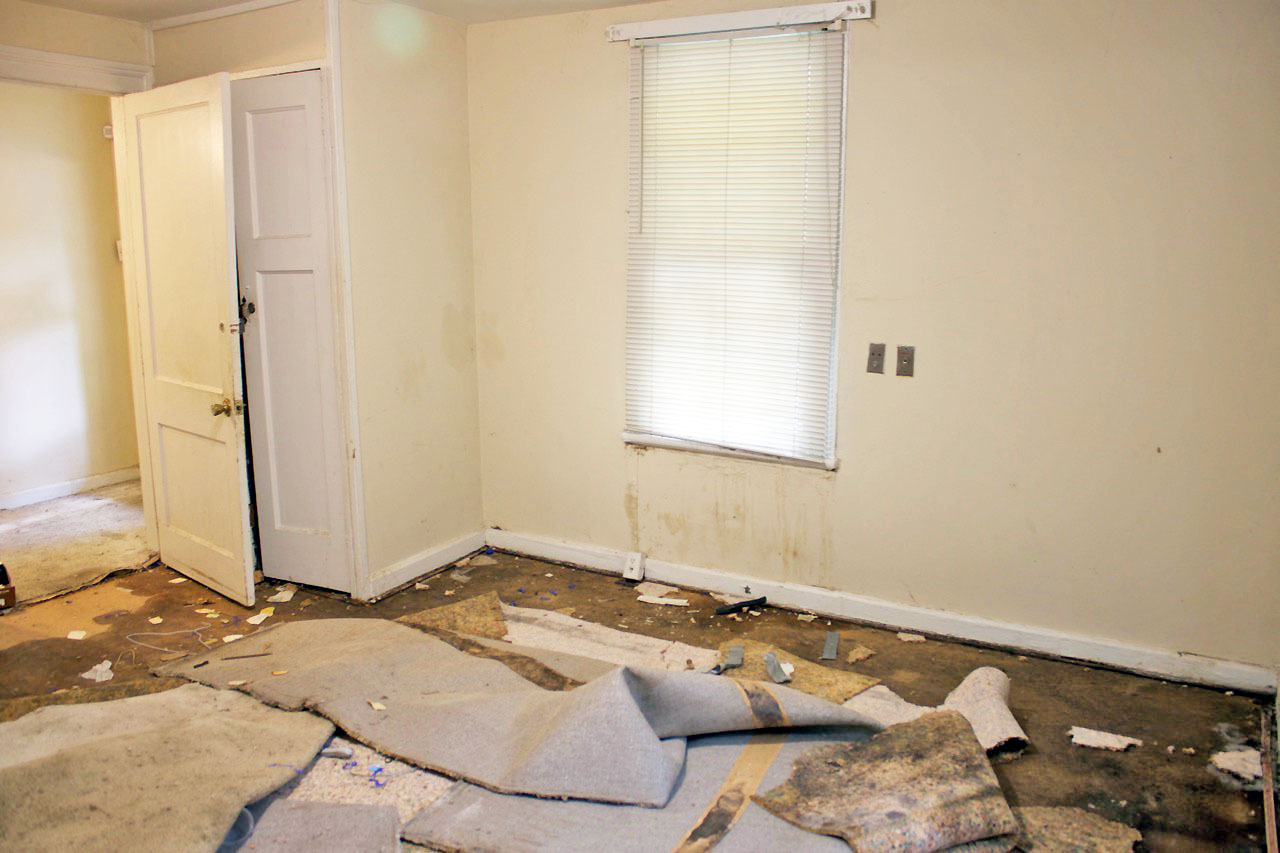
Mike and I started cutting 3 foot wide strips of carpeting in one of the parlors. As we began to roll up the strips, a knock came at the front door. A slight woman with white hair, a striped shirt, navy capri pants, and navy docksiders stood on the other side of the storm door. Her appearance was fitting for someone who had just come from a casual sailing day with friends.
“Hi, can I help you?” I asked.
“I’m Meg McNeil.” she replied.
I was surprised to see the architect I had scheduled an appointment with was not the young Meg I pictured in my mind. She was probably in her mid to late sixties. But, it didn’t matter to me. I was just thankful she had time in her schedule to meet me at the house. I quickly introduced her to Mike and then we walked through the house.
Mike continued to tear out the carpeting in the parlor and the hallway while I walked with Meg into each room and eventually to the backyard. I pointed at the roof structure and told her I was hoping she’d have an idea for how to connect the crazy roof lines in the back.
“Wow, that’s a lot of piece meal additions there!” she exclaimed. “You’re not going to like what I have to say.”
Meg was upfront and honest as she explained the additions were not built correctly. She knew I’d spend too much time and money trying to fix all the problems. Instead, she recommended removing all the crazy add-ons. Essentially wiping out two-thirds of the house. As we walked back through the house, she began to describe a floor plan she saw in her mind.
“Turn these front parlors into bedrooms and build a new living room, master bedroom, and kitchen at the back where the amazing view is,” she said. “But, this is your house and I know the idea of removing more than half the house is probably a shock to you. Take your time and think about what I’ve said. I know it’s a lot to take in at once.”
I was silent for less than a minute. She was the first person to put some clarity on the situation that was now my responsibility. The back two thirds of the house was a calamity of varying roof lines and sloped flooring. I’d lost sleep trying to figure out how I was going to level the floors and connect the two gable roofs over the leaking flat roof. Meg had finally spoken the truth and this put my mind to rest.
“I don’t have to think about it,” I told her, “You’re hired! How quickly can you start working on the plans?”
I was afraid to let her leave. I feared she’d run from this crazy project I’d taken on. Frankly she was the first person that hadn’t freaked out or looked at me like I had two heads when they walked through Etta’s front door. I surmised that Meg had plenty of experience and wisdom from her years working as an architect. She wasn’t afraid to take on the challenge of trying to Save Etta.
“We can probably get you some plans in two weeks,” Meg said. “I’ll be in touch.”
I watched her pull away in a little Honda Civic and suddenly felt a rock in my stomach. I hadn’t given Meg any direction or hints to the style of architecture I prefer. Etta’s fate was now in Meg’s hands. I hoped and prayed that she’d come up with something wonderful. Of course, I could always reject her plans, but I’d still have to pay at least $5,000 for her work.
Mike had already finished pulling up all the carpeting by the time Meg left. Together we started to remove the particle board that was underneath the carpeting. It was slow work. Each large sheet had to have the nails pried up before we could pick up the board. We briefly tried to shove a large pry bar under the sheet, but it just chipped up in small sections. As we lifted the first sheet, I hoped to see original hardwood flooring. Instead, we discovered vinyl flooring. The fake berber pattern on the linoleum taunted me. I knew it was old and could potentially contain asbestos.
“Ugh. I guess I need to take some of this vinyl for testing before we can continue with more demo,” I said.
After taking a sample of the flooring, Mike and I packed up for the day and headed to EMSL laboratory, once again. By now I was starting to feel like a regular there.
Stacy smiled as usual when I walked in the laboratory door.
“More samples?” she asked. “Did you get the results back from the samples you left yesterday?”
I said I hadn’t, but opened up the mail program on my phone to double check.
“Oh wait. Yes, I did,” I replied.
I opened the email and scanned the lab report. Everything was negative until I scrolled to the last page.
“Oh shit. The samples from the joint compound in the two parlors have asbestos in them,” I told Stacy.
She said she was sorry to hear that and offered to grab one of the techs from the lab to talk to me about how to handle asbestos. I agreed and waited a few minutes until a young man came in from the back. He looked at the report and explained that the asbestos in those samples wasn’t as bad as some other building materials, but it was still a good idea to talk to an abatement company. I thanked him and made a mental note to call Jeff from the asbestos abatement company tomorrow. But, today I needed to call the mold remediation expert to reschedule. Unfortunately, the asbestos would need to be dealt with before the mold.
Mike listened stoically as I told him the bad news.
“Well, it is an old house. You knew there was a big chance asbestos would be somewhere in the house when you bought it,” he said.
“I know, I was just hoping not to deal with asbestos AND mold!” I exclaimed.
After showers, Mike started dinner for the kids. I gave him a quick kiss as I headed back downtown to meet my friend Ellen for dinner.
Ellen and I first met at my oldest son’s parent-teacher conference. He was in 5th grade and she was his language arts teacher. She and I had no idea that by the end of the school year we would develop a friendship over the shared love of houses. The day my son graduated from elementary school she squeezed my arm and exclaimed, “Now we can officially be Facebook friends!” I laughed knowing it was a Wake County policy that teachers weren’t allowed to friend students or their parents on social media.
Ellen had a lot more experience and understanding for the risks and struggles of renovating an old house than I did. She and her husband had bought their own fixer upper years ago and painstakingly restored it to its former glory. They also flipped a few houses after enjoying the process of renovating their own home. I was anxious to find out what she thought of my investment house, and she was anxious to see it.
As I sat on Etta’s porch trying to envision what it would be like to live downtown, I saw Ellen pull up. She stepped out of the car with two wine glasses in one hand and a bottle of wine in the other.
“Congratulations on your first investment house!” She greeted me with her big genuine smile.
“Thanks.” I laughed nervously, hoping this would be an investment and not a money pit.
She poured some wine and we clinked glasses. “To Etta,” she said.
“Are you ready to see inside?” I asked. “Be prepared, it’s in rough shape. Here’s a dust mask if you want one.”
I swung the front door open and stepped inside. The smell of mold still hung in the air. I turned around and saw Ellen’s smile disappear.
…to be continued

If you are just joining the story, you may want to read all the Saving Etta chapters.
Are you enjoying the Saving Etta chapters? I’d love to hear from you! What are you enjoying the most?
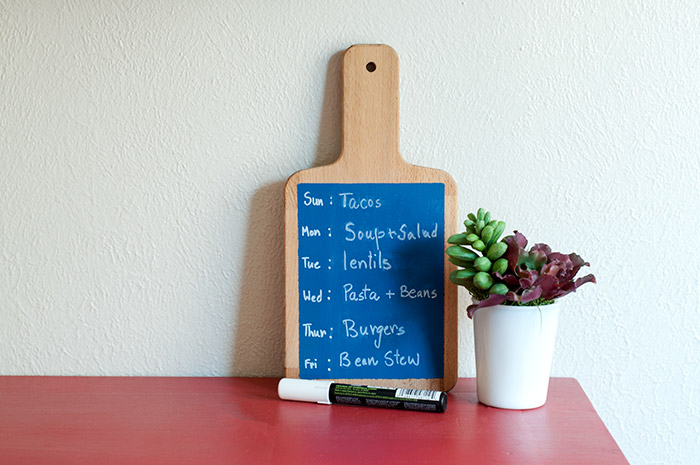
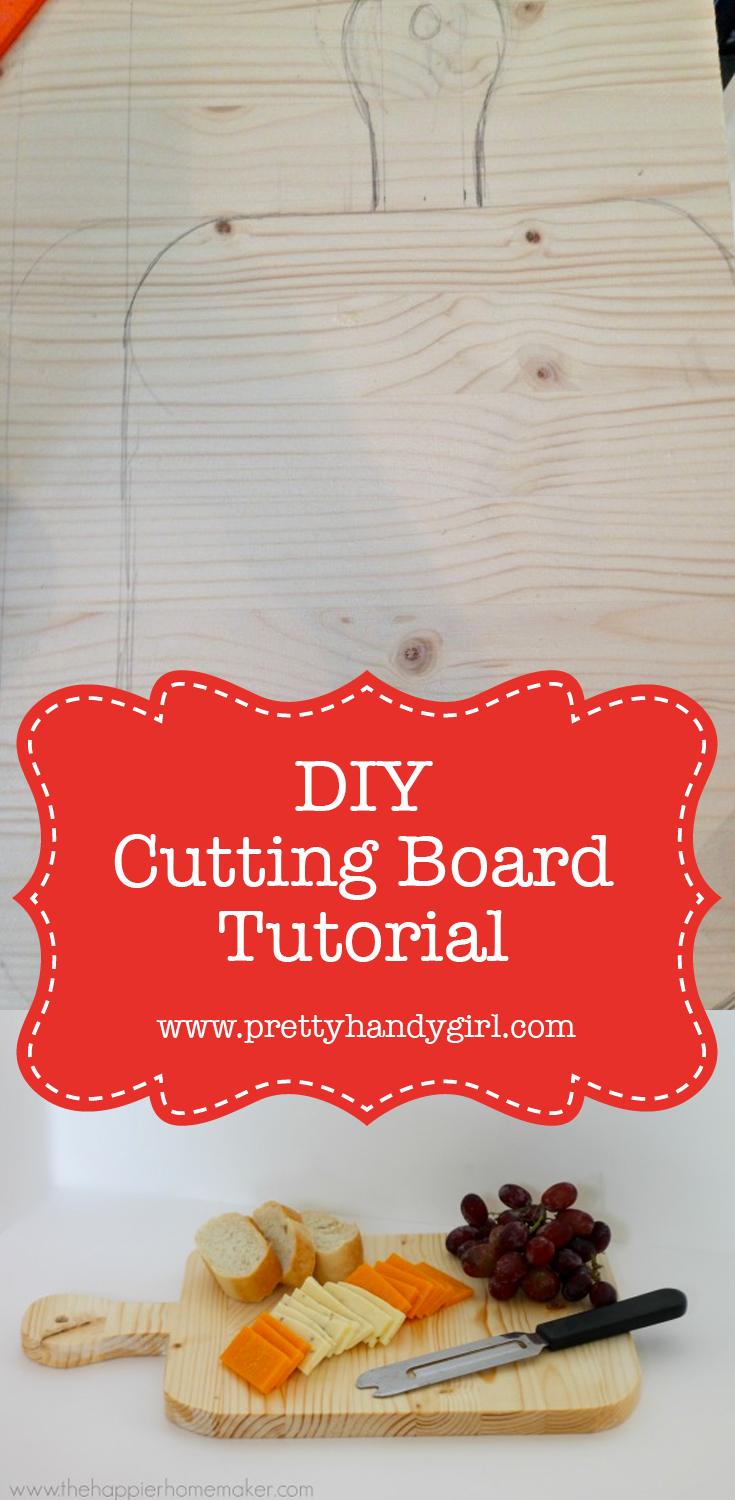
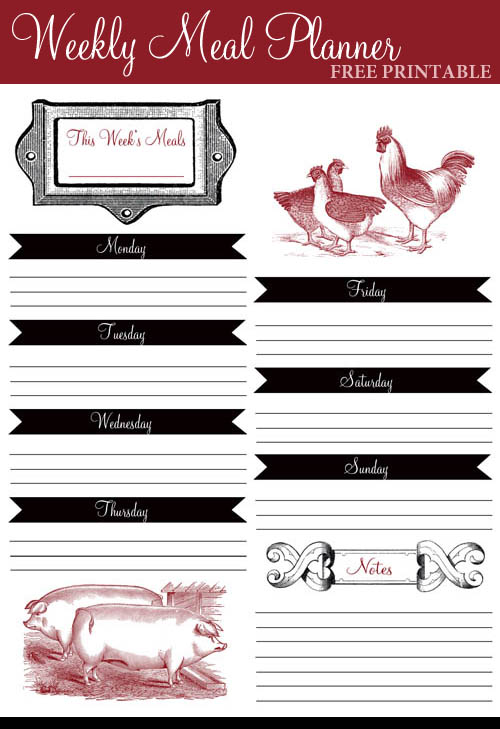
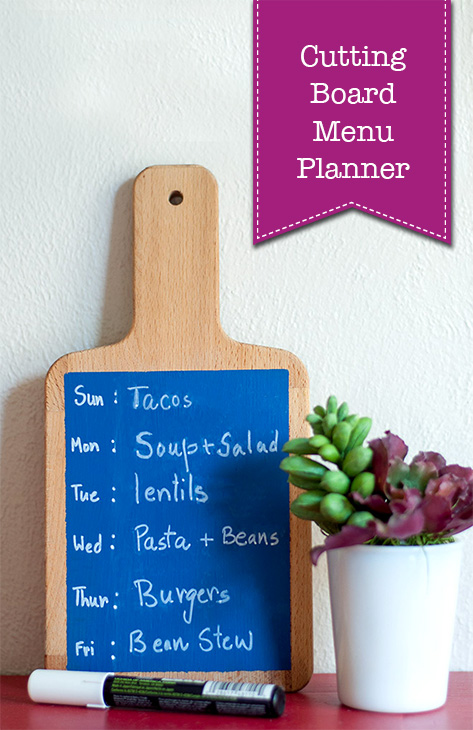 A Quick Cutting Board Makeover for Meal Planning
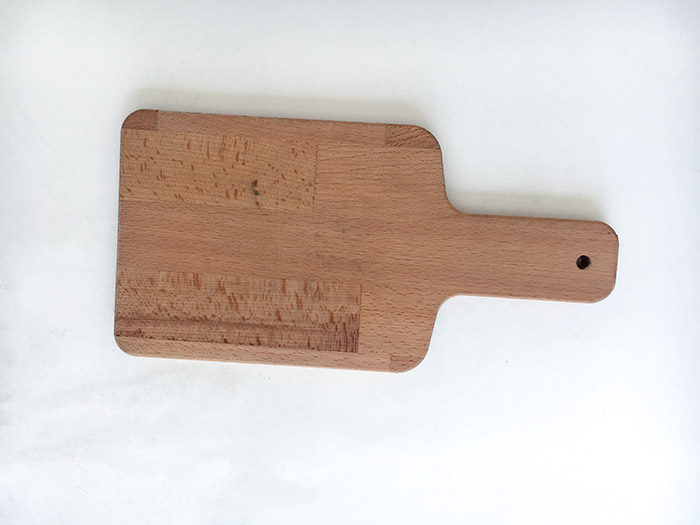


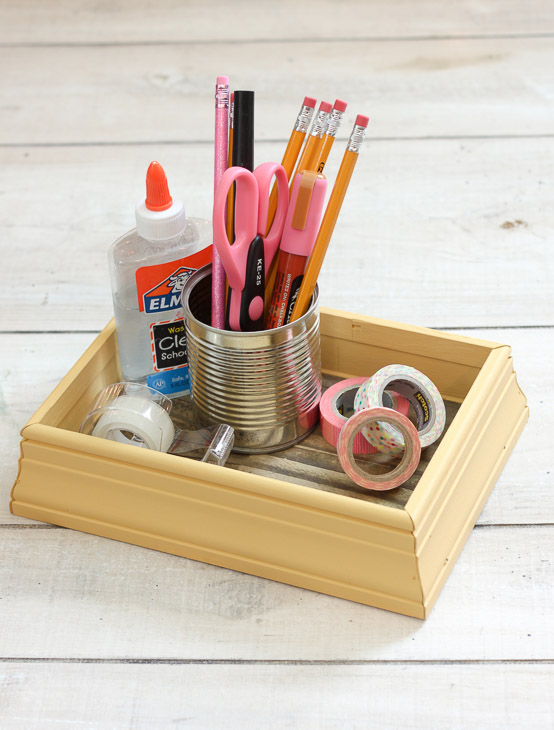
 Build a DIY Tray Box
 There are so many awesome garage storage ideas in this one post, like this


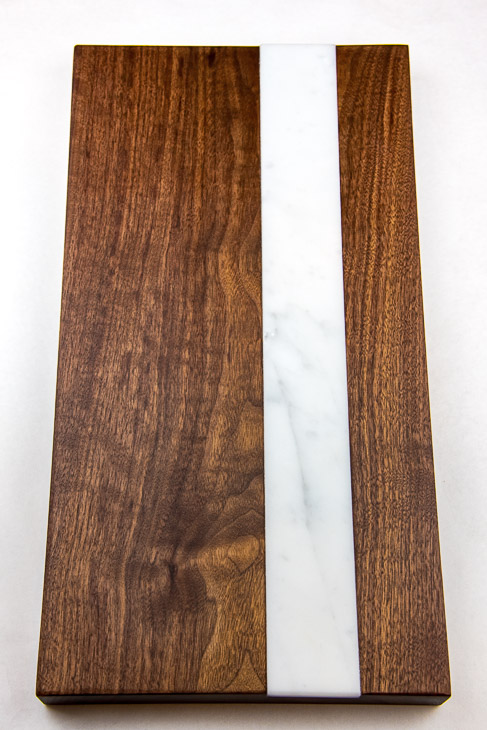
 DIY Bread and Cheese Board