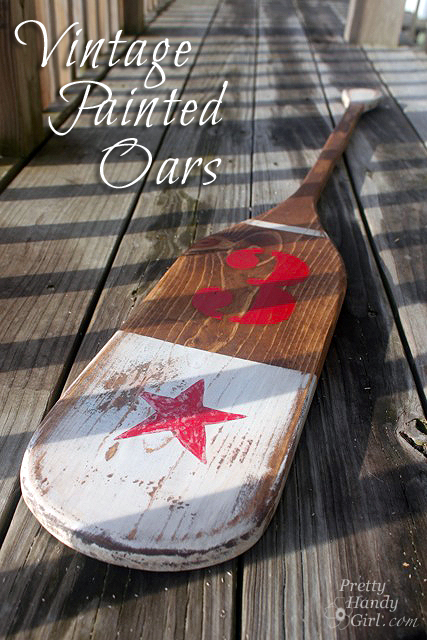
Creating Vintage Painted Oars with 3M
Vintage painted oars are nostagic objects for me. They bring back memories of camp and watching crew teams rowing along the Schuylkill River in Philadelphia. So, when my sister wanted to find some oars to decorate the beach condo with, I jumped at the opportunity to make some. If you follow me on Instagram or Facebook you know that my sister Caitlin (of Symmetry Designs in San Jose, CA) and I have been renovating Diane Chamberlain’s Topsail Beach condo. The condo is a great size (three bedrooms) and located ocean front. That’s where the pros ended. Sadly the condo was stuck in the 80’s: teal carpeting, orangey wood trim and cabinet doors that were falling off. We converged on the property back in September to start the renovation process.
Before the trip, I whipped out these fun painted oars. They were easy to make, you could sooo do this!
(I’ve included affiliate links for your convenience. I earn a small percentage from a purchase using these links. There is no additional cost to you. You can read more about affiliate links here.)
Materials:
- 3M Sand paper for sander (80,120 & 180 grits)
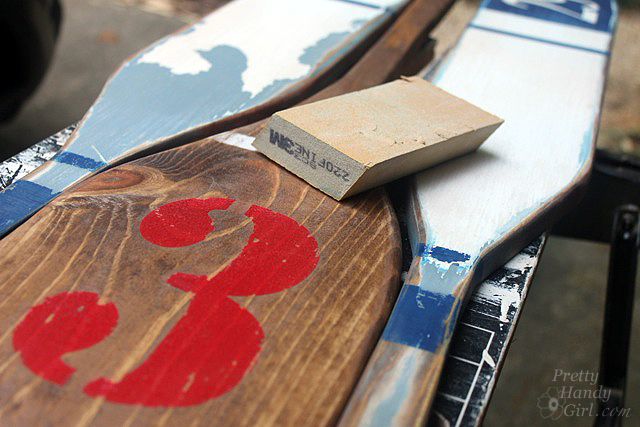
- 3M 220 Grit Sanding sponge
- ScotchBlue™ Painter’s Tape
- 3M Sanding block
- 1″ x 6″ pine boards
- Jigsaw
- Sander
- Paint brushes
- Stencil brush or sponge
- White paint
- Red Paint
- Red Paint
- Number stencils
- Minwax Early American stain
- Rags

- 3MTekk Eye glasses
- 3MTekk Ear plugs
- 3MTekk Painter’s glove
- 3MTekk dust mask
Instructions:
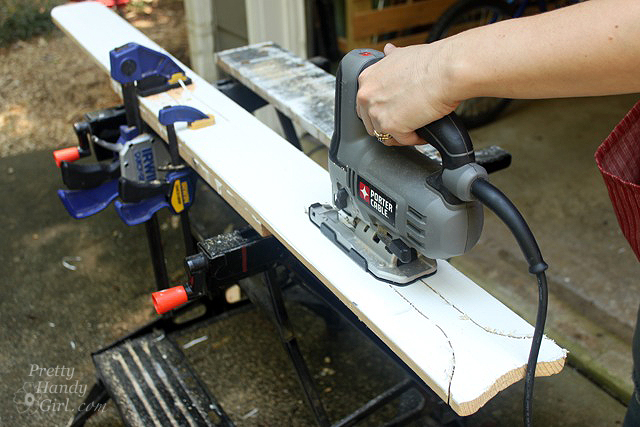
Clamp your 1″ x 6″ board to a work surface. Trace out the oar shape onto your board. You can use rulers and rounded paint cans or plates to trace the curves.
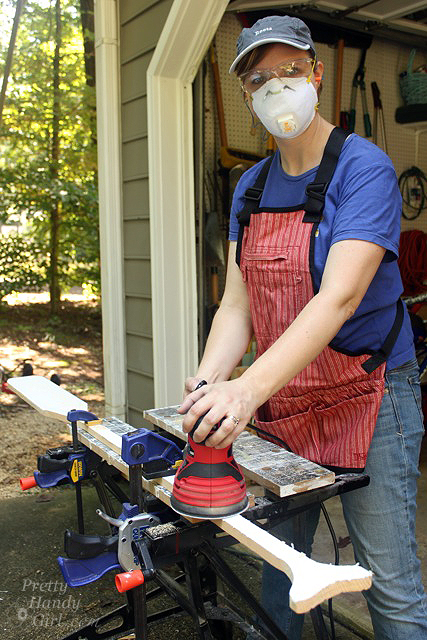
Put on your safety glasses, ear plugs and grab the jig saw.
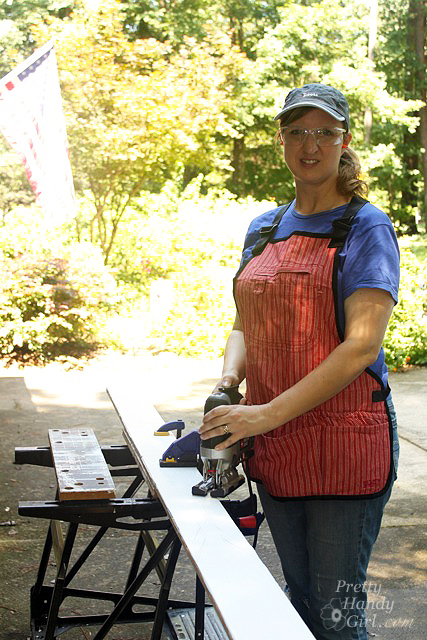
Cut around the oar shape with the jig saw. You’ll have to move and re-clamp the wood a few times.
Put on your dust mask and sand the oar edges. Start with an 80 grit and create rounded edges. Then switch to 120 grit to smooth. And finally a 180 grit to create a super soft surface.
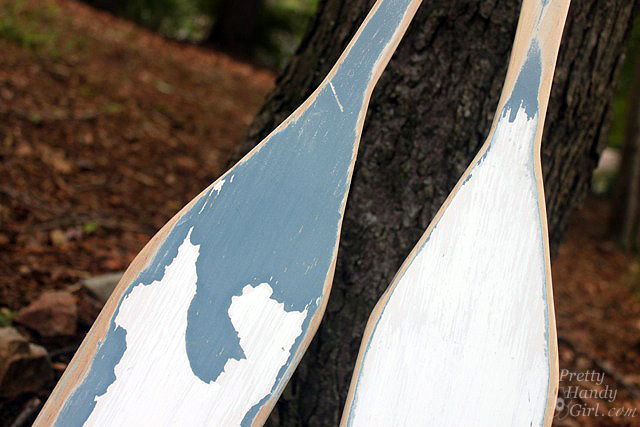
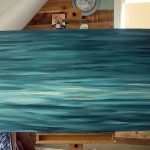
Here’s a surprise that happened while sanding my oars. I actually used old door casing from our kitchen renovation. While sanding, a beautiful blue started to show through under the white. I just worked with it and love the look.
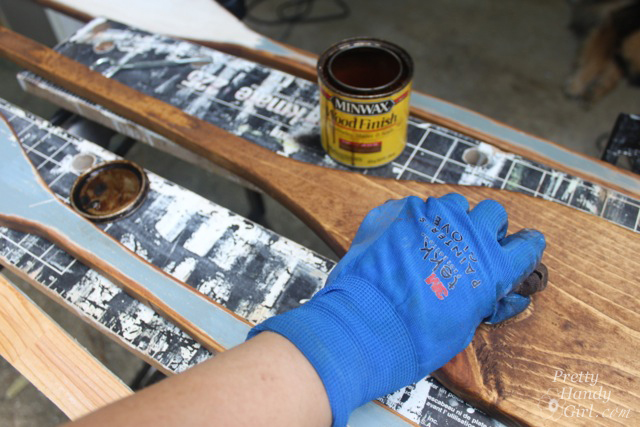
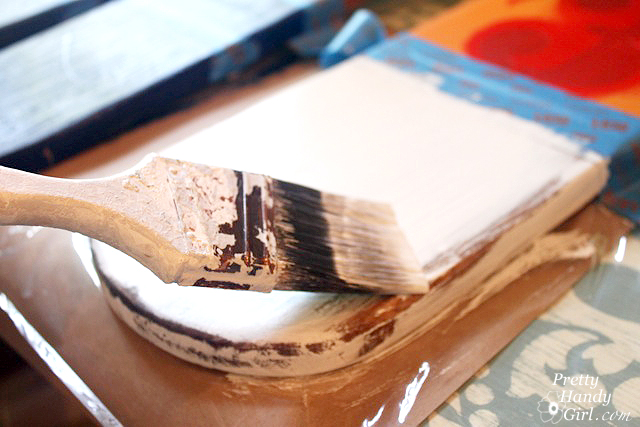
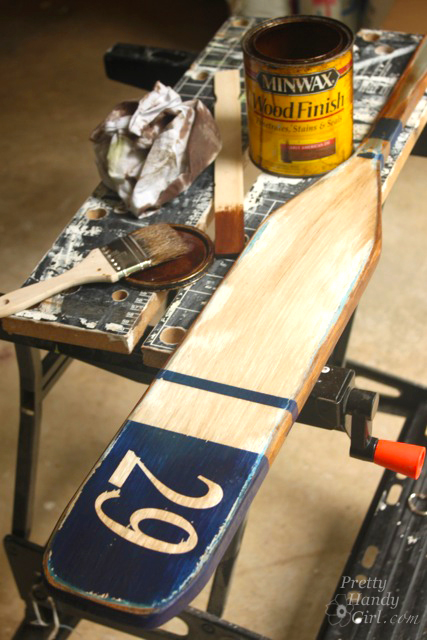
To give the oars some age (especially if you have new boards), wipe Minwax Early American stain on the oars. Definitely wear gloves to protect your hands.
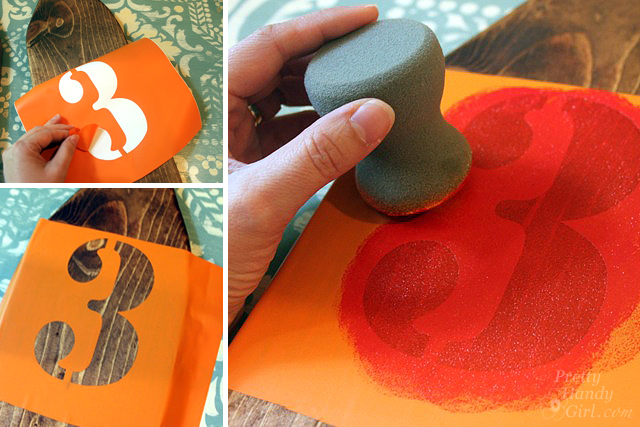
Create, buy or trace numbers to create a stencil. I used my Silhouette to cut out some numbers.

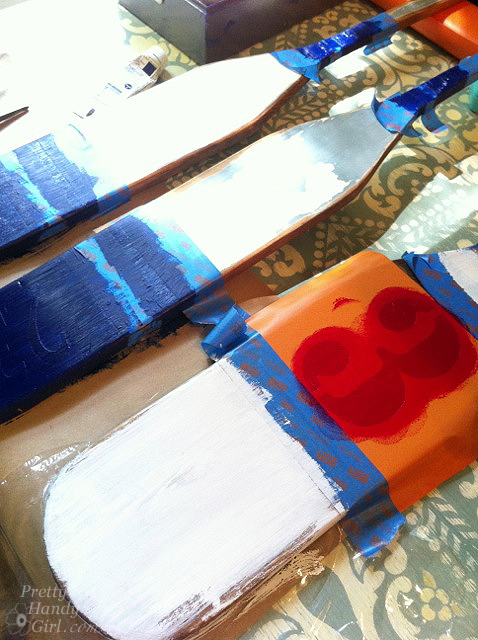
To block the white area, lay the numbers on the oar and paint over them with blue paint.
To create the red number, adhere the background of the “3” to the oar and stencil red paint into the number.
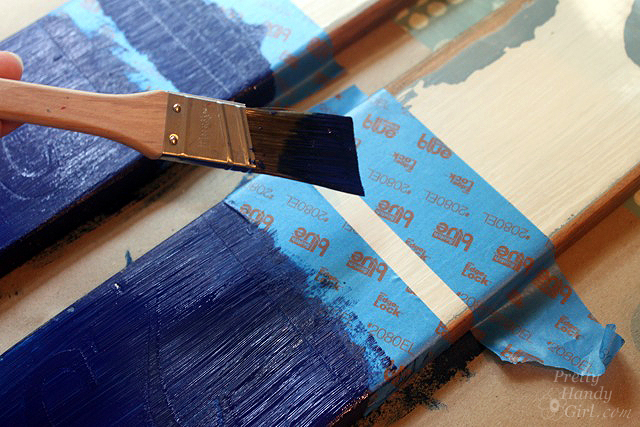
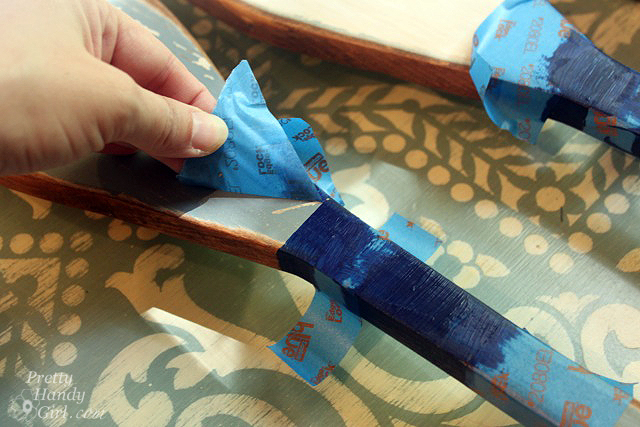
Use ScotchBlue™ Painter’s Tape to mask off stripes and the bottom of the oar.
Paint stripes and allow the oars to dry slightly.
Remove the painter’s tape before the paint has completed dried. This will give you the crispest lines and allow you to wipe any excess that may have seeped under.
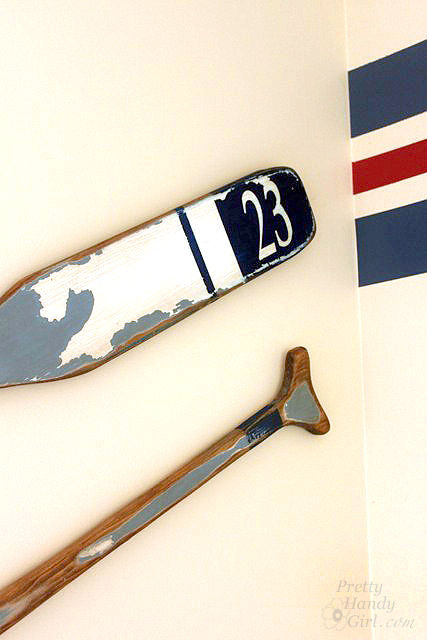
Draw and color in a star over the white area on the smaller oar.

After the paint is 100% dry, rough up the oars with the 3M 220 grit sanding sponge to give it back that aged look.
To age the oars further, wipe on some more wood stain and wiped it off immediately.
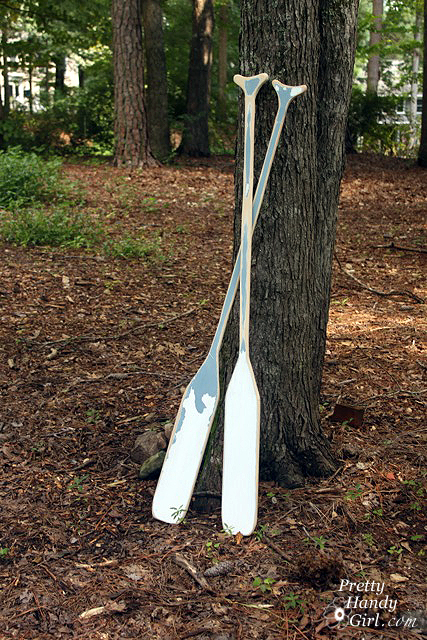
This gives them the perfect vintage look.


We hung the oars on the walls of the twin bedroom using D-hooks on the back and small nails.
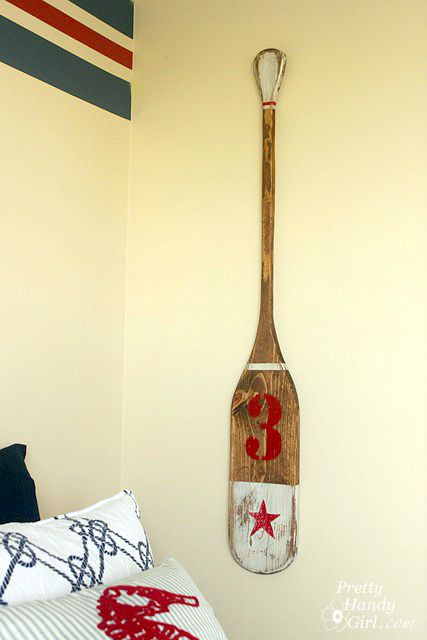
My sister, Caitlin, totally rocked the nautical feel in that bedroom.
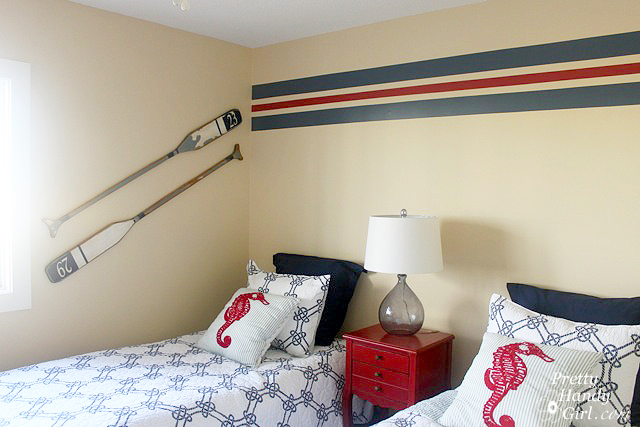
That little nightstand was a wine color, but I painted it with Miss Mustard Seed Tricycle red and now it coordinates perfectly with the rest of the room!

My favorite oar is the little red star one. I might have to make a new one for my home ;-).

Disclosure: This post is a collaboration with 3M DIY. I was not told what to write about or what to say. All ideas and words are my own. To keep up-to-date on projects, products and sampling visit 3MDIY.com.
 .
. 

Learn more about 3MDIY and their mission to help DIYers like yourself:
3M DIY Facebook Page, 3M DIY Twitter Page, 3M DIY Pinterest Page


I have an actual old set of oars ….or paddles, whatever. I wondered what you thoughts were…I have sanded off the old finish, and I would like to stain them, and also add a painted stripe…or something maybe a number. Then we plan to hang them outside, over the door of our lake cabin. So first, do I stain the whole works and paint over the stain? 2nd, what kind of paint stain/paint should I use for outdoor use? And finally, what would you recommend I put on as a protective coat? Some sort of boat varnish? I would like them to stay nice! Thanks so much – yours look wonderful – how lucky to have had the blue paint under – that was perfect. Probs a gift for recycling from karma!! 🙂
I’d suggest staining using any stain color you like. Then paint on top of the stain once it dries. Finally, finish it with an exterior clear coat like Helmsman or General Finishes Exterior Top coat. OR a clear deck sealer.
Really nice. I’m going to use some of the ideas here. The old boy scout in me needs to point out these are paddles, not oars. I don’t want aanyone misusing the term and getting scolded by an angry scoutmaster.
I love these. I would like to make my hubby some for his man cave. Pinning your brilliant idea.
I love the twin room in the condo! The oars really make the finishing touch. Thank you and Caitlin!
Those are great!