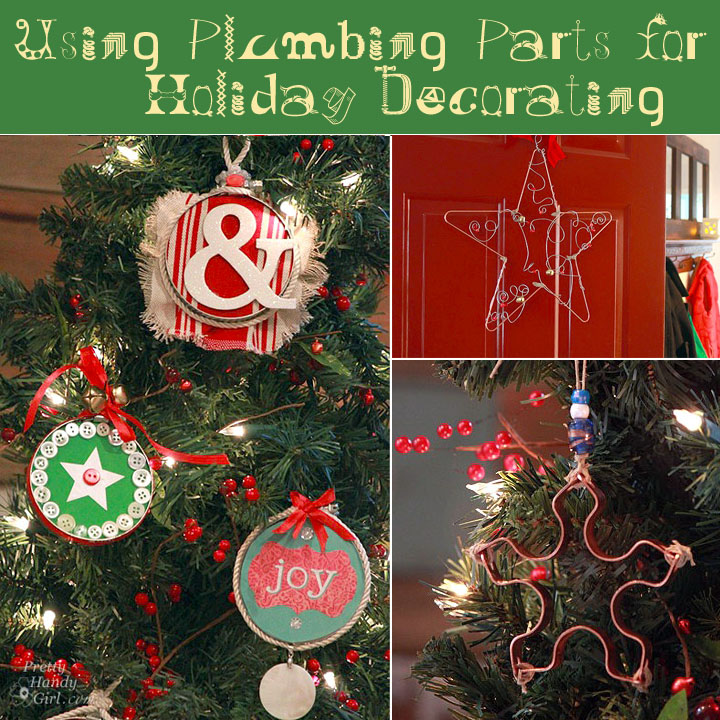
Plumb Crazy over these Christmas Ornaments
You must think I have plumbing on the brain. After all our leaks, I’ve spent some time in the plumbing aisle. While there I came across these three things:

They are beautiful, don’t you think?! Can’t you see them hanging from your Christmas tree or on your door? What? No?
Okey dokey, come along I’ll break it down for you, this is going to be fun.
Star Decoration

Materials:
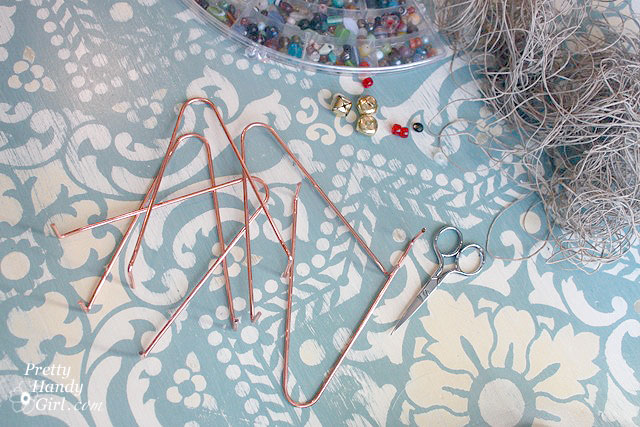
Instructions:
Lay out the hooks in a star formation.
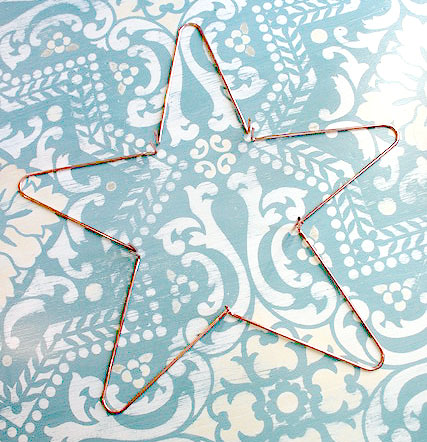
Wrap two ends with the hemp string to attach them to each other.

Continue attaching all the hooks together. Be sure to weave down and around the elbows for better hold.
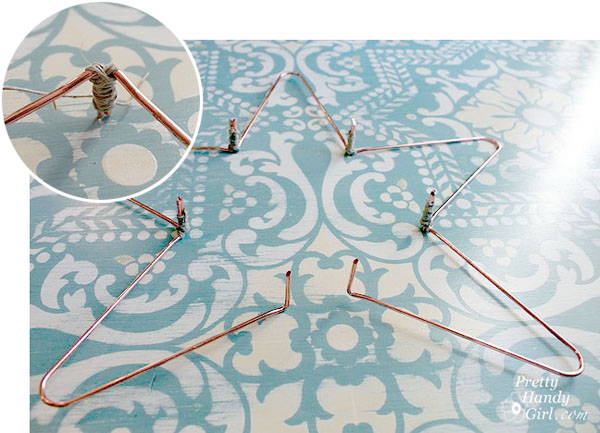
Shape the hooks until they are in a perfect star shape.

Cut a length of utility wire and wrap it around the star shape. Add curly q’s, bends and spirals…
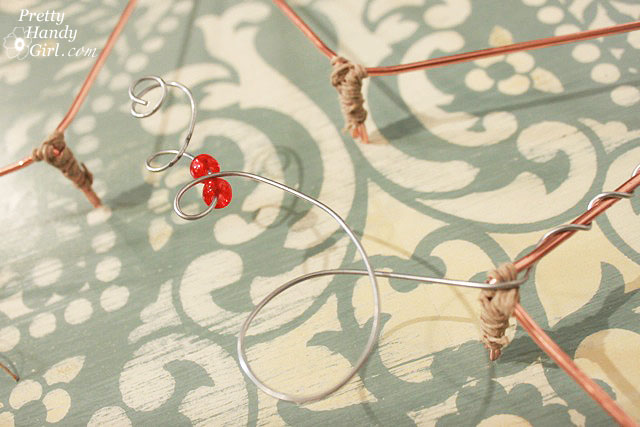
…thread beads and jingle bells periodically.
Cut more wire and continue to decorate the star with beads and curled wire.

Finish off by adding a loop to the top of the star to act as a hanger.
Thread a ribbon through the loop and hang it on your door,

a window or another prominent spot.
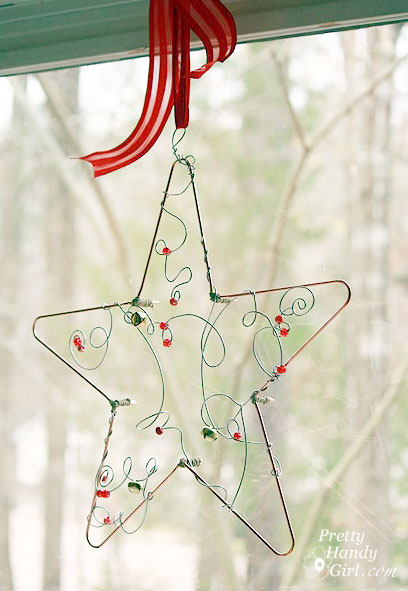
Hoop Ornaments

Materials:
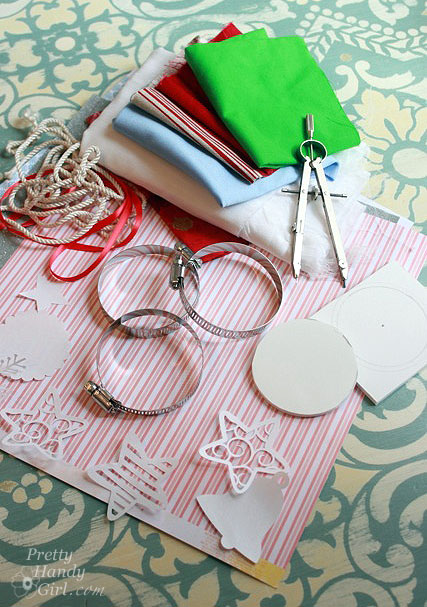
Instructions:
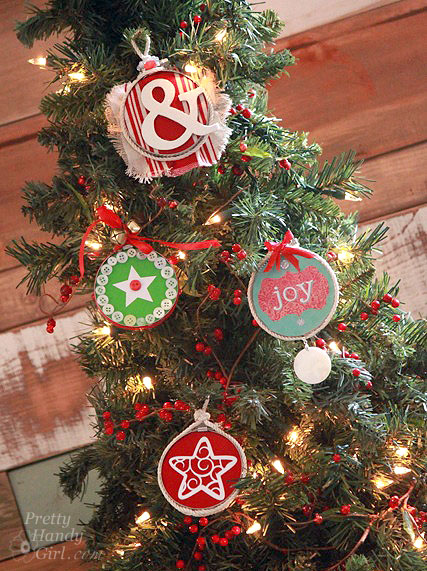
Measure the diameter of your hose clamp (at its most open setting while it is still attached.) Set your compass to half the diameter and draw a circle onto the foam board. Cut out the foam board with the x-acto knife.

Widen your compass and draw a wider circle onto a piece of fabric. Cut out a piece of fabric and center it over the foam board circle. Lay the hose clamp over the foam and fabric.
Tighten the hose clamp with the screwdriver until it is snug enough to hold the fabric, but not tight enough to crush the foam board.
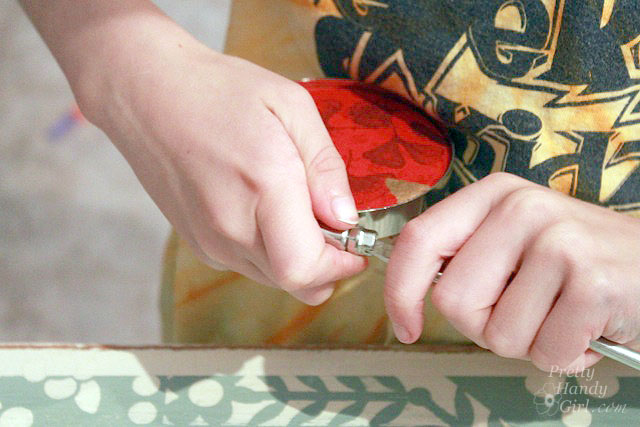
Decorate your circle with stickers, buttons, trim, ribbon, or whatever, you’re the creator!
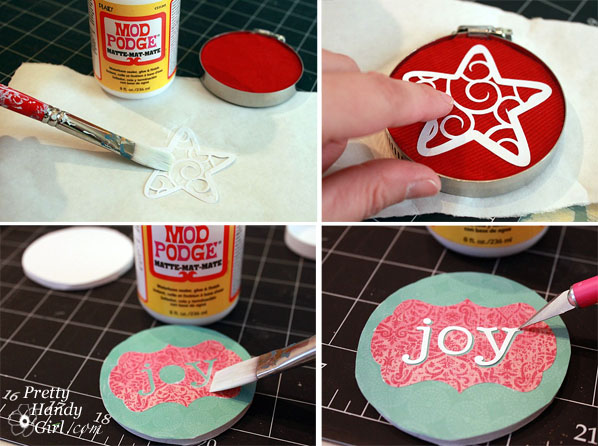
You could also use scrapbook paper instead of fabric. The star and joy ornament decorations were created with the Silhouette CAMEO.
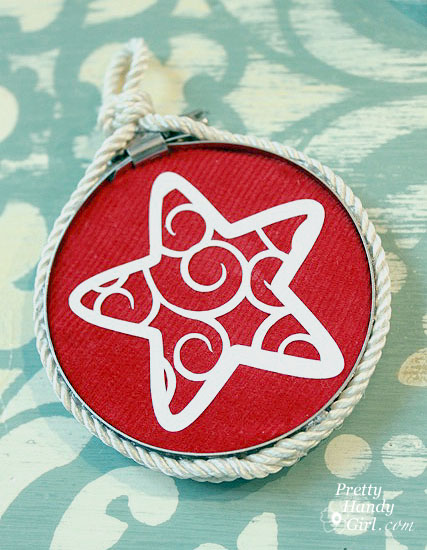
Hot glue the excess fabric to the back (or fray it to look like a mini-embroidery hoop. Glue ribbon or trim around the hose clamp.
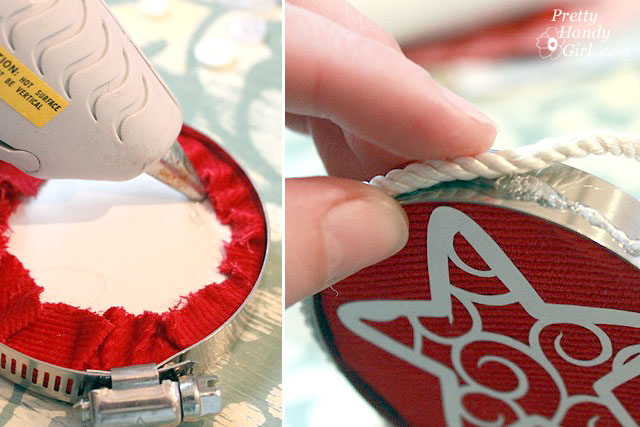
Create a loop at the top for hanging the ornament.

My little guy insisted that we need to make an ornament for Santa 😉

These ornaments are so fun and easy. Be creative and let the kids have fun with this project. I can see a little handprint on the center of one for a keepsake ornament. The possibilities are only limited by your imagination.
Brass Snowflake Star
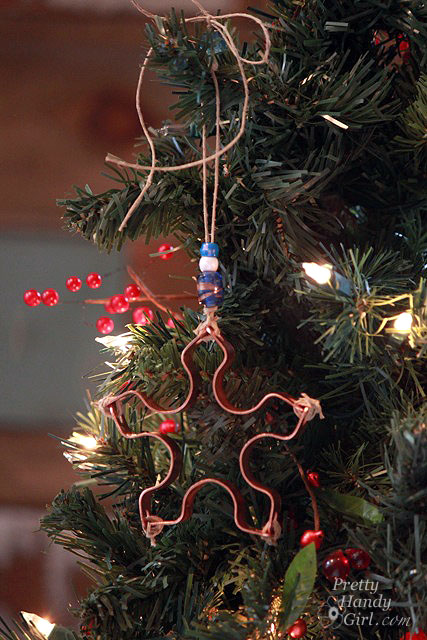
Materials:
Instructions:
Lay out the pipe straps in a star shape.
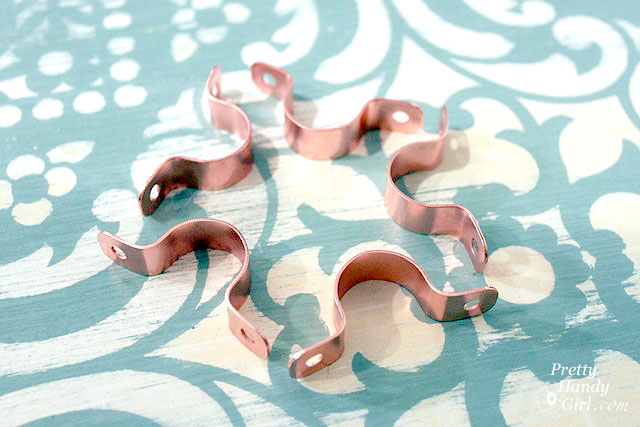
Thread hemp string through the holes on two straps. Knot the end of the string.
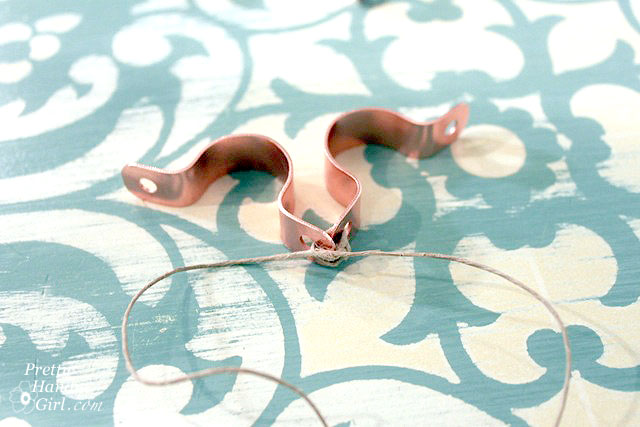
Continue until you have completed the star snowflake form.
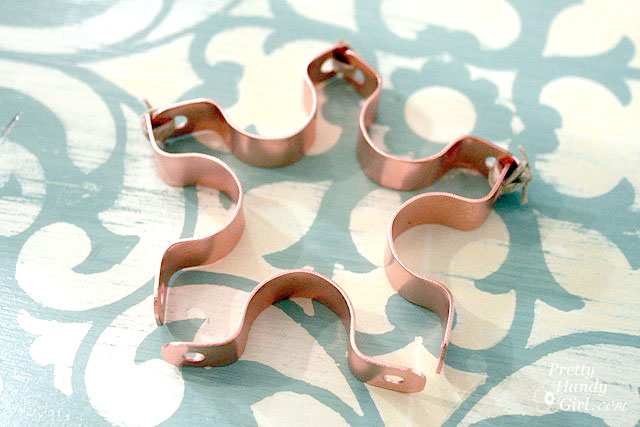
You will need to finagle the star form until it looks good to you.
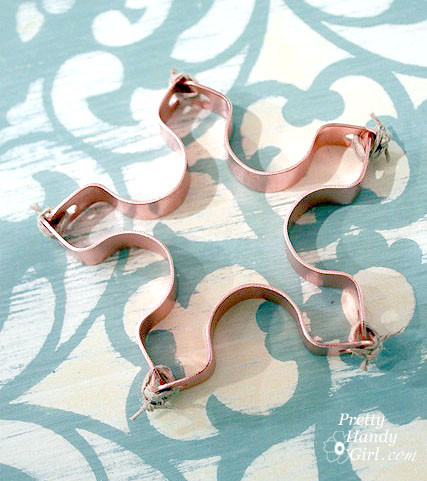
Tie a string through one of the star points. Add beads and tie a loop to hang your ornament.


What do you think? Am I plumb crazy or are these truly adorable ornaments I made from plumbing parts?


Disclosure: I have partnered with Lowe’s as a Lowe’s Creative Influencer. I was provided with a Lowe’s gift card to complete my project. The tutorial, photos and opinions expressed in this post are my own. I was not told what to write. #LowesCreator
I’ve included affiliate links for your convenience. I earn a small percentage from a purchase using these links. There is no additional cost to you. You can read more about affiliate links here.
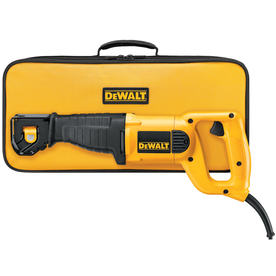
that was on sale at Lowe’s. I actually held each and every reciprocating saw in the tool department. Those saws are not lightweight by any means. And since I had to hold this over my head and make repeated cuts, I wanted to make sure I bought the lightest one I could find. However, I had one other factor to contend with. Battery life! The lightest weight saw was a Ni-Cad battery saw and I didn’t want to deal with losing power in the middle of the job and waiting for the battery to charge up again. So, I chose this mid-weight fighter because it has a cord and it won’t run out of power…ever…well unless your power goes out. I’m thrilled with its performance, this prize winning middle weight really knows how to throw a knock down punch to soffits.

