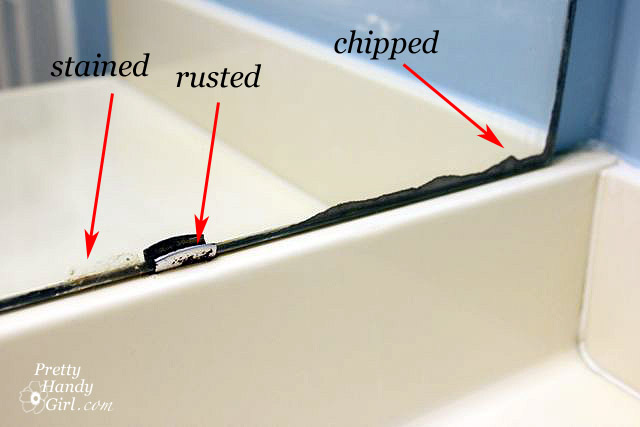
Do you have an ugly builder’s mirror? I’m betting about 85% of you do. The other 10% were lucky to buy a home that has a beautifully framed mirror. And the remaining 5% either made or bought a new mirror with a frame! When I was first introduced to MirrorMate on Kate’s blog, I could barely contain my excitement. There was finally a fix for the ugly builder’s mirror in my kids’ bathroom {happy dancing}! I could finally say adieu to the stained, rusted and chipped behemoth in the bath and yet I wasn’t adding anything to the landfill in the process!

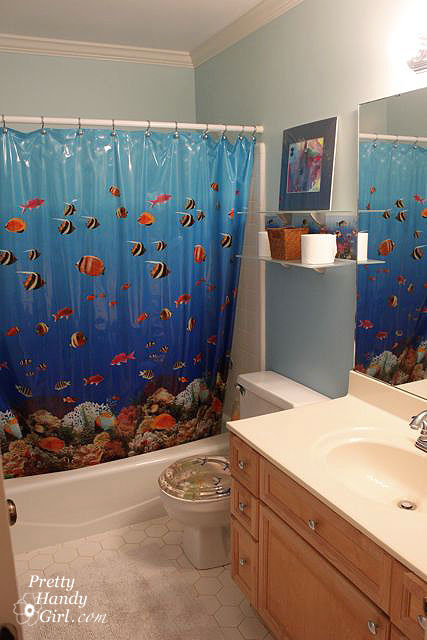
Bethany, who works for MirrorMate, helped me pick out the perfect frame for our bathroom. And shipped it as soon as the frame was available. Unfortunately, the frame arrived right before I left to surprise my sister in Ca. Then I came home and got deathly ill. So, the poor frame sat in our garage for a month. As soon as I started feeling better I jumped right into the bathroom makeover project. I have to tell you, the makeover was inspired by the beautiful MirrorMate frame. I just couldn’t put that beautiful frame into the fishy bathroom. It just would look like the grown up in a child’s playground.

Putting the frame together and framing the mirror was a piece of cake. Here is how we did it:

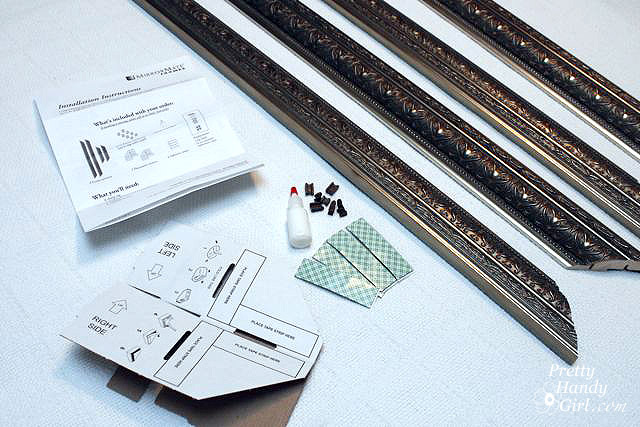
1. Unpack the MirrorMate and accompanying supplies.

2. Spread the frame and pieces out. Use wax paper (or old cereal bags) under the corners to protect your work surface from the glue.

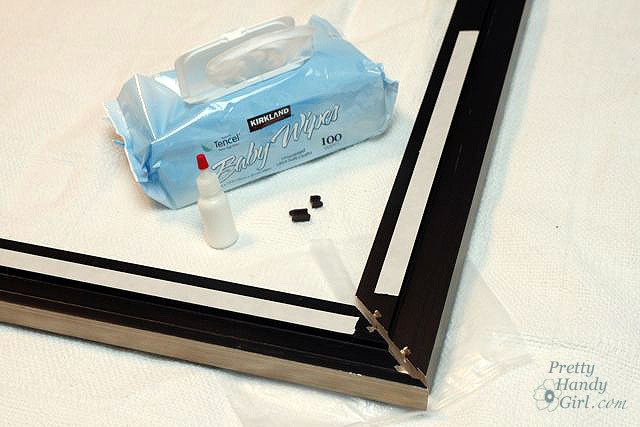
3. Glue each corner.

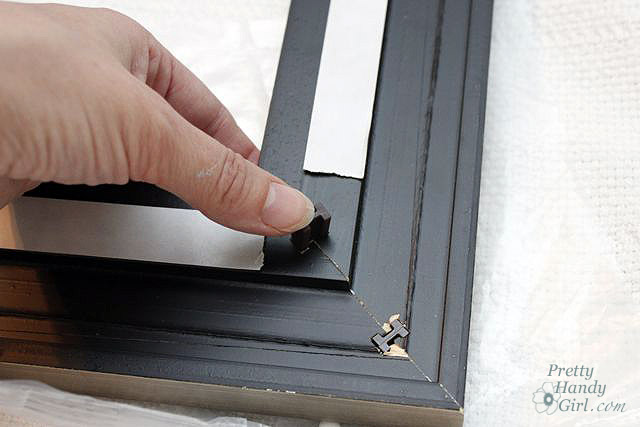
4. Insert the small connector pegs into the slots at the corners. You might need a hammer to lightly tap them in.

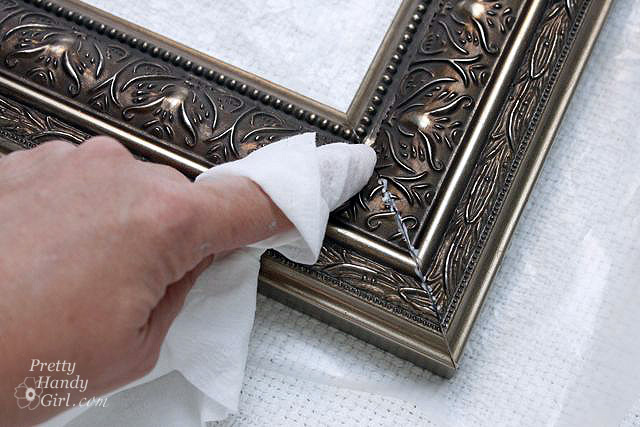
5. Wipe off any excess glue with a damp rag (or baby wipe).

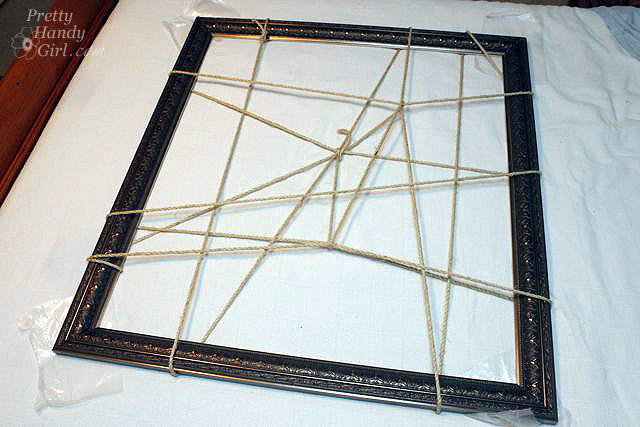
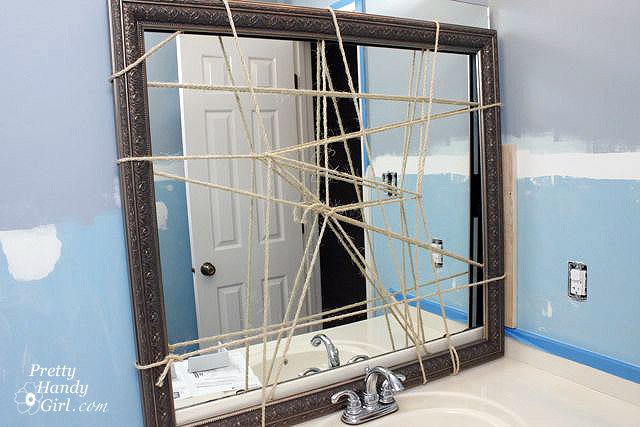
6. For added strength and to hold the frame while it dried, I chose to “clamp” my frame by typing rope around it. This was not a necessary step, but I think it helps insure a tight joint, so I did it.

Please tell me that I’m not the only one who started singing. “Spiderman, spiderman, does whatever a spider can, spins a web…”


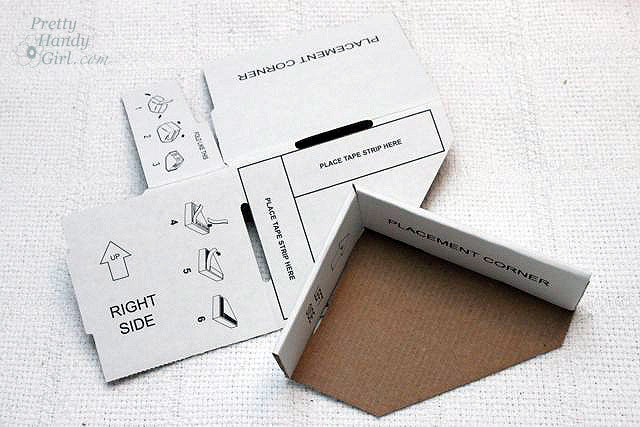
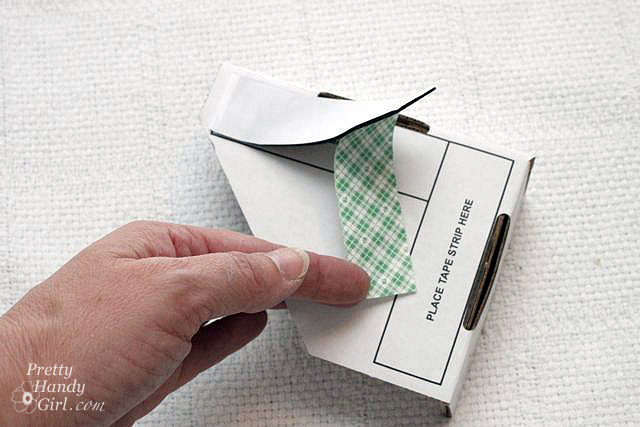
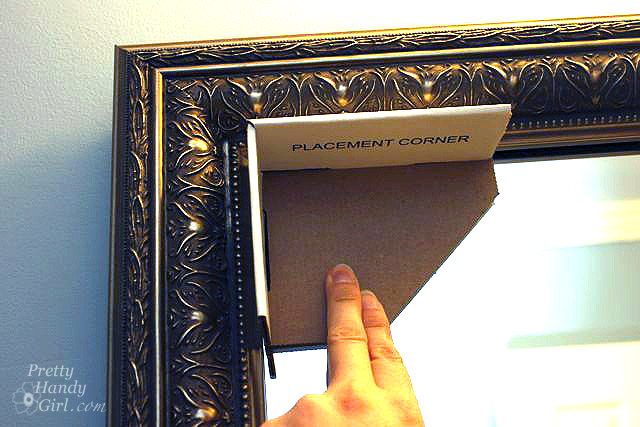
While the frame is drying, assemble the cardboard guides for the MirrorMate installation.

Add the double stick tape to the back as shown in the directions:

After allowing the frame to dry for an hour, get your DIY partner to help you move the frame. You must be careful not to lift or carry the frame by the corners or it could come apart. I left the rope on it until we moved it into the bathroom (just to be safe.)

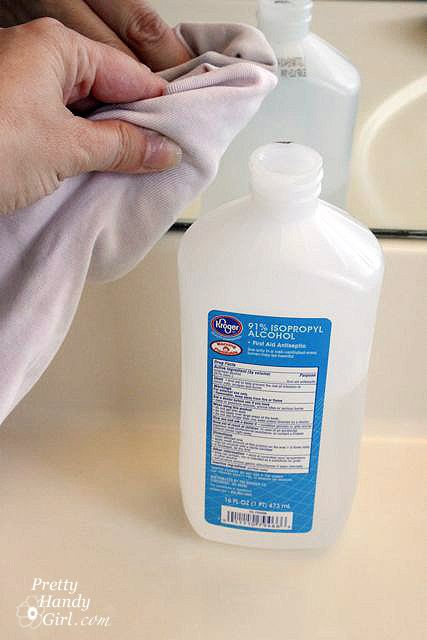
Clean your glass with rubbing alcohol (especially where the frame will adhere to the mirror.)

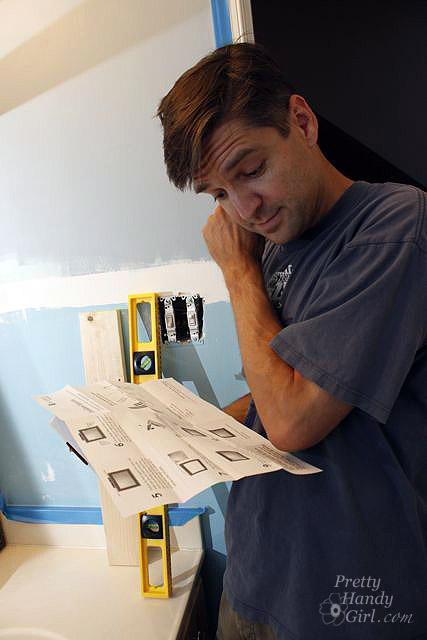
Put up with your handsome assistant insisting on reading the directions (even though you already did and are anxious to move along.)

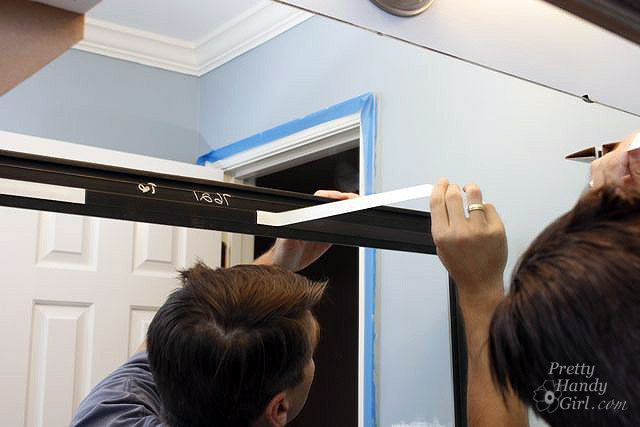
Have your assistant hold up the frame and then have fun telling him to move it to the left. No, wait a little to the right. Well, maybe back to the left. {Hee, hee.}

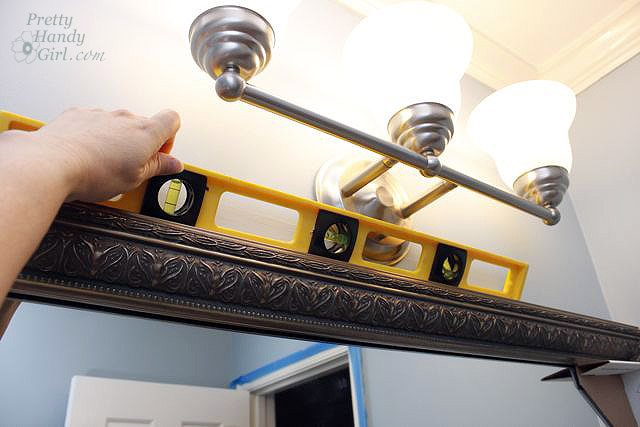
Level the frame.

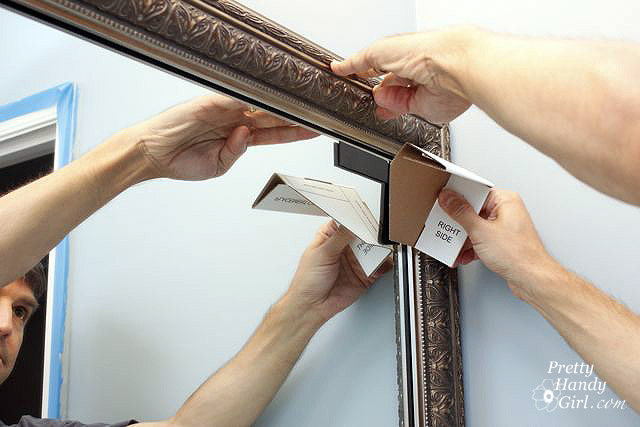
Insert the corner guides directly into the top two corners. Be sure the guide is touching the frame’s inner edges.

Remove the frame and then peel off the tape backing.

Then lift the frame back up with the help of your assistant. Align the frame onto the corner guides and press firmly onto the glass. You only have one shot at this, so go slow.

Remove the corner guides and the glue strips from the mirror.

Now stand back and admire your newly framed mirror! GORGEOUS, don’t you think? And the installation was a snap (or should I say a stick. LOL!)

No one will ever know that you are hiding a dirty stained, chipped and rusty secret underneath!


One final look at the finished product and a sneak peek at the finished bathroom. I’ll be sharing with you the board and batten tutorial soon.


One final note: I have to warn you, DO NOT put painters tape on your mirror or you will be crying the blues like I was.

I immediately contacted Bethany to see if she could send me some touch up paint. I can’t even tell you how helpful she was and when she reported that it was actually hot press leaf on the frame and not paint, I figured I’d be doing some creative treatment on the side. But, instead, she insisted on sending a new frame immediately (which arrived 2 days later!) MirrorMate has the best customer service and she told me “We want our customers to be happy with their purchase, even if that means sending a new frame.” Wow, now that is a company I want to do business with!


Disclaimer:

I was sent a complimentary MirrorMate frame for a product review. I can honestly say that this post reflects my opinions and I was not swayed to write a positive post. Nor was I paid to write this post. For more information you can read my disclosure statement.

Changing Out a Light Fixture

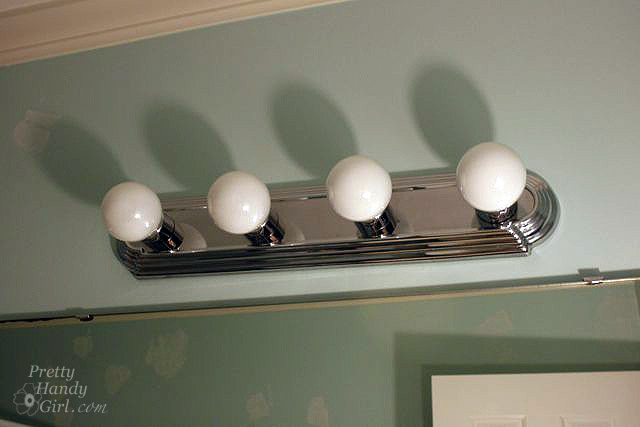
Have you had it with those ugly Hollywood light fixtures? The ones where the bulbs are lined up in a straight line staring you in the face? Did you know that you don’t have to live with them? Even if you live in an apartment, you can switch light fixtures out fairly easily. (Be sure to keep the old fixture and all the parts so you can re-install it before you move out.)

Light fixtures range in price from $20 to well over $200. Sometimes you can luck out and find some nice light fixtures on Craig’s List or eBay for less.

I hope you can benefit from this tutorial. I think you’ll agree, it is neither difficult nor challenging changing out a light fixture.

Instructions:

Before beginning the installation you MUST turn off the power to your fixture.


Changing Out a Light Fixture

Required Safety Instruction:
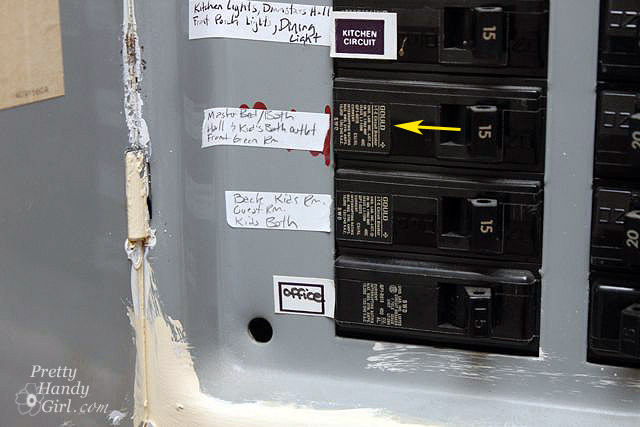
Turn off the power to the light fixture you are working on. I highly recommend turning on the light you will be working on, then shut off the circuit at your circuit breaker and check to see that the light has gone out. Also note that just because the light fixture power is turned off, it doesn’t necessarily mean that other outlets or lights in the same room are on the same circuit. Always check for the presence of power before you work on it.

Tools:

(I’ve included affiliate links for your convenience. I earn a small percentage from a purchase using these links. There is no additional cost to you. You can read more about affiliate links here.)

Unpack your new (or slightly used) light fixture. Read through the directions as some steps may vary from this installation tutorial.

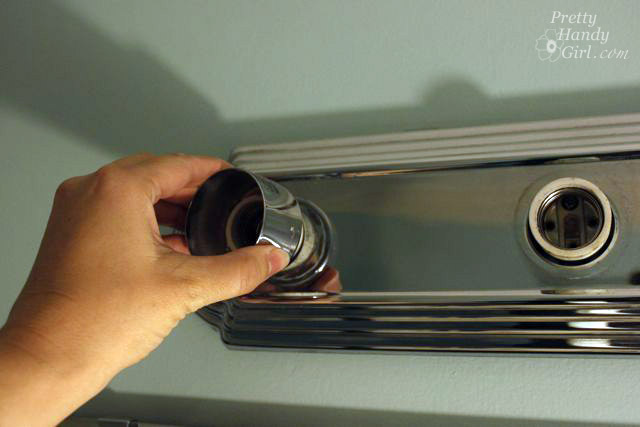
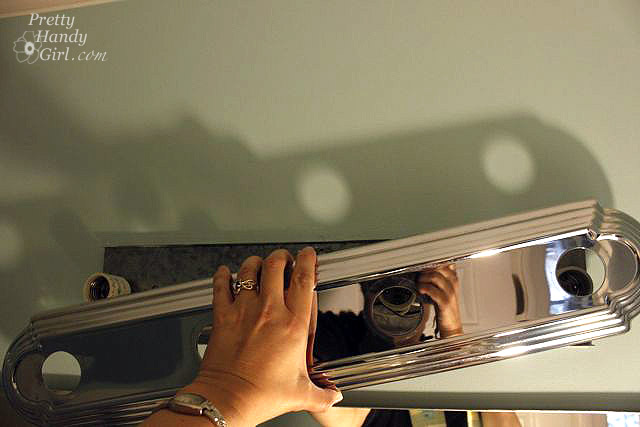
Begin by unscrewing the light bulbs and then remove the collars around the light bulb sockets.

Changing Out a Light Fixture

Locate any other screws that might be holding the fixture in place. This fixture simply popped off.

Changing Out a Light Fixture

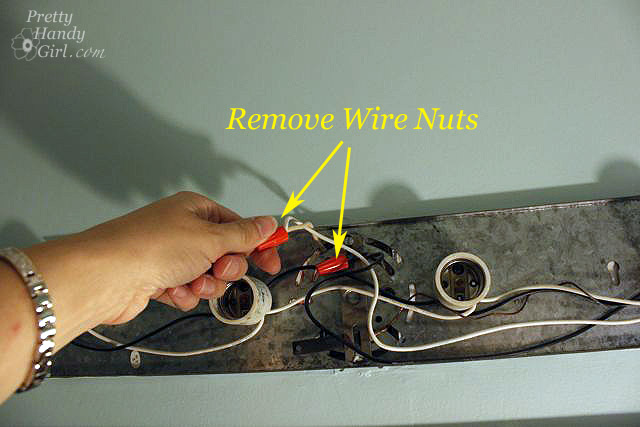
Untwist the wire nuts holding the wires together.

Changing Out a Light Fixture

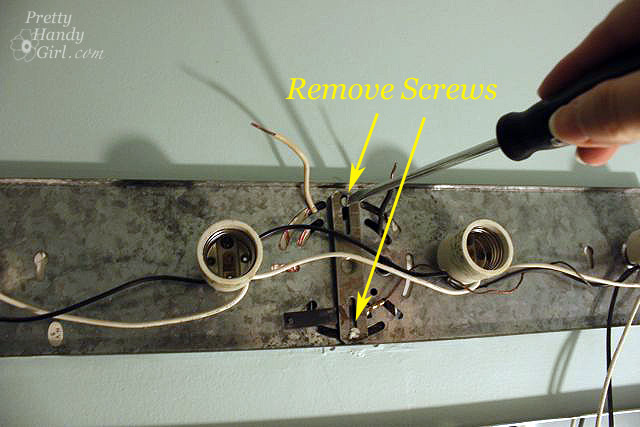
Once all the wires are disconnected, unscrew the two screws holding the mounting bracket.

Changing Out a Light Fixture

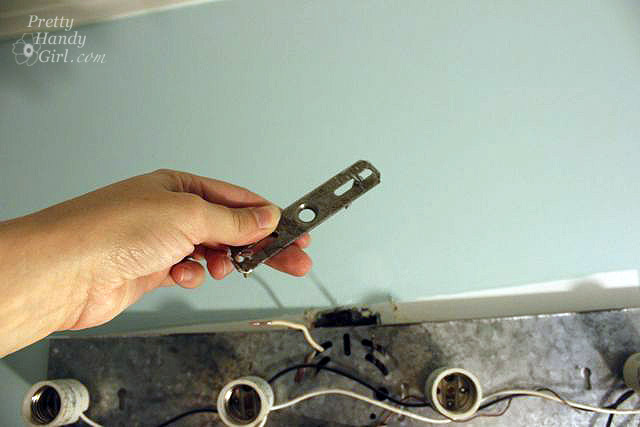
Remove the mounting bracket…

Changing Out a Light Fixture

…and now you should be able to remove the light fixture. Laugh at any hidden colors and wallpaper beneath the fixture. (Toile! Ah, not so bad.)

Changing Out a Light Fixture

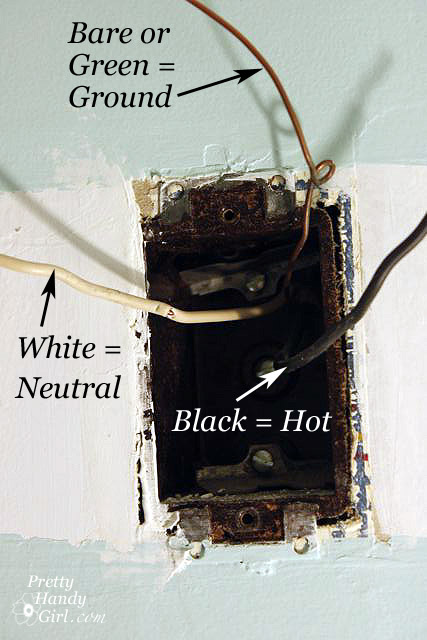
You should be left with just the junction box and three wires protruding from the box. The bare or green wire is your ground wire. The white is your neutral wire and the black is your hot wire.

Changing Out a Light Fixture

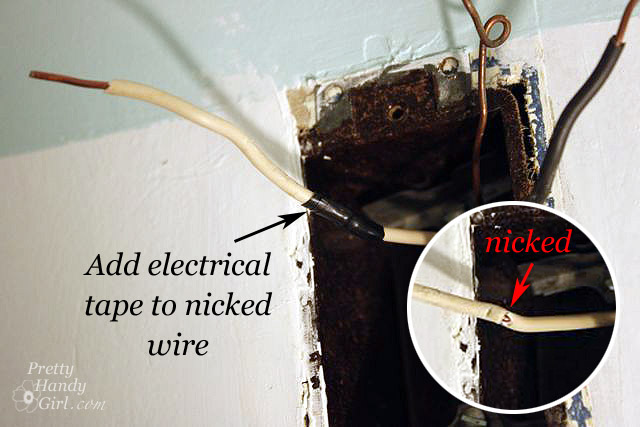
If you were eagle eyed, you might have noticed a small nick in the insulation of the neutral wire. This could cause a short, so I wrapped some electrical tape around the nick.

Changing Out a Light Fixture

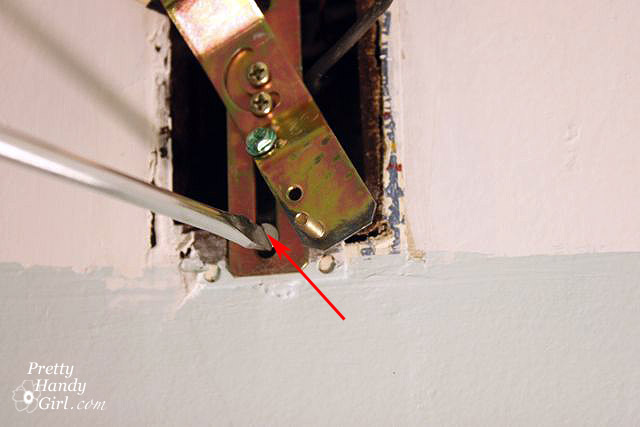
Install the new mounting bracket that came with your fixture (if you bought a used one, you may have to use the old mounting bracket from the Hollywood Strip). Attach the screws through the bracket and into the junction box.

Changing Out a Light Fixture

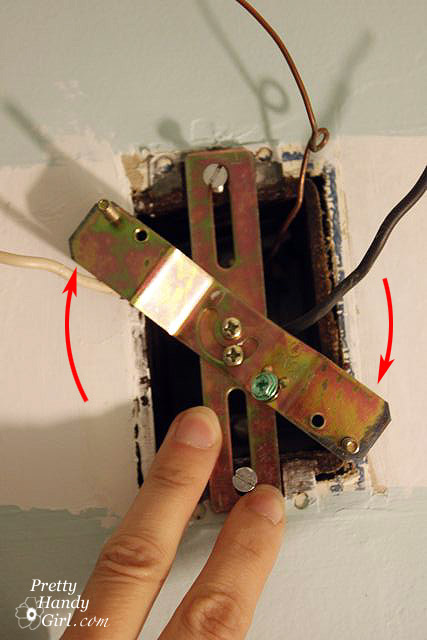
The mounting bracket that came with my fixture has a rotating bar that can swing 180 degrees. Position this bar so the fixture will hang level.)

Changing Out a Light Fixture

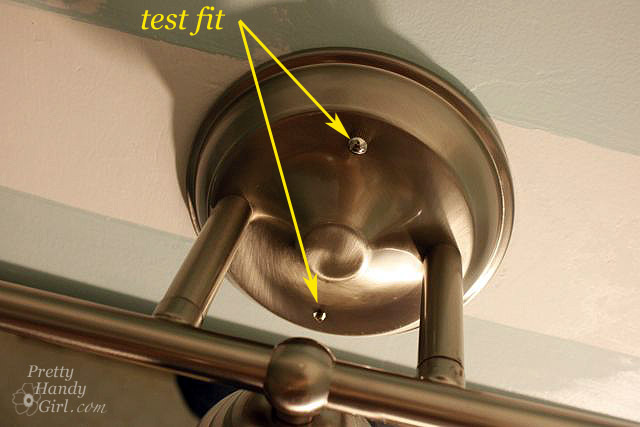
Test fit your fixture and adjust the depth of the mounting screws (the “no head” screws on the mounting bracket) and the angle of the swinging bracket arm. Once the bracket is level and fits snugly with only a small portion of the headless screws poking through; remove the light fixture and tighten the screw in the middle of the mounting bracket to secure the rotating bar.

Changing Out a Light Fixture

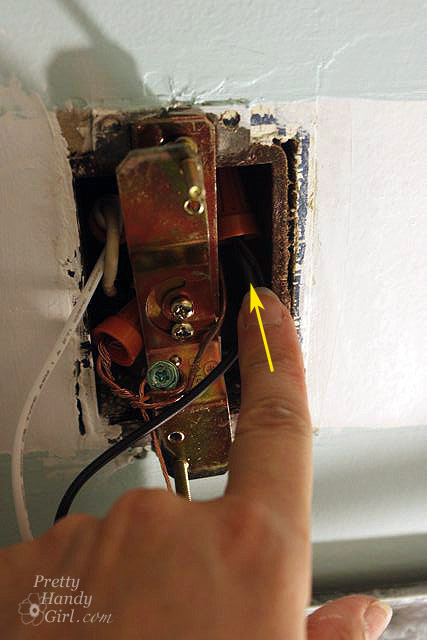
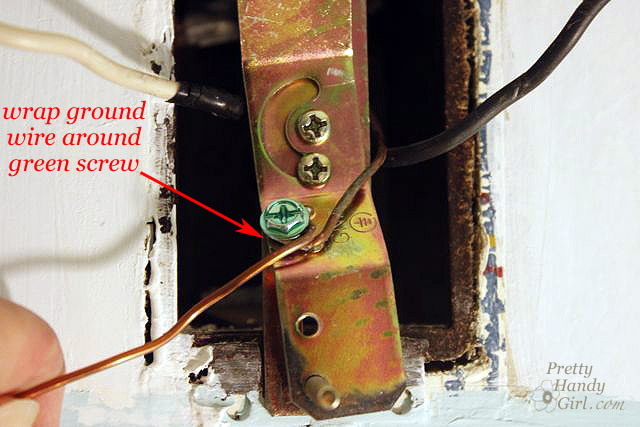
Wrap the ground wire from the junction box around the green or bare screw on the mounting bracket.

Changing Out a Light Fixture

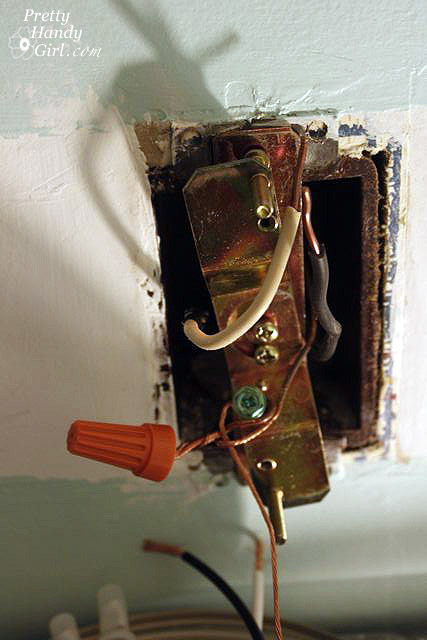
Connect the ground wire from the light fixture to the ground wire from the junction box. Twist them together and secure them with a wire nut.

Changing Out a Light Fixture

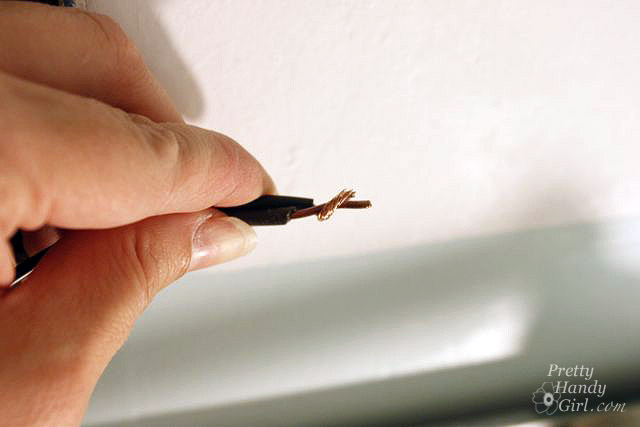
Twist the black wires from the junction box and the light fixture together.

Changing Out a Light Fixture

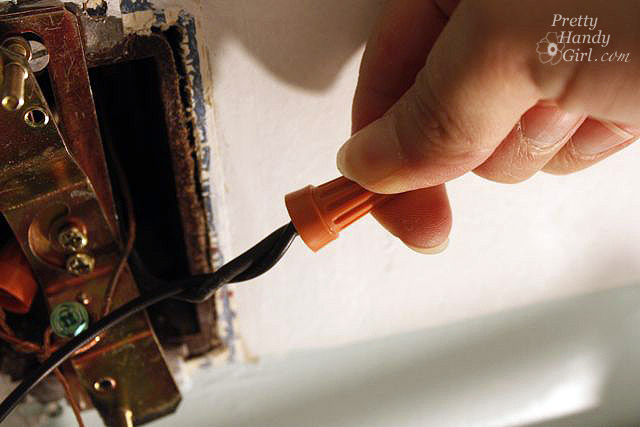
Twist a wire nut on to secure them.

Changing Out a Light Fixture

Repeat the same process to connect the white wires.

Changing Out a Light Fixture

Gently fold and tuck the wires back into the junction box. Try to position the white wires on the opposite side as the black wires.

Changing Out a Light Fixture

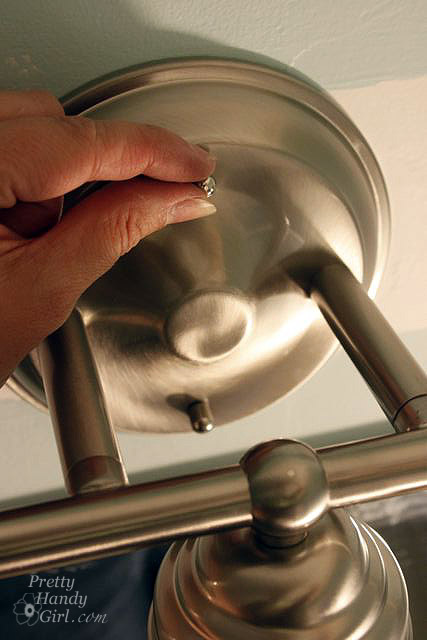
Place your light fixture onto the headless screws and secure the fixture by screwing on the small ball caps.

Changing Out a Light Fixture

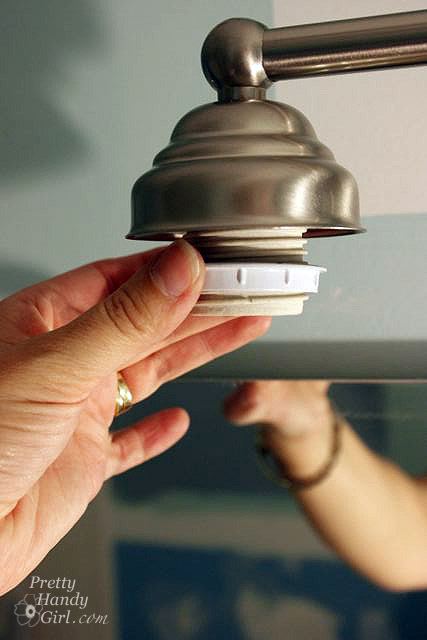
Remove the shade ring from the light bulb sockets.

Changing Out a Light Fixture

Slip the glass shades onto the socket and then screw the collar back on to hold the glass light shades.

Changing Out a Light Fixture

Repeat for the remaining light sockets.

Changing Out a Light Fixture

Many vanity light fixtures are reversible.

Changing Out a Light Fixture

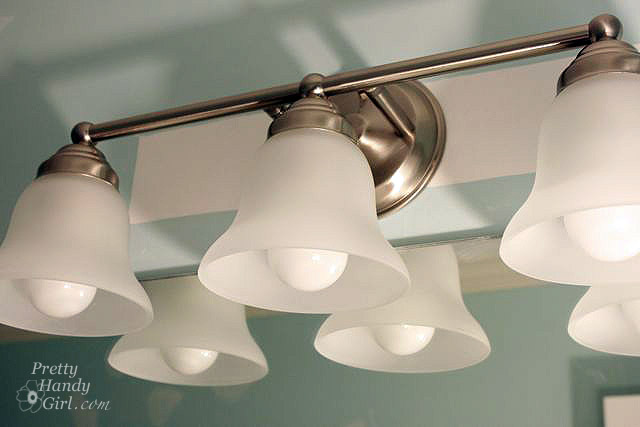
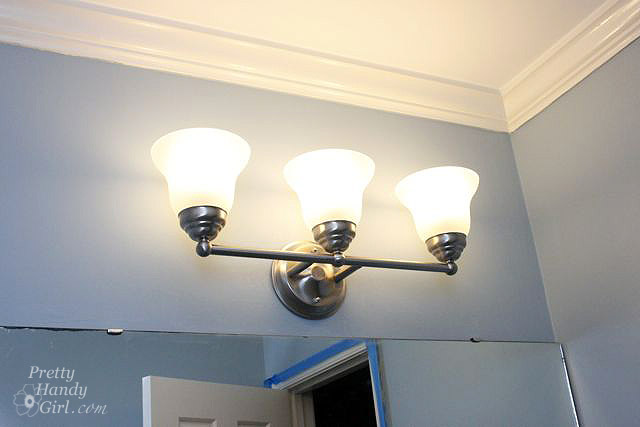
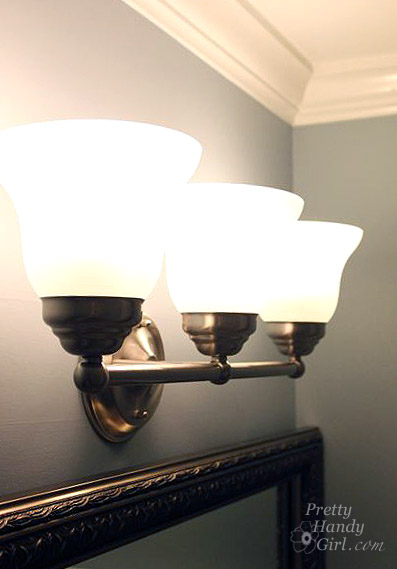
I decided to rehang my fixture facing up for less direct light and to avoid bumping into the mirror frame.

Changing Out a Light Fixture

What do you think? Do you like the new look? Do you think you will try it yourself?  I hope so, it was easy!

Changing Out a Light Fixture


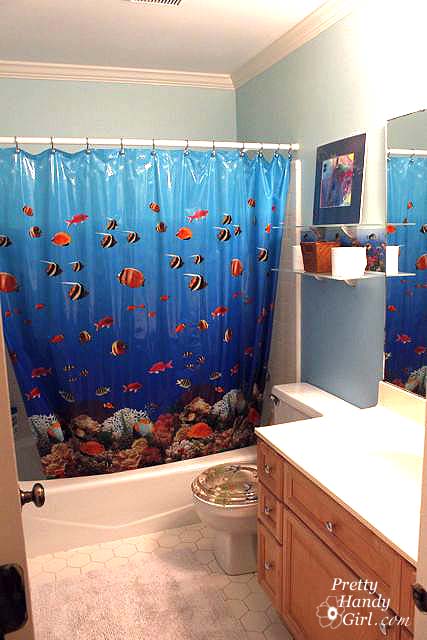
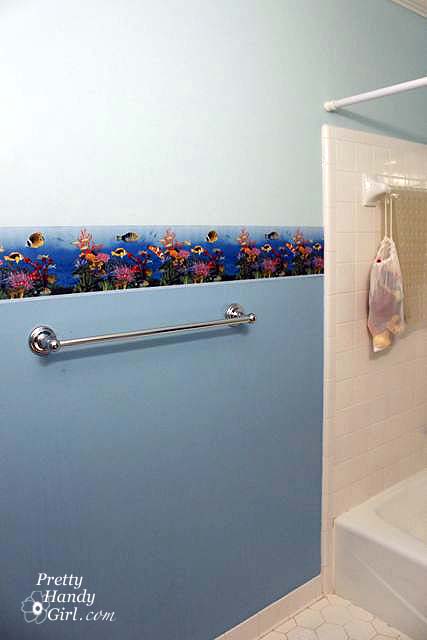
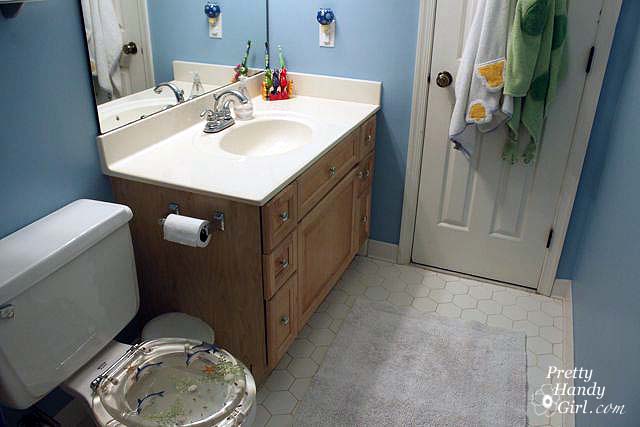
Last week I started to give my boys’ bathroom a facelift. The room was…well…a little fishy.

Removing Wallpaper Borders

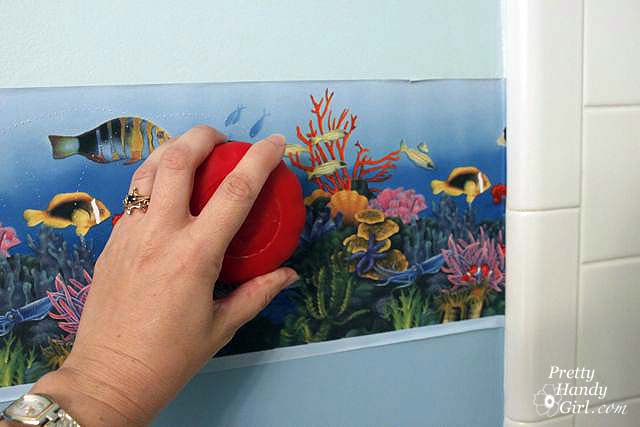
Complete with fishy wallpaper border…

Removing Wallpaper Borders

And a fishy toilet seat!

Removing Wallpaper Borders

The room was cute and I didn’t mind it so much. But, the border had started to peel. And the toilet seat was rusting. DO NOT, I repeat, DO NOT buy any cheap toilet seats that have metal hinges. They may look cool, but the nature of moisture collecting around the toilet makes them rust in no time. This was our third seat to do this. Why I didn’t learn after the second? I’m optimistic by nature I guess.

Anyway, I had wanted to help this bathroom grow up a little. And I’d been anxious to try another moulding project after doing my son’s closet last year.

Before delving into the wonderful world of mouldings, I had to remove that wallpaper border. When wallpaper starts to peel, you think, “Oh cool! That means it will be easy to remove.” So you start picking and tearing at it. Well, resist the urge, it is just a funny joke wallpaper likes to play. You really need to be well stocked and prepared with the appropriate supplies for stripping wallpaper.

Removing Wallpaper Borders Materials:

Removing Wallpaper Borders

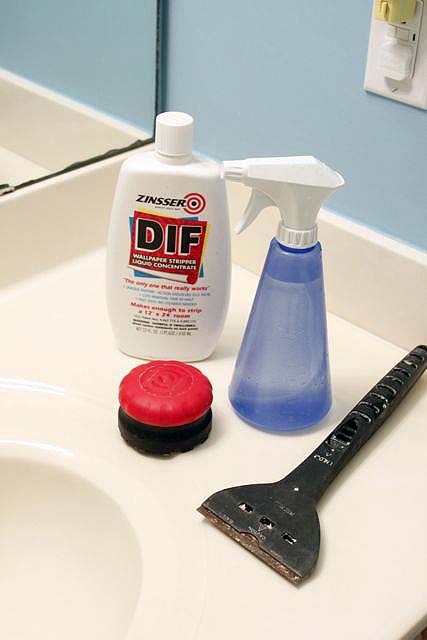
Wallpaper stripper (DIF or a cheaper alternative is to use 1:1 concentration of cheap pink fabric softener and water)

  • Scoring tool (aka Paper Tiger)
  • Scraper or spackle knife
  • Spray bottle
  • Lots and lots of rags
  • Sponge
  • Bucket of water

Removing Wallpaper Borders Instructions:

Start by using the scoring tool. Make lots and lots of holes until you just can’t lift your arm anymore.

Removing Wallpaper Borders

The more holes the easier it will be for the stripper to soak into the wallpaper glue.

Removing Wallpaper Borders

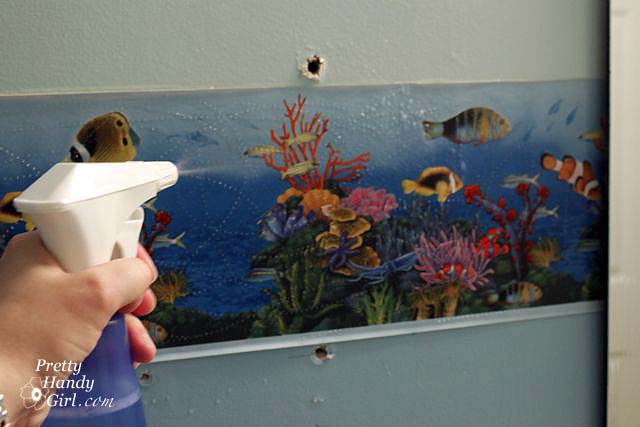
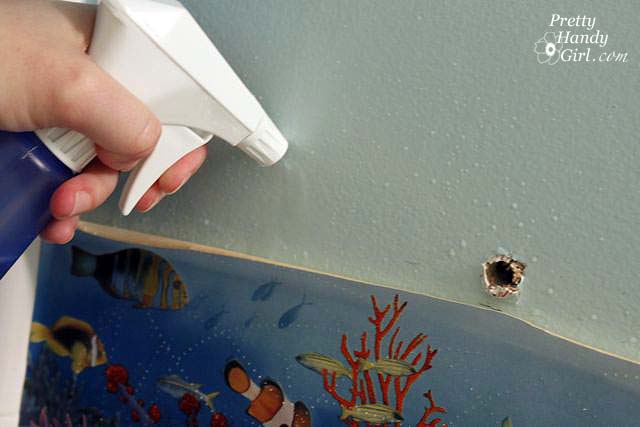
Spray on the wallpaper stripper and let it sit for 15 minutes.

Removing Wallpaper Borders

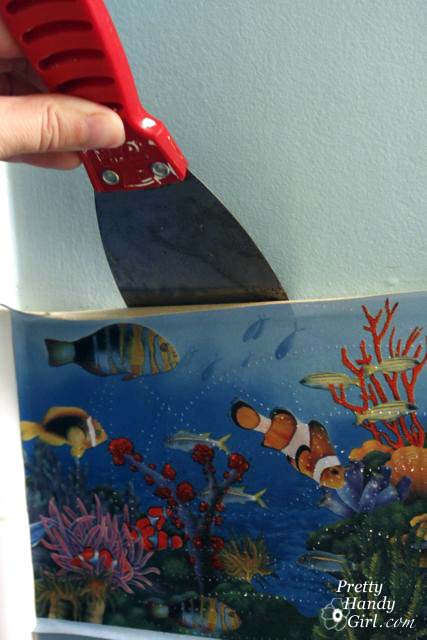
Repeat spraying the wallpaper (really soak it), and then gently try to slide your scraper behind the edge of the wallpaper.

Removing Wallpaper Borders

If you can remove the whole strip easily, go for it. In true stubborn form, my border was hanging onto the walls with a death grip. So, I sprayed more stripper behind the border and let it sit for about 5-10 minutes. (Please ignore the giant gaping hole in the drywall! I patched it later.)

Removing Wallpaper Borders

Hopefully by now, it has loosened it’s grip.

Removing Wallpaper Borders

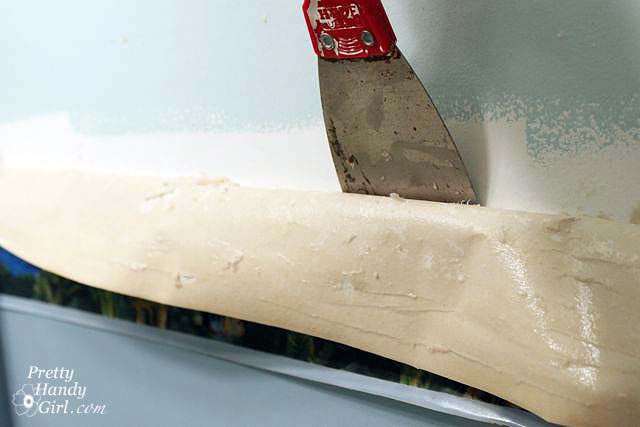
Gently pull the strip off while using the knife to help separate the border from the wall.

Removing Wallpaper Borders

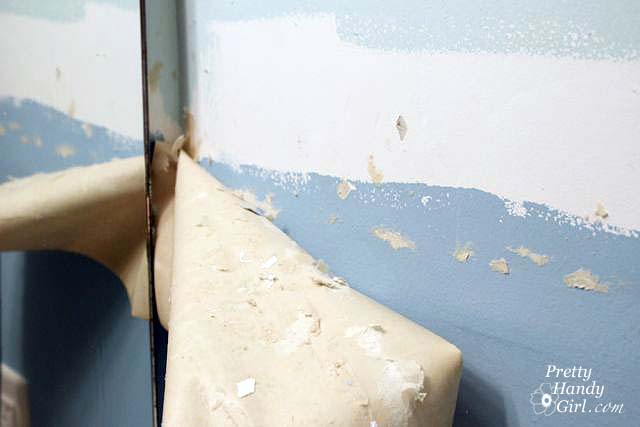
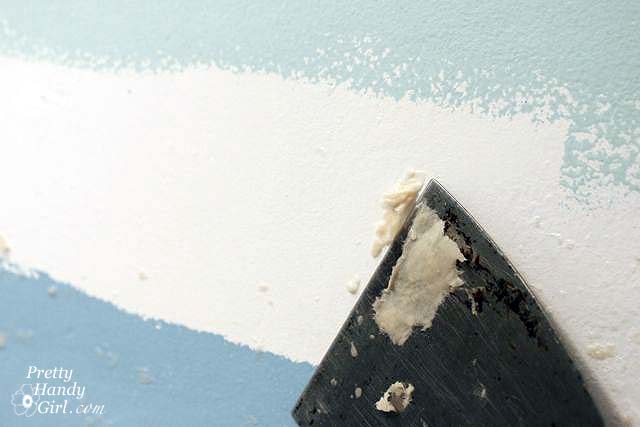
Remove any pieces that are left behind.

Removing Wallpaper Borders

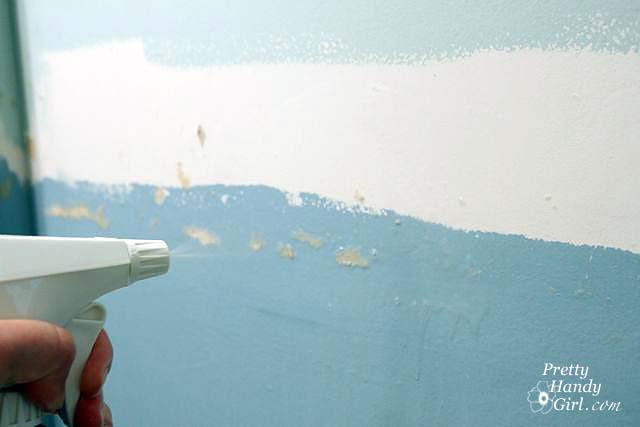
Spray down the walls again with the stripper.

Removing Wallpaper Borders

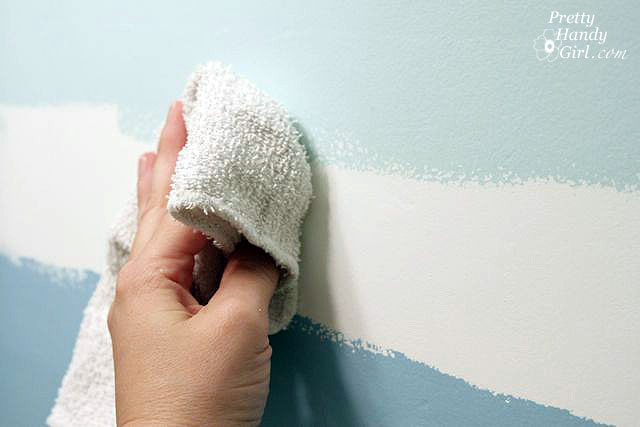
Wipe it off with water and a sponge or rag.

Removing Wallpaper Borders
This should get rid of all the wallpaper glue residue. But, it is still a good idea to use a primer on walls that previously had wallpaper on them. This will protect your paint job from doing something alien like bubbling up, flaking or who knows what!

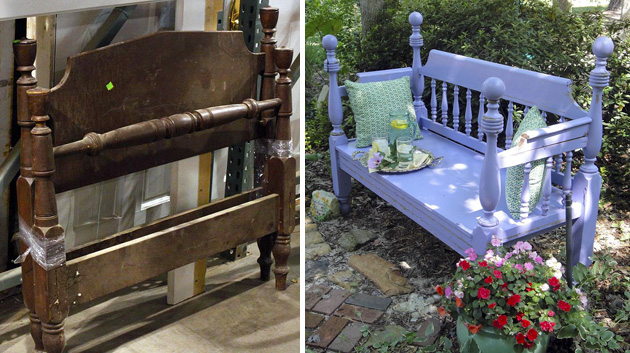
Removing Wallpaper Borders If you follow me on Facebook, you were privy to my post over at Parentables. I gave them a special all accesses pass to my brain on a recent trip to the Habitat for Humanity ReStore on THIS day.

Removing Wallpaper Borders

You can view this and more transformations over there! Be sure to leave me a comment. It seems those Parentables readers are a bit more shy than y’all!
And, one last note. I finally delivered my promised Pretty Handy Girl in a box to Cheri (pronounced like Sherry), who writes Dragonfliez Creationz. She is such a sweet person and she didn’t even complain that it took me a month to deliver her box. Cheri and I like the same burritos from Tijuana Flats (thanks to Courtney for introducing me to this Raleigh gem.) But, unlike me, Cheri has a tough side too (luckily I didn’t get to see it.) She’s giving me assertiveness training because I’m too nice.

Removing Wallpaper Borders

That’s all for today. See you next week with some more bathroom updates.

Removing Wallpaper Borders


In the spirit of humorous Couple Speak, I thought I’d share a few humorous miscommunications I’ve had with Pretty Handsome Guy over the years. When we had the living room wall opened, we hired a contractor to do the work, because we believed the wall was load bearing and frankly I didn’t want to “Bear” the blame if the house fell down!

One of the issues we had in our living room was the lack of light fixtures…in the ceiling. The room was dark and dreary and had to be lit by table lamps. Our contractor came up with a brilliant idea for adding more light to the room. When he arrived to start work he asked, “Why not add sconce lights to each side of the opening in the living room? I have to cut holes to move the wiring in your wall anyway.” YES! I yelled. I could have kissed that contractor right there and then. And I would have had it not been for the quizzical expression on Pretty Handsome Guy’s face. I found out later that Pretty Handsome Guy didn’t have the same vision as I did:

Scone vs. Sconce

Normally our communication is spot on. We know exactly what each other means even with very few words. I’ll give you a primer on the language between us:

Me: I have good news and bad news.
Translation: Okay, I’m going to give you the good news first in an attempt to gloss over what I’m afraid to tell you.

PHGuy: Have you seen the plunger?
Translation: If I pretend I can’t find the plunger, then you will find it, ask what I need it for, and then unclog the toilet because you are handy like that!

Me: I don’t want you to freak out, but…
Translation: Okay, so something is broken. Broken so bad, that I can’t fix it. And we need to hire a professional who is going to come in and charge us a lot of money. So, don’t freak out…
PHGuy: Did you get {insert random item here} at the store?
Tranlation: Yes, I forgot to add it on the list, but I’m wondering how you are doing on honing your ESP skills.

You see, we are basically on the same wavelength when it comes to communication. Why waste time with long explanations when you can just Couple Speak! I’m curious, what are the miscommunications or better yet the finely honed communications you and the love of your life share?


Make a Back Pillow Gift

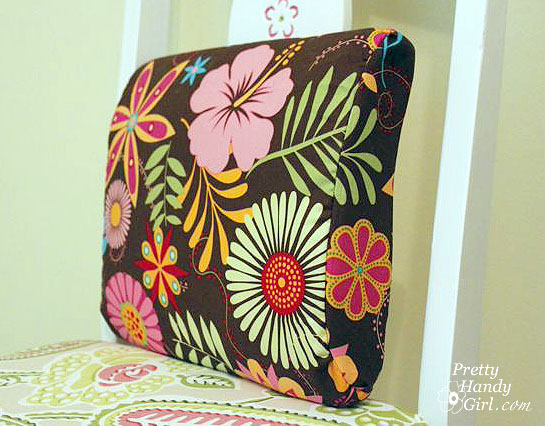
Okay, no over 40 jokes! Yes, I use a back pillow, and without it my neck hurts. Sadly I lost my way too expensive memory foam back pillow on the airplane trip to Ca. I couldn’t bring myself to buy another one, so I decided to see if I could make one.

This is definitely an easy project. Plus, it is sure to improve your posture!

Materials:

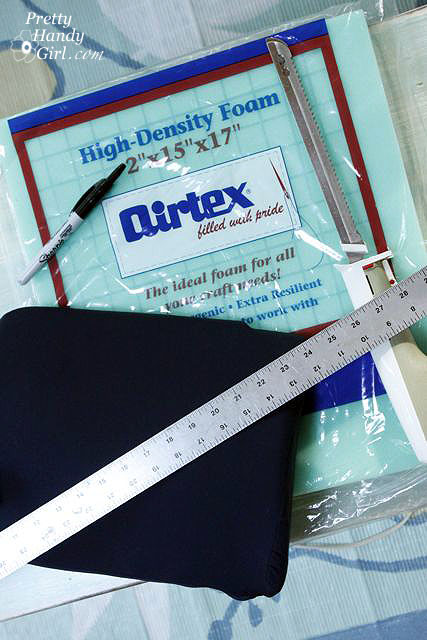
  • 2″ thick foam cushion
  • Batting
  • Fabric
  • Sharpie or fabric marker
  • Coordinating thread
  • Velcro
  • Pins
  • Sewing machine
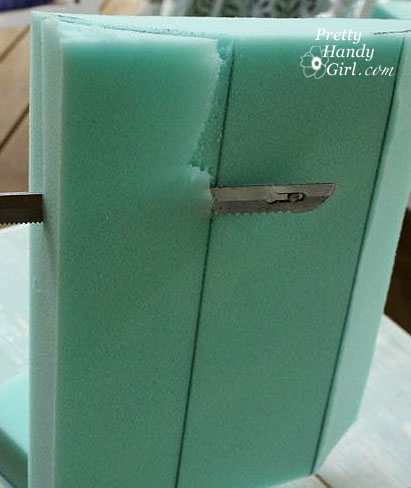
  • Electric carving knife

Instructions:

I used another back pillow as a guide to create the shape for my DIY back pillow:

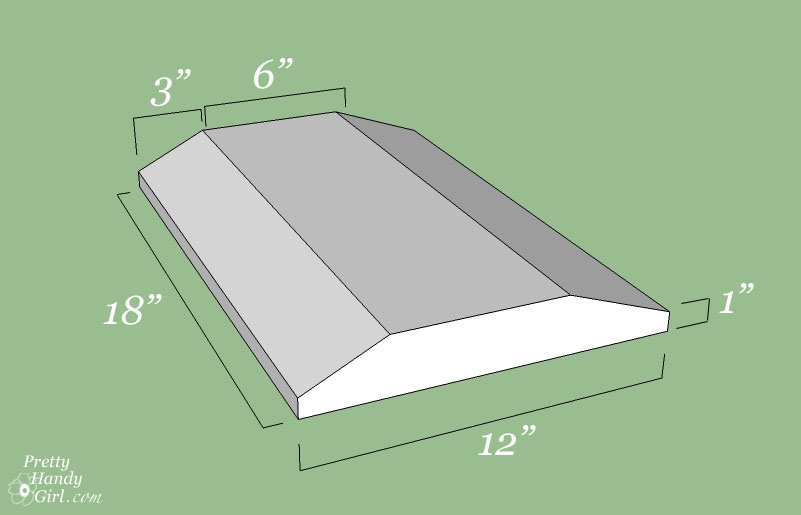
Here are the dimensions I used for my pillow.

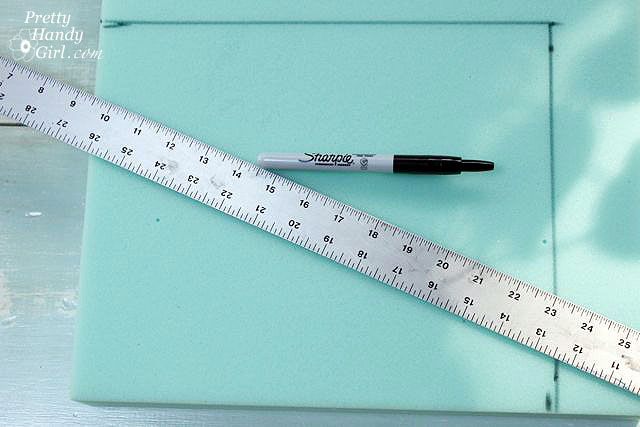
1. Mark the outer dimensions onto your foam.

2. Cut the shape out using an electric carving knife (you can try scissors or x-acto knife, but nothing cuts through foam “like butter” than an old fashioned electric carving knife.)

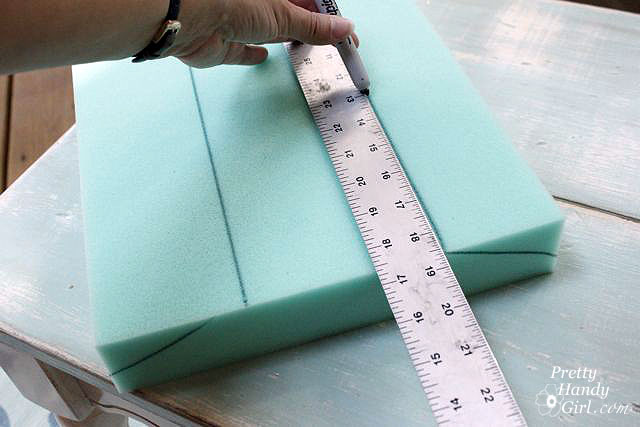
3. Mark 3″ in from the side on top of the cushion and 1″ up from the bottom on the side. Connect the dots with a diagonal line. Repeat on the opposite side. Then draw a line connecting the points on the front of the cushion.

4. Use the carving knife to cut off the diagonal shapes.

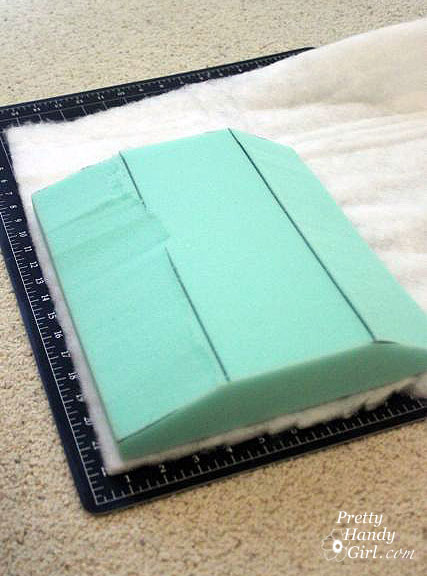
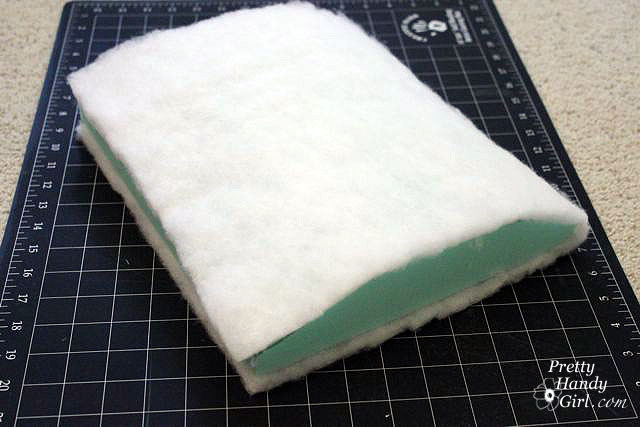
5. Lay the foam cushion on top of the batting.

Use the foam as a guide to cut enough batting to wrap around your pillow form as shown:

6. Cut a piece of fabric that will also wrap around the cushion and and leave an extra 5″ on the length. Also, allow an extra 3/4″ for seam allowance on the sides.

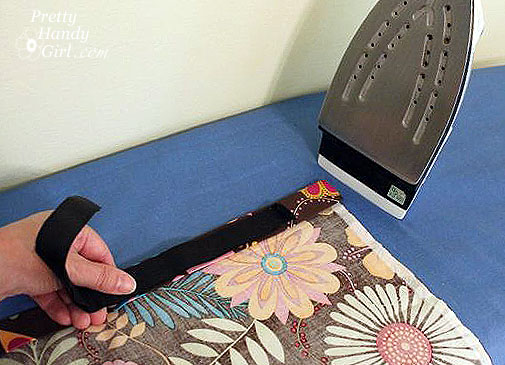
7. Fold over one end two times for a hem. Make sure the hem is large enough to accommodate the width of the velcro. Iron the hem to hold it in place.

8. Sew the hem.

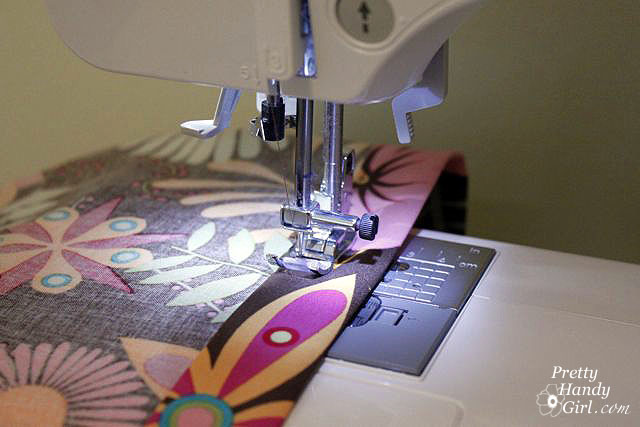
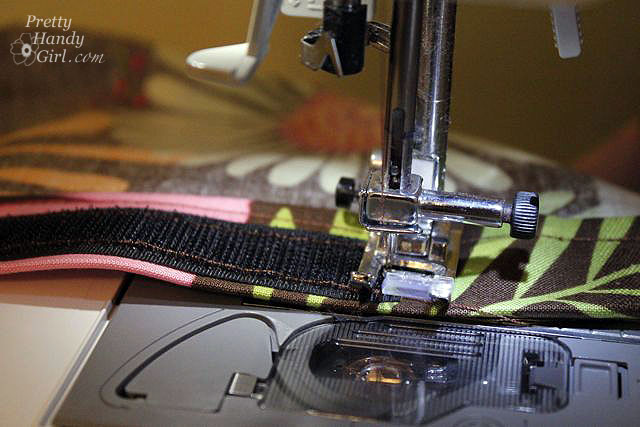
9. Pin the velcro onto the hem you just sewed.

10. Stitch the one velcro strip ont0 the right side of the fabric.

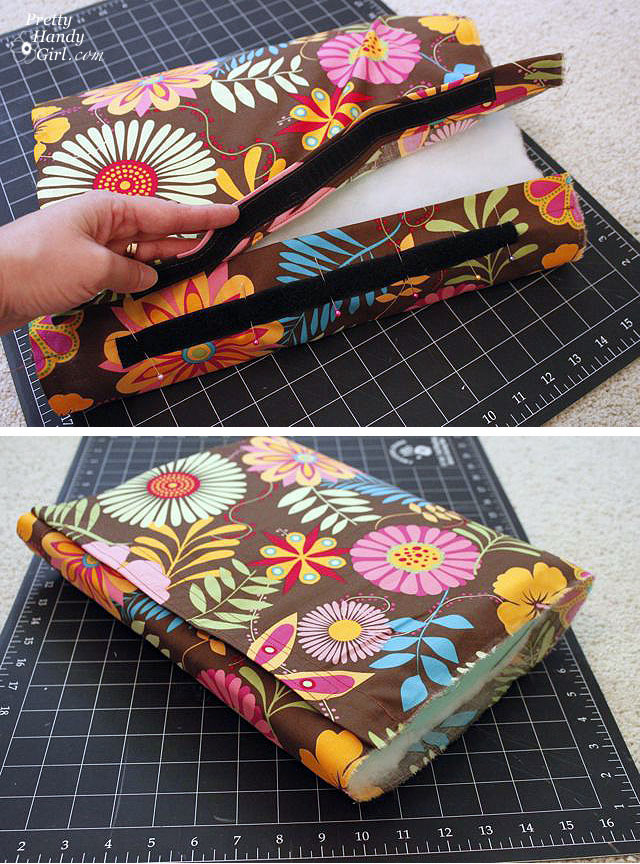
11. Figure out where the other strip of velcro needs to sit and pin it in place. Fold over the raw edge and sew the hem. Then stitch your 2nd piece of velcro in place.

Test the fit to make sure the fabric is pulled snug over your cushion when the velcro is secured.

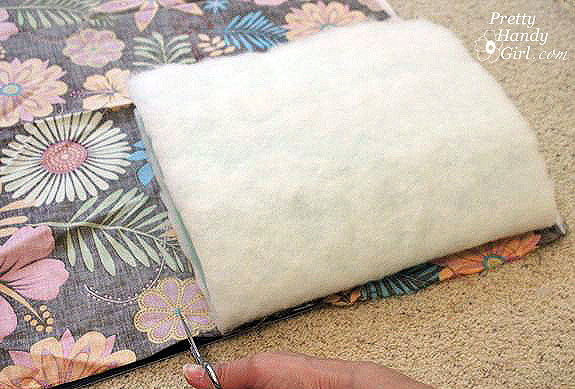
12. Time to add the sides. Stand your cushion up on its end and draw around the shape, allowing at least 3/4″ seam allowance. Cut two identical pieces (one for each side).

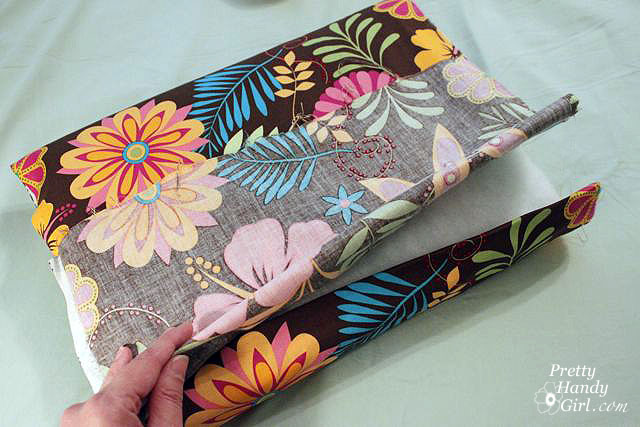
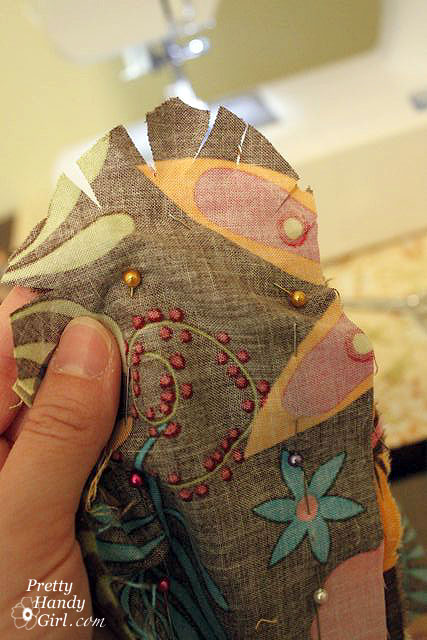
13. Put the cover on the cushion inside out. And pin your end shapes inside the cover.

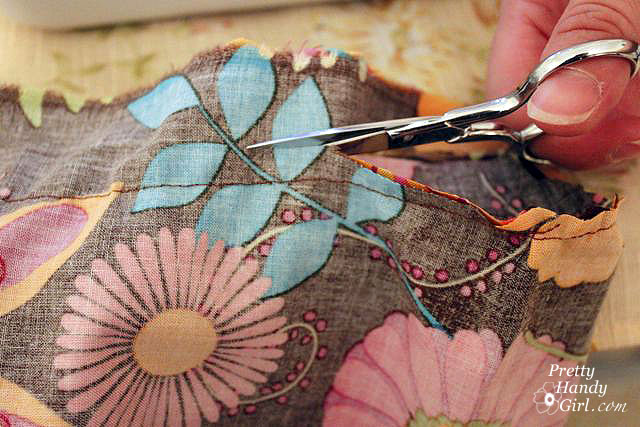
Cut small slits to fringe the ends of the tight radius turns. Do not cut past where your stitching will go.

14. Carefully remove the cushion from the cover.

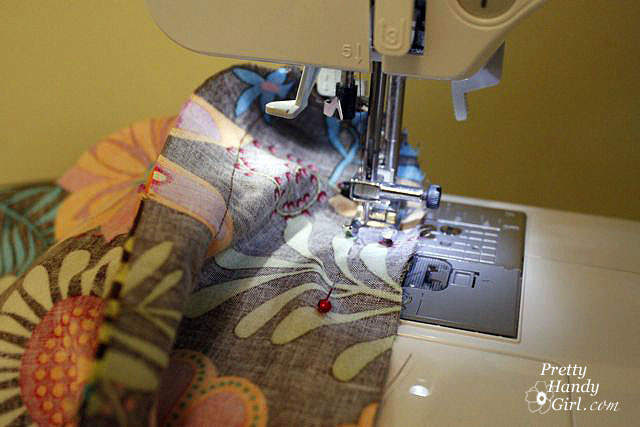
Stitch the ends onto the body of the cover.

Trim the excess fabric off the seams.


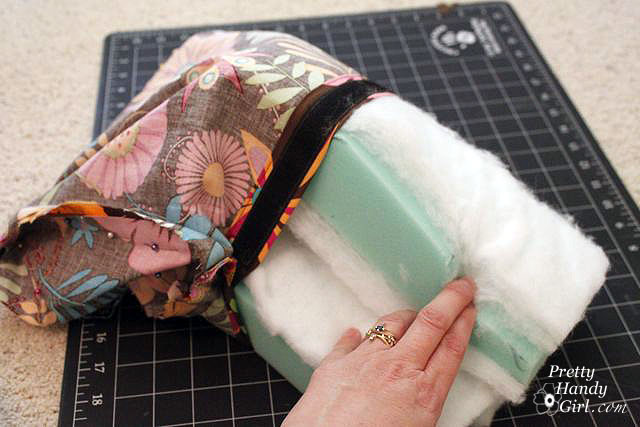
15. Turn the cover right sides out and insert your cushion into the cover. Hooray! You are done!


I actually use this cushion in the car for driving. It fits perfectly between the sides of the seat.