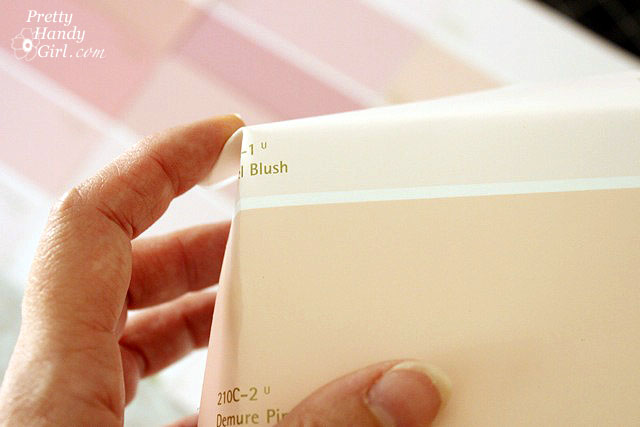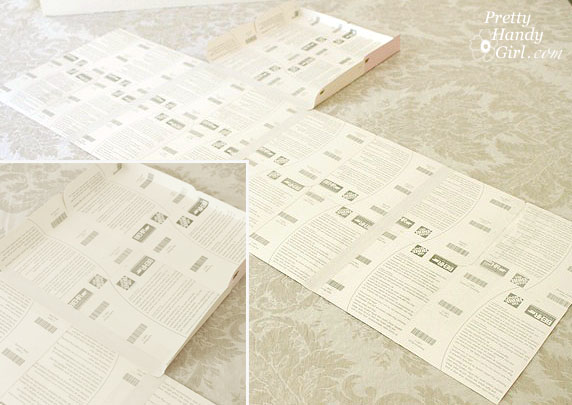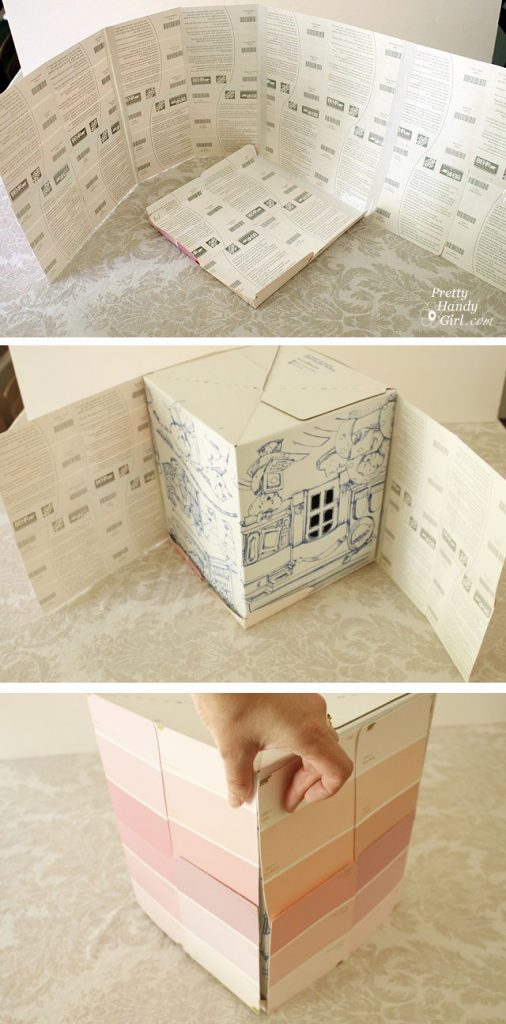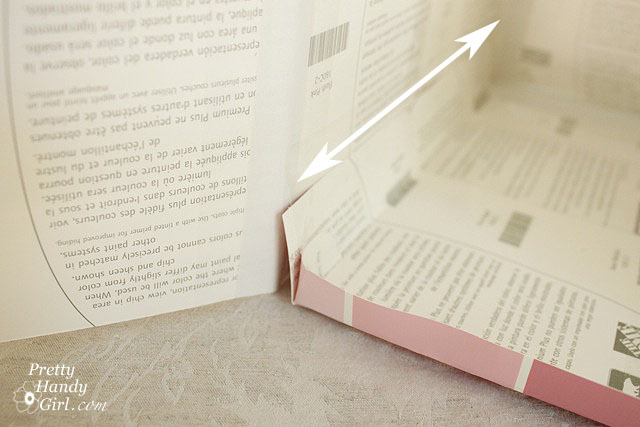
Are you as nutso about paint chip projects as I am? I’m semi-worried that I might get arrested next time I’m pulling samples at my local paint department. Is there a law against taking too many?* Okay, so let’s just say that I have collected many samples over the years while contemplating room colors (which is true!)

*Paint chips may be free, but please use consideration when taking paint chips. Try not to take more than 2-3 of each color and definitely don’t take the last of a color. It might be a good idea to ask permission from the paint store employee if you need to take more than a dozen.

But, what do you do with all those left over paint chips once you have decided on your color? It seems a shame to throw them away, doesn’t it.

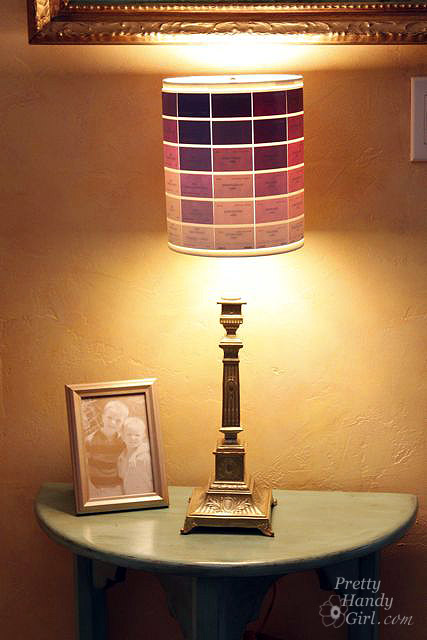
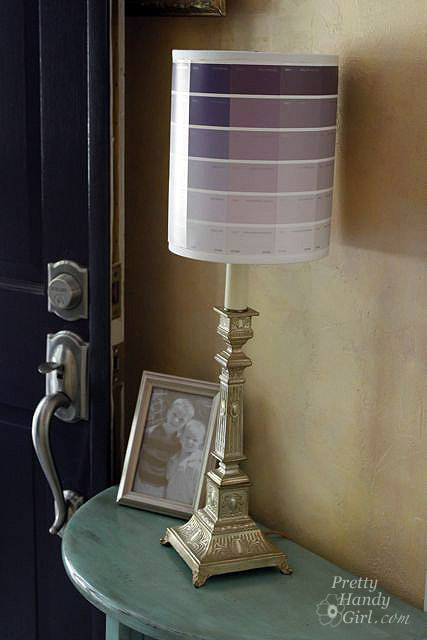
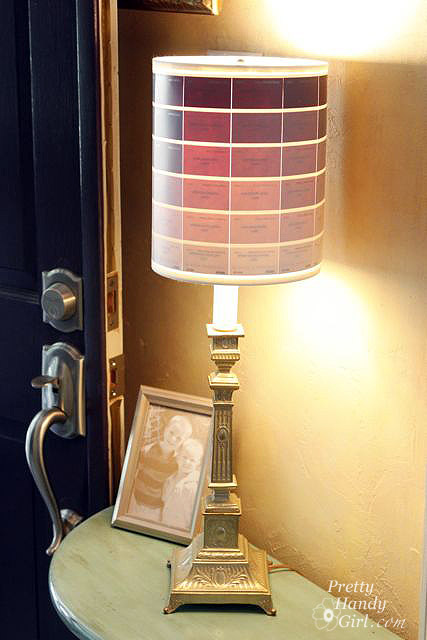
Why not use them to make a lamp shade?

I actually saw this lamp shade on JossandMain.com last week and thought, “Ooo Ooo Oooo! This gives me an idea of what to make with all those paint chips!”

Materials:


  • Lamp shade (best if it isn’t tapered)
  • Paint chips
  • Clear packing tape
  • White paper tape (low stick)
  • X-acto knife
  • Cutting surface
  • Metal ruler
  • Hot glue gun and glue sticks

Tutorial:

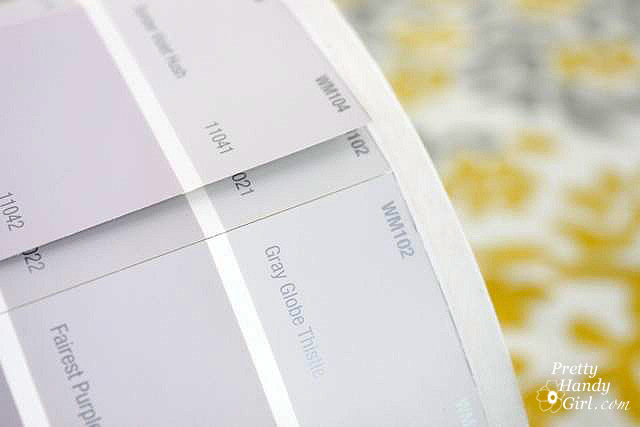
Start by laying out your paint chips side-by-side and organize them any way you like.

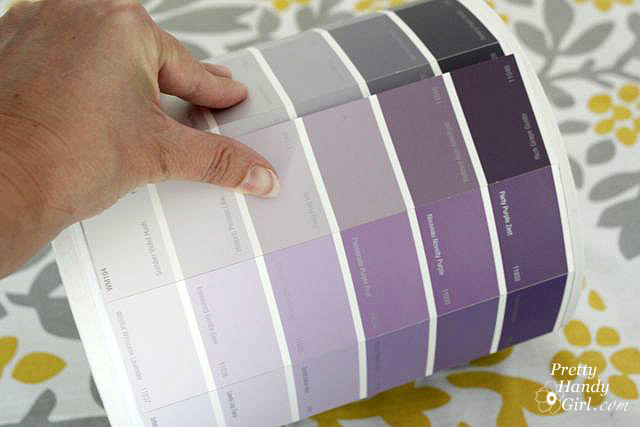
To judge how many strips you need, rest the seam of your lamp shade on the end of the paint chips and roll it until you reach the seam again. If you still have paint chips under your shade, then you have enough! I had one small gap leftover, so I added two of the same colored chips together so the small strip wouldn’t be as noticeable.

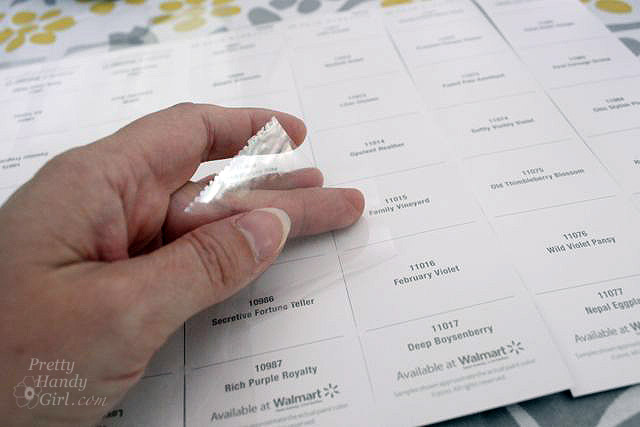
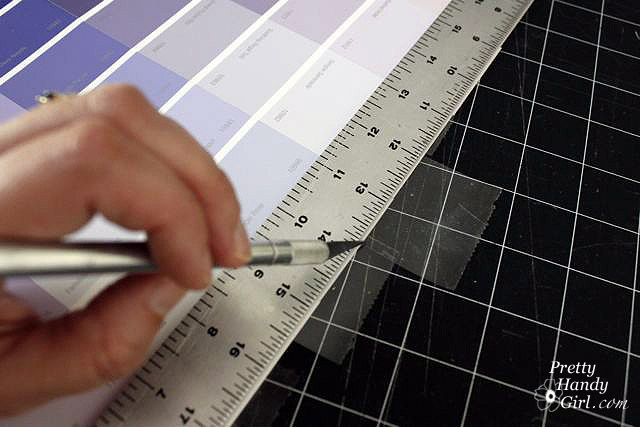
Butt the paint chip strips tightly together. Put paper tape on top of the chips to hold them together.

Gently turn them over and tape the seams with clear packing tape.

Once all the strips have been taped together, trim off the excess tape.

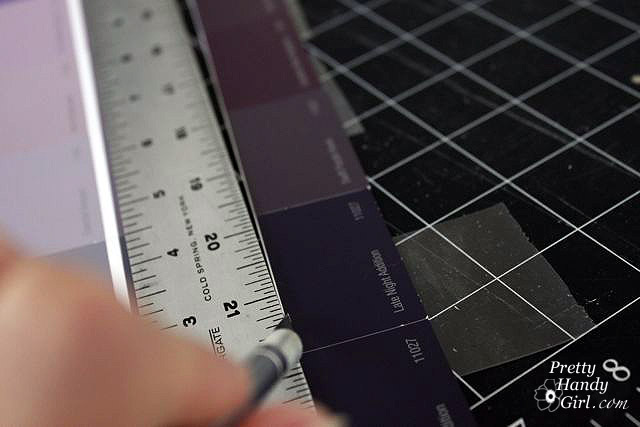
Measure the height of your lampshade and trim your paint chips to the same height.

Test fit your paint chip roll.

Use your hot glue gun to run a line of glue on the seam of your lamp shade. Glue the end of the paint chips to the shade.

Run a line of hot glue on the top and bottom edges of the lampshade and roll the paint chips around the shade. Secure the end by hot gluing it to the shade.

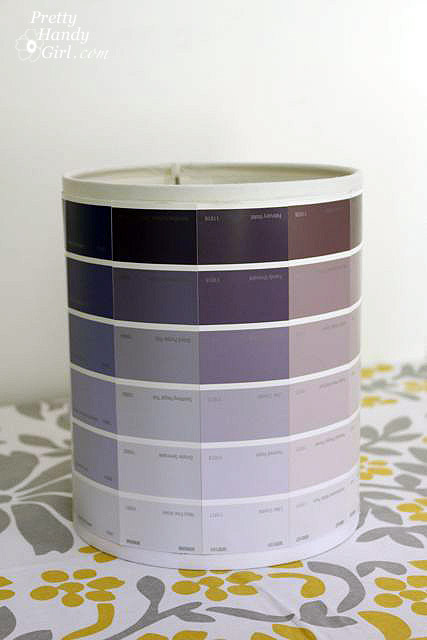
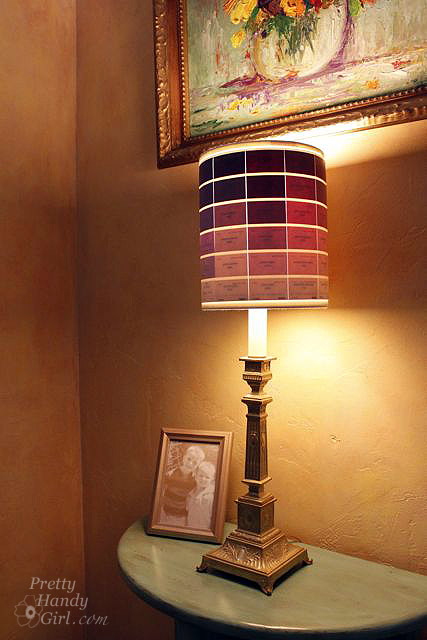
And that is it! A super easy and very colorful home decor project.

I think it is beautiful whether the light is off…

…or on.

When choosing the paint swatches you wish to use, try pulling colors from a painting or use colors that are compliments to your wall color.

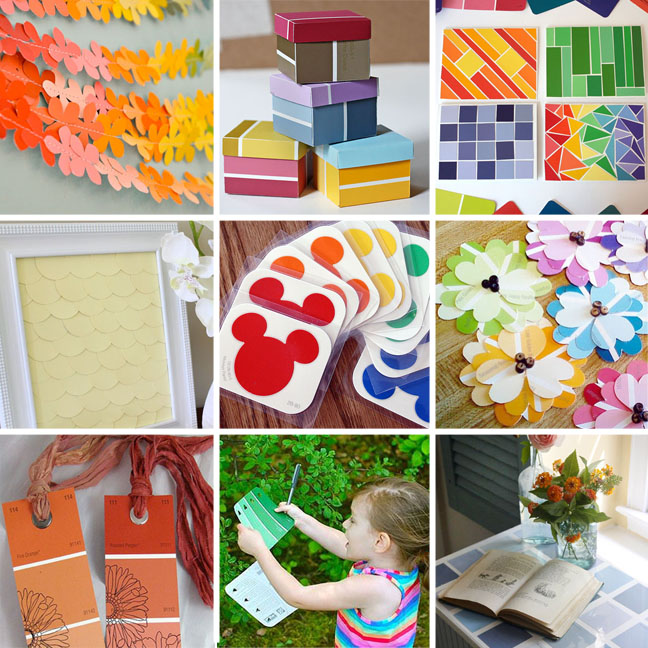
What?! You still want more paint chip home décor ideas?! How about a whole round up of them? Go ahead and scoot your index finger on over to Parentables for 11 Paint Chip Projects to see 9 more amazing paint chip projects:

I guarantee, you’ll never pass through the paint department without grabbing a few paint chips again!

How to Easily Test for Lead Paint

How to Easily Test for Lead Paint

Good morning boys and girls! Today I have a tale with a moral for you. Go ahead and gather around and put on your listening ears.

This is the story of a woman named Mrs. Noggin.


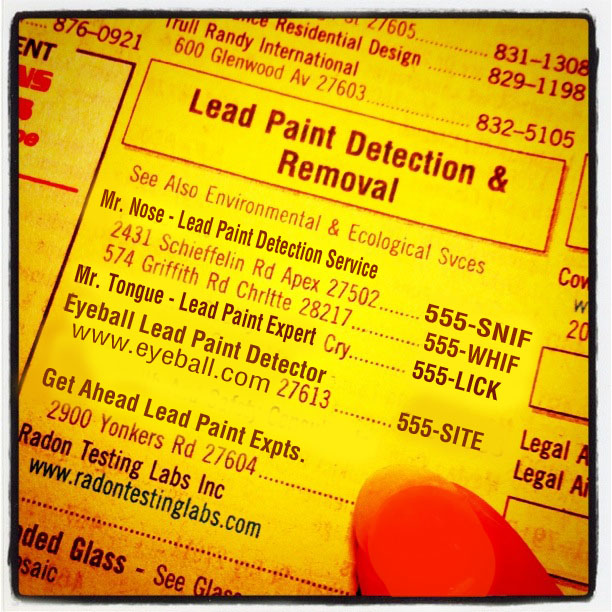
She moved into an old house built in 1940. A friend told her that old homes could contain lead paint, so she turned to the yellow pages to find someone to check her home for lead paint.


First, she called Mr. Nose. Mr. Nose claimed to be the most knowledgeable expert in the field. He could sniff lead paint from a mile away.

He spent about 15 minutes with his snout held high, then pronounced her home safe. But, she didn’t feel safe. So she called Mr. Tongue. He claimed to be the most professional expert lead paint detection service in the area.

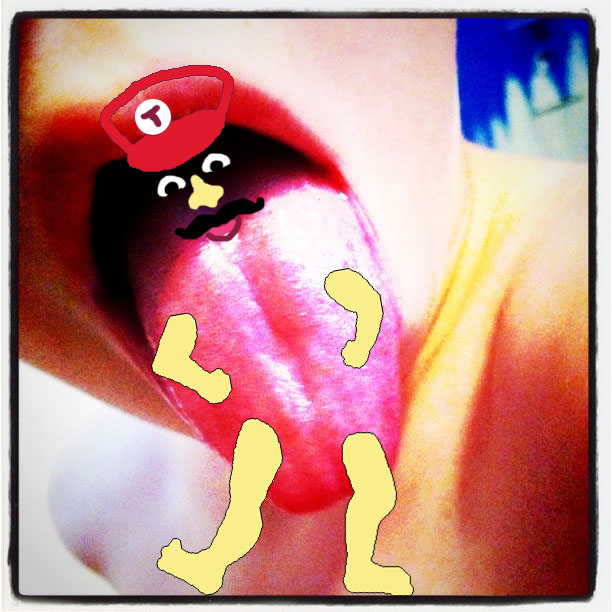
He spent 20 minutes licking every painted surface in her home and then gave her a licked stamp of “lead-free” approval for her home.

She was still a bit concerned so she contacted Eyeball Lead Paint Detector. He told her to rest easy because he could spot lead paint in a snowstorm while blind-folded!

He spent only 10 minutes searching her home. His eyes blinked quickly as he scanned each room. Then he told her that he hadn’t seen a speck of lead paint.

Mrs. Noggin felt better and settled down for her coffee and some YouTube browsing.

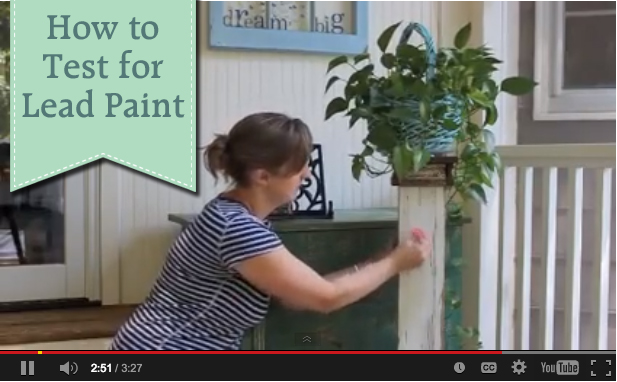
That’s when she stumbled upon this video:

Poor Mrs. Noggin. She should have watched the video before calling the “so-called” experts.

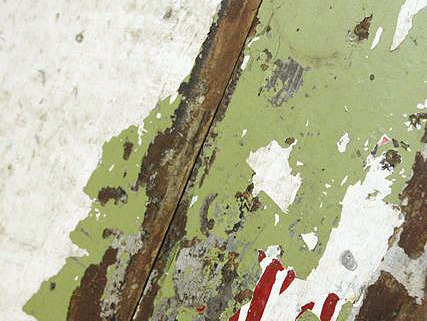
She had no idea that lead is not detectable by sight, smell, or taste (although lead paint does have a sweet taste making it attractive to kids and pets when they lick or chew on it).

The moral of the story boys and girls is to use your head to detect lead! Spend a few bucks to purchase your own 3M LeadCheck Swabs. You’ll have the results in seconds and avoid costly testing.

If the area you are testing has multiple layers of paint, the top layer may be clear, but underlayers may still contain lead. If you are going to disturb the paint, it’s best to use a razor blade to cut through all the layers of paint and then test with the LeadCheck swab.

In all seriousness, if you test and the results are positive, you should definitely proceed with caution. One teaspoon full of lead dust can be enough to contaminate your home. If lead paint is used on a surface in your home (doors, windows, trim molding, floors, etc.), it’s best to hire a certified lead paint abatement specialist. Lead paint professionals are trained and certified to handle lead paint removal safely.

For items that can be thrown away like toys, furniture, or other items, contact your local solid waste management facility to determine how to properly dispose of the item.

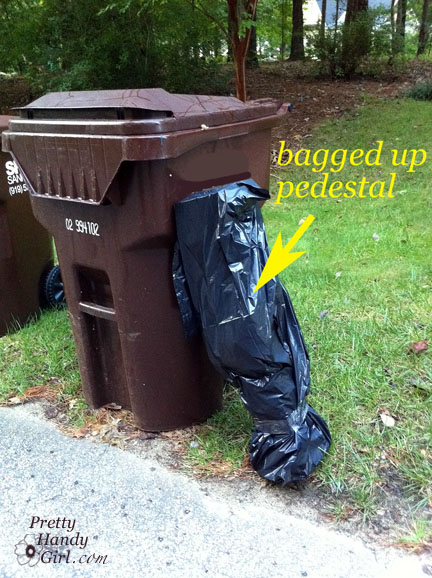
I contacted our county’s solid waste management department and was told that our landfill can accept lead-painted furniture as long as the lead paint is not in liquid, fine chips, or powder form. They told me I don’t need to bag it, but I did anyway because I don’t want anyone to accidentally be exposed. Plus, I am fearful that a curbside treasure hunter may unknowingly take home my lead-laden pedestal.

I also called the National Lead Information Center and asked about my green cabinet that had tested positive for lead paint (where the paint wasn’t chipping.) The representative told me that I can coat the cabinet in a few coats of a topcoat (like polyurethane or polyacrylic) to protect myself and my kids. I will definitely not sand it, which would cause the lead particles to become airborne. Instead I’ll gently clean the surface with a disposable wipe. Then once it is dry I will coat it with multiple layers of polyurethane.

She did recommend having my children tested for lead in their system. Unfortunately, the most accurate test requires a blood draw.

For more information about lead paint contact one of these resources:

National Lead Information Center: 1-800-424-LEAD
Consumer Product Safety Commission: 1-800-638-2772
EPA Website

creative-gift-wrapping

Paint chip present wrapping
I’ve officially caught the paint chip bug! How about you? Have you seen all that can be done with those FREE* paint chips?! The possibilities are almost endless. (*Please use consideration when taking paint chips. Try not to take more than 2-3 of each color and definitely don’t take the last of a color. It might be a good idea to ask permission from the paint store employee if you need to take more than a dozen.)

As I was getting ready to wrap a present for a little birthday girl, I lamented the fact that I was tired of the two rolls of wrapping paper we had (not counting the dozen or so that are Christmas related.) Then, I came up with the idea to wrap the present in paint chips. I was probably influenced by the tiny gift boxes that How About Orange made a while ago.

Here are the materials you will need:

  • Paint chips (used Behr brand from Home Depot)
  • Clear packing tape
  • White artists tape (I wish this tape was a little stickier though.)
  • X-acto knife
  • Pencil
  • Scissors
  • Ruler
  • Ribbon
  • Gift box to be wrapped

Instructions:
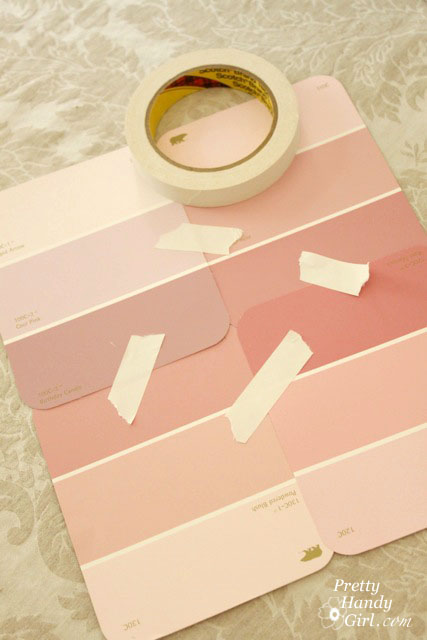
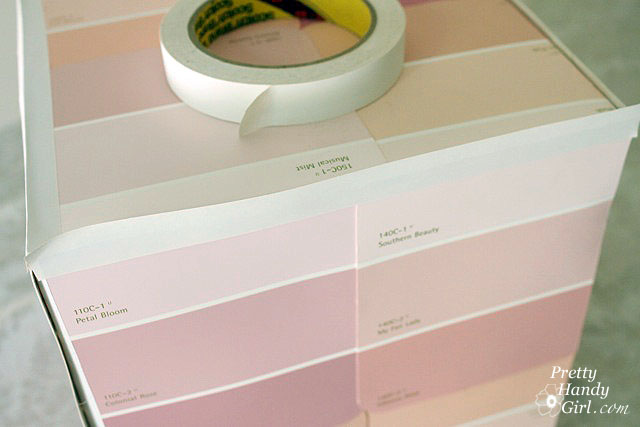
Start by laying out the chips on one side of the gift box. Overlap where the chips meet so the box won’t show. And allow the chips to overlap the sides of the box slightly.

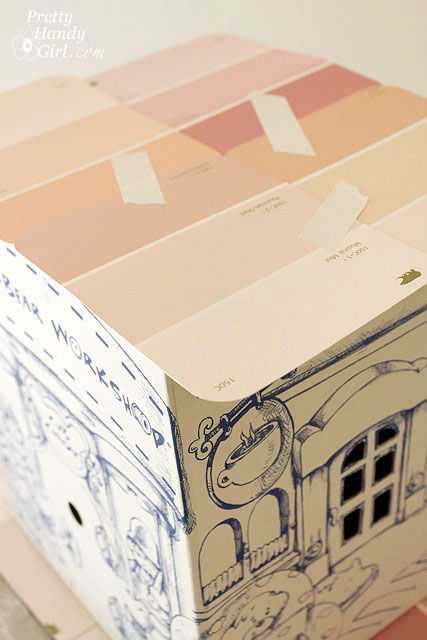
To keep the chips in the same position, lightly tape them together with artist’s tape before lifting them off the present.

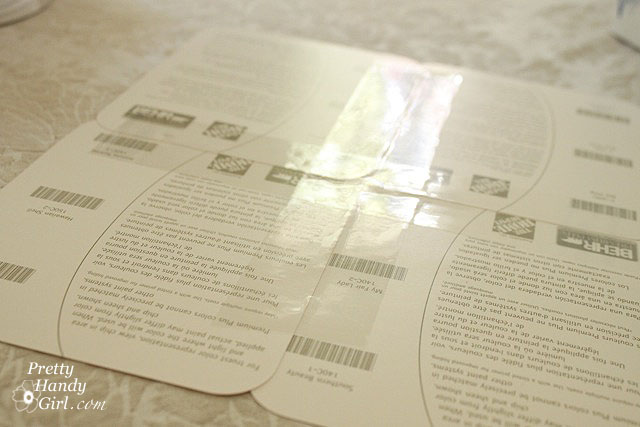
Gently turn over the chips and tape all the seams with the clear packing tape. Repeat the above steps for the other three sides (do not create a panel for the top or bottom of your present yet.)

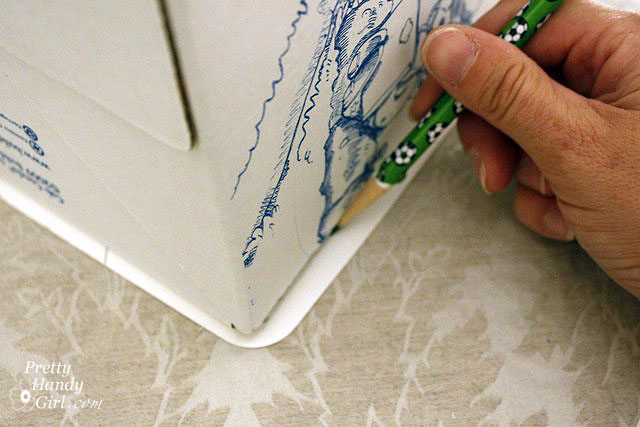
Lay the gift on top of the taped chip panel and draw a line along the edge of the box.

Using an X-acto knife, cut two opposing panels at a time (since they should be the exact same measurements.)

Assemble a panel for the top of the gift box. Only this time, allow more of the chips to extend over the sides (preferably 1/4 – 1/2 inch) on three sides. The fourth side should be flush with the edge of the box.

Fold over the edges of the overlapping chips to fit snug against the box.

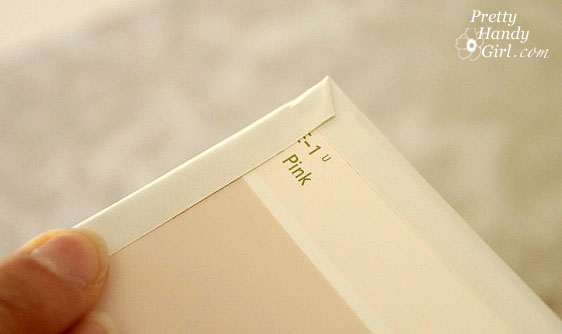
Make a cut into each of the overlapping corners as shown:

Fold the corners in and tape them to create your box top. Note that one edge does not have a folded side.

Tape all four of your box sides together so it creates one long rectangle. Then tape the top of the box to the top of the second panel where there is the open side.

Lift the sides up and set your box into the top (upside down.) Fold the sides in around the gift box.

Make sure your panels fit relatively snug around your present. Then remove the gift box. Tape the lid of the paint chip wrapping to the sides of the wrapper. And put a piece of tape inside the seam where the sides meet.

Now you can slide the paint chip wrapper over your gift box (right sides up.)

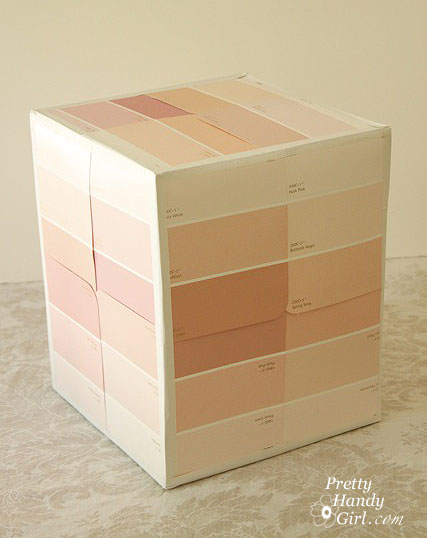
Make the bottom panel to your paint chip rapper exactly like you did for the sides by trimming off the excess. Then lay it onto your paint chip wrapped box. Take your white artist’s tape and tape all the seams of your box.

Fold over the corners neatly.

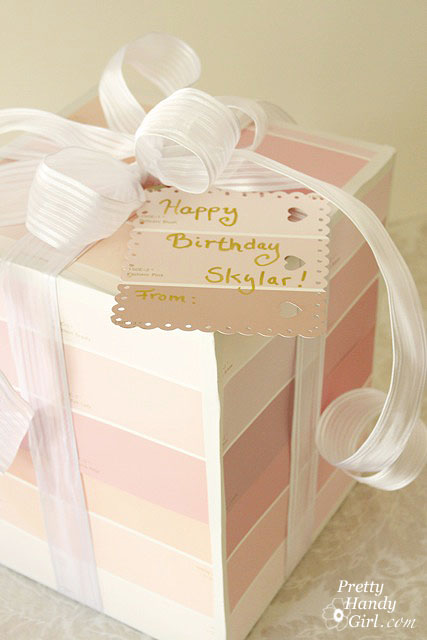
Your wrapped present should look like this:

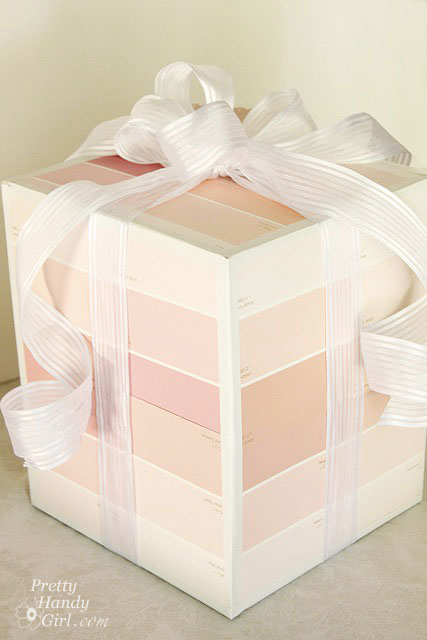
Wrap a pretty bow around the present and attach another paint chip (I punched some decorative holes in this one.) Write a little message and you are finished.
Paint chip present wrapping

Now watch the gift recipient ooh and ahh over this unique and beautifully wrapped present!


I thought this present would be perfect for a shower gift. Or a graduation present using the graduate’s school colors?! And using red and green chips would be perfect for a Christmas present. I can’t wait to try this again sometime soon.
If you love paint chip projects, I’m creating a round up of projects for Parentables. I’ll share the link with you on Thursday!


P.s. Don’t forget to enter the Wagner Power Plus Paint Sprayer giveaway! A winner will be chosen at random on Friday, September 16th!

I have amassed quite a collection of “project” furniture and objects waiting for a future date with my creative magic sessions. I worry that some of this behavior is bordering on packratness (I don’t think that is a word, at least my spell check says it isn’t. But, you get my drift, right?!) So, when a Wagner rep contacted me about trying one of their paint sprayers, I couldn’t reply “YES!” fast enough. I had visions of setting up all those projects and spraying them down in a line-up fashion. But, I reined in my “glass half-overflowing” mentality and decided to tackle one project at a time. Good thing too, because although the Wagner Power Painter Plus with EZ Tilt (affiliate link) did spray at lightning fast speed, there were a few drawbacks.

But, I don’t want to get ahead of myself. I still want to give you a bonafide tutorial on how to fix, prep, paint and finish a wobbly yard sale find for yourself.

Materials:

(I’ve included affiliate links for your convenience. I earn a small percentage from a purchase using these links. There is no additional cost to you. You can read more about affiliate links here.)

*These items are purely optional. You don’t NEED them, but they help.

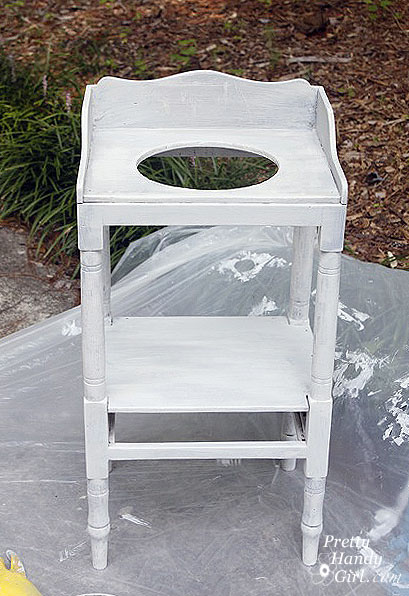
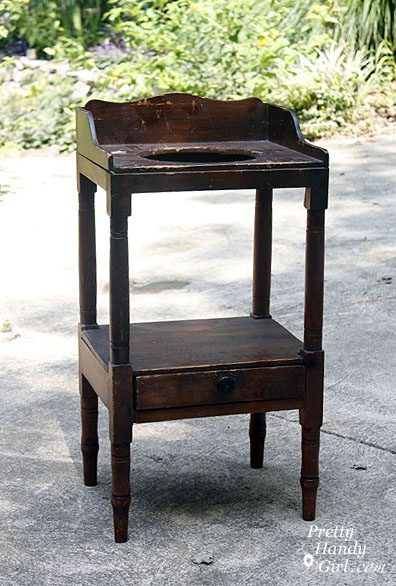
This wash stand had a $5 price tag on it. But, my neighbor gave it to me for $3. Is that robbery to talk someone into less than $5 for this antique?! In self defense, the stand was in pretty poor shape. It was VERY wobbly and had some big scratches on it. Can you forgive me?

Here is what you do when you find yourself as the new owner of a “this really should be trashed” purchase. Take it apart and rebuild it from the ground up. Having done this before with Daisy the Discarded Chair, I was prepared to tear this wash stand down to the ground. But, luckily it had some better joints than I had anticipated. So, I basically pulled apart anything that was not tightly joined.

The shelf over the drawer came off super easy.

As did a few joints.

I wiped the whole wash stand down with a wet rag.

Then, the side of the stand got some new glue and a few finish nails.
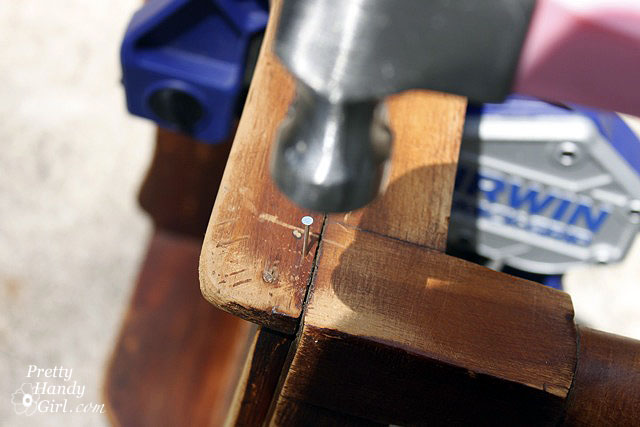
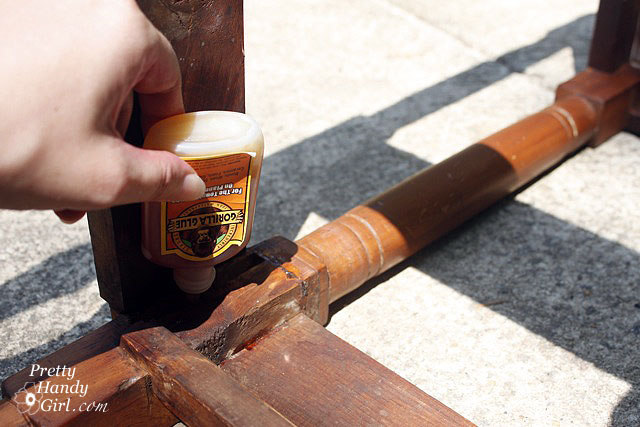
The joints got some Gorilla Glue and were set back together. And, I added a thin bead of glue and some finish nails to re-secure the shelf.
Next I sanded down the whole piece of furniture with these two 3M sanding blocks. I like to call them Tweedle Dee and Tweedle Dum because they are super easy to use. Even an idiot can’t screw up.

They work great for around spindly legs because they can bend and flex (I wish I could bend and flex like that!)

After wiping off all the sawdust, my wash stand looked like this:

Almost too pretty to paint, but it had some serious gouges, so I took a picture and said goodbye to the beautiful wood.

Here is where the race began. I decided to time myself painting on the primer with a brush. Then time myself using the sprayer for the first coat of paint.

Start your engine….paint brush and KILZ Clean Start Primer…GO!
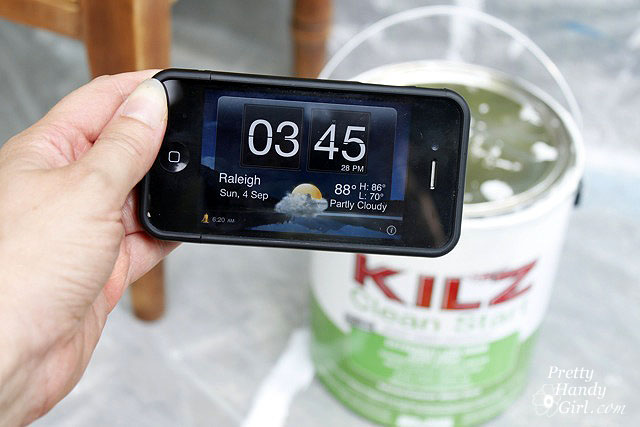


After 30 minutes I had primed the entire stand from top to bottom.
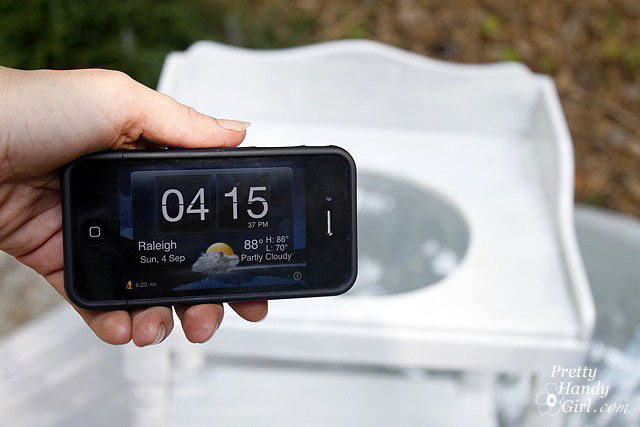
After the primer dried, I gave the stand a quick, light sanding with a 220 grit sanding block and wiped it down with a damp rag.

I set up the sprayer, read all the directions (very important!) Then I filled the quart size reservoir and attached it to the sprayer. The Wagner Power Painter Plus doesn’t require a compressor, just a good old fashioned extension cord plugged into your household outlet.
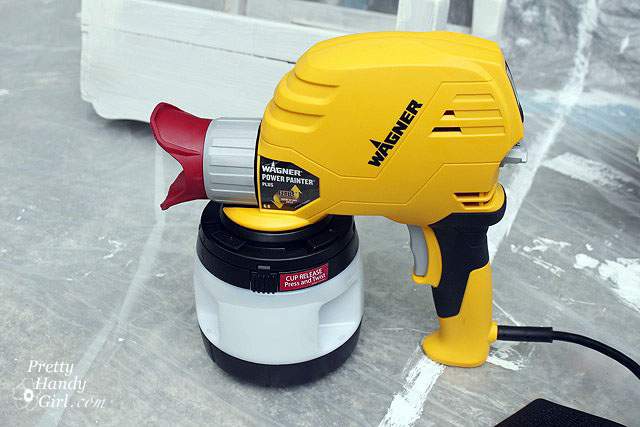
Start your engine…Wagner Power Painter Plus…GO!

VROOOOOOM! The sprayer let out the loudest and most obnoxious noise I had ever heard (Note to self to wear ear protection next time.) I thought the sprayer was going to self destruct, so I let go of the trigger. Then I pulled it again and the noise returned, only to abate after a few seconds once the paint started to come through the nozzle. Phew, that scared me.

I breezed through painting the entire wash stand from top to bottom. I started with it upside down and quickly flipped it while it was still wet (I left a finger print underneath, but no one will know about that unless you squeal.)
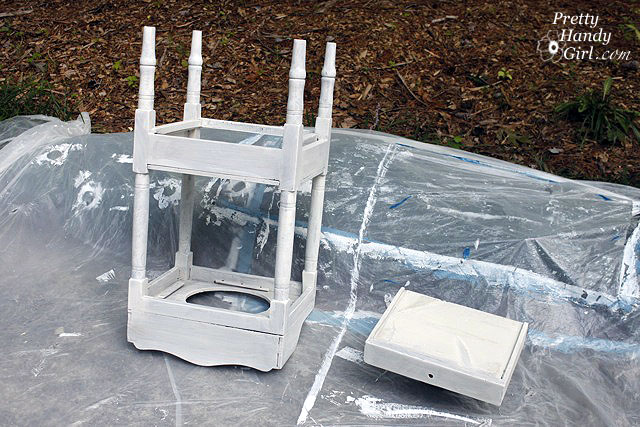
And I was done. Then I looked at my timer and WHAT?!!! 5 MINUTES! Holy Cannoli! I had no idea a sprayer could shave that much time off a paint job.
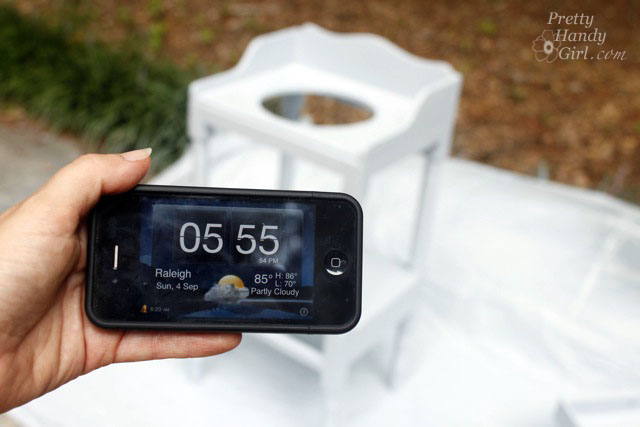
I left the wash stand outside, while I took apart the paint sprayer.

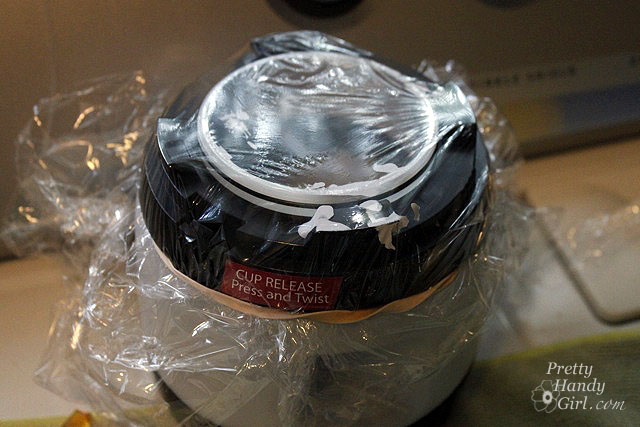
To avoid emptying the paint canister, I covered the container with saran wrap and a rubber band.

Then I took apart the ENTIRE sprayer and cleaned out all the parts. It is soooo important to clean the sprayer thoroughly or you risk paint drying in your machine and ruining it. This is a look at the sprayer disassembled.
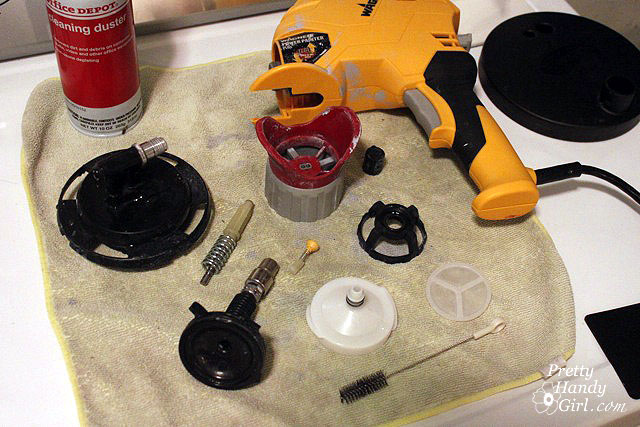
It is paramount to clean the tiny dual spray tips on the machine. They are small slits that can clog easily if the paint is allowed to dry in them.
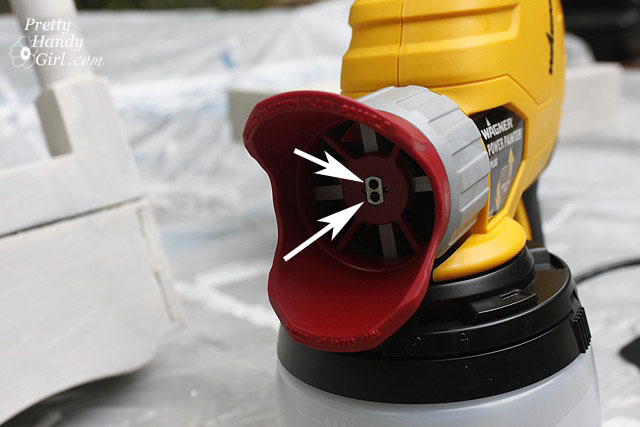
After the wash stand had dried. I put the sprayer back together and screwed the paint container back onto the gun.

I was all pumped and excited to be done in 5 minutes! With dusk still 30 minutes away, I had no fear. BIG MISTAKE!

What was to ensue was a stressful 45 minutes of paint globbing, paint sputtering, my cursing, and frantic cleaning of the sprayer again. I finished spraying, but I had to use a different top coat color because I ran out of the first paint color. (Which ended up being one of those happy mistakes. You’ll see.)

I wiped off the big globs of paint and decided to give those areas a little “extra” distress in the morning.

After stepping back from the project, doing some research and having a twitter conversation with Shaunna (the furniture painting guru), here is what I concluded from my disasterouos 2nd attempt:

  1. The paint sprayer MUST have a full paint cup in order to work properly. When the reservoir gets down to less than 1/4 full any air that gets into the paint suction tube will cause the sprayer to sputter and discharge big globs of paint, instead of a nice even spray.
  2. The sprayer dispenses an INSANE amount of paint in 5 minutes and when it runs low #1 happens. I used a half gallon of paint on the first coat of paint on this small wash stand. Whereas, I normally would have used maybe half a quart to brush on two coats total. The drop cloth was so heavy with paint when I cleaned up, that I realized the majority of the paint was wasted in overspray.
  3. The Plus does not have a low paint level indicator. Therefore, it is very difficult to determine when you are getting low on paint until the sprayer starts to sputter and shoot out globs of paint onto your project.
  4. In the same vein, the paint canister only holds a quart of paint, and 1/4 of that isn’t useable unless you like Jackson Pollock style painting.

The next morning, I took out my power sander and gave the sink some character by distressing it.
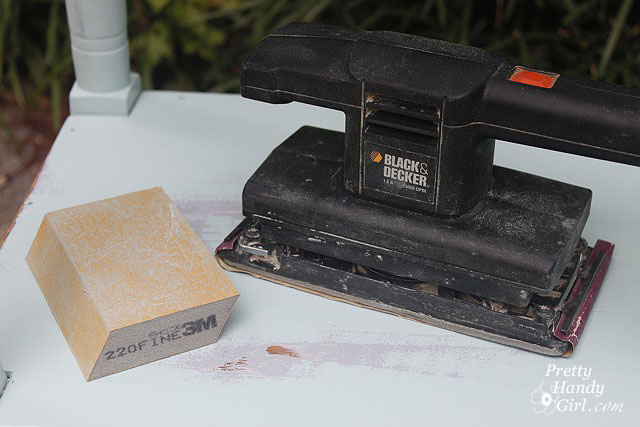

This is where the happy accident occured. Because I had to use an aqua blue as the top coat on my sink, you could see the blue gray color peeking out! Which I think makes it look sweet, shabby and old.
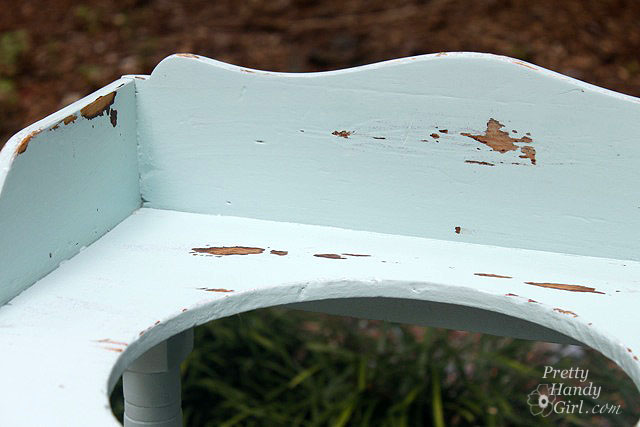
Once I was happy with the amount of distressing, I sanded any chipping paint and rough spots with the 220 grit sanding block. Then, I cleaned off the wash stand with a damp rag. To protect the sink, I used Minwax wipe-on Polyurethane. I like the wipe-on Poly for speed. But, it doesn’t leave as thick a coat as the traditionally brush on kind. So, if you really want to protect a piece of furniture, use the brush on kind instead.

I added a cute little crystal cheap acrylic knob to the drawer.

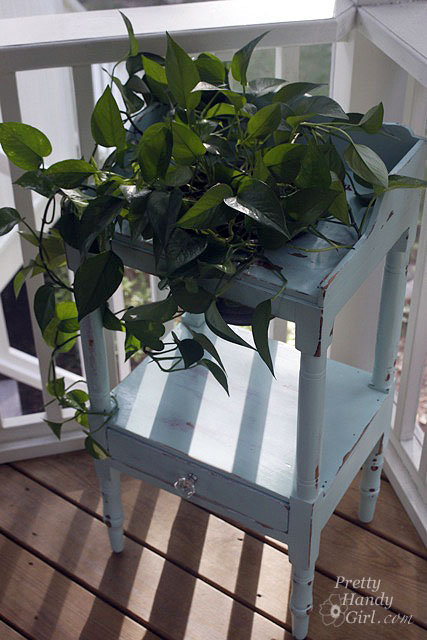
And my new/old dry sink looks right at home in the corner of my porch! Although, it needed something…hmmmm….
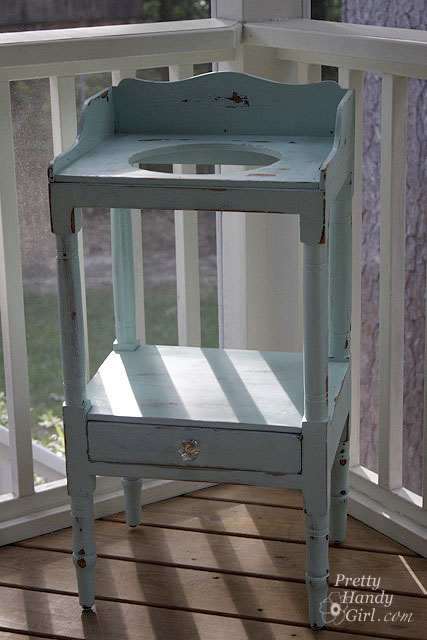
…how about a plant! I dropped in a plastic pot with NO holes in the bottom. I filled the bottom 1/4 with rocks for drainage. And my pothos plant. I used to have a chippy pedestal that sat there, but sadly I had to get rid of it. I’ll fill you in on the details next week. It is a sad story ;-(.

Here is my summary of working with the Wagner Power Painter Plus model:

  • Pros – Saves time. $100 price tag. No compressor needed.
  • Cons – Small Paint Cup, No Flow Speed Selector, No Low Paint Level Indicator, Lots of overspray and wasted paint.

I will definitely try the sprayer again. When I do I might add Floetrol to my paint, which is supposed to help your paint even out and give you a smoother finish. (Especially if it globs on you.)

  • Wagner Power Painter Max has a two speed selector AND a paint level indicator. This model runs under $100. Have a great weekend and see you next week with some more DIY goodies.


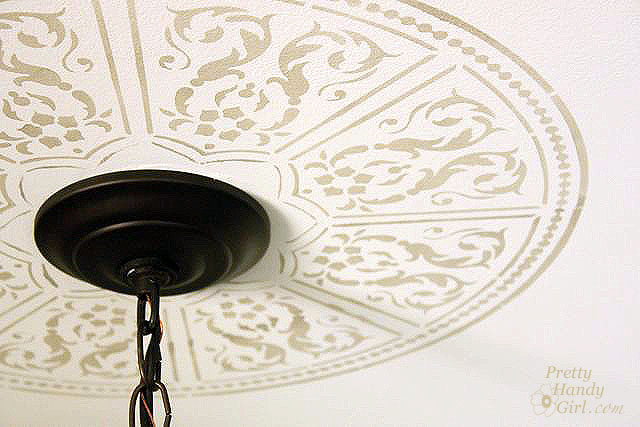
When heard the word stencil, I used to involuntarily cringe slightly. I pictured those cutesy country stencils my mom used to use with geese, apples, and hearts on them. (Sorry Mom.) But, that all changed last week when Cutting Edge Stencils sent me a beautiful Georgian Ceiling Medallion Stencil!

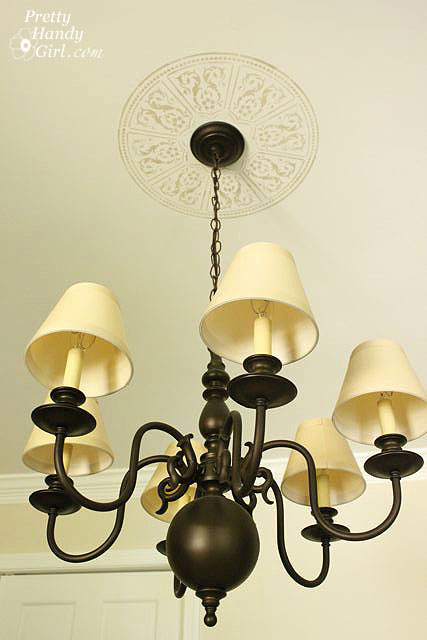
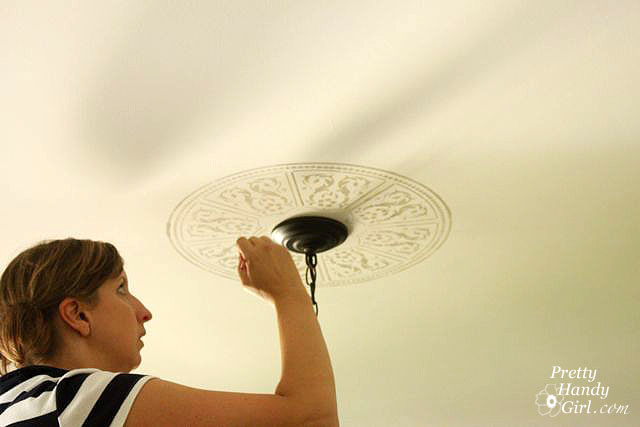
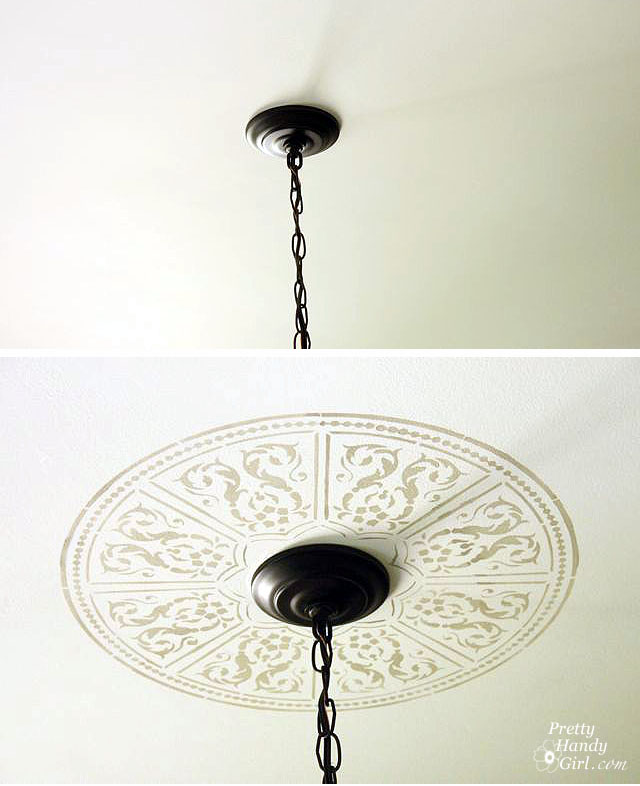
Isn’t that stunning? I can picture it at the top of a grande foyer. Sadly our ceilings are only 8′ tall and our rooms are small. But, that didn’t matter, because I was able to alter the stencil for our ceilings:

First I watched one of their tutorial videos online and I thought to myself. Oh yes, I can do that, it looks super easy! And it was, kind of….

…at this point I need to caution anyone who has never used a stencil before. You might want to try your first stencil project on a wall or a flat work surface. NOT on a ceiling. Standing on a table and trying to hold the stencil, tape and keep the stencil in place is not for a newbie. It definitely helps to have a helper (one at least 5 feet tall. Little children won’t work for helpers on this one.) I managed by myself using my noggin’!

I definitely have to credit Cutting Edge Stencils with their high quality stencil and foam paint roller. Without them, this would have ended up as a HUGE craft fail! Instead, despite a slightly buckling stencil (and working in Michaelangelo type conditions), the results were very professional and something I am proud of!

So, without further obscure references to great painters, here is my tutorial for creating a faux ceiling medallion with a stencil.

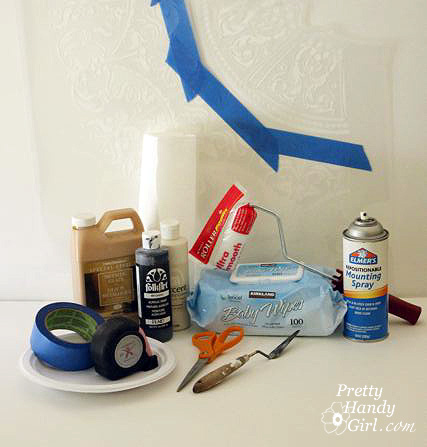
Materials:


(I’ve included affiliate links for your convenience. I earn a small percentage from a purchase using these links. There is no additional cost to you. You can read more about affiliate links here.)

* And preferably an assistant!

Instructions:

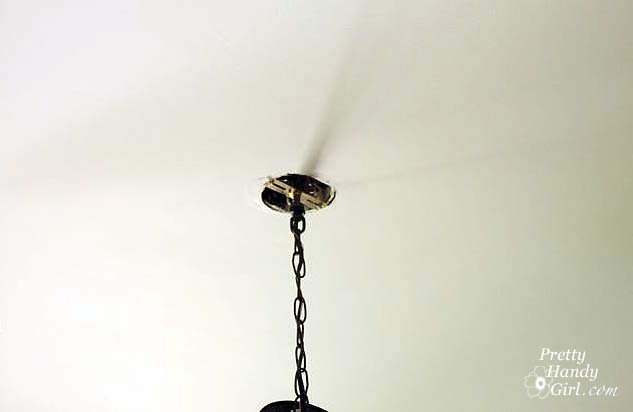
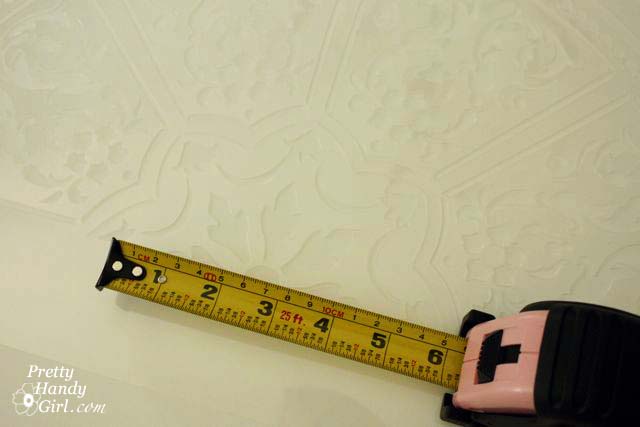
Measure the diameter of the canopy (round plate that sits flush against the ceiling and hides the electrical junction box) for your light fixture.

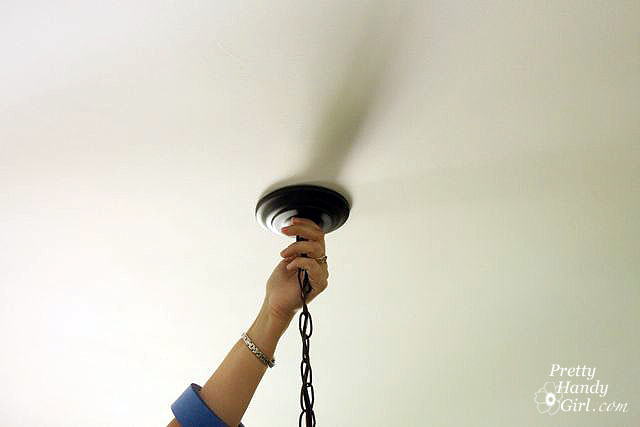
Then remove the canopy by unscrewing the nut in the middle.

Let the canopy hang down on your chain.

Determine how much stencil will overlap the canopy.

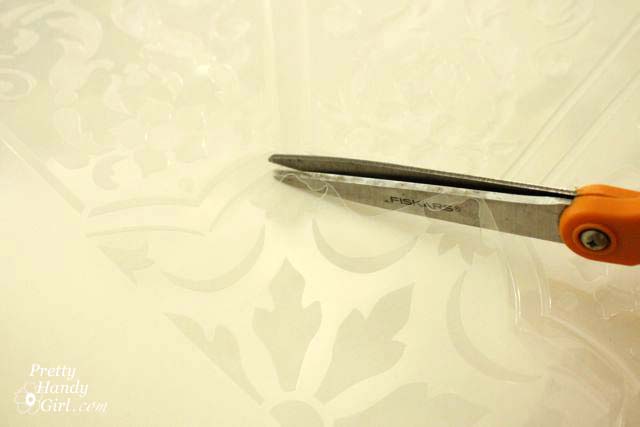
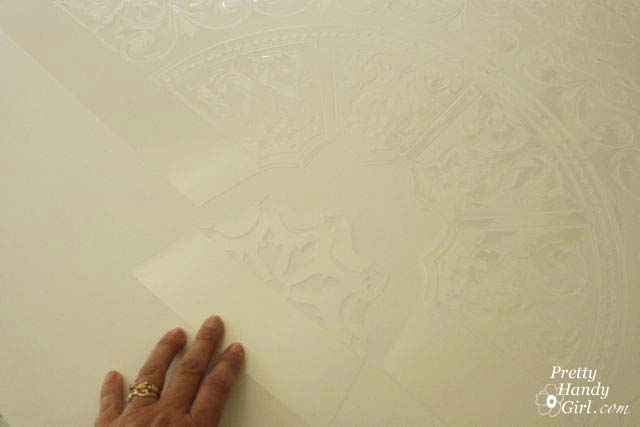
Cut the center section out of the stencil. (The only way around cutting the stencil if if you remove your light fixture and push the wires into the wiring box. But, I was too lazy to do that, so I cut instead.)

Save the cut out stencil so you can re-attach it later with tape or use the stencil on another project.

Tape off any sections of the stencil you don’t want to use. I chose to use the inner circle portion of the Georgian Ceiling Medallion Stencil.

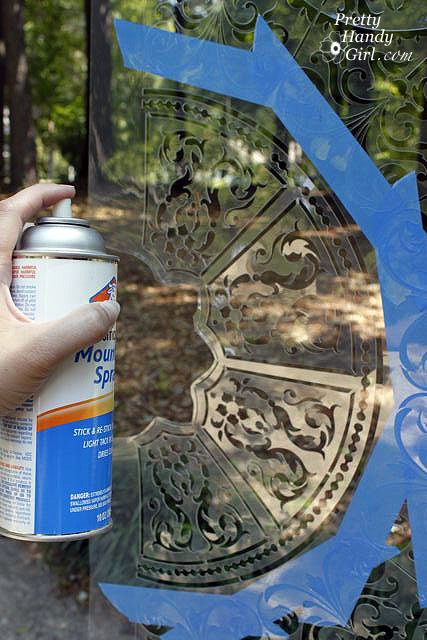
Spray the back of the stencil with spray mount. This will help hold the stencil to the ceiling.

Go grab an assistant to help you position your stencil on the ceiling. Center it on the middle of your light fixture box. It may help to draw “cross hairs” coming out of your fixture box with a pencil. Personally I just eyeballed it.

Tape the edges of your stencil with painter’s tape. The tape that was masking off the rest of the design actually came in handy as it held the stencil up midway from the edges.
Mix up your paint onto a pallet or paper plate. I chose a very light grayish cream color to mimic the shadow colors in my dining room. The color I tried to match it to is Glidden Carolina Strand #A1786.

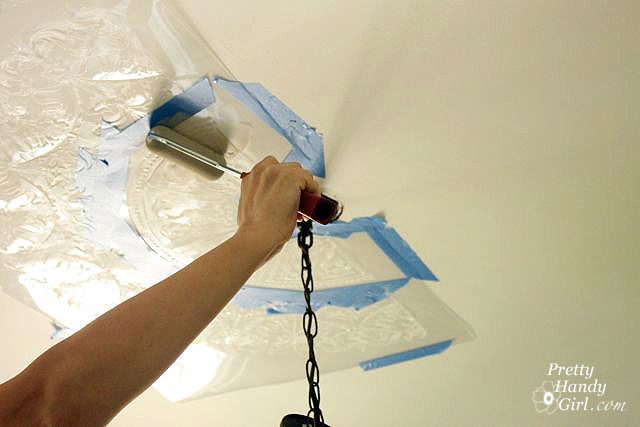
Layout a bunch of paper towels folded up that you can roll your roller on until it is almost dry. Roll your roller into the paint, then “dry” it off on the paper towels. Roll your paint roller carefully over stencil. Don’t push too hard or the paint may seep under the stencil. Continue rolling until your entire stencil has been filled in.
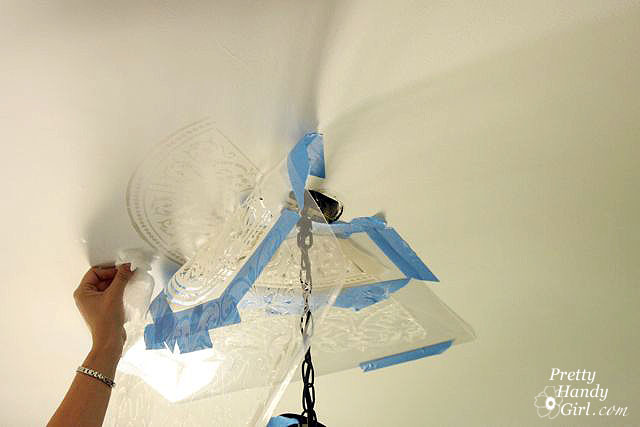
Gently remove your stencil and wipe any paint overage with a baby wipe or rag.

Reposition your stencil on the opposite side. Take your time lining up the stencil with already painted side.

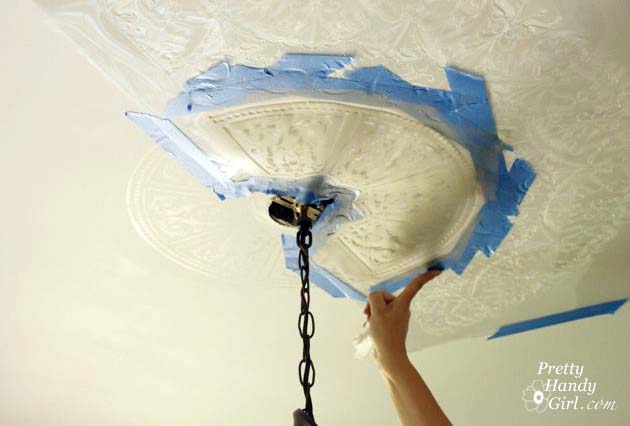
Repeat the same steps above to paint the second half of your medallion.

If you missed any spots, you can touch them up with a small artist’s paint brush.

13. Replace your light fixture’s ceiling plate and admire your new ceiling medallion!

I’m so happy with how the design turned out, and I will never cringe at the word stencil again!

It definitely adds some interest to an otherwise plain Jane ceiling.

Do you like it? You really have to see some of the amazing stencils that Cutting Edge Stencils has to offer. Some of my favorites are this adorable silverware set:

And this stencil creates a great alternative to wallpaper (the bane of my existence!):

And if only there were more girls in our boy-filled house, I’d buy this:

So you see, wall stencils can be a beautiful thing ;-).

Hey, I wanted to let you know that this crafty blogger, Kristina, interviewed me the other day. You can read a little more about my addictions and my favorite blogging moment on her blog, Pearl Gateway. And give her a little comment love if you have a moment. She’s getting ready to make a major move to Tennessee! She could probably use a few uplifting words.
See ya later alligator!