The other day I shared with you my french provincial dresser makeover. I dubbed her the Diva Dresser because of all the changes she pushed me to make. But, in the end I really liked what she wanted.

One of the tutorials that I promised you was how to add the decorative stencil on the top of the dresser.

I used the wrapping paper decoupaged on the side to help me create the design.


I scanned a section of the leftover wrapping paper and enlarged the scan 500% of the original size.

I opened the scan in Photoshop (but you could probably use any editing software.)

And cropped in on one quarter of the medallion.

In Photoshop, under Mode, I chose Image Size.


Then I changed the size of my image to the size that I wanted the stencil to be. In my case, I wanted it to be about 6 inches x 6 inches.
Then I printed out the design onto paper and added a few flourishes to the edges.
Using a soft pencil (#2 will work fine), I rubbed the edge of the pencil on the back of my printout until all of the back side of my stencil was covered.
 
Then I cut around my stencil and laid it onto the top of the dresser. Pressing firmly, I traced around all the edges of my design.
When you remove the printout, you should be left with your design in pencil transferred to the surface. (I use this technique all the time to transfer type and other designs onto an object.)

I chose to work with a sharpie pen and traced the design.

Then filled in my design with the marker.

Because I knew I was going to glaze over my stencil, I didn’t mind that you could see the pen marks. If I wasn’t going to glaze over my design, I probably would have use flat black acrylic paint instead.

Then I proceeded to glaze many colors of blue/gray over my dresser.

Until I was left with this!

I put one stencil in each back corner. And love how easy it was to do. And of course how beautiful it looks!

Do you have anything you want to add a sharpie stencil too? Maybe something you can monogram? I encourage you to try it!

I am in love with those adorable french provincial dressers. The flourishy handles are what really get my heart pounding.When I saw this dresser on Craig’s List for $35 dollars, I pounced!

 Disclaimer: I stole this picture from the previous owner’s Craig’s List Ad.

Oooo baby, don’t you just love that faux gold outlined accents and off white laminate top. Yes, I said laminate. But I wasn’t afraid of it. For $35 who cares if it gets messed up. If you never take the risk, you’ll never learn anything new, right?!

The drawers were still in good shape, but a little loose around the joints, so I squirted my new favorite Gorilla Glue into the joints and clamped lassoed them up!

Then I used newspaper to protect any of the areas I didn’t want sprayed.

After sanding all the surfaces to rough them up, I put a coat of primer on everything. Loving that crisp clean white, but the dresser told me to “Keep Calm and Carry On.”  So, I cooperated and continued on to another color.

Next, I sprayed Rustoleum Heirloom White and distressed the surface with a wood stain.

The drawer pulls got their own treatment of automotive primer followed by Oil Rubbed Bronze paint. Thank goodness they were happy with their new color because – I’m telling you – that dresser was certainly acting like a diva! She was still demanding a new color.

I have seen many Nantucket Fog makeovers and decided to make a run to Ace Hardware to pick up a small sample of that blue gray color. And I grabbed a can of artistic glaze.

After two coats of the Nantucket Fog glaze, that little dresser still wanted something else. Sheesh! So I pulled out some leftover blue paint from my dormer window shutters.

Finally, she shut up! It’s a good thing too, because I LOVE this color. I love it so much that I hauled my tired hiney back over to Ace to match the color just for you.

Does anyone else get starry eyed and entranced by all these fabulous colors?

The closest match is Buxom Blue from Benjamin Moore. Not too far off from Nantucket Fog, but you know those divas they want what they want!

Now, all important divas need something to wear that gets them noticed. Thus, I decoupaged some wrapping paper on the side (tutorial is here.)

And then because I liked the pattern so much, I blew it up and added it to two corners of the dresser top (tutorial for adding a sharpie stencil.)

I added some beachy blue glaze over the wrapping paper and the top graphic.

And I have to tell you that – halleluiah – I finally figured out the proper technique when using the valspar glazes (the tutorial is here.)

I finished up with three coats of a semi-gloss polyurethane.

And here is that stunningly beautiful diva of a dresser. Transformed from Cinderella to the Belle of the ball!

Isn’t it amazing what a little oil rubbed bronze can do!
 
 Hard to believe this was wrapping paper in a previous life!
 Peek-a-boo I see a cute stencil.

Now, I have to convince Pretty Handsome Guy that our master bedroom furniture doesn’t have to be all matchy matchy!

 Because I LOVE our Pottery Barn Sleigh Bed. 
But not the matching dresser.
 I love the new-old dresser! What do you think?

Any helpful hints on using Jedi mind tricks on unsuspecting Pretty Handsome Guy?

Update: Thank you to my readers that pointed out that I installed the handles upside down. They have been fixed now ;-).

Today I have the skinny on paintbrushes, they all look alike, but they don’t behave alike! Pretty Handsome Guy and I have painted our fair share of rooms, especially dated brown trim moulding. One thing we learned early on is that buying a good brush was key to making a difficult job more manageable. When we first moved in and were cheap didn’t know any better, we bought the least expensive store brand brush we could find. What a mistake! Those brushes barely held up to one room of trim. The bristles frayed and the paint brushes lost their chisel shape.
Case in point:

(That being said, the same thing can happen to a good quality paint brush if you don’t clean and care for it properly. More on that later.)

But, if you spend a little more to buy a good quality brush and take good care of it, you can use that brush for years!!!

Above you can see the cheap store brand used maybe 2-3 times.
A brush we have owned and used for 8 years!
And a brand new never used Purdy brush.
(I encourage you to click on the picture to see it enlarged!)


 Close up of the layers of paint on that 8 yr. old Purdy!

Recently Purdy contacted me and asked if I wanted to try one of their brushes  and maybe blog about it. I said sure, but I felt a little guilty. Why? (Whispering: Well, because we already have an arsenal of Purdy brushes in our painting supplies. When it comes to brushes, that is all we buy.)  Okay, this is where I need to tell you that –  yes, Purdy sent my a free brush and 5-in-1 painting tool to try out. But, did they pay me? No. And, did they ask me to write a positive review? No. So, I am being totally honest with you when I say that I do like their brushes. That being said, I have not tried some other high quality brushes. The only thing I do wish was different about Purdy brushes, is that they would develop an ergonomic handle for their brushes. After an hour of painting trim my hand always cramps up.

I haven’t bought any ergo handle type brushes, but I have seen this brush from Proform Technologies:

I might just have to try one of these next time.

Okay, so I sold you on buying a good brush, and you were shocked by the price tag. Now I want to show how to care for that brush so it will behave for you (and you won’t have to replace it anytime soon.)

Be sure to clean your brush before the paint can dry on your brush. If you can’t wash it immediately, go ahead and leave your brush in a jar of water (or mineral spirits or turpentine for oil based stains or paint).

When you are ready, here is how to properly wash your paint brush:

1. Rinse out as much paint as you possibly can.
 
2. Bend the bristles against your palm or the bottom of your sink.
Repeat on the opposite side.
3. Gently separate the brush to expose the core
and rinse any paint out of the inside of the brush.
4. Squirt some dish or hand soap in your palm.
Working in a circular motion, mix the soap in your hand with your brush
until a big lather forms.


5. Then rinse all the soap out bending the bristles if needed.
6.Repeat steps 2-5 until the water runs clear. 
7.Squeeze all the paint out of your brush using your fingers like a squeegee.
Then hang your brush upside down to dry.
I used large paper clips to make these hooks that hang over the sink.

If you are using an oil based paint you will want to substitute mineral spirits or turpentine for the soap and water. I also try to keep the brushes I use for oil paint or stains separate from my latex brushes.

Happy painting for years to come!

On our last trip to the beach, I stopped in a hole-in-the-wall thrift shop. The store was musty, dirty and reeked of old cigarette butts. I’m still not sure why I was drawn into this store. But low and behold, this is what I found!

The owner told me it was a minnow trap. Duh, of course it is! Actually, I’m not a fisherperson, so I never would have guessed that.

What I did see was two pendant lamps for my screened porch. I have been trying to decorate it for a year, but I have been unable to find some inexpensive porch furniture. Regardless, I am aiming for a breezy ocean theme, so these would fit in perfectly!

I separated the trap into two pieces. Then cleaned them with a damp rag.

To create the light kit frame, I used these tools:

I bent a small hook in the clothes hanger with the needle-nosed pliers. Then fed the end of the coat hanger through one top edge of the minnow trap.


Using my pliers, I pinched the hook shut.

If you pretend that the first hook was attached at 12 o’ clock, then you want to attach the second hook at 3 o’clock.

Using my pliers again, I bent both wires near the center into a 90 degree “L” shape.


Next, I wove the other L hook (over and then under) the first hanger and bent the wires until they overlapped at 6 o’ clock and the second one at 9 o’ clock. I played with the wires until I was able to create a small hole in the center.

I ended up with this on both traps (now looking more like lamp shades):


I sprayed my two lamp shades with an automotive primer (I read somewhere that it has better adhesion to metal) and followed up with 2 – 3 coats of Oil Rubbed Bronze spray paint.

For the light sockets, I purchased 2 candelabra base kits from Lowe’s.

I simply inserted the socket and light bulb underneath the coat hangers. Then bent the coat hangers while making sure to get the light kit centered in the shade.

When I got everything centered, I fed the unattached ends of the coat hangers through the shade and hooked it around securing it to the wire shade.

Then all I had to do was screw in these cool iron shelf brackets into the wall on my porch and feed the wires of my lamps through and use a twisty tie to secure it.

Now we have some unique mood lighting on our porch!


Do you like? Would you have known that they were minnow traps?

Too bad the weather is turning cool again. Maybe I can find some deals on porch furniture now!

Copy Me Challenge

I’ve been super busy this weekend finishing up some projects. I’m very excited and can’t wait to show you some of them.

However, because several of them are tutorials (which take a little longer to write up), I decided to share with you a guest bathroom makeover from our old house.

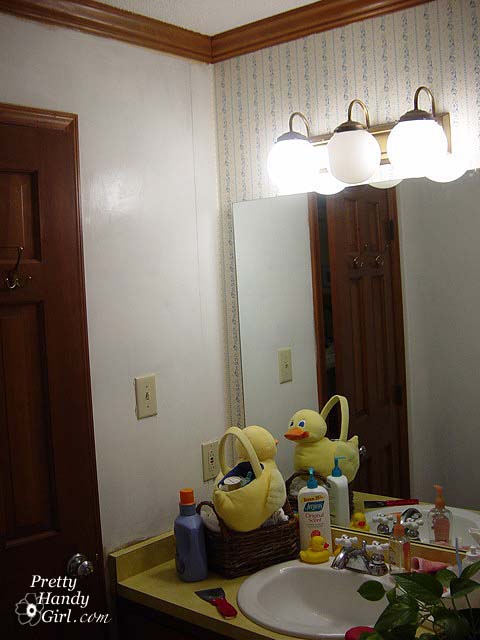
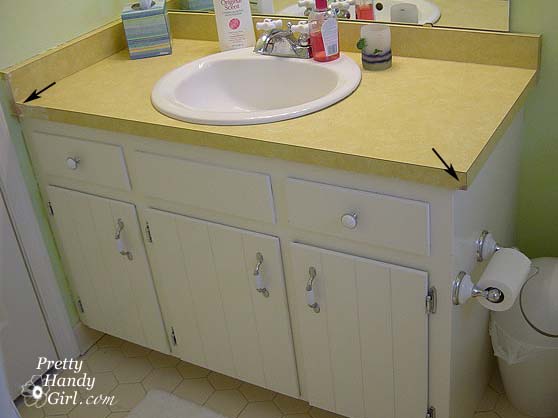
This poor bathroom had an identity crisis.

With its 1970’s light fixture, 
 
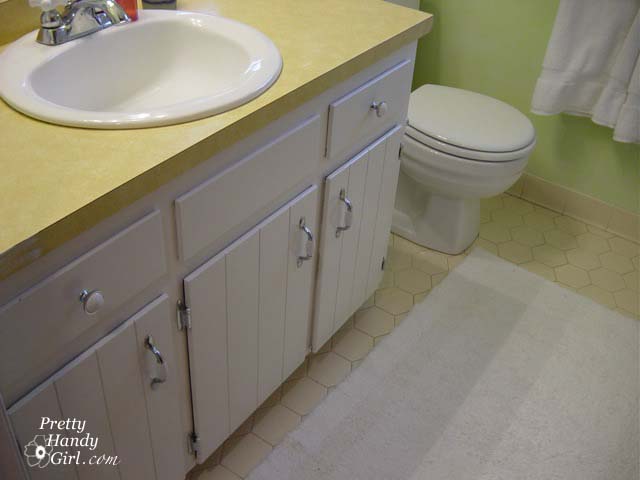
Harvest gold laminate counter top and dark wood vanity,
 
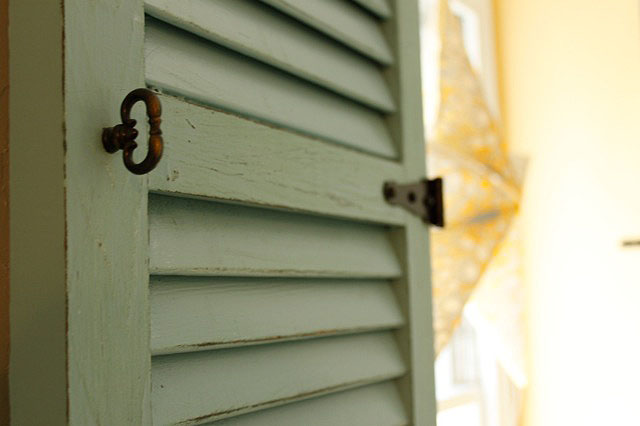
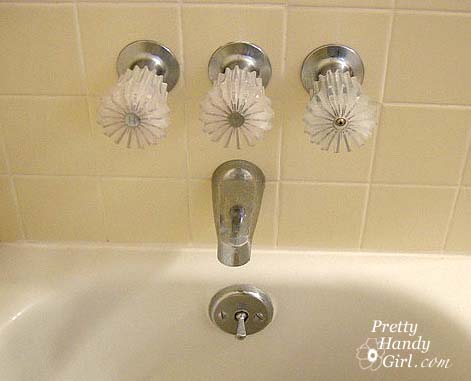
Sunburst shaped handles that hurt your hands to use them,


and Laura Ashley style wallpaper.

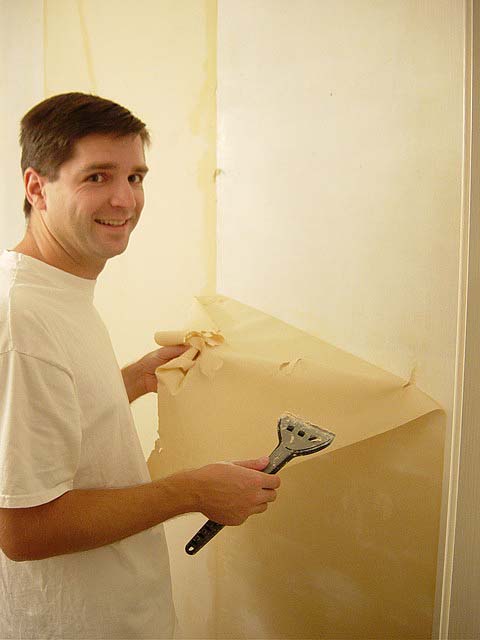
The first thing we did was strip the wallpaper in this room. If you have never stripped wallpaper, there are two types of wall paper stripping projects. The easy ones and the hard ones! Luckily we had an easy one.

Awww, doesn’t Pretty Handsome Guy look happy?!  

The walls had been primed before the wallpaper was attached (as opposed to gluing the wallpaper on top of the drywall (or sheetrock as some people call it.)
Forget the steamer, forget the chemicals, we used these tools:

  • Cheap, cheap, cheap pink fabric softener mixed 1:1 with water
  • Spray Bottle to pour your fabric softener mixture in
  • Paper Tiger or wall scoring tool
  • Wallpaper scraper – We really liked the Piranha shaver since it has a razor sharp blade
  • Or Wallpaper Trim Tool

You start by scoring the wall with the Paper Tiger or similar tool. The more holes the better, so put on some dancing music and get busy.

Then you spray the walls with your fabric softener mixture. Really saturate them! Wait 15 minutes, then spray them again. Now, use your scraper to start peeling. I truly hope your sheets come off in nice big sheets like ours did. If not, you may have to have your walls re-skimmed with spackle or joint compound.

Or, I hate to mention this, but you could paint over the wallpaper. We have two rooms in our current home that this was done in (we know for a fact that the wallpaper was glued to the drywall without priming first.) If you take this route, I want to let you in on two secrets:

  1. Use an eggshell or satin finish paint (it will not show the edges or imperfections as easily.)
  2. Take the time to make sure all the wallpaper seams are glued down and then spread some joint compound or spackle over the seams and sand it smooth. This will get rid of the tell-tale seam lines when you paint over wallpaper.

After you have removed all the wallpaper you need to wash your walls really well to remove the glue. We saturated the walls again with the fabric softener and then cleaned it off. Finally, we used TSP cleaner (available at any home improvement or hardware store) to get the walls perfectly cleaned.

Then I painted the walls a bright Nickelodeon slime green. I kid you not, but I didn’t take a picture of it in that state. My friends thought I had flown the cuckoo’s nest. But, I went back with a creamy lemon glaze and ragged it on top. The result was a beautiful lime sherbert color (perfect for a little boy or girl’s bathroom.)

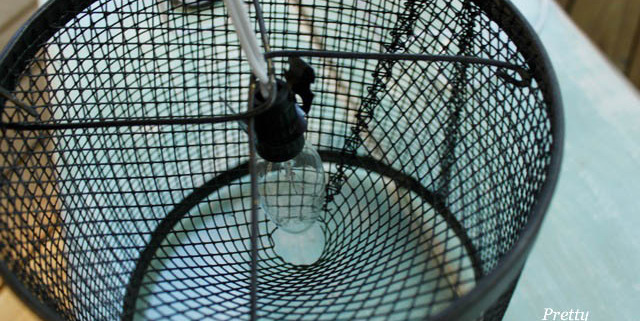
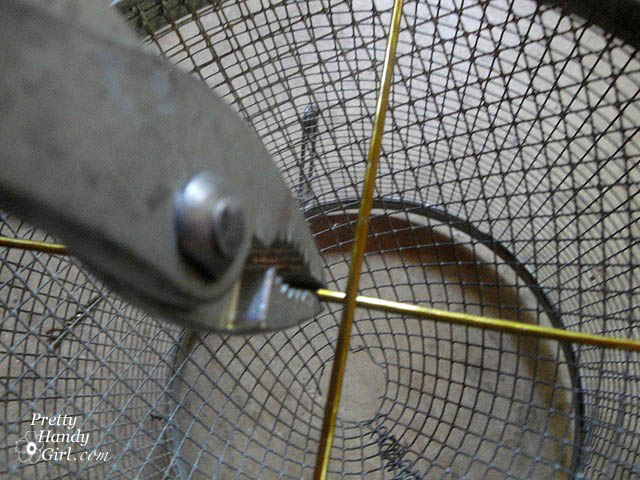
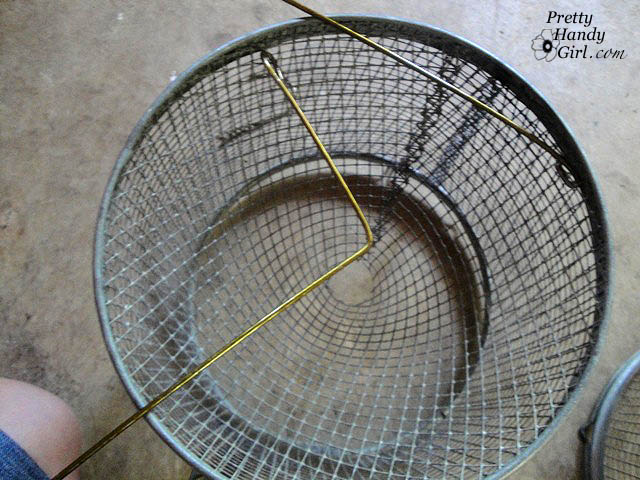
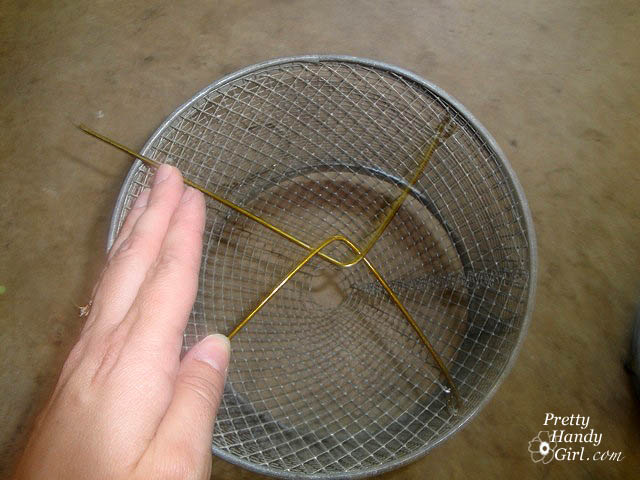
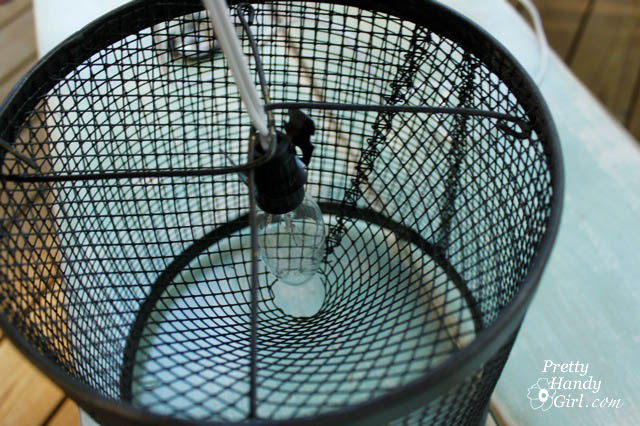
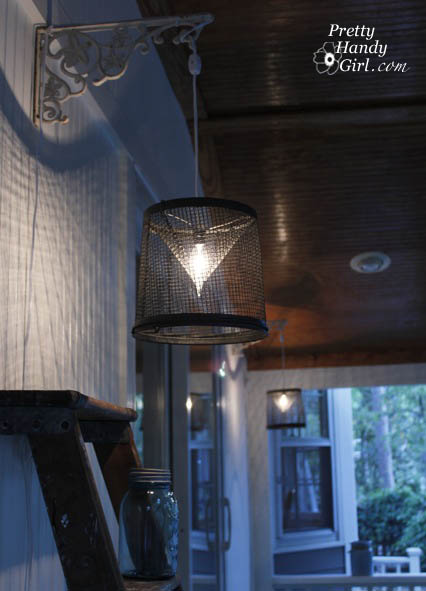
Next, the light fixture had to go, and it went quickly!

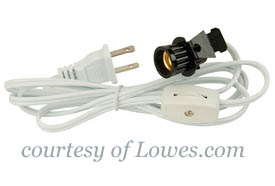
 I replaced it with a four light chrome fixture.
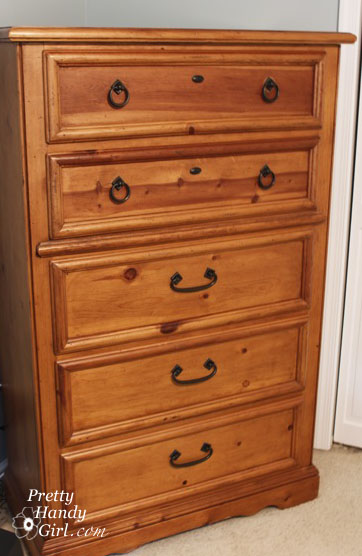
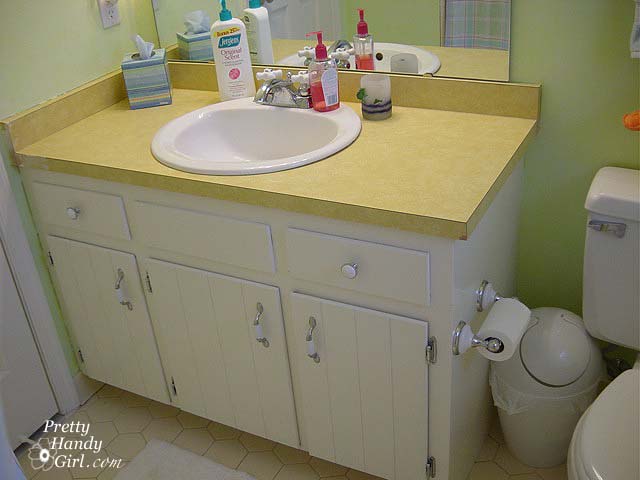
Then, I had to paint over that ugly vanity cabinet:
 
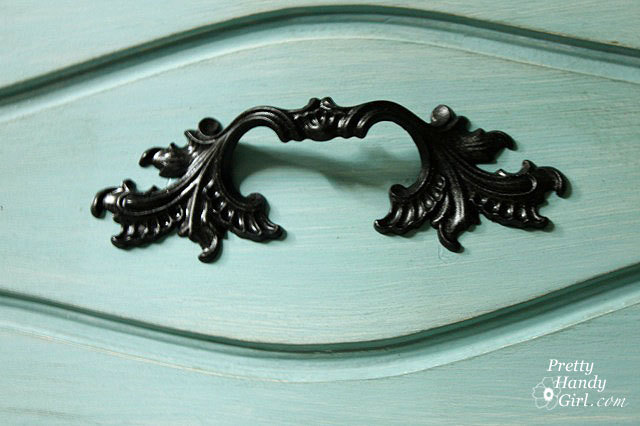
Now that is looking better! I added new chrome/porcelain pulls.

But, that harvest gold vanity would not stop shouting “groovy dude” whenever I saw it. So, it had to go too. Unfortunately, we were on a limited budget, so I had to get creative.

 
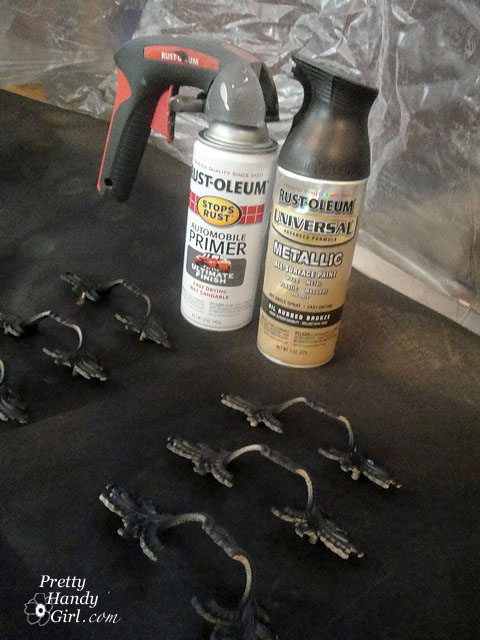
I fixed the chipped corner and seams with wood putty.
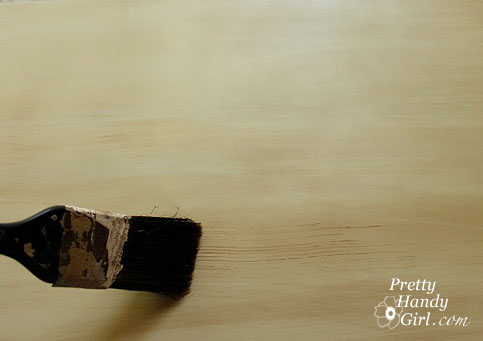
Then I sanded and primed the countertop with Zinser Oil based primer
(A necessity to get the  surface prepped with a super adhesion coat of primer)
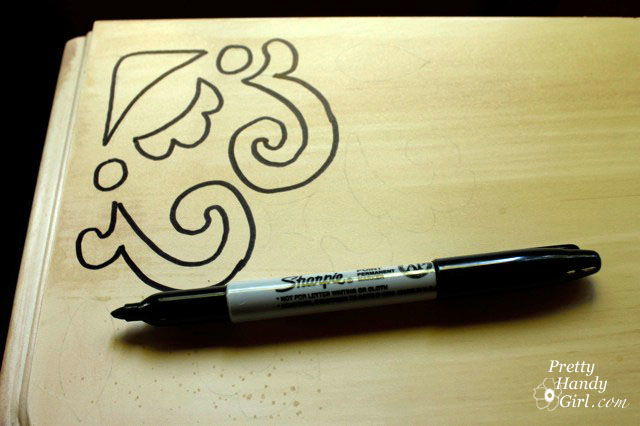
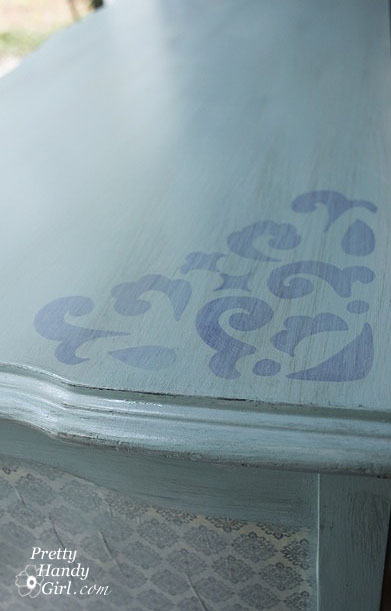
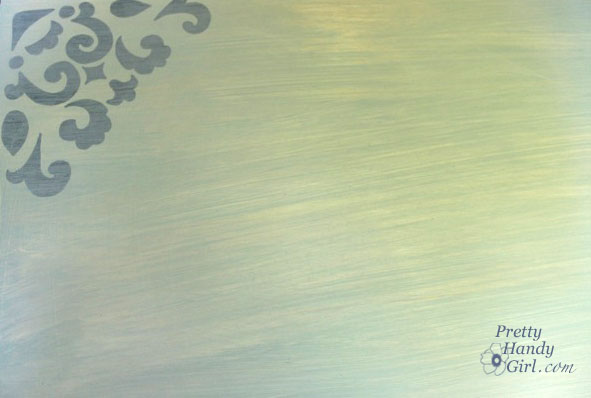
so I could do this:
 
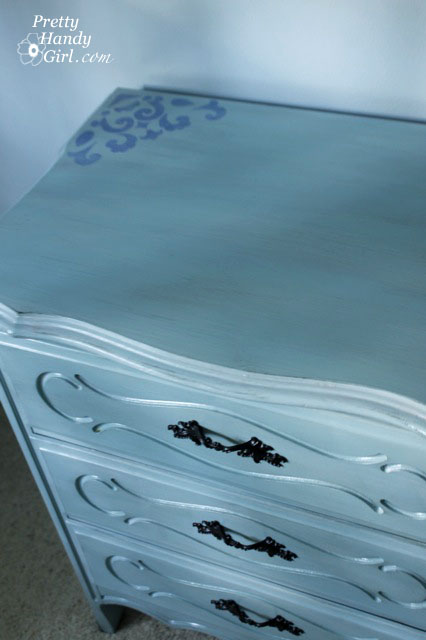
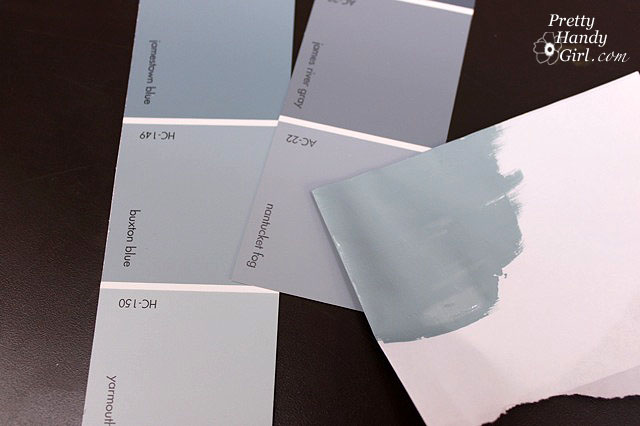
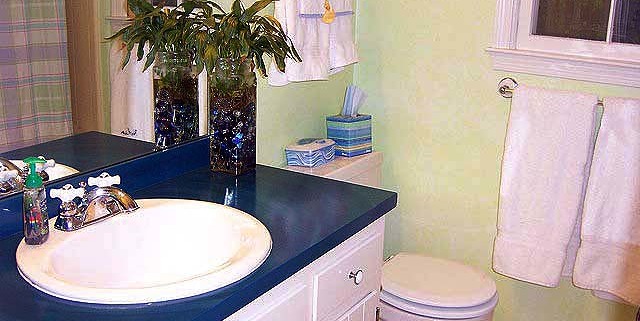
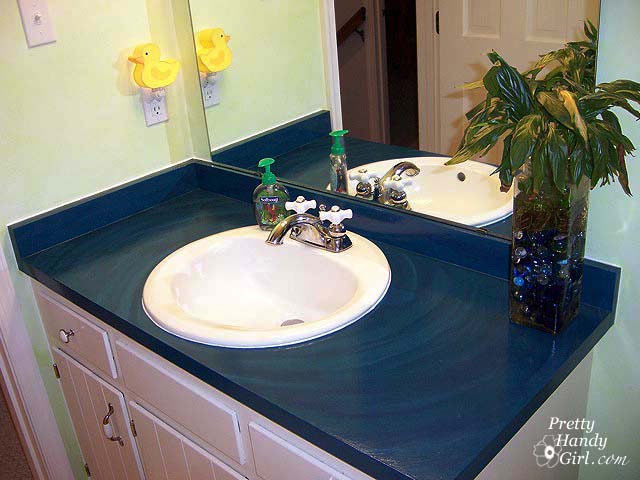
 Beautiful blue water reflections
I painted the vanity top and then added five coats of polyurethane to seal it. I recently had the opportunity to visit our old house and couldn’t wait to see how the vanity top held up over the years. It really held up better than I expected. There was some slight chipping where the back of the sink met the back splash. I should say that our neighborhood has very hard water and this is where the splashed water would hide and sit. So, for the cost of paint, we had a new vanity top that has held up to use for over three years so far.
 
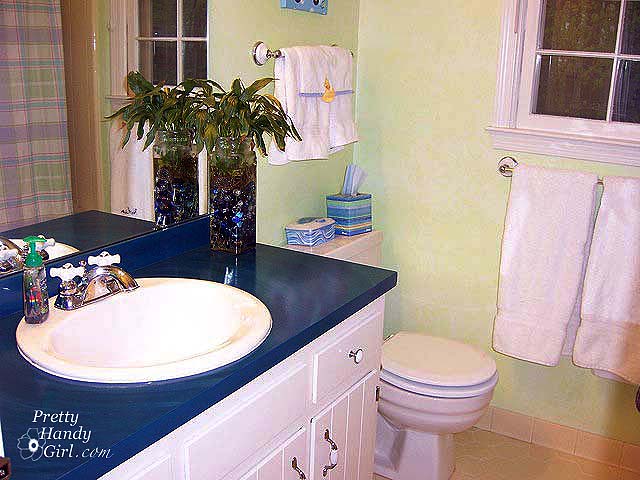
So, are you ready to see the final reveal? Here it is:
Before: 
After: 
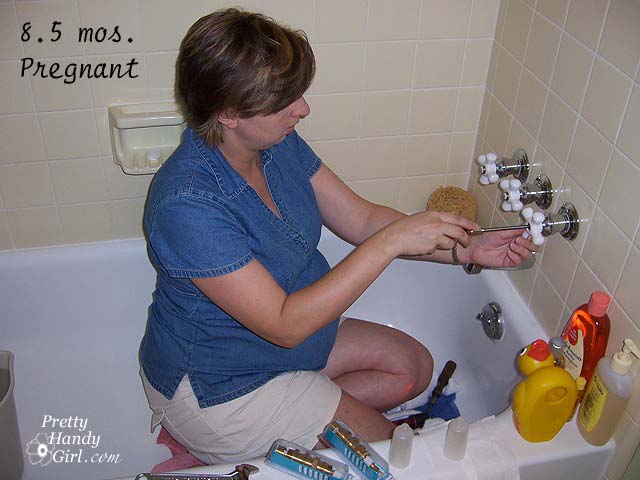
In case you are wondering what ever happened to those sunburst tub faucet handles:
Yes, that is me, installing new valve stems at 8.5 months of pregnant bloated-ness. 
That was also THE day I went into labor!
Anyone else have some crazy last minute pregnancy stories?