Hey guys, I’m a blog hoppin’ today. Michelle from Dream Home DIY and I are trading places.
Without further ado, take it away Michelle! 

Hello fellow Pretty Handy Girl followers!
I’m Michelle dropping by from over at Dream Home DIY where my sweet, southern beau and I chronicle life’s unexpected (but all together charming) surprises as first time homeowners.

Between leaky master bathrooms on move in day…

…a complete remodel of our living room floor plan just weeks later
(to include a still-in-progress archway)…
…and a front porch revamp with no shortage of new paint and stain…
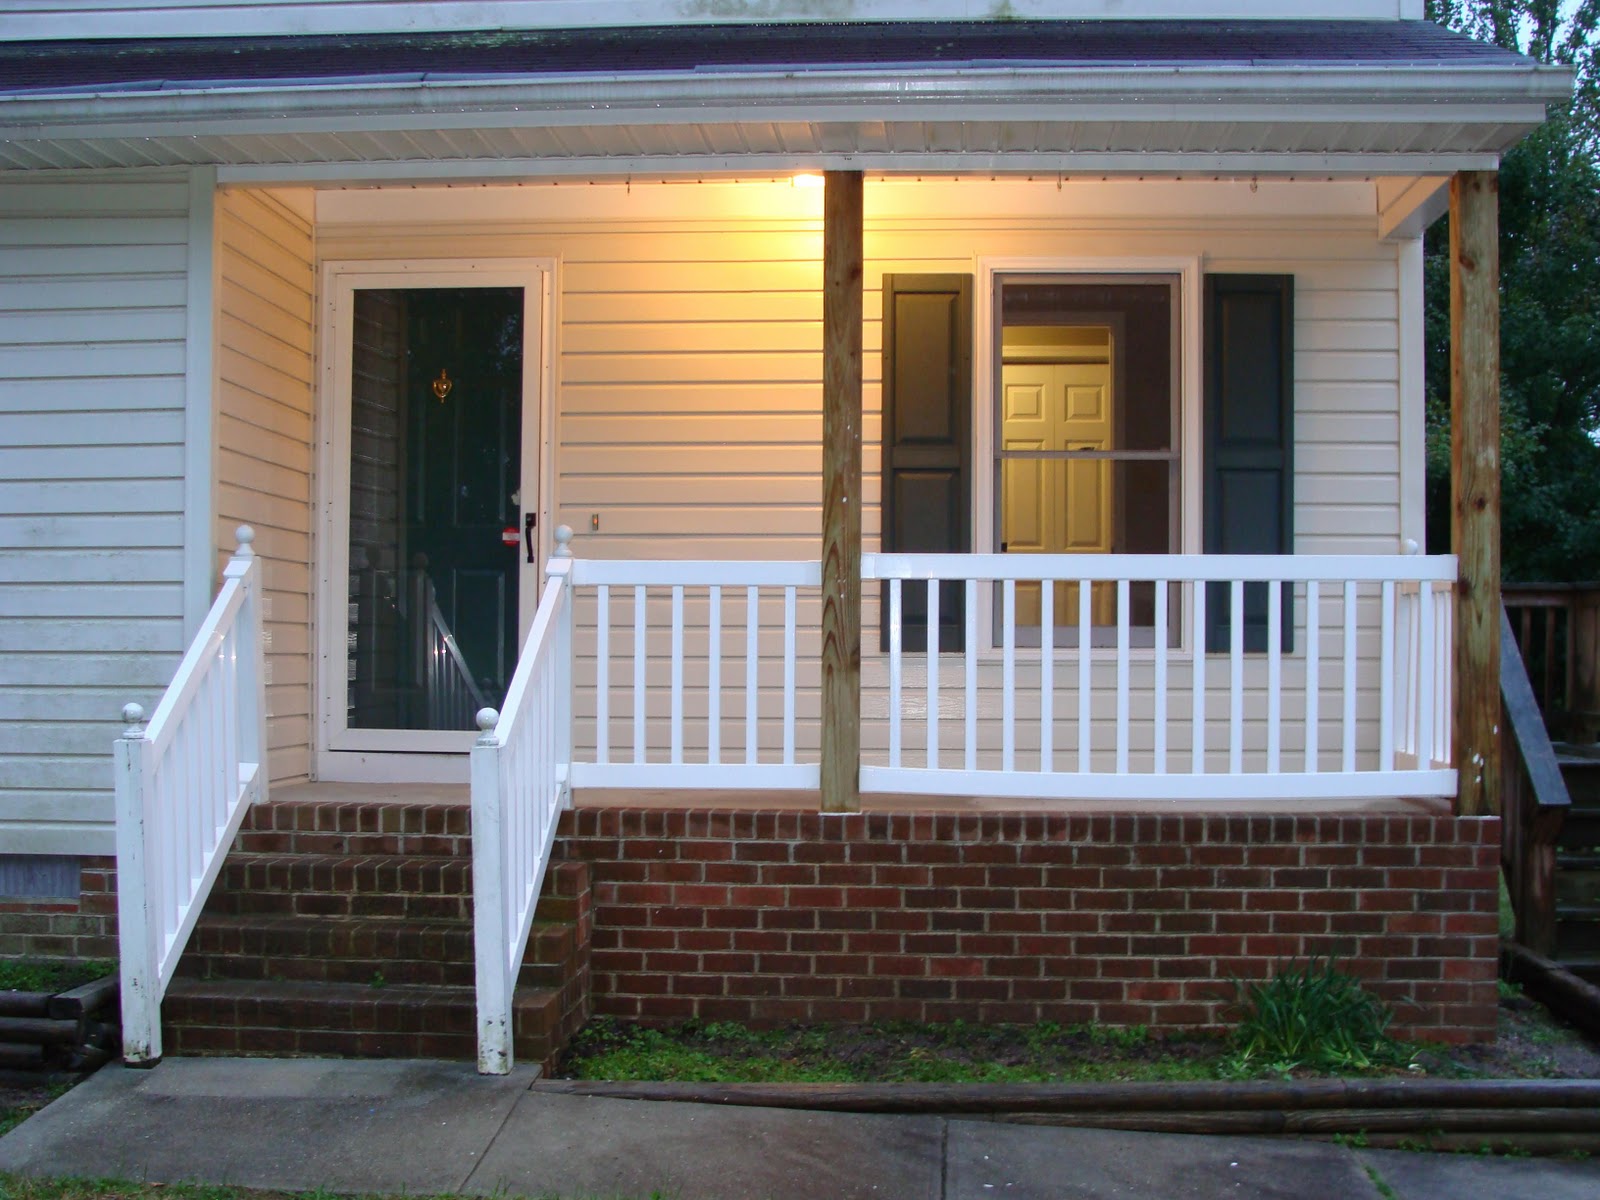
It is safe to say that we hit the ground at a dead sprint!
“Date night” now consists of us, plus that nice gentleman behind the paint counter at Lowes, hashing out the pros and cons of semi-gloss vs. flat or the perfect shade of teal. And a romantic evening at home involves snuggling up on the couch, dreaming of all the ways we’ll transform this quaint starter home into our Forever Home…the place our future children will take their first steps and where a lifetime of memories will be made.
Together, two novice DIYers fumble, laugh, struggle, and triumph as we take this stark builder basic house and fill her with love…oh, and lots of paint, new fixtures, revamped floors, remodels, craft projects, furniture makeovers and more. And on a budget that might make a poor church mouse cry.
On the horizon?
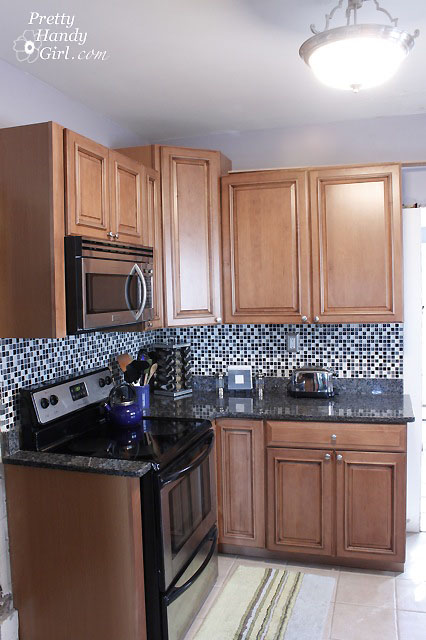
A fabulous kitchen remodel, master bedroom and bath reconfiguration, new decks, landscaping, painting, furniture construction and re-facing, future additions, garages and so much more!!
One project that holds a very special place in my heart, is the makeover a very special mirror, gifted by my dear mother almost 10 years ago. Each year, around my birthday, my mother would pull out the largest JC Penny catalog I had ever laid my eyes upon and thumb through the pages stopping in the home décor section. Flipping the book so that I was now in control, she would simply ask, “What would you like your room to look like this year dear?” 

Through the years my tastes evolved from pretty princess to bold neon polka dots, but on my 15th birthday I was ready for a “grown up room” and my sweet mother gifted me this mirror.

When we purchased our new home, I wanted that mirror to hold a place of honor and the newly painted hallway seemed up for the task. But it no longer fit into my décor sense. Nothing a bit of spray paint can’t fix, right?
With a coat of paint and bit of glaze, this special mirror was ready to hang.


Incorporating personal treasures is an amazing and important way to make an empty house your memory filled home. We instantly feel cozy and are constantly reminded of those that we hold dear to our heart.
The other day I started to show you some of the DIY projects we worked on at my sister, Alana’s house. I mentioned the touch up painting we had to do in her kitchen.
So, I figured I’d show you our tried and true paint tray liner. Easy clean up and finally a use for those plastic bags (although I advocate using reusable bags, I still somehow end up with a plethora of these plastic grocery bags.)
Let me call my assistant to show you how to do this. While we’re waiting for her, grab your paint tray, two plastic grocery bags and some painter’s tape.
And here she is, my lovely assistant and Pretty Handy Sister, Caitlin
1. Take your plastic bag and turn it inside out so the ink is on the inside. If you don’t do this the ink will run into your paint. Not a pretty sight.
2. Slip the bag over the top of your tray and secure it with a piece of painter’s tape.
3. Take your second bag and flip it inside out. Then slide it over the bottom half of your tray. Make sure the bags aren’t too tight around the tray. They should conform to your trays sides and bottom.
Now, put a piece of tape at the top of the bag.
4. Then turn your tray over and affix one more piece of tape to the back side.
5. Pour your paint in the tray and start rockin’ and rollin’!
The lengths I’ll go to for my sister!
6. When you are done, salvage any paint you can and put it back in your paint container. Then carefully peel the tape off the back of the tray and fold both bags in and around the paint. Then you can pick up the bag and dump it in the trash. Be sure to clean your brushes well. See this post for tips on cleaning and your paint brushes.


Touch Up Painting Done – CHECK!
 Here is my sister’s kitchen, all touched up.
I love the glass tiles and the granite is gorgeous. It has cobalt blue flecks in it.

I spent the weekend in Norfolk, VA with my two wonderful sisters (Alana and Caitlin) and Alana’s boyfriend, Eddie. We had fun kicking some DIY butt! Who knew you could have so much fun installing cabinet knobs!

Most of the projects were centered around Alana’s kitchen. The kitchen was remodeled a few years ago, but it was never really finished. Our mission this weekend was try to complete some of those unfinished projects.

One of the tasks we accomplished was installing cabinet knobs on the kitchen cabinets. Another was touching up paint on the walls (but that is another post for another day.)


Caitlin made a template out of cardboard that made it a snap to install the knobs.

First she measured the corner square on the cabinets. It was 1.5″ square.

Then she made a hole in a piece of cardboard 3/4″ from two edges of the template. So, this way we knew our hole would be centered in the square every time! And she marked the outside corner with a little arrow.

Making sure the arrow was pointed at the outside corner, I lined up the template at the corner of the cabinet. (We used the edge of the raised panel, instead of the actual corner of the cabinet.)

Then, I used my drill to make a mark where the hole would go.

After that, I removed the template and slipped a piece of scrap wood behind where the hole was being drilled.

Then I drilled into the cabinet until I felt it enter the scrap wood.

Can you name my facial expression? a) I just got a whiff of old yeasty bread. b) I’m really concentration on my drilling. c) I’m trying not to laugh at my sister taking my picture.

Then Caitlin threaded the bolt through and screwed on the knobs. Perfectly beautiful and those of us with fat fingers and short fingernails can get into the cupboards now. Who knew you could have so much fun installing cabinet knobs!

For your viewing pleasure, I thought you might get a laugh out of one of the outtakes of our  Charlie’s Angels inspired picture. We were doing our best at making a sexy face. Caitlin said  “sexy facial expressions” must not run in the family. Not sure what’s with that fish face I’m sporting. So much for my sexy look.

I have been looking for the perfect foyer light about three years now. In the search, I removed an ugly dated hanging light and replaced it with this:

Okay, it is a little better, but I still wasn’t in love! And that is the key to the right lighting, you have to LOVE it EVERYTIME you see it.

So, when I saw this Pottery Barn fixture, I knew I loved it!

Amanda at The Hand Me Down House made one that looks very similar. I always thought I might copy her design, until I found a hanging light that had similar lines at our local Habitat ReStore.

See that brass beauty in the front? Well, ignore the brass because I had plans to paint it. By the way, the iron chandelier went in my friend’s hallway.

And that cute little fixture hiding in shame at the back was turned into another Pottery Barn knockoff lantern.

But, on to the star of this post. My new foyer light! I disassembled the foyer light and set the glass globe aside. Then I attacked her with a one two punch using my new dynamic duo of spray paints.

Automotive primer first and then two coats of Rustoleum Oil Rubbed Bronze!

After putting the glass globe back on the fixure, I installed the light fixture (you can follow the same instructions as I showed in this post.)


Check out that beautiful new/old light fixture! I know it isn’t exactly like Pottery Barn’s but I love it none-the-less. How about you?

Do you remember that cute little blue striped bin in Renee’s storage unit? The one that she uses for junk mail and recycling.

How much do you think she paid for that? Would you believe nothing?! I made it for her out of a cardboard box and art supplies I had on hand.

Materials:
Cardboard Box
Black Spray Paint (or other color)
Spray Mount (Spray Adhesive)
Elmer’s Glue
Scissors
4 sheets of scrapbook paper (wrapping paper, fabric or wallpaper)

Instructions:

1. I started with a square Huggies Pull Ups box. I knew you wouldn’t believe me, so here is the picture to prove it.


2. Spray paint the inside of your box (be sure to wear gloves because the spray will coat your hand since it swirls around inside the box.)

3. Spray adhesive on the back of 2 sheets of scrapbook paper.

4. Attach them to opposing sides of the box.

5. If your scrapbook paper wraps around the sides, that is good. Be sure to snip the top of the paper at the corners of the box so it can fold over inside the box.

6. Cut your other two sheets of scrapbook paper to the exact width of the uncovered box sides. Spray adhesive on those two sides and attached them to the box. Then fold over the top edges of the paper.

7. If the folded top edges don’t stay glued, put a little elmer’s glue underneath and then use a book, clothespins, or binder clips to hold it down while it dries.


And you are done! Cute, easy and cheap! That’s how I like my men projects.