
Valentine’s Day is in one day, right? So, what am I up to? I’m getting ready to celebrate the return of spring and St. Patrick’s Day of course.
In North Carolina, the trees are starting to bud and a few have flowers. I’m super excited for the arrival of spring. In addition to the flowers, the weeds have also started to pop up. But, there is one weed that I don’t mind sticking around for a little while.

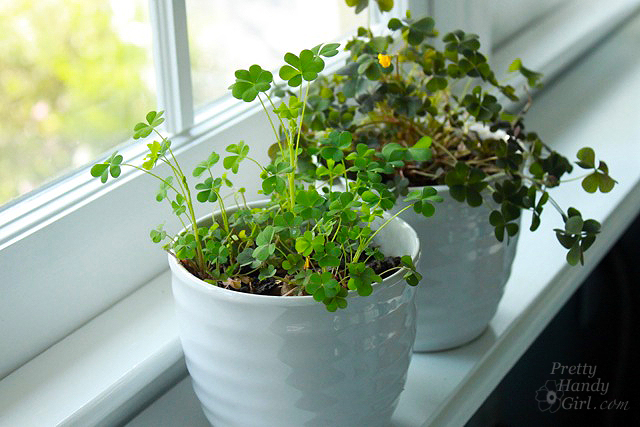
Although clover is technically a weed, it is also is a beneficial plant for your yard. It encourages bees to visit and help pollinate your flowers. Clover also produces nitrogen which is good for your lawn. And finally, it is a low growing evergreen plant, which means more green in your lawn. Read more


