cupcake stand

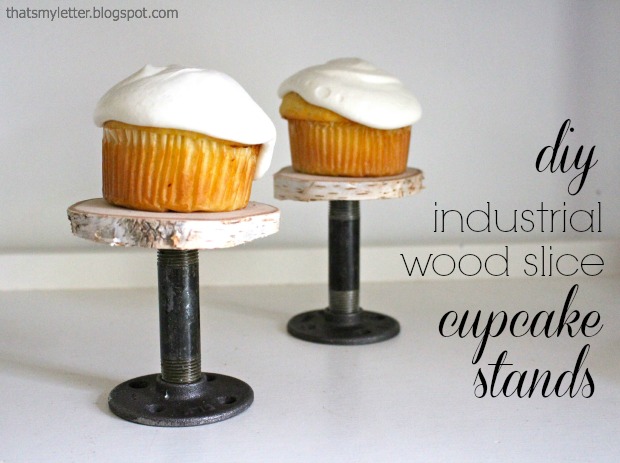
Make these DIY industrial cupcake stands now and you’ll be ready for all the upcoming holidays, Thanksgiving and Christmas are fast approaching!  The cool black steel plumbing parts base combined with the natural wood slice platform lends itself to an unexpected industrial feel.

Each cupcake stand costs $5.50 in parts (not including the birch log), very reasonable for a unique, DIY project that could easily lend itself to become a favor or small gift.
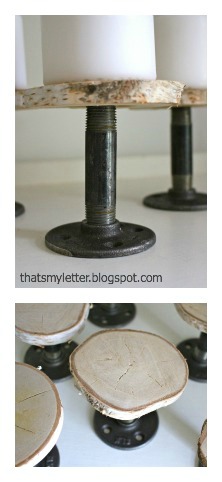
cupcake stand 3

Supplies required (for one DIY Industrial Cupcake Stands):

  • 1/2″ black steel floor flange
  • 1/2″ x 3 1/2″ black steel nipple
  • birch log (approx. 5″ in diameter)
  • hand saw or circular saw
  • palm sander or sandpaper
  • drill
  • 3/4″ circular drill bit
  • E-6000 glue

DIY Industrial Cupcake Stands Instructions:
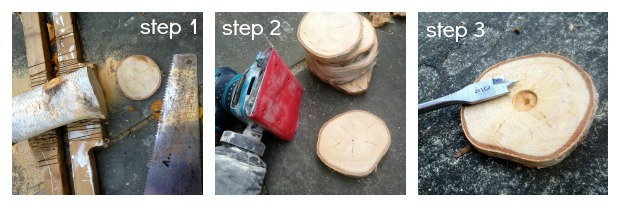
cupcake stand 4

Step 1: Using a handsaw or circular saw slice off 3/4″ thick disc of wood from the birch log. (If you’re concerned about bugs, you can bake them as shown here.)

Step 2: Sand wood slices smooth.

Step 3: Using a drill with a 3/4″ circular bit drill out a small hole for the nipple piece, only about 1/4″ deep, be careful not to let the tip of the bit pierce through to the other side of the wood slice.
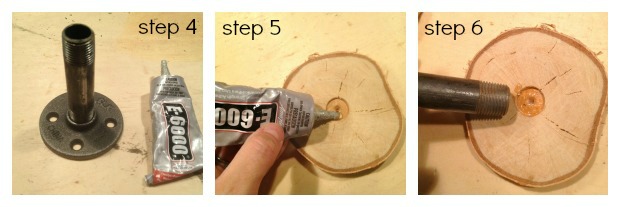
cupcake stands 5

Step 4: Apply E-6000 glue to one end of nipple and screw it into flange.

Step 5: Apply E-6000 glue to circular hole in wood slice.

Step 6: Gently ‘screw’ other end of nipple into wood slice.
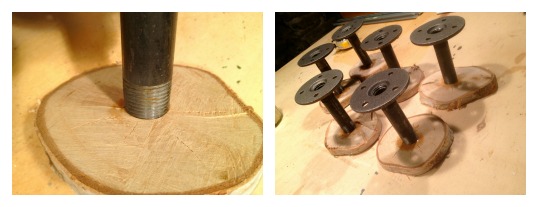
cupcake stand 6

Let the glue dry while the cupcake stands are upside down.

When dry, flip the stands over and load them up!  They are perfect not only for cupcakes but candles too:
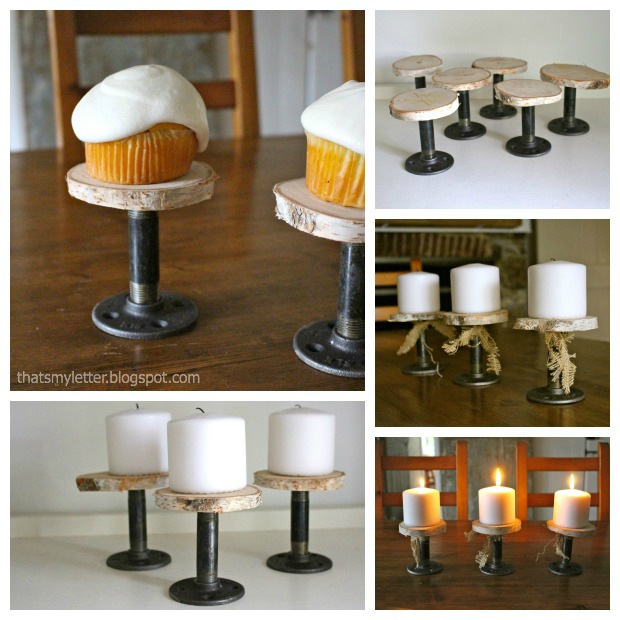
cupcake stand 2

Cupcakes, candles and individual pies too!  Mini pumpkin and pecan pies are on definitely my Thanksgiving menu this year:

DIY Industrial Cupcake Stands

Jaime signature~ Learn more about Jaime ~


Pin for later!

DIY Industrial Cupcake Stands

How to DIY a GIANT artist canvas | Pretty Handy Girl

Have you ever yearned to own a giant piece of artwork but the cost was prohibitive? Or you knew you could create some awesome abstract paintings, but buying large canvases would cost too much. Well, for those hesitant artists, I have this quick tutorial for building your own GIANT canvas!

Materials:

How to DIY a GIANT Artist Canvas

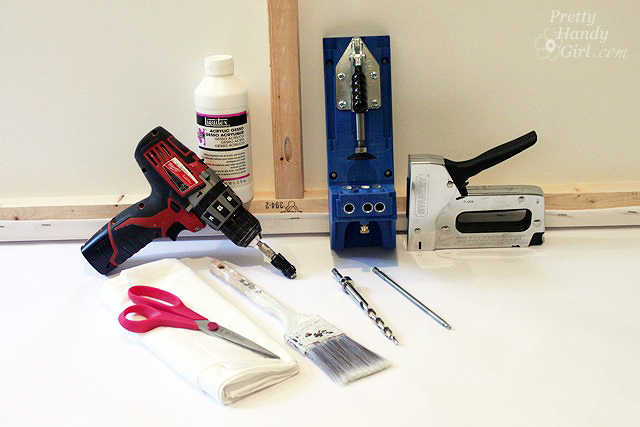
  • 2×2″ boards for frame supports (two sides, top, bottom and center support)
  • Kreg Jig and pocket hole screws
  • Drill
  • White fabric (canvas material would be best, but use what you have)
  • Staple gun and staples
  • Paint brush
  • Gesso (if you don’t have gesso, primer would probably work fine)

Instructions:

Cut your 2×2″ lumber down to size. Cut your top and bottom the full widths. Cut the two sides and the center support 3″ shorter to accommodate the height of the added top and bottom pieces. Note, if your canvas is portrait (instead of landscape), your support will be a center horizontal brace instead of vertical as shown. Read more

how-to-pick-paint-colors

How to Pick Paint Colors

Do you know Lindsay? Makely Home Lindsay (the rockstar blogger formerly known as Living with Lindsay?!)

lindsay - Makely Home

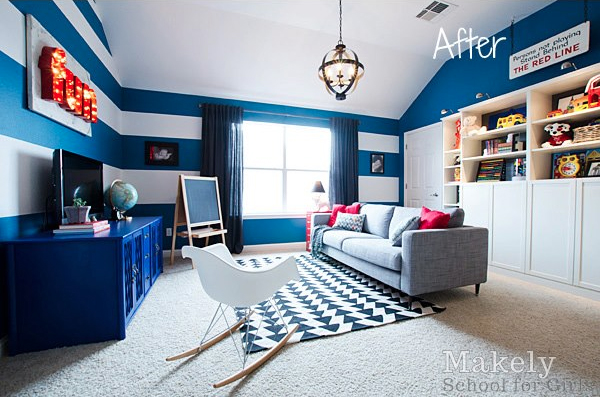
The gal who is so bold with color that her playroom looks like this!

Makely Home Playroom

Well, I have the honor of saying that Lindsay is a friend of mine. But, she is also my idol when it comes to choosing colors. She literally has no fear when it comes to buying paint! When ever I find myself being too safe with color, I think to myself “What Would Lindsay Choose?” And this, my virtual friends, is how I push myself out of my comfort zone.

Glidden has partnered with Lindsay to create some really great Show Me How videos. Check out this short video to learn how Lindsay picks out her beautiful vibrant and daring colors for her home. It’s a great way to be sure before you paint:

If you’re still uncertain, you can try out your color by using this virtual room painter tool at Glidden’s Show Me How site.

Just remember, if you want to push yourself out of that builder’s beige comfort zone, ask yourself “What Would Lindsay Choose?” And you’re halfway done.

Get more tips, tricks and tutorials for your next painting project at Glidden’s new Show Me How website!

PHGFancySign

Disclosure: This is a sponsored post for Glidden brand paint. I was compensated for my time to write this post but the thoughts and opinions expressed are my own.

state-pride-600

I have this amazingly creative friend named Beckie. I’m sure you know her as the brains behind Infarrantly Creative. Well, this time she had the genius idea of having an entire week of State Pride related crafts, recipes, and tutorials revolving around our home states. The fun started yesterday and is continuing all week.

Don’t feel left out, because next week you can join in by Showing Your State Pride in the link party on Monday the 23rd at www.infarrantlycreative.net.

In the meantime, here’s the line up that will have you zig zagging across the US for loads of creative inspiration: Read more

Painted Lampshade & a Quick Guest Room Makeover | Pretty Handy Girl

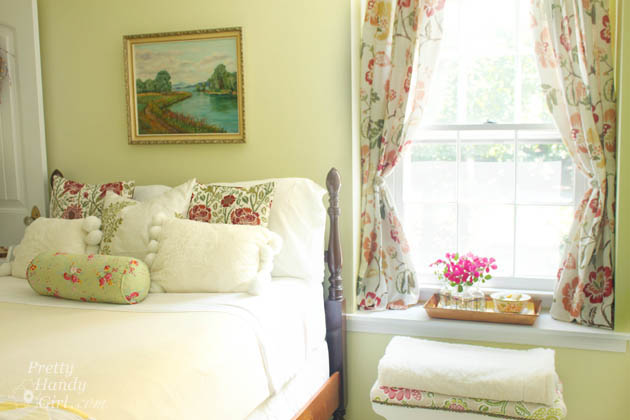
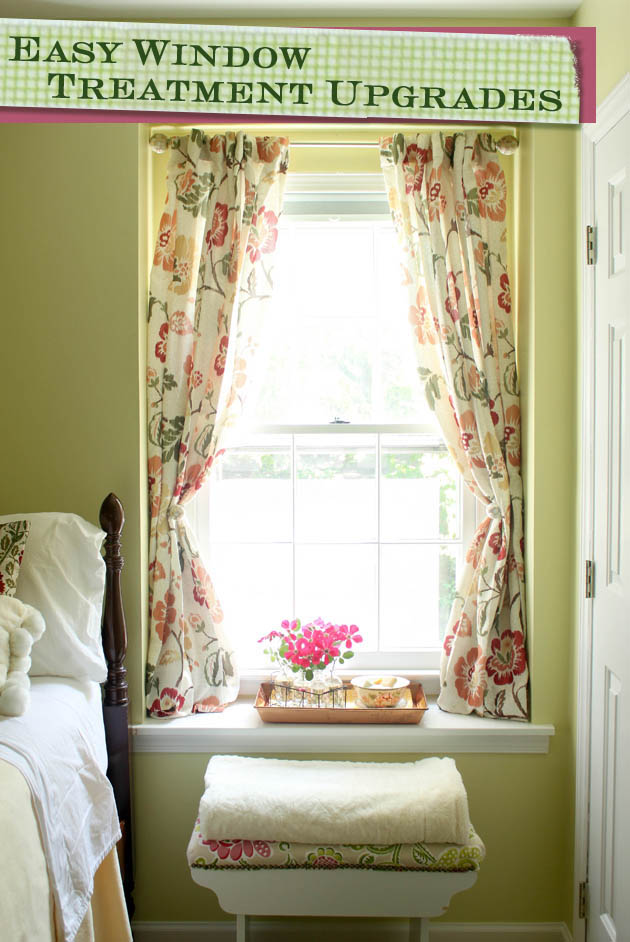
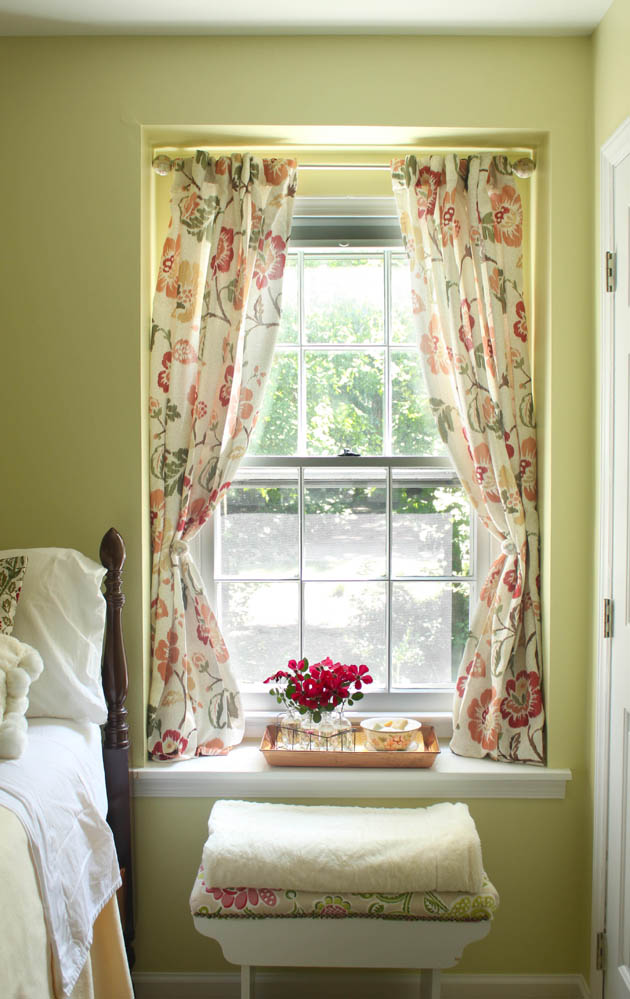
Easy Window Treatment Upgrades | Pretty Handy Girl

Whoa. What happened to summer? Labor Day is here and that means the holidays are just around the corner. I’ve started to think about sprucing up our guest room in anticipation of having guests. The number one complaint our guests have (not that many of them complain) is that there is too much light that comes in the window in the morning. When Lowe’s asked us to focus on window treatments in September, I realized the time had come to address this blinding light situation. Little did I know, that installing new blinds and curtains would take less than an hour!

Here is the basic window that I started with. (Yes, there’s a roller shade there, but it was hidden under a valance and frankly it’s a pain to use.)

How to Install Window Blinds and Curtains | Pretty Handy Girl

After taking a few measurements, I headed to Lowe’s to look at the options for window blinds and curtains. It was a tough decision because I really liked some of the roman shades. But, I wanted a blind that wouldn’t block much light when it was raised. I settled on the Levolor cordless room darkening cellullar shade. Not only does it have a low profile when installed, but raising it and lowering is as easy as pressing a button. Plus, no strangulation hazards because there are no external cords! I’m kicking myself for not doing this sooner.

How to Install Window Blinds and Curtains | Pretty Handy Girl

How to Install Blinds and Curtains from Lowe’s in less than an hour: Read more