31 Days of Handy Home Fixes | Pretty Handy Girl


Want to cut down on your vacuuming? Want to make your carpets last 10 times longer? Want to keep bacteria out of your home? Wow, sounds like a miracle product right? Actually you can accomplish all of the above by simply training yourself and your family to remove their shoes at the door.

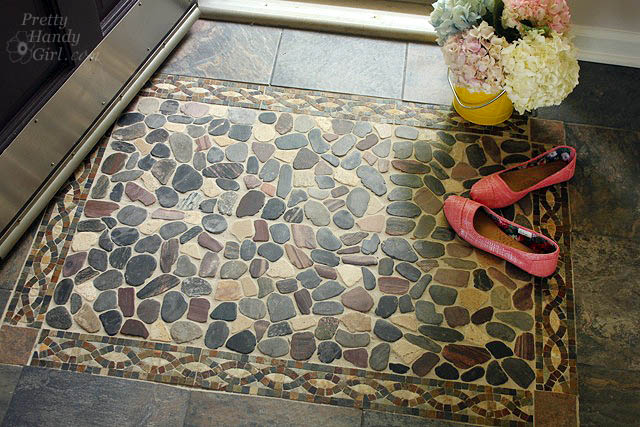
close_up_river_rock_inlaid_doormat

Day 13: Remove Your Shoes at the Door

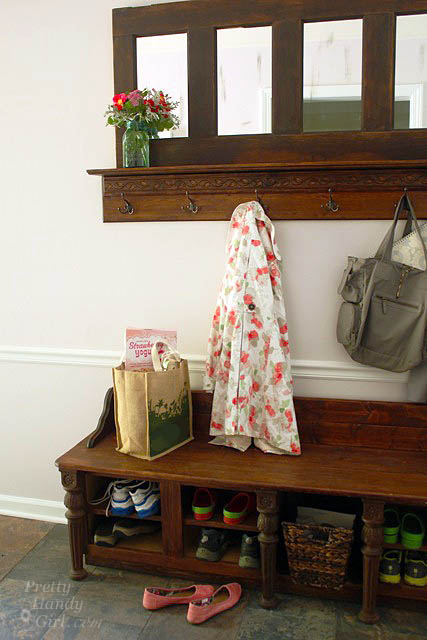
The carpets in our home are at least 13 years old. Believe it or not, they are in great shape! The main reason is that we don’t wear our shoes in the house. The carpeting is good quality carpet. We clean up spills immediately with our carpet steam cleaner (you can’t have kids and pets without one!) I’ve had the carpets professionally cleaned twice since we’ve owned the house in 7 years.
mudroom_shoe_storage_bench

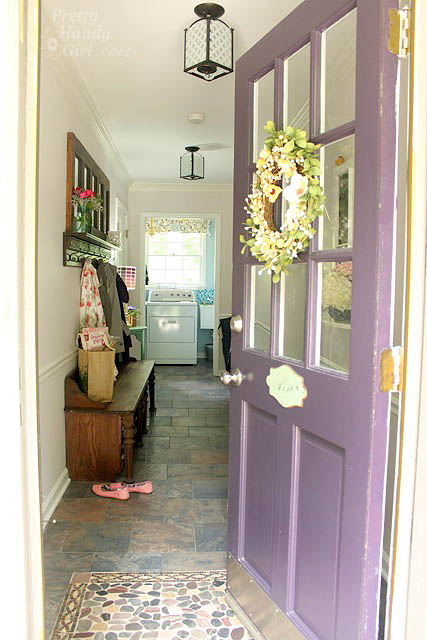
Do we require our guests to remove their shoes? No. But, most of them do anyway because when they come in the mudroom it’s evident that we take off our shoes at the door.
mudroom_tour_entrance

In order to create a habit of removing your shoes at the door, it’s important to have a convenient storage location for shoes. Creating shoe storage doesn’t have to be expensive.

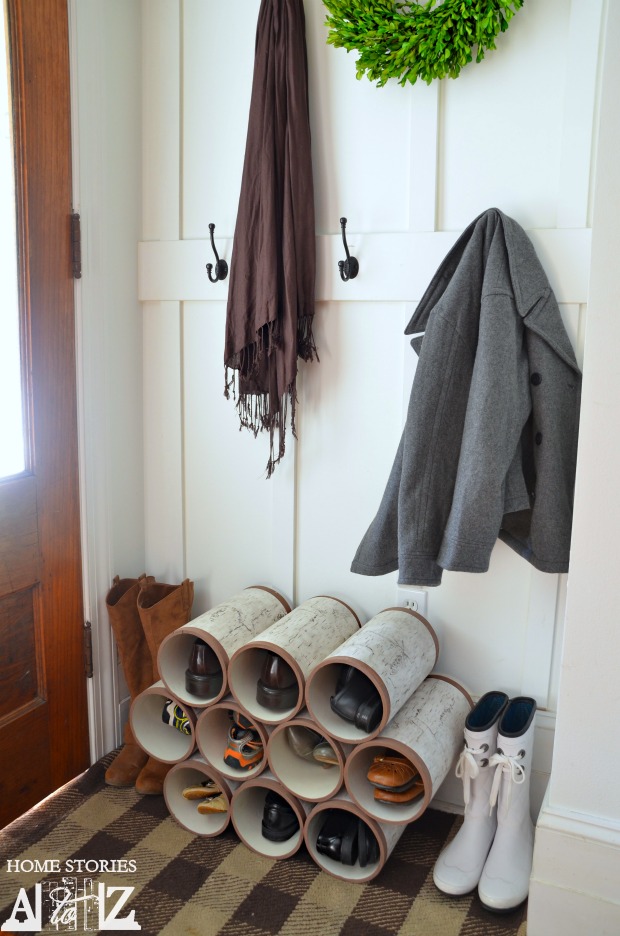
Beth made these beautiful faux birch log shoe storage out of PVC pipe:
PVC Birch Shoe Storage

Jessica shared how she took a nook and put in shelving for shoe storage.
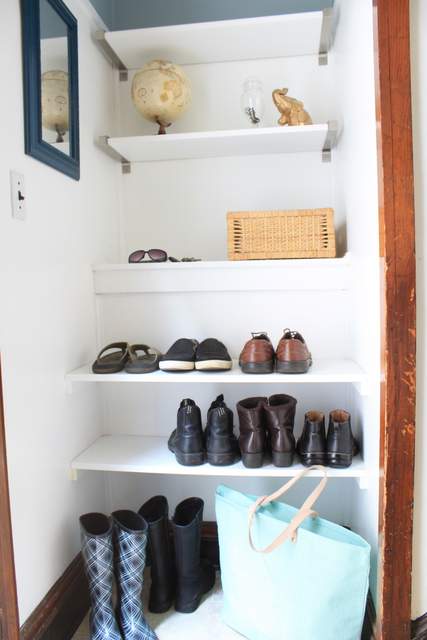
Built In Shoe Shelves

I made a small shoe storage bench out of a kitchen cabinet.

Shoe Bench from a Kitchen Cabinet

But, my sanity saver is this larger shoe storage bench I made out of salvage materials.
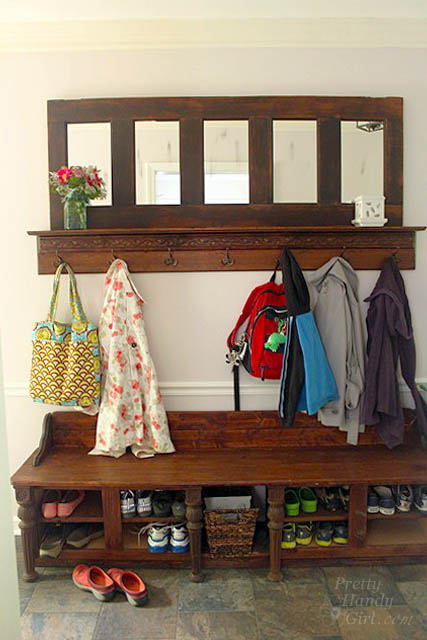
DIY Mudroom Storage Bench

Do you have any other tips for keeping your carpets looking like new?

PHGFancySign

I’m participating in Nester’s 31 Days Challenge. Check out all the other bloggers who are participating!

31 Day Writing Challenge

Don’t miss a single tip! Sign up to get all the tips in your email:


Sign Up for Email Subscription


Other tips in the 31 Days of Handy Home Fixes series:

Protect Spigot from Frozen Burst Pipes | Pretty Handy Girl

31 Days of Handy Home Fixes | Pretty Handy Girl

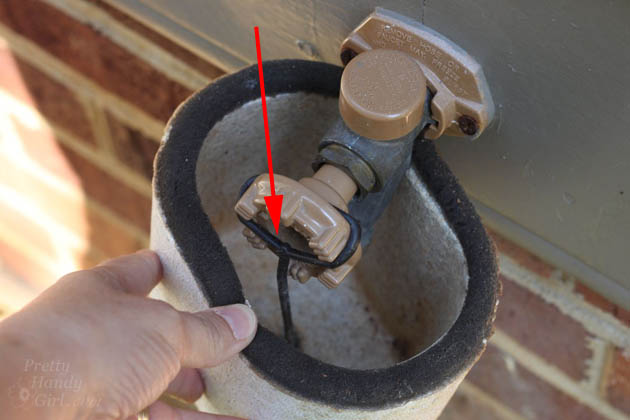
Winter is coming and this year I want to help you protect your home from a burst pipe because it froze. Much like your water pipes (which should have foam insulation sleeves on them,) it’s important to protect your spigot on the outside of your house from freezing.

Protect Spigot from Frozen Burst Pipes | Pretty Handy Girl

Luckily, Frost King makes this handy dandy Insulated Outdoor Faucet Cover.

Day 12: Protecting Spigots from Frozen Burst Pipes

To install the insulated cover, you simply slip the interior cord loop over the spigot handle.

Protect Spigot from Frozen Burst Pipes | Pretty Handy Girl

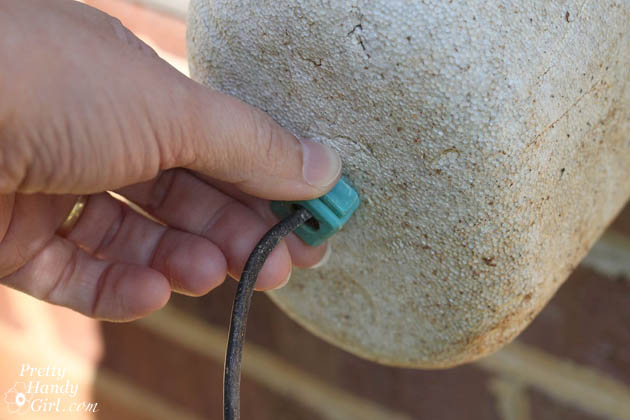
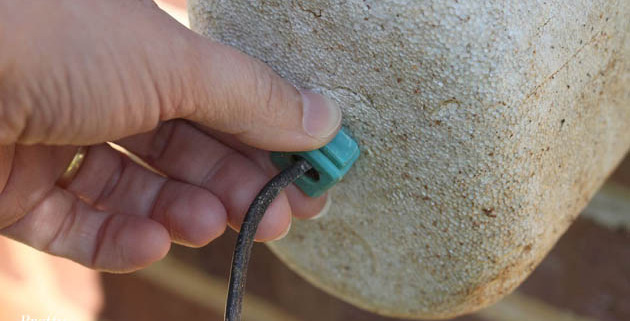
Cinch the cord lock tight onto the styrofoam cover.

Protect Spigot from Frozen Burst Pipes | Pretty Handy Girl

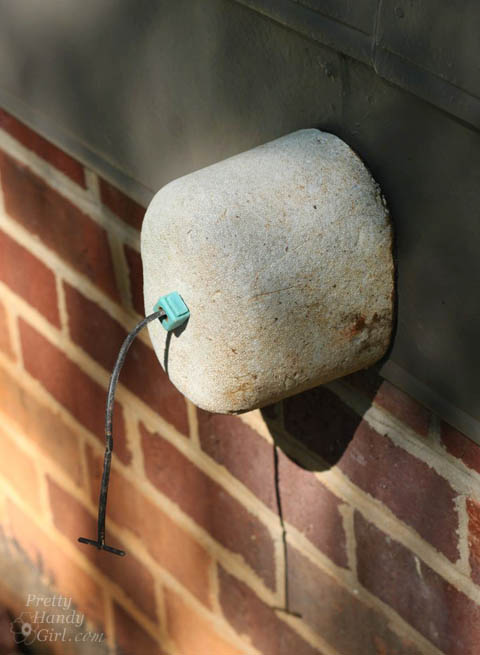
And your spigot is protected from freezing leading to a costly burst pipe.

Protect Spigot from Frozen Burst Pipes | Pretty Handy Girl

The nice thing about these covers is they can be installed and removed in seconds. If you need to use your spigot, it’s simple to remove and then replace the cover.

PHGFancySign

Pin for later!

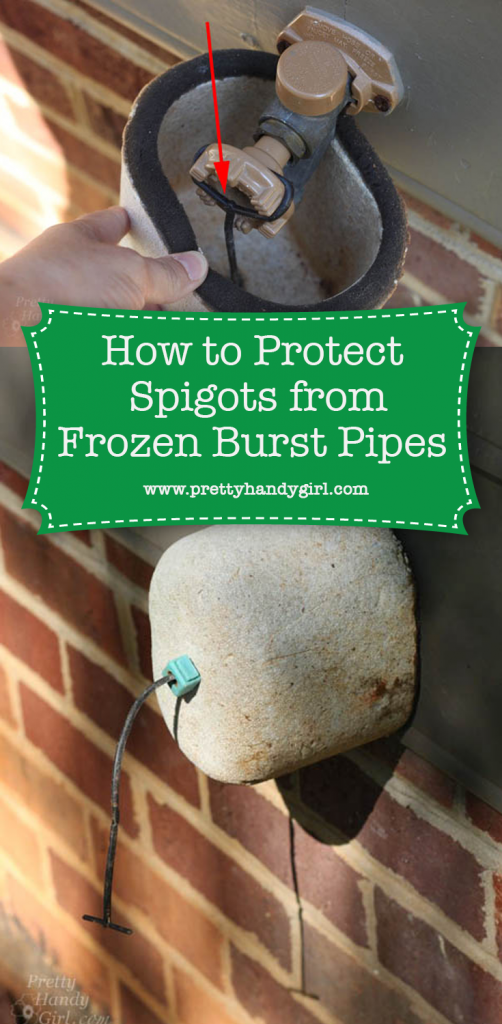
protect frozen pipes from bursting

I’m participating in Nester’s 31 Days Challenge. Check out all the other bloggers who are participating!

31 Day Writing Challenge

Don’t miss a single tip! Sign up to get all the tips in your email:


Sign Up for Email Subscription


Other tips in the 31 Days of Handy Home Fixes series:

Easy Clean Up Paint Tray Liner | Pretty Handy Girl

31 Days of Handy Home Fixes | Pretty Handy Girl

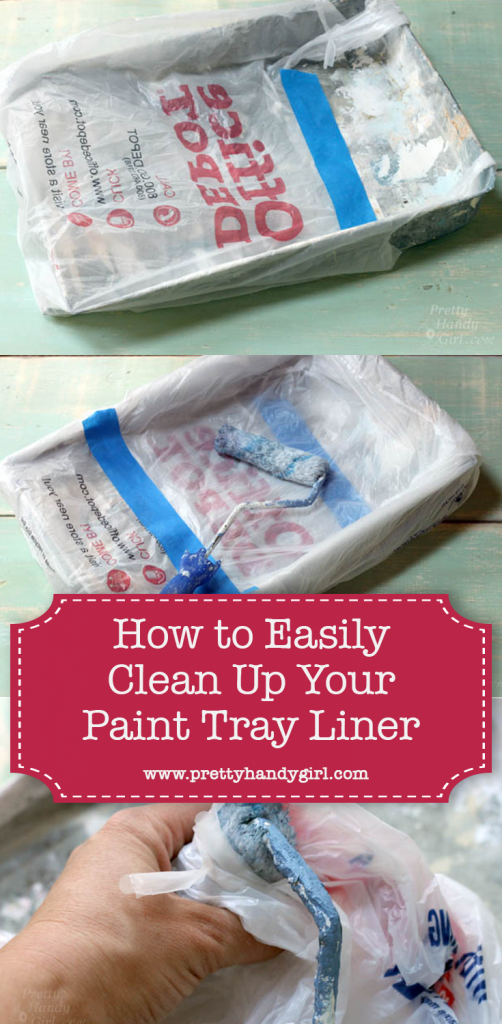
I love to paint rooms! It’s one of those meditative tasks that leaves you with instant gratification when  you are done. But, I don’t like the clean up afterwards. Several years ago I came up with an Easy Clean Up Paint Tray Liner that costs next to nothing!

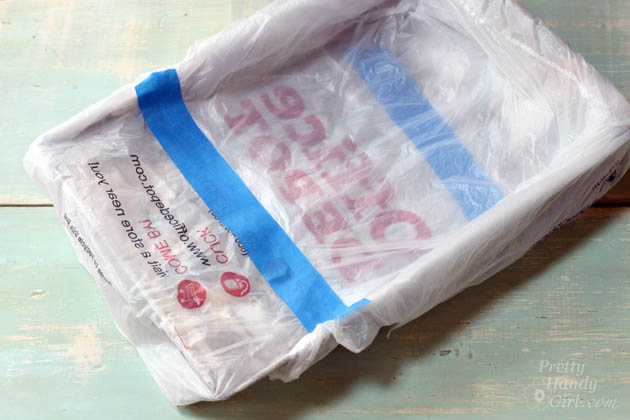
All you need are two plastic grocery bags and two strips of painter’s tape.

Day 11: Easy Clean Up Paint Tray Liner

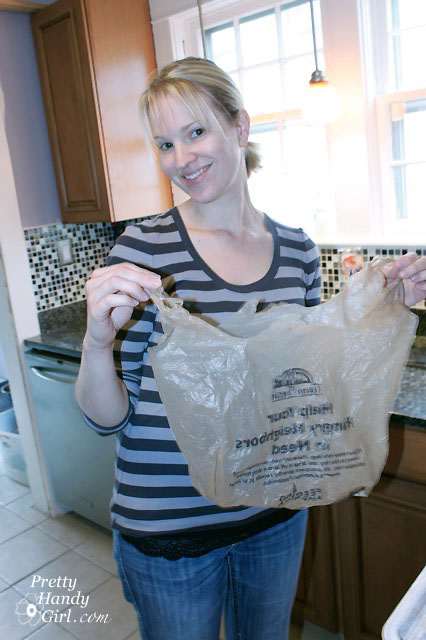
Make sure your grocery bags are clean and don’t have any holes in them. Turn the bags inside out if there is printing on them. (Sometimes the ink is water soluble and can mix with the paint.) Observe as my sister gives her best Vanna White impression and shows you how to invert that bag:

Easy Clean Up Paint Tray Liner | Pretty Handy Girl

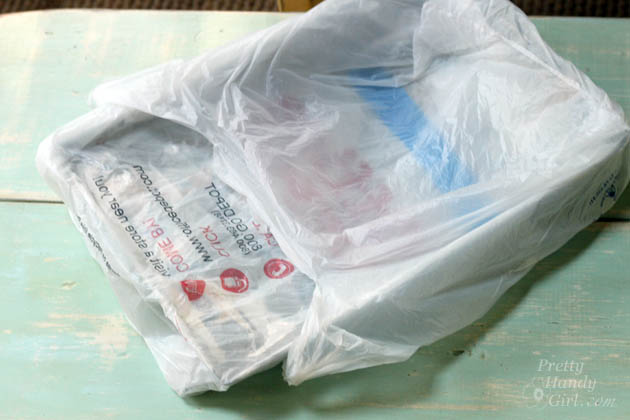
Slip the first bag on from the top of the tray and tape it at the bottom.

Easy Clean Up Paint Tray Liner | Pretty Handy Girl

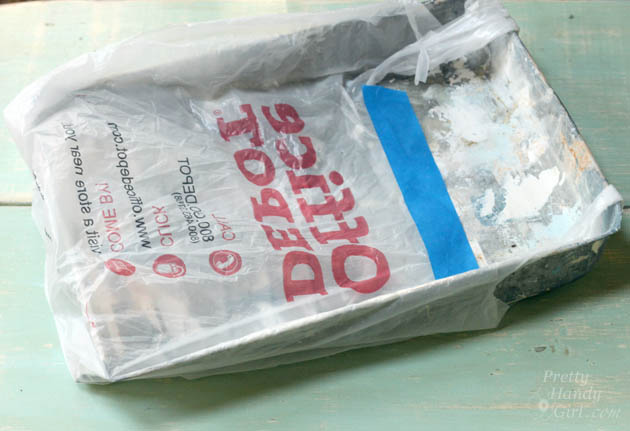
Slip the second bag over the bottom this time:

Easy Clean Up Paint Tray Liner | Pretty Handy Girl

Tape the opening of the bag across the entire paint tray width.

Easy Clean Up Paint Tray Liner | Pretty Handy Girl

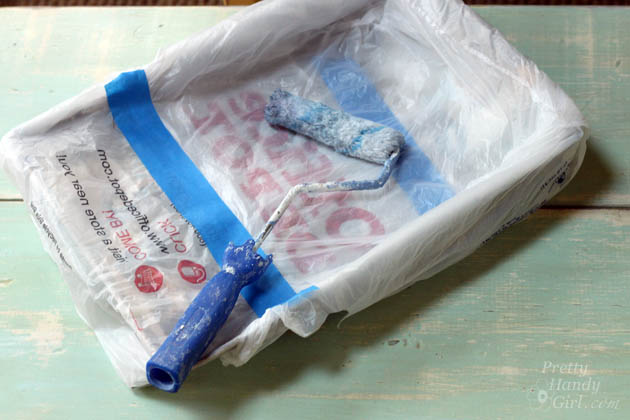
You’re ready to rock and roll, errr roll and paint!

Easy Clean Up Paint Tray Liner | Pretty Handy Girl

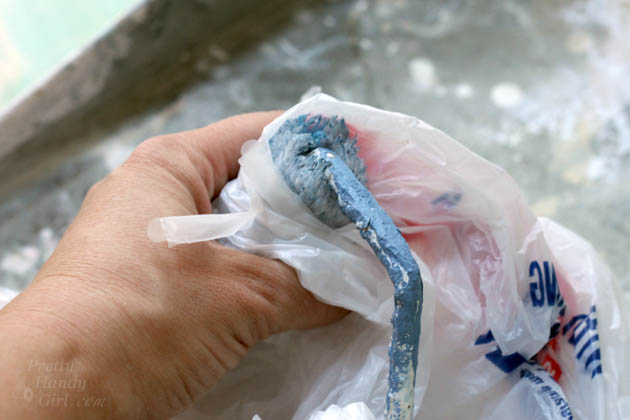
When you are done, carefully remove the plastic bags and throw them away. If you are pitching your roller, you can grab the roller through the bags and pitch it too.

Easy Clean Up Paint Tray Liner | Pretty Handy Girl

No need to clean the tray (unless some paint seeped inside.) Unfortunately, you’ll probably still need to wash your paint brushes. But, if you clean your paint brushes correctly, they should last you a decade or more!

PHGFancySign

Pin for later!

paint tray liner plastic bag

Easy Tricks to Remove Walls Scuffs | Pretty Handy Girl

31 Days of Handy Home Fixes | Pretty Handy Girl

Do you have a ghost in your house? I do! Want to know how I know? Because we have scuffs that magically appear on the walls. It doesn’t bother me because I know a few easy tricks for removing wall scuffs.

Day 10: Easy Tricks for Removing Wall Scuffs

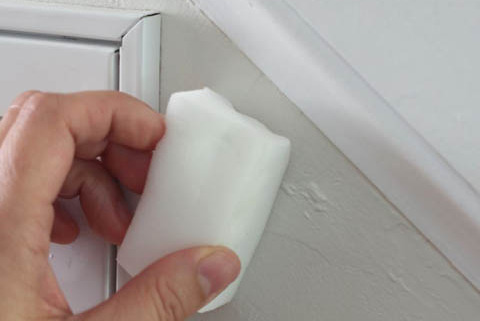
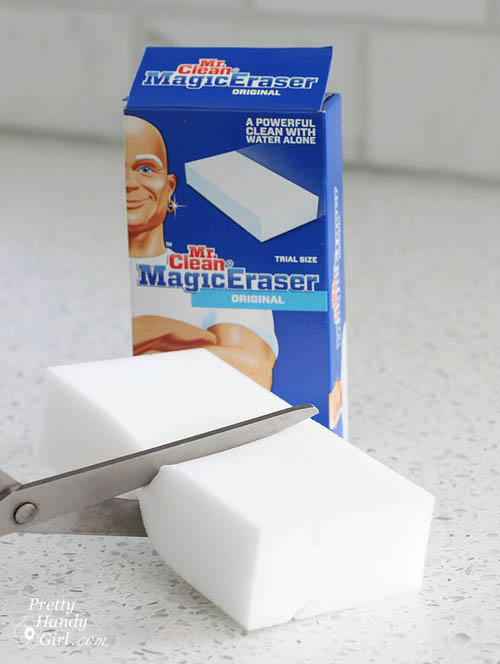
My number one tool in my arsenal against wall scuffs is the Mr. Clean Magic Eraser. This guy is tough on scuffs! Before you start using that new eraser, cut it into fourths. That way you only dirty one small section at a time.

Easy Tricks to Remove Walls Scuffs | Pretty Handy Girl

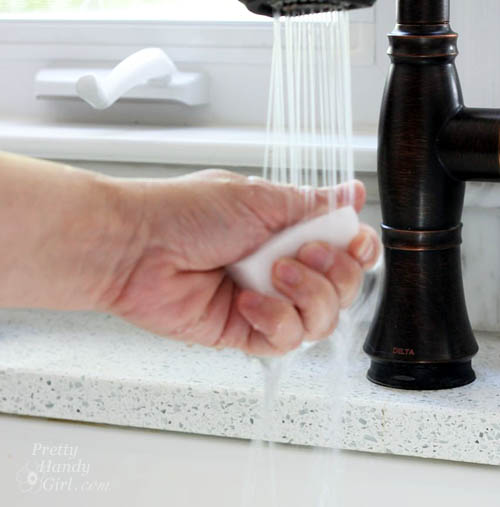
Rinse the eraser under water and ring out as much water as you can.

Easy Tricks to Remove Walls Scuffs | Pretty Handy Girl

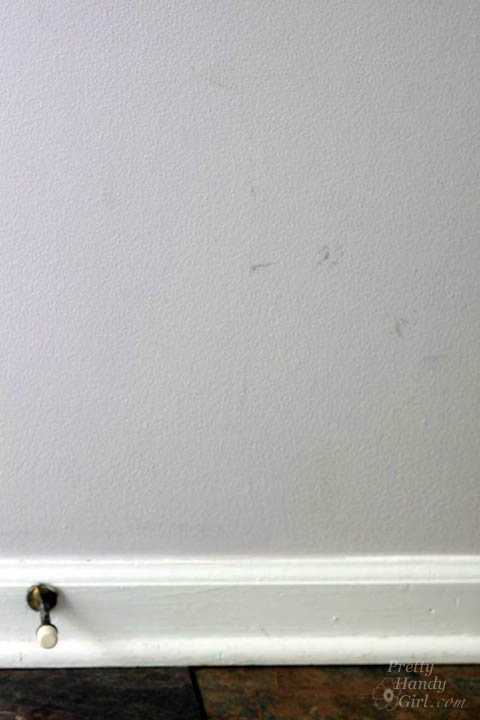
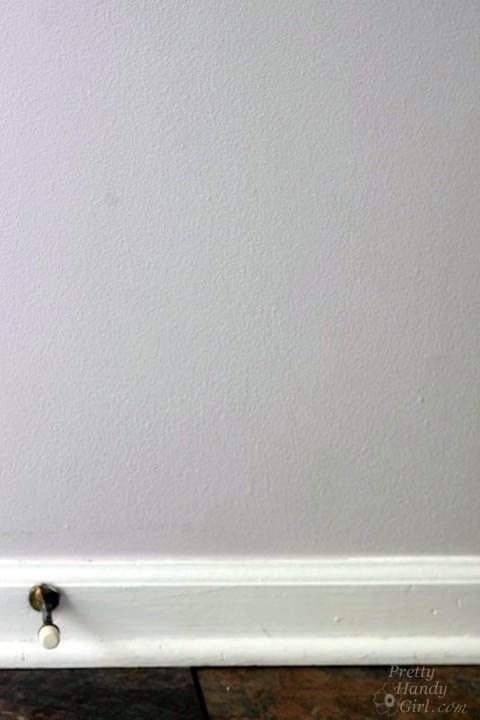
Locate your wall scuffs:

Easy Tricks to Remove Walls Scuffs | Pretty Handy Girl

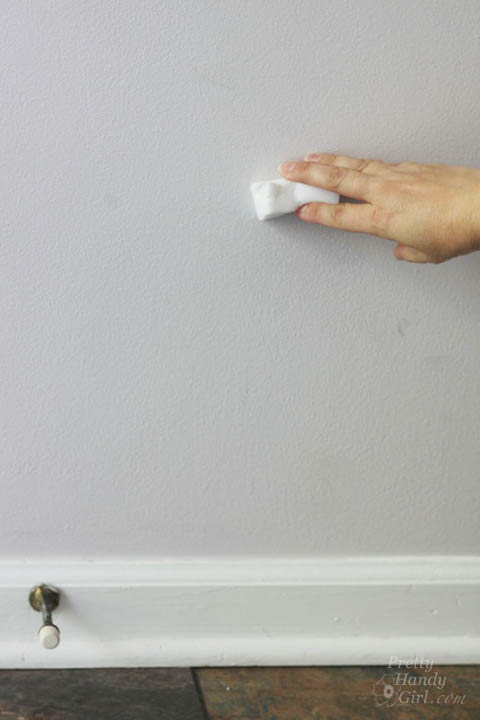
Gently rub the wall with the Magic Eraser until the scuffs disappear.

Easy Tricks to Remove Walls Scuffs | Pretty Handy Girl

Instantly gone, invisible and no more ghost evidence.

Easy Tricks to Remove Walls Scuffs | Pretty Handy Girl

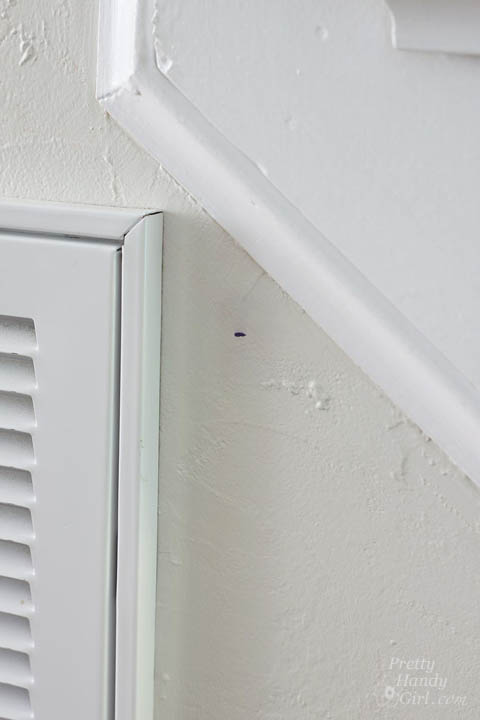
Recently I accidentally marked my wall with a Sharpie marker.

Easy Tricks to Remove Walls Scuffs | Pretty Handy Girl

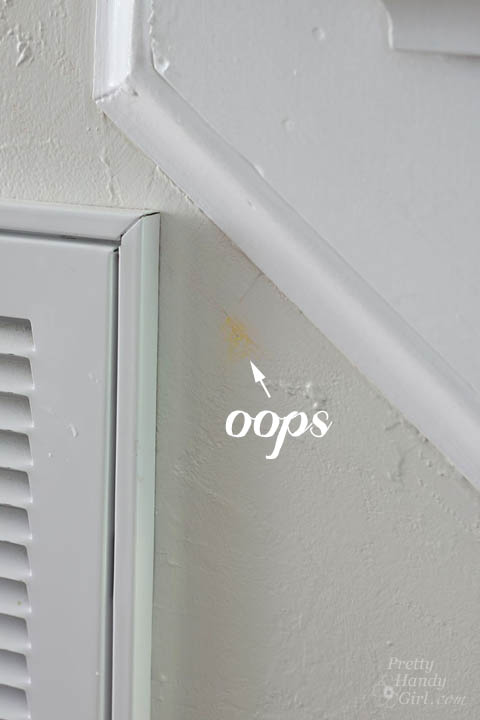
The Magic Eraser worked a little too well in removing the mark. I accidentally rubbed down to the old paint color.

Easy Tricks to Remove Walls Scuffs | Pretty Handy Girl

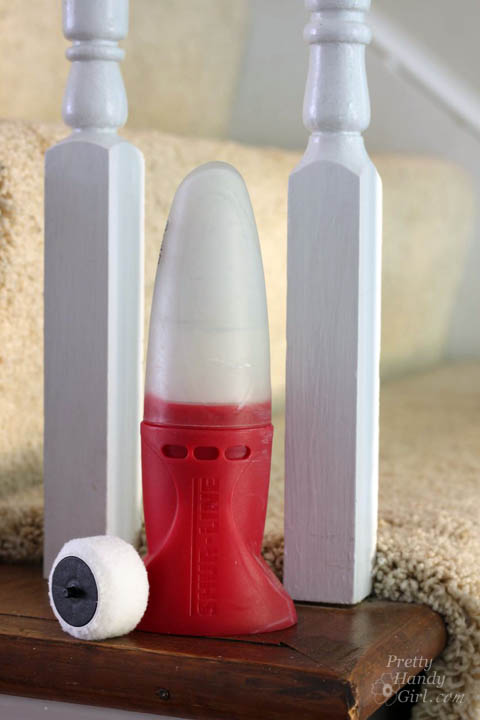
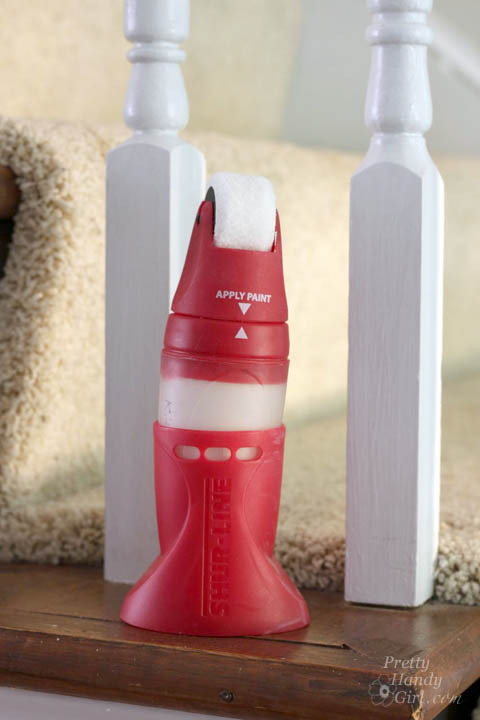
For true paint touch ups, I use the Shur-Line touch up painter. I poured this paint in the tube a year ago. Then stored it in the garage.

Easy Tricks to Remove Walls Scuffs | Pretty Handy Girl

I snapped a new roller into the top. After a year, the paint clogged at the release hole. But, I was able to poke a pin though to start the paint again.

Easy Tricks to Remove Walls Scuffs | Pretty Handy Girl

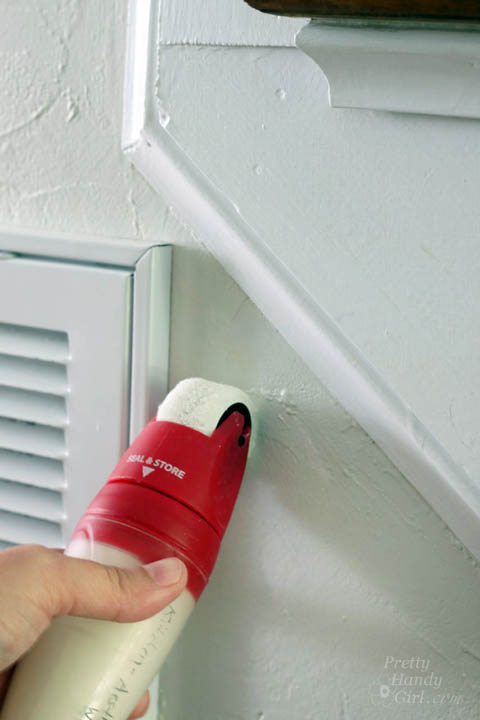
Then I rolled over the “oops” until it had good paint coverage.

Easy Tricks to Remove Walls Scuffs | Pretty Handy Girl

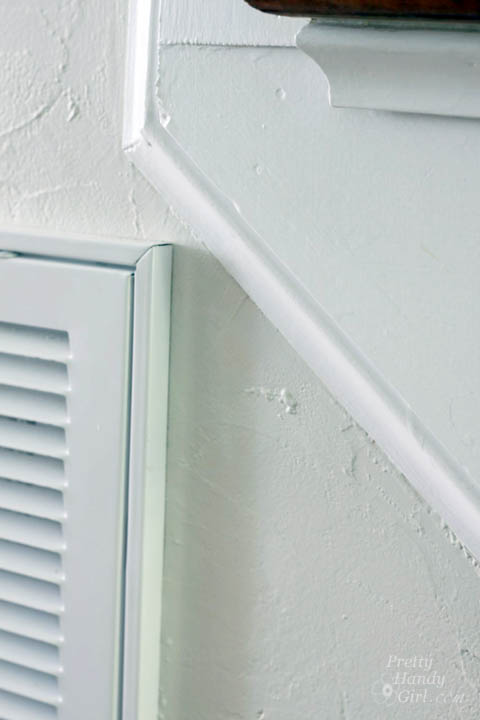
And the mark/scuff is gone.

Easy Tricks to Remove Walls Scuffs | Pretty Handy Girl

Do you have any tips or tricks for removing wall scuffs? I’m anxious to hear your tips.

PHGFancySign

Pin for later!

how to remove wall scuffs

I’m participating in Nester’s 31 Days Challenge. Check out all the other bloggers who are participating!

31 Day Writing Challenge

Don’t miss a single tip! Sign up to get all the tips in your email:


Sign Up for Email Subscription


Other tips in the 31 Days of Handy Home Fixes series:


Replace Water Lines with Braided Metal Hoses | Pretty Handy Girl

31 Days of Handy Home Fixes | Pretty Handy Girl

Welcome to Day 9 of my 31 Days of Handy Home Fixes. Would you believe that a burst water line can cause tens of thousands of dollars worth of damage to your home? It’s true! If one of your water supply lines is not braided metal, you could be putting your home in danger of a massive leak; leading to a flood; which can lead to rot, mold and termites! Yup, termites love moist wood.

Day 9: Replace All Water Lines with Braided Metal:

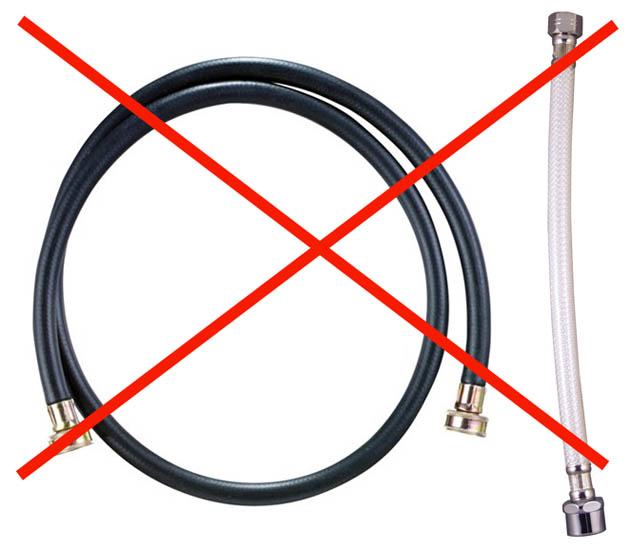
Take a few minutes to look behind your toilet, behind your washing machine and under sinks to see if you have water supply lines that look like these:Replace Water Lines with Braided Metal Hoses | Pretty Handy Girl

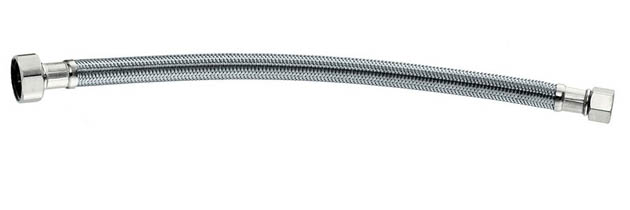
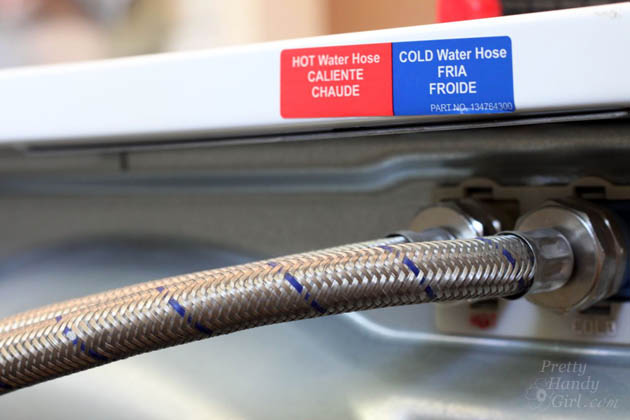
If you do, it’s time to change them out for braided metal water lines:

Replace Water Lines with Braided Metal Hoses | Pretty Handy Girl

And if you are purchasing a new washer, dishwasher or refrigerator, request braided metal water supply lines instead of the basic lines that are sold with the appliance. The cost difference is literally a few dollars in some cases. That extra dollar or two could save you tens of thousands of dollars!

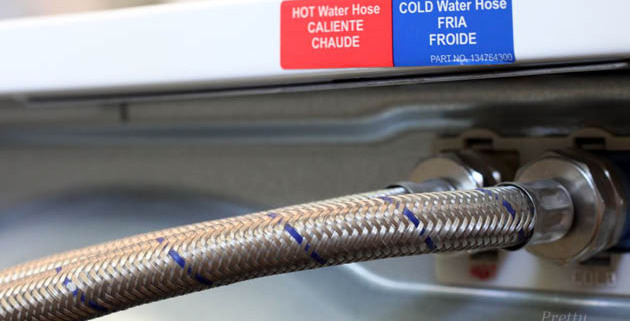
Replacing the water lines is as easy as attaching your garden hose. To replace your washing machine hoses, locate the water shut off (usually it is behind the washer.) Turn the knobs off. Then remove the supply line from the shut off and the back of the washer. Have a towel underneath to capture any drips.

Replace Water Lines with Braided Metal Hoses | Pretty Handy Girl

Tighten the new braided hoses onto the washing machine and the water shut off valve. Turn the water back on and look for any drips or leaks. You might need to use a wrench to tighten up to half a turn more if you notice any drips after you turn the water back on.

Replace Water Lines with Braided Metal Hoses | Pretty Handy Girl

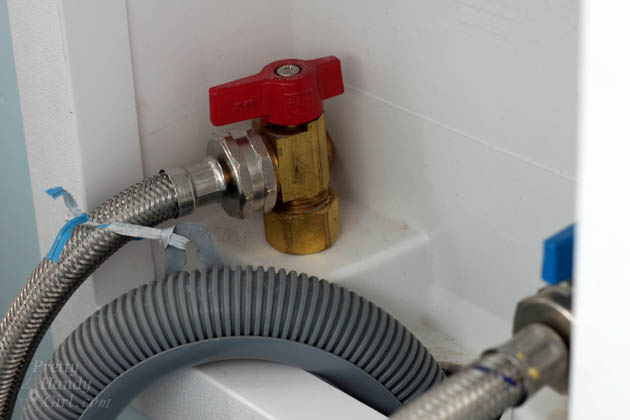
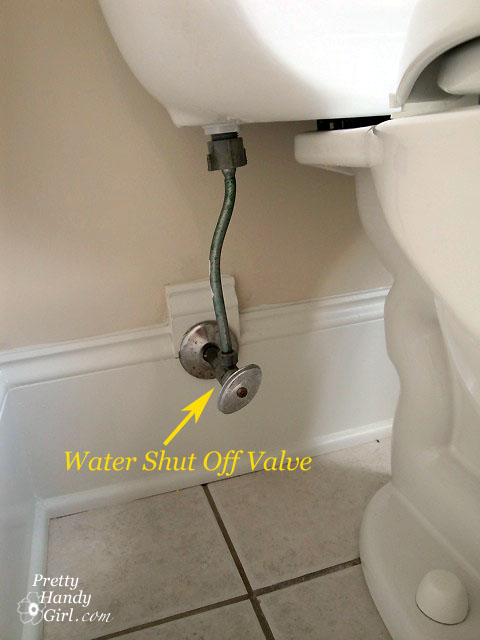
Replacing the water lines to your toilet and sink is almost as easy, usually the shut off valve looks like this:

water_shut_off_valve

Replacing the dishwasher water line can be a bit trickier if it is behind your cabinets. You might need to call in a helper to help you remove the dishwasher.

PHGFancySign

Pin for later!

water line replacement


I’m participating in Nester’s 31 Days Challenge. Check out all the other bloggers who are participating!

31 Day Writing Challenge

Don’t miss a single tip! Sign up to get all the tips in your email:


Sign Up for Email Subscription


Other tips in the 31 Days of Handy Home Fixes series: