5 Ways to Find a Wall Stud (without a stud finder) | Pretty Handy Girl

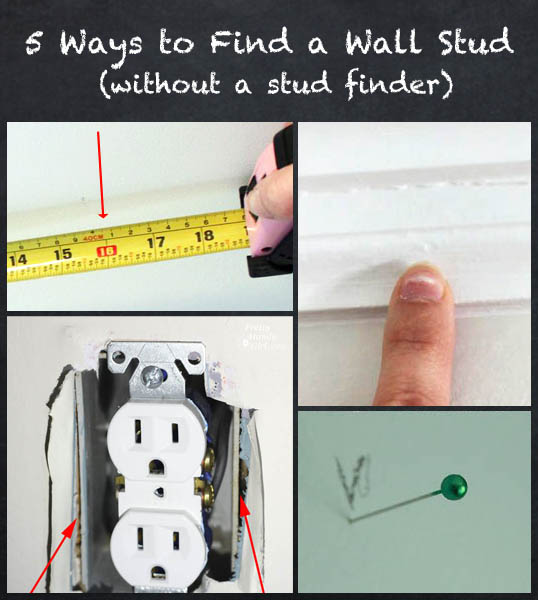
Using a stud finder is the quickest and easiest way to find a stud. But, if you don’t have one or are too lazy to find yours (I’m often guilty of this), you can use one of these ways to find a stud.
5 Ways to Find a Wall Stud (without a stud finder) | Pretty Handy Girl

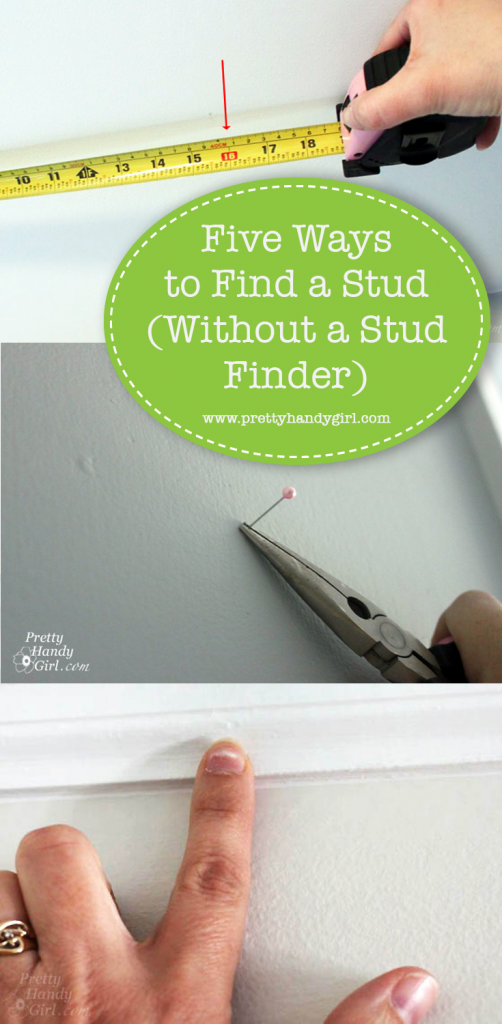
5 Ways to Find a Stud (without a Stud Finder)

1. Measure from an outlet – remove an outlet cover and inspect the outsides of the box. One side will usually be nailed to a stud.
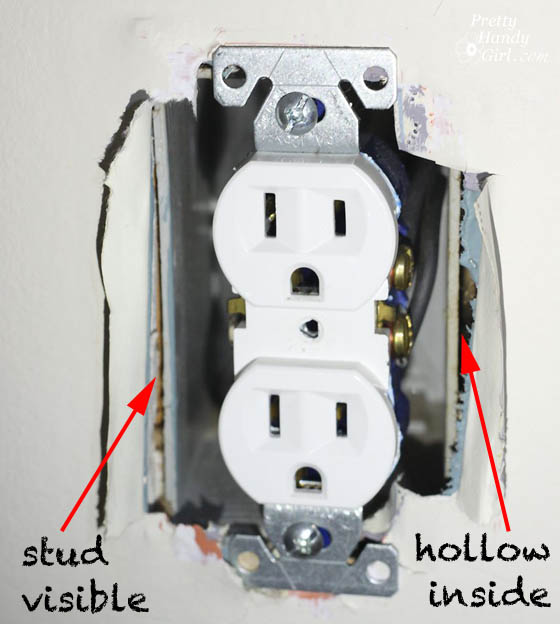
stud-visible-from-outlet-box

Then measure out to the left or right at 16″ intervals. US building code requires wall studs to be spaced at least 16″ on center (meaning the center of the studs.) This will help you locate studs. However, recognize that in locations near doors/windows or openings there may be a stud at less than a 16″ interval.
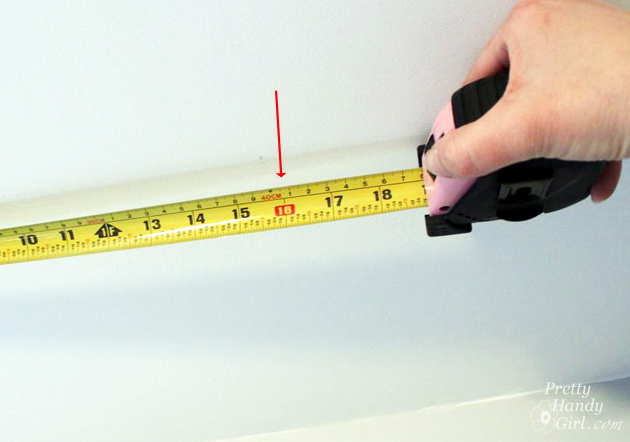
5 Ways to Find a Stud

2. Look for popped nails or dimples on the wall – It doesn’t always happen, but in older houses you might see nail pops where the drywall was nailed to a stud. In newer construction this is less likely to happen because screws are used.

3. Look for nails in your baseboard or crown moulding – inspect your crown or baseboard moulding for nails that might indicate where it was attached to a stud.
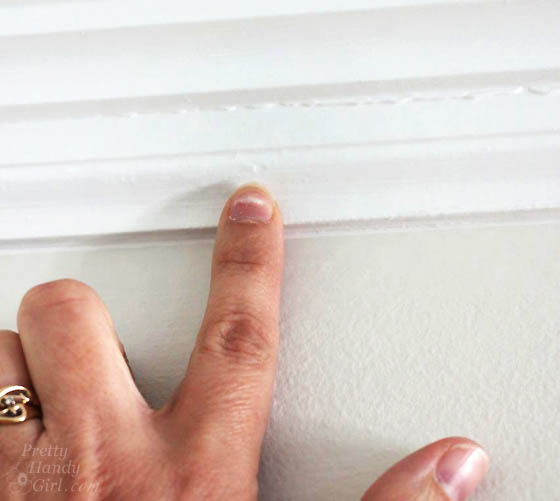
locate-nail-in-moulding

4. Knock on the wall – You should use this method in conjunction with the methods described above. Use your knuckle to knock along the wall horizontally. A stud location will have a higher pitched sound and feel hard against your knuckle. Lack of a stud will have a lower pitch and hollow sound.

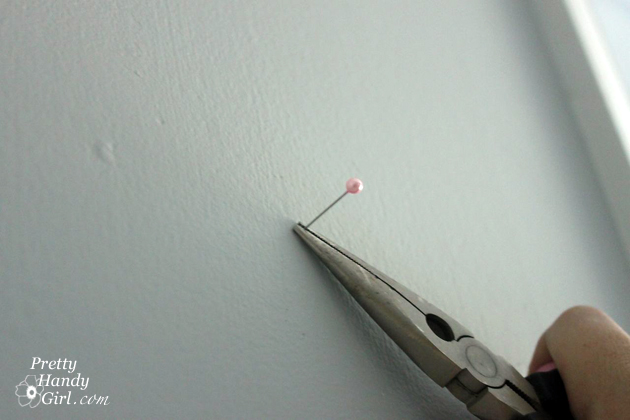
5. Use a small pin – Once you think you’ve located the stud, use a small quilter’s pin to verify that you found the stud.
Wall-mounted IKEA LILLÅNGEN Mirrored Cabinet turned Stuffed Animal Storage | Pretty Handy Girl

If the pin sinks in up to the head, there is no stud there. If the pin sinks in about 3/4″ and then stops, you found the stud.
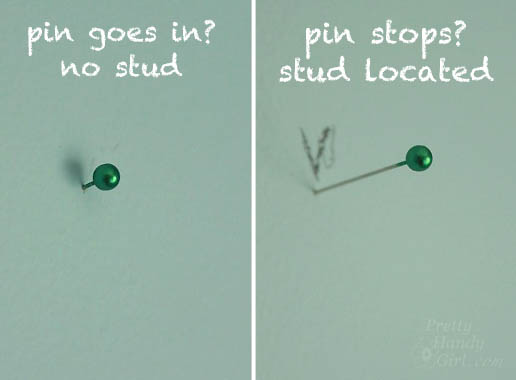
pin-locating-studs

The pin method will save you the hassle of creating a larger hole only to realize that you missed the stud.

Okay, now go find your stud! {snicker, hee hee}

PHGFancySign

Pin for later!

how to find a stud without a stud finder

2 Ingredient Ant Killer | Pretty Handy Girl
31 Days of Handy Home Fixes | Pretty Handy Girl

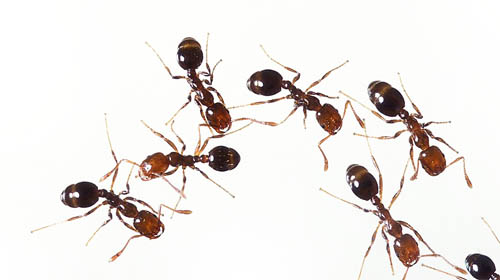
It’s no picnic when you realize your home has been invaded by sugar ants. Instead of spraying your kitchen (or wherever you find them) try this Two Ingredient Ant Killer.
2 Ingredient Ant Killer | Pretty Handy Girl
Photo by Stephen Ausmus – https://www.ars.usda.gov/is/graphics/photos/dec04/k11622-1.htm
Licensed under Public domain via Wikimedia Commons

Day 17 – Two Ingredient Ant Killer

2 Ingredient Ant Killer | Pretty Handy Girl

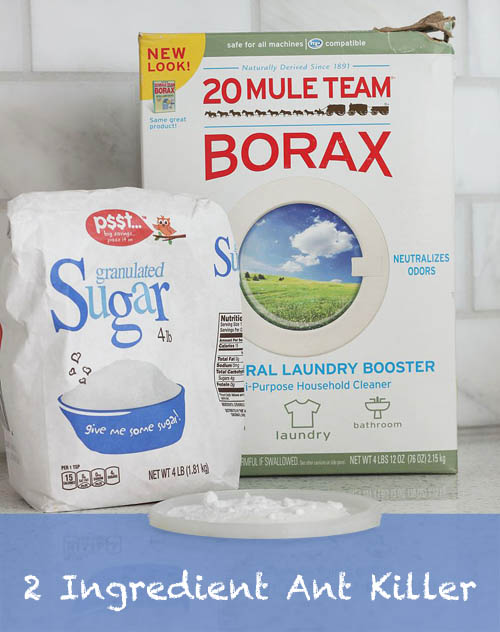
Mix equal parts sugar and Borax into a small disposable lid. Set it out near the area of largest ant concentration or near the location they are entering your home. Caution: DO NOT put this mixture where children or pets can get to it.

Leave the mixture out for 24 – 48 hours or until you have no more ants. The ants will take the sugar and Borax back to the nest where the colony will have a feast and consequently die after intestinal distress.

Lest you think buying a box of Borax is wasteful, I’ll have another use for Borax later this month.

PHGFancySign

I’m participating in Nester’s 31 Days Challenge. Check out all the other bloggers who are participating!

31 Day Writing Challenge

Don’t miss a single tip! Sign up to get all the tips in your email:


Sign Up for Email Subscription


Other tips in the 31 Days of Handy Home Fixes series:


31 Days of Handy Home Fixes | Pretty Handy Girl

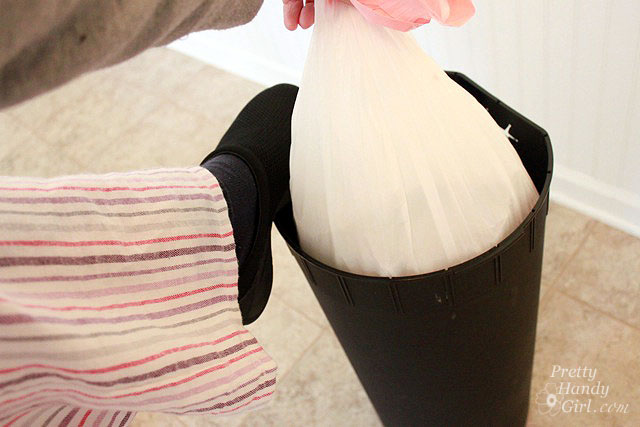
Take out the papers  and the trash…ummm take out the trash?

foot_on_trashcan

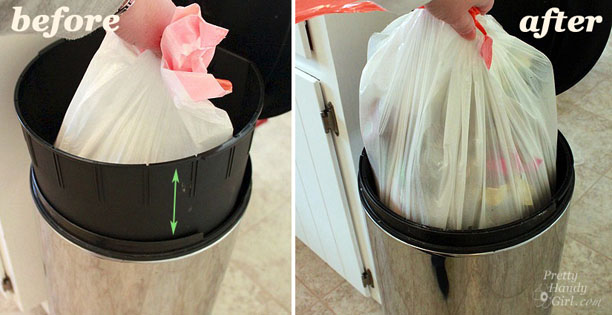
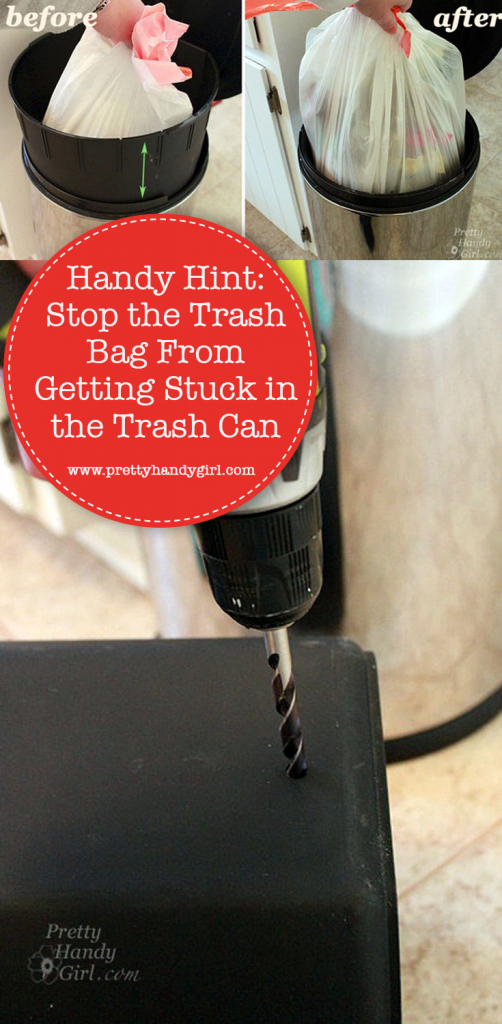
Grrr, don’t you hate when the trash bag gets stuck in the trash can? No worries, I have an easy fix that will make taking out the trash a much easier chore. It may sound a little crazy, but it involves drilling holes.

Day 16: Put Holes in Your Trash Can

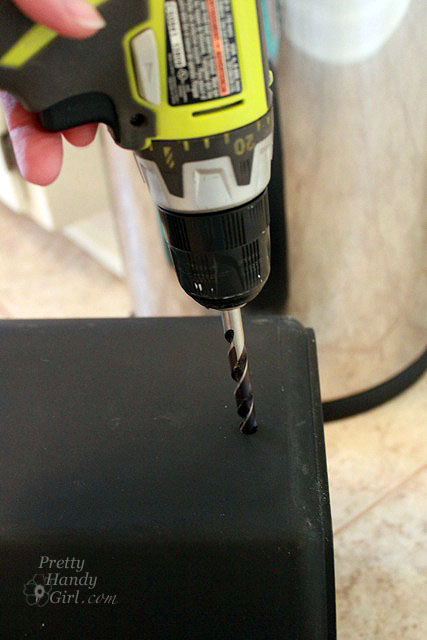
To release the suction created by a full trash bag in the trashcan you need to add some air holes. If you put the holes about an inch up from the base you won’t risk any drips on the floor if the bag leaks.

Simply drill three to four air holes into the bottom of your trash can.

drill_holes_in_trash_can

Now you can take out the papers and the trash or you don’t get no spending cash. Yakkety Yak, don’t talk back.

before_after_trashcan

This year we’ve added several chores for the kids to handle. Taking out the trash and recycling is one of their responsibilities. I’m curious, what chores do your kids have?

PHGFancySign

Pin for later!

how to remove a trash bag that gets stuck in trash can

I’m participating in Nester’s 31 Days Challenge. Check out all the other bloggers who are participating!

31 Day Writing Challenge

Don’t miss a single tip! Sign up to get all the tips in your email:


Sign Up for Email Subscription


Other tips in the 31 Days of Handy Home Fixes series:


31 Days of Handy Home Fixes | Pretty Handy Girl

Curtain rods, towel bars, and other wall mounted accessories are relatively easy to hang. The trick is securing them to a stud so they can hold up to the abuse. But, how often have you found that you don’t have a stud where you want it mounted? Probably 98% of the time, right? That’s where it is important to use good wall anchors (specifically for your type walls.) Today I’m talking about drywall anchors.

Day 15: Use Good Wall Anchors

You are probably thinking, “Okay, no problem. The towel bar I bought came with wall anchors. I’ll just use those.” And that would be a mistake!

use_better_anchors

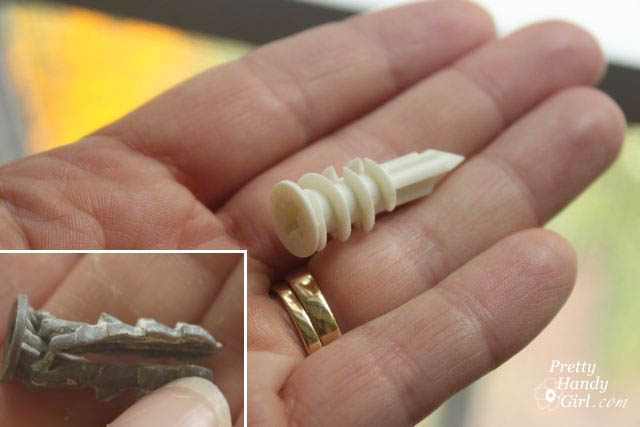
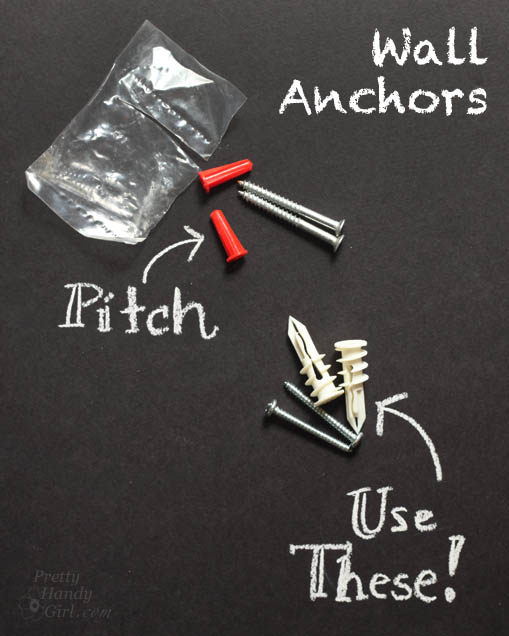
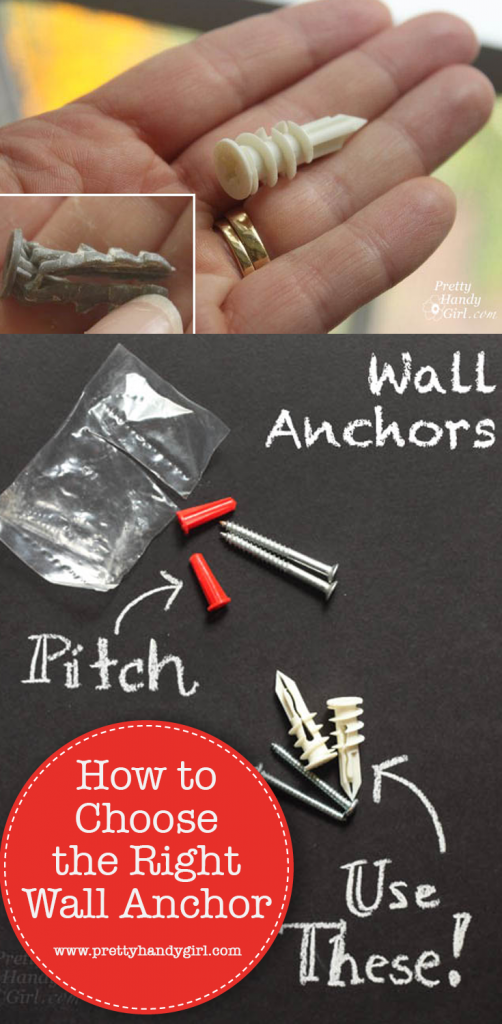
Why? Because those freebie wall anchors get mangled and they won’t hold up to regular use. DO NOT USE those El Cheapo wall anchors that come with your curtain rods, shelves, towel bars, toilet paper holders, etc. In fact, don’t even save them if you don’t use them. PITCH ‘EM…NOW… JUST DO IT!

I am a big fan of the TOGGLER wall anchors because they are easy to drill into drywall and you can remove them fairly easily with a phillips head screwdriver. There are several other brands and types of wall anchors that will work just as well. When purchasing wall anchors, pay attention to the weight limit and wall types they are designed for.
Now, pin this post because friends don’t let friends use el Cheapo Wall anchors!

Good & Bad Wall Anchors | Pretty Handy Girl

PHGFancySign

Pin for later!

how to choose the right wall anchor

I’m participating in Nester’s 31 Days Challenge. Check out all the other bloggers who are participating!

31 Day Writing Challenge

Don’t miss a single tip! Sign up to get all the tips in your email:


Sign Up for Email Subscription


Other tips in the 31 Days of Handy Home Fixes series:


Non-Toxic Drain Opener | Pretty Handy Girl


Unclogging a tub or sink drain is a common maintenance task for any homeowner. Before you reach for the toxic drain cleaner, try this easy and inexpensive Non-Toxic Drain Opener first.

non-toxic drain clear liquid pouring down a sink drain.

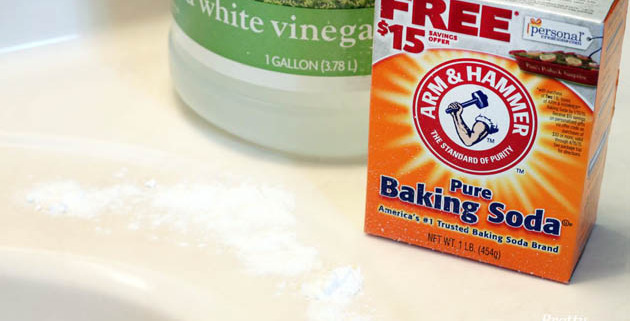
It’s always the case, you are brushing your teeth or washing your hands and you look down and see the water filling up in the bowl. Have no fear, your solution is a box of baking soda and cheap white vinegar. But, before you run to get some, I have a few more tips for unclogging that drain.

Non-Toxic Drain Opener | Pretty Handy Girl

Non-Toxic Drain Opener

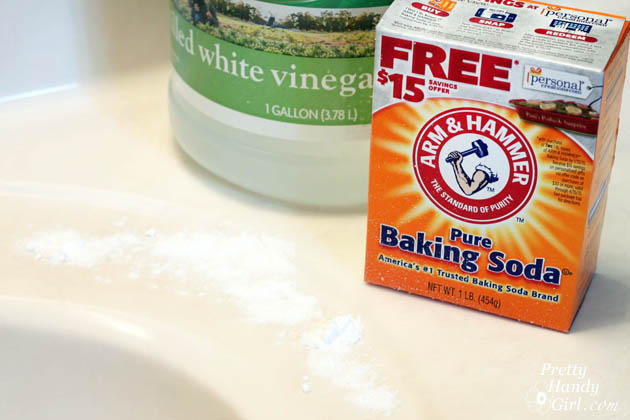
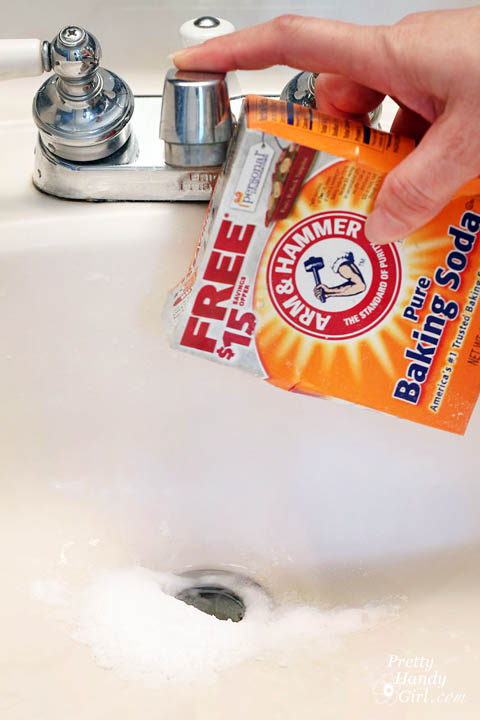
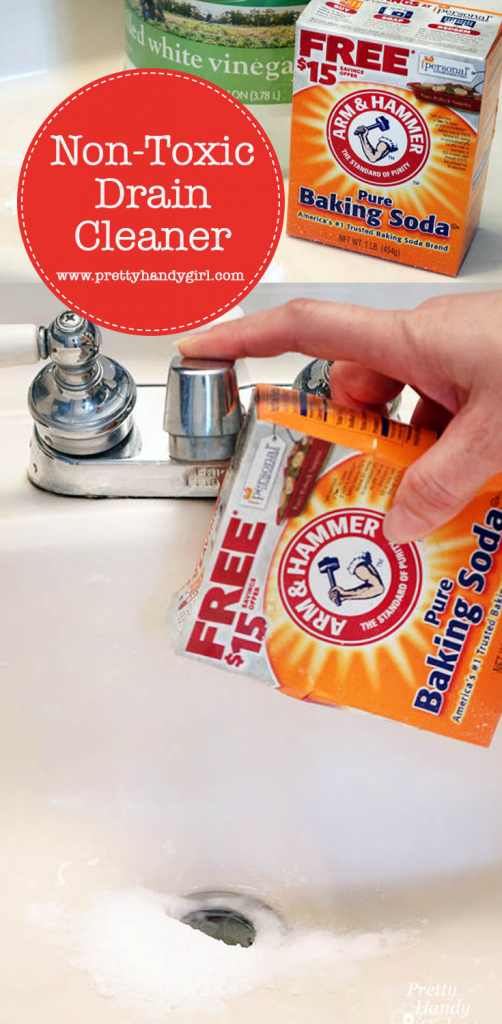
Remove the drain pop up and pour a LOT of baking soda into the drain.

Non-Toxic Drain Opener | Pretty Handy Girl

Measure out 2+ cups of white vinegar into a glass vessel. Microwave the vinegar until it’s steaming hot.

Slowly pour the hot vinegar into the drain until it causes a bubbling reaction. Continue until the baking soda fails to bubble up.

Non-Toxic Drain Opener | Pretty Handy Girl

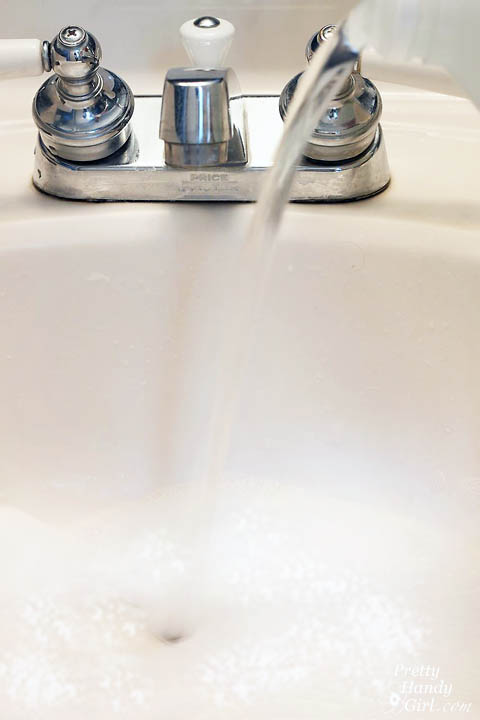
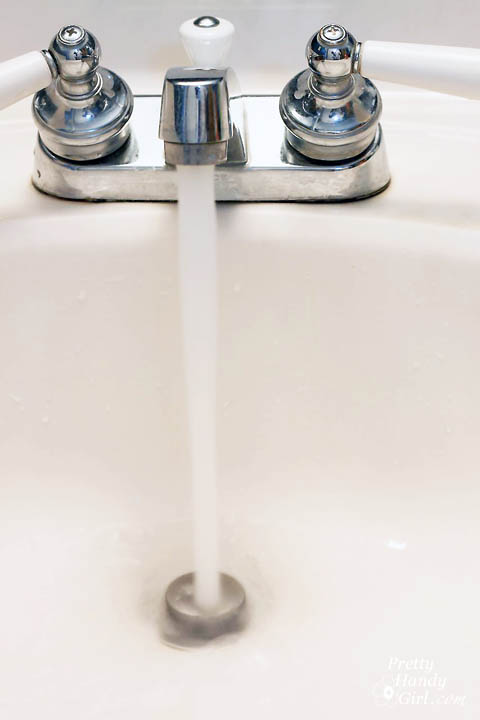
Turn on the hot water full blast. Let it run for at least a minute.

Non-Toxic Drain Opener | Pretty Handy Girl

Hopefully this quick and non-toxic solution will clear your drain. If not, I rely on this handy tool to pull out any trapped hair from the drain.

How to Replace a Sink Drain | Pretty Handy Girl

Now, do you need some help getting that pop up back in place, follow this tutorial.

PHGFancySign

Pin for later!

baking soda cleaning use

Don’t miss a single handy maintenance tip! Sign up to get all the tips in your email:


Sign Up for Email Subscription