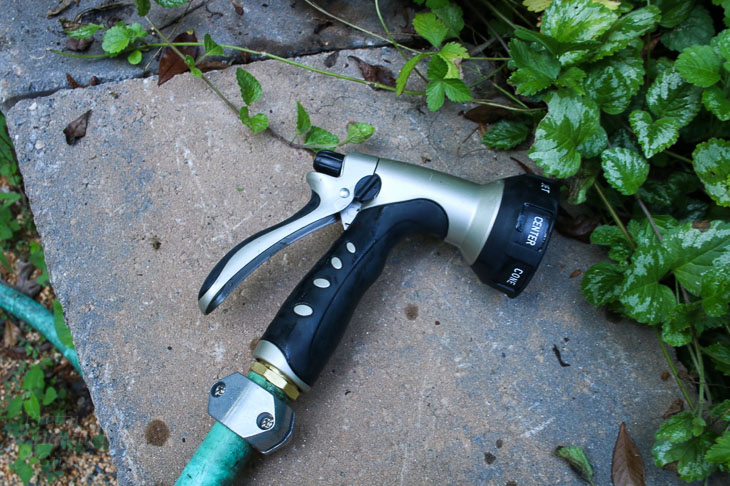
A garden hose is a valuable tool around my yard in the summertime. It’s vital to keep my yard looking beautiful, keeping plants watered, and occasionally for a fun water fight with my kids. But what happens when that very useful hose springs a leak? Not only is it frustrating to use but it is a complete waste of water (not to mention that you get wetter than the person you intend to soak in a water fight.) It may be tempting to throw it out and buy a new one, but did you know it’s fairly simple to fix a leaky garden hose? It is! I have the solution for you in this tutorial on How to Fix a Leaky Hose!
Ready to save money and water? Great! Let’s get to it!
Materials:
(I’ve included affiliate links for your convenience. I earn a small percentage from a purchase using these links. There is no additional cost to you. You can read more about affiliate links here.)
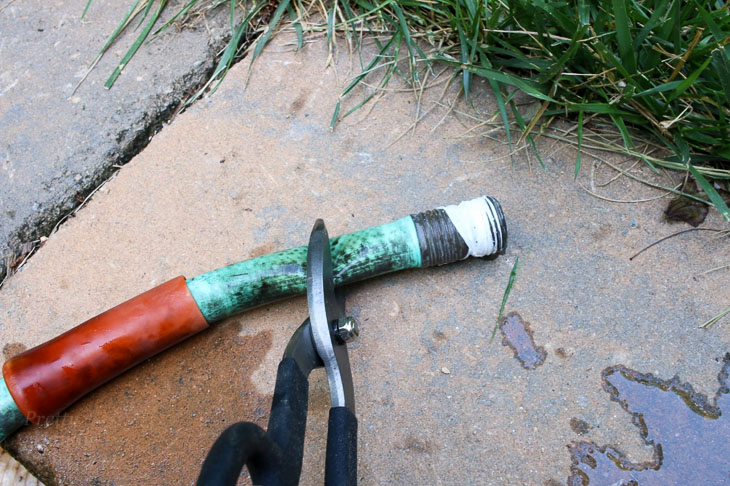
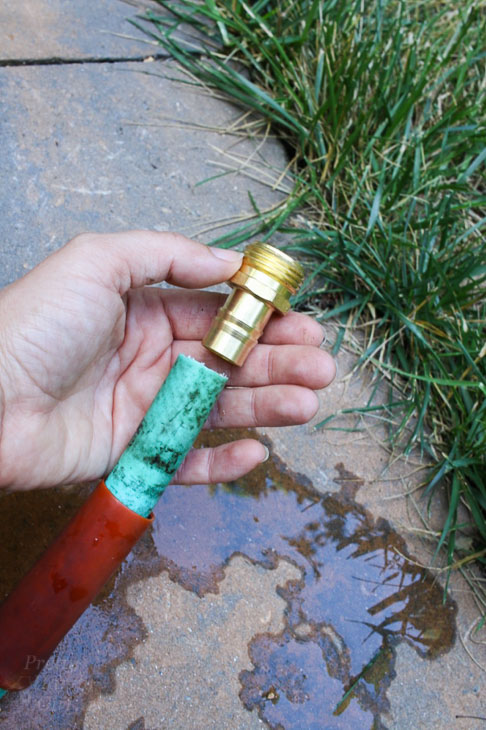
The first step is to cut off the leaky end of the hose using your heavy duty snips. Be sure to cut perpendicular to the hose.
Remove the two screws from the hose repair coupling clamp using your screwdriver.
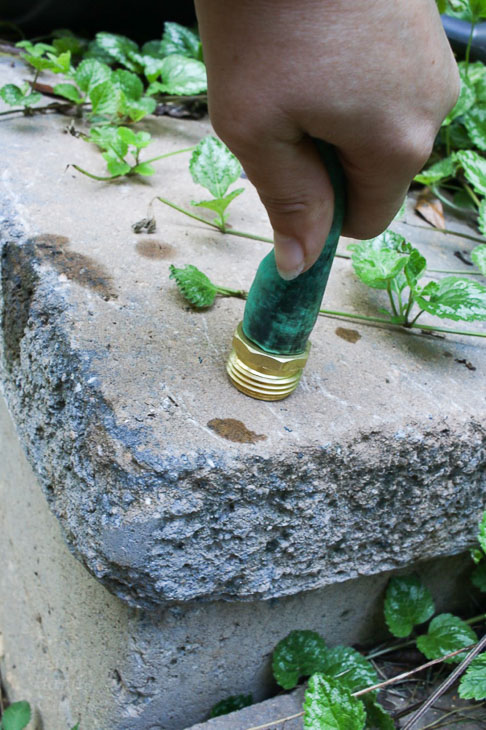
Insert the threaded coupling piece into the cut end of your hose.
Have patience, this can be the hardest step. Push it down against a hard surface until the coupling is completely inserted into the hose.
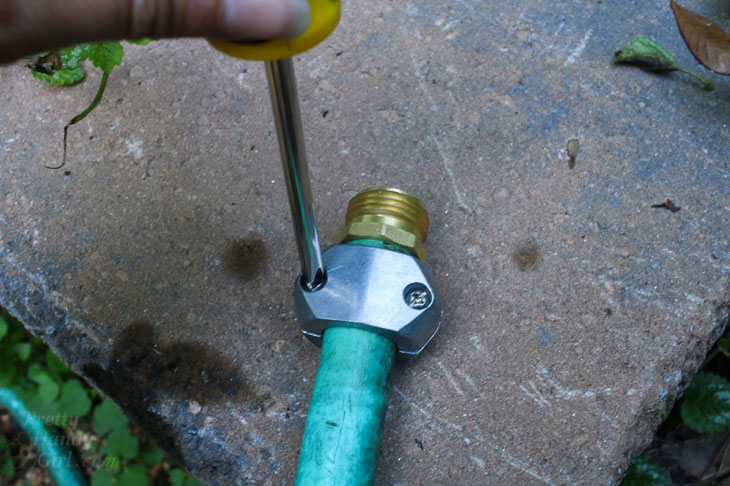
Next, take the two parts of the clamp and put one piece behind the hose, as pictured. Hold it in place while you add the second clamp piece. Line up the screws with the holes on the back piece.
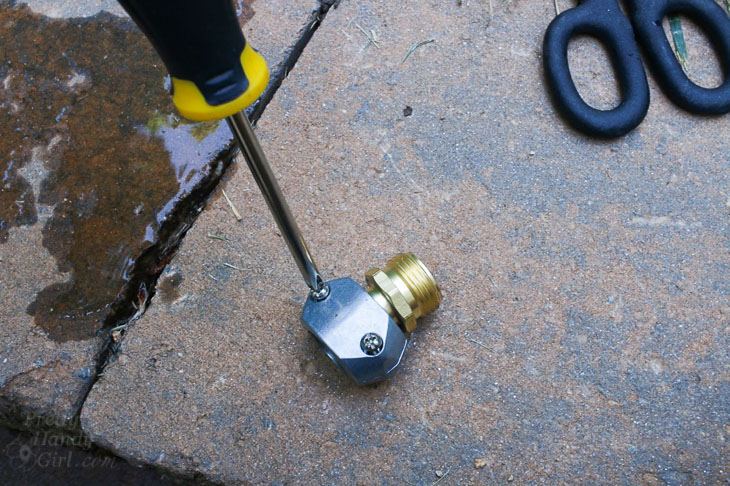
Tighten the screws. It may be easier to set it on a hard surface, as shown here.
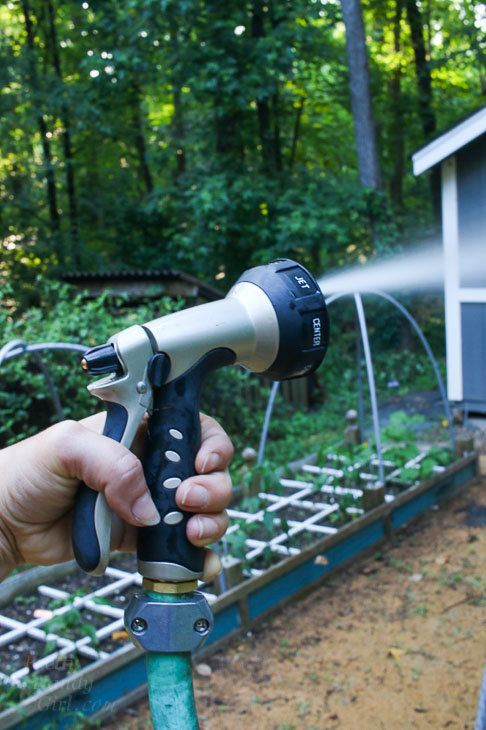
Now connect your sprayer to the end and give it a test try!
Hooray! No more leaky hoses. Now where are those crazy boys of mine? Time to start a water fight on this hot summer day. ;-D
This was a simple fix to a frustrating problem and it only cost a few dollars. Definitely worth it! I hope you liked this tutorial and it comes in handy should you need it. Do you have a leaky hose you need to fix? Or have you repaired a leaky hose with this method?
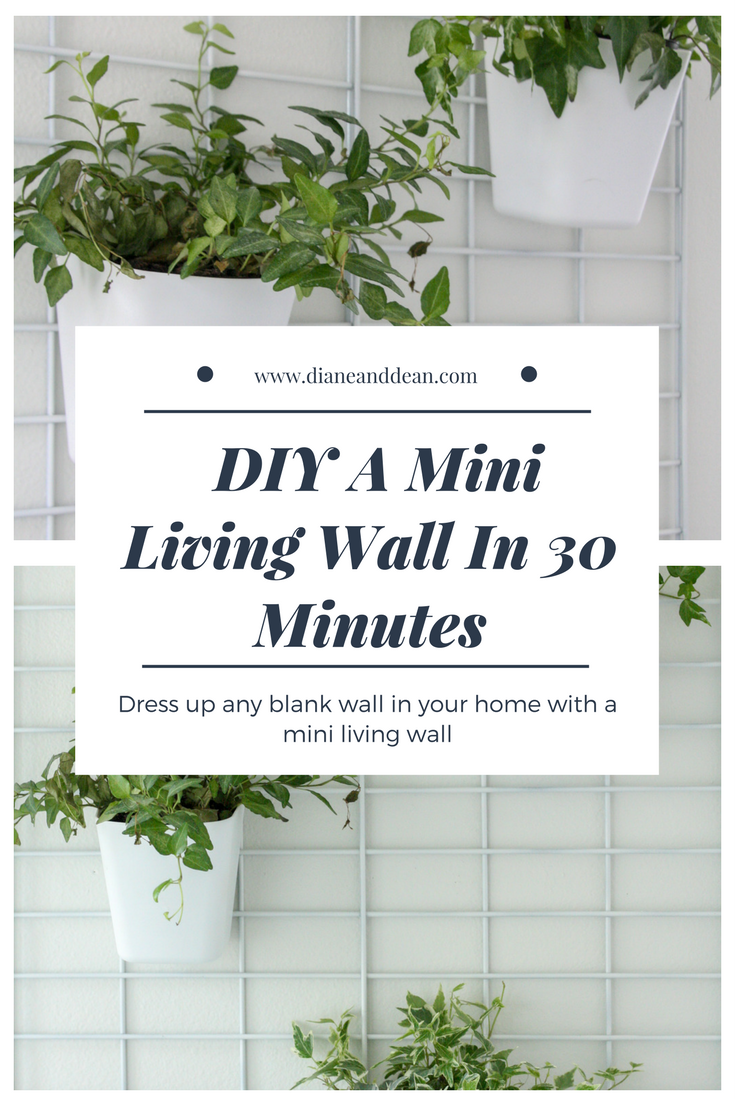
For anyone who lives in a “not so sunny” place (and needs a quick pick me up from the dull grey skies), you’ll find this easy DIY Living Wall Planter Tutorial just what you’ve been craving. Even if you live in the sunshine state, bringing the outdoors inside may have a lot of benefits for your health. According to the NASA clean air study (which was led by NASA and the Associated Landscape Contractors of America), certain indoor plants naturally remove toxins from your indoor air.
This project was inspired by our outdoor green wall. We thought it would be fun to create a wall planter for indoor use. Similar to an outdoor living wall, an indoor one gives a natural feel to any empty space in your home.
Do you have a blank wall that needs some decor? Why not dress up this space with a mini living wall? This project is easy enough for the beginner do it yourself-er, so let’s get started.
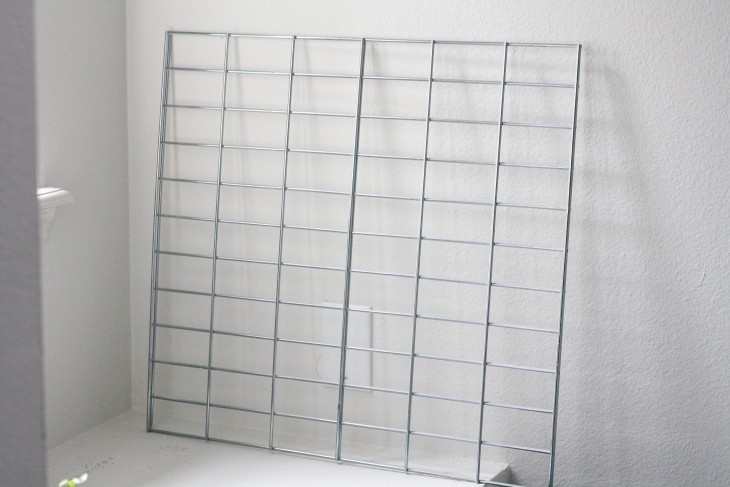
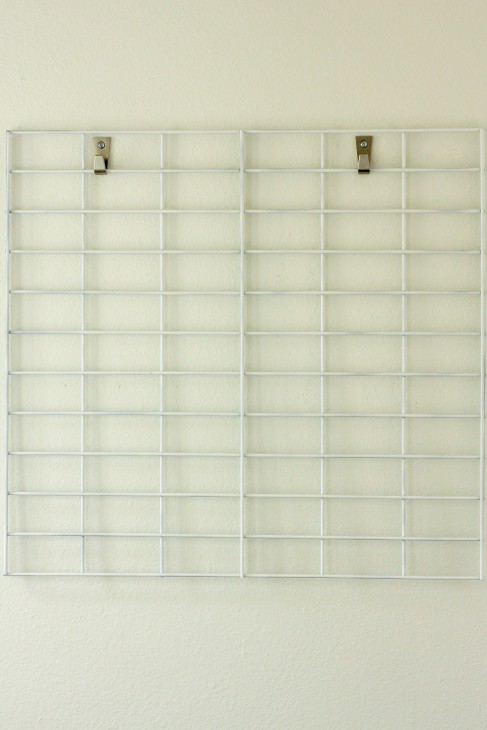
The wall grid we found in the organization aisle at Lowe’s Home Improvement store was under $6.00. It measures 22 inches by 24 inches. The size was prefect, but I wasn’t crazy about the color.
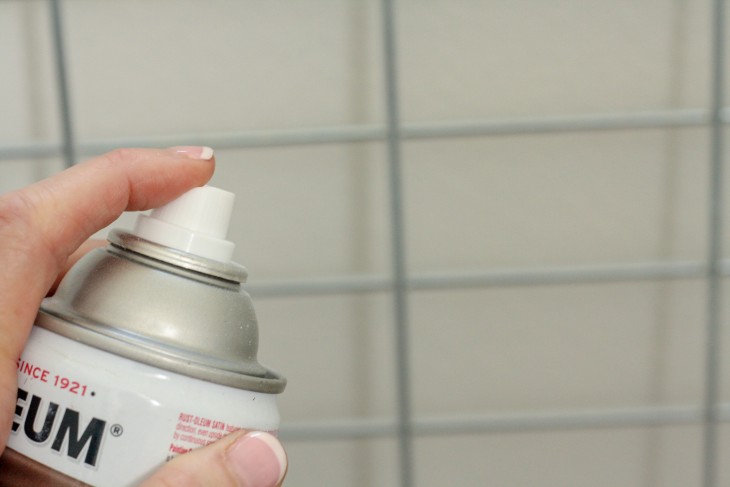
Spray paint the wall plant holder if you wish. You can use spray paint you have on hand or purchase the color of your choice. (I almost chose a rustic bronze to match the bronze iron farmhouse bed but decided to paint it white.) The great news is that you can always paint over it if you tire of the original paint or decide to move it to another room. Obviously, you want to spray paint in a well ventilated area. Let the grid dry. (It should dry within 30 minutes or so.)
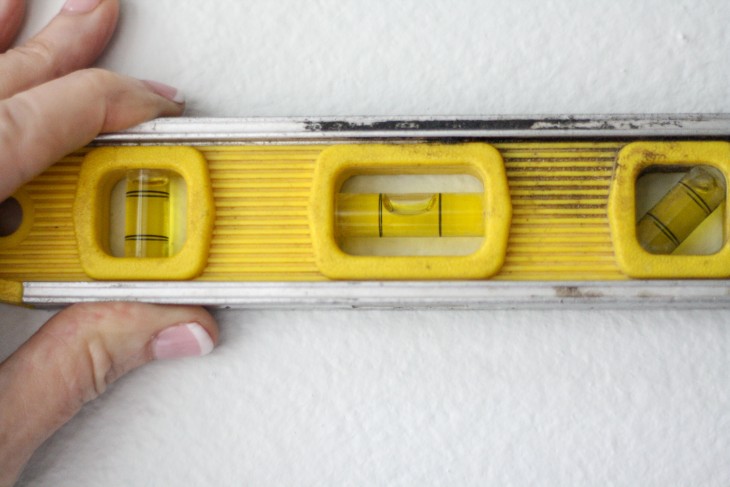
Step 1: Eyeball or measure a spot on the wall to hang your living wall.
Hold the wall plant holder up on the wall. Use a level to make sure your holder is level.
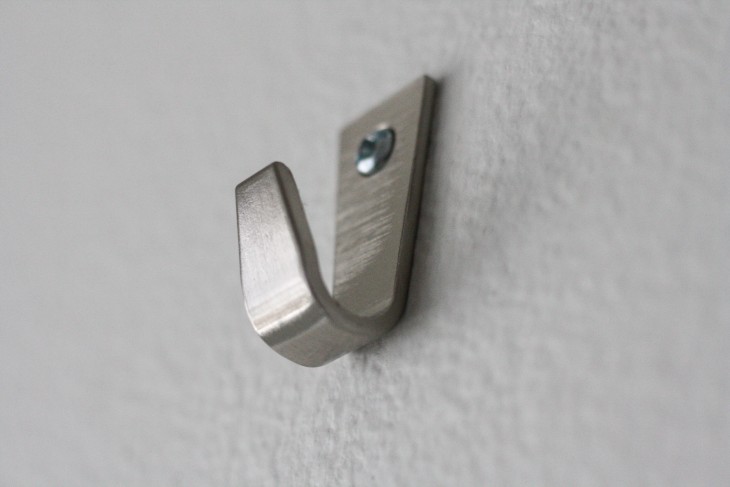
Hold up the Blecka hooks and mark the holes with a pencil. Drill the drywall anchor into the wall at these marks. (Alternatively, you can attach the hooks to wall studs.) This wall grid is not extremely heavy, so securing the hooks to studs is optional.)
Step 2: Hang the wall plant holder onto the Blecka hooks (make sure it is completely dry before hanging.)
Step 3: Place your plants into the planters. You can leave them in the original plastic pots they came in and simply place them into the holder. (When you water the plants the water can actually drain down to the plastic holder. Periodically pour out any water that accumulates.)
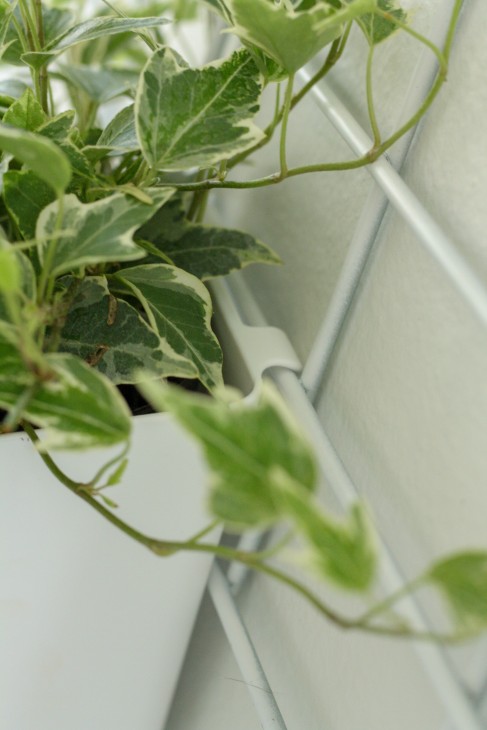
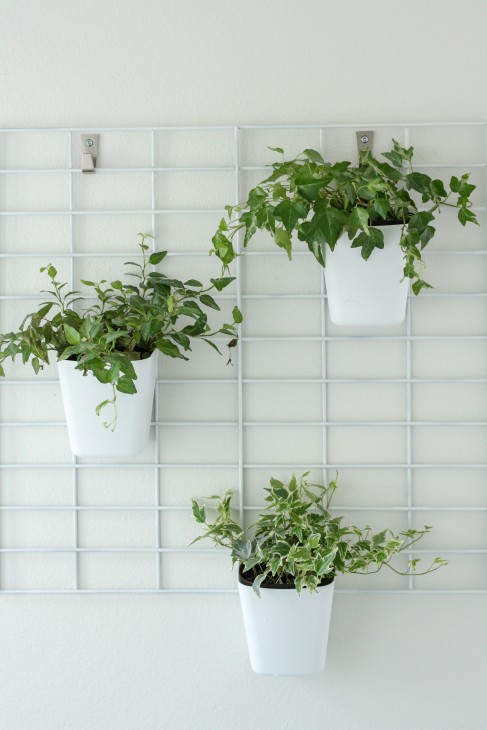
Step 4: Now, for the fun part! To finish off your living wall planter, slide the plastic containers onto the wall grid. Play around with the placement of the plants until it appeals to your eye.
(Note: the plastic bins from IKEA with the wide hook on the back are perfect for this project. If you purchase different bins, you might need to add your own hooks.)
Feel free to use your imagination with this project. Use succulents, different color plants, flowers, or something totally different like office utensils if hanging in a home office.
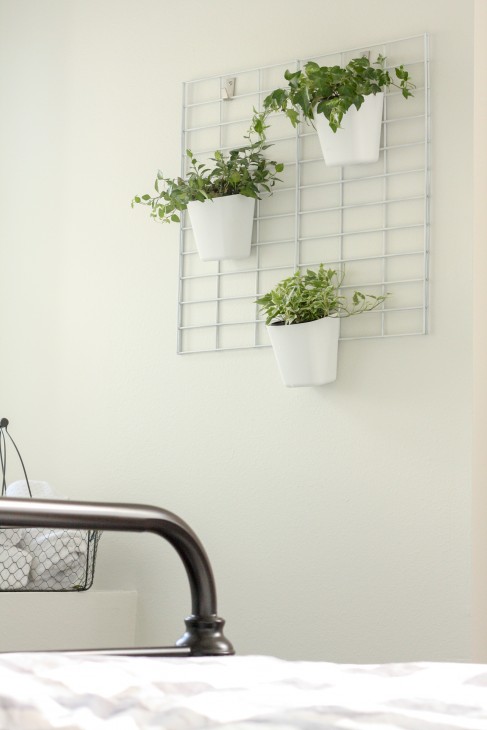
My white living wall hanger is hung on a wall painted with Magnolia Homes Brand “Shiplap” paint. The greenery stand out on the light colored walls. Imagine what you can do with copper sprayed grid on dark or light colored walls! You can also spray paint the Blecka hooks to blend into the wall. Go ahead and get spray paint happy with the white plastic plant holders. Bright colors could really bring this project to life!
We thought a little greenery in our newly remodeled farmhouse guest bedroom would add the perfect natural element. Have fun with this quick and easy mini living wall project that brings natural elements indoors.
https://prettyhandygirl.com/wp-content/uploads/2018/01/IMG_2141-2-e1516542319216.jpg487730Diane and Deanhttps://prettyhandygirl.com/wp-content/uploads/2021/07/PHG-logo-tagline-2020-1030x211-R.jpgDiane and Dean2018-01-31 07:00:452019-02-25 18:00:43DIY Living Wall Planter Tutorial
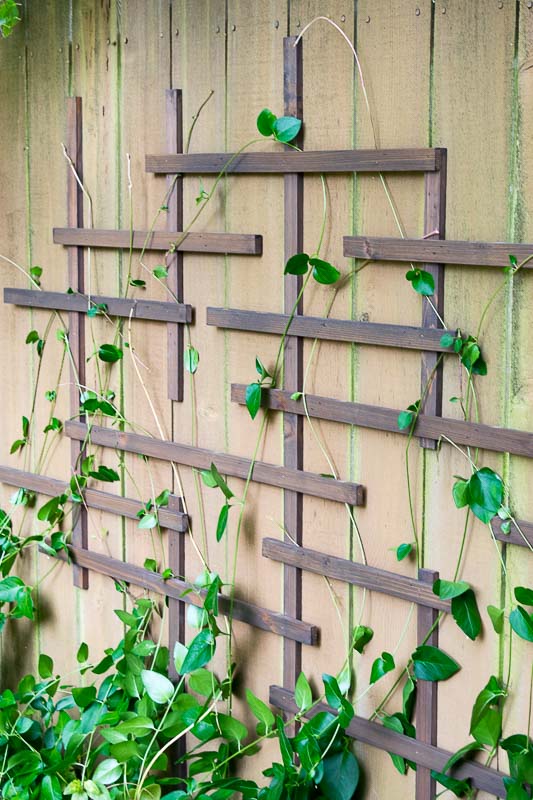
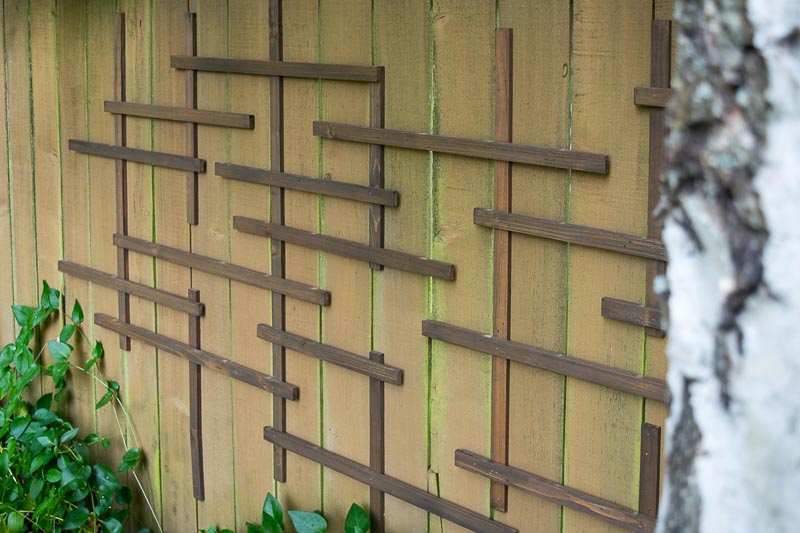
Hi, Pretty Handy Girl readers! I’m Vineta from The Handyman’s Daughter, and today I’m going to show you how to create this easy DIY fence trellis. Easily give a boring, flat fence visual interest in winter, and a place for vines to grow in the summer!
Our entire backyard is surrounded by a six-foot-high cedar fence, which gives us plenty of privacy but isn’t exactly pretty. The previous owner planted clematis vines along one side, but didn’t give it anything to grab onto. So it sits in a pile on the ground instead! This fence trellis will give the vines something to climb and fill in the plain background.
Materials for Fence Trellis
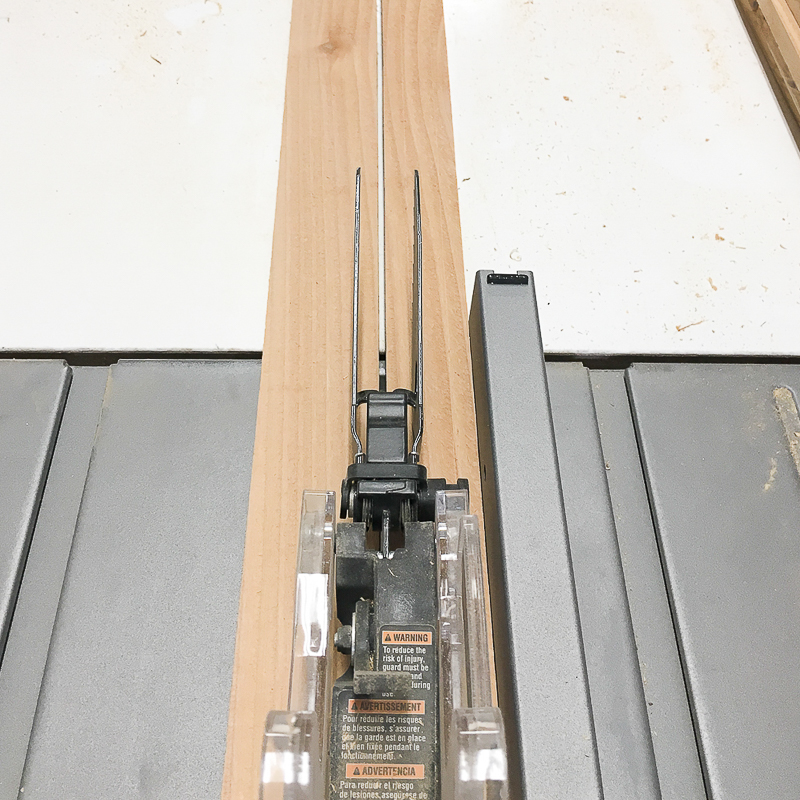
Cedar fence pickets (I ripped 6″ wide pickets into 1 ½” strips, but you can also use 1 x 2 boards.)
Start by cutting four 6″ wide cedar pickets into 1 ½” wide strips lengthwise. If you don’t have a table saw, you can simply use 1 x 2 boards.
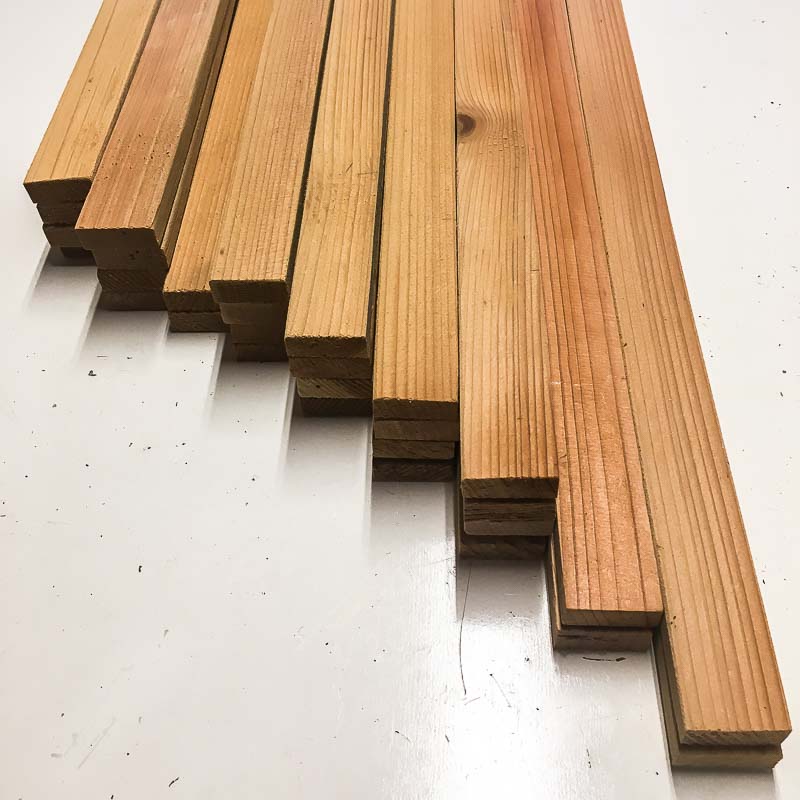
Next, cut the strips down into shorter lengths. I made a few of each of these dimensions: 16″, 20″, 22″, 24″, 26″ and 30″.
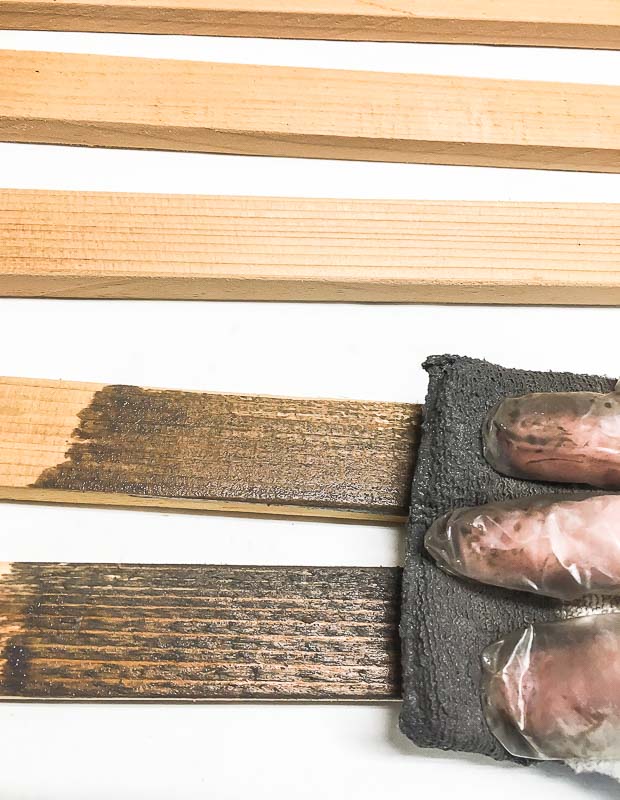
Sand each piece, then give them all two coats of your preferred exterior wood stain.
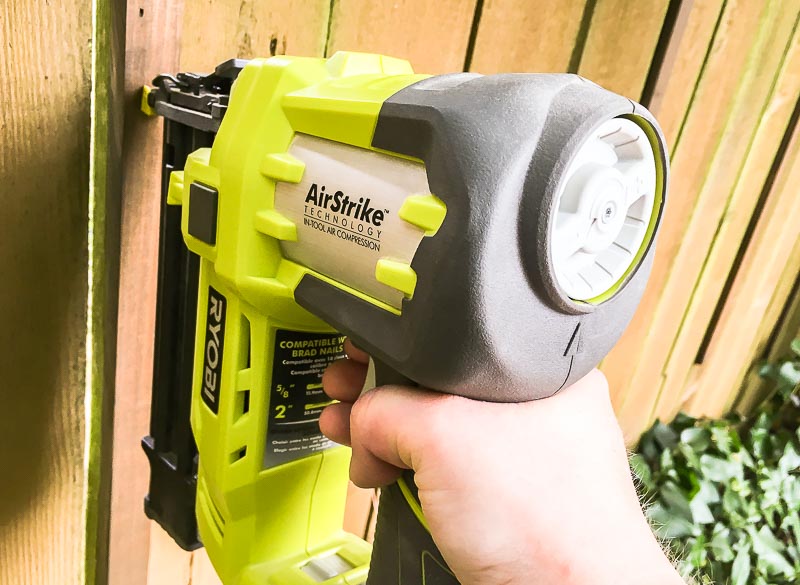
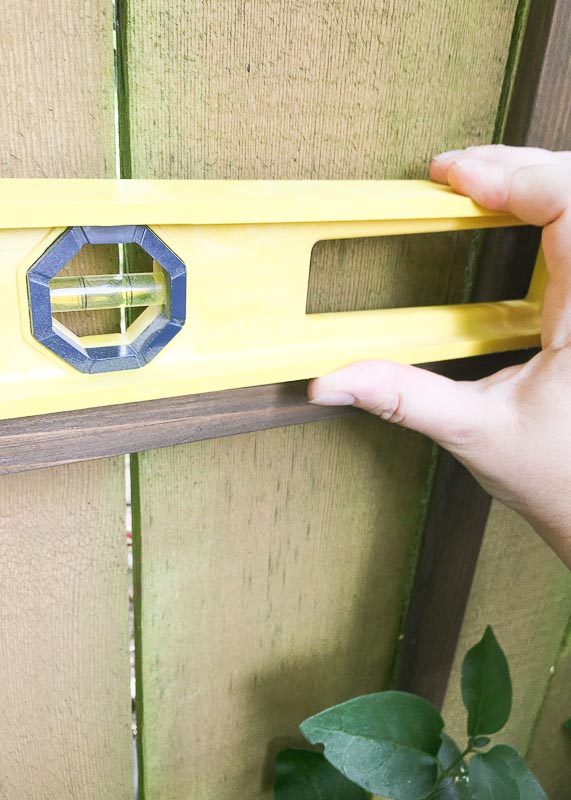
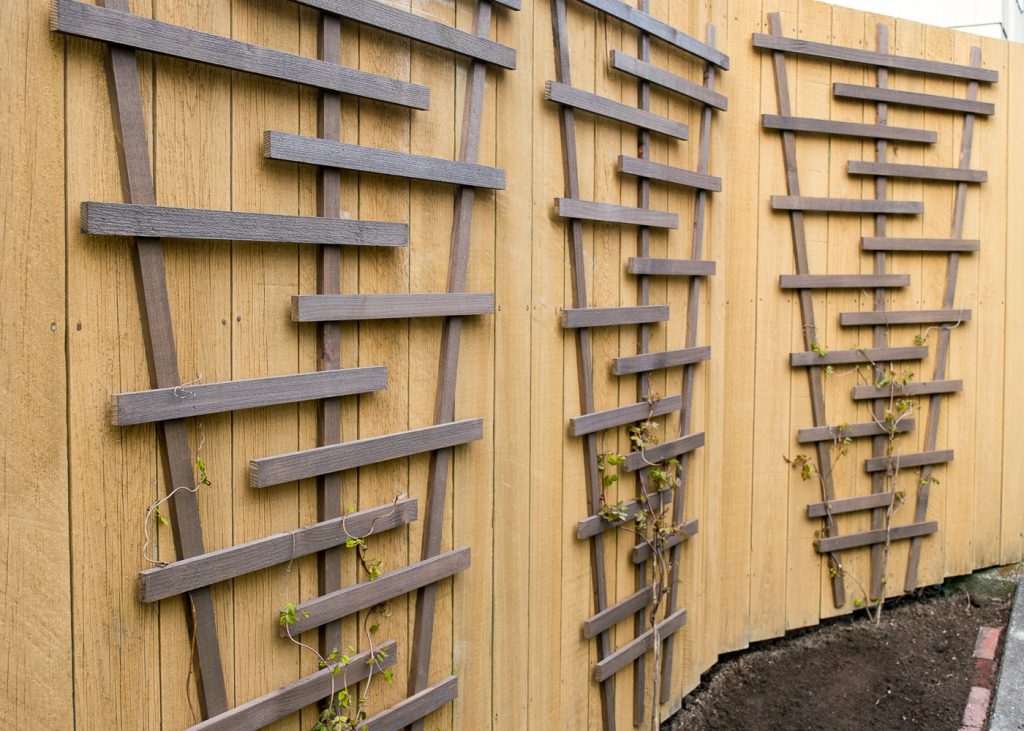
Once the stain is dry, you can start assembly! Begin with the longest pieces. Hold them vertically against your fence, spacing them out along the fence evenly and nailing them directly to the fence.
Next, select a few pieces to attach horizontally at the bottom. Nail one end to the vertical support, then use the level to make sure it’s even before nailing down the other end.
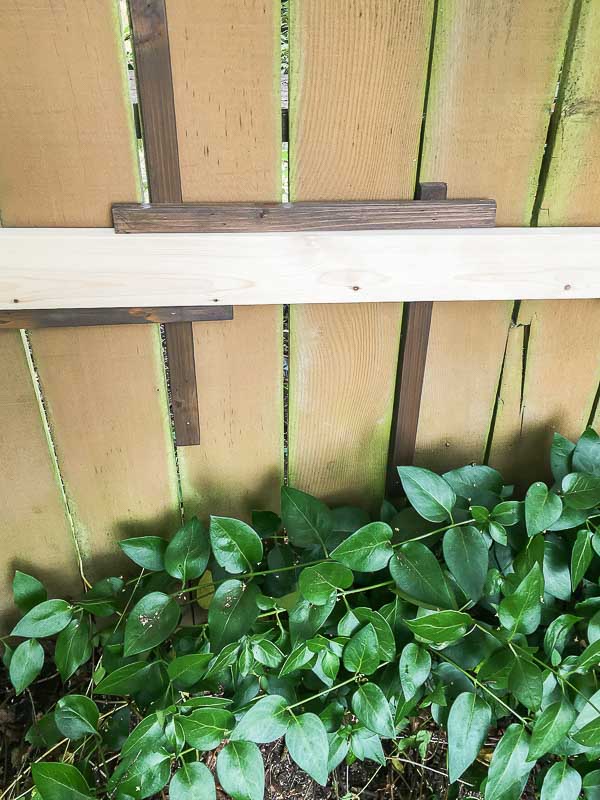
Use the 1 x 4 spacer to keep the distance between horizontal pieces the same. Rest the spacer on top of the attached piece, then prop another piece on top and nail into place. This is much easier than using a tape measure!
Work your way up the fence, randomly placing horizontal pieces. Make sure each one is attached to at least two vertical supports. Add more vertical supports as needed to bridge the gaps.
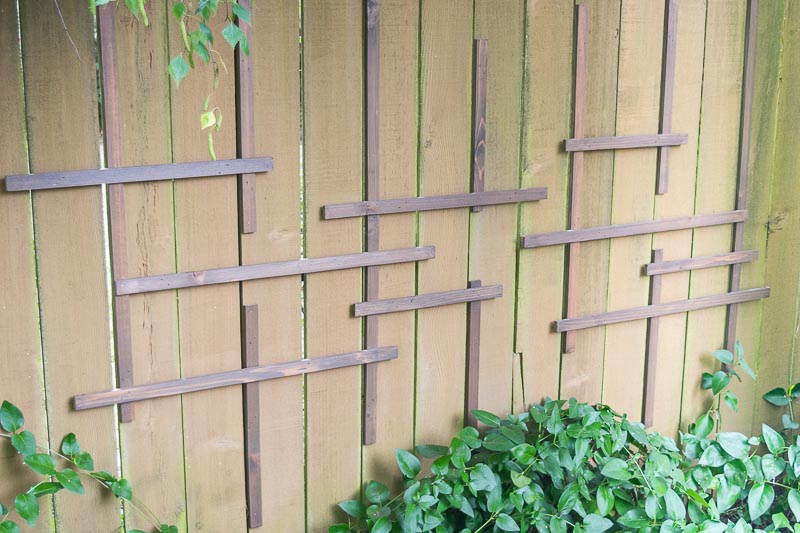
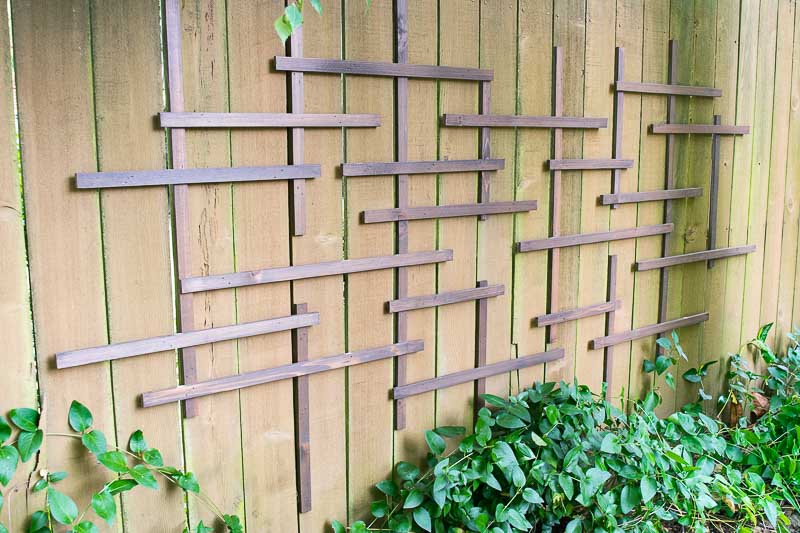
Remember to step back and to view your overall design every once in a while. It should look random, but not TOO random! It’s easy to pull off pieces and move them around if you don’t like how it’s turning out. I went for an asymmetrical look, but you could make a simple grid if you prefer.
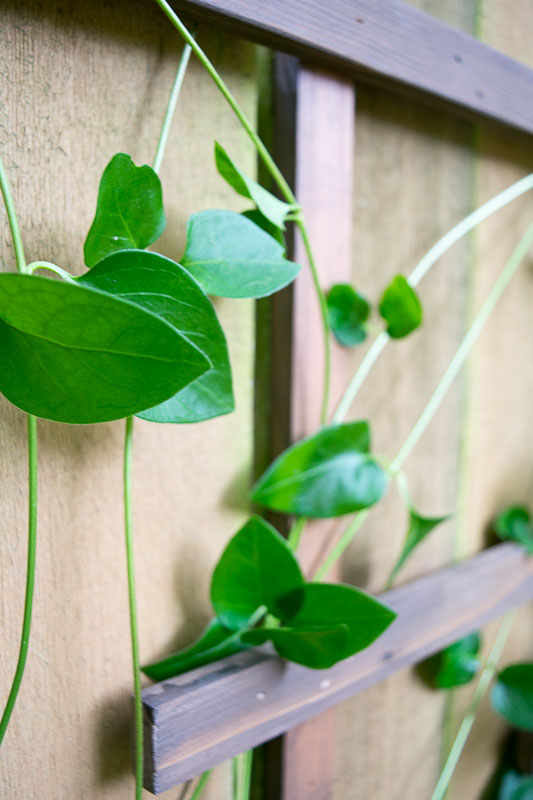
Weave the vines under the elevated pieces to help the plants find a spot to grip. Over time, the vines will find their own way up the DIY fence trellis. I can’t wait to see them blooming next spring!
Want some more trellis ideas? You can get the free building plans for this angled garden trellis I created for another part of the fence at The Handyman’s Daughter!
Do you compost? Oh my gosh, if you don’t, why not?!!! It is easy, it’s great for the environment and it will result in amazing nutrient rich soil that surpasses anything you can buy from a store! Some of the additional benefits are that you will reduce the amount of trash you produce and keep things out of the landfill.
Keep reading to learn How to Compost and create your own magnificent garden soil!
Now, I totally understand if you are living in the big city in an apartment and really don’t have space for compost let alone potted plants (but if you do want to compost, read more about worm composting in a container.) However, f you have a yard, you really should be composting! It’s easy, it takes very little time, and my little wiggly BFFs (aka worms) do all the work for you.
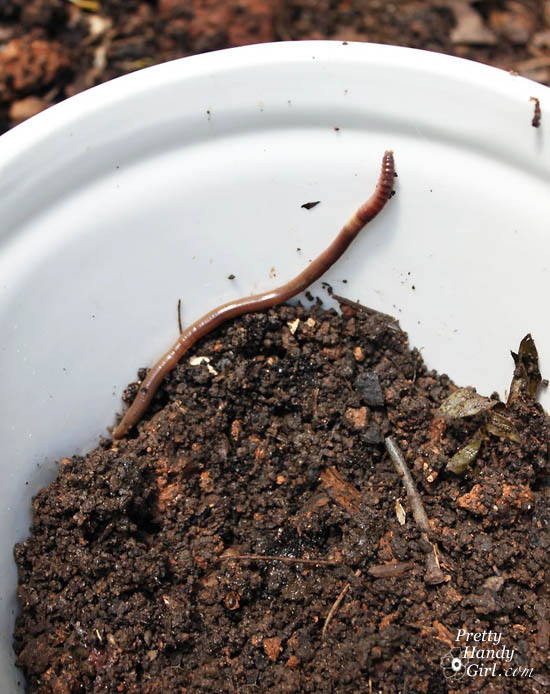
That’s right, they eat up all your kitchen and yard waste and turn it into beautiful black soil. How do they do it? If I tell you, you have to promise that you won’t get grossed out. They poop it out. LOL. Yup, compost is decomposition and worm castings (a nicer word for worm poop.) Please don’t run away, find out how easy it is to create this magnificent garden soil.
Here’s the basics for how to compost and get top quality soil for your garden and landscaping for FREE!
How to Compost – Magnificent Garden Soil Materials:
(I’ve included affiliate links for your convenience. I earn a small percentage from a purchase using these links. There is no additional cost to you. You can read more about affiliate links here.)
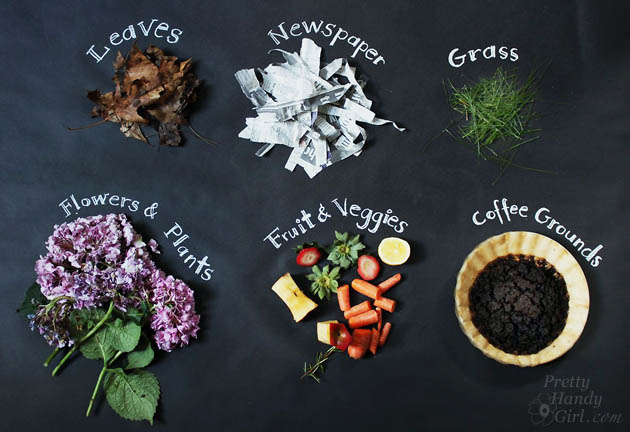
Leaves (brown for carbon and green for nitrogen rich)
Grass clippings
Plant & flower clippings
Yard waste
What can’t be composted?
Meats
Dairy products
Processed foods
Plastic
Man made substances
Metals
Okay, you get the picture. Only raw fruits and veggies (and egg shells), okay?
Location:
Your pile doesn’t have to be anything special. A simple a hole in the ground is fine. Find a partially shaded spot in your yard. A shady spot is ideal so the pile doesn’t get dried out in the hot sun. If you’ve had a dry spell for a while, go ahead and water the pile. If you have pets, put a little fencing around it to keep them from getting into the compost. (Eating decomposing food can make them sick.) Don’t worry too much about wild animals (unless you have a serious pest problem.) Animals will come sniffing around and may dig a scrap or two out of the pile, but they rarely take up residence in your yard. However, if you are concerned about pests, go ahead and purchase a closed bin for your yard. Otherwise, save your money, a fancy tumbler or bin aren’t necessary for the compost to produce.
How to Compost:
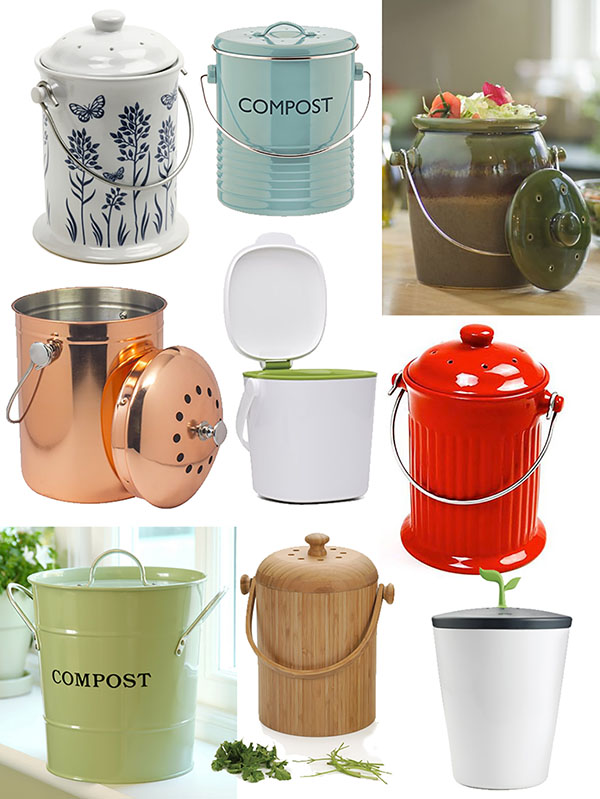
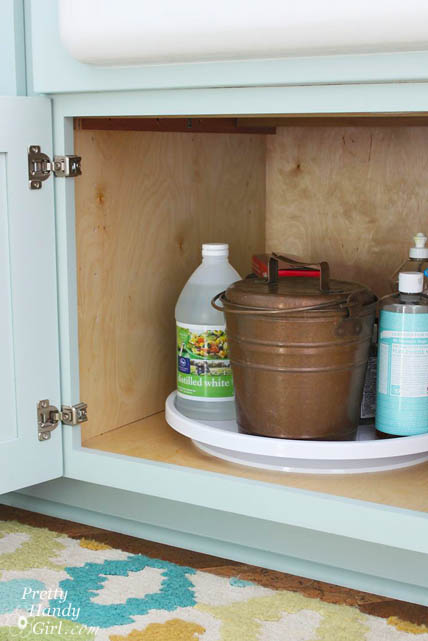
Keep your compost bucket in your kitchen. (We keep our pail under the sink, but if you have a pretty container you can leave it on the countertop.)
After cutting veggies or fruit, toss the scraps in the bucket. Coffee grounds can get thrown in, filter and all! Egg shells are also great for your compost.
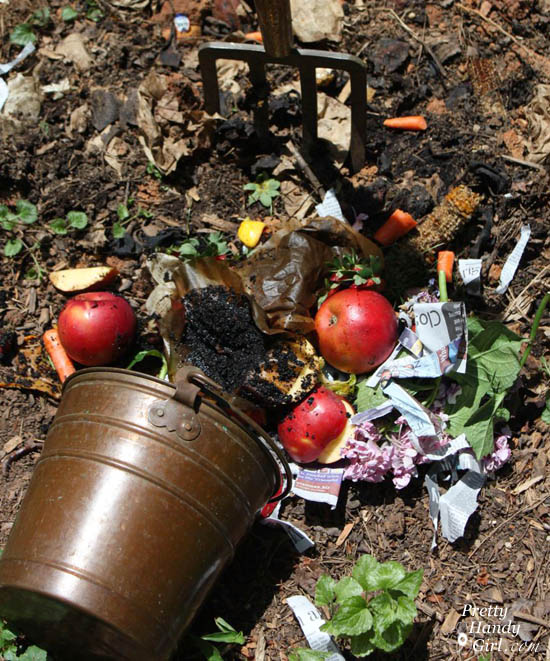
When the bucket is full, take your scraps outside to the compost pile. Clear a hole in your pile, dump the scraps and cover them over with dirt or soil (this will prevent attracting too much wildlife to your pile.)
Occasionally throw in some torn up strips of newspaper to add some “carbon” source to the pile. The key to a healthy compost is to have a good mixture of green (nitrogen rich) vs. brown (carbon rich) materials. Don’t overload on grass clippings or yard waste.
Flip some fresh soil on top of the scraps and walk away! That’s it. What about my BFFs, the worms? If you start the pile, they will come. Trust me, they’ll find your pile. If you’re super antsy, you could buy some red wigglers from a fishing bait place, but honestly why bother? Soon you’ll have big fat overfed worms happily working for you for free. Go back in 2-3 weeks and check on the progress of your magnificent garden soil.
I usually grab my magnificent soil from the bottom when I need it. But, you can split your pile in two. Use one side to add scraps to and let the other side “marinade” to perfection. Then switch sides. Frankly my little worm army works pretty fast. Within a month they have produced enough compost to fill some potted plants and more. I rarely buy soil anymore unless I need a huge amount.
What about composting in the winter? If you aren’t under a dumping of snow, your pile can still work in the winter. In fact, you’ll be surprised to see the warm steam rising from the pile when you dig into the center.
Compost Tea:
Now that you have a rockin’ compost pile you may want to learn how to make a compost tea to further nourish your plants and help them be healthier and heartier! I haven’t tried it yet, but you better believe I’ll be brewing some compost tea this year.
Share this article with your friends and do something environmentally friendly! Pin this graphic to refer to later:
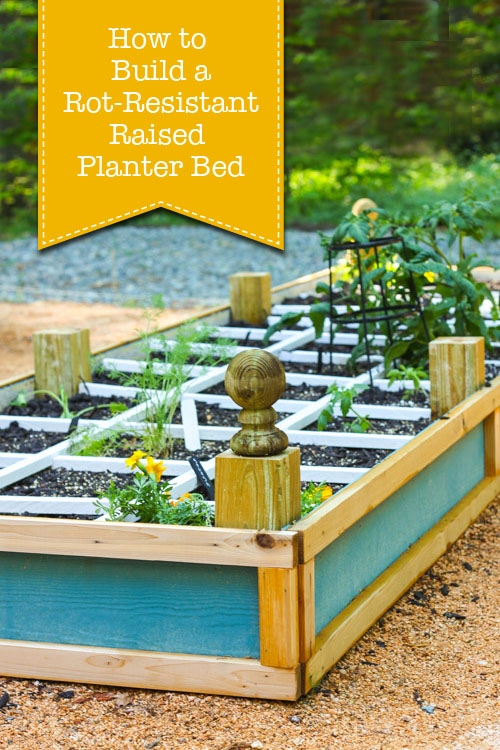
Now that you have compost to use, you may want to learn how to build the Ultimate Raised Garden Bed with Arched Trellis. This garden is wildlife resistant, has a large trellis for climbing plants, and has sub-irrigation to water the garden from beneath! You’ll want to see the plans for the Ultimate Raised Garden Beds with Arched Trellis.
Every year my son’s elementary school has a staff and teacher appreciation week. It sneaks up on me and catches me off-guard (every year!) In the spirit of last minute teacher appreciation gift ideas, I’ll be bringing you a week’s worth of ideas that are quick, easy and affordable!
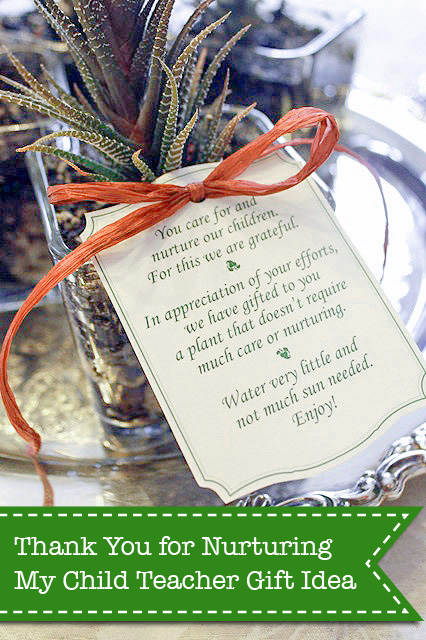
I REALLY appreciate those men and women who give their time and patience to my child and the other kids in the school. So, I want to make sure I give them something a little different than a card (not that a card isn’t a nice gesture though.)
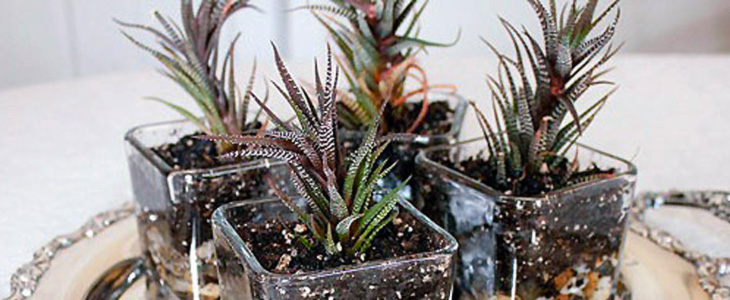
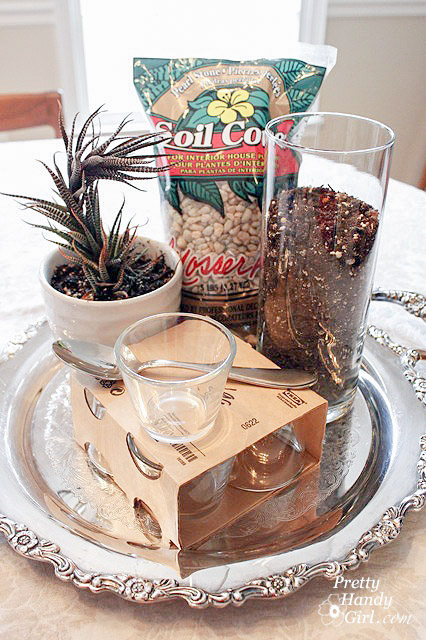
I spotted some glass votive holders at Goodwill (previously purchased at IKEA), and knew I could do something special with them. Then while browsing Lowe’s I found myself staring at the succulent plants. Eureka! I had my gift idea! A “Thank You for Nurturing My Child” Teacher Appreciation gift idea!
https://prettyhandygirl.com/wp-content/uploads/2011/03/teacher-gift-succulent-plants-feature.jpg300730Brittany Baileyhttps://prettyhandygirl.com/wp-content/uploads/2021/07/PHG-logo-tagline-2020-1030x211-R.jpgBrittany Bailey2016-04-19 07:00:372016-04-21 22:06:09Thank You for Nurturing My Child – Teacher Appreciation Gifts
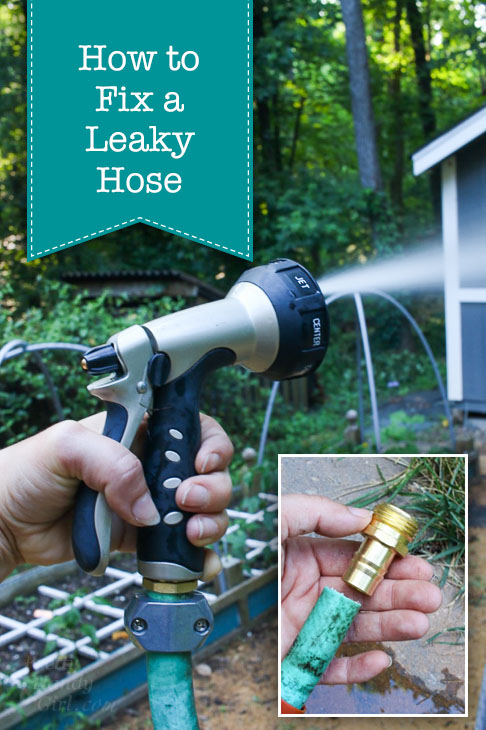 How to Easily Fix a Leaky Hose
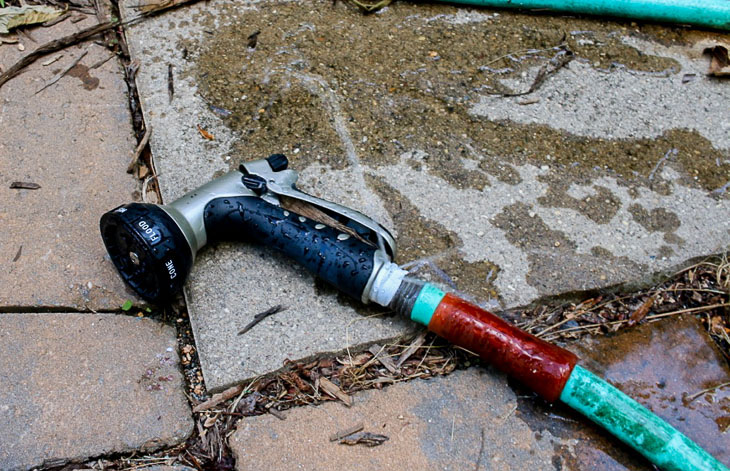


 DIY Fence Trellis
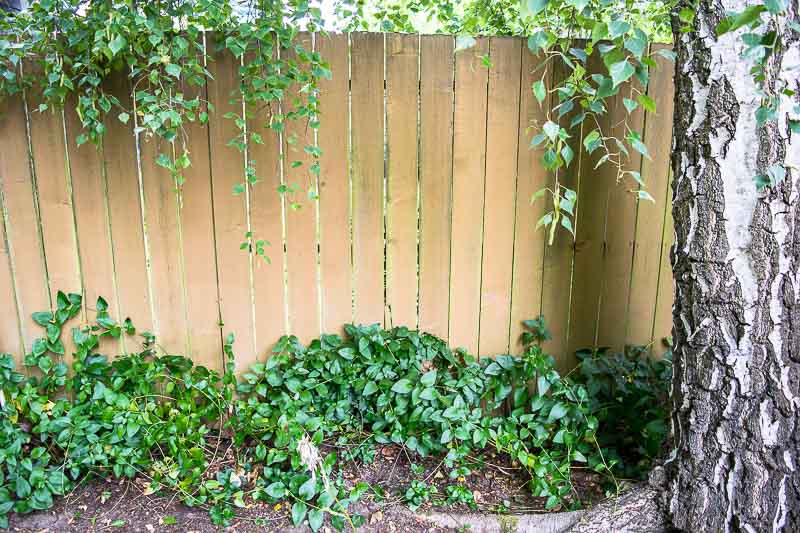


 That’s right, they eat up all your kitchen and yard waste and turn it into beautiful black soil. How do they do it? If I tell you, you have to promise that you won’t get grossed out. They poop it out. LOL. Yup, compost is decomposition and worm castings (a nicer word for worm poop.) Please don’t run away, find out how easy it is to create this magnificent garden soil.
Here’s the basics for how to compost and get top quality soil for your garden and landscaping for FREE!
That’s right, they eat up all your kitchen and yard waste and turn it into beautiful black soil. How do they do it? If I tell you, you have to promise that you won’t get grossed out. They poop it out. LOL. Yup, compost is decomposition and worm castings (a nicer word for worm poop.) Please don’t run away, find out how easy it is to create this magnificent garden soil.
Here’s the basics for how to compost and get top quality soil for your garden and landscaping for FREE!