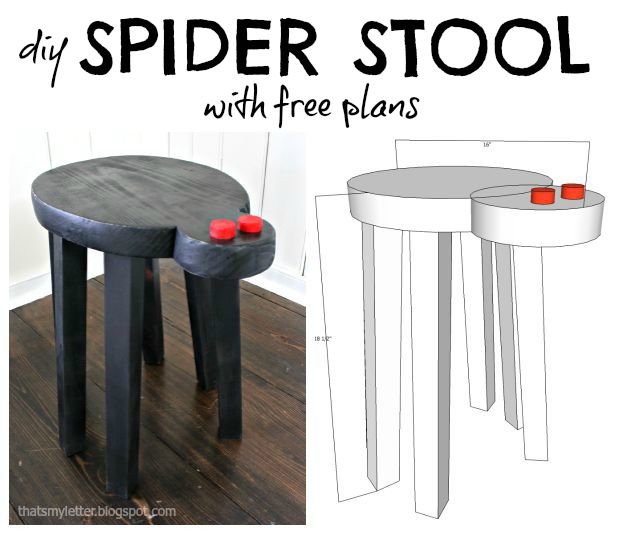
Halloween is lurking around the corner like a stray black cat. Luckily I’m here with the perfect project for Halloween that will use up some of your scrap wood pieces. Let’s make a DIY Spider Stool!
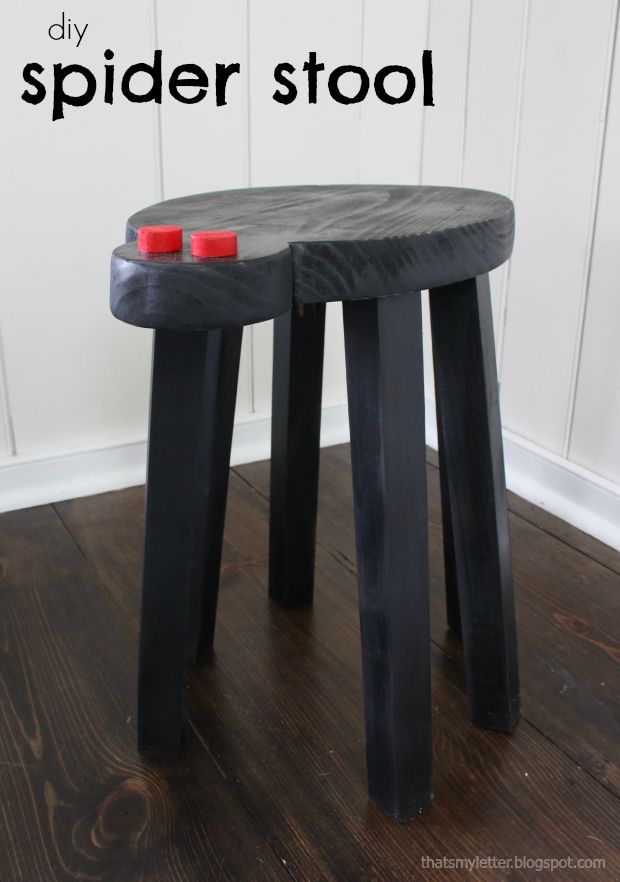
DIY Spider Stool
I have a spooky little spider project today being that Halloween is on the horizon. I’m Jaime from JaimeCostiglio.com and I’m here to show you how to build this cute little spider stool.
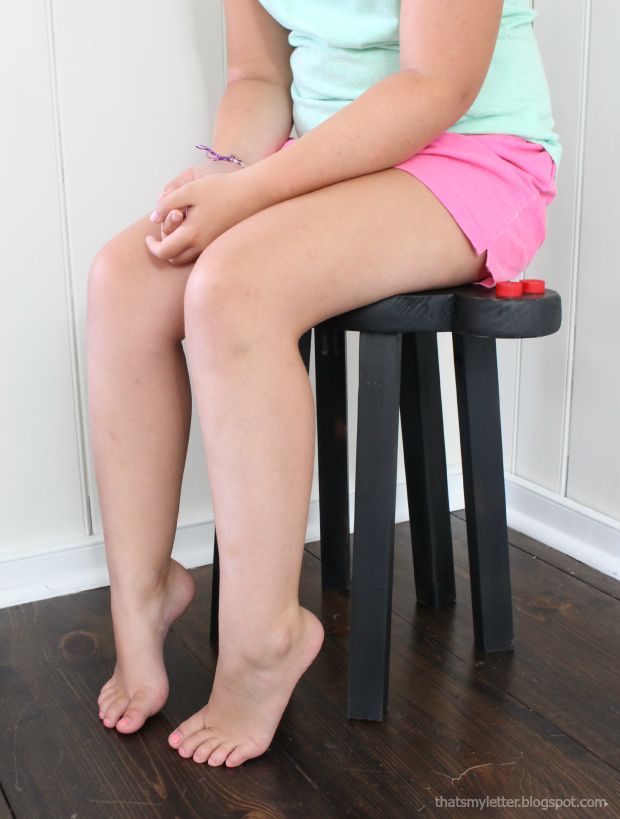
We all know Miss Muffet sat on a tuffet, when along came a spider —but, this time we’ll turn that nursery rhyme on its head. Let’s sit on that spider instead! This little stool is perfect for adding some themed decor to your kid’s playroom or a great spot to rest the treats near the front door on Halloween. This spider stool is fairly simple to make and although most spiders have eight legs this one only has six. Shhh, don’t tell anyone. If you truly have an aversion to spiders, you can always paint the body red with black spots and it would make a cute little ladybug stool.
Materials:
(I’ve included affiliate links for your convenience. I earn a small percentage from a purchase using these links. There is no additional cost to you. You can read more about affiliate links here.)
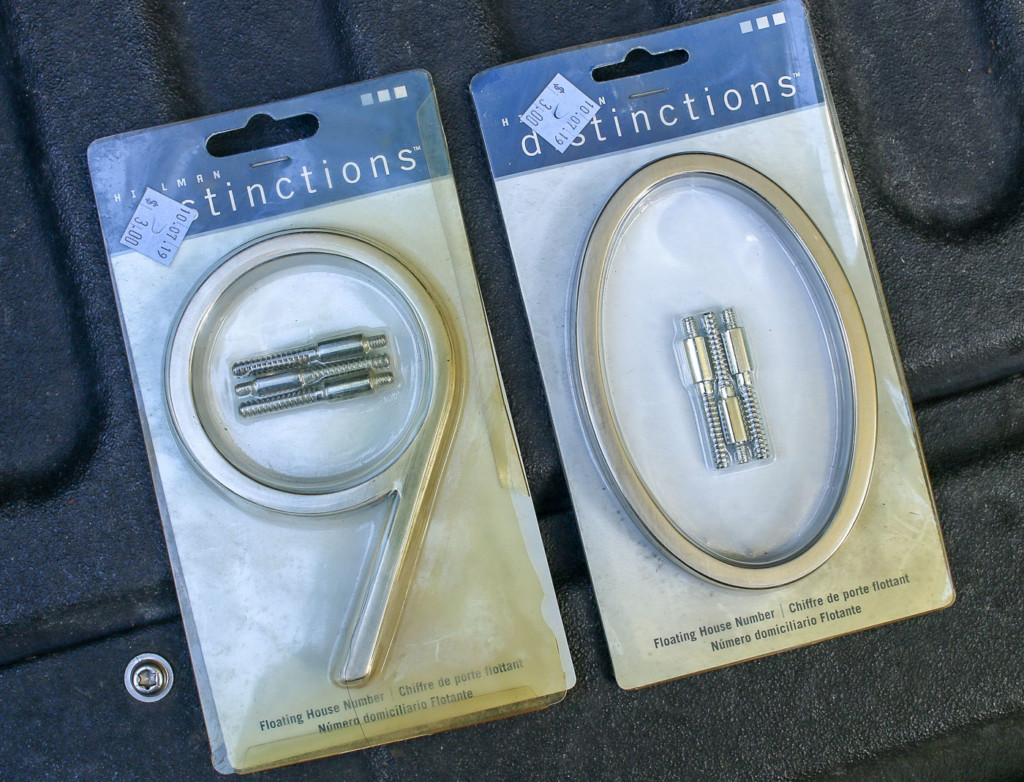
- 1 – 2″ x 12″ cut to 16″ long scrap wood (spider body)
- 2 – 2″ x 2″ x 6″ board (legs)
- tape measure
- pencil
- jigsaw
- miter saw
- wood glue
- pocket hole jig
- 2 ½” pocket hole screws
- 2 – 1″ circular dowel pieces cut to 1/2″ long (eyes if desired)
- black spray paint
Instructions:
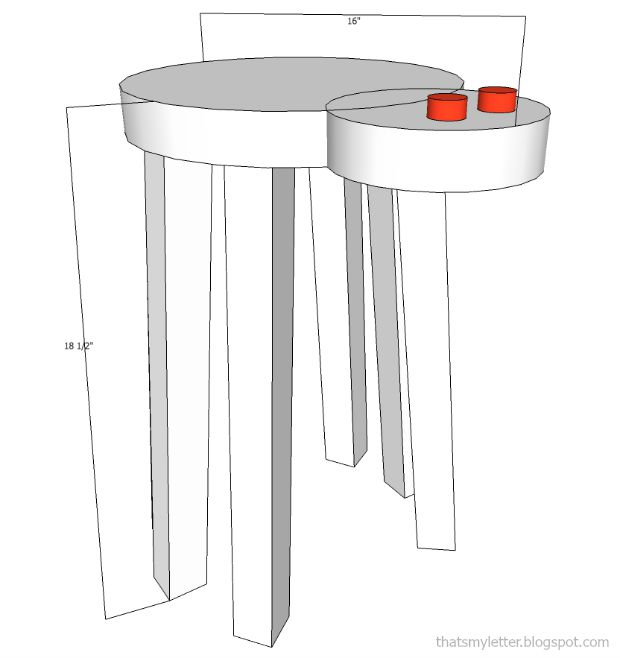
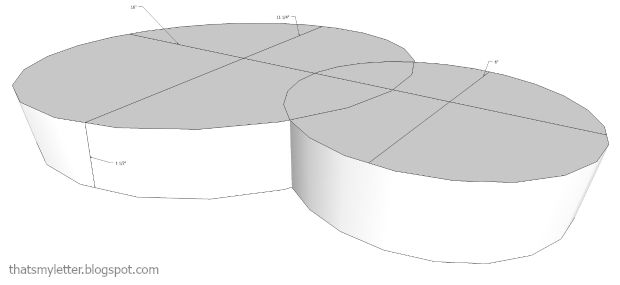
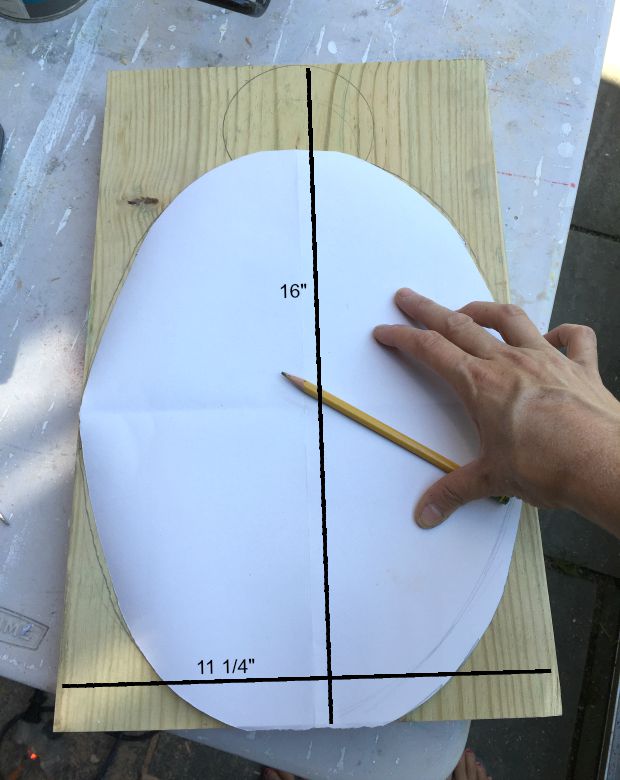
Step 1: Sketch the spider body shape on the 2×12. You can draw a large oval for the body and trace a drink glass or can for the head. The full length of the body and head equals 16″. The width is 11 ¼”.
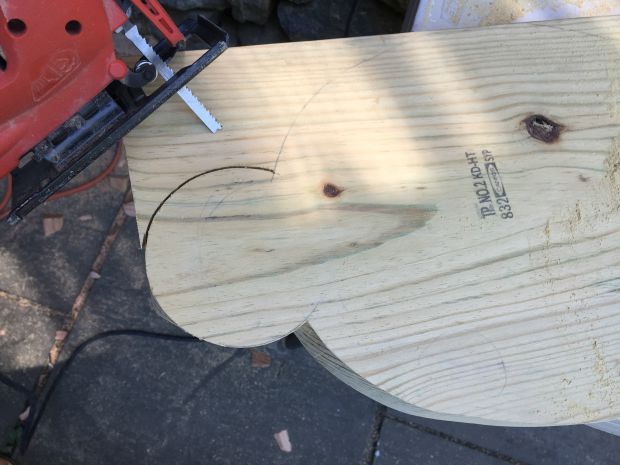
Step 2: Use a jigsaw to cut out the spider body. Go very slow through the 1 ½” thick material and flip over to refine your cut if necessary.
Step 3: Cut 6 legs with 5-degree bevel at both ends, parallel measuring 17″ from end to end.

Layout the legs on the underside of the body inset 1/2″ from the edge.

Apply wood glue to the top of each leg and attach legs using 2 ½” pocket hole screws.

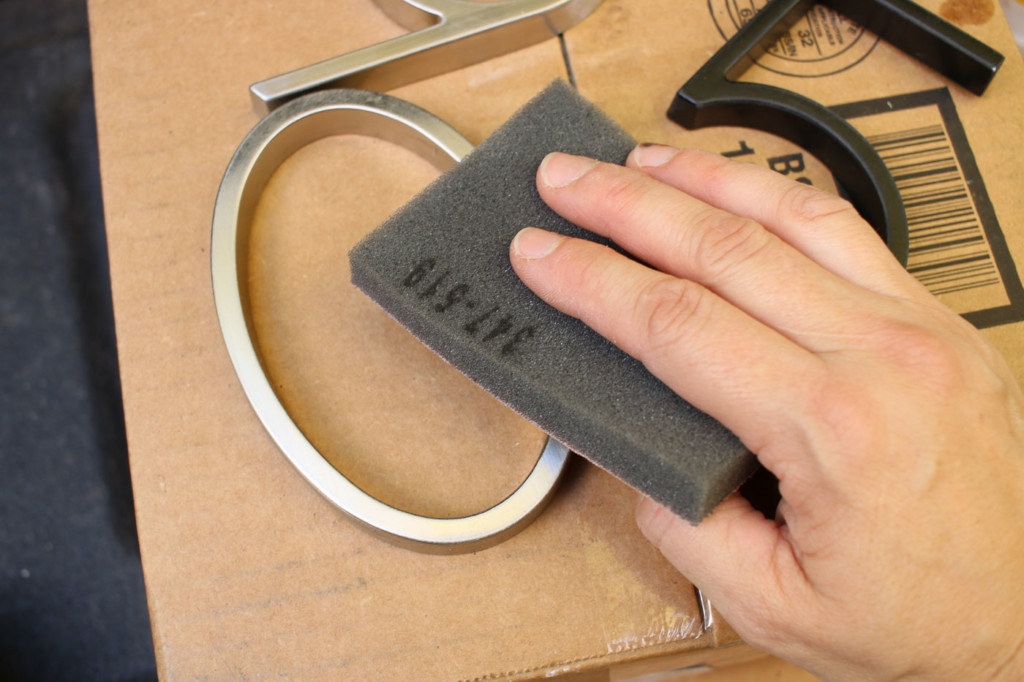
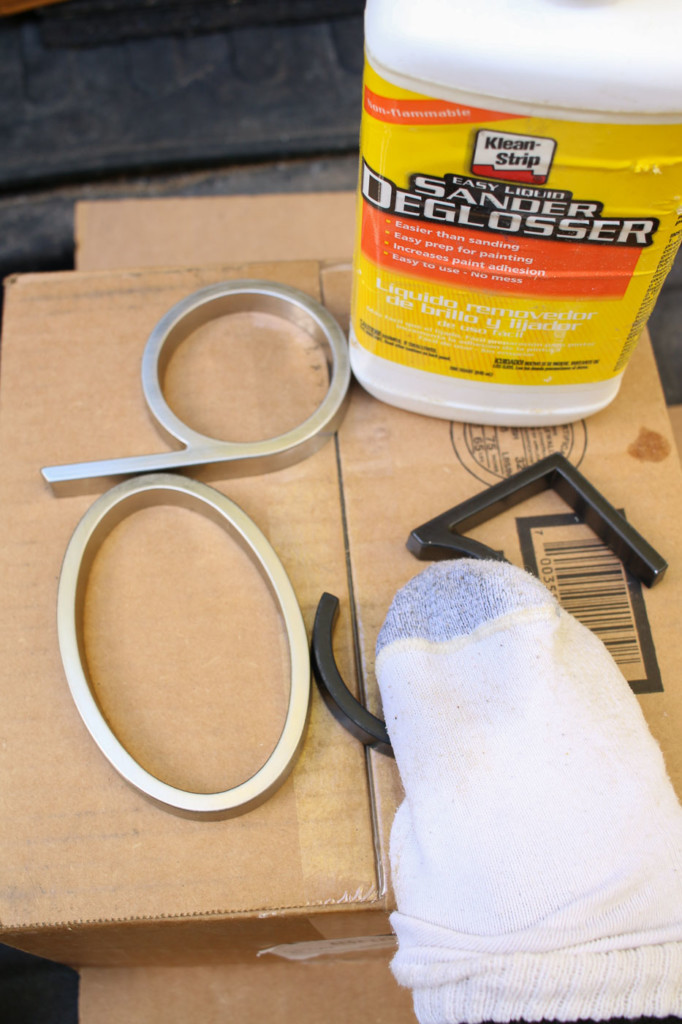
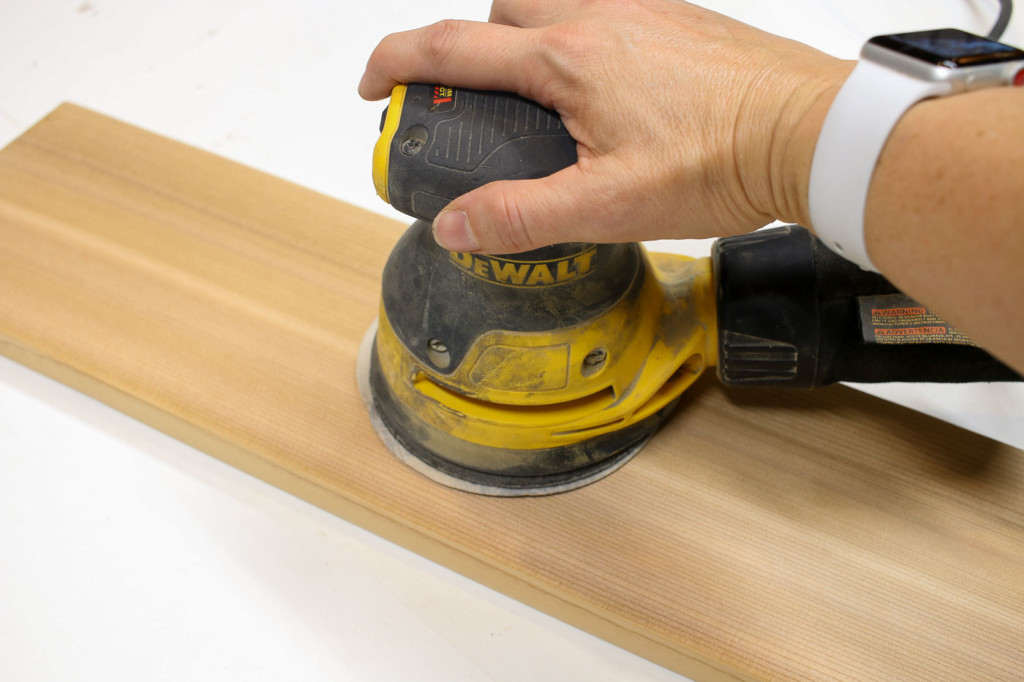
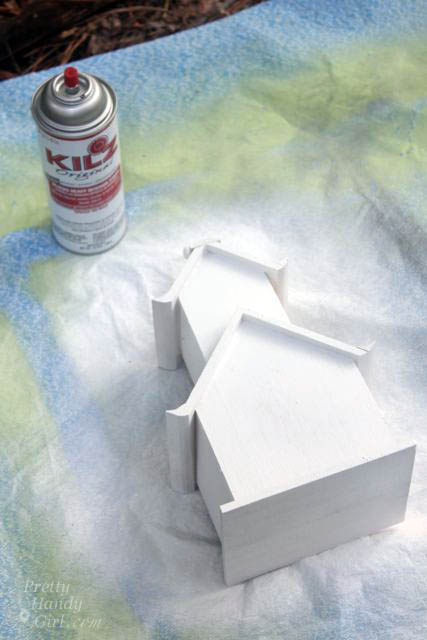
Step 4: Sand the stool, then finish with black spray paint.
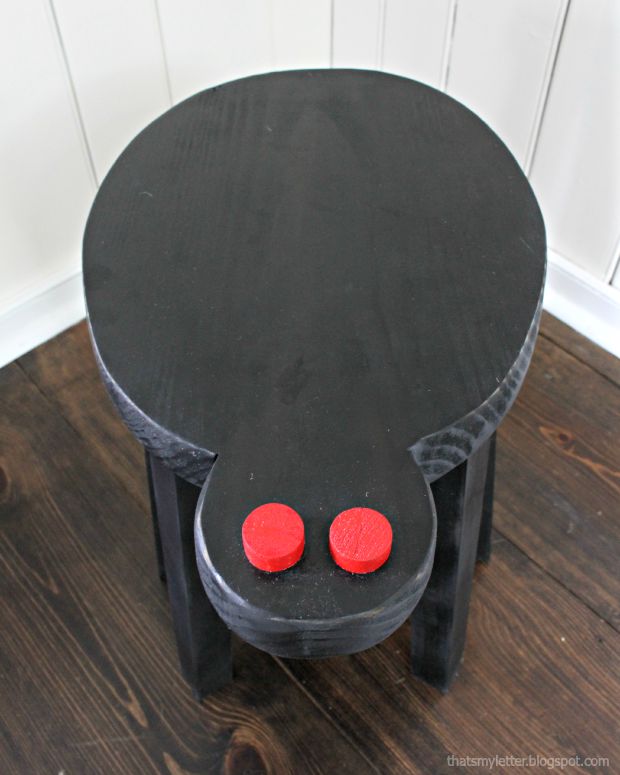
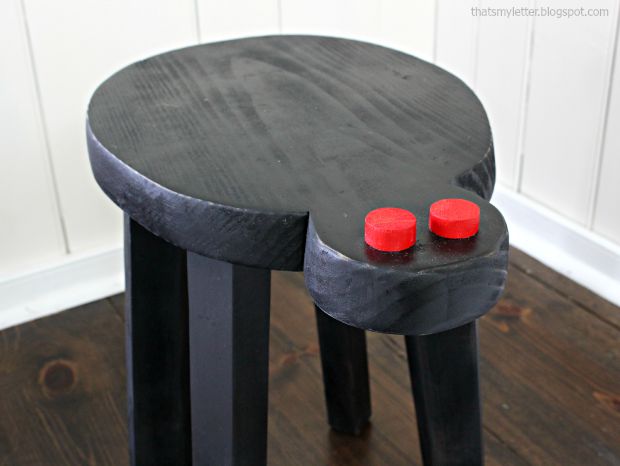
For an extra spooky factor paint 1″ circular dowel pieces bright red and glue onto the head portion.
Hope you enjoyed this fun spider stool project! If you have more scrap wood, why not make some more spider friends or insect friends for your DIY Spider Stool!

![]()

Hi, I’m Jaime and I write JaimeCostiglio.com, a DIY project focused blog with an emphasis on building, painting and sewing. All my life I’ve been painting, drawing, crafting and making things. I grew up in Minnesota and then majored in Studio Arts at a liberal arts college on the East Coast. While there, I worked in the costume shop for the theater department, met my now husband of 18 years and then went on to work for an interior design firm in New York City. We have 3 young children and now that they are all school age I have shifted my focus to do what I love – build, paint and sew. The real turning point came when we renovated our kitchen in the summer of 2010. One project led to another and I started blogging about all my projects one by one which has ultimately led to a small business.
My goal with each project is to work smart, efficient and economical. I love a good challenge whether it be designing a build to fit the space (entry locker unit), solving a logistical solution (portable lego tray), constructing a craft using unconventional supplies (plastic tablecloth rosette garland) or just a simple makeover with paint (front door makeover). And I firmly believe you can do it too which is why write a majority of my posts as tutorials in an effort to share my experience with readers.
You can connect with me on Facebook, Twitter, Pinterest, YouTube, and Instagram.
Read all of Jaime’s Pretty Handy Tutorials.
Pin for later!

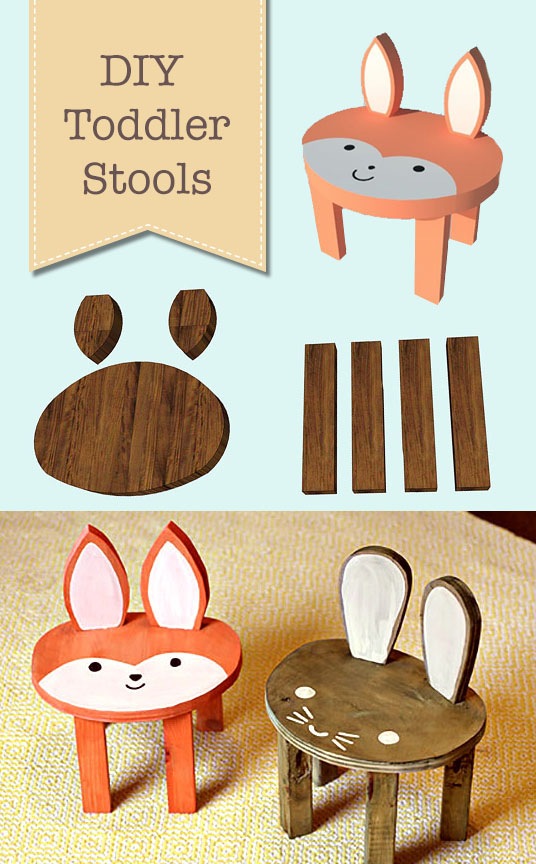
If you liked this tutorial, you’ll probably also love these cute little DIY toddler stools: