diy track saw jig for circular jig

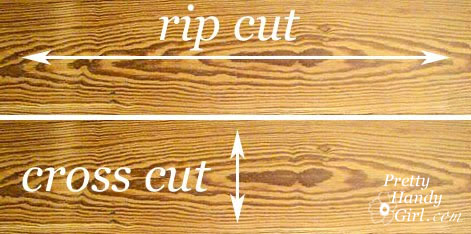
Making large and small rip cuts doesn’t have to be a difficult or calculated process.  With this inexpensive and easy to make DIY track saw jig, you will be making rip cuts quickly and easily with your circular saw!

diy track saw jigDIY Track Saw Jig for your Circular Saw

Hi! It’s Kristen, from In Her Garage, and today I am going teach you how to make a DIY Track Saw Jig for your circular saw. It’s basically a super simple circular saw cutting guide to make rip cuts much easier for you.  No more accounting for the saw’s base plate width or spending a ton of money on fancy, brand name guides. This will be an easy drop and clamp design that is foolproof! Let’s make it!

Materials:

(I’ve included affiliate links for your convenience. I earn a small percentage from a purchase using these links. There is no additional cost to you. You can read more about affiliate links here.)
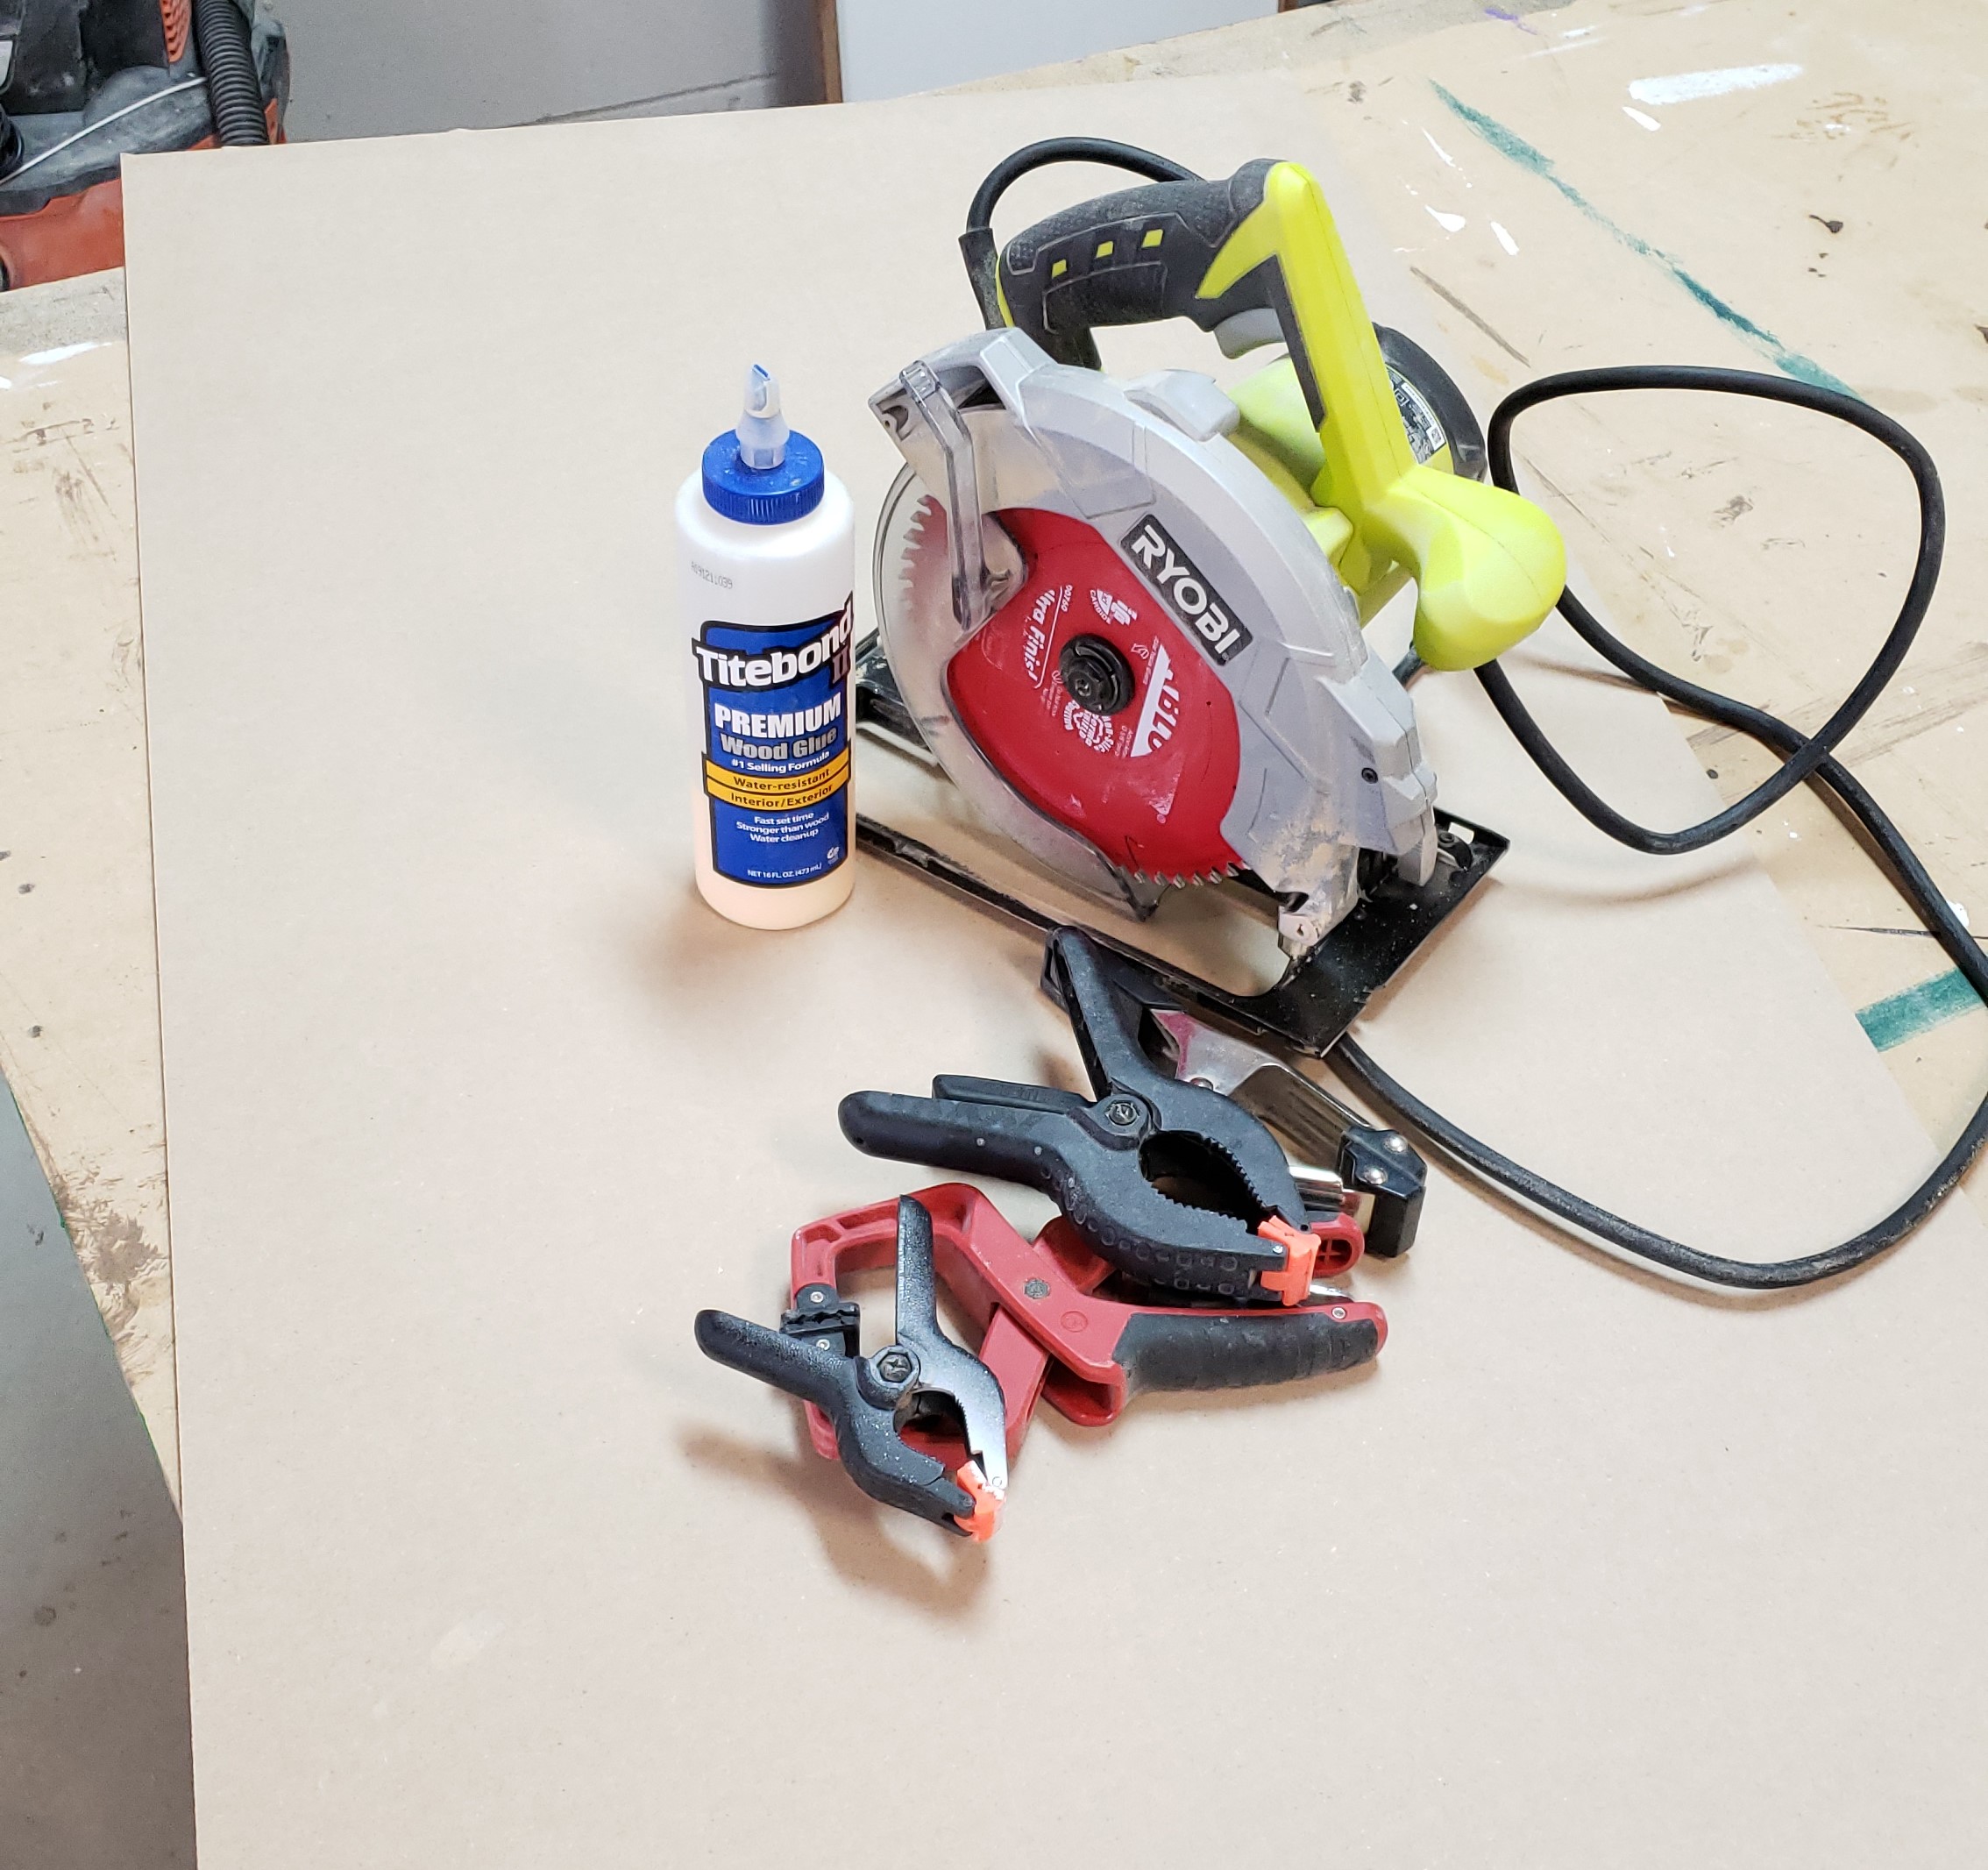
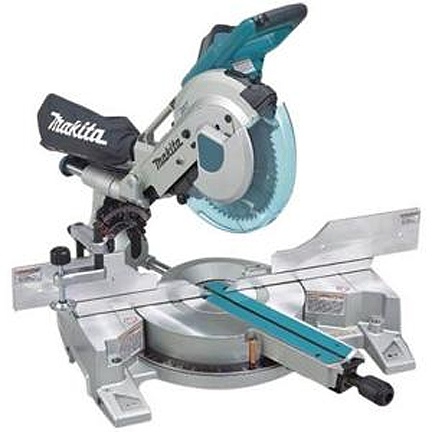
Instructions:

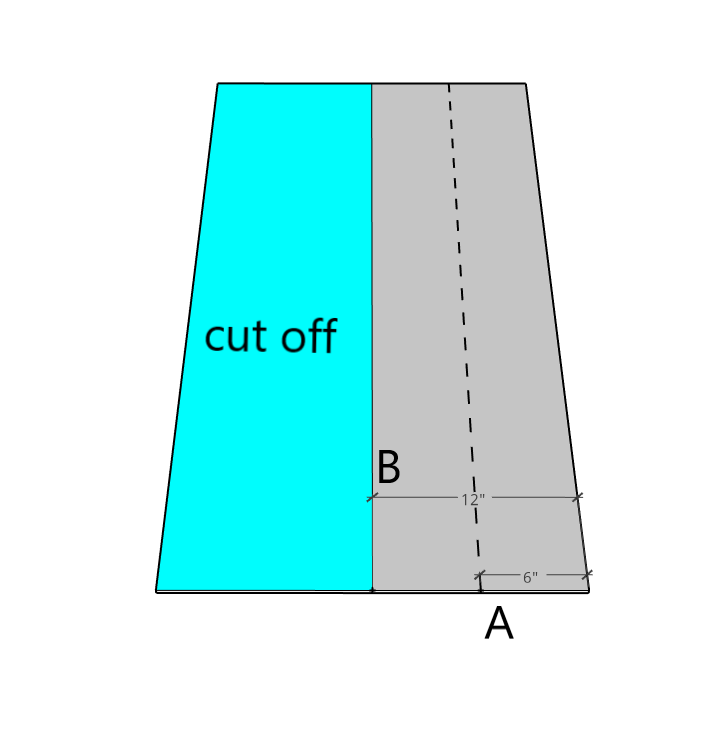
1. Measurements for the track saw base panel

Create 2 lines running the length of the hardboard panel and label them “A” and “B” as indicated in the diagram below.

  • “A” measures 6″ from the edge – this measurement is approximately the width of most circular saw baseplates
  • “B” measures 12″ from the edge – this measurement is approximately the width of the entire circular saw and will be the end width of the track saw jig.

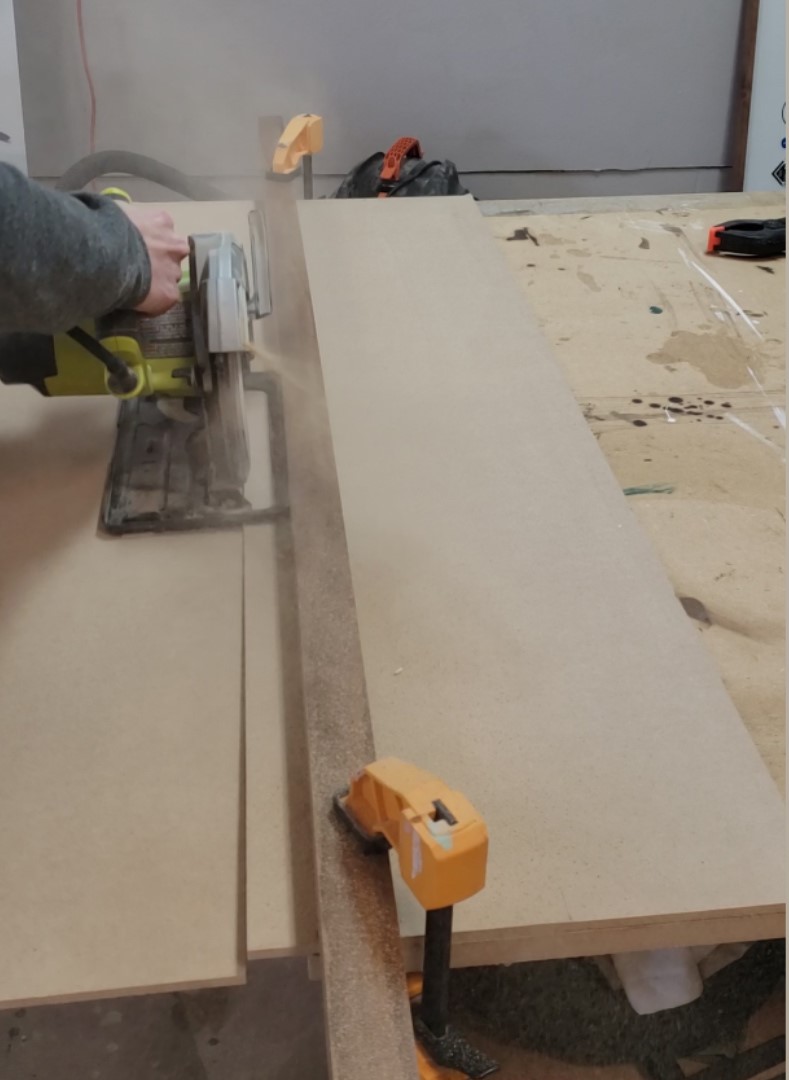
2. Cut the excess off of the base panel

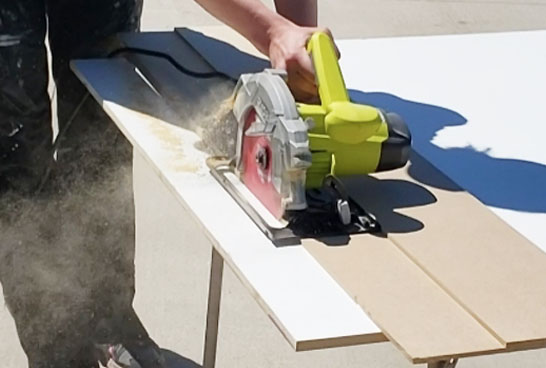
Clamp a straight edge (or any straight piece of scrap board) lined up against line “B”. Set your circular saw base plate against the straight board and cut along the length of the hardboard to cut this excess off. You will use the freshly cut edge of the excess in the next step.

3. Creat the track saw cutting guide

Apply wood glue between lines A & B of the track saw base panel (as shown above.) Do not apply the glue too close to line “A” or the glue will squeeze-out in the next step. Collect the excess piece of hardboard you just cut off and align the freshly cut edge up to line “A” of the base panel.


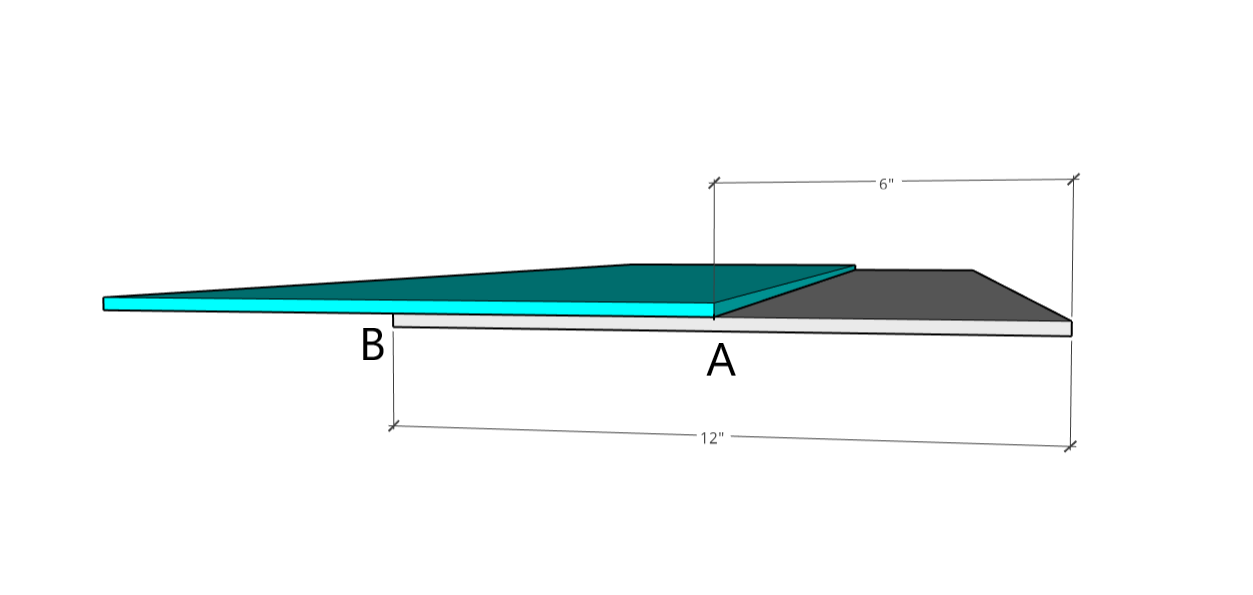
Clamp and apply weight over the top of the two panels. Wait approximately 15 minutes for the glue to cure and adhere the two pieces together.

4. Cut the straight edge guide

Position your panel so the 6 inch “A”  section overhangs off the edge of your work surface (this is the edge you used to measure lines “A” and “B” from.)

Rest your circular saw’s base plate against the top glued piece using it as a straight guide.  Make sure your saw blade will avoid your work surface when cutting. Now cut along the length of your panel.

This will create an edge that is exactly the width of the inside base plate to the inside of the saw blade.

5. Cut off the excess from the back of the jig

Flip the jig over and cut off the excess material that extends beyond line “B” shown below.

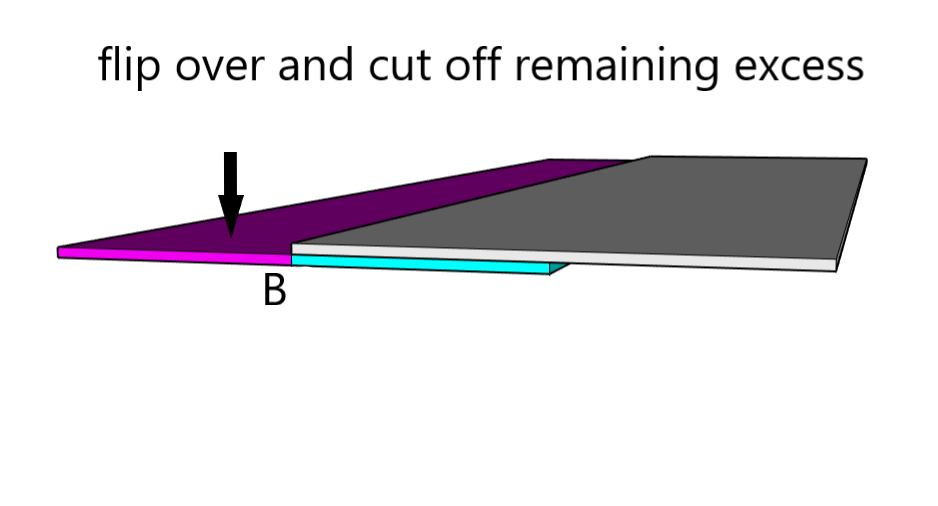
Do not cut any further into the jig than line “B” because your DIY Track Saw Jig well be too narrow. You will need this extra width to clamp the jig to any material you plan to cut. If your jig is too narrow, the saw’s motor will catch on the clamps.

I’ve created a video to simplify the instructions for you:

Now you have your own DIY Track Saw Jig for your circular saw! How easy was that?

Using the jig is even easier. All you need to do is measure and mark the surface you plan to cut. Then align the edge of the track saw jig with these marks and clamp down.  You’ll have a perfectly straight guide for the circular saw to travel along.  Just be sure to take into account which side of your measurement you want the saw blade to cut on and position the jig accordingly.


Great Job!!! Now just store this jig in a place that is easily accessible because you will use it A LOT!!

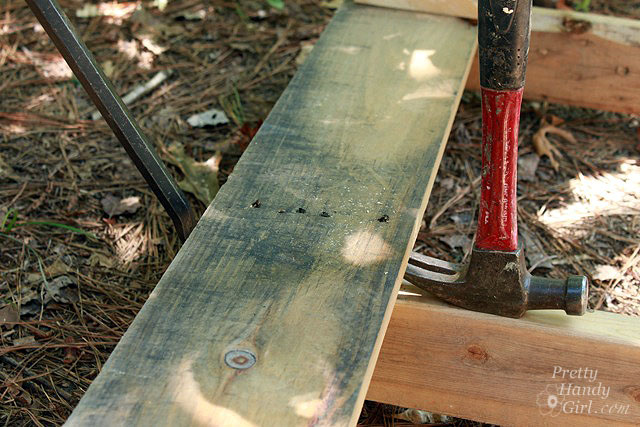
Helpful tip from the Pretty Handy Girl: Buy a panel of foam insulation from a big box store and cut your plywood on top of it.  The foam panel provides a firm surface for the entire piece of plywood and eliminates any falls, pinches, or board balancing you may need to do.

If you enjoyed this tutorial check out my DIY Toy Chest and 1 Drawer side table.  The DIY Track Saw Jig will come in really handy for making these gorgeous pieces.

About Kristen:

Hi! I’m Kristen, from In Her Garage, and I am a self-taught woodworker and DIY fanatic from Minnesota where I live with my husband and our two daughters. Between being a wife, mom and, registered nurse, I try to make as much time for DIY as possible. My love for building came after our family built our current home in 2015. After we moved in, we needed furniture and instead of spending massive amounts of money to order the pieces we wanted I decided that I would build them myself. I started with a buffet table plan from the fabulous Ana-white and quickly set out to remodel my entire home office.

Since then I have started a side business building furniture for the people in my community. I love hearing my clients talk about the pieces they wish they had whether it be a rustic buffet table, a one drawer side table, or a toy box and then making it a reality for them. While starting my small business it made perfect sense that I would document my building journey so I simultaneously launched the In Her Garage blog and I love sharing my plans, tips and tricks.

Making something beautiful with your own two hands through a little preparation and determination is an amazing feeling and I hope to bring inspiration and know-how to those looking to tackle a big or small project.
I am so glad that you found me here and please feel free to connect with me on PinterestInstagram, Facebook, and Youtube to see what I am working on right now.

How to Make an Ottoman Table

Design inspiration can often come in the least-expected places. It can happen when you are in an airport or at the farmers market or just plain window shopping in your home town. Last year when I was at the Haven blog conference, I fell in love with this table I saw in the hotel restaurant.

How to Make an Ottoman Table

But want is it called? An ottoman tray, a side table, a bridge? Turns out it is all those things. Today I’m going to teach you how to make one. This simple piece of furniture is not only easy to make, but very functional too. It can fit perfectly over an ottoman in your home and give you a steady place for a book or your favorite drink. Or if you don’t have an ottoman, it makes a nice side table too.

Materials:

  • MDF board – These come in many sizes at the home improvement store. For this project I used a piece that was 1 x 10 x 72″.
  • L-brackets
  • Wood screws
  • Primer
  • Paint
  • Drill and drill bits
  • Circular saw (optional)

Instructions:

First, measure the size of the ottoman you want to slide the ottoman table over. Make sure you have enough clearance for it to fit the width and the height of the ottoman. You will have three boards total. Two that will serve as the “legs” and one that will be the top.

Transfer your measurements to the board. Using a circular saw, cut the board in two places according to your measurements, giving you three boards.

You can have the board cut for you at the home improvement store and save yourself a step. (This works for me a lot since I have a small car, then it easily fits inside on the way home.)

Wipe of any sawdust with a rag.

How to Make an Ottoman Table

Prime and paint the boards. It’s a good idea to use a “gripping” primer so that your table will be stand up to frequent use. There are also enamel paints that are meant for furniture that you can use as the color. If you have paint on hand, use what you got! Or, sample cans are only around $4 and should cover your entire piece, depending on the size.

After the boards are dry, you can assemble the table. Take the top piece and turn it upside down on a soft surface. Place a “leg” board perpendicular next to it and mark where to place the L-bracket. Read more

counter stools

Yes you can make those wood bar stools fit your counter.  Here’s an easy DIY fix to make bar stools into counter stools (and a quick makeover too!).

Bar stools typically sit at 30″ high, this is fine and dandy if you have a proper bar where the countertop is elevated higher than the working countertop space.  Kitchen designs are trending now away from the proper bar towards one even countertop surface.  No worries, you can still use those bar stools for your counter by easily cutting off the bottom 4″ to reduce the stools to a counter height of 26″:

counter stools1

(The white stools above are counter height and in the picture for comparison purposes.)

In addition to fixing the height of your stools give them a fresh look with a quick paint job and a new design: Read more

Pallet upcycling is all the rage today. But, if you’ve ever tried to actually remove wood planks from a pallet, you know that it is not an easy task. The nails that are used are typically spiral nails and are designed to really grip that wood. And if that’s not enough, they usually shoot 4-5 nails per joint. Sheesh, you’d think they were building a foundation for a 10 ton elephant. Okay, actually it is the foundation that has to hold tons of product as it is lifted by a fork lift. Which explains why harvesting pallet wood can be a labor intensive task.

I figured you’d appreciate it if I shared with you the quickest and easiest way I’ve found to salvage this beautifully rustic pallet wood. Read more

Today I’ll teach you how to use a miter saw safely. We’ll learn the difference between a miter and a bevel cut. Plus, I’ll also show you the different features and functions of miter saws.

How to Use a Miter Saw

Hello and welcome to the very first Tool Tutorial Friday (a series of tool tutorials)! Come right in and have a seat. If you give me less than 10 minutes of your time, I will empower you with a new power tool skill! Today, I’m going to show you how to use one of my favorite power tools. Before I owned a miter saw, I used a hand saw and a cheap plastic miter box. But, they were really putting a cramp in my DIY style (if you know what I mean.)

About two decades ago, my husband gifted me my Makita 10″ Sliding Compound Miter Saw. That’s right, I don’t ask for jewelry for big occasions, Pretty Handsome Guy knows to ask one thing before an upcoming holiday, “So Honey, what power tool do you want now?” It’s true, I’m a power tool junky.

Ready to learn how to use a miter saw? Okay, let’s get started…

Working with power tools can be dangerous, but your risks drastically eliminated if you give the tool some respect. Today I’ll show you how to use a miter saw safely.

About Miter Saws:

Miter saws come in many shapes, sizes, and colors. The size (usually from 7.25″ up to 12″) refers to the diameter of the blade on the saw. The larger the blade, the wider the material it can cut. However, if you purchase a “sliding” miter saw, you can cut several inches wider than your blade diameter (the specifications on the saw should tell you this cutting distance). Miter saws run anywhere from $80 up to $800 depending on the features and brand you choose.

Sliding Miter Saw:

I highly recommend a sliding miter saw if you can afford it. Being able to cut lumber a few inches wider means the difference between using your miter saw or having to break out the circular saw or table saw.

On a non-sliding miter saw, the saw head will not slide forward and back. Most of the entry-level models will cut a miter and a bevel. You may have heard miter saws without the ability to slide referred to as chop saws. They will work great for “chopping lumber” but without sliding, dual miters, and dual bevels, you will spend some time flipping the lumber to make your compound cuts.

Speaking of miters and bevels, let’s talk a little more about what is a miter and a bevel cut.

Type of Cuts:

Miter saws are perfect for cross cuts, miter, and bevel cuts. Miter saws cannot make rip cuts. Rip cuts are easier cut on a table saw or track saw (or using a variety of other handheld saws.)

  • Rip – ripping a board is cutting with the grain along the length of a board. This is usually done with a table saw but can be done with a variety of handheld power saws and a straight edge.
  • Crosscut – a type of cut that is perpendicular to the grain or along the width of your board. Crosscuts are usually made with a miter saw or circular saw, but can also be made with a track saw, jigsaw, band saw, or hand saw. You can make crosscuts with a table saw, but you will need a crosscut sled to perform a crosscut cut safely.

Miter Cut:

A miter cut is made when you change the direction of your blade from straight ahead (90˚) by moving it from side to side. Think of pizza wedges. For example, in the image below, the saw is set up to cut a 45˚ miter, and no bevel because the blade is still straight up and down.

Bevel Cut: 

A bevel cut is made when you angle your blade tipping it to the left or right. As an example, in the picture below, I’m making a 45˚ bevel cut into the wood.

Compound Cut:

A compound cut happens when you make a miter and a bevel cut at the same time. Essentially you are cutting two angles simultaneously. This is particularly useful when you are cutting crown molding for a room.

You can see in the diagram below how to set up your saw for bevel angles, miter angles, or both.


Safety Features and Operating a Miter Saw:

All modern miter saws have a trigger built into the handle. Most miter saws also have a safety button that you must push with your finger or thumb before you can squeeze the trigger. To start a straight downward cut, press the safety button, squeeze the trigger and wait for the saw to reach maximum rotation. Then slowly lower your saw into the board you are cutting. Never force the saw through the wood. Let the saw cut and then guide it downward. Once you have completed the cut release the trigger while the blade is in the wood. Let the saw come to a stop before lifting it out of the wood.

Most miter saws have a fence. The fence lets you rest the position your lumber against a straight edge. It keeps the wood steady and helps your miter saw cut true to the degree setting you have chosen.

Some miter saws have a detachable clamp. This is a nice option and helps keep your hands away from the blade during cuts. Let the clamp be your right-hand man (or left-hand man). If you don’t have a clamp on your saw, be sure to always position your hand as far away from the blade as possible. Do not attempt to make cuts where your hand is close to the blade. AND NEVER reach under the saw while it is rotating! Even when you have finished your cut, your hand is not safe until the blade has completely stopped.

Three Safety Tips for Using a Miter Saw:

  • Blade down until it stops! You should always end your cut and release the trigger while the blade is down and in the lumber. Let the blade come to a stop before raising the blade.
  • Always make sure the lumber is supported on both sides. And never clamp both sides of your lumber. One side should be free so as not to pinch the blade during the cut.
  • Never cut small pieces of wood where your fingers are too close to the blade. If you absolutely must cut a tiny piece, clamp or attach it to a larger piece of lumber.

Making a Safe Sliding Cut:

When using a sliding miter saw, there is a proper way to make a sliding cut (used to cut wider boards):

  1. Make sure your saw is positioned fully on your workbench. Test the blade in its full reach toward you to make sure it won’t tip as you lower the blade.
  2. Put your lumber up against the fence and clamp it on one side (if you can).
  3. Before you start the blade, pull the saw toward you until the blade is directly over the board’s edge closest to you.
  4. Squeeze the trigger to start the saw and wait for it to reach peak rotation speed. Then lower the blade down into the wood.
  5. While the blade is still rotating, slide the saw back and away from you as your blade cuts through the rest of the wood (see photo below.)
  6. Once the blade has finished cutting through the wood, release the trigger and let the blade stop before raising the blade.

I created a video, so you can see how to safely use a miter saw. Before you watch the video — a few necessary words of caution:

DISCLAIMER

The viewer assumes all responsibility and liability associated with the hazards of woodworking. Pretty Handy Girl is not responsible for any errors or omissions that may be present in this tutorial. She also assumes no liability for any action or inaction of a viewer.

Please use extreme caution when using power tools. Read your tool manual thoroughly and wear protective safety gear. Take your time familiarizing yourself with a tool before using it. (If you are missing the manual, you can easily find it online by going to the manufacturer’s website or google your saw’s make and model + manual.)

Update: Please recognize that I have tried to put together a basic miter saw usage tutorial to get you started. I have tried my best to show the safest way to use a miter saw. Two safety revisions I want you to be aware of:

  1. You should wear appropriate Personal Protective Equipment when using a miter saw. (Ear protection, eye protection, and a dust mask.) I should have been wearing a mask.
  2. When I first learned to use a miter saw, no one told me to keep the blade down until it came to a stop. This is now standard practice when I work.

And now, let’s get you more familiar with using a miter saw!

I hope you have been empowered to use a miter saw! Go on and give your miter saw a try if you own one. If you decide to buy a new miter saw, I recommend buying a reputable brand with a decent amount of features. I have a lot more information about how to buy quality tools and save money on tools in this article.

These workshops were meant to be interactive, so don’t be shy! Ask questions, leave comments, and let me know you are learning something new.