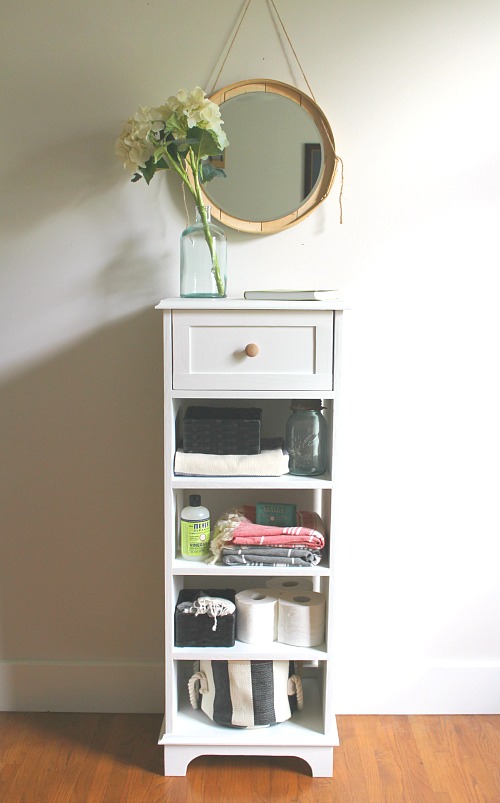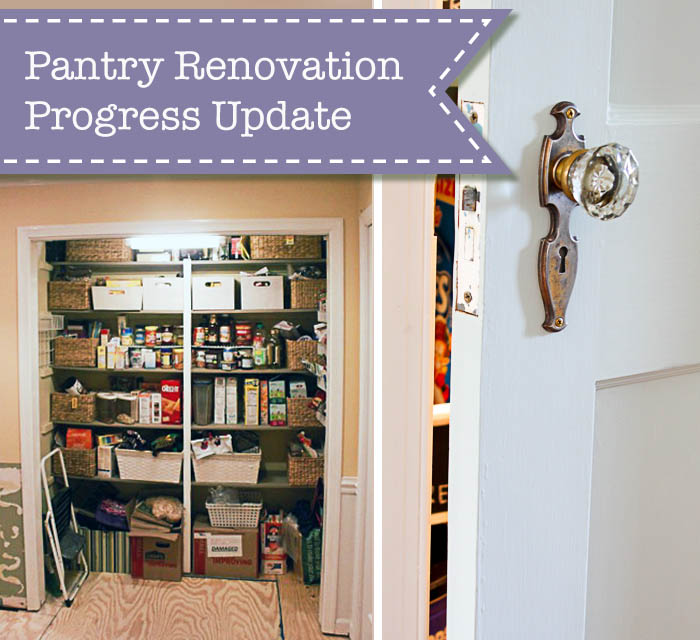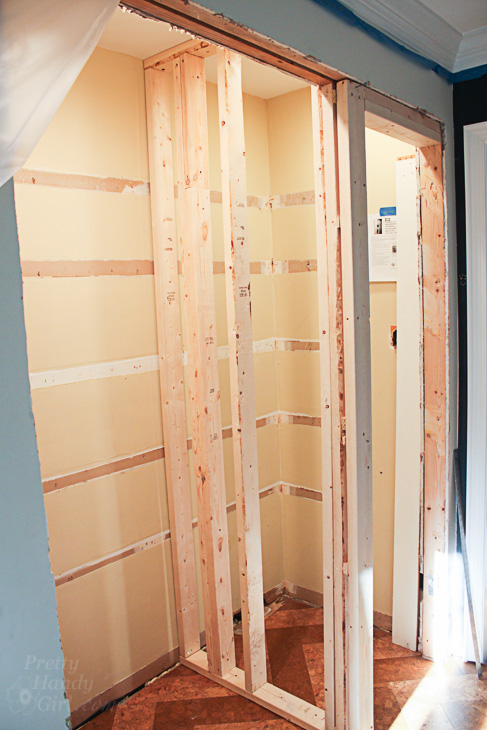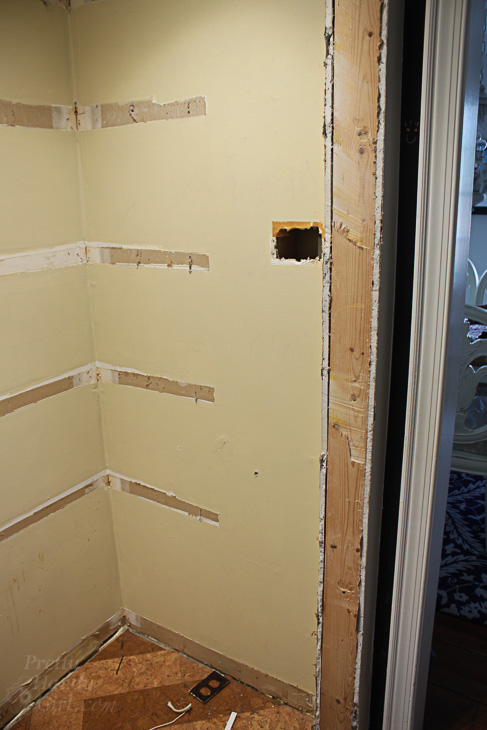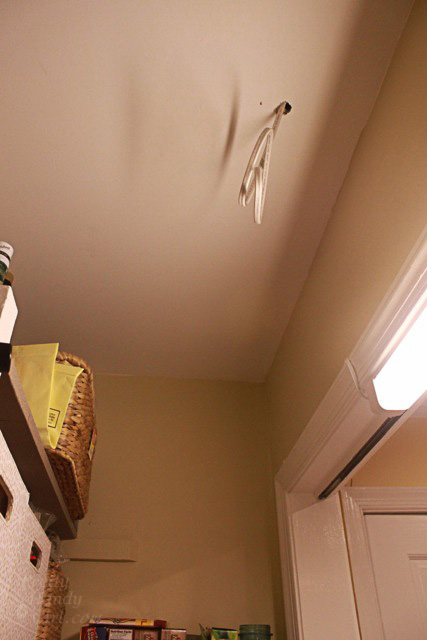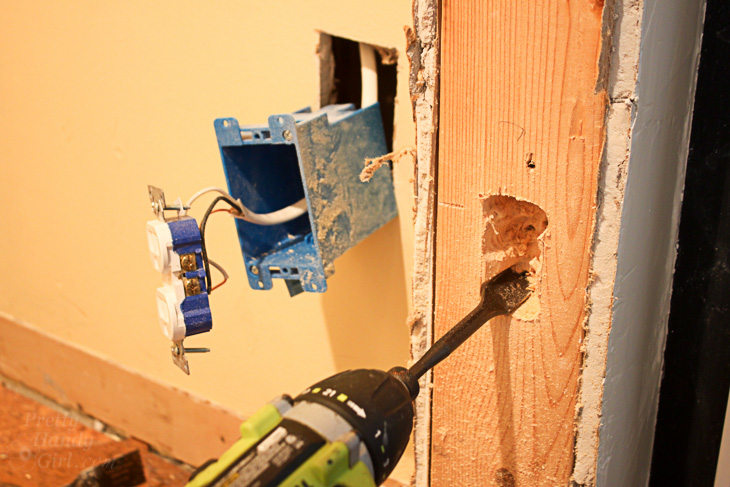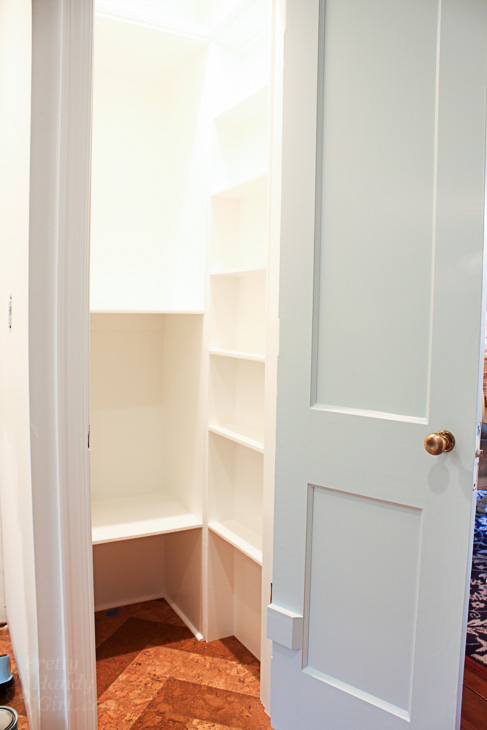
I’m really anxious to show you a sneak peek of the pantry renovation project. I’m not 100% done, but the finish line is close. This is a good spot to give you a pantry progress update and show you the process of turning a bi-fold door pantry into something with more functional storage, not to mention coolness factor.

This is where the project began:

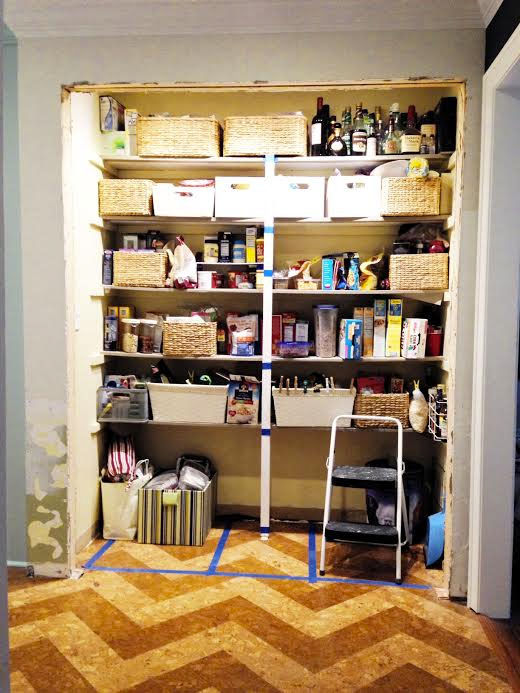
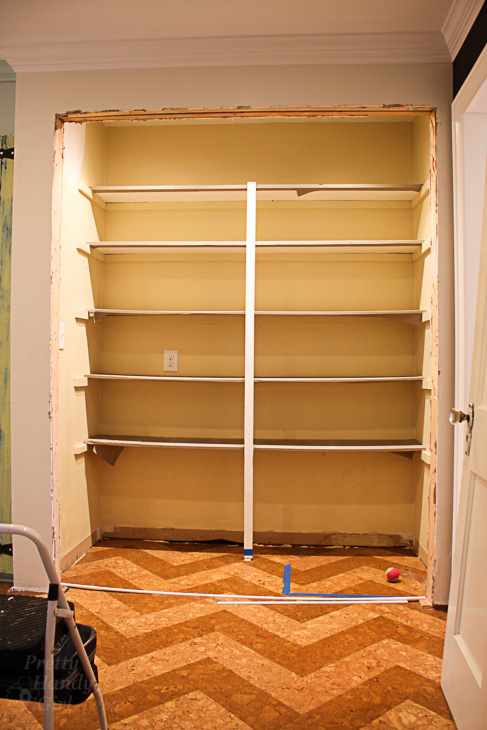
That was our 6′ wide and 3′ deep pantry back in 2012 shortly after a small water leak left us with a gutted kitchen. After the restoration crew installed the new subfloor (because of the asbestos abatement), I took the ugly bi-fold doors off and fully intending to include the pantry in my complete DIY kitchen renovation. By the time I finished the kitchen renovation, I was exhausted and longing for a break. Four years later, this is where the pantry progressed until a few months ago.

Pantry Before | Pretty Handy Girl

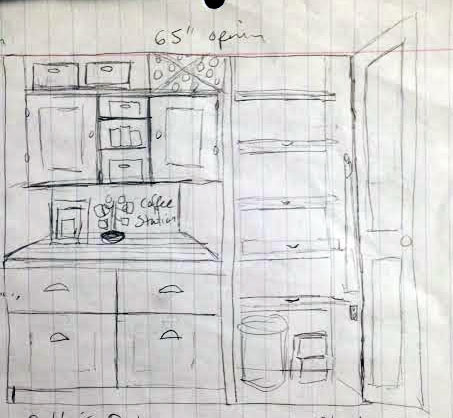
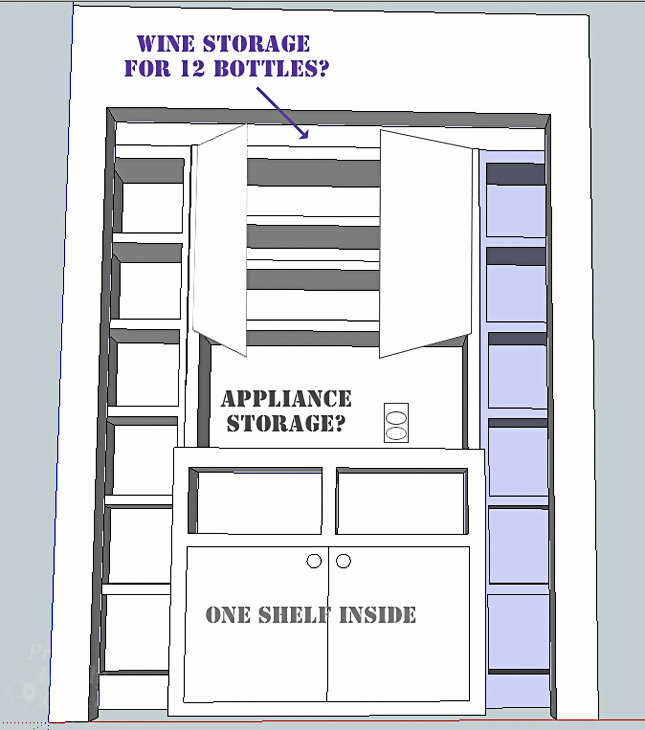
Big difference right? Just kidding. I installed flooring and a new light fixture, but that’s it. I had dreams of making an open pantry and showed this sketch to my friend Sandra from SawdustGirl.com back in 2013.

Open Pantry Concept Sketch

She and I talked through some ideas and then I sat on the project for a couple of years. By this time I had revised my idea on the pantry and drew up a new sketch:

(Please don’t show that to my illustration professors. That’s one rough sketch there.)

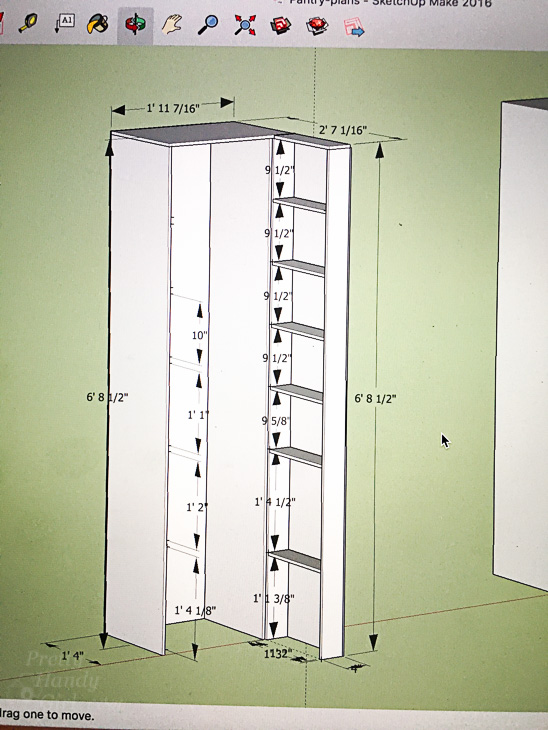
The idea was to partition off the right hand side of the pantry and create a small closet with a door. To get the most storage possible, I moved over to SketchUp to draw out plans for the small closet.

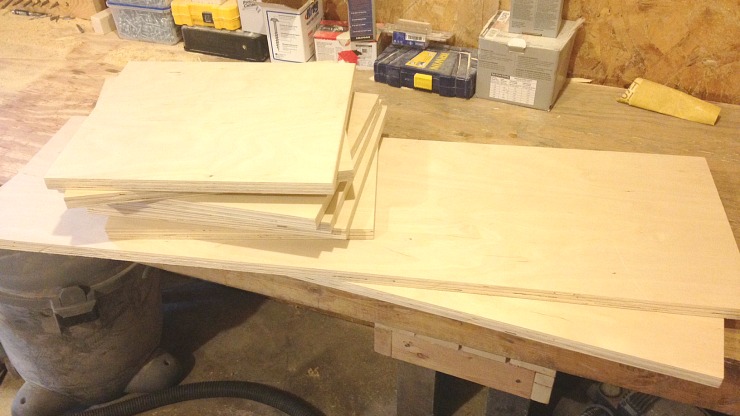
Next it was time to cut the shelves out and get this project rolling.

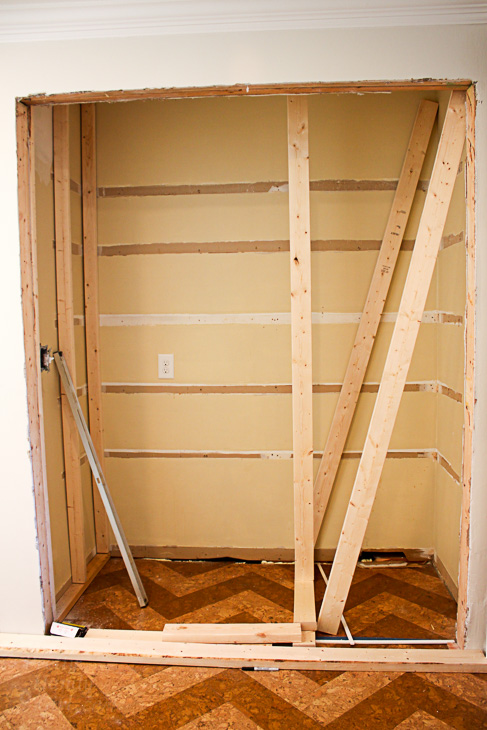
Our dining room took over pantry duties as I began the framing process in the gutted pantry.

I’m sure you’re going to ask me why I didn’t remove the framing over the doorway. I decided to leave it in place because the door frame is made up of a large double header and the kids’ bathtub is directly over the header. Basically I didn’t want to risk the tub falling through the ceiling.

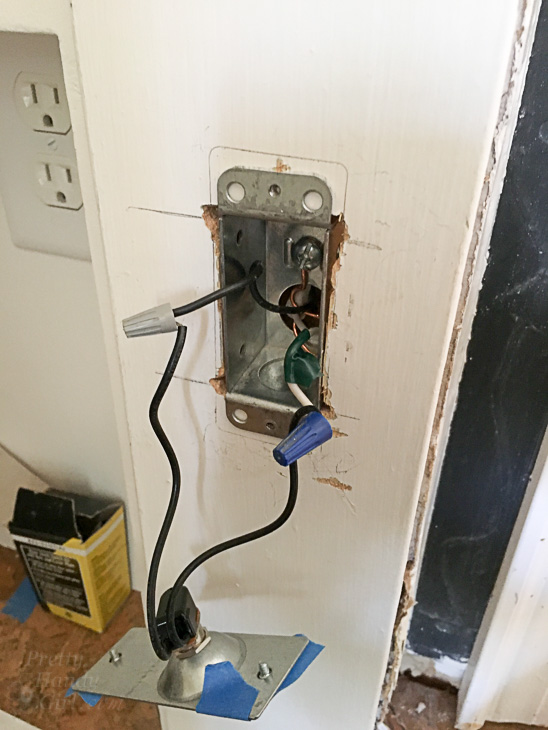
New wiring was run for two outlets on the left side and I moved an outlet down toward the floor on the right side.

You may remember when I showed you how to Add Energy Efficient LED light fixtures in recessed can lights. Those lights were the ones I installed on each side of the partition.

I tried to hire my favorite electrician to install a door frame switch for the light, but he explained how to do it and left without taking my money. (I owe him big time.)

In the end, I’m grateful for his advice and for pushing me out of my comfort zone. It wasn’t as hard as I expected.

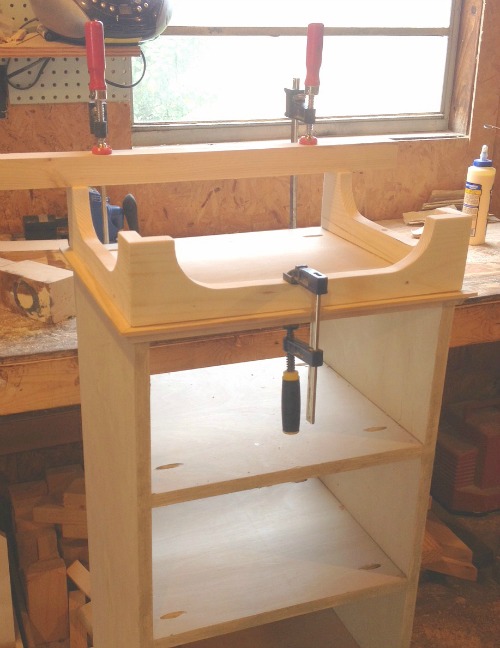
Next up on the to do list was to build the cabinetry for the closet.

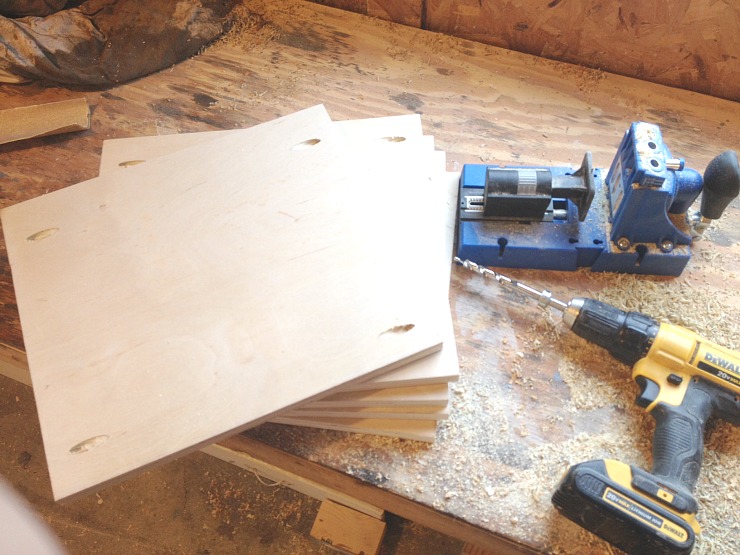
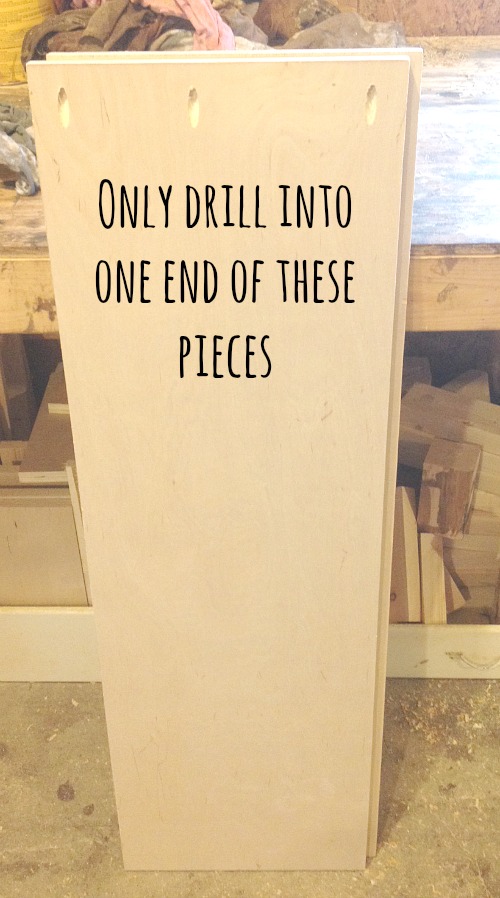
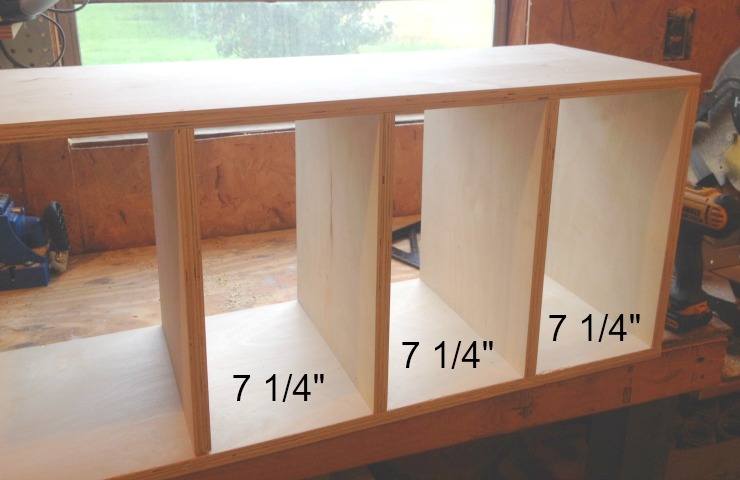
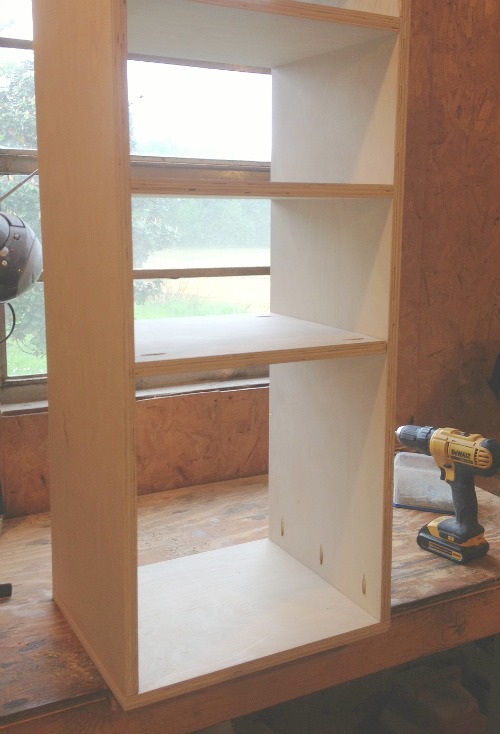
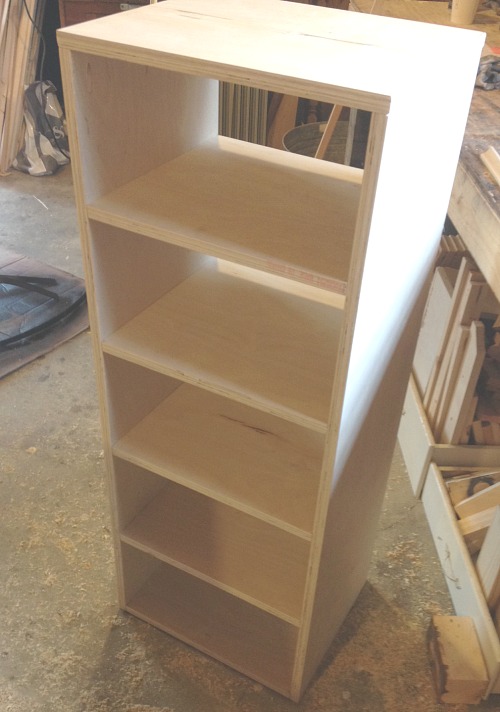
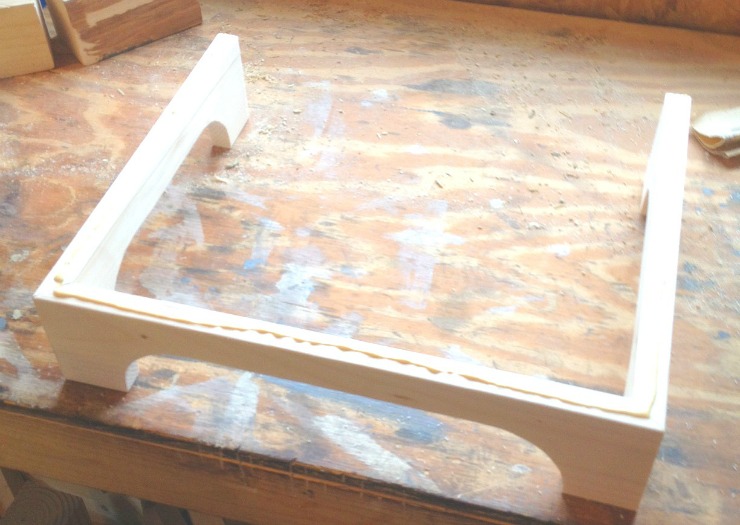
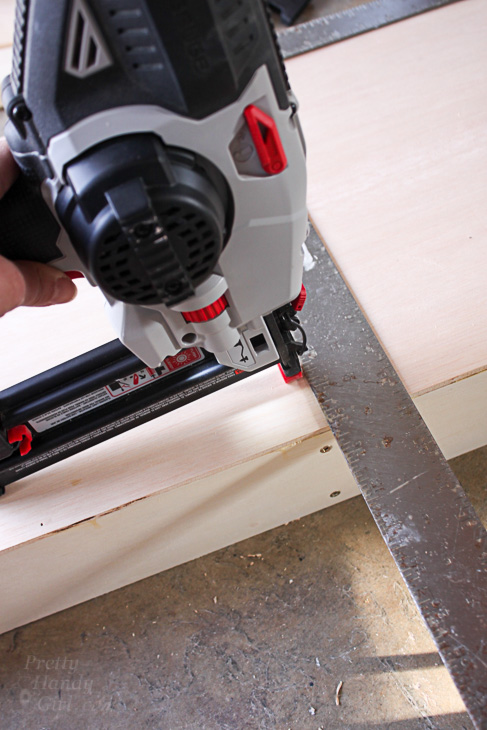
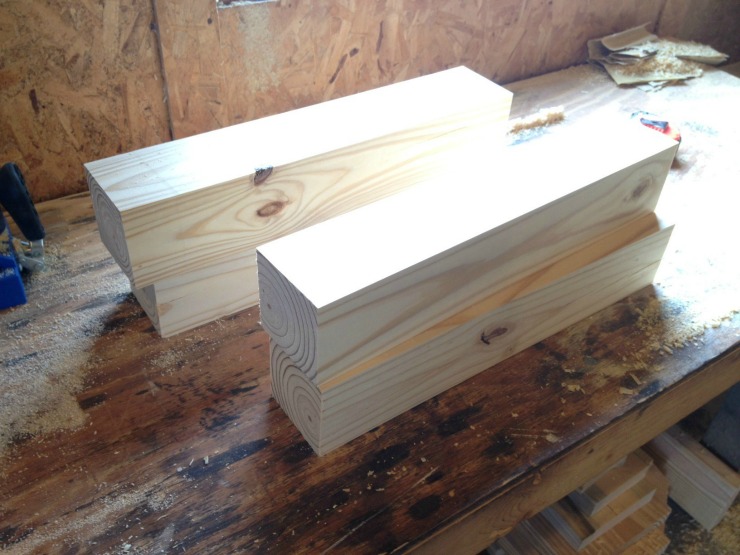
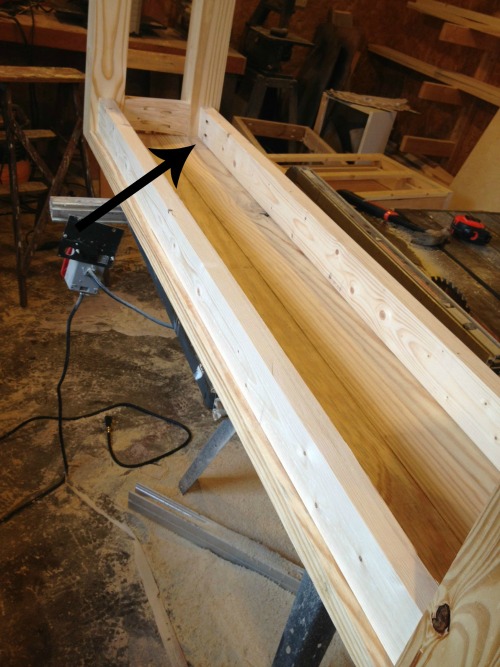
I constructed two boxes. One deep box for the back and a shallow box for the side shelves. I’m not going to show you how to build cabinets because Sawdust Girl does it so much better than I do!

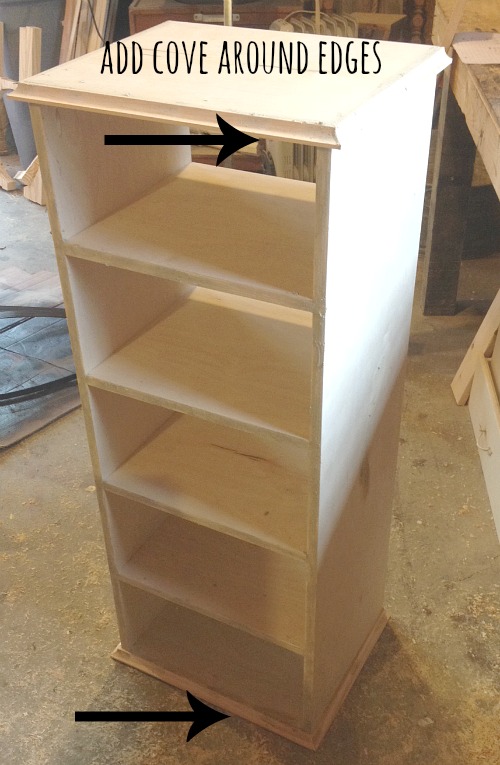
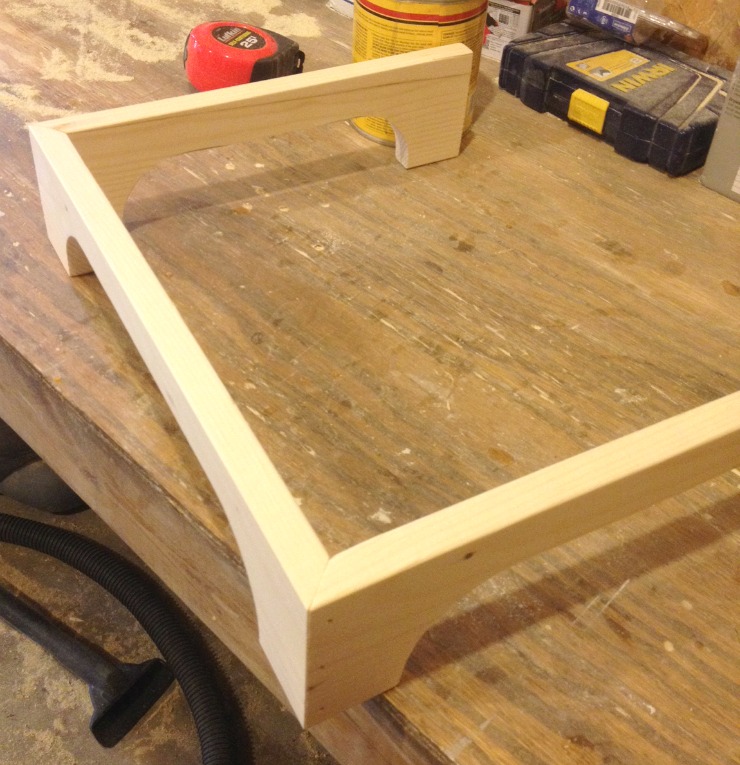
After the boxes were built and painted, I carefully installed them into the closet. Some white caulk and trim moulding were added to give it a more finished look.

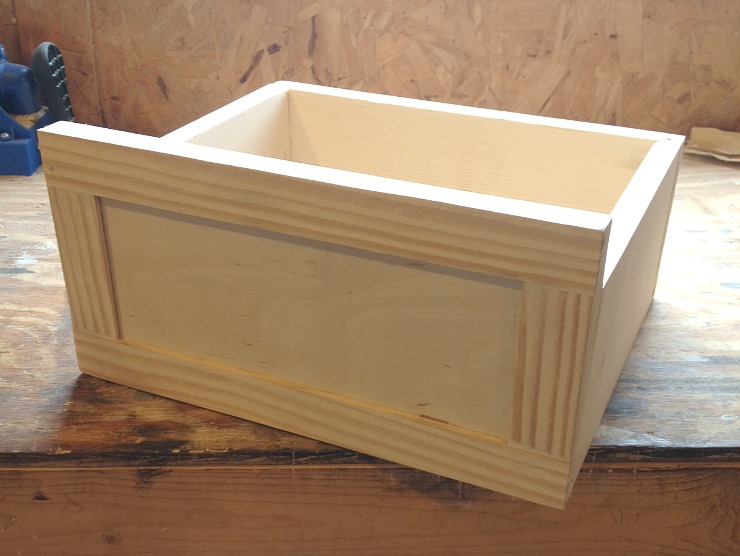
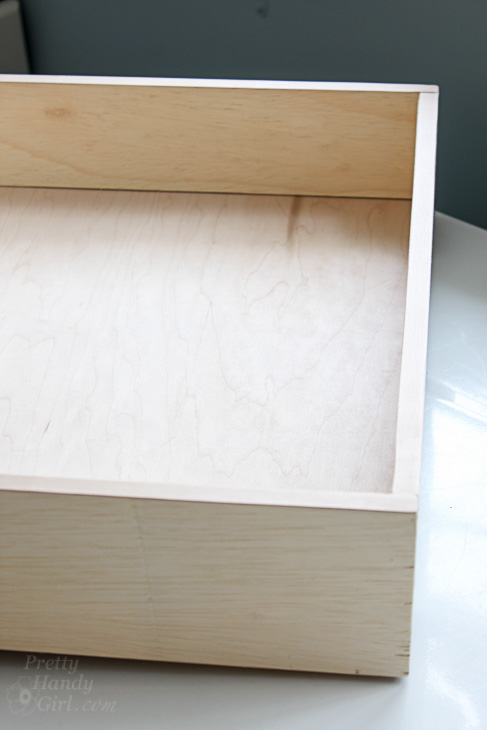
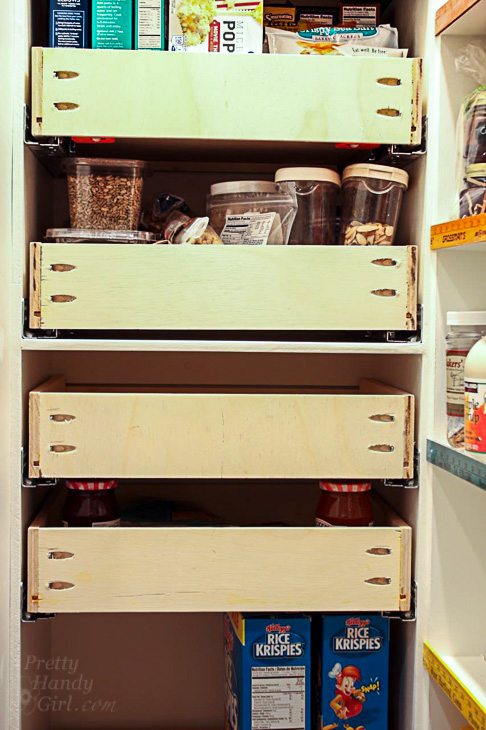
Next I built the drawer boxes for inside the larger cabinet box. Again, Sawdust Girl has the best instructions for building drawer boxes here. But, here’s a tutorial to show you how to finish off plywood edges.

Blum drawer slides (affiliate link) were used on the drawers, per Sandra’s suggestion.

Make Your Own Chalkboard Front Drawers | Organized Pantry | Pretty Handy Girl

Want to see the full reveal? Click here to see my Pantry Reveal with Hidden Wine Storage.

Make Your Own Chalkboard Front Drawers | Organized Pantry | Pretty Handy Girl

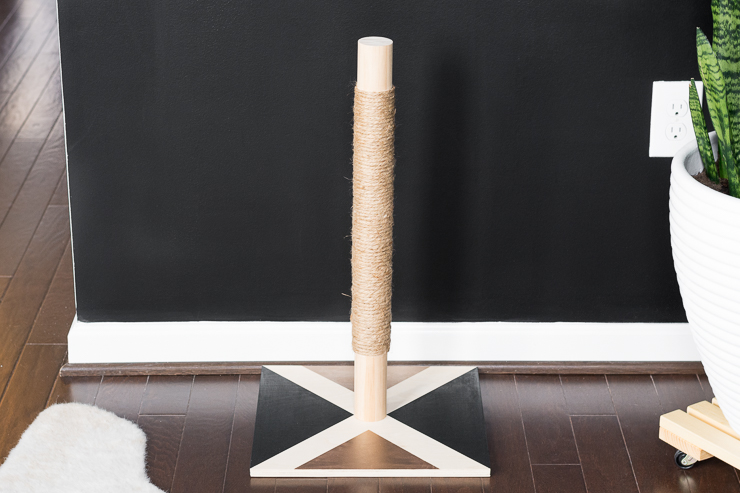
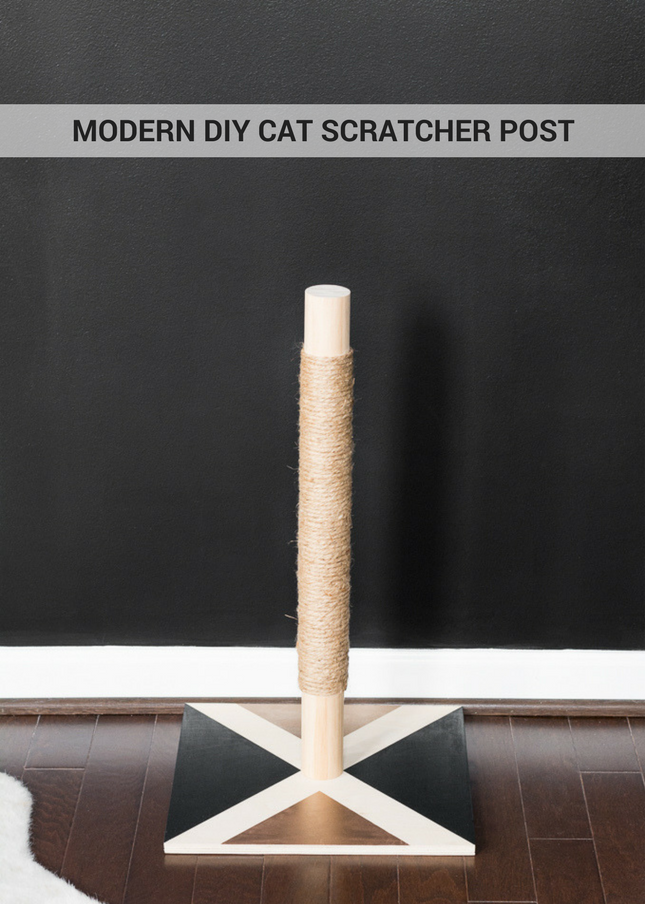
Modern DIY Cat Scratcher Post

Learn how to make a modern DIY cat scratcher post!

Hello everyone, it’s Brittany again from by Brittany Goldwyn, and this month I’m back to share another pet DIY. Last month I shared a tutorial on how to make a raised pet feeder—this month I’m sharing a tutorial for a simple and modern cat scratcher! Yes, I do love my babies. 🙂

This DIY is simple. I tried to keep the tools and steps to a minimum. This would be a nice alternative to the more complicated tree branch cat tree tutorial I created a few years ago. This one can be knocked out in a few hours (including the time it took the paint to dry.)

Want to make a Modern DIY Cat Scratcher Post for your kitty? Read on!

Materials:

(I’ve included affiliate links for your convenience. I earn a small percentage from a purchase using these links. There is no additional cost to you. You can read more about affiliate links here.)

Instructions:

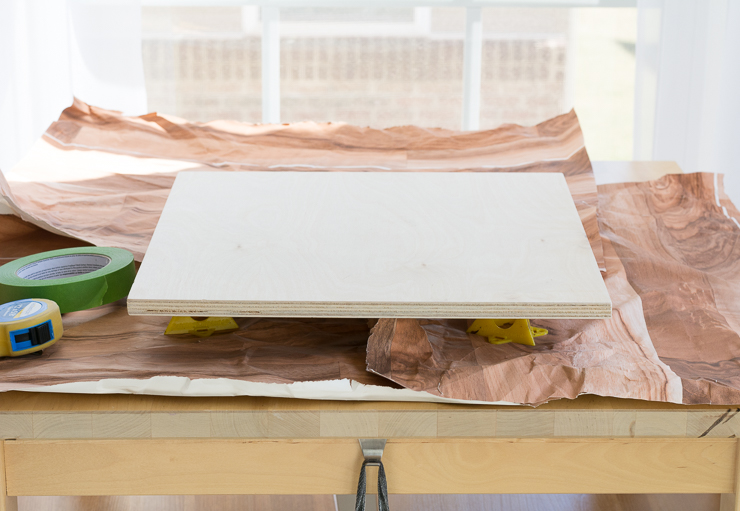
Step 1: Cut the base piece. 

If you’re pulling from your scrap wood pile, find a piece that is large enough to make a stable base. (This one is 14″ x 14″, but something as small as 12″ x 12″ would probably be fine.) If you’re using a new piece of plywood, you can purchase a 2′ x 2′ piece of 3/4″ birch plywood at Lowe’s for about $10. They can help you cut it down to your desired size in store for free.

Modern DIY Cat Scratcher Post

(Note: 1/4″ or 1/2″ plywood will work. However, the added weight of the 3/4″ plywood will help stabilize the base while your kitty is getting some scratches in.)

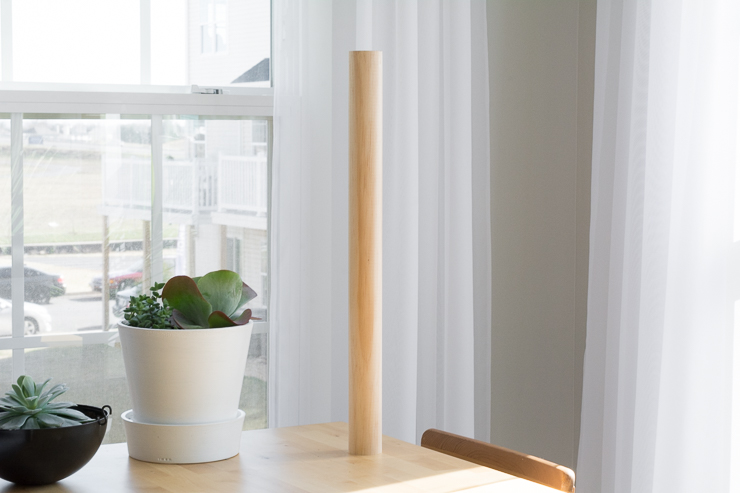
Step 2: Cut the scratcher piece.

If you’re purchasing a 2″ wooden dowel from a big-box hardware store, it will probably come in a 48″ length. You can have the cutting station cut it in half for you.

Modern DIY Cat Scratcher Post

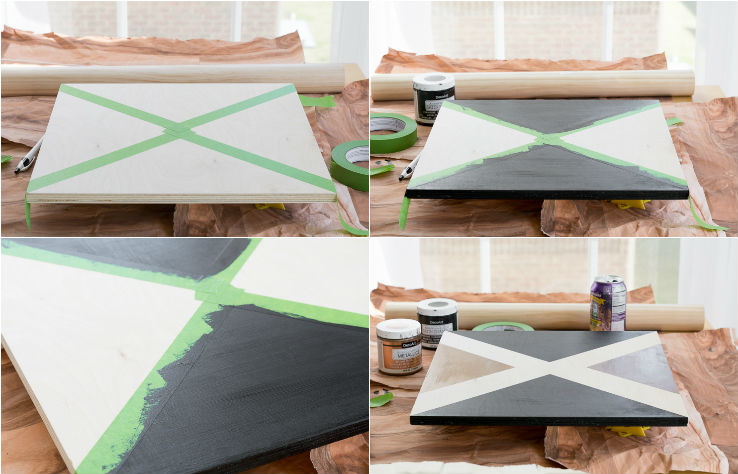
Step 3: Polish and paint the base.

Grab your sandpaper or orbital sander and sand the edges. To customize the piece, you can use painter’s tape and craft paint to paint a design onto the base. (This step is optional but gives a nice personalized touch to the scratcher, plus you can customize it to match your decor. I used DecoArt Americana Decor Satin Enamels in Classic Black and Metallics in Antique Bronze.)

Modern DIY Cat Scratcher Post

Step 4: Start the scratching post.

While the base is drying, grab your jute or sisal, adhesive, and staple gun.

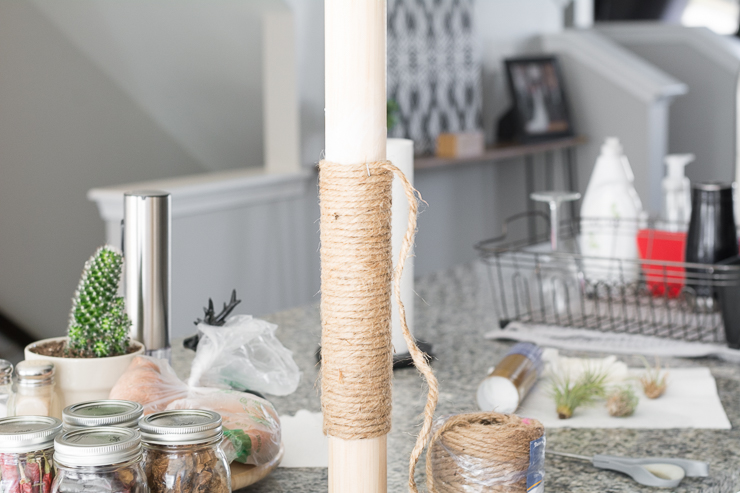
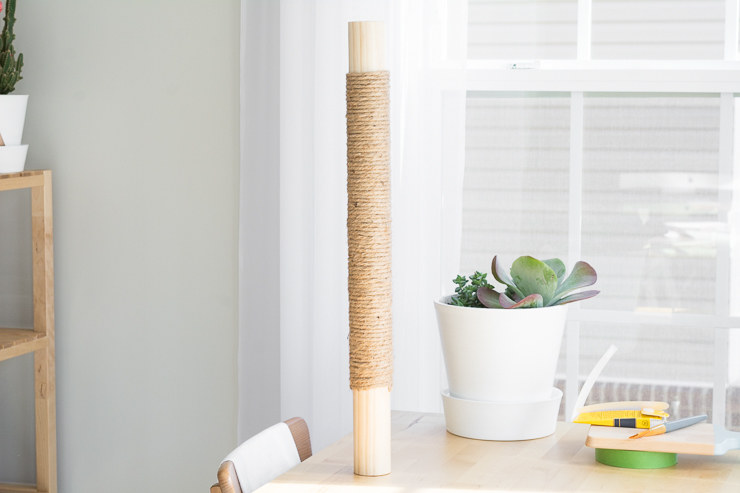
Put on disposable gloves and slather adhesive on the post where the rope will go. This is messy, but it’s the easiest way to ensure your rope remains firmly adhered to the post. Staple the end of the rope onto your post, making sure it is stapled over an area that has glue.

Begin wrapping the rope tightly around the post. stop every 30 seconds or so to ensure you’re not creating any gaps. Add an additional staple halfway through if you need to take a break.

Modern DIY Cat Scratcher Post

Step 5: Finish the scratching post.

Add additional glue and continue wrapping until you’ve created your scratching post. You can wrap the entire post or just a portion of it as shown below. Secure the rope in place by stapling the end to the post.

Modern DIY Cat Scratcher Post

Once the glue has dried completely, use pliers to remove the staples. (You don’t want kitty’s claws getting caught on one.) If the ends pop up simply add a dab and re-glue.

Step 6: Attach the post to the base.

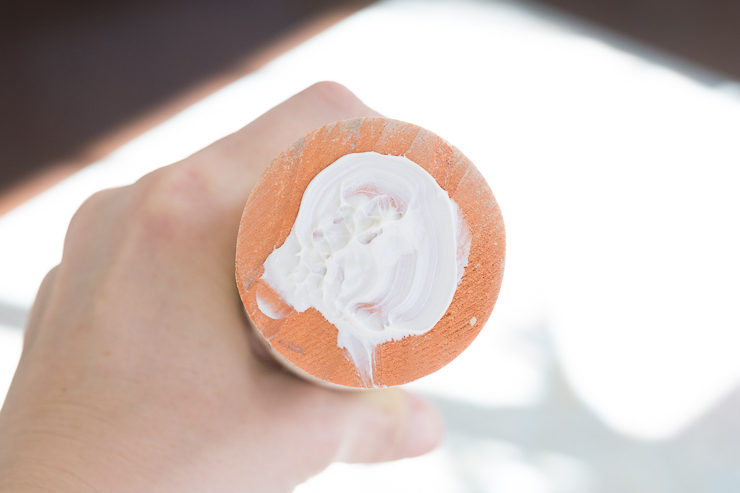
Dab adhesive on the bottom of the post. You want to use enough to ensure the entire base is covered, but don’t use so much that it will seep out when you press the post onto the base. Press the post into the center of the base and let dry. If possible, add a book or something else to the top of the post to apply pressure.

Modern DIY Cat Scratcher Post

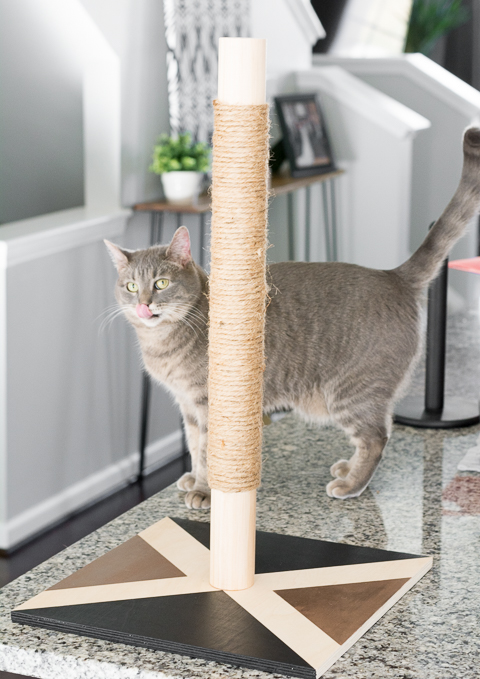
Once the glue has dried completely, let your kitty check out the new digs and get to work tearing it apart!

Modern DIY Cat Scratcher Post

I tried to get a photo of my girl using the scratcher, but every time I pulled out my camera she stopped. I even tried to bribe them with catnip…but this is the closest I got to a good photo.

If you like this project, you’ll love these pet projects:

Learn how to make a wooden raised pet feeder.

DIY Pet Feeder

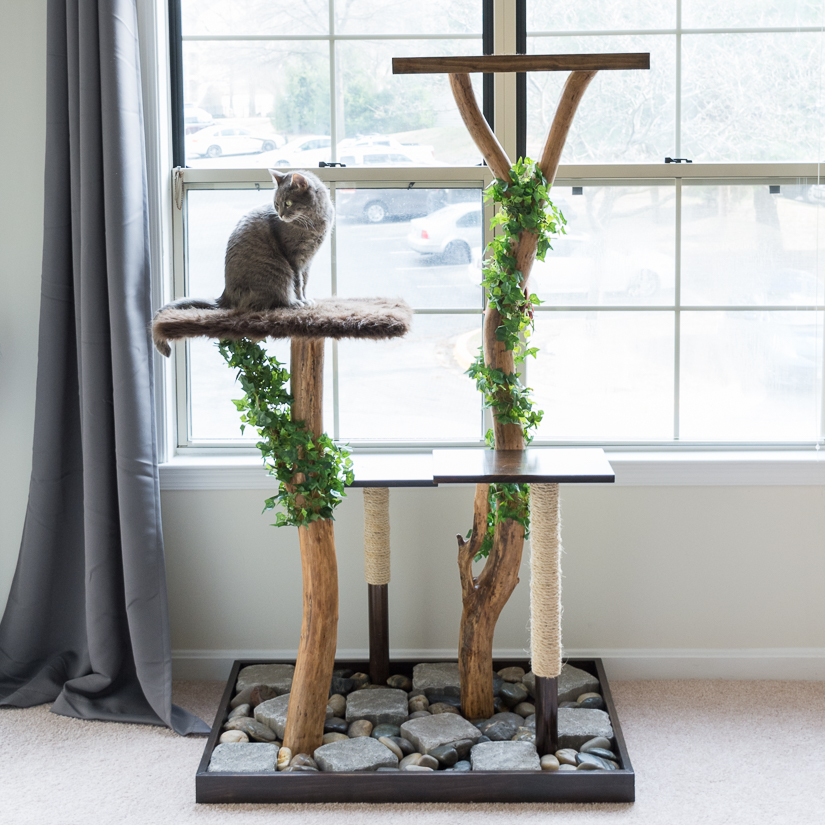
Cat Tree using real branches

DIY Cat Tree Using Real Branches

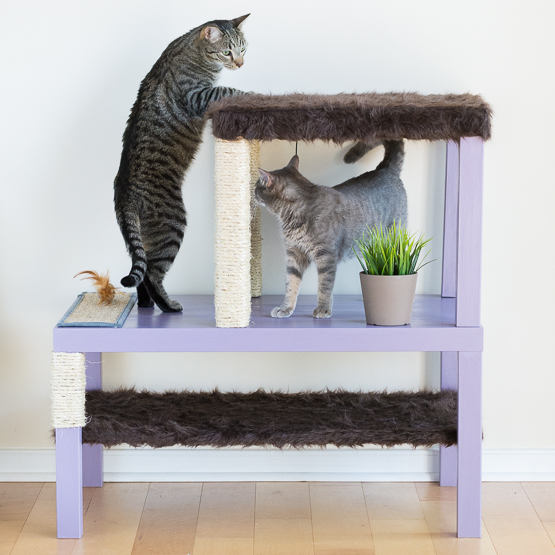
Ikea Cat Condo Hack

Easy DIY Ikea Hack Cat Condo

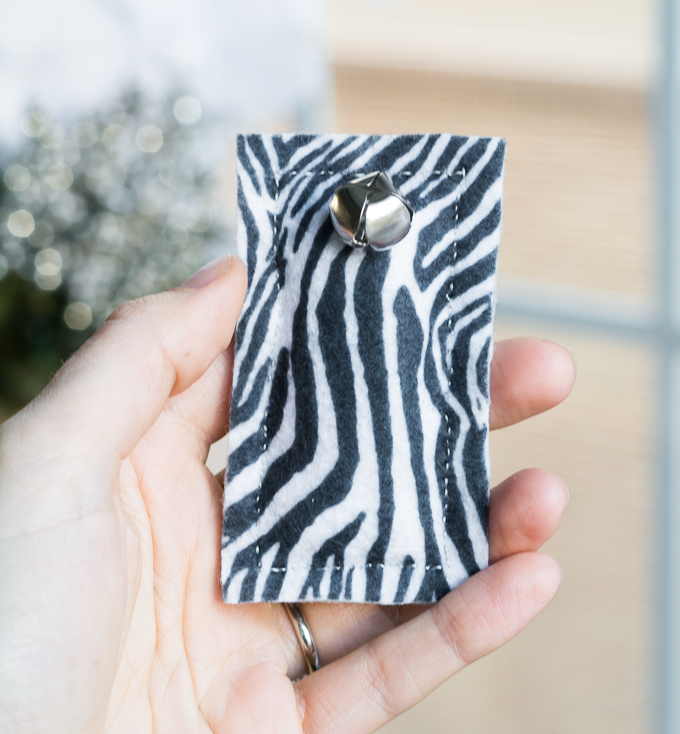
DIY felt cat toys

Easy Felt DIY Cat Toys & Petcube Camera Review

Read More of Brittany Goldwyn’s Tutorials ~

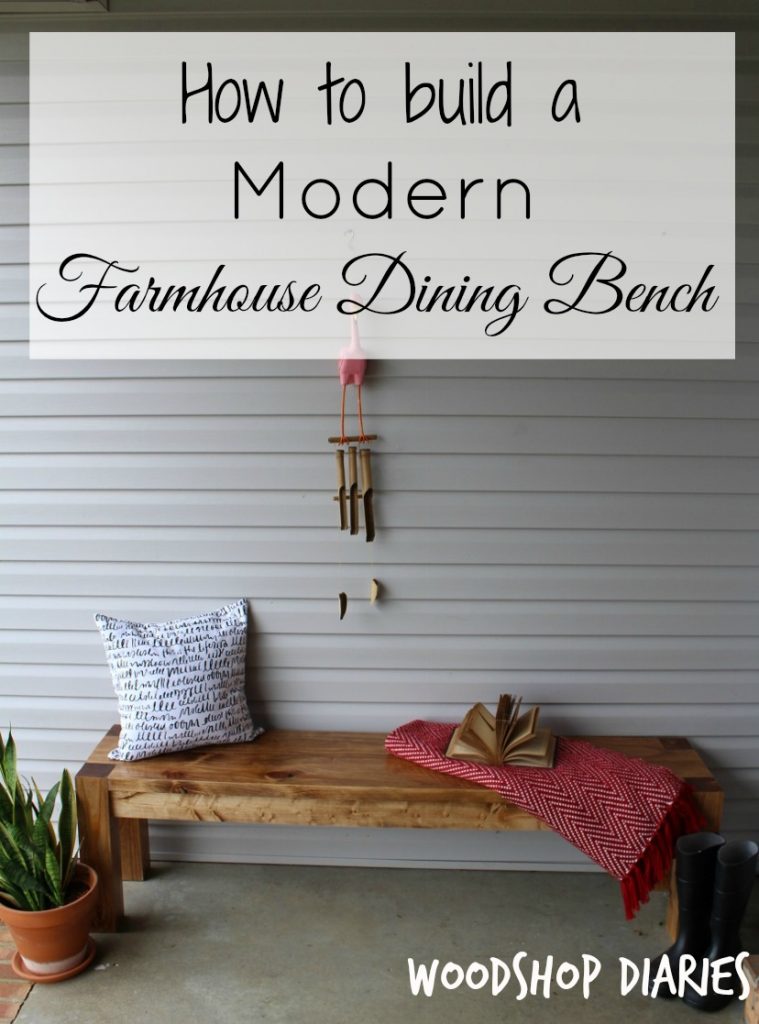
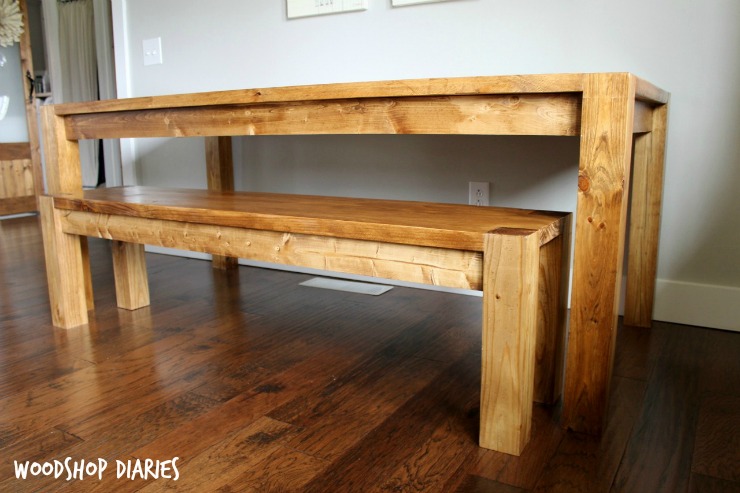
How to Build a Modern Farmhouse Dining Bench

How to Build a Modern Farmhouse Dining Bench

Hello everyone, I’m Shara from the DIY blog Woodshop Diaries. I am excited to be a new contributor on Pretty Handy Girl!!  If you don’t already know me, it’s very nice to “meet” you! I’m a DIYer with a passion for woodworking and remodeling.

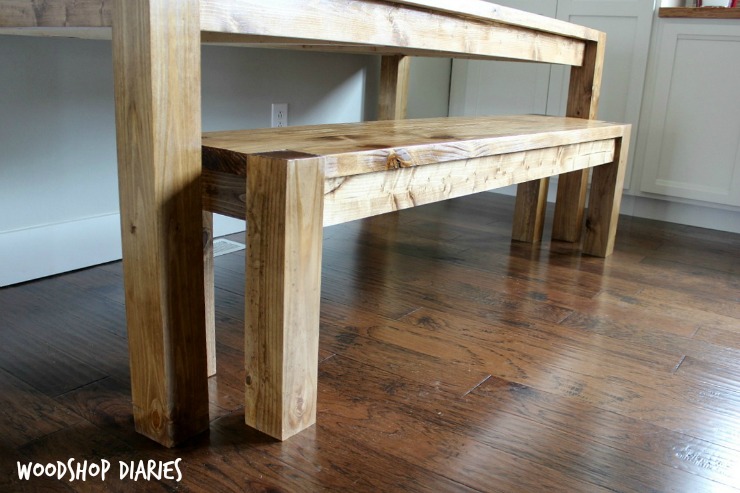
That being said, I’ve been super busy building in the shop lately and one of my latest (and favorite) projects was this modern farmhouse table.  But of course, no farmhouse table is complete without at least one matching bench, right? Today I’m going to show you how to build a modern farmhouse bench. 🙂

Get your building music ready, and let’s get started.

Materials:

  • (2) 2″ x 8″ x 8′
  • (3) 2″ x 4″ x 8′
  • (1) 4″ x 4″ x 8′
  • 2 ½” pocket hole screws
  • 2 ½” wood screws
  • 4″ wood screws
  • Wood Glue
  • Miter saw
  • Circular Saw
  • Drill
  • Jig Saw
  • Kreg Jig for pocket holes
  • Sander
  • Stain or Paint and Polycrylic

Instructions:

Step 1: Cut the Legs.

Cut four legs from the 4×4’s at 18″ long using a miter saw.

How to Build a Modern Farmhouse Dining Bench

Step 2: Assemble the top

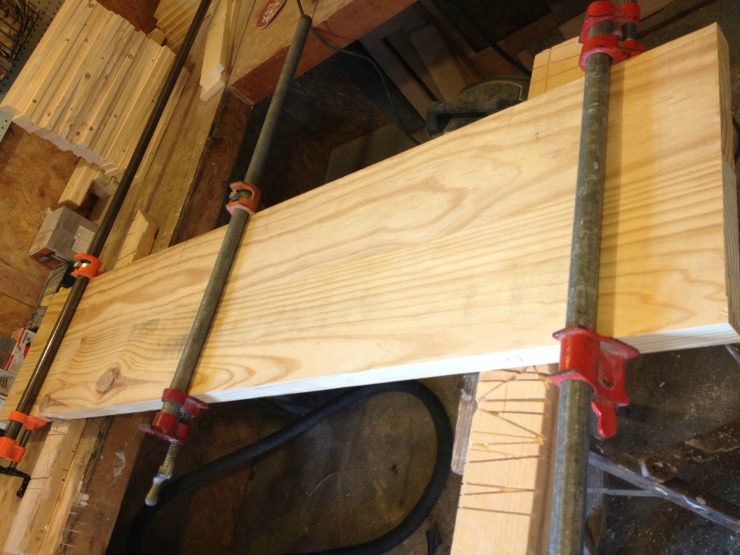
Using glue and clamps (or using 1 ½” pocket holes and 2 ½” pocket hole screws), attach the two 2″ x 8″ x 8′ boards together.

How to Build a Modern Farmhouse Dining Bench

Once the glue is dry, trim down to your desired length using a circular saw and a straight edge (beware of the location of your screws if you used pocket screws).

Step 3: Cut corners for legs

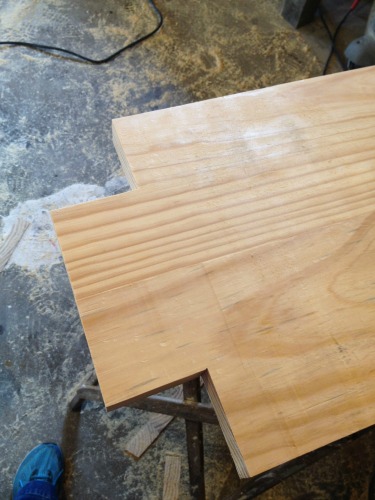
Using a jig saw, mark 3 ½” squares on each corner and cut out.  This is where the legs will go in the next step.

How to Build a Modern Farmhouse Dining Bench

Once your corners are cut, drill 1 ½” pocket holes as shown below.  Repeat for each corner.

How to Build a Modern Farmhouse Dining Bench

Step 4: Attach the legs

Set a 4×4 leg into each corner. Make sure the leg tops are flush with the top of the bench. Secure the legs into the corners using 2 ½” pocket hole screws.  You will add more support in the next step, so don’t worry if the legs feel a little flimsy.  The screws simply hold the legs in place while you add the supports.

How to Build a Modern Farmhouse Dining Bench

Step 5: Add bottom supports

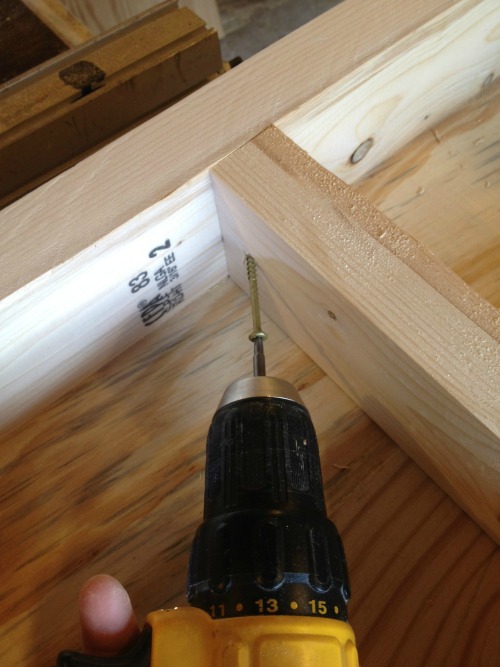
Measure the distance between all your legs. Cut the 2″ x 4″ boards to fit between the legs.  (Depending on how accurate your jig saw cuts are, one side may be slightly longer than the other.)  The 2″ x 4″ support pieces must fit snug between the legs.  Drill two pocket holes in both ends.  Line up the supports approximately 1 ½” from the edge of the bench top. Attach the supports between the legs using 2 ½” pocket hole screws.  Note: You will have to attach the short pieces first or you won’t be able to fit the drill in between the longer side pieces.

How to Build a Modern Farmhouse Dining Bench

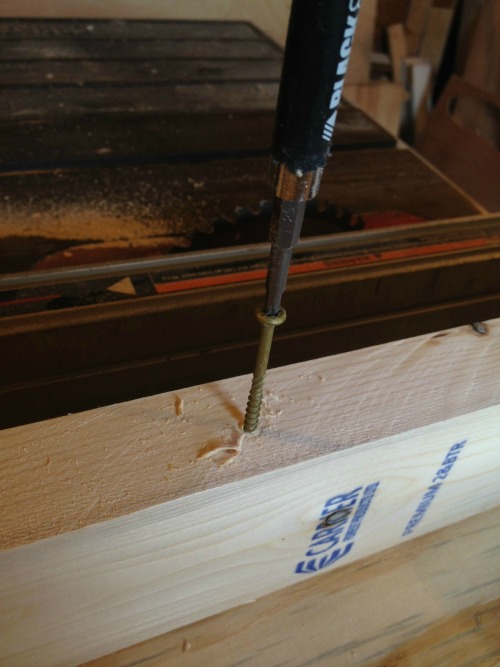
Pre-drill holes (to avoid splitting the wood) through the supports into the bench top. Use 4″ wood screws to secure the supports to the bench top.

How to Build a Modern Farmhouse Dining Bench

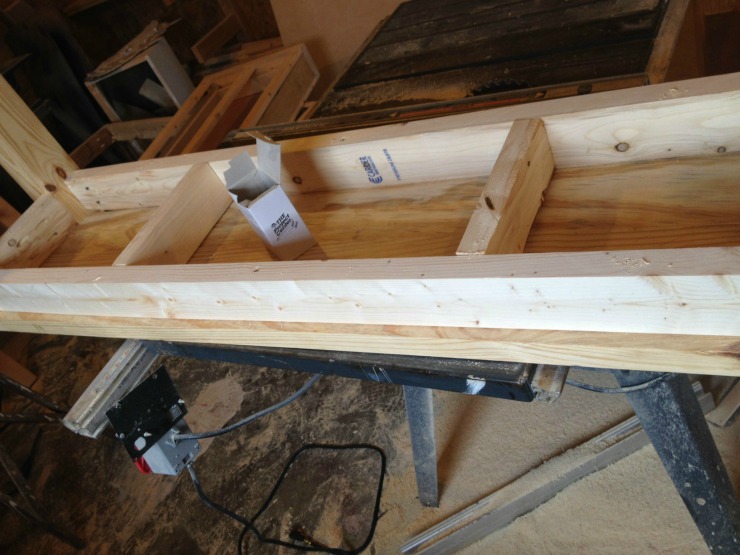
Cut two more pieces of 2×4 to fit between the two long supports.  Attach these small 2×4’s to the supports using 2½” wood screws driven in at an angle.

How to Build a Modern Farmhouse Dining Bench

For added stability, drive a few more 4″ screws through these smaller supports into the bench top.

How to Build a Modern Farmhouse Dining Bench

Step 6: Finish

Flip your bench over and give it a good sanding.  Finish off with stain or paint of your choice.  (I stained my bench with Minwax Early American and finished it with Minwax Polycrylic.)

How to Build a Modern Farmhouse Dining Bench

This bench matches perfectly with the modern farmhouse table I recently built for a friend.

https://www.woodshopdiaries.com/2017/03/27/how-to-build-a-modern-farmhouse-dining-table/

Conveniently, it looks handsome inside or outside your home.

https://www.woodshopdiaries.com/2017/03/27/how-to-build-a-modern-farmhouse-dining-table/

What do you think? Want to build this Modern Farmhouse Bench for your home?

Be sure to visit me over at Woodshop Diaries and join in on all the shenanigans ;).  Until next time, happy building!!
 

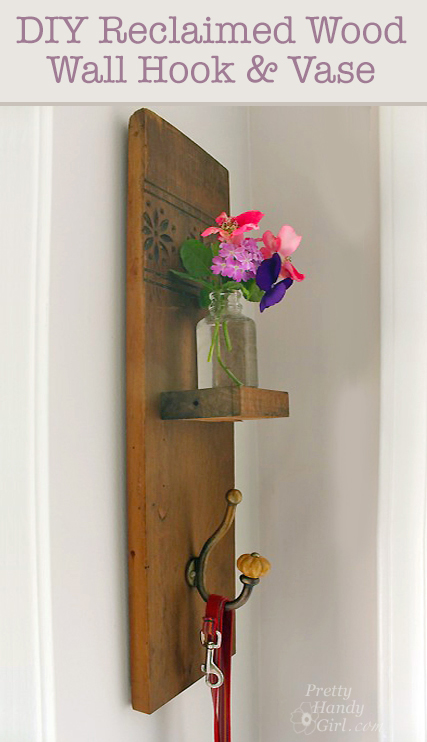
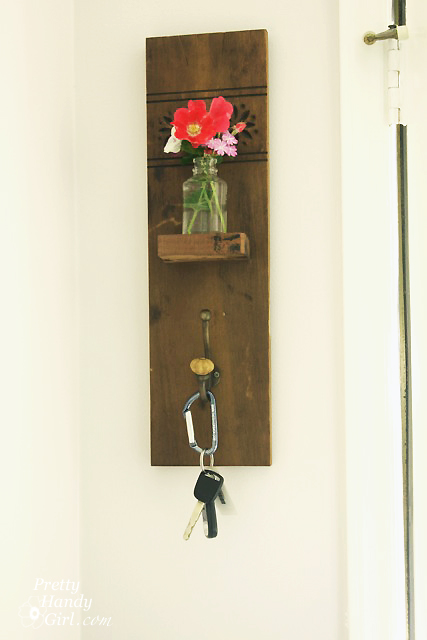
DIY Reclaimed Wall Hook & Vase | Pretty Handy Girl

DIY Reclaimed Wall Hook & Vase | Pretty Handy Girl

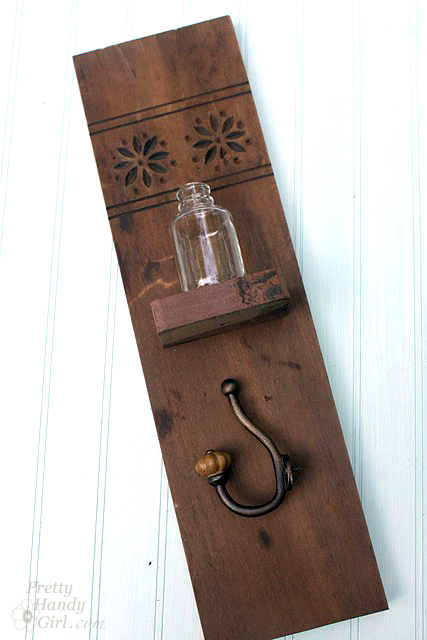
Good Monday morning! I want you to imagine something for a moment. There you are rushing out the door to take the dog for a walk, but you spend 10 minutes looking for the leash. Or you’re late for an appointment, but where the heck did you put your keys? Arrghhhh. Frustrating right? I’m here to solve those problems and show you how to make a Reclaimed Wood Wall Hook & Vase. It’s a fairly simple DIY tutorial that I know you can handle. Plus, this is a great project to get you started if you’re still new to working with wood. Ready to get building?
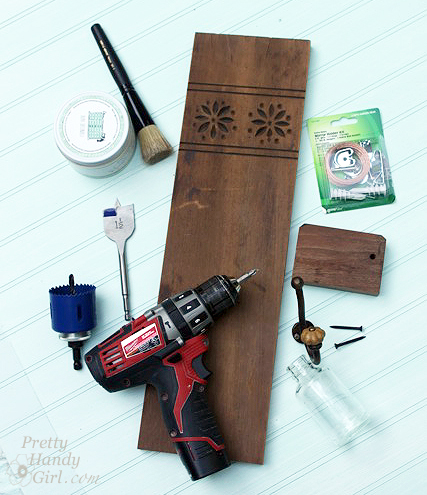
Materials:

(I’ve included affiliate links for your convenience. I earn a small percentage from a purchase using these links. There is no additional cost to you. You can read more about affiliate links here.)

Vintage Coat Hook Wall Vase | Pretty Handy Girl Guest Post

Optional:

Instructions:

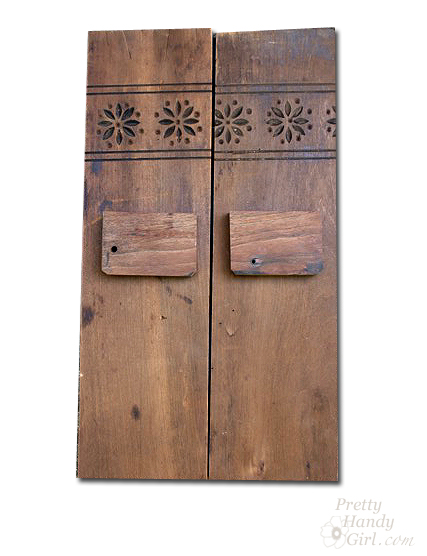
Start by cutting your wood to size. (I actually made two of these sconces that flank either side of our doorway.)

Vintage Coat Hook Wall Vase | Pretty Handy Girl Guest Post

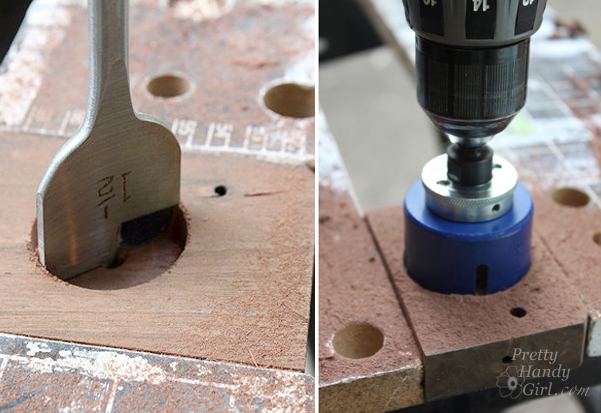
Clamp the little shelf to a work bench and drill a hole in the center. (For me this was a two step process because my Forstner bit didn’t cut the center area, so I drilled with the largest spade bit I owned first, then widened the hole to correct size with the forstner bit.)

Vintage Coat Hook Wall Vase | Pretty Handy Girl Guest Post

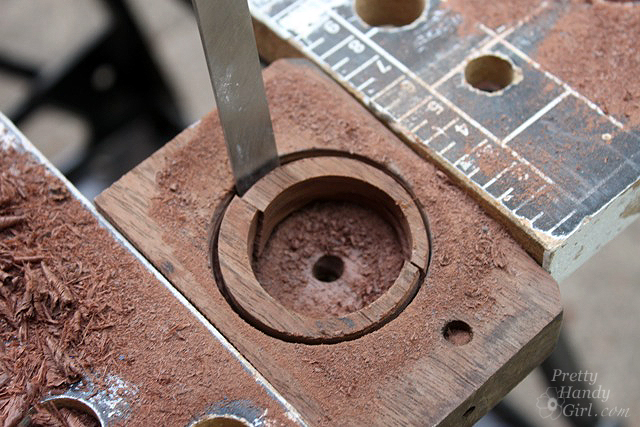
Use a chisel to break out the excess wood.

Vintage Coat Hook Wall Vase | Pretty Handy Girl Guest Post

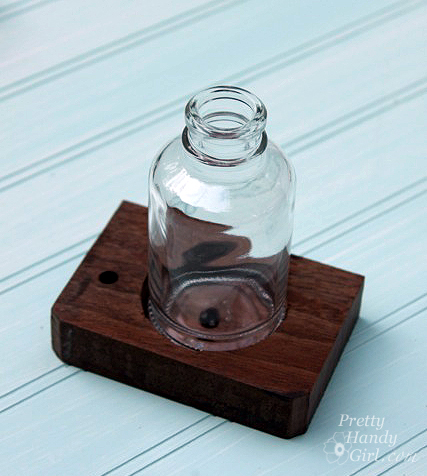
Check the fit by inserting your bottle into the hole.

Vintage Coat Hook Wall Vase | Pretty Handy Girl Guest Post

Lay out the location of the coat hook, shelf and vase and mark the location of each with a pencil.

Vintage Coat Hook Wall Vase | Pretty Handy Girl Guest Post

Pre-drill two holes through the wood back piece where the shelf will sit.

Vintage Coat Hook Wall Vase | Pretty Handy Girl Guest Post

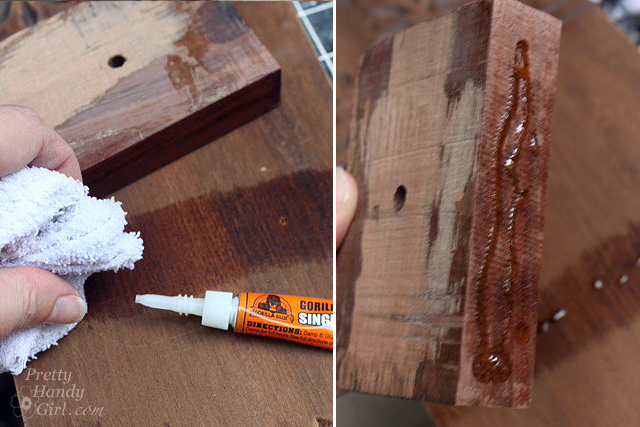
Wet your shelf and the back piece, then add Gorilla glue. (The wet wood allows the glue to soak into the two wood surfaces to create a stronger bond.)

Vintage Coat Hook Wall Vase | Pretty Handy Girl Guest Post

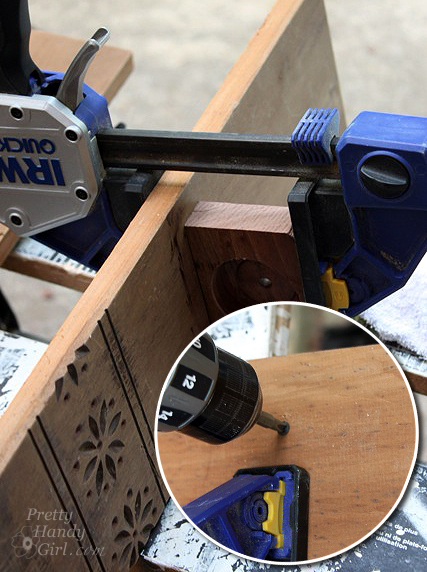
Clamp the shelf in place (offset the clamp to expose the pre-drilled holes.) Drive the wood screws through the back and into the shelf to secure it.

Vintage Coat Hook Wall Vase | Pretty Handy Girl Guest Post

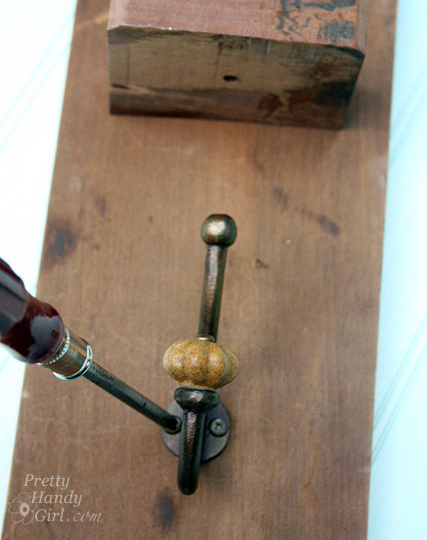
Attach the coat hook below the shelf using small wood screws provided with the hook.

Vintage Coat Hook Wall Vase | Pretty Handy Girl Guest Post

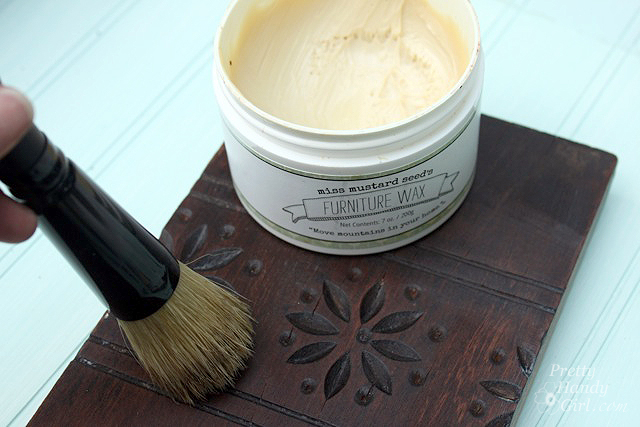
To give the reclaimed wood a beautiful luster and finish, apply furniture wax to the wood. Wait 3-5 minutes for the wax to penetrate and then buff it off with a clean dry cloth.

Vintage Coat Hook Wall Vase | Pretty Handy Girl Guest Post

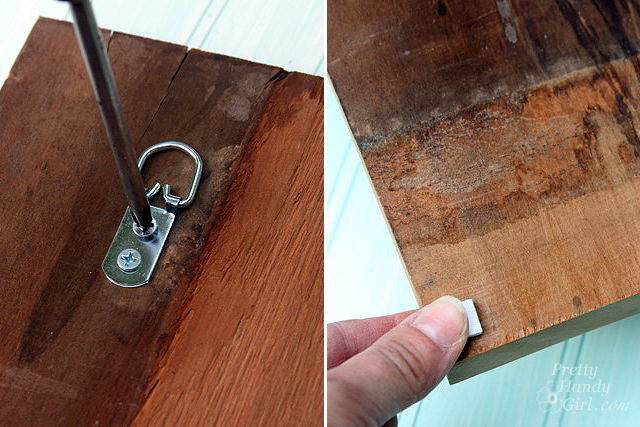
Attach one D-hook to the top center of the back of the wall sconce. Add rubber bumpers to the bottom corners to avoid any rubbing or swaying on the wall.

Vintage Coat Hook Wall Vase | Pretty Handy Girl Guest Post

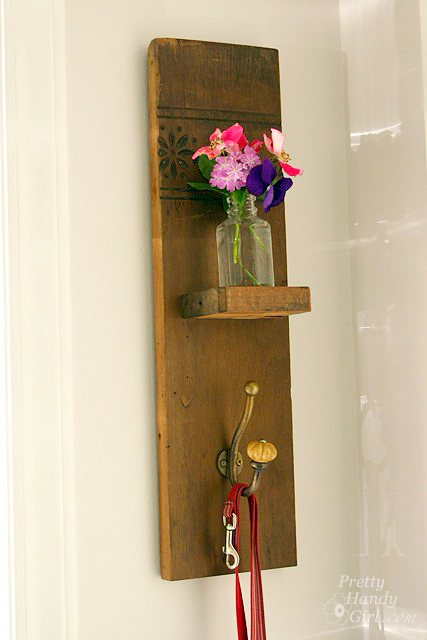
Hang your Reclaimed Wood Wall Hook & Vase on the wall!

Vintage Coat Hook Wall Vase | Pretty Handy Girl Guest Post

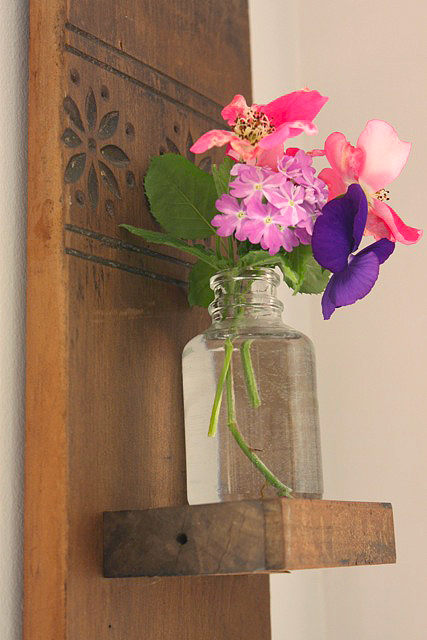
Fill the vase with fresh flowers. They are guaranteed to brighten your morning as you are rushing out the door!

Vintage Coat Hook Wall Vase | Pretty Handy Girl Guest Post

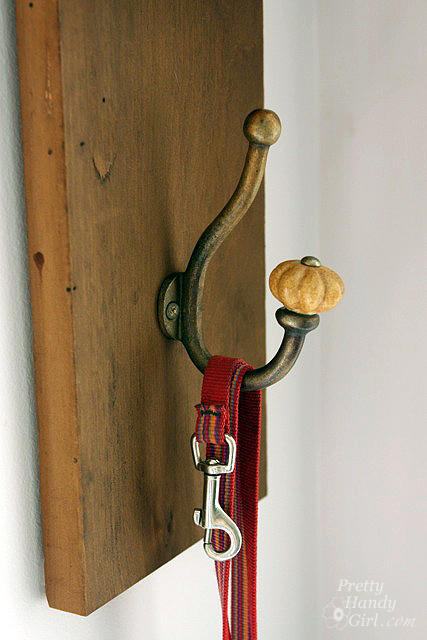
And never search for your dog leash…

Vintage Coat Hook Wall Vase | Pretty Handy Girl Guest Post

…or keys again!

Vintage Coat Hook Wall Vase | Pretty Handy Girl Guest Post
What do you think? Could you build this reclaimed wood wall hook & vase yourself? Have faith in  yourself, because I know you can!

Vintage Coat Hook Wall Vase | Pretty Handy Girl Guest Post

Hope you have a less hectic week now!

PHGFancySign


DIY Wooden Raised Pet Feeder

Learn how to make a wooden raised pet feeder.

Hello Pretty Handy Girl readers! It’s Brittany from by Brittany Goldwyn popping in today to share a pretty simple woodworking project for you: a raised pet feeder!

I made a pet feeder around this time last year. However—without thinking—I made it with spots for two bowls: one for each of our kitties. A few months ago, we noticed that Blanche wouldn’t eat her food until Henry had finished, but it was clear she was hungry because she’d scarf her food down when Henry was finally done. We got into the habit of taking one bowl out and putting it on the counter so that they could eat at the same time.

DIY Wooden Raised Pet Feeder

See? Food hog hogging all the food.

This solution was problematic for three reasons:

  1. I don’t want to encourage them to get on the counters, even though they are cats and they are going to do whatever they want.
  2. Blanche sometimes pushes her bowl off the counter by accident and spills her food everywhere.
  3. They weren’t even using the double feeder for its intended purpose.

Back to the drawing board! I decided to replicate the tutorial for a smaller, single-bowl raised feeder for each of them. We’ll separate them and hope all goes well at feeding time.

Want to make one for your pet? Read on.

Note: This tutorial is based on a bowl with a circumference of 4 3/8. If your bowl is larger or smaller, you’ll need to adjust the measurement for your hole size accordingly.
Materials:

(I’ve included affiliate links for your convenience. I earn a small percentage from a purchase using these links. There is no additional cost to you. You can read more about affiliate links here.)

Tools:

Cut list:

  • (1) 8-inch piece of 1″ x 6″
  • (2) 1 ½ inch pieces of 1″ x 6″

Instructions:

Step 1: Cut your pieces according to the cut list above. Use a tape measure and pencil to mark the center point on the 8-inch piece of wood. Clamp the wood to your work surface.

DIY Wooden Raised Pet Feeder

Step 2: Use your drill and 4-inch hole saw attachment to drill a hole.

DIY Wooden Raised Pet Feeder

Step 3: Use medium-grit sandpaper to sand down any rough areas on the main piece and two leg pieces. You can also gently smooth over the edges to give the piece a sleek look.

The leg on the left below has been sanded, the one on the right has not. See the difference?

DIY Wooden Raised Pet Feeder

Step 4: Spread wood glue onto the top of each leg. Gently place the top down onto the legs.

DIY Wooden Raised Pet Feeder

Step 5: Apply pressure from above with clamps or something heavy you have on hand. The key is to apply even pressure as the wood glue dries. (I used a weight from the garage gym!) If some of your glue bleeds out, don’t worry. You can use medium-grit sandpaper to sand down those areas. If you don’t sand off the dried glue, the area will not take a wood stain.

DIY Wooden Raised Pet Feeder

Step 6: Your single bowl raised pet feeder is built! Stain and finish according to your preferences.

DIY Wooden Raised Pet Feeder

(My raised feeder was finished with Minwax wood stain in Espresso and two coats of Minwax polyurethane in semigloss. For tips on staining and finishing wood, see this post!)

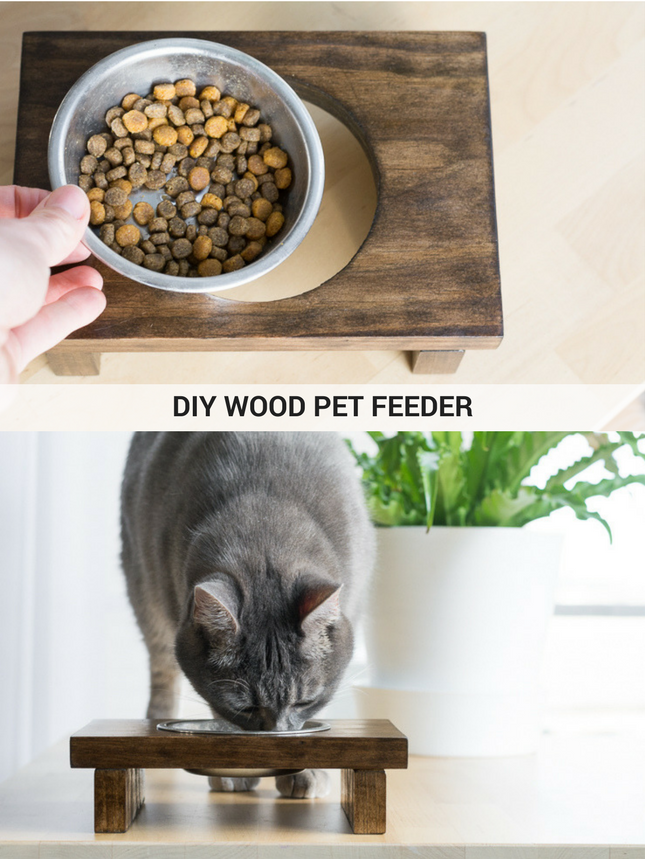
Once the feeder has dried completely, pop your bowls in and fill them with food. These bowls fit perfectly because their circumference is slightly bigger than 4 inches, meaning they won’t fall through the 4-inch hole. Best of all, Blanche and Henry can happily eat at the same time. 🙂

DIY Wooden Raised Pet Feeder

DIY Wooden Raised Pet Feeder

I’ll see you next month on Pretty Handy Girl! In the meantime, if you love your pets, check out my DIY cat tree using real branches, my Ikea cat condo hack, and my Petcube camera review!

Also make sure to check out the industrial dog bowl feeder stand and the vintage coca cola bowl feeder tutorials on Pretty Handy Girl!