I’m so excited to share this tutorial with you. I knew it could be done, but honestly I didn’t believe it until I tried it. When I saw THIS cute project over at Home Frosting, it got my creative wheels turning.

I asked Lesa for a few clarifications and she gave me the courage to try feeding drop cloth material through my printer. {gulp}

Printing on material is fairly easy to do if you have the right materials.

Materials:

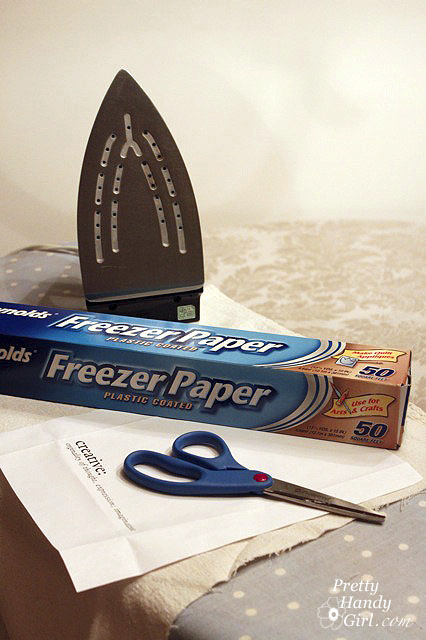
  • Laser or ink jet printer (I only tried it on the laser printer, but it can be done on either.)
  • Reynolds Freezer Paper
  • Iron
  • Ironing board
  • Sheet of letter size paper
  • Scissors
  • 3M Duct Tape
  • Cork Board
  • Irwin mat knife
  • Painter’s drop cloth bleached and washed until soft

Start by creating your words that you want to print in Word or any other program.

Set your iron to preheat.

Tear off a sheet of Freezer paper slightly larger than letter-size paper. Cut the freezer paper down to 8.5″ x 11″.

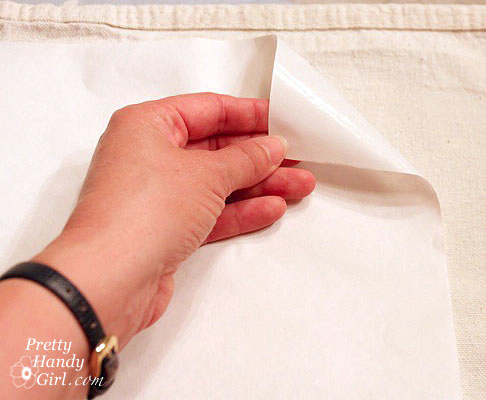
Lay the freezer paper shiny side down on the drop cloth.

Press firmly on the paper and move the iron around constantly for about 15 seconds. Let the freezer paper cool for a minute and test to make sure it is lightly adhered to the drop cloth. If not, iron a little longer.

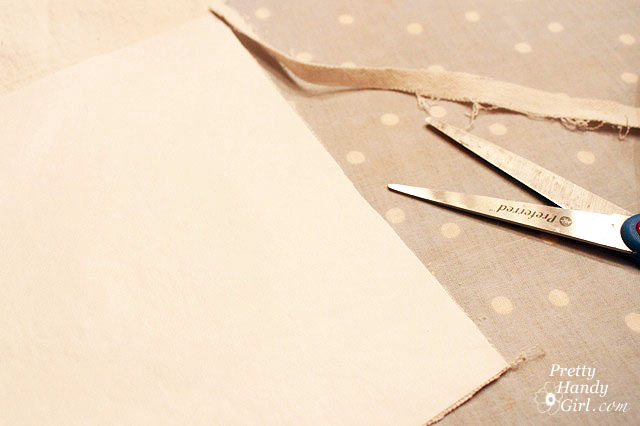
Now trim the edges of the drop cloth until it is the same size as the freezer paper.

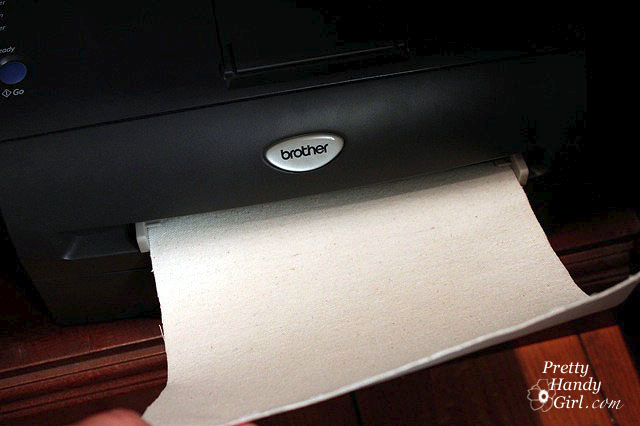
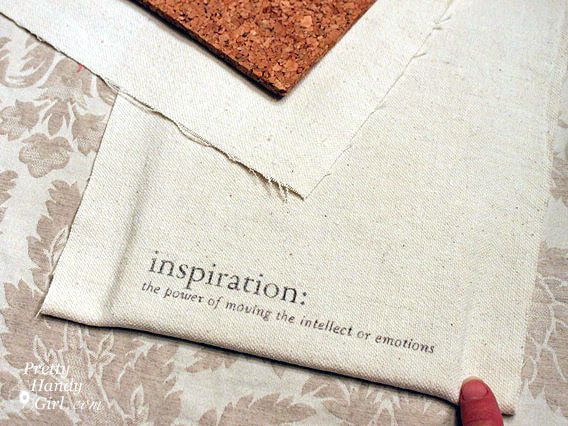
Take your freezer paper/drop cloth sandwich to the printer. If you have an individual sheet feed location on the printer, it would be best to use it. But, it can be done without. Print the document you created earlier.

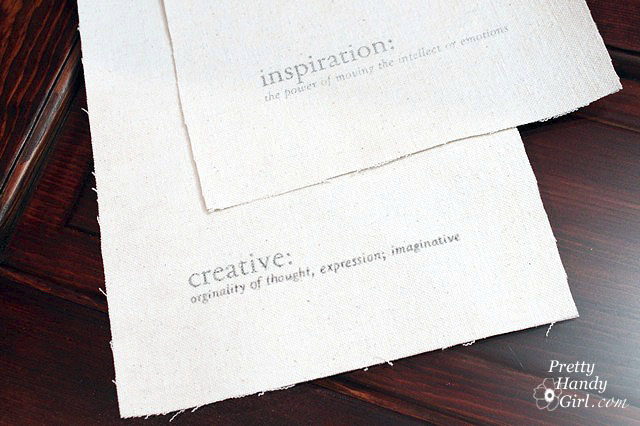
Oooo, sooo pretty!!! I actually ran my “sandwich” through twice to get it darker, but it was still too faint for my liking.

If you have the same issue, you can go over the letters with a ball point pen.

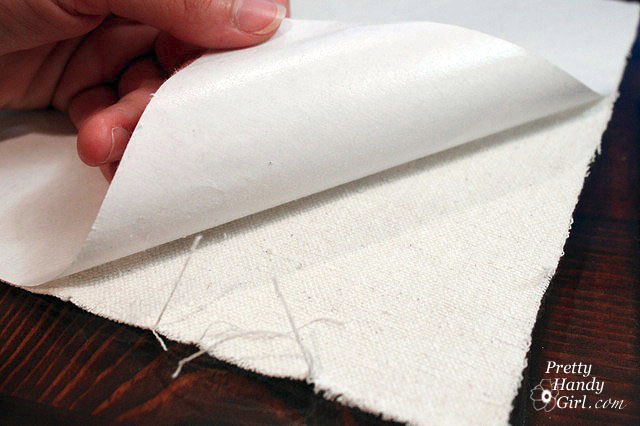
Peel off the freezer paper.

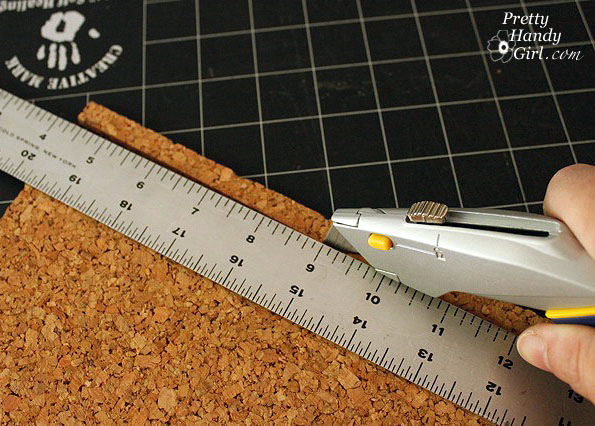
Now, cut your cork board. (If you are using the these cork boards in a window, be sure to pre-measure the individual window panes first.)

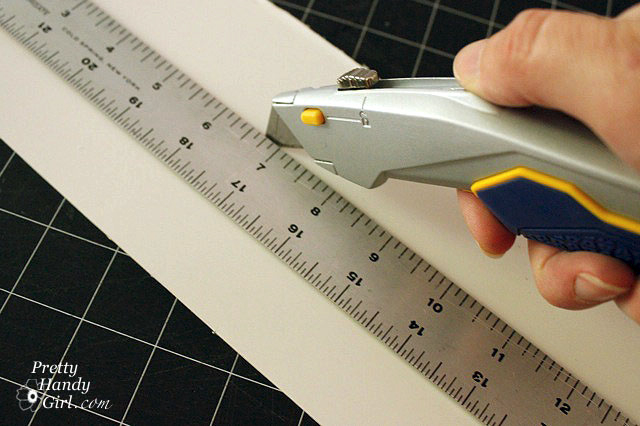
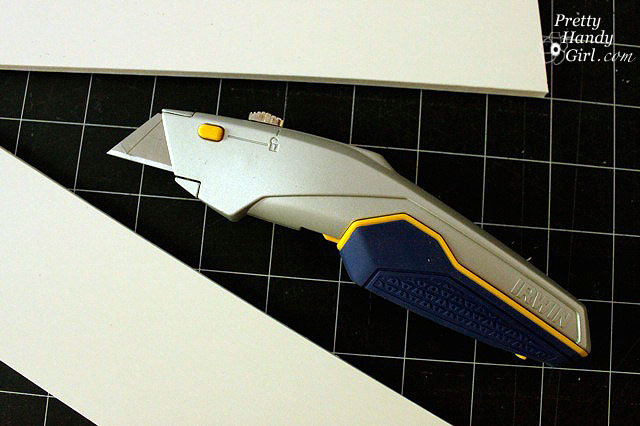
I have to tell you that Irwin sent me another tool to try. The mat knife. Their claims sounded outrageous, claiming it can cut better than other mat knives. “Whatever” is what I thought. But, as usual, they proved me wrong. I used the Irwin knife to cut BOTH cork board and foam core!

Have you ever cut foam core with a mat knife cleanly? Not me, until now.

I swear to you that Irwin has not paid me to say any of this. I just like their tools. I am waiting for an Irwin tool that I don’t like and then I’ll let you know what it is. But, I wouldn’t hold your breath.

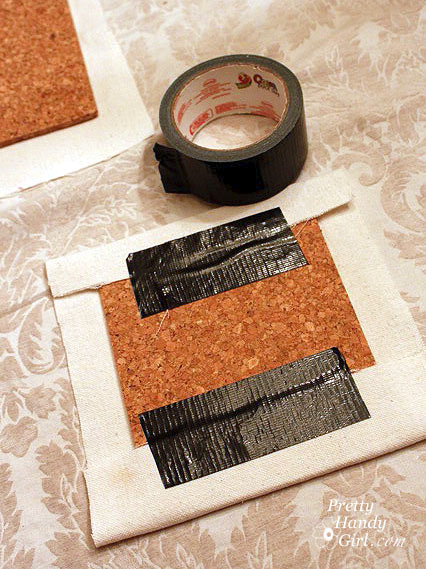
Line up the drop cloth where you want it with the cork board underneath. Fold one edge of the fabric over onto the back.

Secure it with the duct tape.

Pull the opposite side of the fabric and wrap it around the back. Continue until all the sides are taped to the back of the cork board.

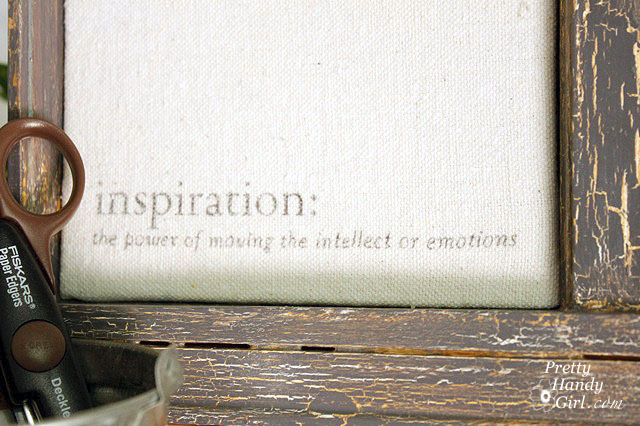
And there you have it! A unique personalized cork board.

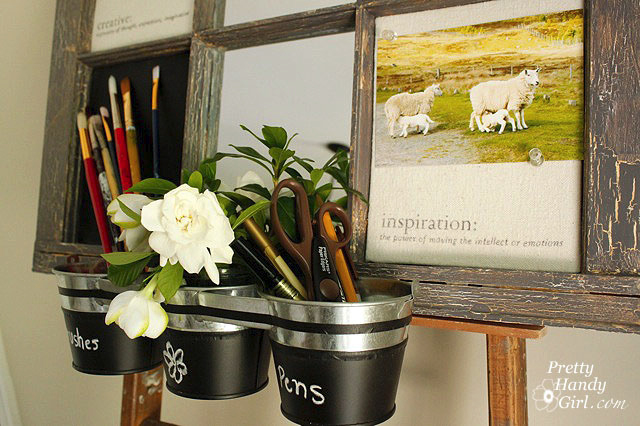
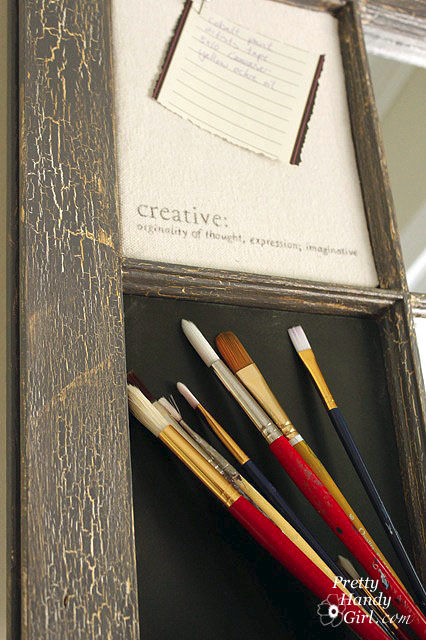
Want to see how to use the drop cloth bulletin boards in this Artist’s Inspiration Board?

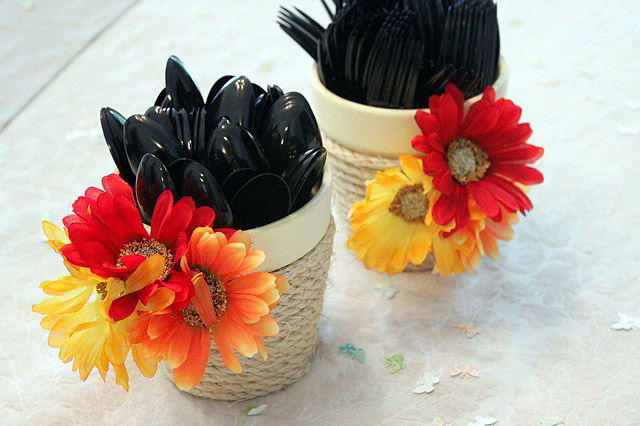
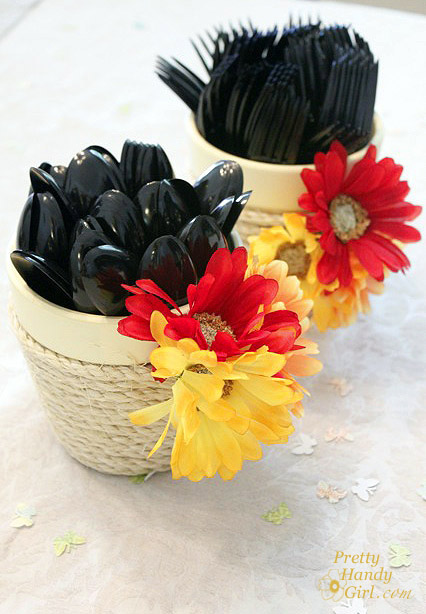
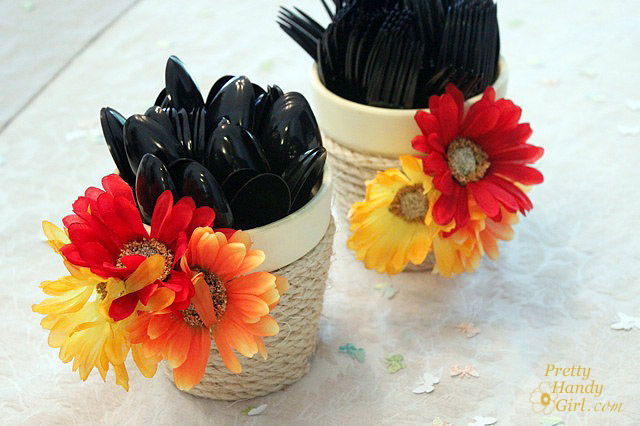
Another project I completed before the birthday party was a quick makeover for a pair of ho-hum dollar store flower pots. My friend Heather helped me add some jute rope and fake flowers then set them out with utensils in them. Perfect for a summertime birthday party!

Materials:

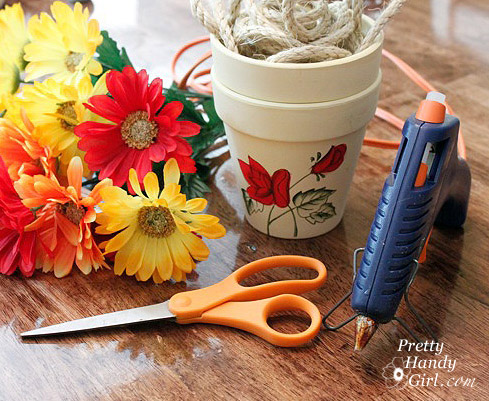
  • Hot Glue Gun w/ glue sticks
  • Jute Rope
  • Flower Pot
  • Fabric Flowers
  • Scissors
  • Foil or wax paper (to protect work surface)

Instructions:

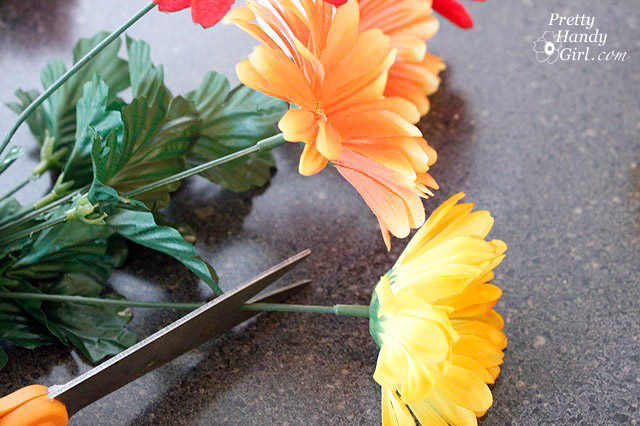
1. Plug in your hot glue gun to warm up. Cut the stems of your flowers about 2″ from the flower.

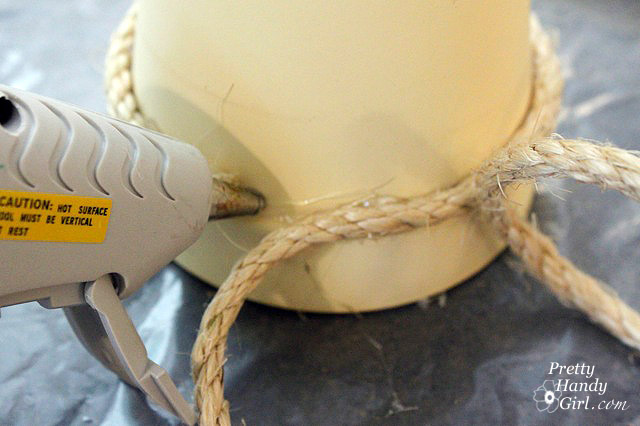
2. Turn the flower pot upside down. Put a dollop of glue against the rim of your pot and secure the end of your rope on it. Squeeze a line of glue around the pot rim and press the rope into the warm glue.

3. After one row is complete, add the flowers by bending the stems until they lay flat against the pot. Secure with a lot of glue. Then wrap the subsequent rows over the stems.

4. Continue gluing the rope onto the pot. Make sure to press each row of rope tightly against the row before it.

5. When you reach the bottom of the pot, secure the end of the rope with another dollop of glue. Be sure your rope doesn’t extend past the bottom of the pot or it could make the base wobbly.


Now set them on your table and fill with utensils. Later you can put a plant, flower or pens inside.

Are you ready for Independence Day? Would you like a quick and easy sewing project to add some patriotic flair to your home? Hop on over to Parentables to read my tutorial for making adorable star pillows.


And don’t forget, today (June 30th) is the last chance to enter the giveaways! I will be picking the winners after midnight tonight.

I don’t know about you, but I’ve been fighting a losing battle lately. I have begged, yelled, and threatened my boys to stop putting stickers and tape on the walls.

I think my youngest one upped me, he put tape and stickers on his door! I had given up the battle until I came across this magnetic chalkboard from Less-Than-Perfect Life of Bliss:


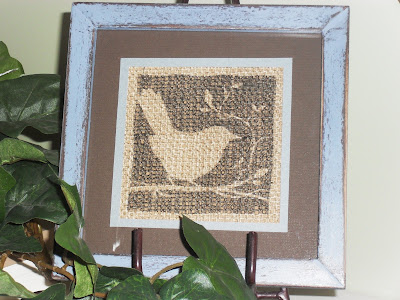
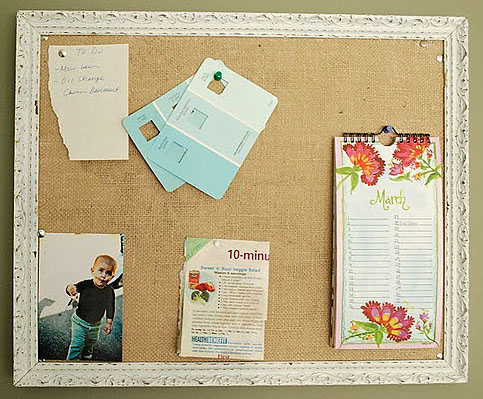
And this burlap bulletin board from Between Blue & Yellow:


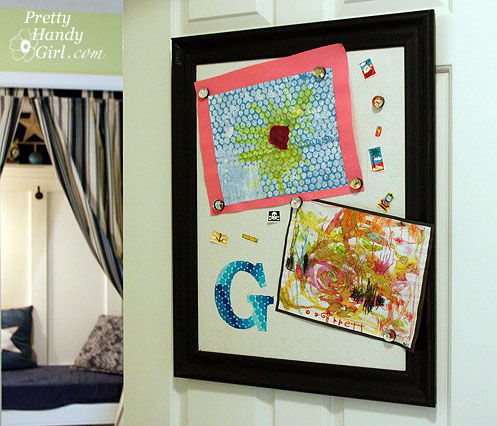
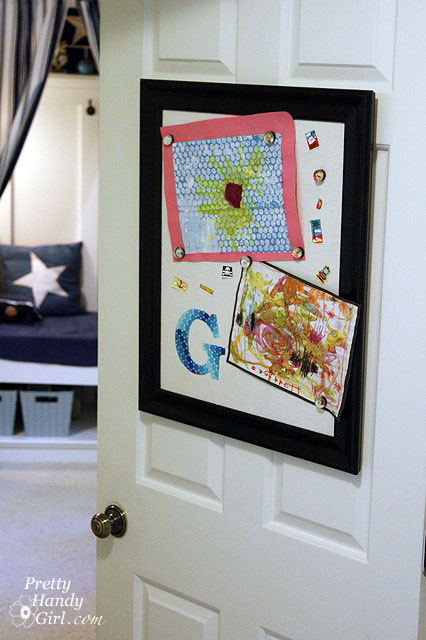
Those two boards got me thinking. If I married the two ideas, I could have a magnetic fabric display board! Luckily I have a stash of old picture frames in the attic. I grabbed the biggest one I had and painted it black and within a few hours I had a magnetic display board for my son’s door!

Here is how to create your own:

Materials:


  • Painter’s Drop Cloth
  • Contrasting Decorative Fabric
  • Double sided fusible interfacing
  • Scissors
  • Sheet metal flat sheet* ($10 in duct work aisle of Lowe’s or Home Depot)
  • Duct Tape
  • Sharpie Marker
  • Tin snips
  • Gloves
  • Picture frame
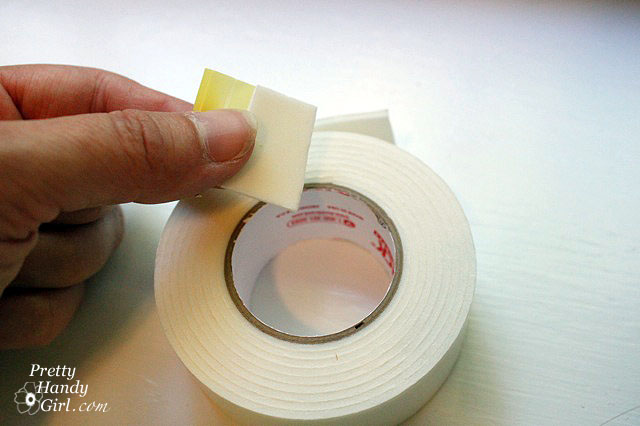
  • Double sided foam tape (optional)
  • Strong magnets

*Be sure to bring a magnet to test the sheet metal. Some of them aren’t magnetic.


Instructions for making the magnetic frame:

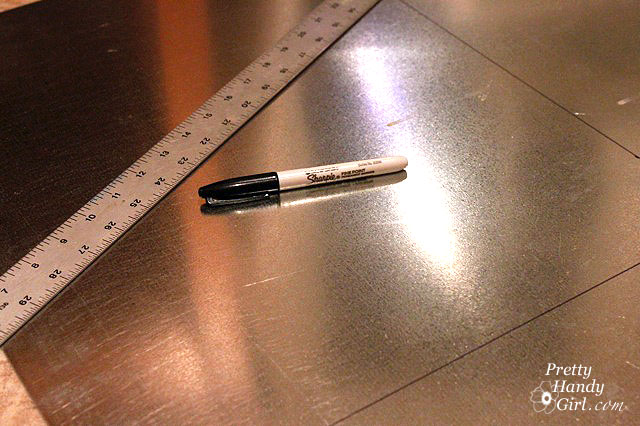
Start by measuring the opening in the back of your frame. Mark those measurements on the sheet metal using a sharpie marker.

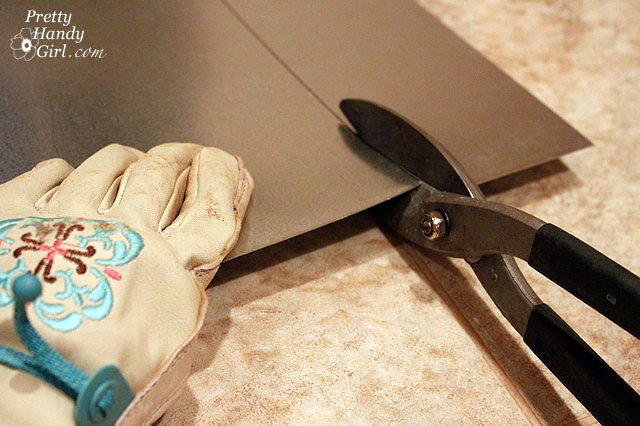
Using tin snips, cut the sheet metal. Believe it or not, this was very easy, but gloves are a must because the edges are sharp.

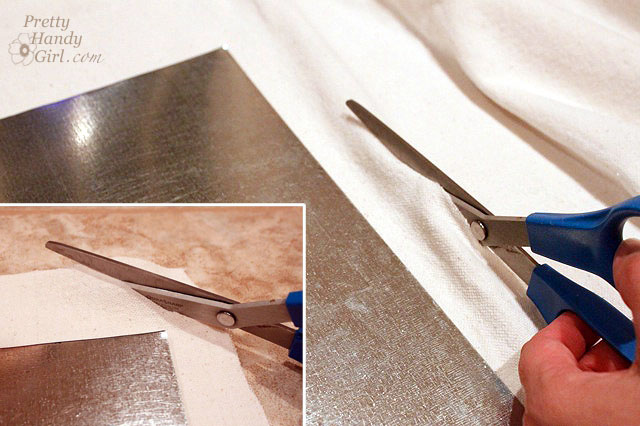
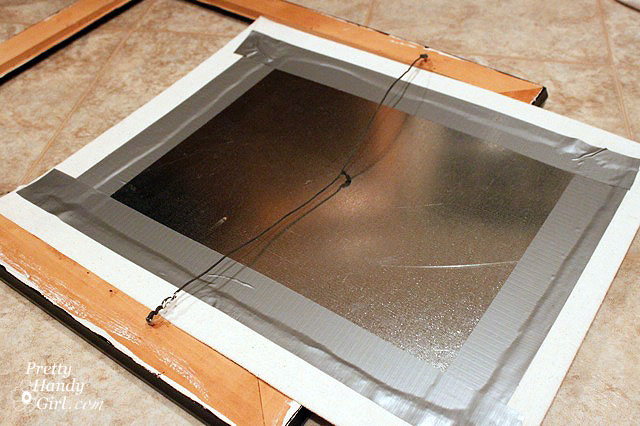
Cut out the drop cloth about two inches larger than the sheet metal. Trim the corners off the fabric.

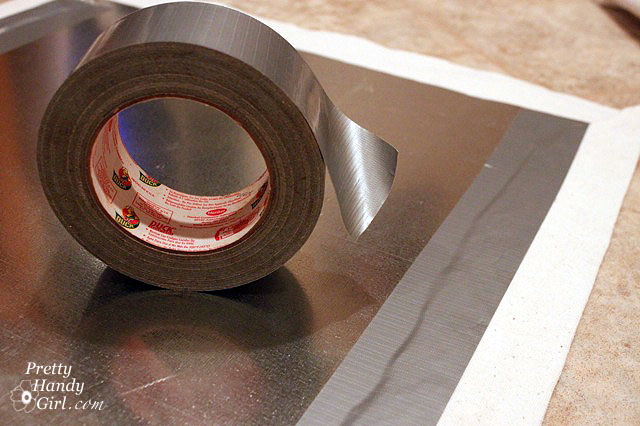
Fold the edges over and secure with Duct Tape.

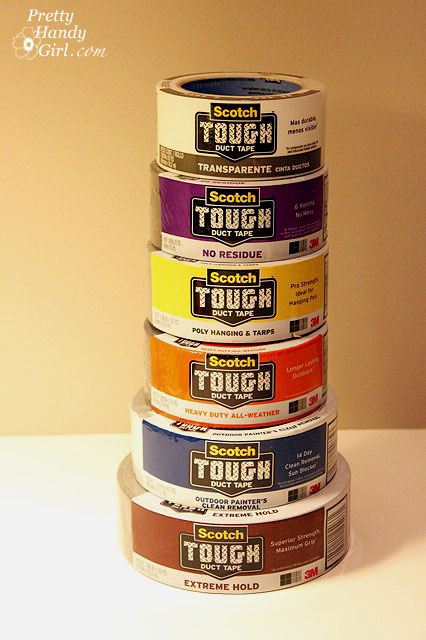
Did you know that Scotch has a whole line of Duct Tape? There are five different kinds, and they each have a different use! REALLY! See for yourself.

I didn’t know about them either until they sent me these to try out. I haven’t used them yet, but I will be soon. And I promise to tell you what I honestly think. Until then, I wonder how I could make them into a cool vase.


Instructions for Applique Monogram:

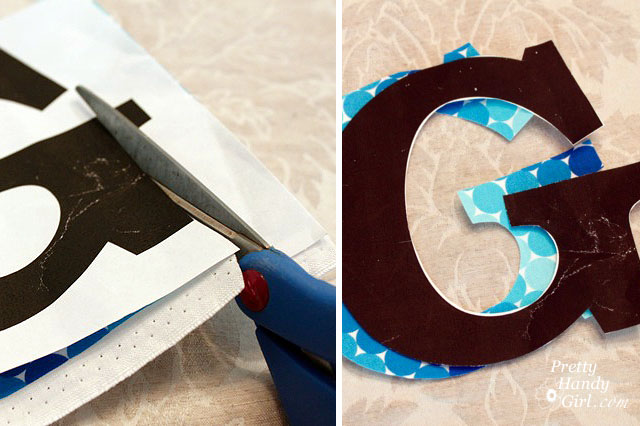
To add an applique to the fabric, print out a large letter from your computer. Then fuse a square of fabric (large enough to fit the letter onto) to the double sided fusible interfacing. Follow the instructions on the interfacing package.

Pin the printout on top of the fabric and cut it out.

Peel the back off the interfacing …

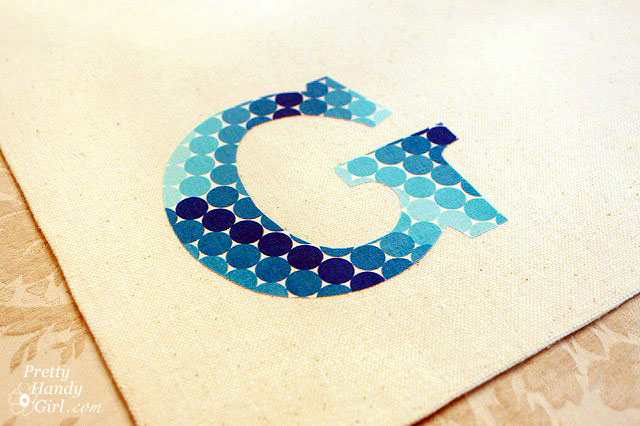
…and iron it onto your fabric covered sheet metal.

Make sure the letter is securely fused to the drop cloth.

Insert the board into the frame.

Secure the board into the frame by using a staple gun and stapling at an angle into the frame.

Add a wire or hanger to the back of your frame.

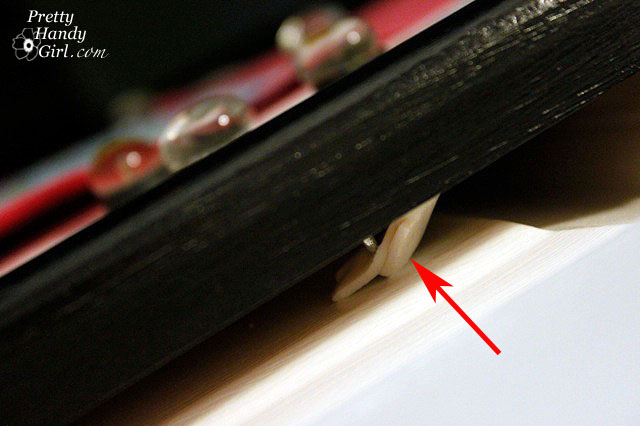
Hang the frame on the wall, door, or wherever you like. Because I was hanging the display frame onto the door (and because 4 year olds are notorious for slamming their doors), I added some double stick foam tape to the back side of the frame.

YES, I know what I said, but Mommies are allowed to use tape ;-).

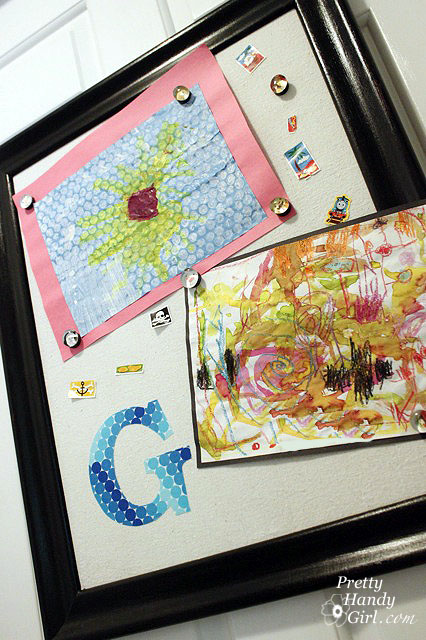
I used some of the glass bead magnets we made last summer and now my son can put up his artwork and stickers without incurring the wrath of Mommy!

Now that is what I call one handsome art display!


Looking for some more creative ideas for displaying your child’s artwork? Check out my article on Parentables today: 8 Great Ways to Display Your Child’s Artwork.


Phew, what a week. I’ve been working on about 5 different projects simultaneously. The biggest accomplishment this week was my screened porch makeover. I have been itching to make it an outdoor living and relaxing room for about 4 years now. Well, it is about 95% done. And to celebrate, Pretty Handsome Guy and I slept outside on the porch last night.

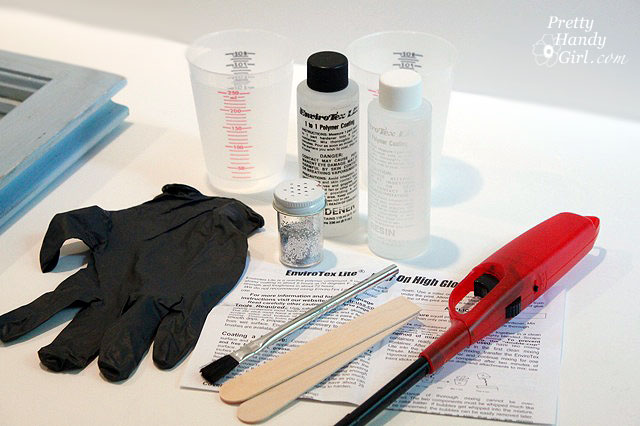
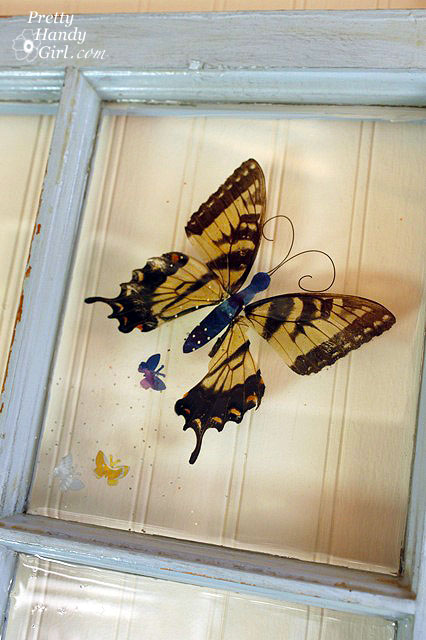
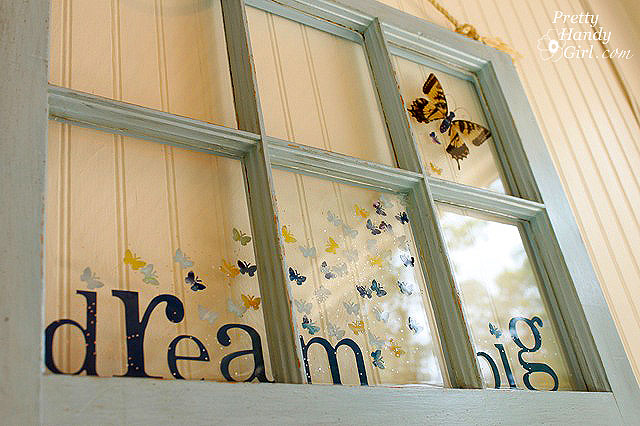
One of the projects I completed for the porch was an old curbside window that I turned into a unique piece of art using a product that ETI sent me. The product is called EnviroTex Lite and it is a high gloss resin polymer compound used for sealing and protecting arts, crafts, jewelry, countertops and more!

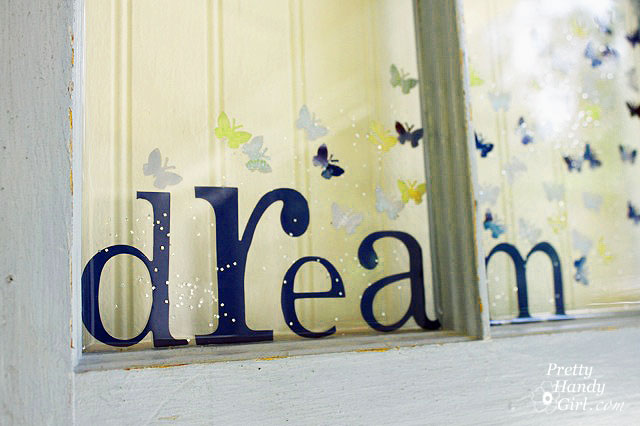
I am thrilled with my art project and it looks fabulous hanging up in our porch.
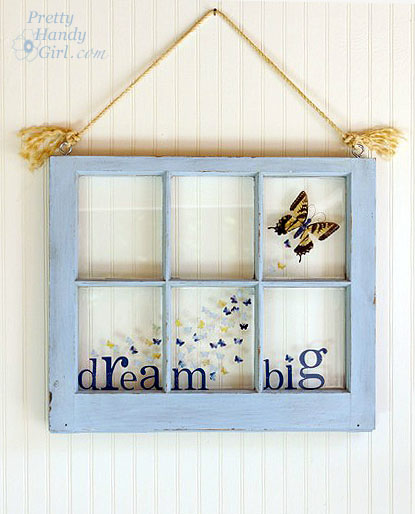
Big Butterfly Window
I have to admit, I was a little scared of the EnviroTex Lite. Especially when I read the part in the instructions about using a propane torch! I had visions of having to rent a welder’s helmet and lighting a big propane torch. YIKES!
Well, my fears were unfounded, and I ended up using a bic lighter like this one: Big Butterfly WindowThe utility lighter was more within my comfort level. And the prep and pouring steps were easier than I had envisioned. Won’t you come along to see how I made it?

My beautiful butterfly window started out looking like this:
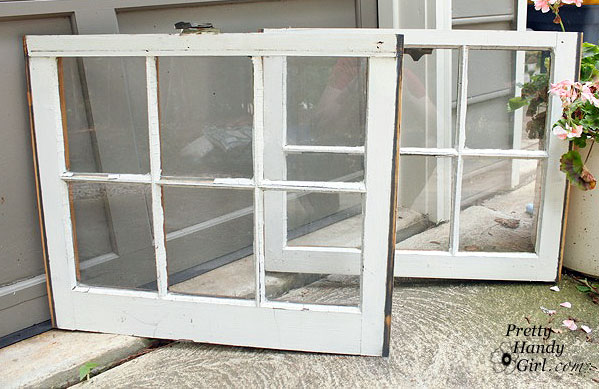
Big Butterfly Window
Someone was throwing away these old windows. So, as usual, I slammed on the brakes (as my kids expressed their disgust at me) and saved them from the landfill. It took a lot of scraping, cleaning and painting to get them in a presentable state, but I’ll show you those steps in another tutorial. Let’s just fast forward to a clean shabby chic painted window for times sake.

Creating the Art:
Big Butterfly Window
Big Butterfly Window Materials:

(I’ve included affiliate links for your convenience. I earn a small percentage from a purchase using these links. There is no additional cost to you. You can read more about affiliate links here.)

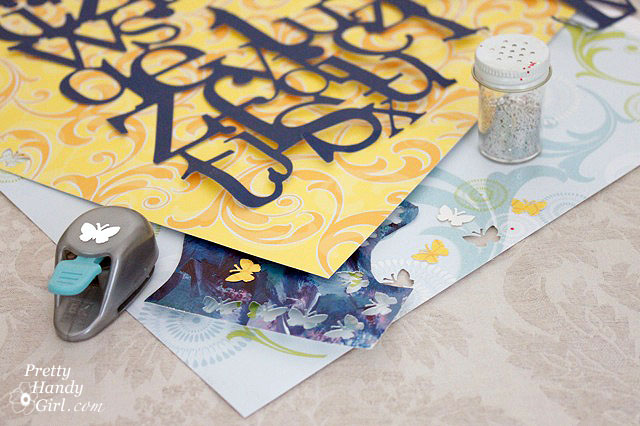
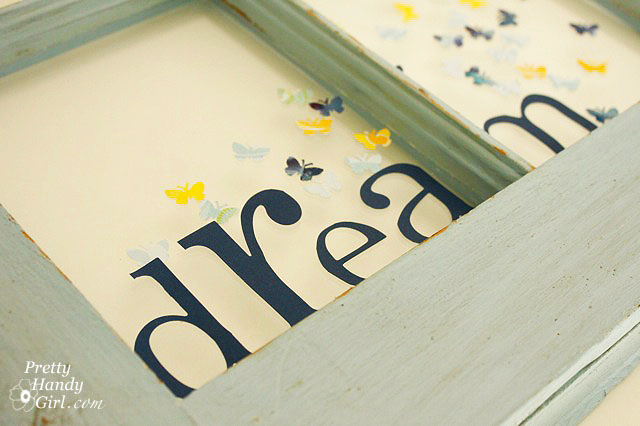
Start by cutting out paper letters and punching out butterflies until your thumbs are sore. Then lay out the design on the window panes.
Big Butterfly Window
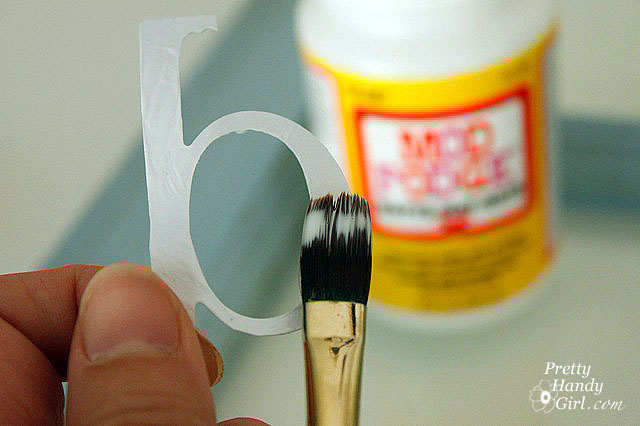
When you are happy with the design, anchor everything onto the window using mod podge. Paint a thin layer of mod podge on the back of each letter and paper butterfly. Then pressed them down onto the window panes. This step is important as it keeps everything in place while pouring the resin.
Big Butterfly Window
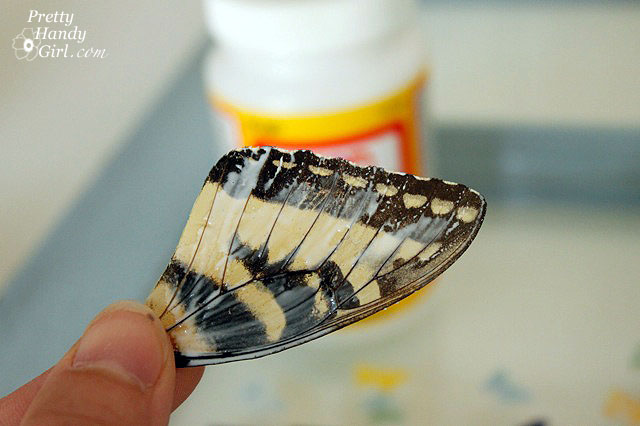
Use extreme caution with the butterfly wings so as not to break them or brush too much of the color off.
Big Butterfly Window
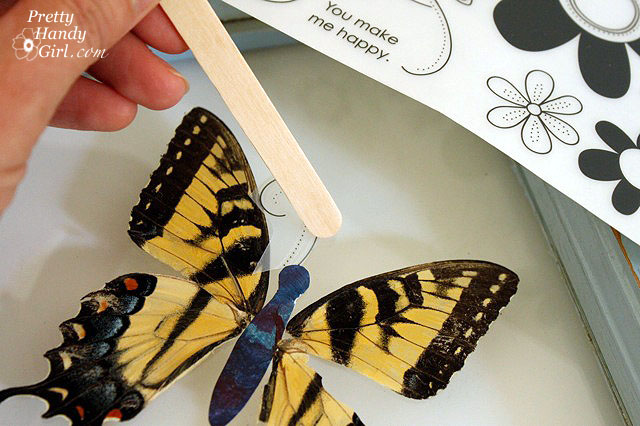
Gently press the wings onto the window. You may need to replace the butterfly’s body with a paper one so it doesn’t stick up above the resin. (My poor butterfly was bodiless. I think the cat ate it. I just hope my winged friend didn’t suffer.)

Big Butterfly Window
Before the mod podge can dry completely, carefully wipe any excess off the window. If you leave some mod podge exposed on the window, it will be immortalized in the resin forever!
Rub on transfers work perfectly for the butterfly’s missing antennae.
Big Butterfly Window
Pouring the Resin:

Big Butterfly Window
Big Butterfly Window Materials:

Included in the EnviroTex Lite kit:

  • Bottle of Resin
  • Bottle of Hardener
  • 2 Mixing Cups
  • Stir Sticks
  • Rubber gloves
  • Disposable brush

Not included in the kit:

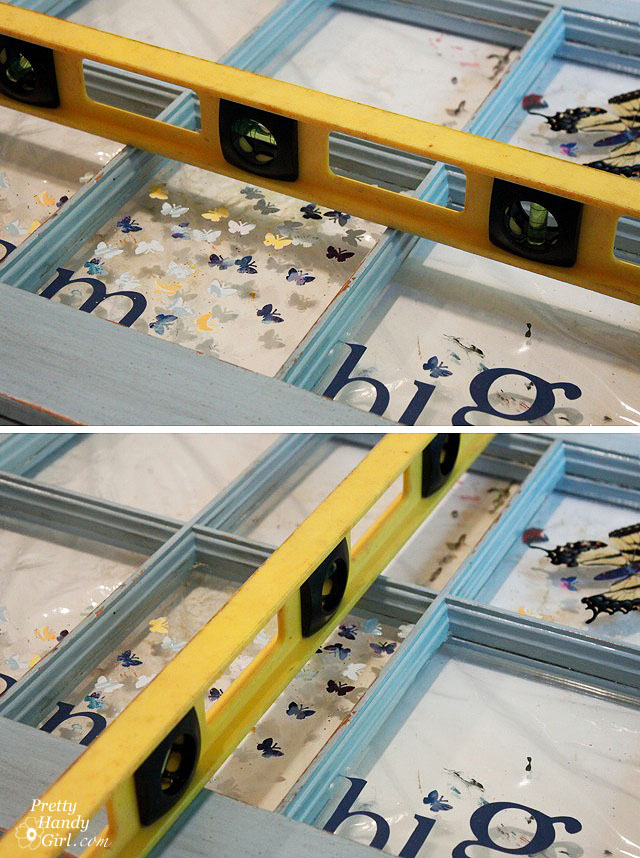
Set the window on the protective plastic. Set the level on top of the window.  Check both directions and prop up your piece using shims under the window or under the table legs until the window is completely level. Skipping this step will result in the resin puddling in the corners of each pane and leaving an inconsistent depth.
Big Butterfly Window

Put on your protective gloves, dust mask and eye goggles. And don’t forget to turn on the exhaust fan. No need to fry your brain during this project.

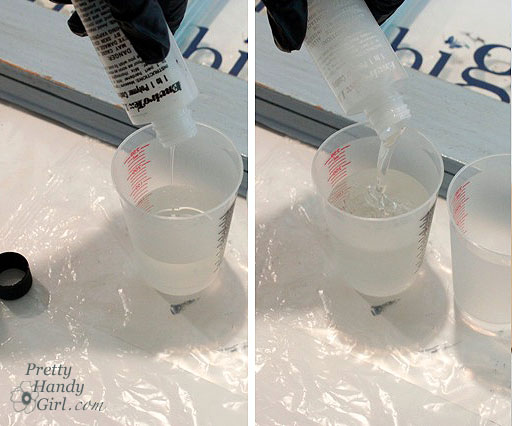
Pour equal amounts of each bottle into the first cup.
Big Butterfly Window

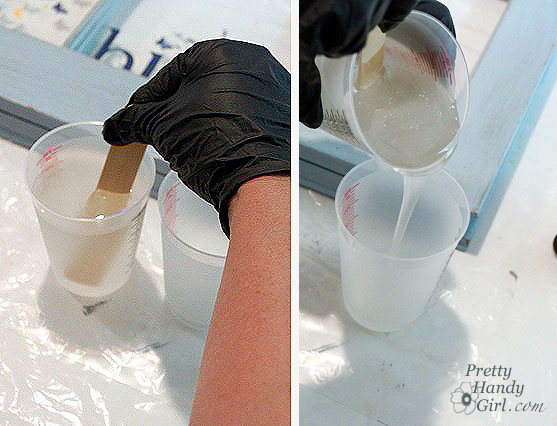
Stir the resin and hardener mixture thoroughly with the wooden stick. Be sure to scrape the sides of the cup. Then pour the mixture into the second cup. And thoroughly mix the mixture again. Failure to follow these directions could result in a BAD CRAFT-FAIL! So, just follow those directions. Okay?
Big Butterfly Window

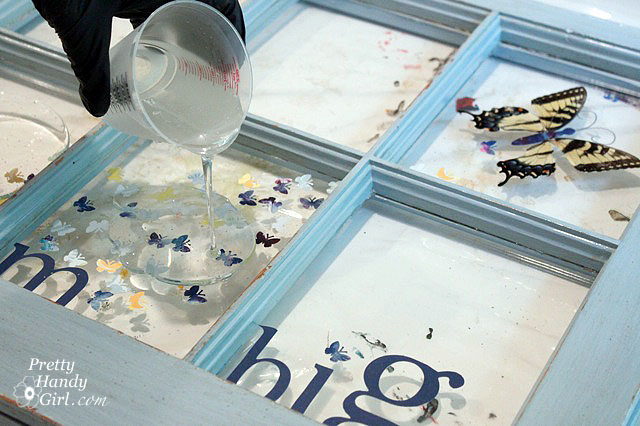
After your mixture is thoroughly mixed, begin by pouring small amounts into the center of each pane. (I only poured the resin into the four panes that had objects pasted on them.)
Big Butterfly Window

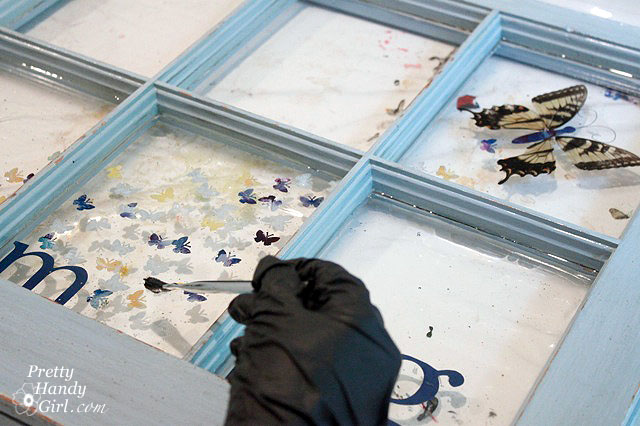
Use the brush to gently spread the resin mixture to the edges of each pane. The resin will level itself as it dries.
Big Butterfly Window

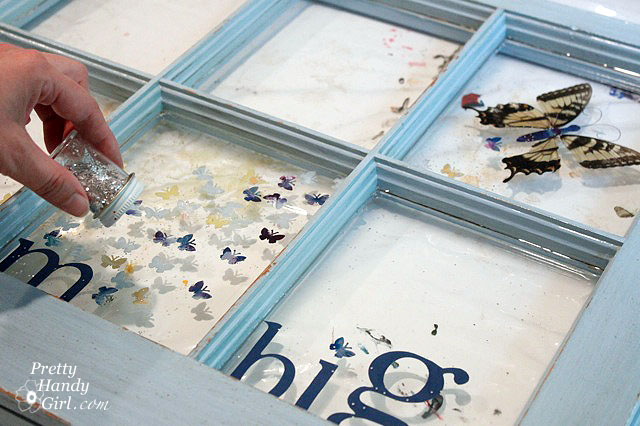
After the resin is spread evenly, sprinkle some glitter around the letters and butterflies.
Big Butterfly Window

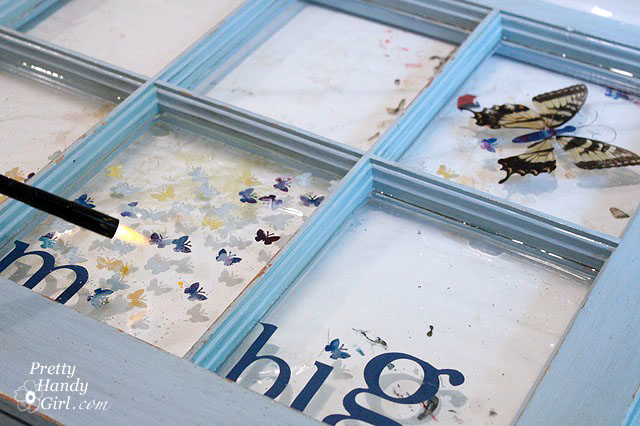
After a few minutes little bubbles will rise to the top of the resin. Use the lighter several inches above the project to pop the air bubbles. (I think I had more fun popping bubbles than any other step!)
Big Butterfly Window

Check back after about 5-10 minutes and pop any newly formed bubbles. Let the resin dry overnight (at least 4-5 hours. Times may vary depending on temperature and humidity.)

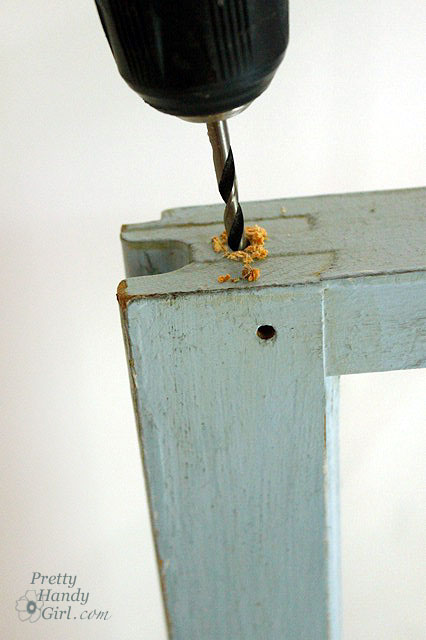
When the resin is completely hardened, use a drill bit to drill holes in the top of the window.
Big Butterfly Window

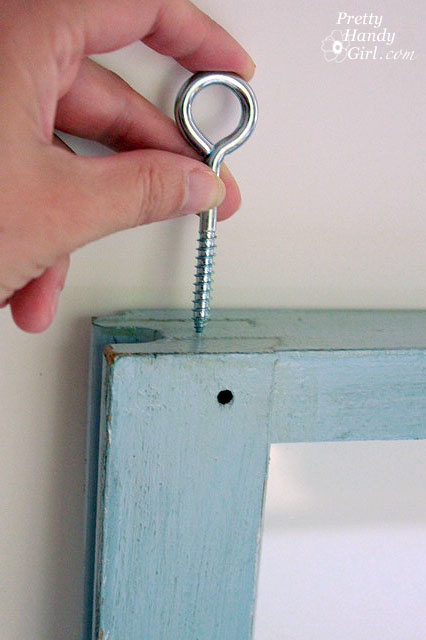
Then insert eye bolts on each side.

Big Butterfly Window

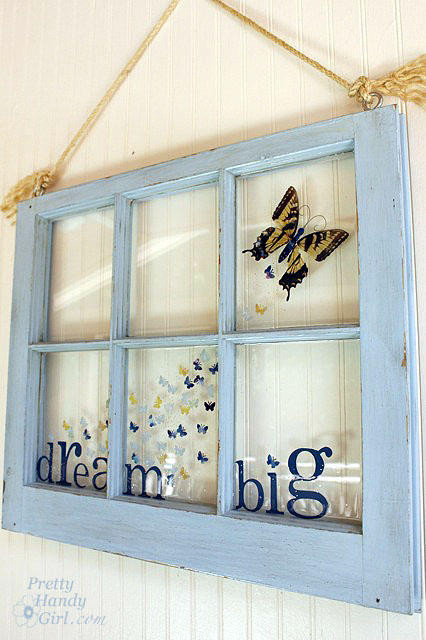
Thread some rope through the eye bolts and hang your new piece of art!
Big Butterfly Window

Big Butterfly Window

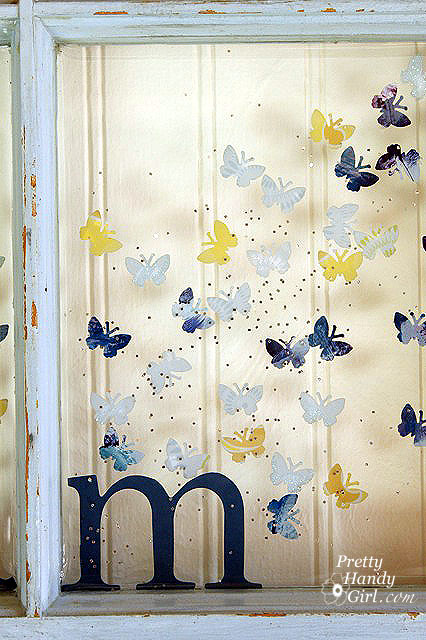
I just love how the beauty of the butterfly is preserved in the resin forever! 

Big Butterfly Window

This project was a lot of fun, and the results truly exceeded my expectations. I did not pour any resin in the top two window panes. The panes that do have the resin are completely transparent and look exactly as clear as the naked panes.
Big Butterfly Window
What do you think? Would you try a resin art project yourself?

Big Butterfly Window

Disclaimer: ETI sent me EnviroTex Lite to try out. I was not paid or compensated for this post. My opinions and critique of the product are honest, truthful and my own.

You won’t believe all that you can do with this product.  Envirotex Lite was created by Environmental Technologies Inc. (ETI), which is the home for many resin and mold making products.

The use of resin in jewelry making, mixed media and paper arts continues to grow in popularity. Today, artists are using ETI’s products in many crafty ways and they will be showcasing these works of art on their new blog “Resin Crafts”.

Check out ETI on:
Resin Crafts Blog | ETI on Facebook | ETI on Twitter
The end of the school year has come and now it is time to load up on craft supplies to keep the kids entertained. My elementary school friend Megan asked me if I had any summer craft ideas to share.

So, Megan, this post is for you!

Sun Prints!

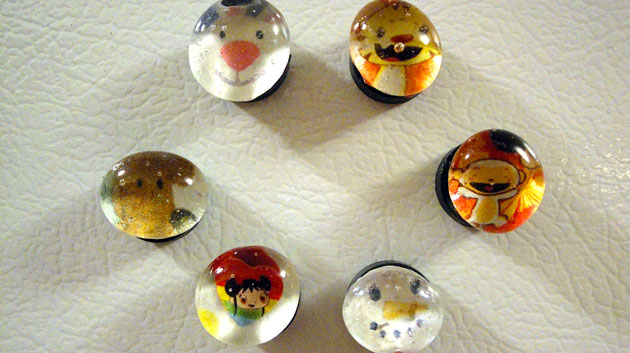
Glass Bead Character Magnets
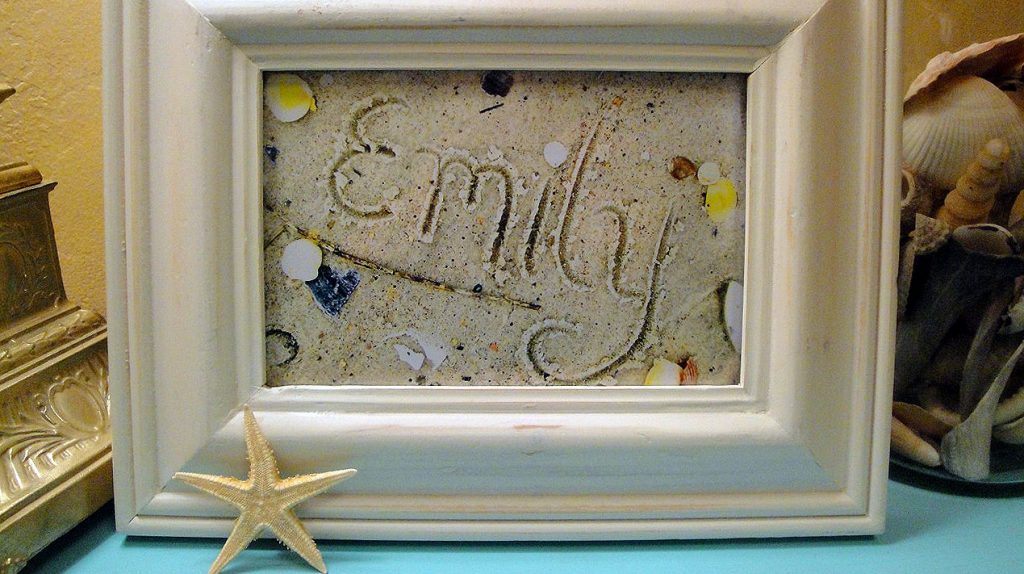
Planning a beach vacation? Why not bring a few craft supplies to create some beach themed crafts!

Sand Writing Photo

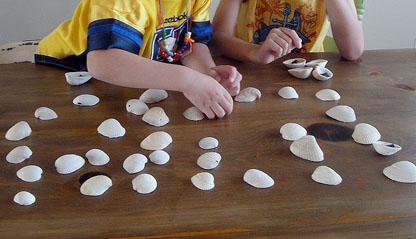
Sea Shell Memory Game

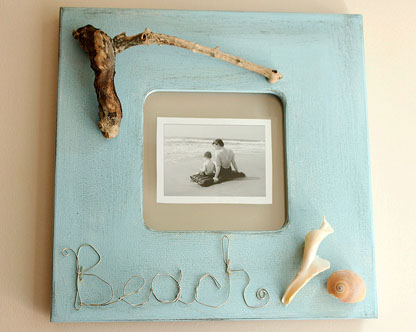
Beach Inspired Picture Frame

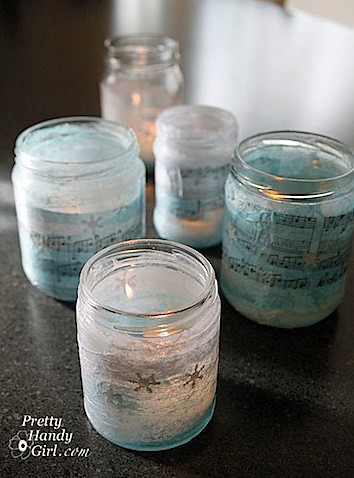
Although this craft was actually created in December, we love to create decorated jars for any season! How about affixing some of your vacation photos on a jar?

Glass Jar Decorating

Finally, this craft is a little more involved (for the parent) but it was well worth it!

Magnetic Mailbox Cover
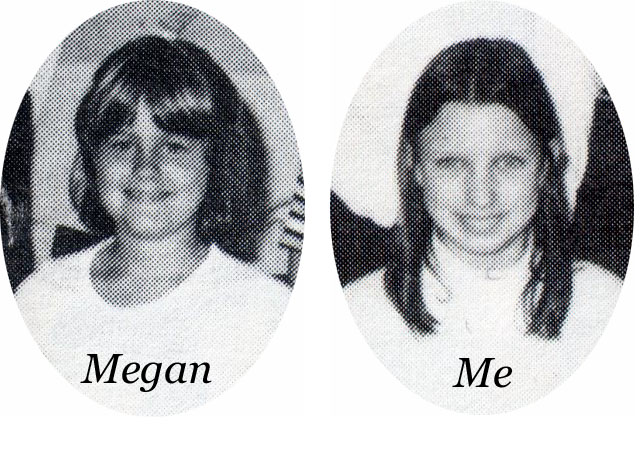
At the risk of Megan hunting me down and egging my house, this is what we looked like in fourth grade:

Isn’t Megan cute? Me on the other hand, I never had much style to my hair. Just a plain old hippie cut (did I tell you my parents were at Woodstock?)