Asbestos Removal

This is the post that I’ve been putting off writing. Why? I was still dealing with the shock of it all. The gist of it is, if you think your home is safe from asbestos, you could be dead wrong! I thought our home was in the asbestos-free time frame, but I was sorely mistaken.  

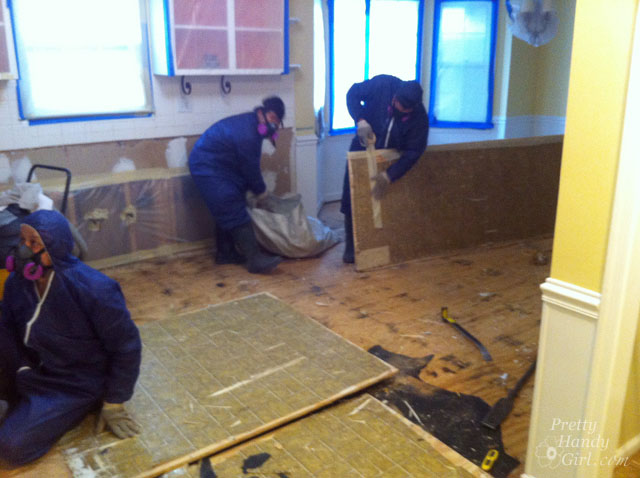
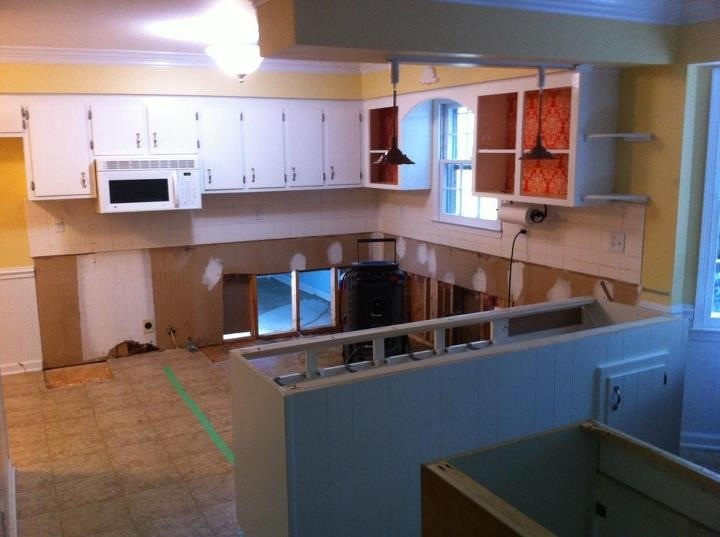
Background: What started as a small leak turned into a massive gut of our kitchen. The disaster restoration team came in and started assessing the damage. What happened next was a downward spiral of issues I pray never happens to you. The polybutylene pipe failure from two weeks ago turned into a full blown mold remediation (luckily it wasn’t black mold.) Shortly after removing the water soaked base cabinets in our kitchen, the project manager discovered old vinyl flooring under our newer vinyl flooring. He told me that they sent a sample to the lab for asbestos testing. I said, “Okay.” And dismissed it knowing that our house couldn’t possibly contain asbestos. The next morning I got a phone call, “The lab results came back and that old flooring tested positive for asbestos.”

What I learned over the next few days about asbestos both scared me and re-assured me. Now that our home is officially asbestos-free and we’ve finally moved back into the house, I’m emotionally ready to share with you what I learned. Read more

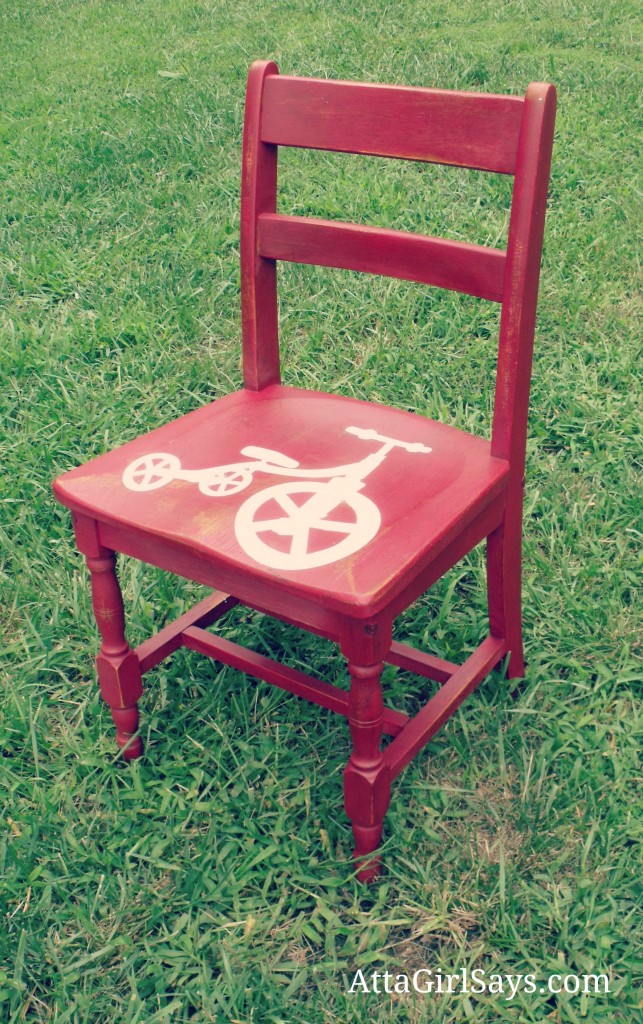
Last month, I was a little nervous to try a new power tool. I know…I know…shock and disbelief! But, y’all came to my rescue and helped share all your tutorials for using the Silhouette and other craft cutters. You really have to see all the wonderful projects that were linked up, like Atta Girl’s Tricycle Chair:

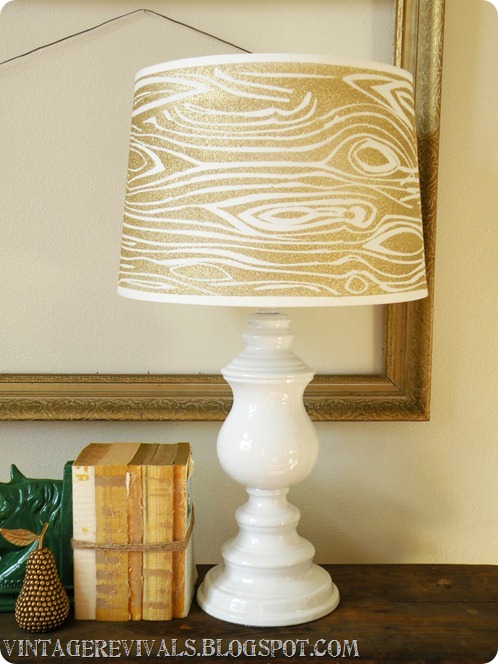
And Vintage Revival’s Wood Grain Lamp:

and I yelled “Stick a Fork in Me I’m Done Procrastinating!” when I laid eyes on All Things Thrifty’s Knife and Fork curtains:

After reading all your project tutorials, I was able to get a handle on my fear of the unknown and try out the Silhouette. Read more

How to Make New Wood Look Old, Weathered and RusticHow to Make New Wood Look Old, Weathered and Rustic

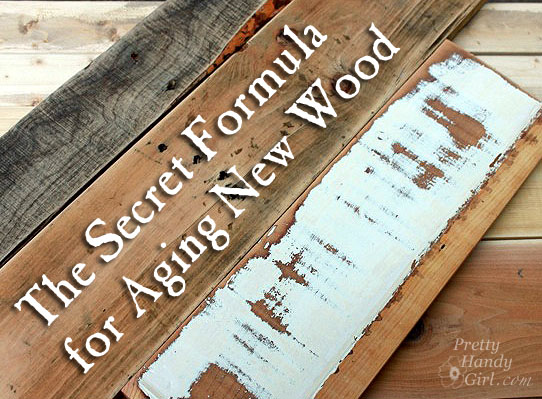
I have a confession to make. All the wood that you saw on my art studio wall is not exactly old or salvaged. Will you forgive me if I share with you the Secret to Make New Wood Look Old, Weathered and Rustic? 
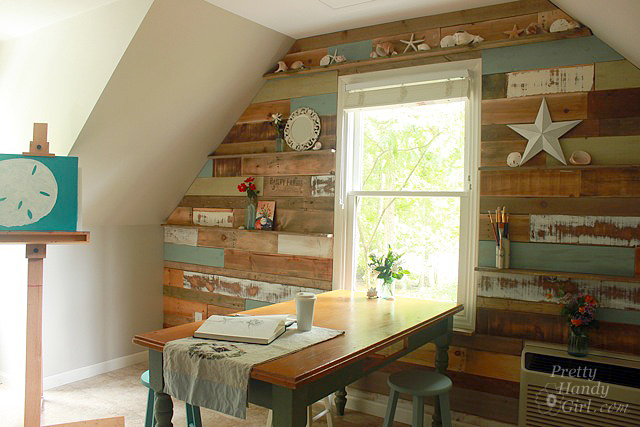
In order to have enough wood, I had to buy some new pine boards off the shelf at Lowe’s. I actually chose furring strip boards because they are already chewed up and imperfect.

But, I also grabbed a few other supplies:

Optional: General Finishes Flat Out Flat Top Coat to protect furniture.

(I’ve included affiliate links for your convenience. I earn a small percentage from a purchase using these links. There is no additional cost to you. You can read more about affiliate links here.)

The Secret of Weathered Boards: 
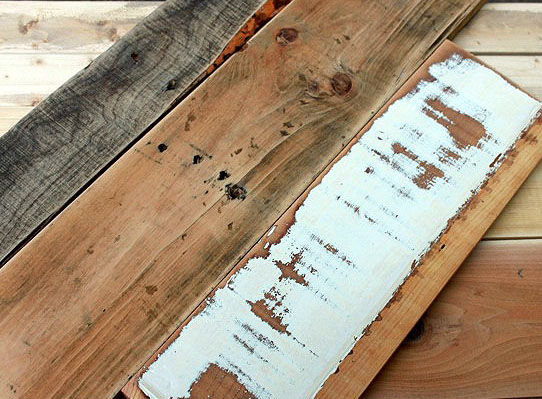
Old rustic boards are gray and have enhanced grain and plenty of dings and character. Replicating that look can be tricky unless you have the right tools, glazes, and a few tricks up your sleeve.

I wrote another post about aging and antiquing that shares some other techniques, but today I’ll focus solely on making new lumber look old.

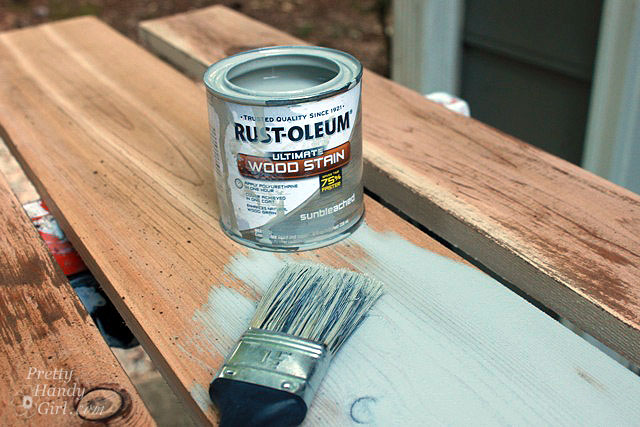
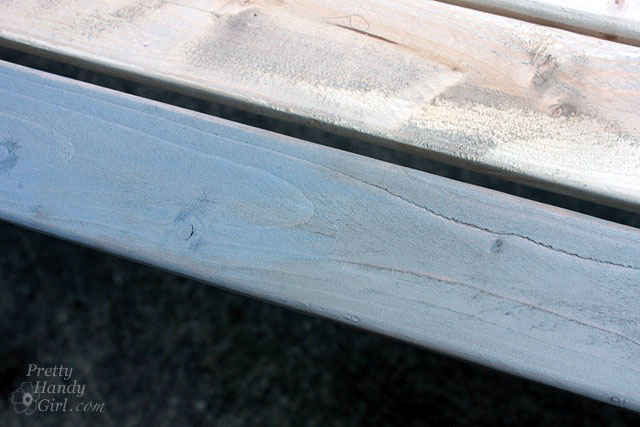
Weathered boards have a warm gray color. To create this color I stained the boards with Rustoleum sunbleached. Then wiped off the excess.
Next I added a little Minwax Early American and wiped it off.
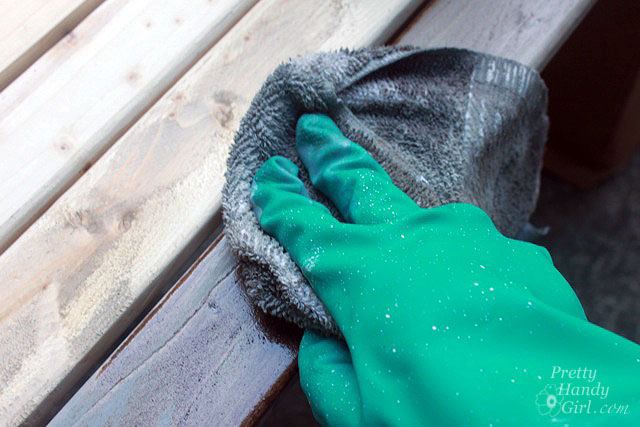
The results are the blue-gray weathered look. For more dimension and detail try adding the glazing technique described below.
 

My Secret Rustic Glaze Formula:

UPDATE: Valspar stopped making the products I originally used. I’ve tried a lot of alternatives, and settled on General Finishes Van Dyke and Pitch Black glazes to get the same look. The good news is that you don’t need the additional clear mixing glaze.

There is nothing in this world more beautiful to me than rustic barn wood. Those dark chocolate timbers that look like they’ve been gathering dirt for decades are gorgeous in my eyes.

To fake this look I created a glaze that works wonders when wiped over new lumber.

Mix 2 parts Van Dyke glaze and 1 part Pitch Black glaze.
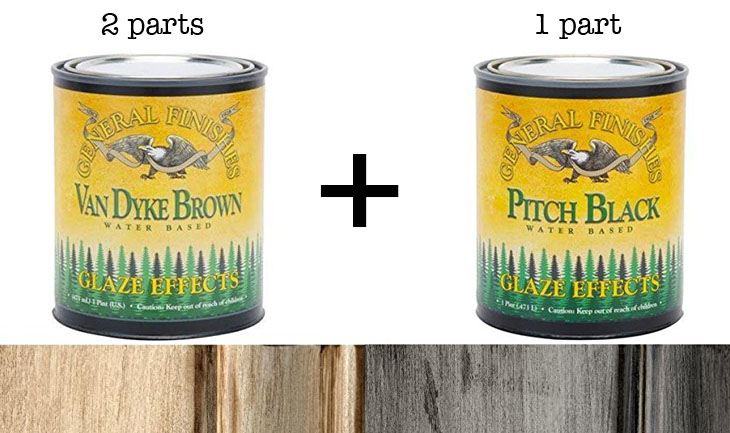
Secret Formula to Age Wood

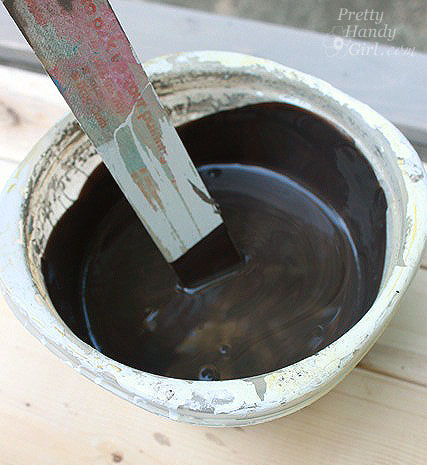
Mix thoroughly. The resulting color should be a very dark chocolate color. Adjust your color by adding more VanDyke or more Pitch Black.
Dip your flat brush into the glaze and drag it over the wood. The glaze really accentuates the grain in the wood.
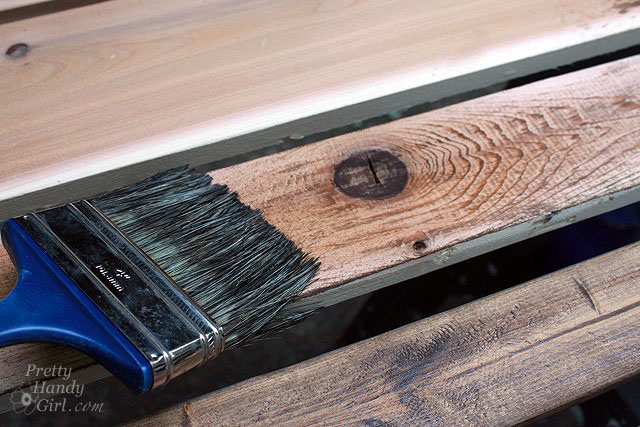
Shake or tap the brush on a stick to give your lumber age freckles.
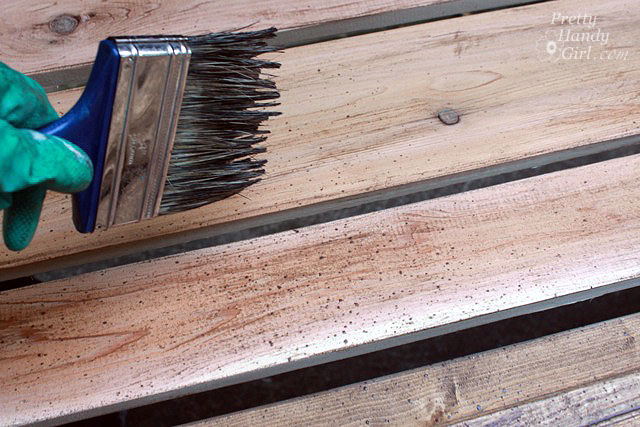
For more uniform color, brush the glaze over the entire board (don’t forget the ends of the wood.)
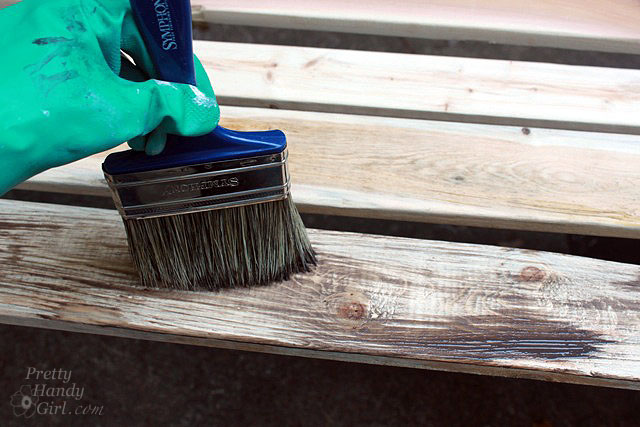
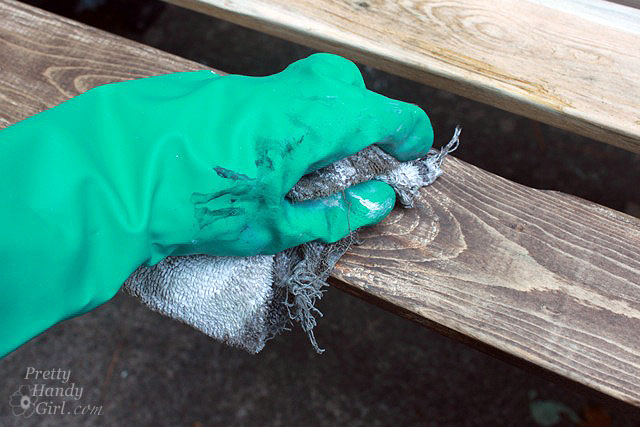
Rub the glaze into the wood and wipe off any excess.
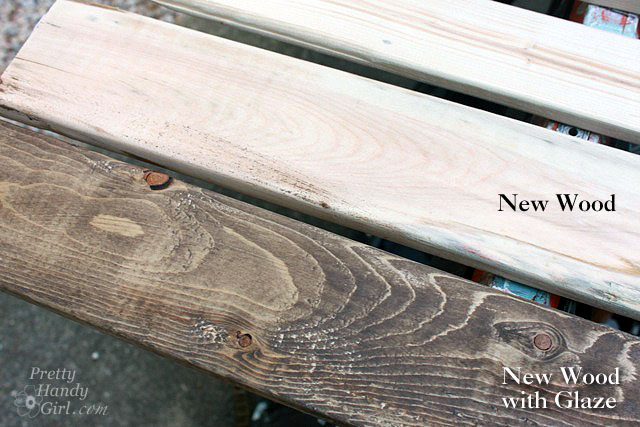
Take a look at the difference:
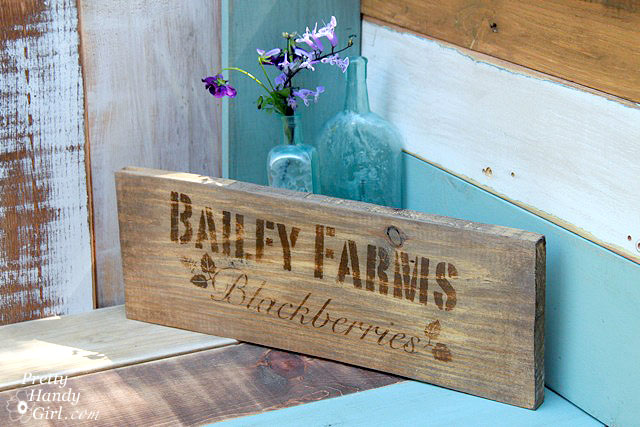
Not bad, did you know this farm crate sign is brand spankin’ new?
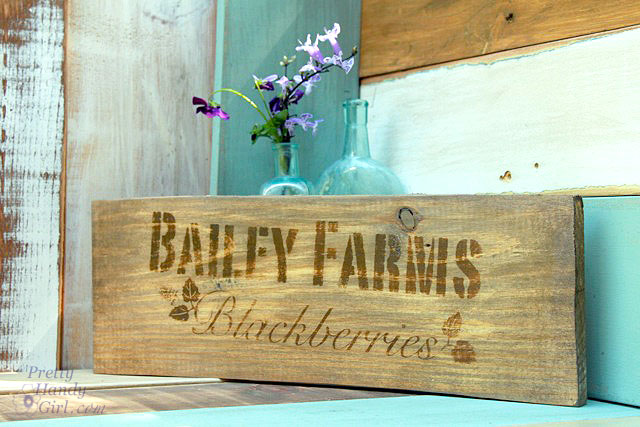
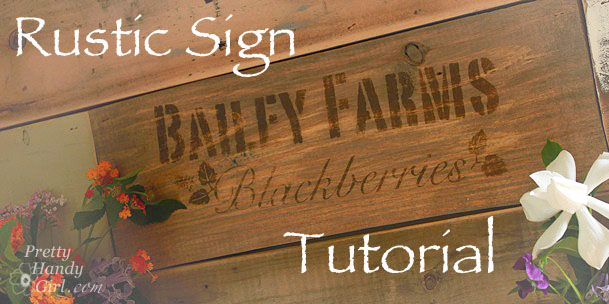
I hope I fooled you. Here’s the tutorial for making the farm crate sign.

In the meantime, have fun aging those new boards! I’d love to hear if you try these techniques and how they worked for you.

How to Make New Wood Look Old


20121013-231015.jpg

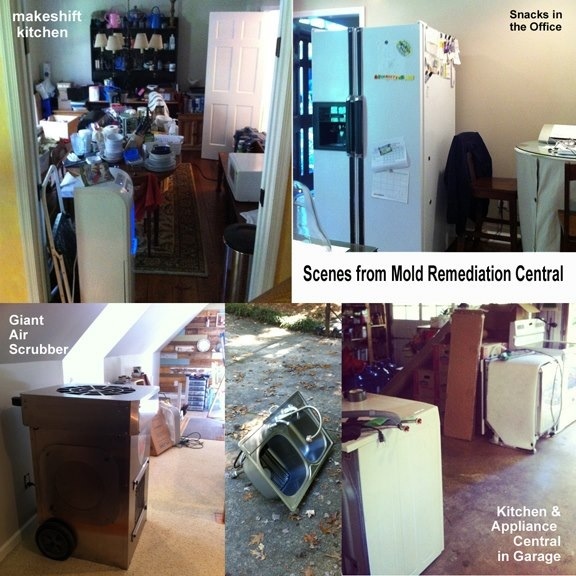
Thank you all for your comments about my post on polybutylene pipes. Since that post my life has been squished into a duffle bag and rolled down a big hill. I’m not sure whether we are coming or going. On Wednesday night we all slept in the house, but we were getting headaches (either from the mold or the gigantic HEPA filters running full blast all over our house. It must be what it’s like to live in the turbine engine of a plane. “WHAT DID YOU SAY?”)

By Thursday morning we were anxious to get the mold remediation on it’s way. But, then we got some bad news. Under our linoleum kitchen floor was another layer of vinyl flooring…a suspiciously older layer of flooring. The disaster team had to send a sample to the lab for asbestos. I seriously never would have thought it would come back positive, but guess what?! …it did. 🙁

20121013-231246.jpg

At that point we packed all our bags and got the heck of out the house. Lucky for us, we have family that lives close by, so we’re hunkering down with the in laws. (I don’t know what we’d do without them.) I’m a little concerned about how long we’ll be staying here. My mother-in-law better be prepared for when I get stir crazy and start going a little “pretty handy girl” on her home ;-D.

In the midst of our adventures living out of suitcases, the Southern Bloggers Conference started here in Raleigh. I don’t think the timing could have been more perfect to help take my mind off of this musty mess. I’ve been enjoying being surrounded by other creative bloggers. I have more pictures, but can’t download them off my camera until I can get a little time back home.

20121013-231321.jpg

Rhoda from Southern Hospitality Blog

AND NOW….I’ve been dying to Rock Your World!!!!! A bunch of my DIY friends and I decided we wanted to put together a HUGE giveaway! One that will truly rock your socks off. Get ready for three days of amazing prizes! Each day will have almost $5K worth of goodies from our favorite companies.

Are you ready? Limber up your mouse and your index finger….because you are going to want to enter to win every single day!!!

Coming up on Monday:

20121013-231351.jpg

Seriously, we tried to fill everything plus a kitchen sink into this giveaway!

Followed by:

The Pin-acle of all Giveaways

And Finally:

Shut the Front Door {To Keep the Goodness In} Giveaway


I’m really excited and truly hope that you win! So be sure to be here Monday morning when I can reveal all the prizes!


Photo courtesy of Grotuk via Creative Commons

Today’s regularly scheduled post has been interrupted by a leak in our laundry room.

I hope my misfortune is your gain. These are the things I’ve learned about burst pipes, polybutylene pipes and mold. If you are a homeowner, soon-to-be a homeowner or even if you rent, this post is for you! Read more