Vintage Map Lampshade
Do you want to update a plain vanilla lamp shade? Do you have a vacation you want to remember? You can do both with this vintage map lampshade!
The process to create a Vintage Map Lampshade is easy, especially if your lamp shade is close to a perfect cylinder. But, what do you do when you have a cone shaped shade? The instructions are a little more complicated, but I can show you how.
Pull up a seat and I’ll show you how to create a cool decorated lampshade. (Keep in mind you don’t have to use maps. You could use wallpaper, fabric, a poster, or anything you want!) Let’s do this.
During a trip to my local thrift store, I discovered an old atlas and knew I could use it for oodles of projects. As I walked out of the store a flood of ideas came to me. One of them was to make a Vintage Map Lampshade.

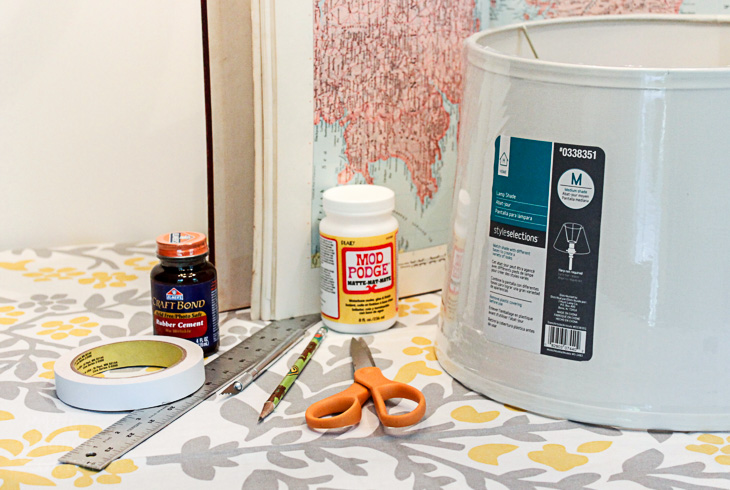
Materials:
(I’ve included affiliate links for your convenience. I earn a small percentage from a purchase using these links. There is no additional cost to you. You can read more about affiliate links here.)
- Lampshade
- Maps, wallpaper, or fabric
- Craft paper
- Scissors
- Ruler
- X-acto knife
- Masking or artists tape (low tack tape)
- Clear packing tape
- 2 clothespins
- Rubber cement
- Grosgrain ribbon
- Hot glue gun
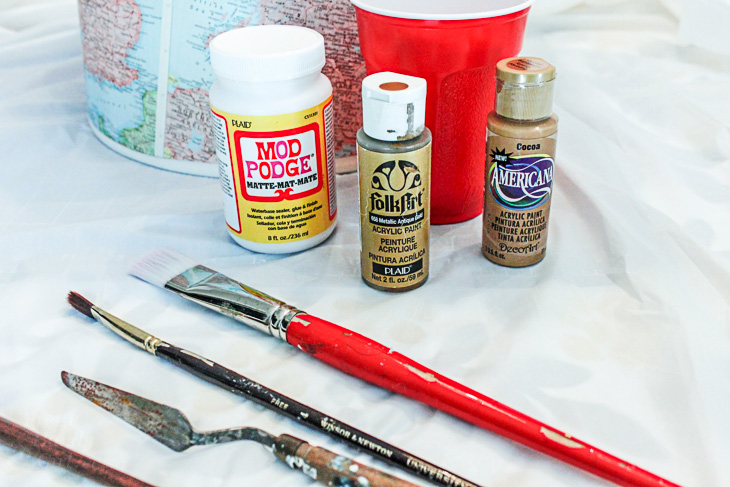
To add a vintage glaze you will also need:
- Paint brush
- Mod podge
- Cocoa acrylic paint
- Cup to stir paint in
- Stirring stick or palette knife
Instructions:
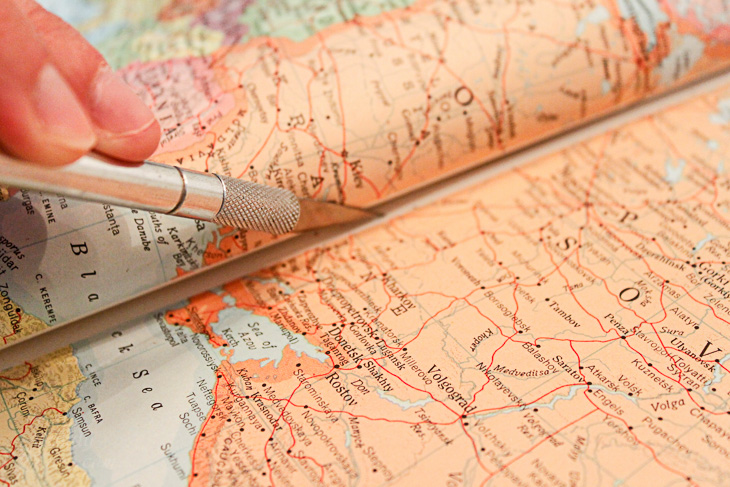
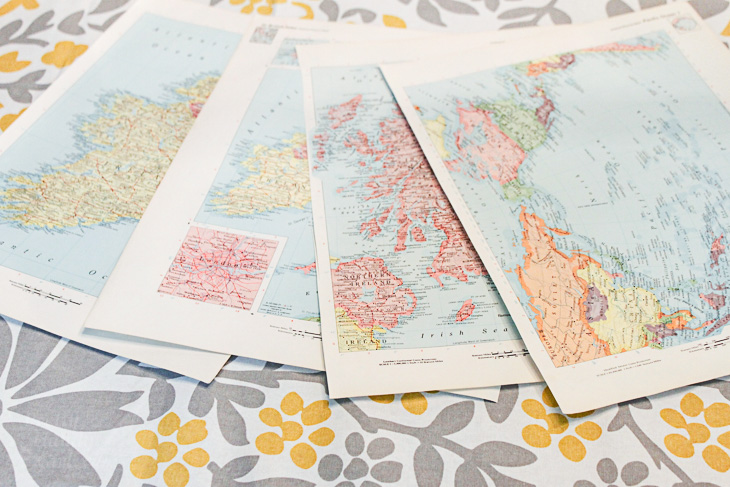
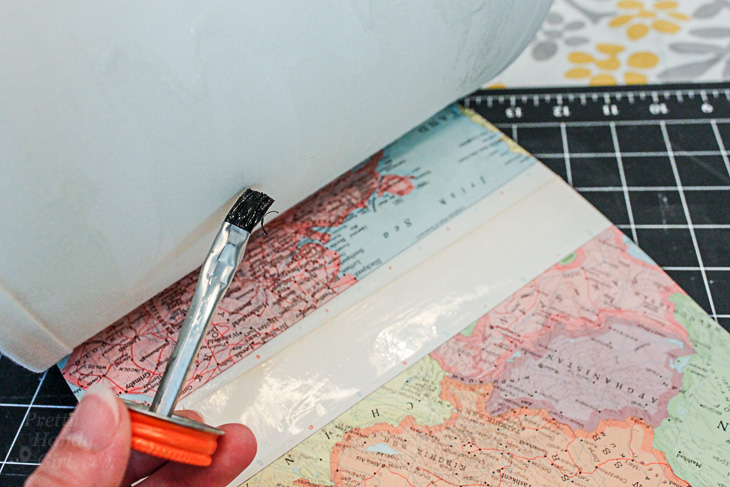
Start by selecting the maps or paper you want to use. Carefully cut them out along the spine using a fresh x-acto blade — don’t let your blade get dull. (I use a new one for each project. Your cuts are much cleaner when working with a fresh blade.)
Set your pages aside for now.
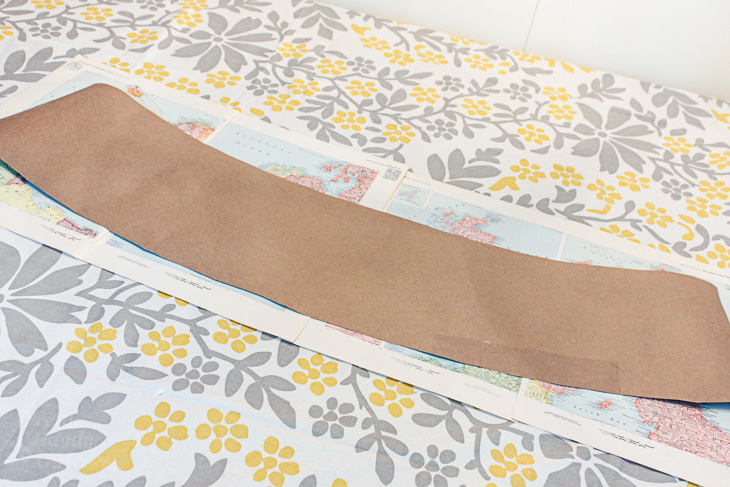
To make a template for your shade, roll out a large piece of craft paper. Lay your lampshade on the craft paper. Start at the vertical seam on the shade (to give you a visual of where to start and stop) and set your pencil along the bottom edge of the lampshade.
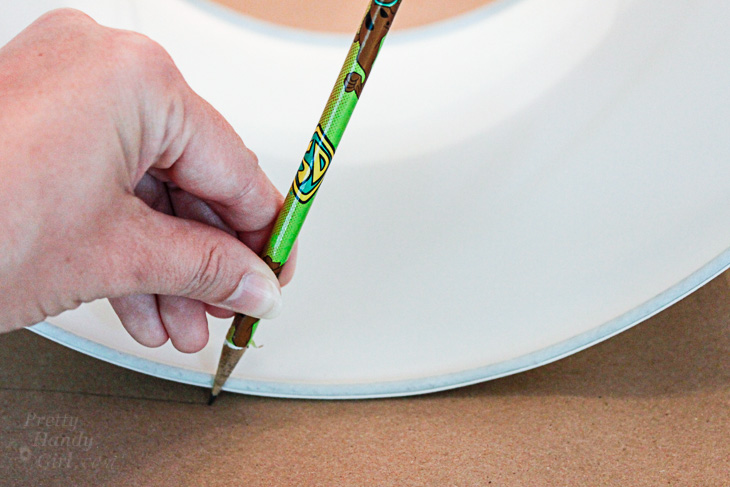
Gently roll the shade on the paper and mark along the bottom edge of the shade.
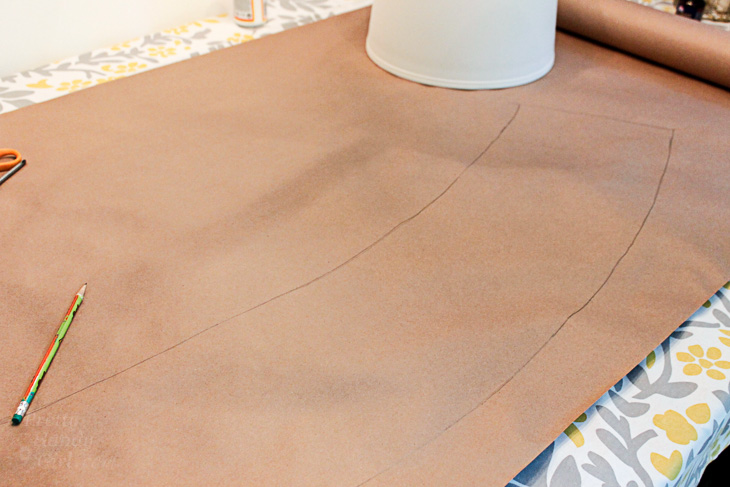
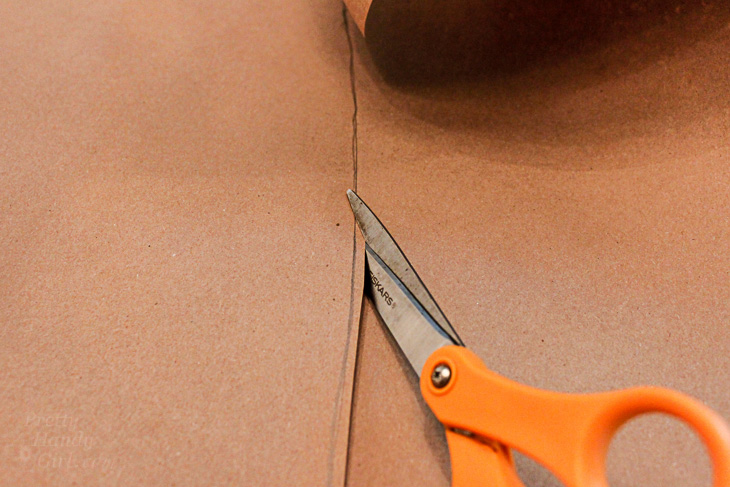
When you reach the end, reverse your shade and draw along the top edge. At the end, add an inch or two for overlap. Cut along the outlines to create your lampshade template.
Tape the template onto your lamp shade using the low tack tape. Make sure it fits snugly.
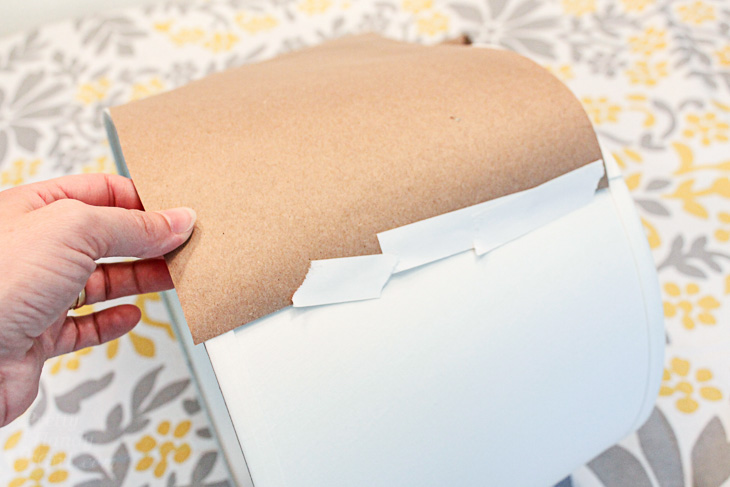
Trim any excess from the edge of your template. Should you choose, trim excess to allow room for the grosgrain ribbon.
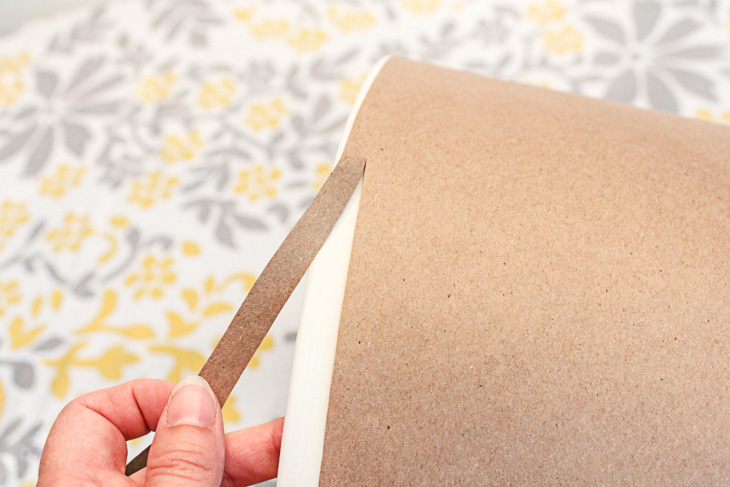
Make sure your template fits perfectly before you proceed.

Lay out your craft paper template on top of the map pages. Make any adjustments to the page layout.
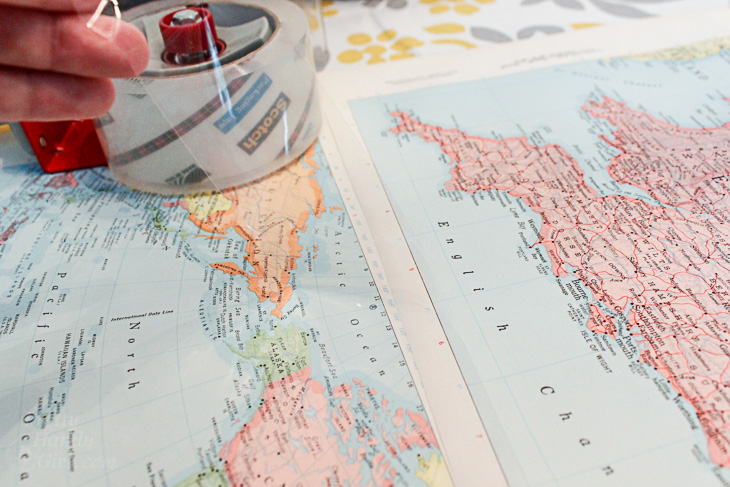
Tape your map pages together using clear packing tape on the inside only.
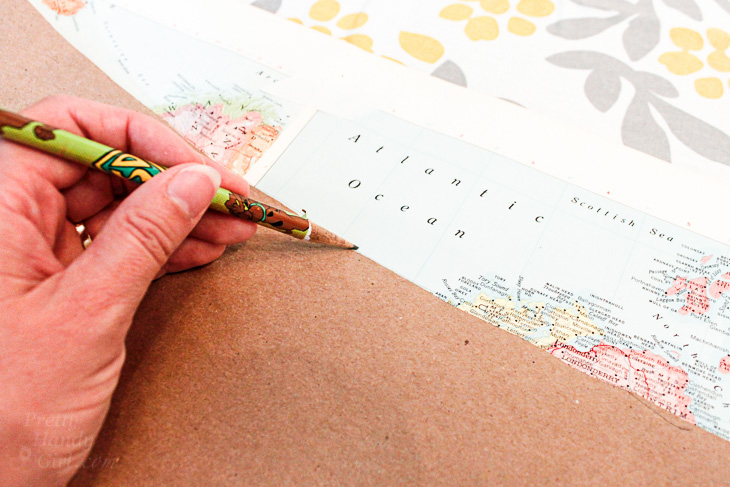
Trace the template on top of the map pages.
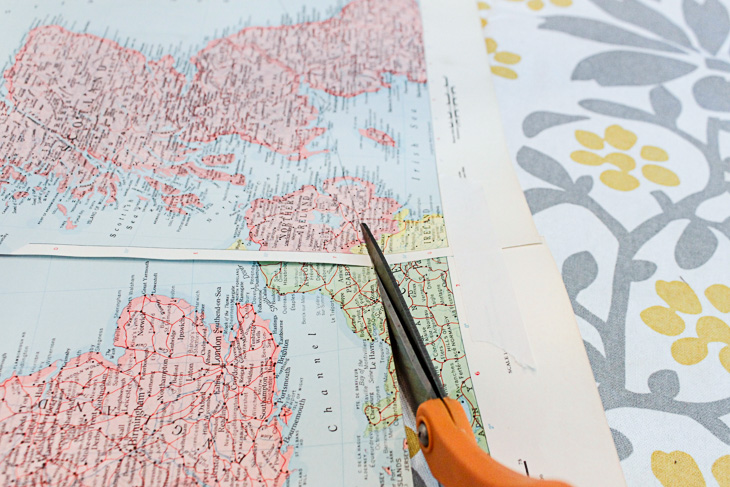
Cut out the shape along the pencil line.
Wrap the lampshade with your cut out map pages. Clip the edges with clothes pins.

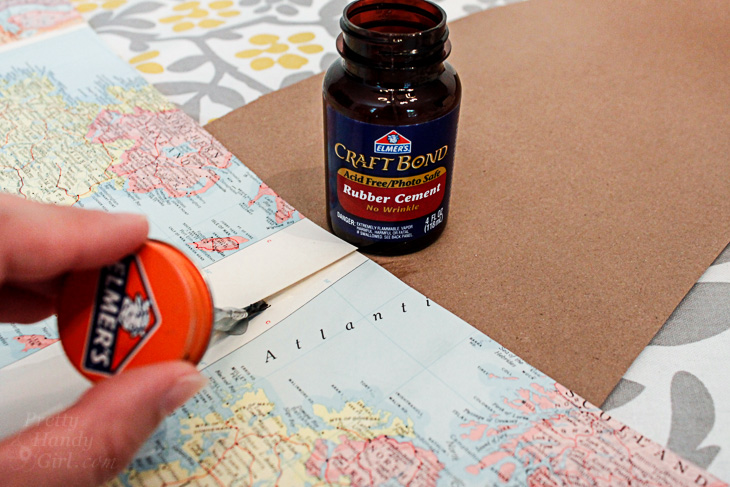
Working in small 8″ sections, brush rubber cement onto the map and the lamp shade. Wait a minute or two for the glues to dry. Then press them together. This is the best way to get maximum adhesion when using regular rubber cement. It creates a stronger bond than just one coat applied and joined while it is still wet. Alternatively you could use spray adhesive (especially if you are using fabric.)
Continue by gluing another section until you reach the end. To finish the seams on the outside, brush some rubber cement under the seams where your maps overlap. Press and hold them down until the glue dries.
Add a Vintage Aged Glaze:
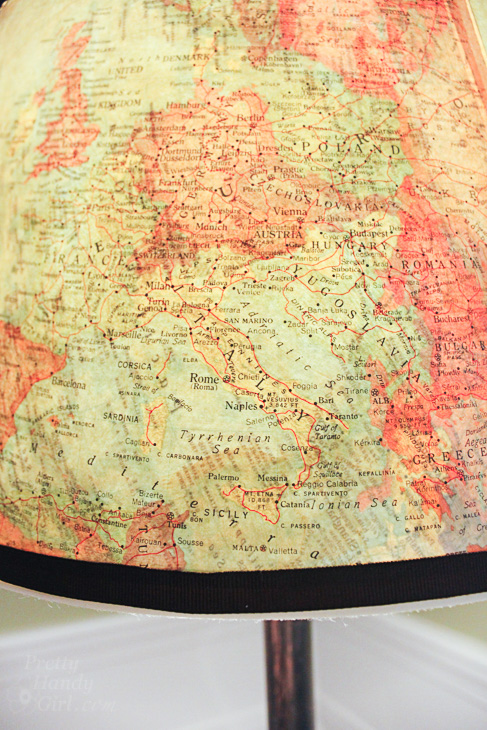
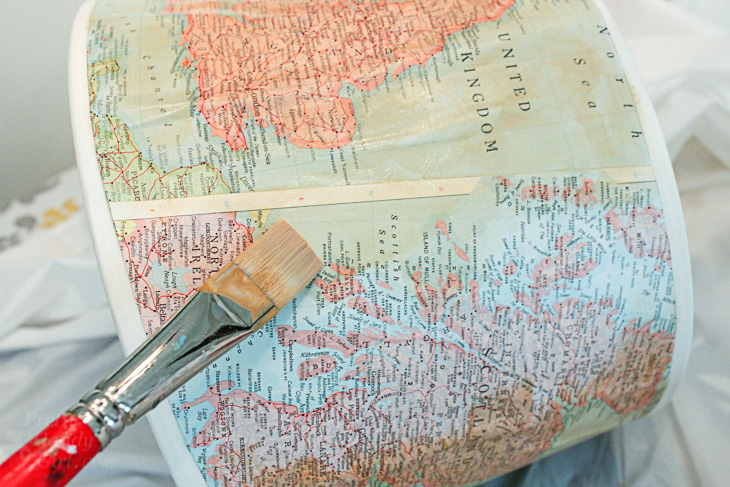
Time to give your maps a vintage aged look! Pour 2 parts mod podge into an empty cup. Add about 1 part cocoa paint. Mix them together. Test some of the glaze on a scrap piece of paper. If you like the glaze color, start brushing it onto the lamp shade. Be careful not to use too much of the glaze or the paper will start to wrinkle. (If it does, no worries, some of the wrinkles will come out when it dries. Any remaining wrinkles make it look old.)
Let the glaze dry.

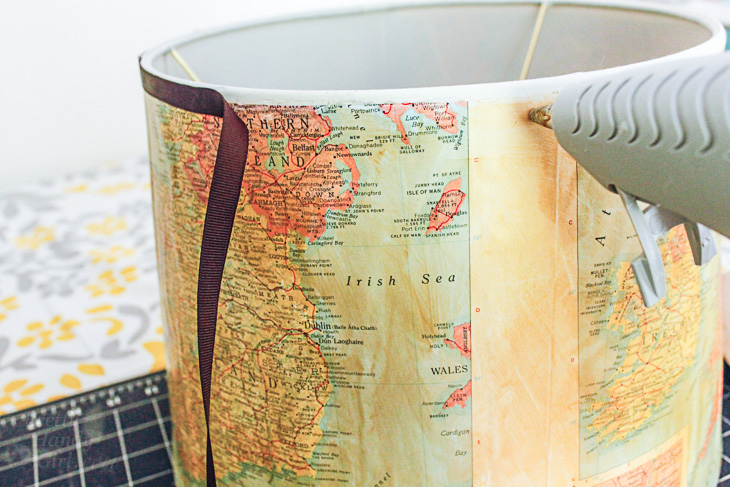
Cut two strips of grosgrain ribbon the circumference of your lamp shade plus an inch for overlap.
Hot glue the ribbon onto the top and bottom edges of your lamp shade. (Please, please, protect your fingers, read my hot glue gun safety post before working with hot glue!)
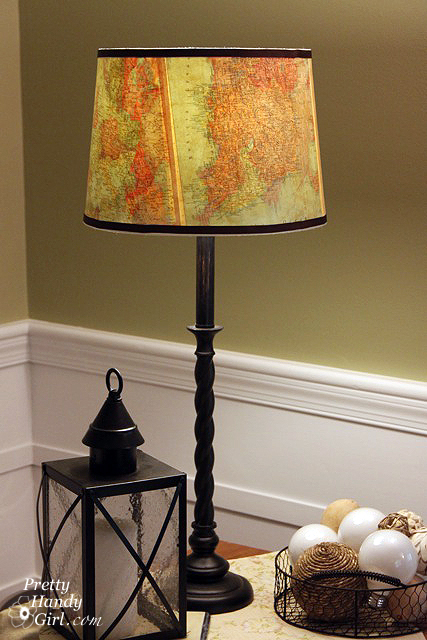
Put your lampshade on your favorite lamp.
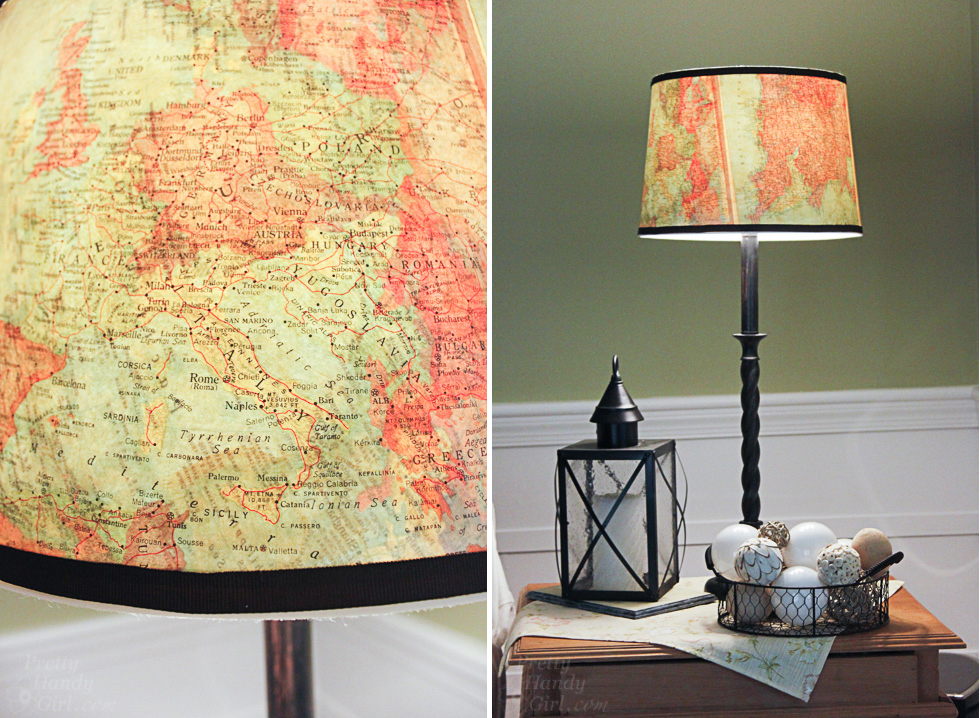
Admire your unique lamp shade that brings back fond memories of a special trip.
If you make one of these, what map would be on your’s? Your home state? The place you were born? Where your family’s heritage resides? Or something completely different? I would love to hear your ideas.

Did you like this tutorial? Want to learn how to revamp another lamp shade with paint chips!
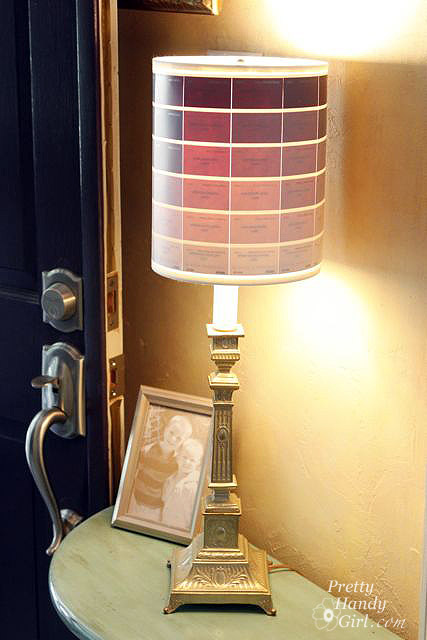
The result are a beautiful ombré lamp that is fun and colorful.

Could someone explain what is cocoa paint, use to tint the glaze, will try to find an English equivalent.
It’s just a color reference. You can choose any warm brown or amber color.
I love lamps and the vintage ones are the best. I’ve got some lamp sticks which need some care. And thanks to you I’ve got an idea what to do with them. Many thanks. It’s a great blog. Regards, Marta
I love this. I can’t get enough maps.
We have 2 round end tables in our living room. My husband and I grew up in the same city, but different neighborhoods. I bought a fold-out street map and put our neighborhoods on the 2 tables. We talk about these maps with our kids all the time.
OMG When I think,, ” she can not outdo this post,” you prove me wrong, because you just out did yourself. I love, love this. It’s so beautiful
Thank you Ivory! Glad you liked this tutorial.
This came up on my face book can’t wait to make a map lampshade, I’m planning to do a map of Canada as my father was Canadian so will have seszqtuen, Alberta and all surrounding areas facing front, sadly my dad passed away I never got the opportunity to visit his birthplace,but It’s my dream to go there I’m from the UK, thanku for the instructions regards Terrie ( Teresa )
Teresa, I’m sorry about your Father. I hope you’ll make one in his memory.
I am in love with this lamp project! I am going to try to make one for my husband’s Christmas gift.
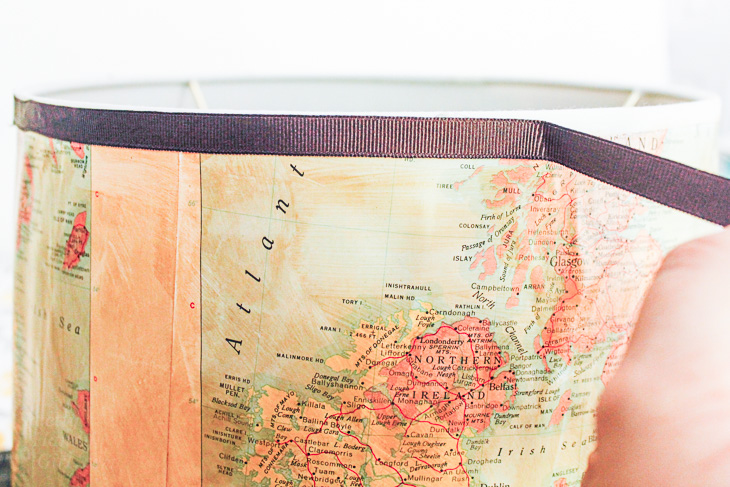
I am wondering what it looks like when the lamp is turned on when the maps are double sided? Does it look to busy with both sides showing through? Thanks so much
j
Jennifer, the first photo in the post is with the lamp turned on. You can see a little bit of the other map showing through (more so in some places,) but it doesn’t bother me.
Thanks for the great tutorial!! Worked out great for me!! I love my new lamp!
I love this! (and so would my husband!) I am going to have to go out and find a lamp 🙂
I love this! I think I will do this for my bedside lamp, and I will use the UK because I am such a pathetic anglophile. This is such a great idea.
I love your projects. This one gave me several ideas actually!
But mostly, I love that you make a template of craft paper – genius.
Thanks Jessica 😉 Nice to see your name on my comments. How are you doing?
That is great! It would look really cool with a globe collection too.
I love anything having to do with maps! This lamp shade looks great and I love how you “aged” your maps. Thanks for the tutorial.
I love that lampshade!!
Thank you for this great tutorial, Brittany. I have seen other map lamps and most of them looked a little homemade but I love how you put yours together. It’s more finished and I like how the lamp kind of glows when you the light is on.
Ok, so I love the lampshade. Very, very cute. But I am SO digging the photo insets!!! I think I might be able to do this! At least I’ll try. It’s fabulous. You always inspire me!
What a great idea! I love the masculine look about the shade. I think my hubby (a self-proclaimed geography nerd) would love this idea, so I’d probably put maps of his favorite hunting areas. Thanks for turning on my “lightbulb”!
Beautiful job! Your instructions are always the best. Ann
Oh, Brittany! It’s beautiful! My son loves maps and this would look so nice in his room! Thanks for sharing the tutorial!
Becky B.
http://www.organizingmadefun.com
Organizing Made Fun
Brittany, your tutorials are amazing! I love the way you give step-by-step instructions, so clear even a simpleton could follow them. Or a Richella. I NEED clear instructions!
The subject of your tutorials aside, may I say that I really, really like this project! I’m thinking it would be such fun to do this for Jack’s study. Maybe I’d choose maps of Paris to commemorate our 25th anniversary trip. Or Charleston, to commemorate our honeymoon! Cool possibilities!
LOVE this. Anything with a map gets an A+ in my book.
This is one for the books. I love using maps – old and new and you have shared every detail. Thx. I shall have to read the others.
Brittany,
What a great idea! My hubby would love one of these.
I am a fan of old maps and this is great. I always wondered how to make a template too!
GORGEOUS!! Just stumbled you!! I am off to tweet and facebook!! I am in looooove with this!!