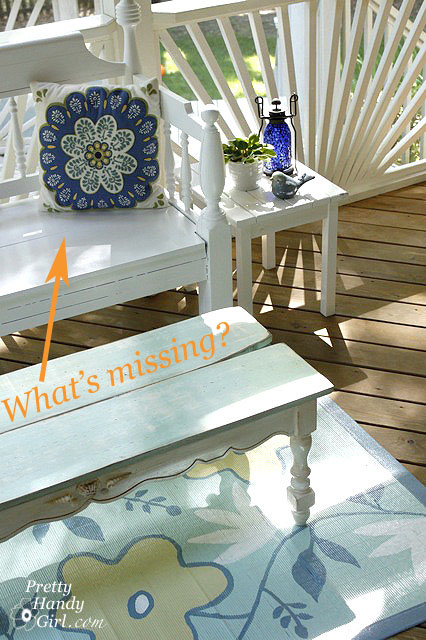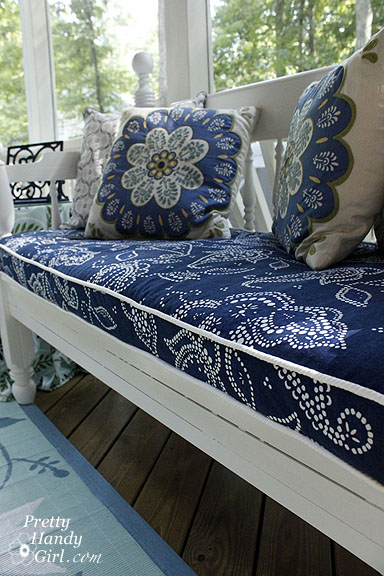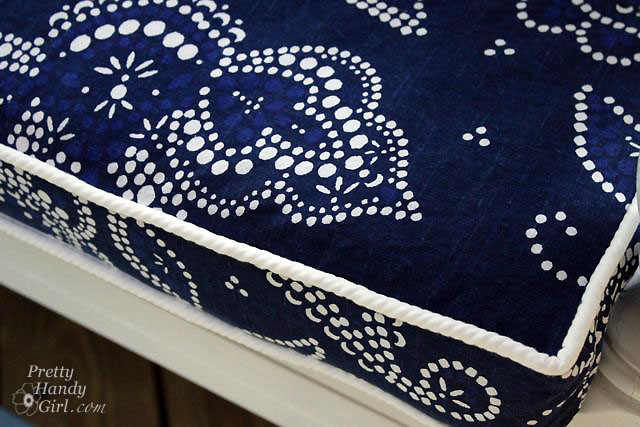
Back when I showed you my screen porch tour, I told you it really wasn’t 100% finished. Why? Well, I really wanted to sew a cushion for the garden bench.

As I was looking for piping for my cushion, I was getting VERY disappointed! Why? Two reasons:

  1. I couldn’t find a simple piping cord in a white color.
  2. Anything that might work (off-white) was VERY expensive!

So, I decided to teach myself how to make my own piping for the cushion. I can tell you now, I WILL NEVER BUY PIPING AGAIN! It was that easy.

Materials:

  • Cotton rope
  • Inexpensive cotton/poly blend white fabric
  • White thread
  • Scissors
  • Pins
  • Sewing machine with a zipper foot
  • Iron

Tutorial:

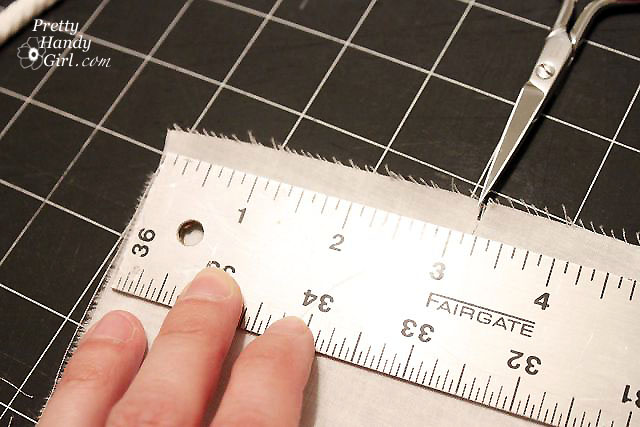
1. Start by measuring your fabric and put a snip at 3″.

2. Tear the fabric along the length. The strip should stay approximately 3″ along the rip.

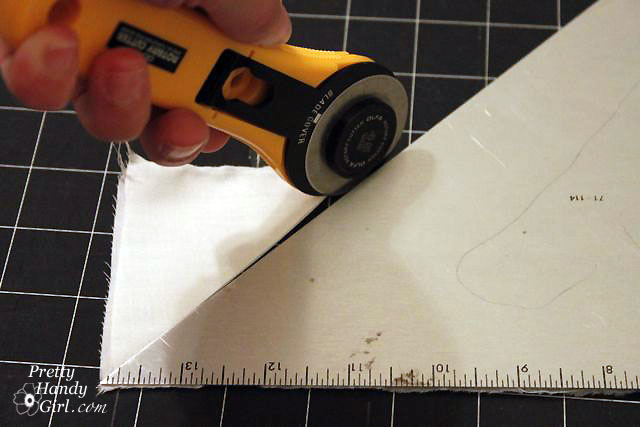
3. To add more length, cut two pieces at a 45˚ angle.

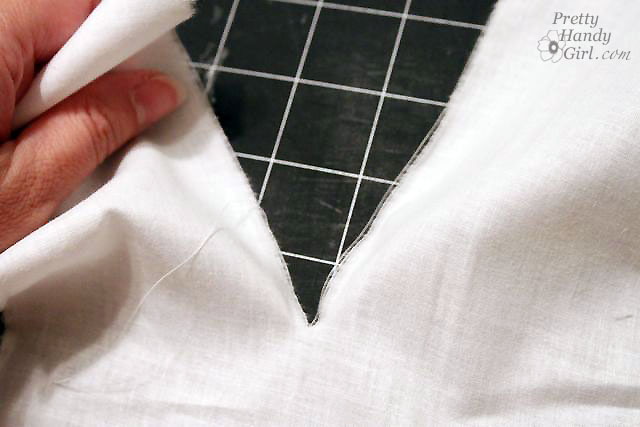
4. Pin the two angled ends together as shown (at a 90˚ angle).

5. Stitch the two pieces together along the angled edge.

6. Open up the fabric and press the seam.

7. Lay your rope in the center of the fabric.

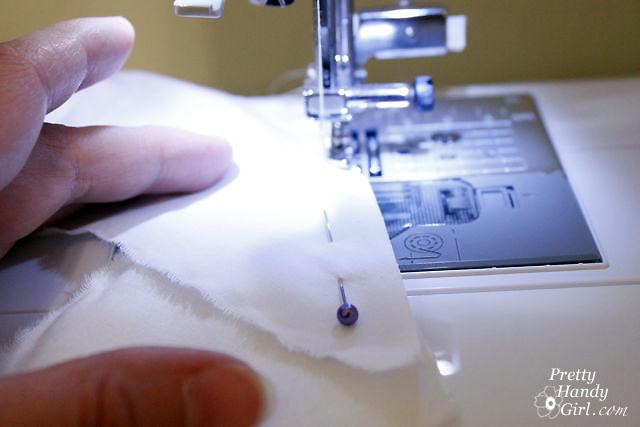
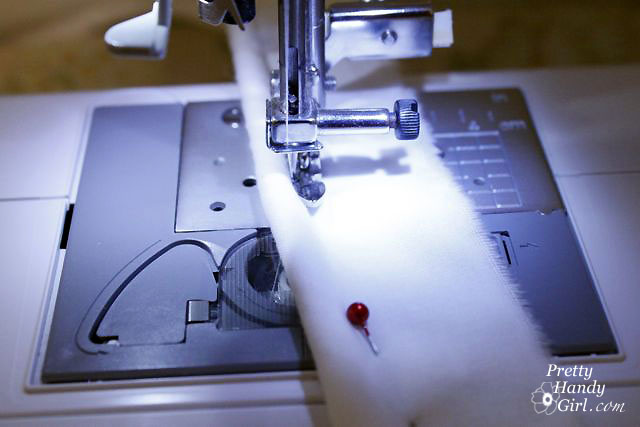
8. Line up the raw edges and pin next to the cord.

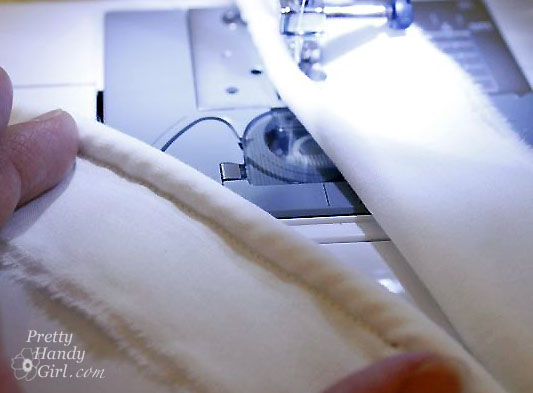
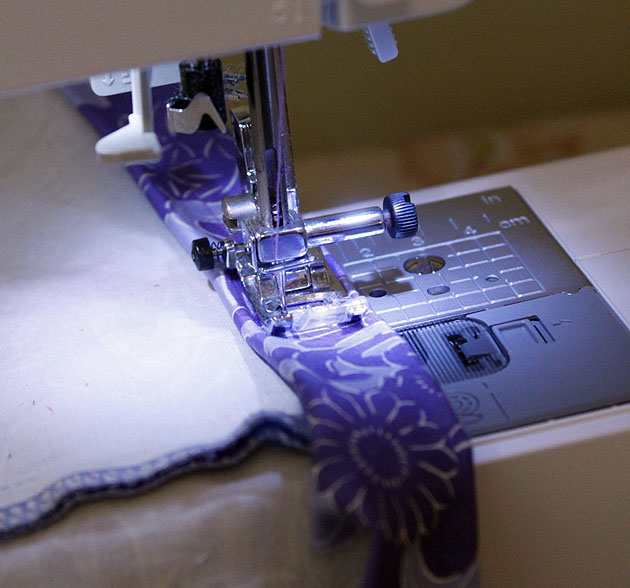
9. Using your sewing machine and zipper foot, stitch very close along the edge of the rope but not on top of it.

And this is your finished product! I actually like how the thin fabric shows the spiral pattern of the rope through it.

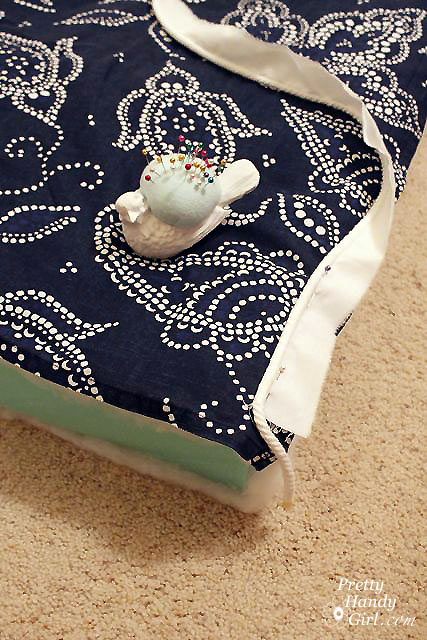
Now, head on over to my tutorial for sewing the bench cushion cover!

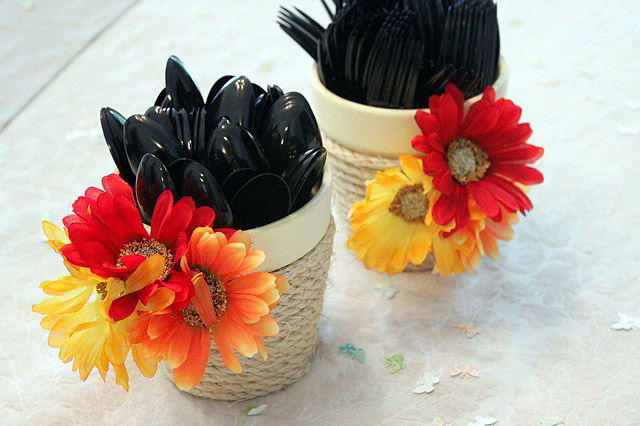
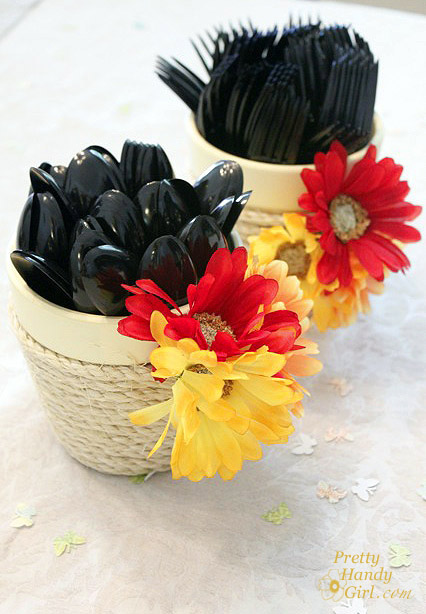
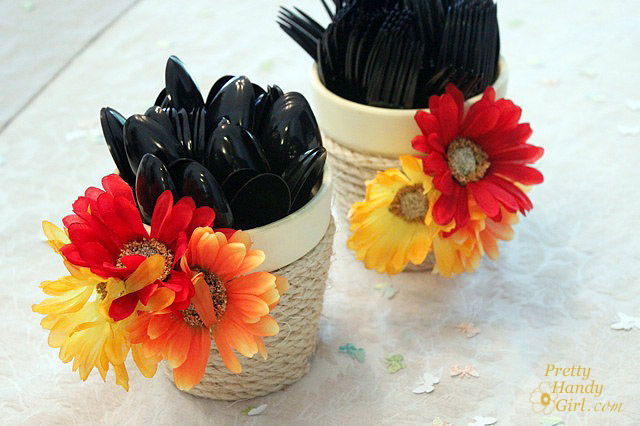
Another project I completed before the birthday party was a quick makeover for a pair of ho-hum dollar store flower pots. My friend Heather helped me add some jute rope and fake flowers then set them out with utensils in them. Perfect for a summertime birthday party!

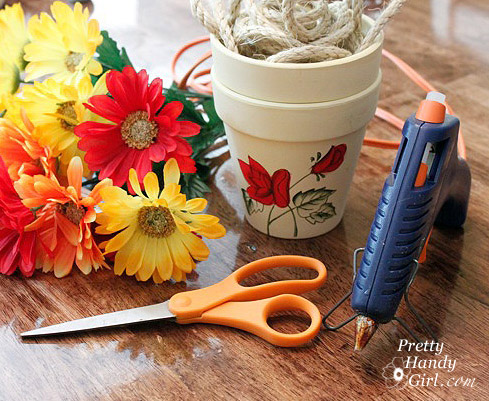
Materials:

  • Hot Glue Gun w/ glue sticks
  • Jute Rope
  • Flower Pot
  • Fabric Flowers
  • Scissors
  • Foil or wax paper (to protect work surface)

Instructions:

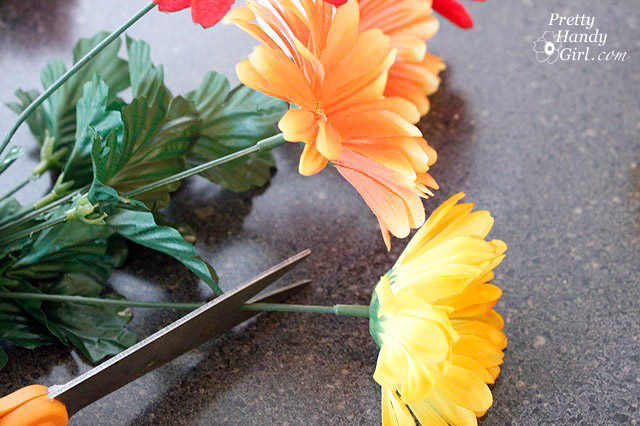
1. Plug in your hot glue gun to warm up. Cut the stems of your flowers about 2″ from the flower.

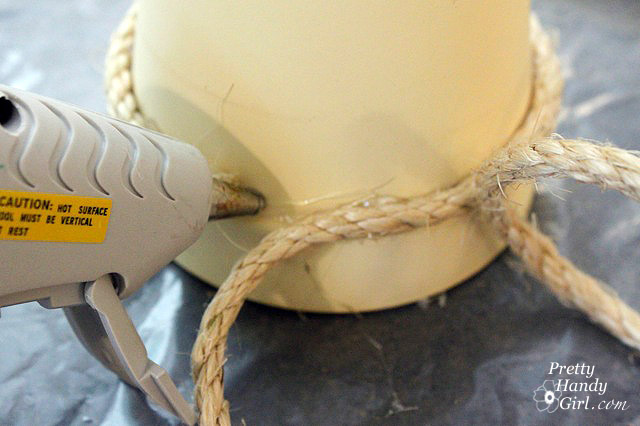
2. Turn the flower pot upside down. Put a dollop of glue against the rim of your pot and secure the end of your rope on it. Squeeze a line of glue around the pot rim and press the rope into the warm glue.

3. After one row is complete, add the flowers by bending the stems until they lay flat against the pot. Secure with a lot of glue. Then wrap the subsequent rows over the stems.

4. Continue gluing the rope onto the pot. Make sure to press each row of rope tightly against the row before it.

5. When you reach the bottom of the pot, secure the end of the rope with another dollop of glue. Be sure your rope doesn’t extend past the bottom of the pot or it could make the base wobbly.


Now set them on your table and fill with utensils. Later you can put a plant, flower or pens inside.

Are you ready for Independence Day? Would you like a quick and easy sewing project to add some patriotic flair to your home? Hop on over to Parentables to read my tutorial for making adorable star pillows.


And don’t forget, today (June 30th) is the last chance to enter the giveaways! I will be picking the winners after midnight tonight.

I owe a huge hug of gratitude to Kathleen at Grosgrain Fabulous. She posted 30 days of sweater embellishments on her blog. In those tutorials she took the most ho-hum sweaters from Goodwill and turned them into Cinderella-worthy tops.
Re-Sizing and Dressing Up a Goodwill Sweater
Because of her inspiring transformations, I was able to re-vamp two sweaters for the Blissdom conference, saving my bank account some precious pennies. (I used the savings to buy two pairs of cute PJs. Apparently PJs are mandatory after conference hours.)
And now, on to the transformation!
I started by resizing the sweater per Kathleen’s tutorial HERE.
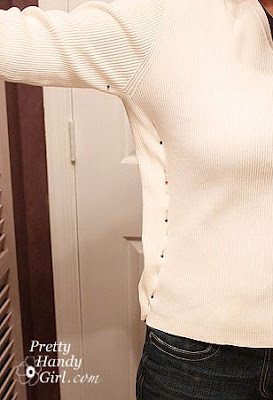
Put the sweater on inside out and pin excess starting under the arm and ending at the hip.
Carefully (very carefully unless you want to become a pin cushion) remove the sweater. Stitch along the pinned line.
Re-Sizing and Dressing Up a Goodwill Sweater
Put the sweater back on to check the fit.
Re-Sizing and Dressing Up a Goodwill Sweater
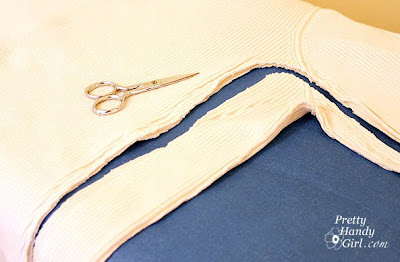
If it looks good, go ahead and trim off the excess. (This reminds me of a nip and tuck surgery. {Sigh} If only trimming fat was this easy.)
Re-Sizing and Dressing Up a Goodwill Sweater


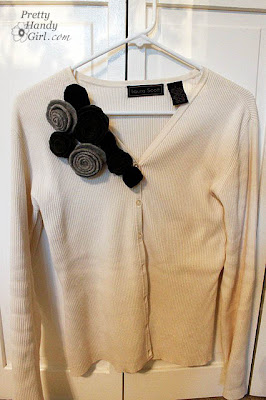
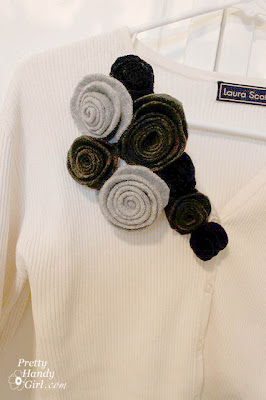
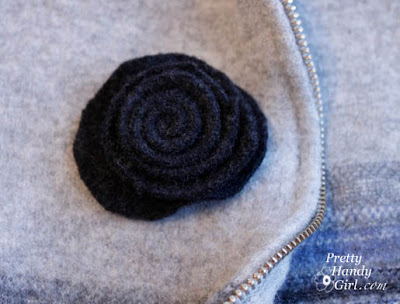
Next, grab some of those adorable felt roses we made the other day. (Rose tutorial HERE)  Lay them onto the sweater and play with the placements.


Re-Sizing and Dressing Up a Goodwill Sweater

When you are happy with the roses, pin them on with safety pins.

Re-Sizing and Dressing Up a Goodwill Sweater


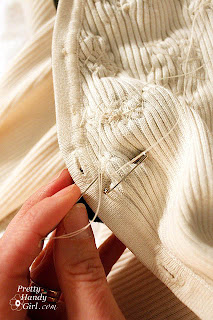
Sew on the roses with needle and thread.
And remove the safety pin once the rose is secure.
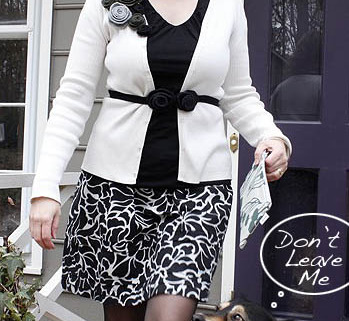
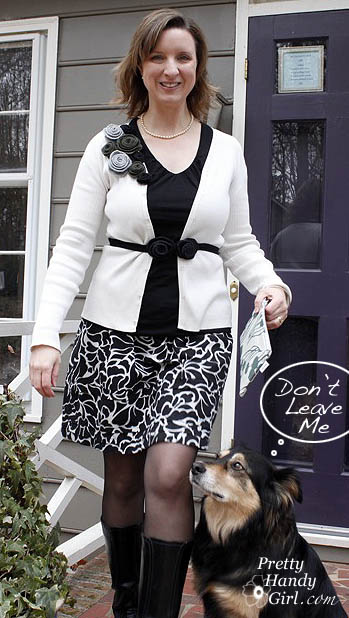
That’s it. Beautiful new cardigan from a $3 Goodwill sweater!
Re-Sizing and Dressing Up a Goodwill Sweater


I added a knit belt that I sewed some roses and a hook and eye clasp on.


Re-Sizing and Dressing Up a Goodwill Sweater

Poor Buddy (aka Pretty Handy Dog), he’s not so sure about me leaving for Blissdom tomorrow.

Check out some more Goodwill and thrift store fashionista outfits at Balancing Beauty and Bedlam.

Sharing also at:
Visit thecsiproject.com

Y’all are so sweet to welcome Buddy onto my blog. I appreciate your kind comments and encouragement to include some of my personal life. There was not a single comment asking me to “stick to business.”

But, getting back to business, I have the felted wool roses tutorial for you today.

Last week when I saw THIS ADORABLE WREATH that Stephenie made. I knew that I wanted to make my own roses.

You need to start with a 100% wool sweater (or other wool fabric). Run it through your washing machine using hot water and then dry it on a medium or high heat setting. When you open the dryer you will find a shrinky dink version of the sweater (raise your hands if you remember Shrinky Dinks! Click HERE to learn how to make your own.)
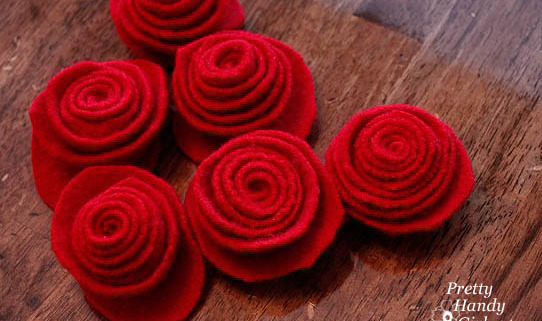
 

Grab a pair of sharp scissors and a round object. I used a can of chicken and a cereal bowl for slightly larger ones.

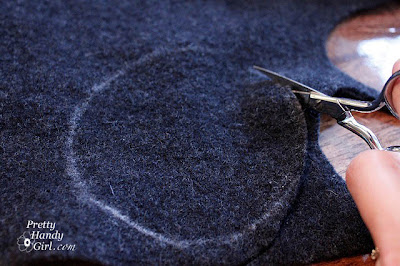
Trace a circle around your round object. As you can tell, I like to use those slivers of leftover soap.

Cut out the circle.

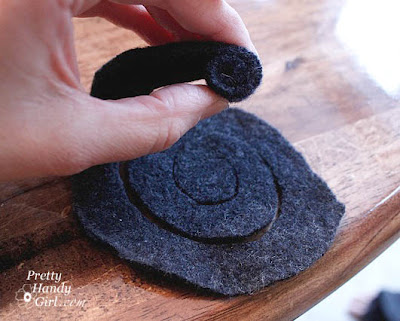
Start from the edge of your circle and cut a spiral towards the center of your circle. Try to keep the rows consistent, but it is okay if they aren’t. You can give your rose a “haircut” in the end if needed.

At the center, leave a small circle.

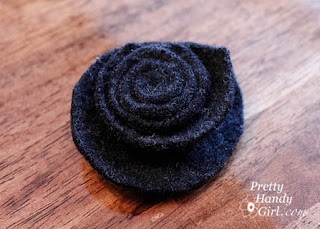
Grab the outside starting point of your spiral and begin to roll the wool. Keep rolling until you reach the end.


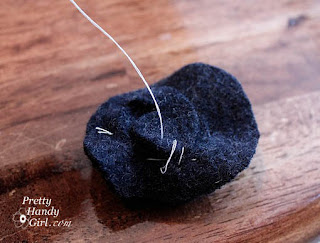
To secure the rose, use some needle and thread to sew several passes back and forth through the center of the rose.

(I’ve used contrasting thread so you can see the stitches, but you should use coordinating thread for a cleaner look.)

Here is a video tracing the stitching pattern I used. Pretend that you don’t notice the radioactive shape I’m about to draw. I guess it could be worse (like a devil symbol?)

If you want to learn how to turn these into roses on a stem, click HERE.

If you will be securing your roses to a flat surface, continue reading:

Lay down the flap and stitch around the edges to secure it.

And you are done! Here is the size of the finished rose in comparison to the can I used as my circle template. About half the size, wouldn’t you say?

Now posted: a tutorial for felted rose stems and embellishing a Goodwill sweater with roses. I can’t wait to show you them!

In the meantime, what could you do with these adorable roses?

Felted Wool Rose Wreath
Felted Rose Adorned Knit Hat

Hidey-ho my bloggios. I’m in a giddy mood this morning. The kiddos are at the in-laws to spend a day of fun. LOVE my in-laws! So Pretty Handsome Guy and I will have our own day of fun.

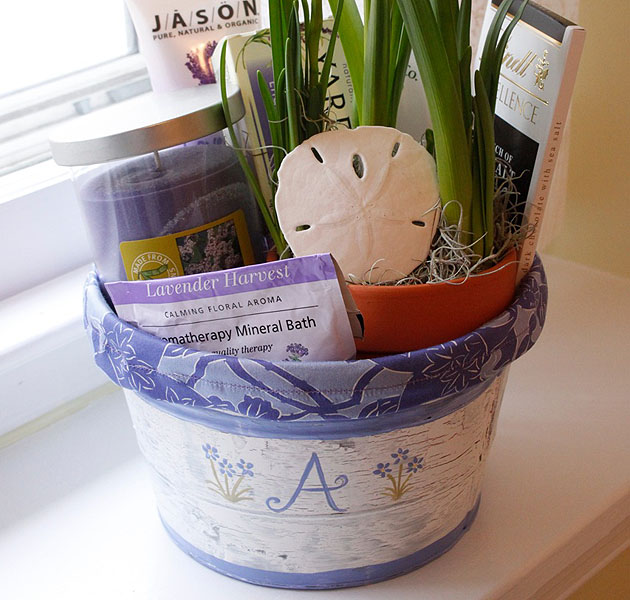
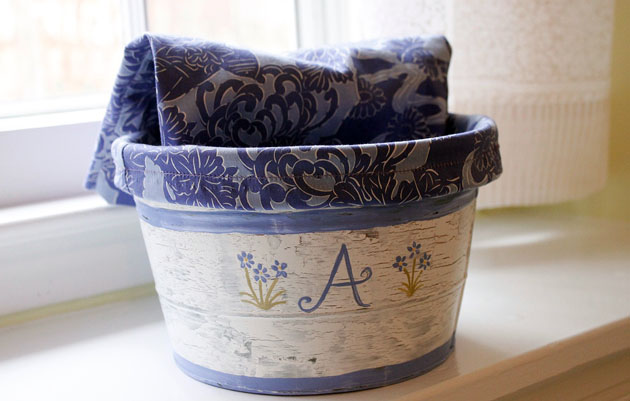
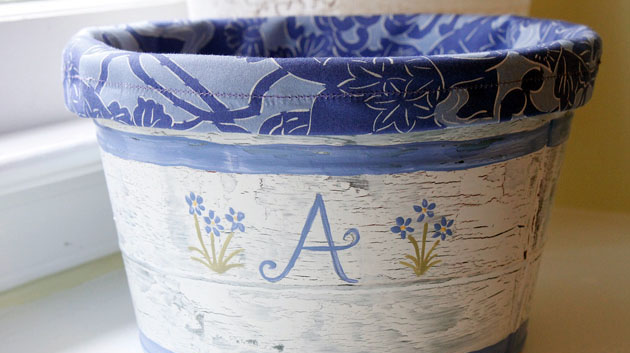
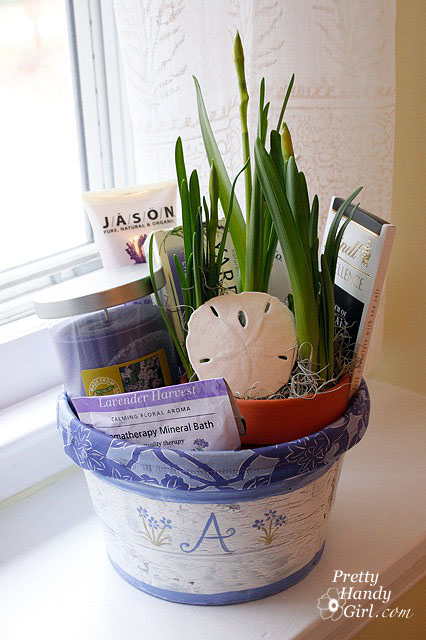
Did you see that cute bucket of bath and body love above? (Who am I kidding, how could you miss that gigantic picture.) Today I’ll show you how to make the liner.

So, I started this post and wrote “How to Make a Pants Liner” in the title field until I realized that pants liner is only one letter away from panty liner. {snicker, giggle} Not good.

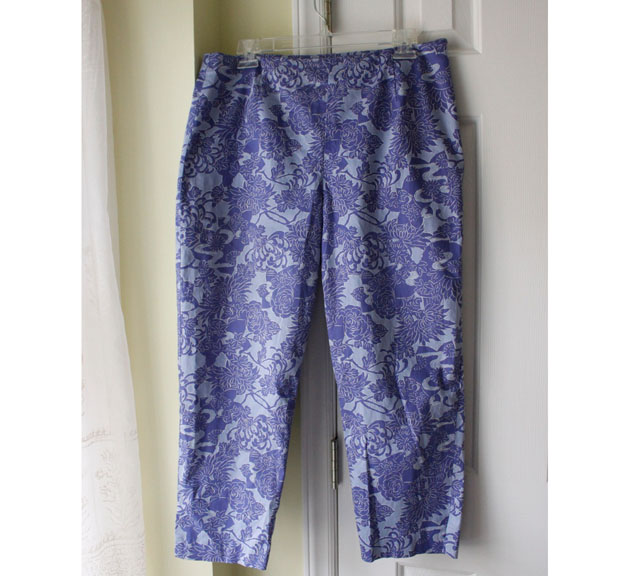
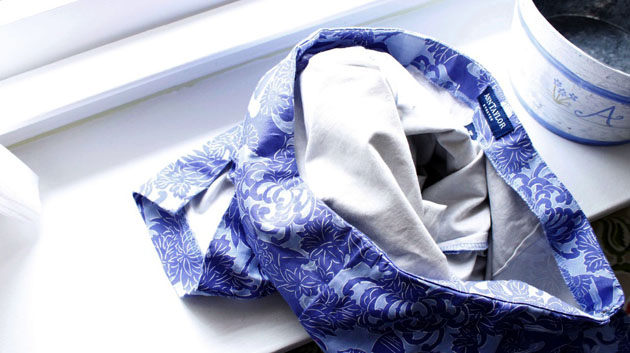
The liner started out in a previous life as a pair of pants:

Not my pants, I found them at Goodwill. I liked the print and had plans to use the fabric for a sweater embellishment, but then I saw how nicely the purple color looked next to my newly painted bucket and inspiration hit.

Start by turning the pants inside out.

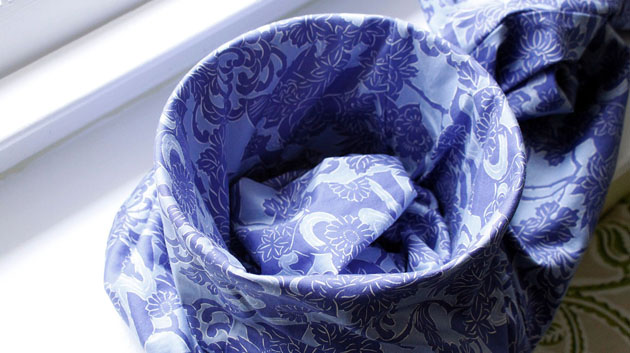
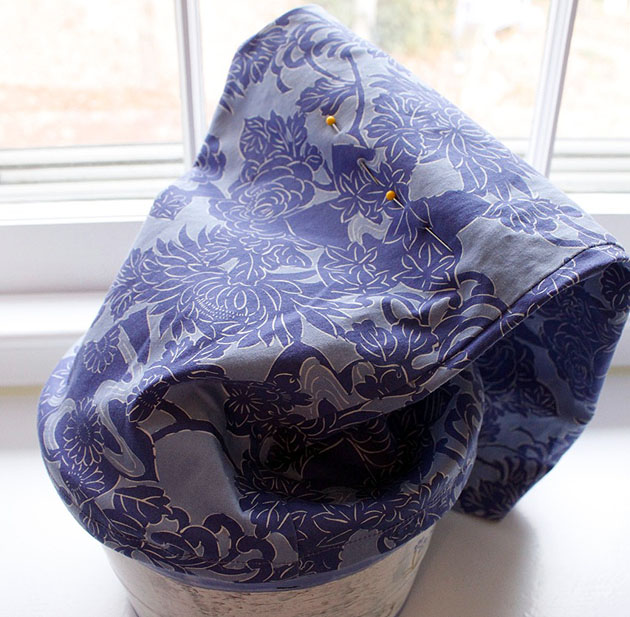
Set the foot of the pants inside your bucket. And roll the waist outside the bucket. Move the pants up and down on the bucket until you have a snug fit.
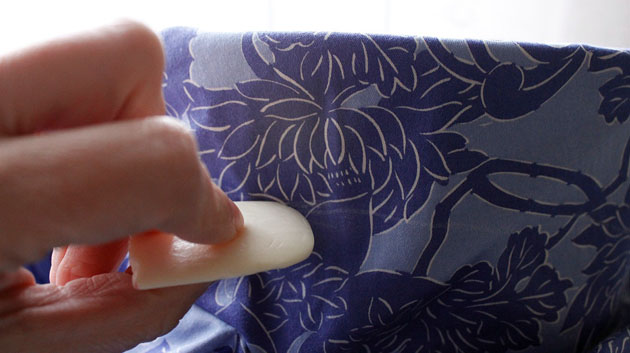
Mark the outside edge of the pants with a disappearing fabric marker or an old sliver of soap. Make sure you allow an extra inch to roll under when you sew it.
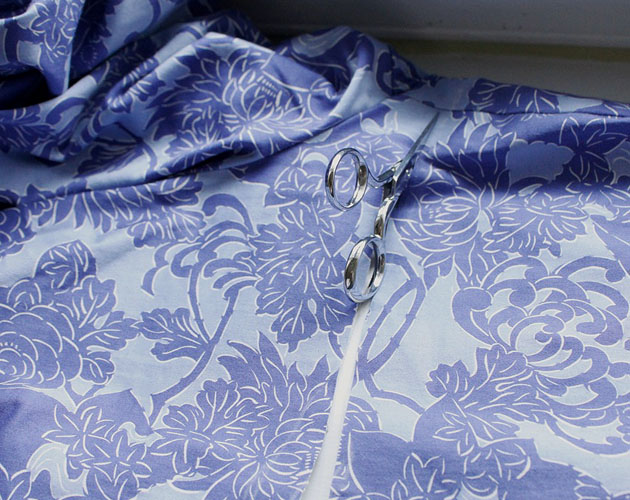
Remove the pants from the pail, take a big breath and cut the pants. Yes, I cringe at cutting up pieces of clothing. One day I hope to overcome my phobia.

Fold over the cut edge twice and sew it.

Set the pant leg into the bucket again and roll the finished edge over the bucket until you are happy with how much cuff shows. Then use a pin to mark where the bottom of the bucket is.

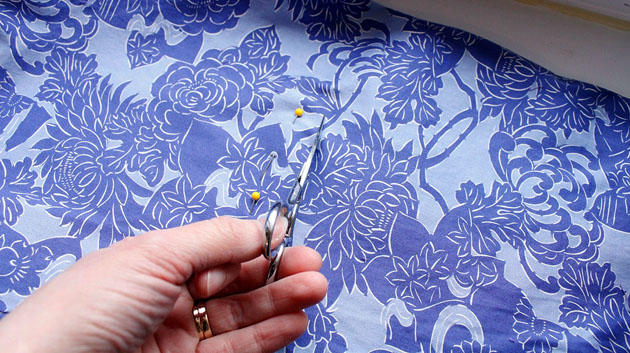
Remove your pants liner {snicker, snicker, giggle. I almost said panty liner again.} And use some more pins to mark a straight line across the leg.

Take another breath and cut just below the pins on the leg. Remember to allow at least 1/2″ seam allowance.

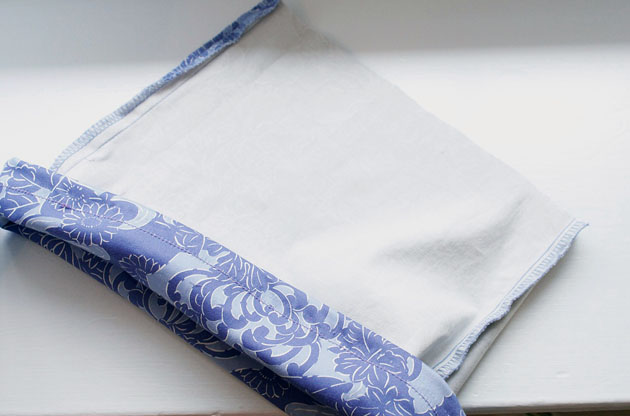
Turn the pants inside out (right sides together) and stitch the bottom closed.
Slip the liner back onto your bucket…
…and smooth out the bottom of the liner into your bucket.
That’s it. You are done. Now fill up your bucket with a few of your favorite things.

The possibilities for this project are endless. How cute would a pair of old jeans look as a liner? Or some funky striped pants. So get thee to Goodwill ASAP and scour those pant racks. Size large or bigger works the best.

Oh and while you are there look for 100% wool sweaters to felt. I’ll have a tutorial to make these adorable never wilt roses.

Never Die Roses