I AM SO EXCITED! Remember when I was slaving away on our kitchen on my hands and knees?
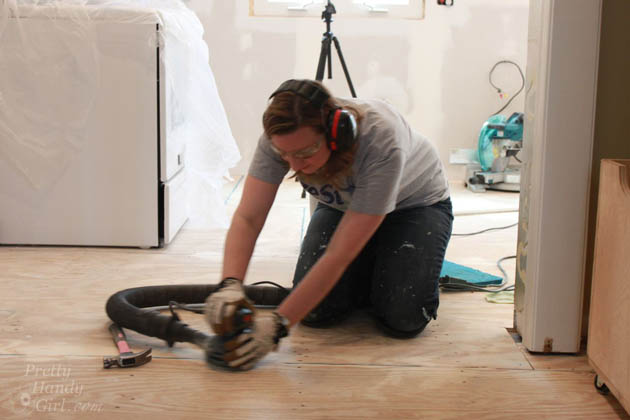
While I was in the trenches of DIY, one thing kept me going steady (besides the extra doses of Advil.) It was the dream of having our home featured in a magazine. Well, that dream became reality this week! If you happen to be in the magazine section of a store near you, you might see this:
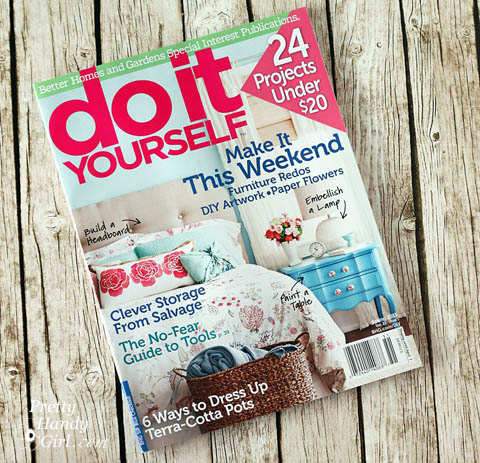
Do It Yourself is one of my favorite publications because they feature beautiful homes and projects that were created by the homeowner. They Did It Themselves! Plus, the magazine shows you how to complete the same projects yourself! I am super honored that they wanted to photograph my home and some of my DIY projects for this issue.
But, I have to tell you, I was very nervous before the photo shoot. I had visions of the editor and photographer walking in my home and walking back out in disgust. As the date drew closer, I was frantically checking last minute fixes and DIY projects off my list:
master bedroom:
build king sized bed
paint ombré effect on master bedroom walls
paint knotty pine dresser
paint vanity
create button pendant light
add legs to nightstand
foyer:
hack an ugly IKEA dresser
hang mirror
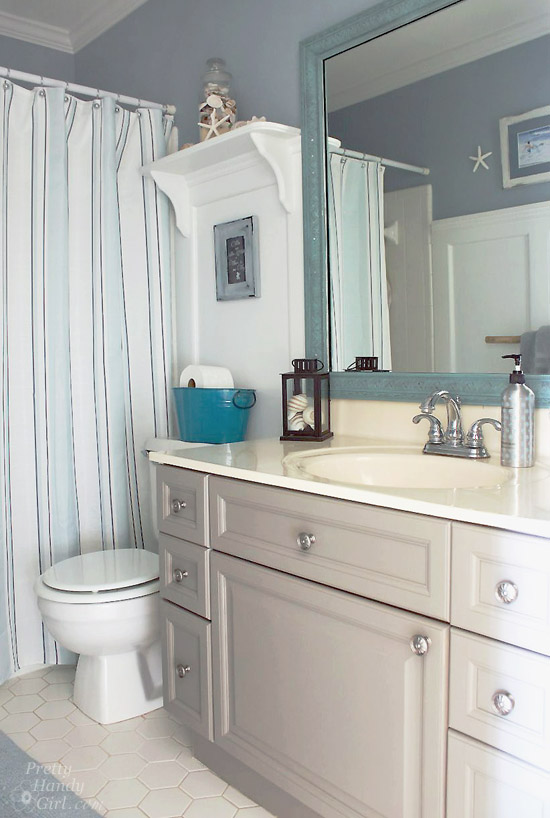
boys’ bathroom:
paint mirror frame
paint vanity
re-caulk board & batten
clean, clean, clean
figure out how to get rid of the urine smell! YIKES!!!
Any of you who have boys know that they have poor aim! No matter how clean I get their bathroom it still has a slight urine odor. Please, please tell me that I’m not the only one with this problem.

Funny story: I created this little piece of art that hangs on the wall over the toilet in the boys’ bathroom. I thought the kids would love it because they are big Star Wars fans. I also wanted them to think about this sage advice everyday when they wake up. Handsome Guy thought it was my attempt to get the kids to improve their aim. #Headsmack
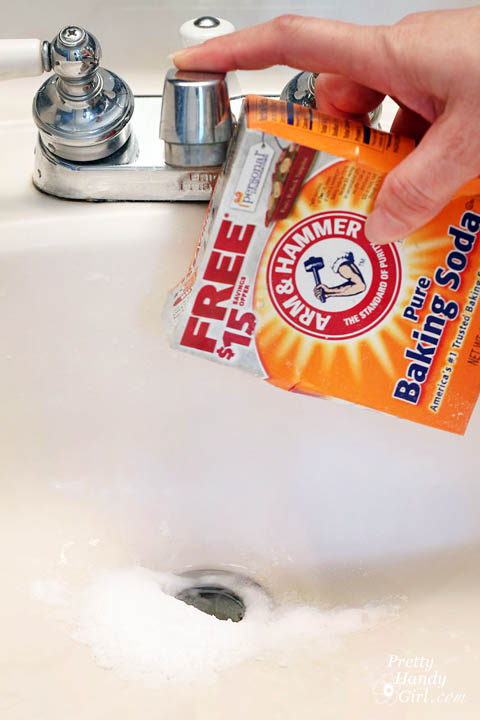
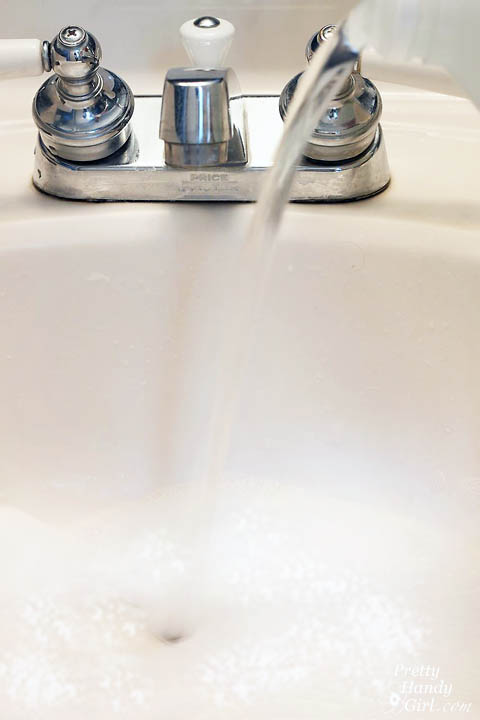
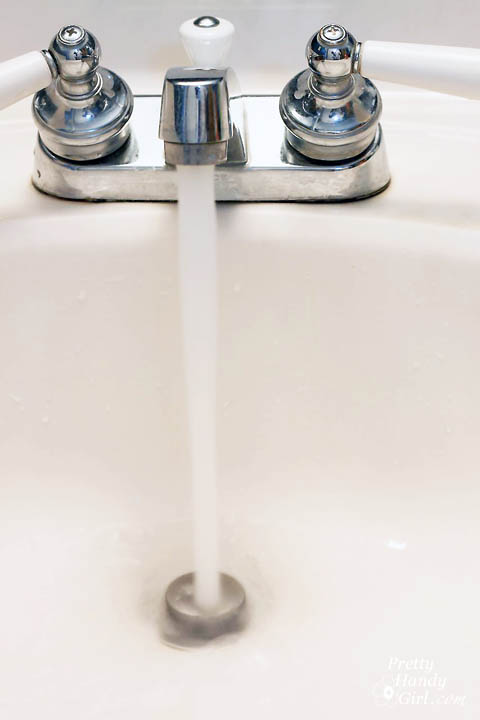
Anyway, back to the urine odor. I would be mortified if the photographer and editor walked into that bathroom and got a whiff of pee. I set forth with only a few cleaning supplies to try to eliminate the odor (because “Do or Do Not…There is No Try.)
How to Clean a Stinky Boys’ Bathroom (as if a Magazine Photographer was Coming!)

Supplies:
(I’ve included affiliate links for your convenience. I earn a small percentage from a purchase using these links. There is no additional cost to you. You can read more about affiliate links here.)
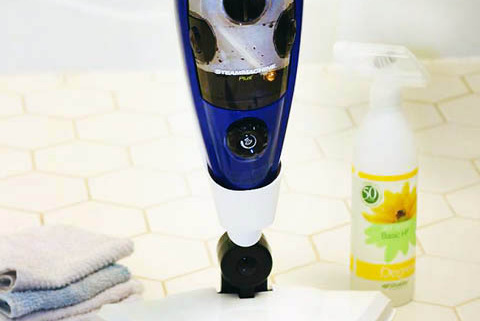
- HomeRight Steam Machine Plus
- Lots of clean rags
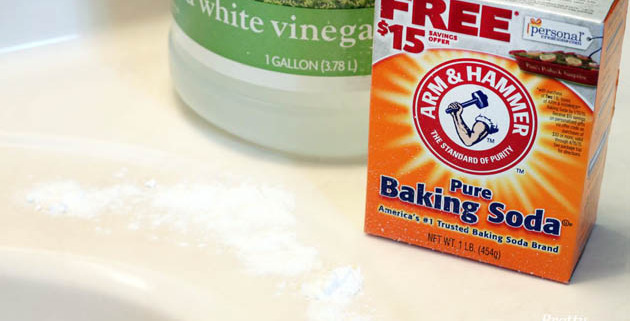
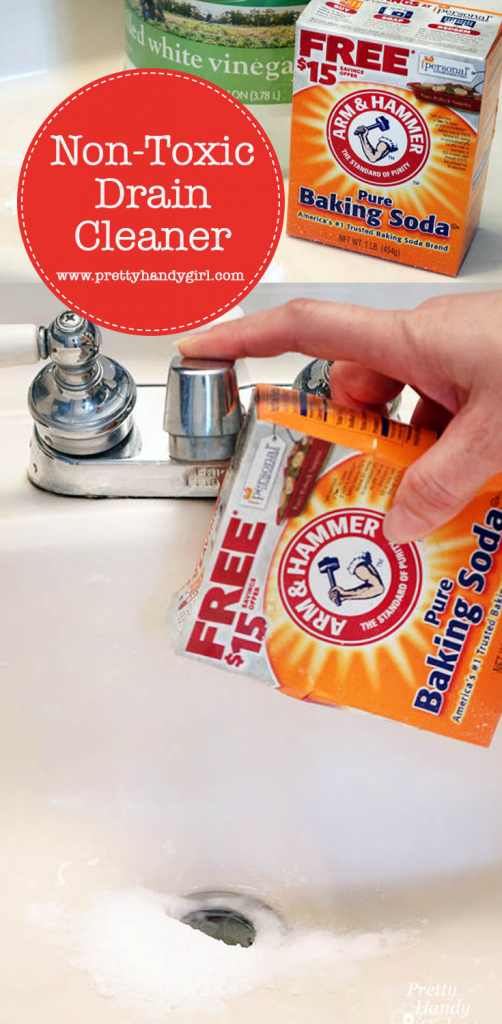
- Lemon oil + Water + Basic H2O mixture in a squirt bottle
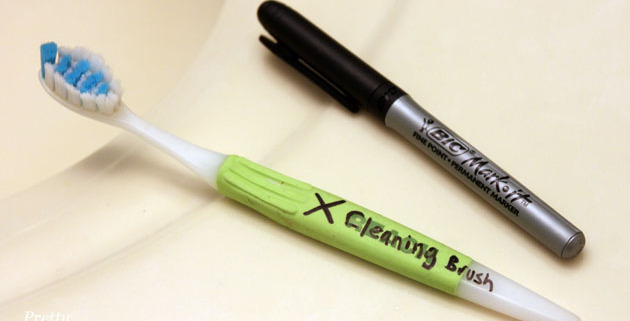
Let’s get busy! Read more