how to use a kreg jig

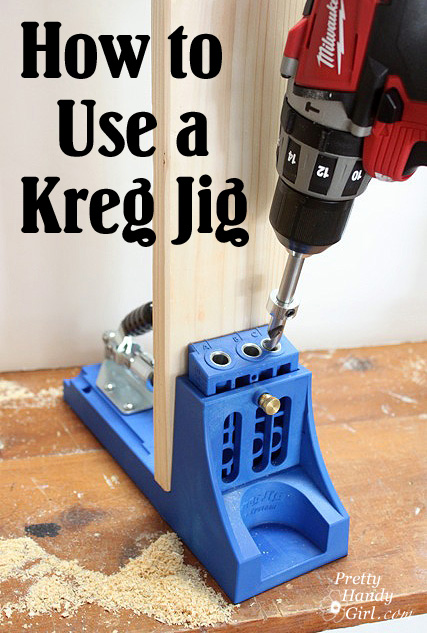
Hey, look at this! Tool Tutorial Friday is back! Today I have a great tool for creating strong joints when building with wood and furniture construction. Today I’m going to show you the simple tutorial for How to Use a Kreg Jig. If you don’t have one yet, you need to purchase one ASAP! This little tool is my go to for for building furniture, frames and just about anything that needs a tight joint.

(I’ve included affiliate links in this post for your convenience. I earn a small percentage from a purchase using these links. There is no additional cost to you. You can read more about affiliate links here.)

I use the K4 Kreg Jig  It didn’t take me long to figure out how to use it, but I know it would have been helpful to have a step-by-step tutorial when I was first learning how to use a Kreg Jig. For your convenience, this is a quick tutorial.

I was first introduced to the Kreg Jig by my friends Ana White and Rayan with The Design Confidential. These two DIY ladies opened my eyes to pocket screw joints. Be sure to check out their blogs for more tips from the masters!

The Basics on How To Use a Kreg Jig Read more

There is a joke on our street that Pretty Handsome Guy isn’t allowed to touch my power tools. Okay, it isn’t really a joke, it’s a fact. He knows he is not allowed to use them without me around (smart guy.) 😉

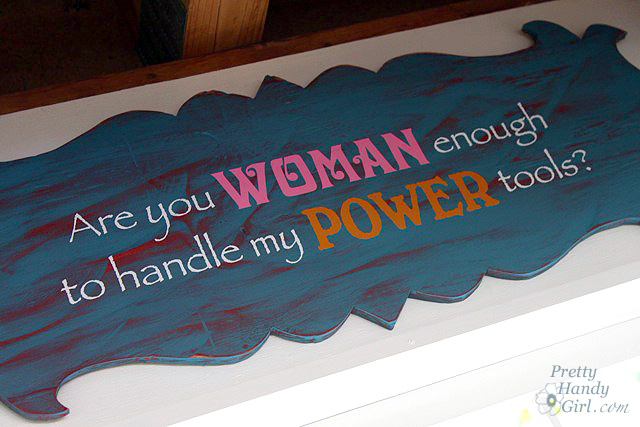
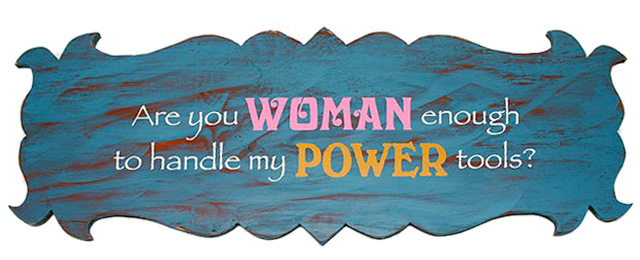
Before the Woman’s Day shoot I decided at the last minute that I wanted a sign that really labelled the workshop as a “Woman’s” workshop. In an instant I had a creative spark and came up with this question, “Are You Woman Enough to Handle My Power Tools?”  Then I called my good friend Leen the Graphics Queen and asked her to make a wall decal for me. (Did you know she can create custom wall vinyl for you too?! And you don’t even have to be a close friend! But, I’m sure she’d be your friend immediately if you met her because she’s a sweetheart like that.)

Once the vinyl arrived, I set about creating a fancy and feminine sign with some scrap plywood. Here’s how to create your own custom wooden sign. Read more


Today I have a special guest. Well, make that two special guests: Monica and Jess, the fabulous gals of East Coast Creative! But, before I let them take the reins I want to let you know that I’m secretly jealous that these two DIY gals live close to each other and team up to tackle some amazing DIY projects! Unfortunately, my ultimate dynamic duo partner lives on the other side of the US! Drat.

Hey, maybe I can convince Monica and Jess to move down to Raleigh, NC?! They could keep the same blog name (since they recently had to change it. I’ll let them explain the sticky torrid name-changing details.) I think we’d make the perfect trio because we have similar tastes in painted door colors: Read more

When I took my custom mailbox to the postal service for approval, the postmaster handed me a form that details how a mailbox should be installed. Believe it or not, there are more requirements for the placement of the mailbox than the mailbox itself. Read more

June is almost here (although it felt like summer this weekend) and more people are spending time outside sprucing up their yards and improving their curb appeal. As you drive down my street you are greeted by beautiful lawns, flowers, and {screech!}my peeling mailbox.

{Insert sad frown here.} My mom and I painted this mailbox shortly after we moved into the house. We had a lot of fun painting it together and I took all the necessary precautions of priming it and sealing it with polyurethane. But sadly we made the mistake of painting a few cute bumblebees on the top. Within a week of installing the mailbox I went to retrieve my mail only to find the bees had been pecked off the box. “What the…?”

I’m fairly certain a bird had just perched on top of my mailbox and was ready to partake in a buffet of bumblebees. After the paint had been chipped, it allowed water to seep underneath and slowly over the course of a few years we have the sad looking mess of a mailbox show here:

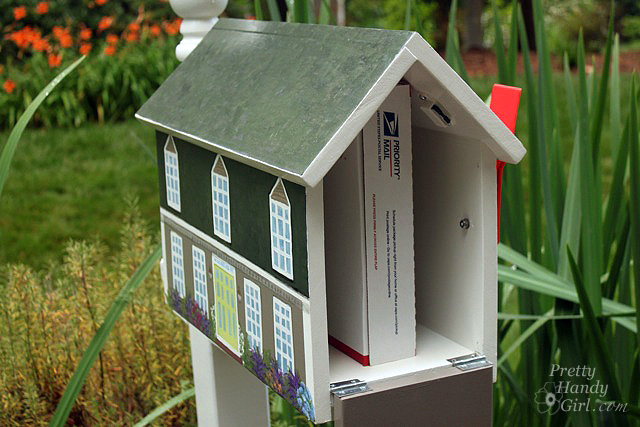
I wanted a unique mailbox that looked like a mini-me of our house. Plus, I wanted it to be tall enough to accomodate a priority mail box. So, I set about building my own custom mailbox and now you can too!

Read more