I have so much to tell and show you, I can hardly contain myself! If you follow me on Twitter (PrettyHandyGirl), you may have seen this photo of the light fixtures I scored from our Habitat ReStore last week! (Yes, I also have a Facebook Fan page.)
I was ecstatic to find another light that I turned into a Pottery Barn inspired lantern. And it is identical to the one I showed you here!
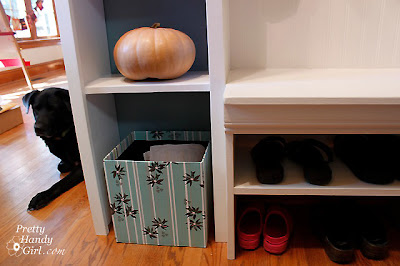
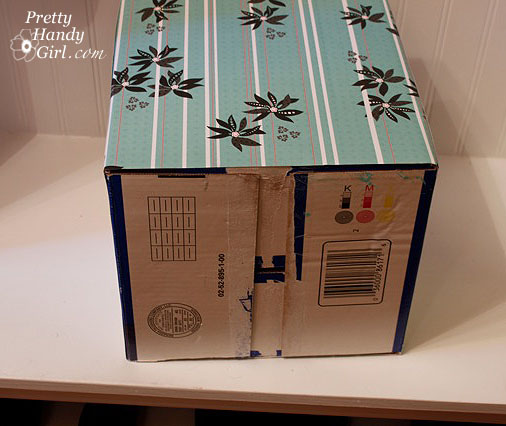
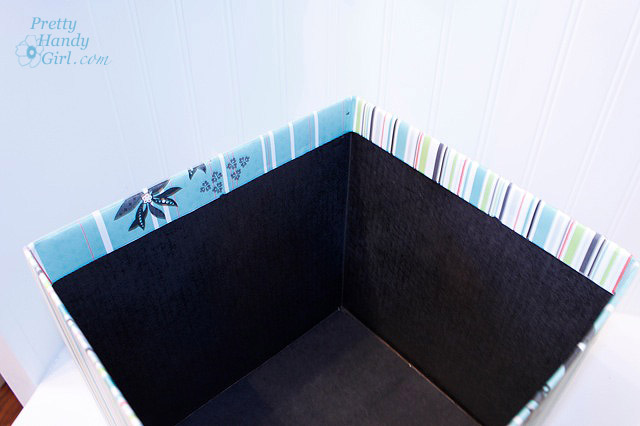
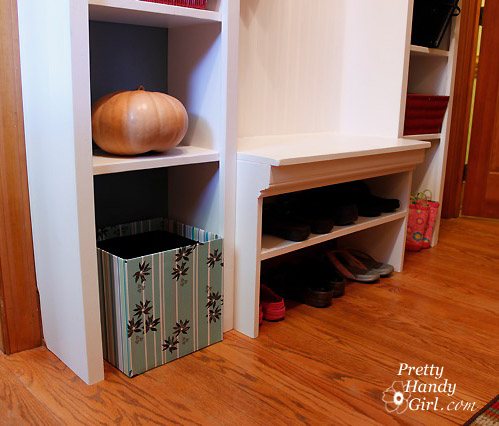
In addition, I finally found a foyer light fixture that I love (after a little spray paint magic). And I also grabbed a three arm chandelier that looked like it could have been in Ballard Design’s catalog! This treasure was promptly installed in my girlfriend’s mudroom (which I can’t wait to show you!) She and I worked for several days on a storage and shoe solution for her narrow hallway. My goal is to get the final pictures of the project to share with you shortly.
In other news, I’m very excited to have been mentioned in November’s Family Handyman magazine.
 |
| Definitely not me on the front cover. |
My son’s closet turned reading nook is pictured on page 94. If you don’t subscribe to this magazine, it is a great DIY and repair resource. But, if you don’t want to subscribe, you can still access most of the tutorials on their website.
Running out of breath here…
Finally, By Your Hands has a Q&A feature post on me today.
Check it out here if you are curious to learn how I got my start at being handy.
Anyway, let’s just say I’ve been a busy Pretty Handy Girl the past two weeks.
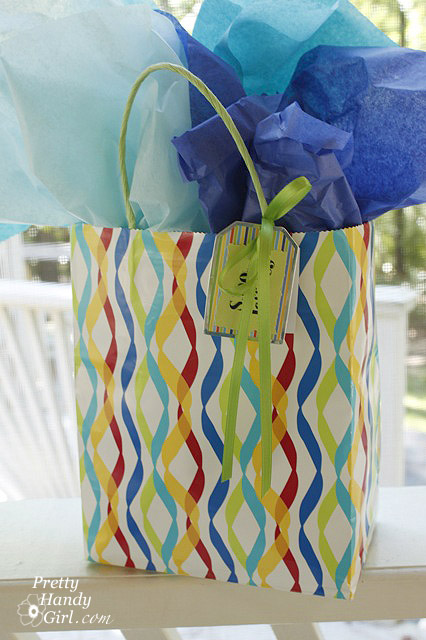
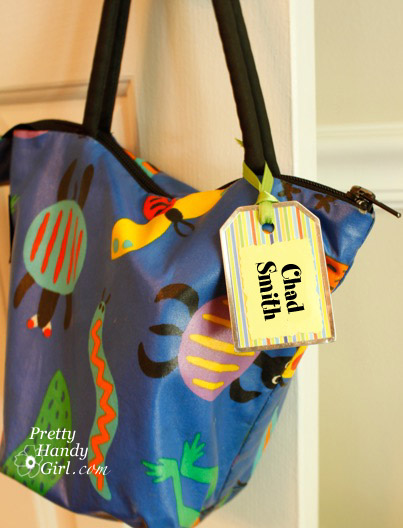
One of the reasons I’ve been busy is because both my sons had birthday parties to attend this week. I decided to make a few special gift tags that would double as luggage tags for the lucky birthday munchkins. They were very easy to make and really looked fab on the gifts.
Without anymore blah, blah, blah, here is the tutorial:
Supplies:
Metal Tag Maker Rims (bought at Michael’s)
Scrapbook paper (cardstock weight)
Mod Podge
Wax Paper (did you know you can use your recycled cereal bags for this?)
Paint brush
Paper cutter or Scissors
Decorative scissors (optional)
Ribbon
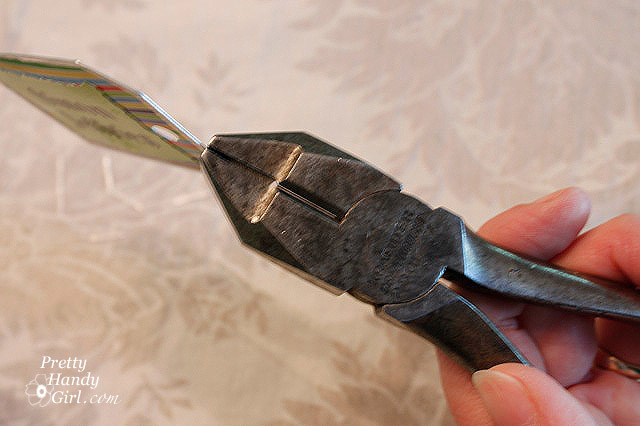
Regular pliers – I used glass nibbling or grozing pliers but any kind should work (DO NOT BUY the special tag crimper tool that the store wants to sell you for $25!)
1. Measure your metal tags (the set I bought came with a template).
2. Print out your gift recipient’s name on cardstock paper. Skip a few lines and print out their address and phone number on the same sheet. (In fact, I ganged up several names including my son’s so I could make many tags at once.) Be sure the names and addresses will fit inside your tag dimensions.
3. Using the tag template, cut two coordinating papers for the background of your tags.
4. Trim the name and addresses smaller than your tag dimensions. (I used deckled edge scissors.)
5. Line up all your cut paper and supplies on top of wax paper (cereal bag). Poor a small amount of Mod Podge into a bowl and dip your brush in it.
6. Coat the back side of one of your coordinating background papers. Place the other sheet of decorative background paper on top of the first one (backs together.)
7. Next coat the back of the name sheet with Modge Podge and adhere it to one side of the background label. Be careful to leave space for your hole punch on one end. Brush Mod Podge over the top of the name and the background paper to seal it.
8. After the front side has dried, flip it over and repeat step 7 for your address label. It is very important that you position your address on the same edge of the tag as the name on the opposite side. Otherwise you will end up punching a hole through one or the other.
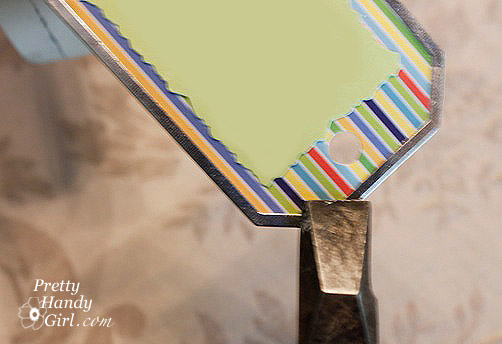
9. Once the tag has dried, use your template to trim the corners off your tag and punch a hole through the middle.
10. Gently insert your tag into a metal tag frame (some trimming may be necessary). When you tag fits snuggly inside the frame, pull out your pliers and start squeezing around the edge of the metal frame. Work your way all the way around.
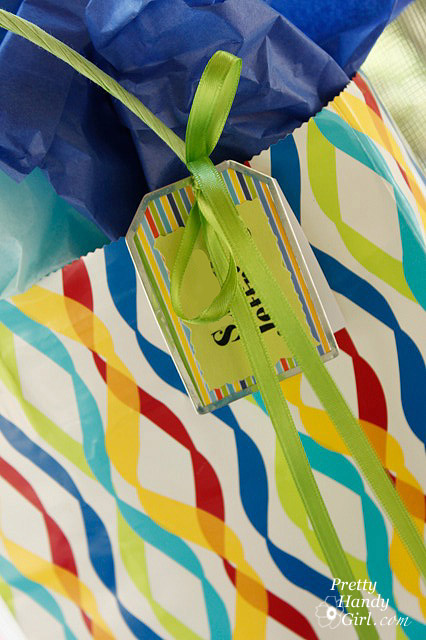
11. Thread your ribbon through the hole and tie it to your gift! Your tag can be re-used on a lunch bag, backpack or luggage!
I also cut an extra piece of scrapbook paper the same size as the metal tag;
put my son’s name on it;
and threaded it on with the gift tag
so the birthday child would know who gave the gift.
Who wouldn’t want one of these cute tags on their lunch bag?
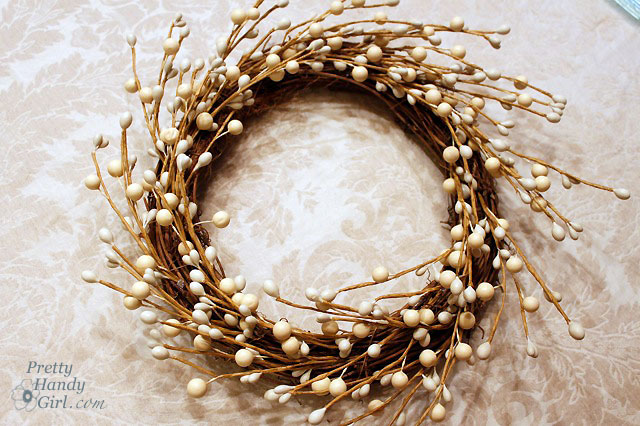
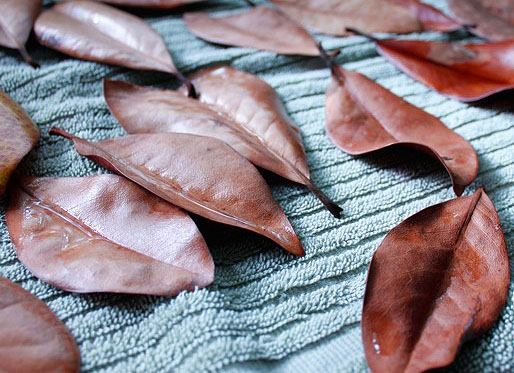
 I bought this basic white base wreath at Target a few months ago. I knew it would take me through several seasons.
 Well, I stripped out all the dried magnolia leaves and was determined to give it a new look for Thanksgiving. When I think of Thanksgiving, I think of turkey! So, turkey, pheasant, and peacock feathers seemed like an ideal filler for my plain wreath. I also threw in some other feathers I had in my décor stash.
 All I did was tuck some feathers into the wreath. Played with the placement of the feathers until I liked the look.
 Not bad, but not very exciting. I wanted to add some color, so I grabbed some green potpourri nuts and gave them a fresh coat of spray paint (Rustoleum Apple Green) to freshen them up.
 Then, I put a small dollop of hot glue on the backs and pressed them onto my wreath. My goal is to continue to re-use the wreath, so I used the glue sparingly.
 Now, that looks much better.
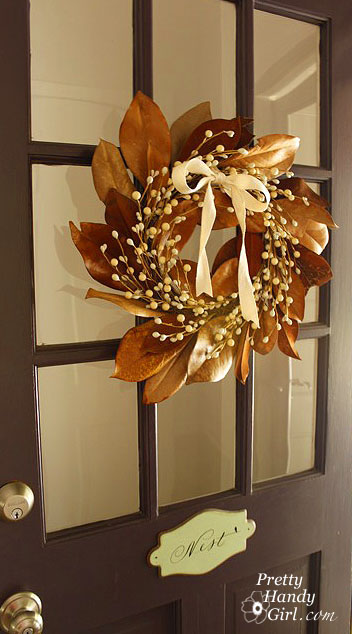
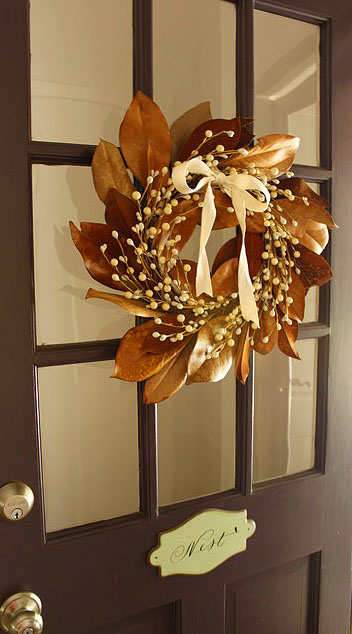
  Then I hung my feather wreath up and my door is festively decorated for Thanksgiving.
  After Thanksgiving, I’ll be haulin’ down the Christmas decorations. I’m trying so hard to keep the kids from dictating our decorating with inflatable santas, elves and more. Personally, I prefer the classic white lights, some greenery and a red bow to top it off.