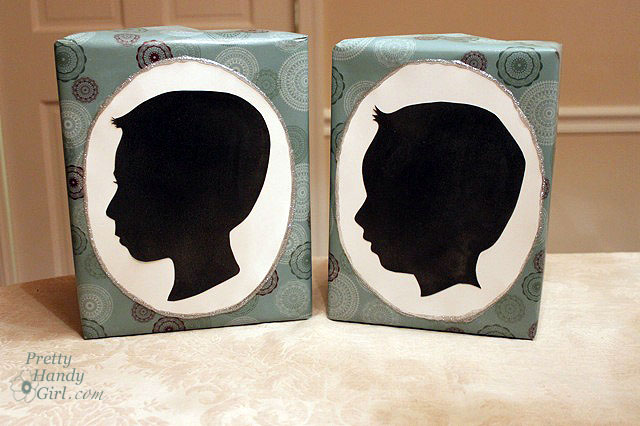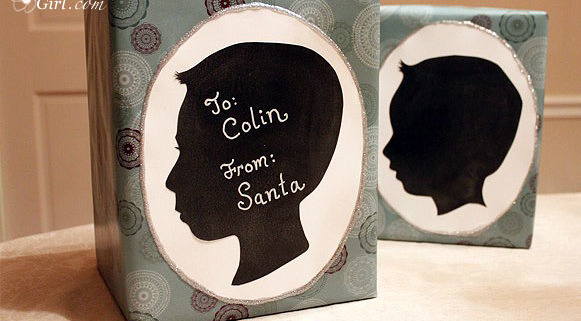
Now that the Christmas hype has died down and my cold has lost its grip on my sinuses, I’m back with a quick little tutorial on creating a special silhouetted gift for your child.

Thank you to my dear Pretty Handsome Guy for his guest post. I’m glad you all enjoyed a good laugh at his expense.

Christmas morning my boys were greeted by magical North Pole snow footprints (baking soda) leading up to the tree.
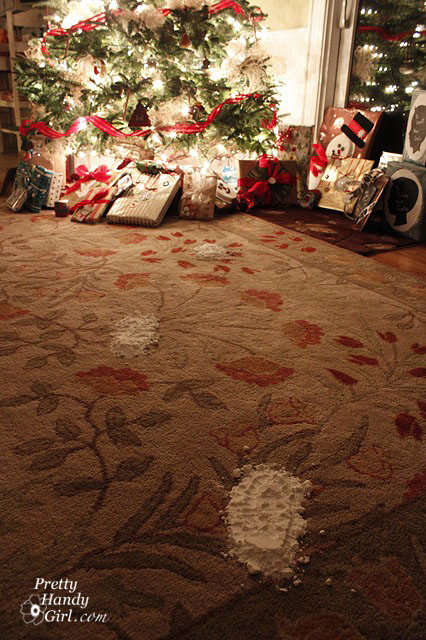
In an effort to keep the Santa myth alive, the two presents from Santa were constructed in a different style from the other presents under the tree.
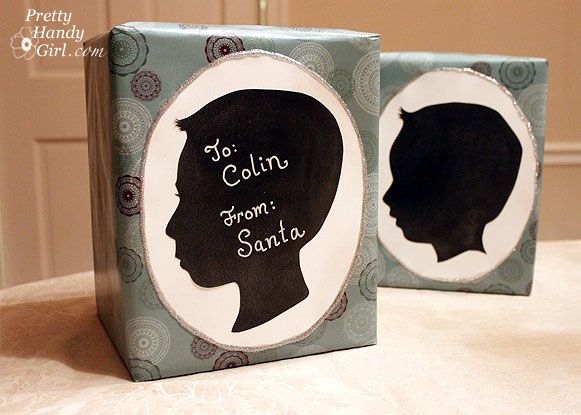
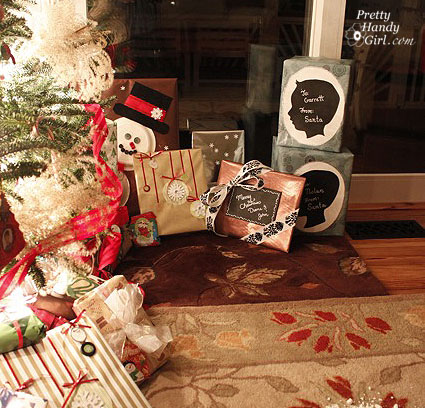
My six year old exclaimed Christmas morning, “MOM! Santa knows what we look like!” So, I think I fooled them again this year.

Materials:
Scissors
X-acto knife (optional) and cutting surface
Profile picture of your child
Spraymount
White sheet of letter size paper
White cardstock paper
Black cardstock paper or construction paper
Chalk, Bistro marker, or White paint pen
Pencil
Glitter spray
Glitter glue

Start by creating your child’s silhouette. (My silhouettes took many steps in Adobe Photoshop, but I’ll give you instructions for the easy way.) Simply take a photo of your child turned sidewards (preferably in front of a blank wall.) Then enlarge the photo on a copier to the size you want to use. Lay the paper on top of the black cardstock and cut them both at the same time. I prefer to use an X-acto knife for the cutting, but you can use scissors if you like.
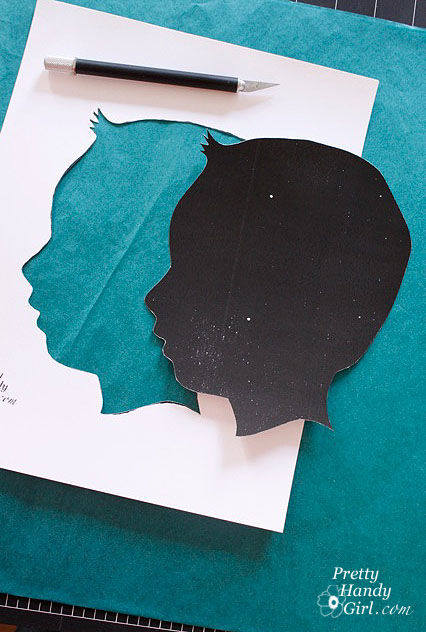
Unless you have a graphic program or a template to draw perfect ovals, you will need to draw one freehand. Wait, wait, don’t freak out. You can do this!

First, fold a letter sized paper into fourths.
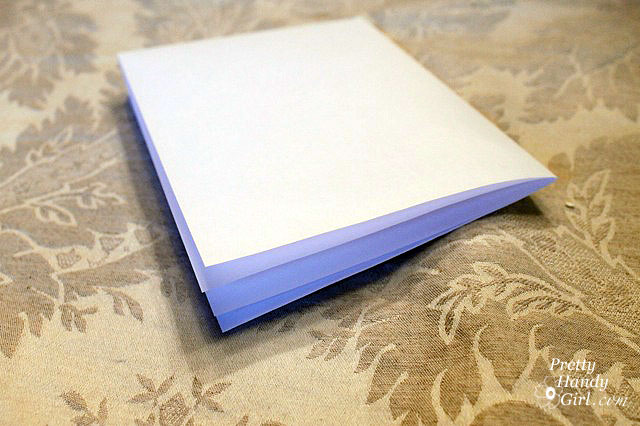
Draw a curve on the paper with the fold sides inside the curve.
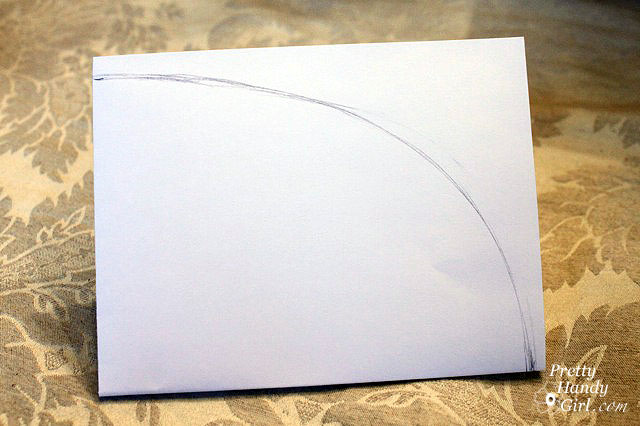
Cut along the line.

Open up your paper to reveal your oval. If you don’t like it, try it again.
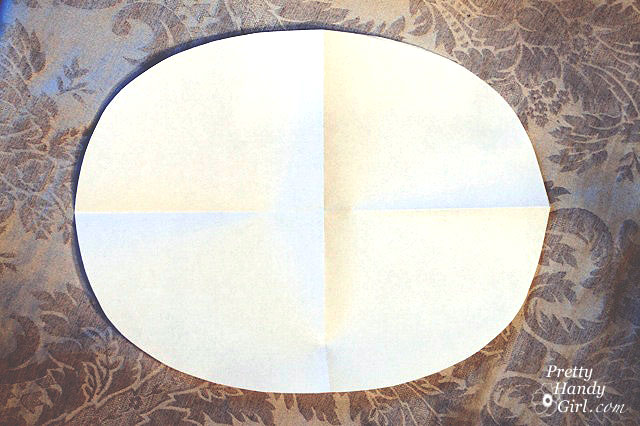
Once you are happy with your oval, trace the folded oval onto white cardstock paper and cut it out.

Wrap your present (be sure to use wrapping paper that your child has never seen in your home!)
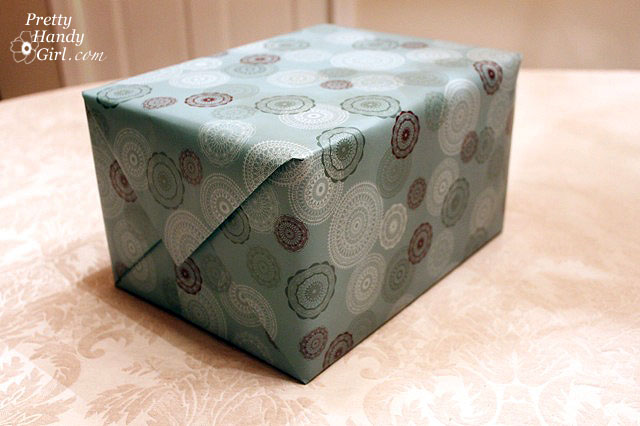
Spray the back of your cardstock oval with spray mount and adhere it to the present.
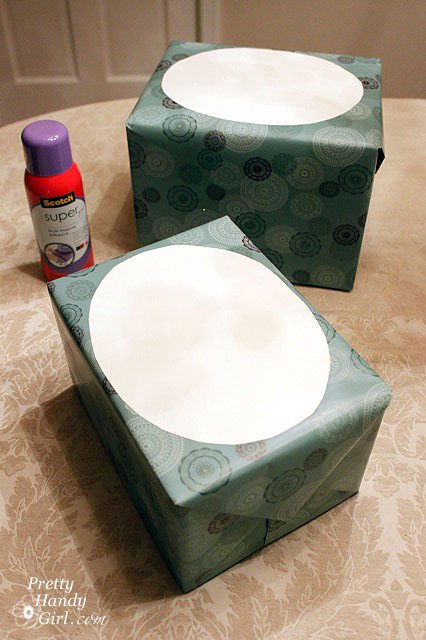
I added some glitter spray to the wrapped package to give it a little extra sparkle! (I know, it doesn’t really show up in the photo.)

So, here is a close up of the glittery goodness:

Spray the back of your silhouette head with the spray mount and lay it inside the oval.
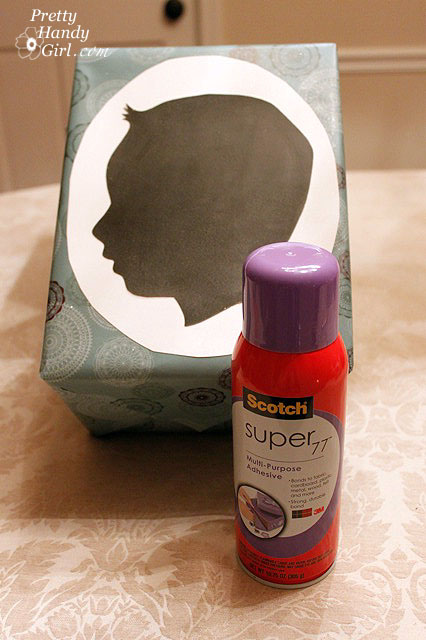
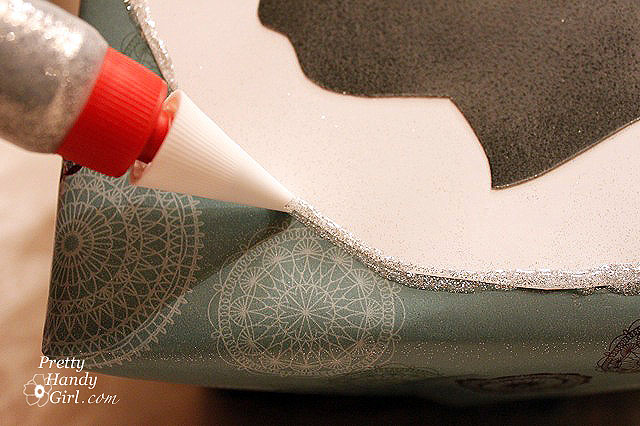
Next, add a bead of glitter glue around the edge of the oval. Note of caution: Allow the glue to dry before setting your package upright or it WILL run. Of course I learned the hard way and had to unglue my package from the shelf it was sitting on. Drat!
Here are the presents before I added the “To & From” on them.
You can write your child’s name on the silhouette using chalk, bistro marker or white paint pen. Or leave it blank if you wish, your choice.
That’s it, not too hard, but the results are stunning. You could use this gift wrapping technique for any special present.
I have to share with you a little something that warmed my heart Christmas morning. My oldest carefully cut off the fronts of all the presents that I gave him to preserve the creative gift wrap designs.
He saved them all including his silhouette from Santa.
In stark contrast, my youngest tore into the packages as any other eager four year old boy would.
creative gift wrapping

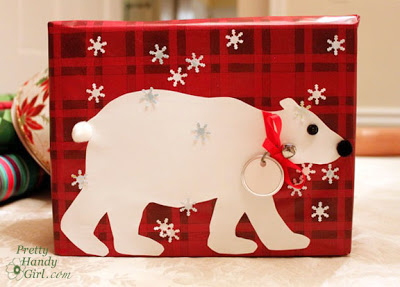
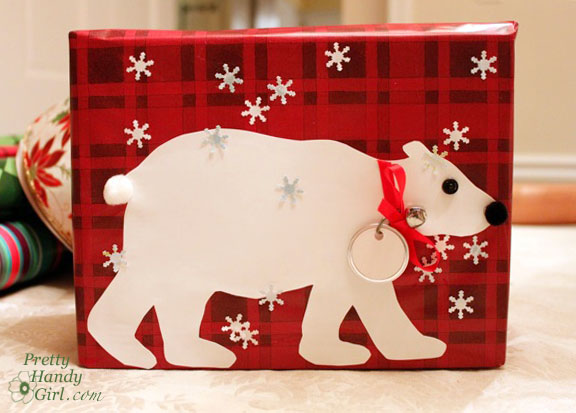
This is it, the last day of my Creative Gift Wrapping Tutorials. I saved these adorable silhouetted animals for last.

Snowy Polar Bear
Materials:
 
Wrapping paper
White card stock paper
Snowflake hole puncher
Key tag
Satin ribbon
Jingle bell
Black & white pom poms (nose & tail)
Small black button
Elmer’s glue
Hot glue gun
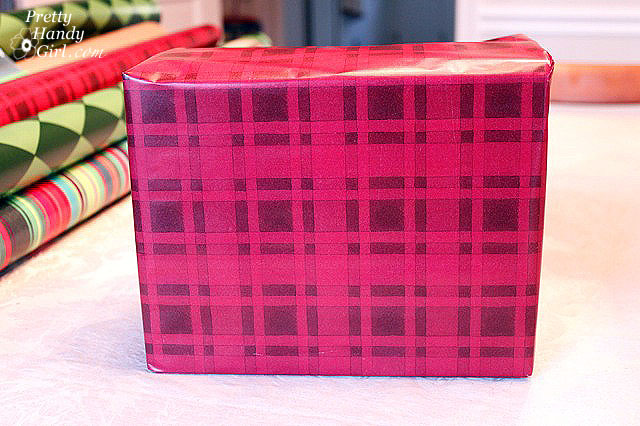
Wrap your present as you normally would.
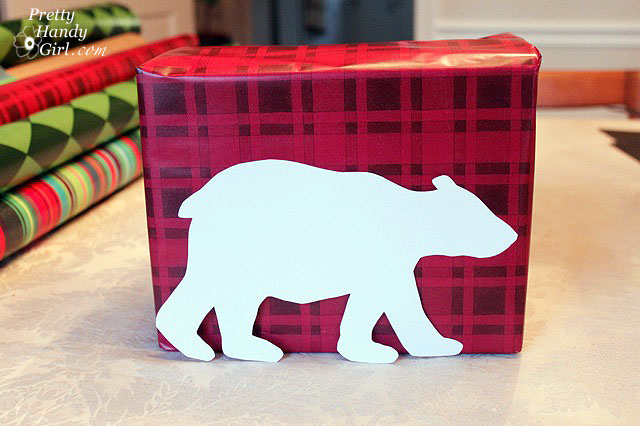
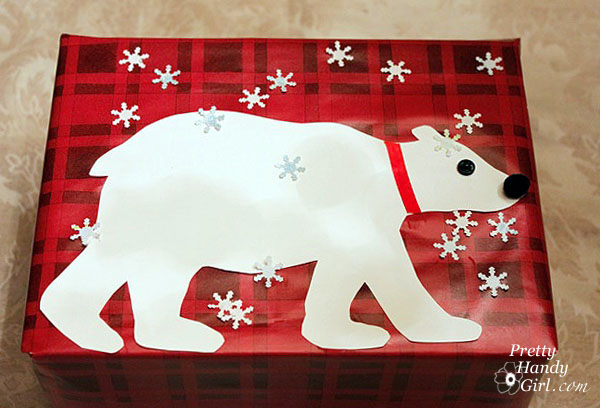
Using this template (click on the photo for a larger version and then print it out), cut out the polar bear shape on white card stock. Better yet, if your printer will handle it, print it out on card stock and then flip your bear over to the white side.
Glue your bear onto the gift package.
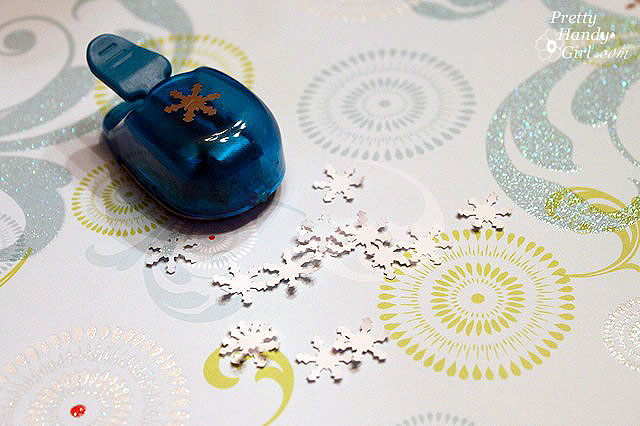
Punch out some snowflakes. (I used some white and some light blue that would show up better on top of the white bear.)
Cut one piece of red ribbon for the bears collar. Then glue the collar and snowflakes onto the package using Elmer’s glue. Then glue the button and pom poms using hot glue.
 Thread a jingle bell onto some satin ribbon, then tie a bow onto a key tag.

Hot glue the bow/jingle bell onto the bear’s collar.

 Factoid: Polar bears are my favorite animal! Did you know that a polar bear’s skin is actually black? And the bear’s hair is actually transparent hollow tubes. This serves three purposes: 

  1. The tubes are hollow so they store air in them. This acts as an insulator. 
  2. Plus, it helps the polar bears buoyancy while swimming. 
  3. Remember how I said their skins is black? Well, because the fur is actually transparent, it allows the sun to reach the bear’s skin and help warm them. Cool, huh?! 
Dove of Peace
Materials:
 
Wrapping paper
White card stock paper
Satin ribbon
Sprig of rosemary or other evergreen twig

Hot glue gun

Wrap your present as you normally would.

Add your ribbon on the diagonal corners.
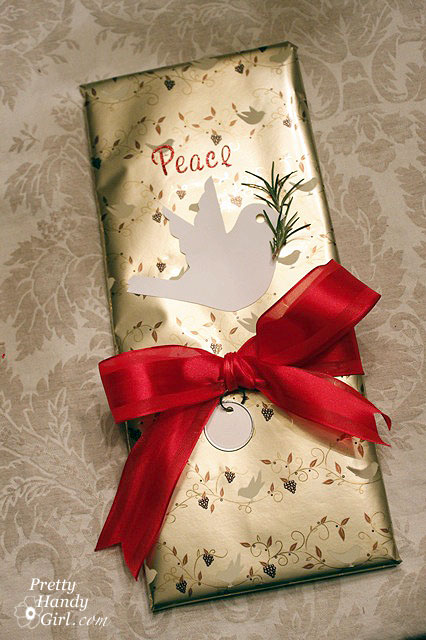
Click on the dove silhouette below to see the full size image. Print it out on the cardstock paper and cut out the shape to use as a template, or use the reverse white side of the shape.
 
Use a hole punch to cut out the eye. Hot glue your dove to the package and hot glue the rosemary underneath the dove’s mouth.

Have fun with this creative package. Add the words PEACE, or bend the wings up to make them three dimensional.

This dove will work on a variety of sized gifts. Here she is on a vertical present.

“Peace on Earth, Goodwill Toward Men”


handmade projects

Welcome back. If you are up for some more creative gift wrappings, let’s get going.

Hanging Ornaments
Materials: 
Wrapping paper
Curling ribbon
Buttons
Snowflake Embellishments
Hot glue gun
Elmer’s glue
Circle template: jar, glass, compass

Scissors

Wrap your present in wrapping paper.
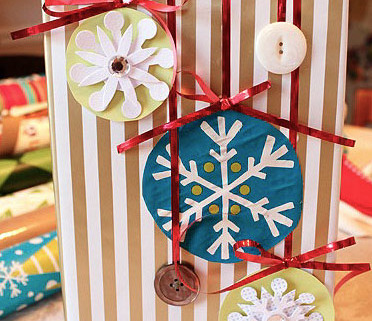
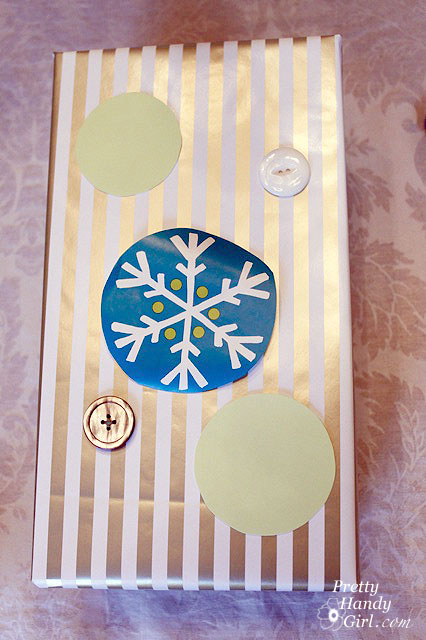
Using your circle template, trace different sized circles on colored paper and/or wrapping paper. Cut out the circles. Lay them onto your package with a few buttons to determine the desired layout.
Cut curling ribbon to the lengths needed to meet the ornaments and glue them with Elmer’s glue onto the package. Glue the ornament circles and buttons next using hot glue. Add stickers or snowflake embellishments on top of the circles. Finish by tying some bows with the curling ribbon and attach them just above the ornaments with hot glue.
“Deck the Halls”
Here is my girlfriend, Renee’s ornament package.
I love the little “x’s and o’s” she added for her daughter.
Musical Snowman 
 
Materials:
Wrapping paper
Printed sheet music (do a google image search for: sheet music)
Snowflake hole puncher
white or scrapbook paper
Snowman sticker or embellishment
Elmer’s glue
 
Limber up those thumbs and get to work punching out mini snowflakes. Or better yet, let the kids do it (my boys had a ball making all these snowflakes.)
Wrap your package as you normally would. Using a solid color or wrapping paper with less detail seems to work best.
Tear the printout of sheet music to make the snowy hill. Lay it on top of the package and crease the edges so it wraps around the box.
Glue on the music sheet first. Then layout your snowflakes and snowman and glue them on.
 
 Feel free to add snowflake embellishments or circle hole punches if you want.
Tomorrow is the last day of my SIX days of Creative Gift Wrapping.

Click HERE to see an adorable polar bear and dove!

Chalkboard Tags for Gift Wrap

What happens when you have more gift wrapping ideas than presents? I guess I could go buy more presents, but I think Pretty Handsome Guy might not be too happy about that. So, I’ll have to stick with just six days of Creative Gift Wrapping. That’s right, two more posts filled with creative gift ideas! I hope you like them.

Yesterday I showed you some nature inspired gift wrappings, today we’re delving into the popular toxic spraypaint hobby of chalkboard painting! I think 2010 can officially be declared the year of the chalkboard paint. I have seen it EVERYWHERE!

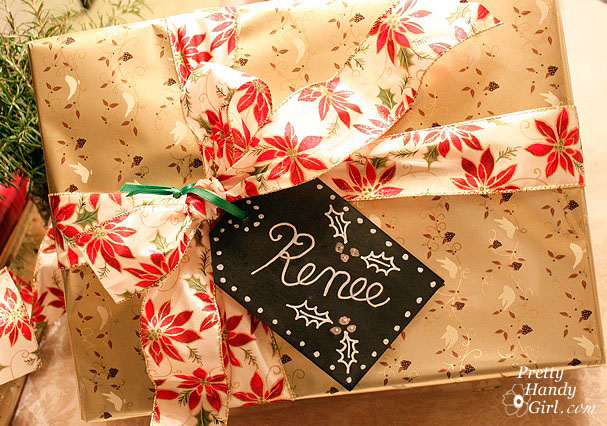
Chalkboard Note Gift

Materials:

Chalkboard paint
Foam core
Chalk or chalkboard pen
Wrapping paper
Ribbon
Hole Punch
X-acto knife
Pencil
Ruler

Measure and cut out a 4″ x 6″ rectangle of foam core. The trick to clean cuts in foam core is to use a brand new x-acto blade! It is that simple.

To make perfect diagonal corners, measure 1″ from the corner (across and down) and make  marks. Then draw a diagonal line connecting the two points. Cut off the triangle.

Use your hole puncher to punch a hole in the middle of the top edge.

Spray paint or paint chalkboard paint onto your foam core. Let it dry.

Season your chalkboard rectangle by rubbing chalk all over the board. Then wipe it off. This will eliminate the chalk message “burning” into the chalkboard and will allow the recipient to re-use the board.

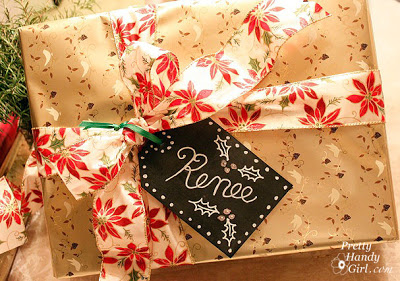
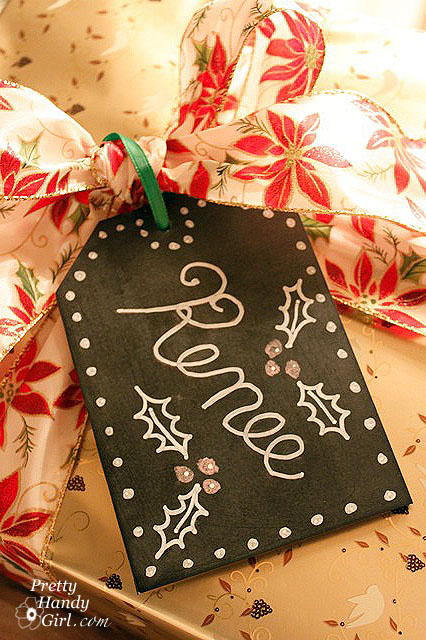
 Write a message on the chalkboard tag.
 Wrap your present and attach the tag to your present’s bow.
Now your gift recipient has a cute little re-useable chalkboard tag.
 
 Merry Christmas Renee!
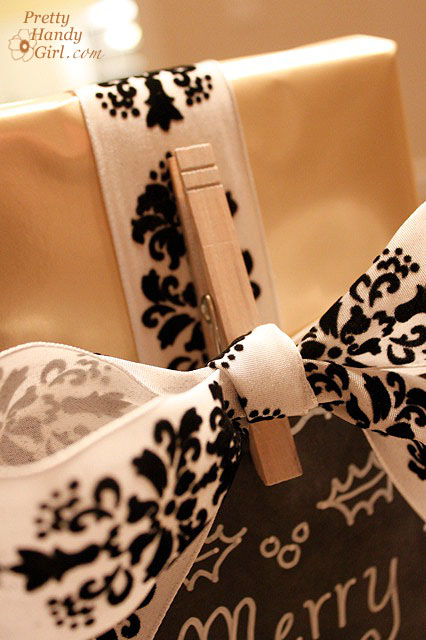
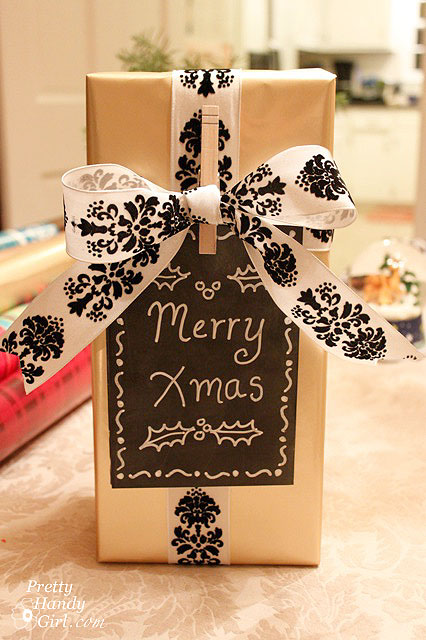
Clothespin Clipped Chalkboard Message Board

Materials:

Chalkboard paint
Foam core
Chalk or chalkboard pen
Wrapping paper
Ribbon
Hole punch
X-acto knife
Pencil
Ruler
Clothespin
Silver or Gold acrylic paint
Paintbrush
Hot glue gun

Follow the instructions above for making a foam core chalkboard. Eliminate the steps on cutting diagonal corners and adding a hole for this one.
Take apart the clothespin and paint both sides using the silver or gold acrylic paint.
Wrap your present as you would normally.
  Wrap ribbon around your present, but don’t tie a bow. Just make a knot.
 Make a separate bow out of the same ribbon and use hot glue to attach it to the clothespin.

Clip the clothespin over the knotted bow on your package and slide your chalkboard into the clothespin.

 “Merry Christmas Baby!”

Bonus: I thought I’d share with you two more gift packages that were pretty simple and quick. The first one I hot glued crocheted snowflakes from Lillian Vernon onto them (thanks for bringing them to my wrapping party, Renee!)

The second one is an ovaltine can that I wrapped with gift wrap, added some monogram stickers and put a bow on top. Easy peasy!

I hope you will swing on by and check out Day #5 of my Creative Gift Wrappings!

Today I have two creative gift wrapping ideas that have a more natural feel. Perfect for the eco-conscious recipient in your life!

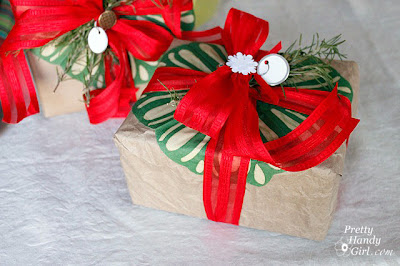
Rosemary Gift with Bells

Materials:

Brown paper bag or wrapping paper
Fresh cut rosemary
Red ribbon (fat)
Smaller ribbon
Jingle Bells
Hot glue gun
Deckle scissors
Letter stickers
Plain gift box

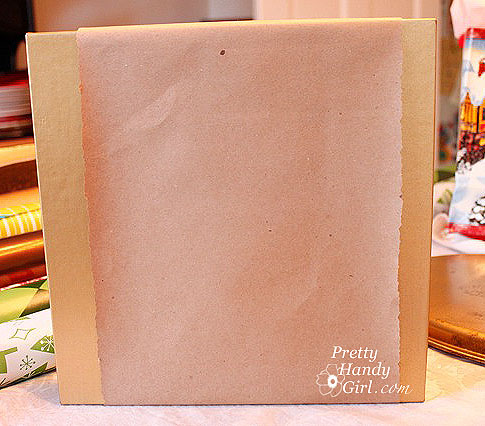
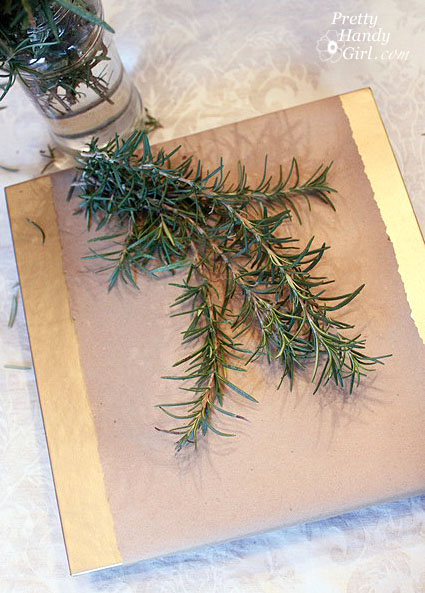
Cut a band of brown paper for around the middle of your gift box. Cut the edges of the band with deckle scissors. Secure the band around the package with tape.

Arrange some springs of rosemary on top of the package.

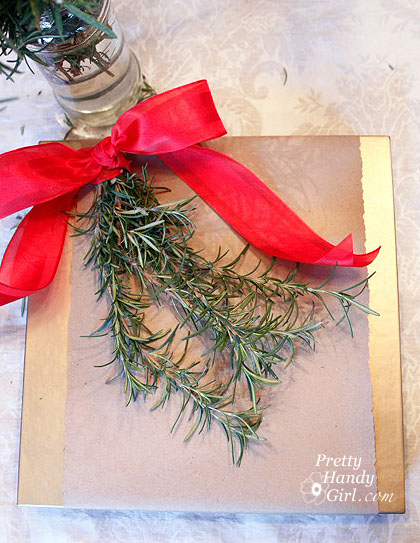
Tie the sprigs together with red ribbon.

Attach a few jingle bells with smaller ribbon. Then secure the ribbon, rosemary, and jingle bells to the package with hot glue.

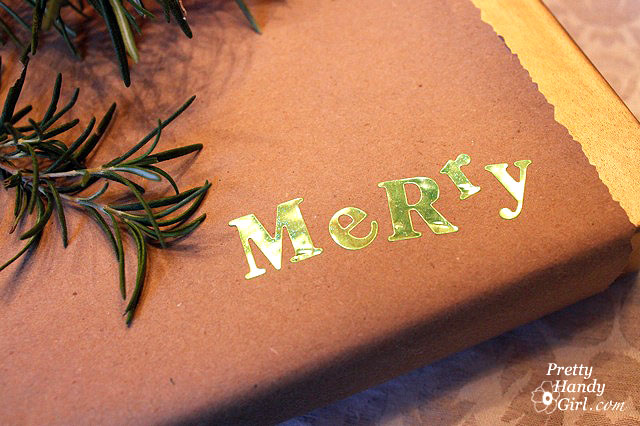
Add some decorative letters to the bottom of your gift.

“It’s beginning to smell a lot like Christmas!”
 Rosemary Gift with Beverage Napkin

Materials:

Brown paper bag or wrapping paper
Fresh cut rosemary
Red ribbon
Decorative beverage napkin or doiley
Button or embellishment
Hot glue gun
Letter stickers
Plain gift box

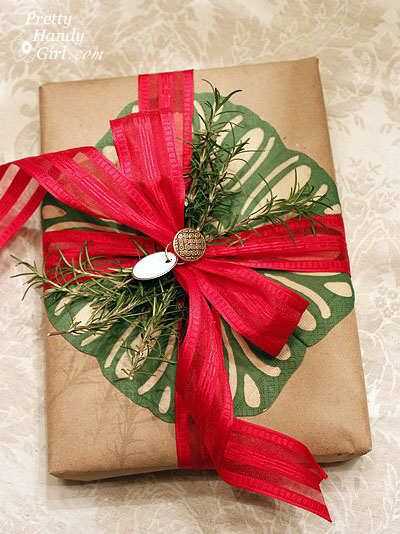
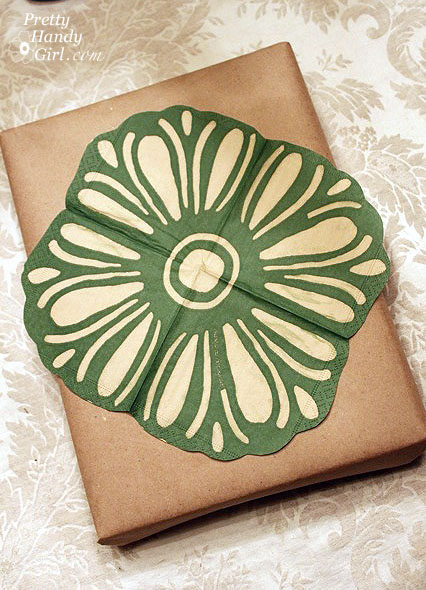
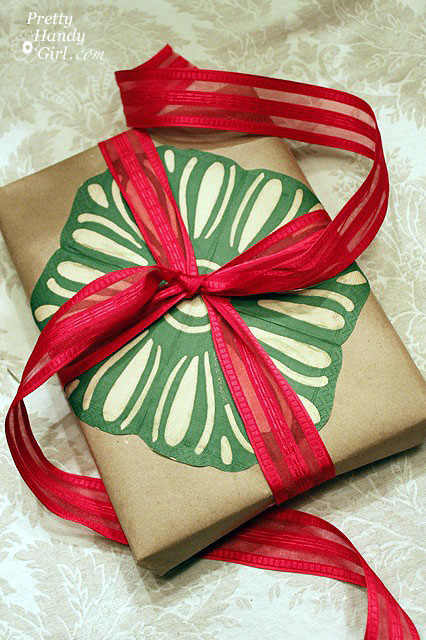
Wrap your gift in brown paper. Take out one beverage napkin.

 Cut around edges of napkin.
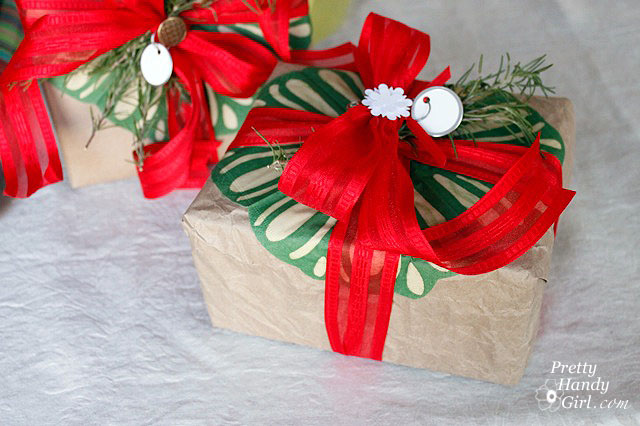
 Open napkin and glue to the package with a small amount of hot glue.
 Tie a red ribbon around the gift.

Tuck some rosemary into the bow and hot glue a button on the center of the bow.

 And who says you have to use brand new brown paper? I like the texture of this re-used brown paper. Now that is what you call eco-chic!

“Brown paper packages tied up with string. These are a few of my favorite things.”

Want more creative gift wrapping ideas? Check here for Day #4.