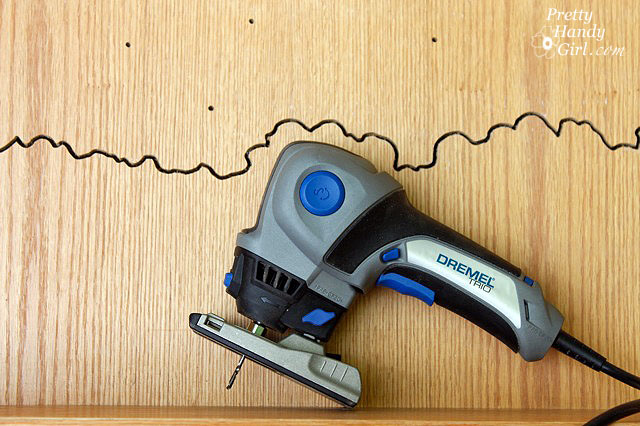
I hope you will take a moment to view how I test drove my Dremel Trio. This is seriously a really fun power tool! Just be sure you are safe so as not to ruin the fun. Eye protection, face mask, and ear plugs. Check.

For those of you who like to skip to the end of the book and see the ending, here you go:
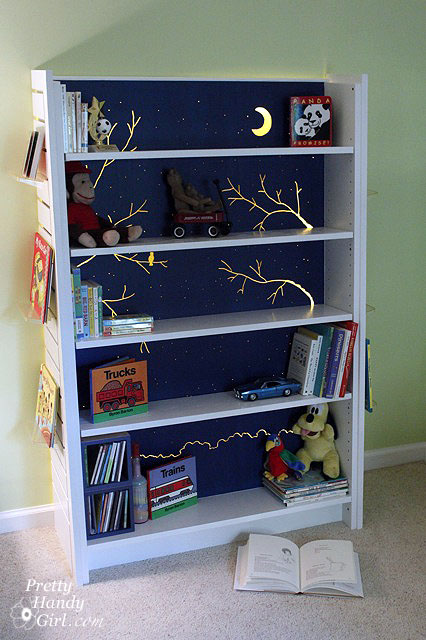

For the rest of you, here is how I created this cut out/back lit bookshelf that started life as a bookshelf from a closing Borders bookstore.


Tutorial for creating a cut out bookcase:
Almost any bookcase will work for this project, but the ones that have a thin wood (can be masonite) backing will work best. Set up a work area that you don’t mind getting dusty and dirty. Remove the shelves from your bookcase.

Cutting the endcap:

Materials:

  • circular saw
  • level
  • clamp
  • scrap wood
  • screws
  • drill

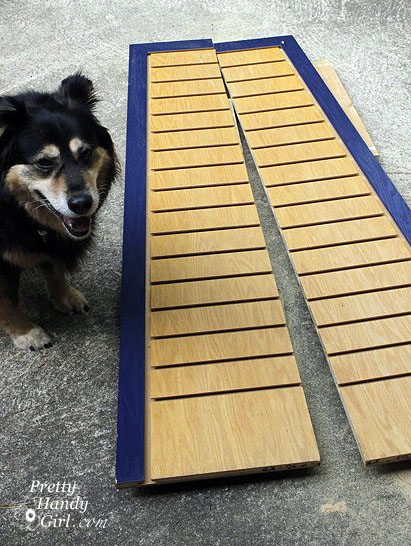
I cut the endcap in half lengthwise so I could use half for each end of my bookshelf, and to position it flush against the wall. To cut a straight line using a circular saw, I clamped one end of a level to the endcap. My level wasn’t long enough, so I drilled a scrap piece of wood on top of the level and into the end cap to support the other end.


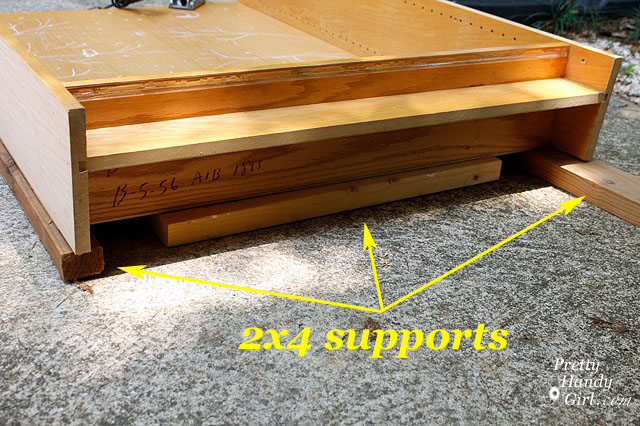
I set the circular saw blade just below the depth of the endcap. By resting the endcap on two 2×4″ boards, I was able to creative a gap below the endcap for the sawblade to pass through.Then I ran the circular saw along the level for a straight cut. Straight as an arrow, and it met Pretty Handy Dog’s approval.

Cutting out the backing design and painting:

Materials:

  • Dremel Trio
  • Palm sander
  • Sandpaper (100 grit & 220 grit)
  • Scrap 2×4 lumber
  • Chalk or pencil
  • Wood putty
  • Putty knife
  • Primer
  • Paint (white and navy blue)
  • 3M Clean Edge technology painter’s tape
  • Newspapers
  • 2″ paint brush
  • Small paint roller and tray

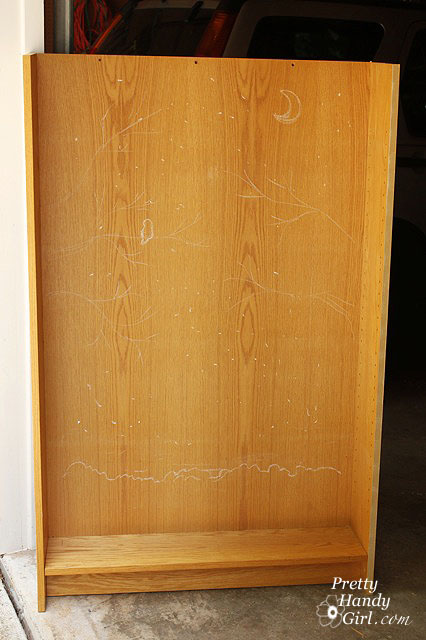
Sketch out the design on your bookshelf (using chalk or pencil) before beginning.

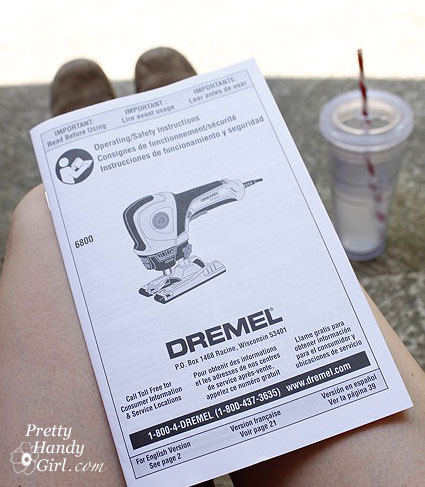
Before using any new power tool, take some time to read through the manual.

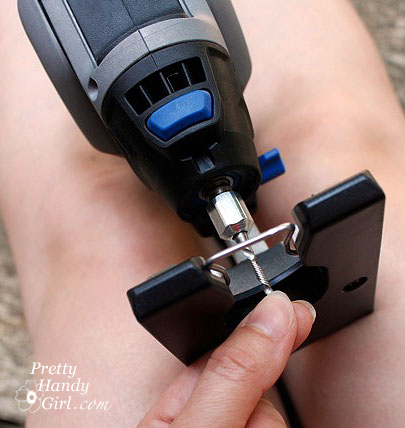
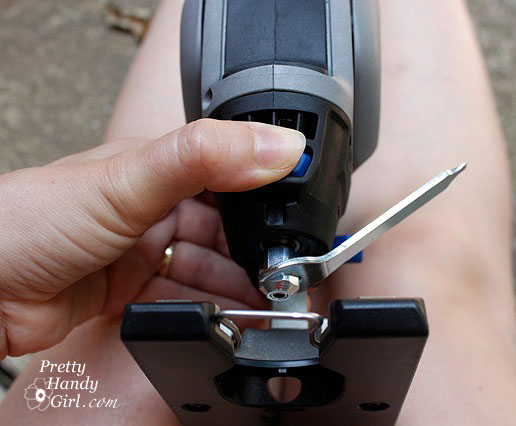
To insert a bit into the Dremel Trio, you push in the blue (shaft lock) button on the front and use the enclosed wrench to loosen the collet nut on the tool.

Insert the cutting bit into the Trio. (The trio also comes with a sanding drum bit and a routing bit!)

Tighten the collet nut with the wrench.

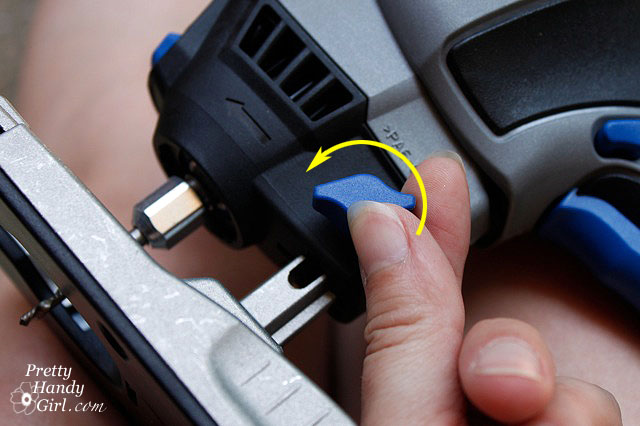
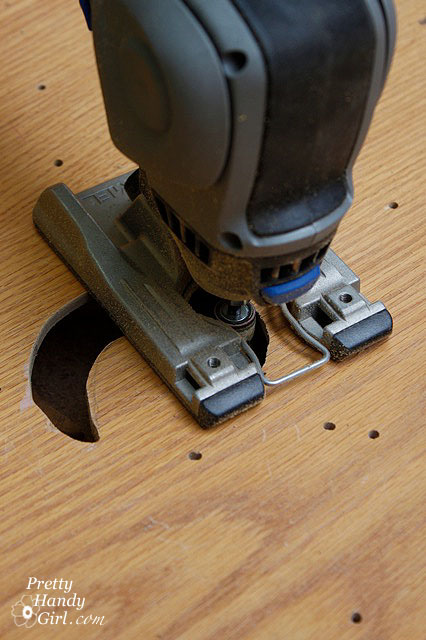
Turn the blue handle on the side of the TRIO to raise or lower the base plate.

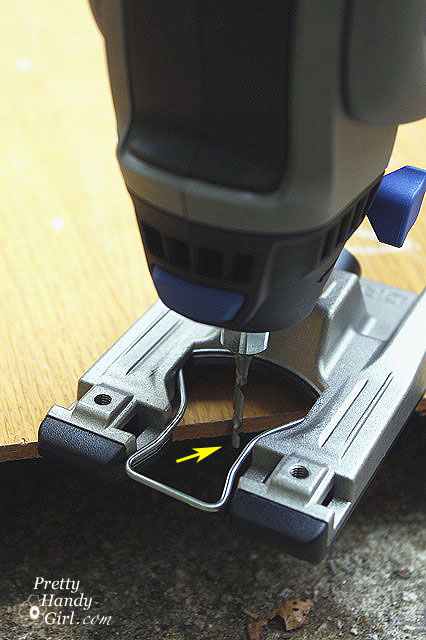
Adjust the base plate until the cutting bit extends slightly below the wood backing of your bookcase.

Lay the bookcase down on its back. Position 2×4 boards under the edges of the bookcase (or you will be cutting into concrete. I’m pretty sure the TRIO is not capable of that, but I could be wrong.)

Plug in your Trio and get ready to have some FUN! You may want to practice on a scrap piece of wood before working on your bookcase. The TRIO allows you to change directions quickly and easily. Creating fanciful cuts is a breeze!

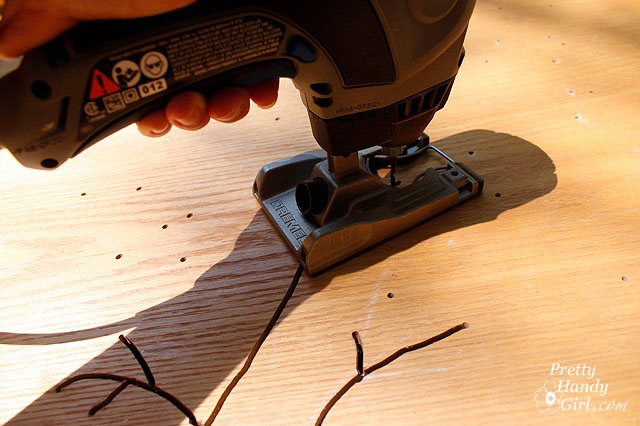
Squeeze the trigger and when the bit reaches full speed you can plunge it into the workpiece. For the pin holes hold the Trio steady, insert the bit and then lift it back out of the same hole.

To cut trees and other designs, plunge the TRIO into the wood and then slowly move the tool through the wood to carve your design. Be wary of long “V” shape cuts as they will make the backing weaker.

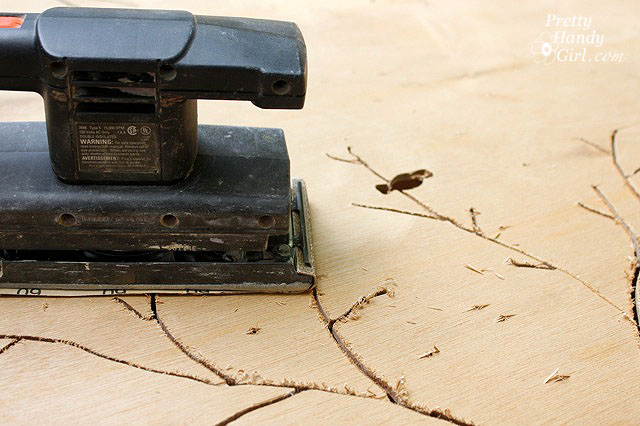
When your design has been completed, use the power sander to sand the back of the bookcase (where the majority of the splintering will have occurred.)

Insert the sanding drum bit into the TRIO and sand any large cut out areas.

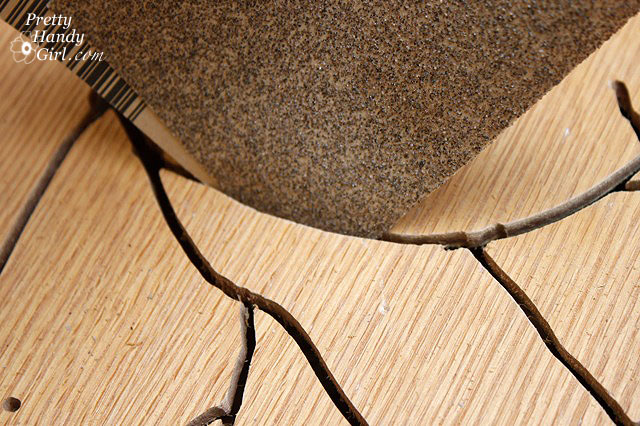
Fold a piece of sandpaper in half and feed it through the thin lines of the branches to sand any rough edges that can’t be reached with the sanding bit.

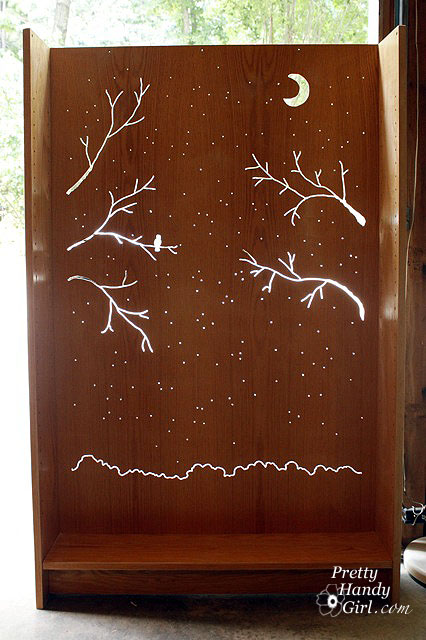
Set the bookcase upright and inspect the cuts for more splinters. You can preview what your design will look like when lit up. Lookin’ good, huh?!

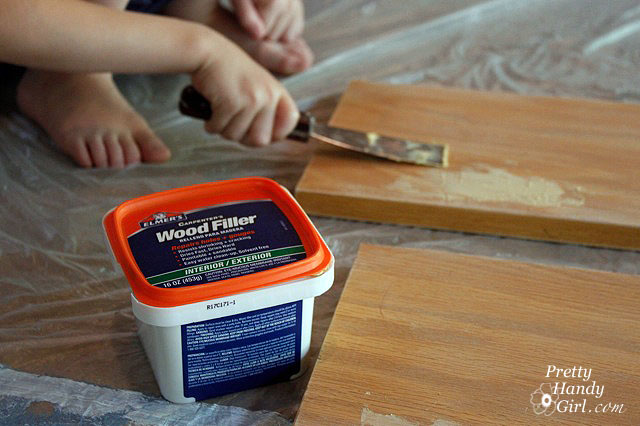
Before sanding the rest of the bookshelf, repair any dents or holes with wood putty. (This is a post I wrote about repairing all types of holes if you need help.)

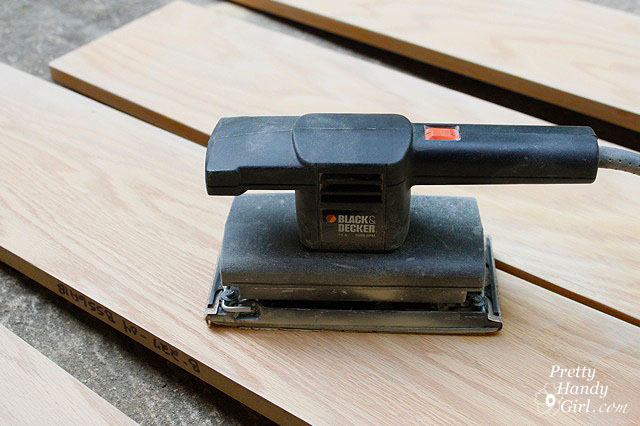
Use the palm sander and a fine grit (220 grit) sandpaper to rough up the rest of the bookshelf.

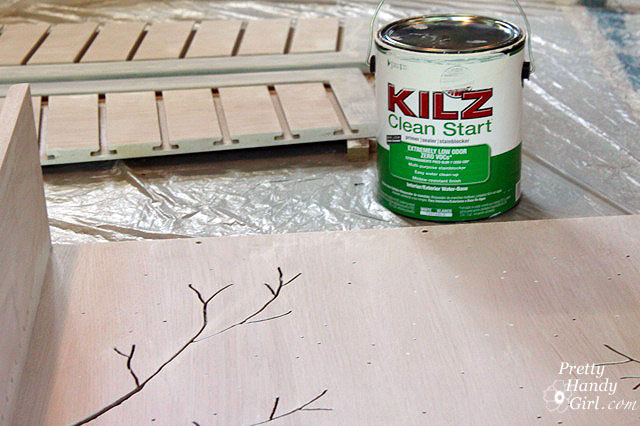
Apply a coat of primer to the bookcase, shelves and sides. (Still working on emptying that can of KILZ Clean Start primer! Love that stuff.

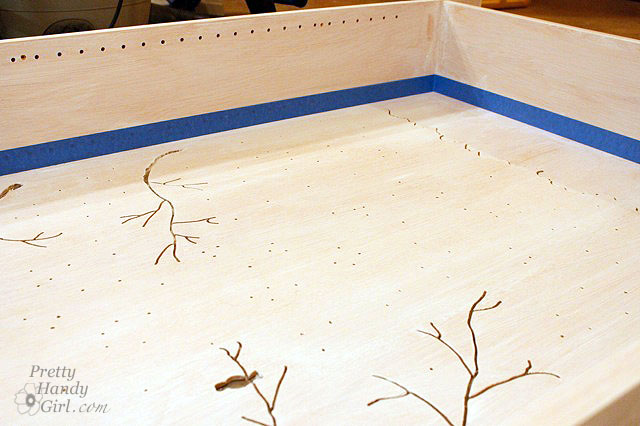
When the primer has dried, mask off the sides of the bookcase where they meet the back.

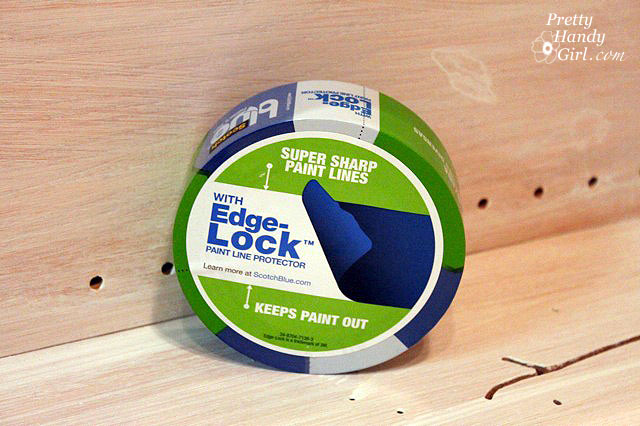
3M sent me this Scotch Blue Painter’s tape with Edge-Lock protector to try. I was skeptical, but when I pulled the tape off it did give me a clean edge. The only place I had a little bit of seepage was in the corners where I didn’t press the tape tightly into the corner. The key to using this tape is to firmly press the edges with your finger to engage the “Edge-Lock” seal. I haven’t tried it for painting walls, but you better believe I have a wall project coming up that I can try it on.

Paint the back of your bookcase. I chose a very dark navy blue. To save paint, I used a medium blue paint for my first coat to darken the back and hopefully save paint.

Then paint one coat of the navy blue.

Follow up with a second coat to eliminate any streaking.

When the navy paint has dried, tape along the edges of the navy blue backing, where it meets the sides. Slip pieces of newspaper underneath to catch any paint splashes. (Will you get a load of my lazy supervisor! You think he’s been working hard in the heat? Uh no, that would be me doing all the work and him snoozing away the day.)

Paint the rest of the bookcase, the sides and the shelves white. I used two coats of Benjamin Moore Impervo Semi-gloss white.
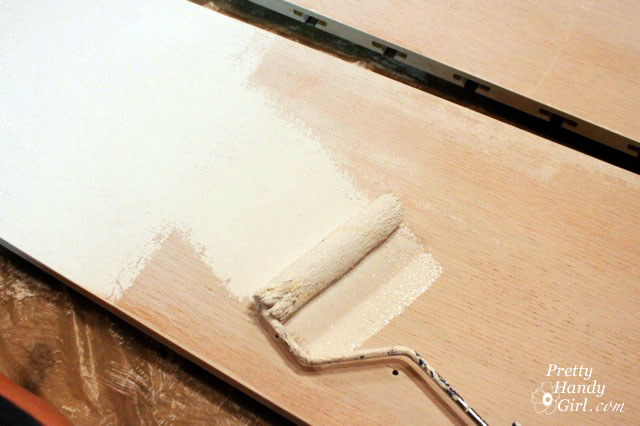

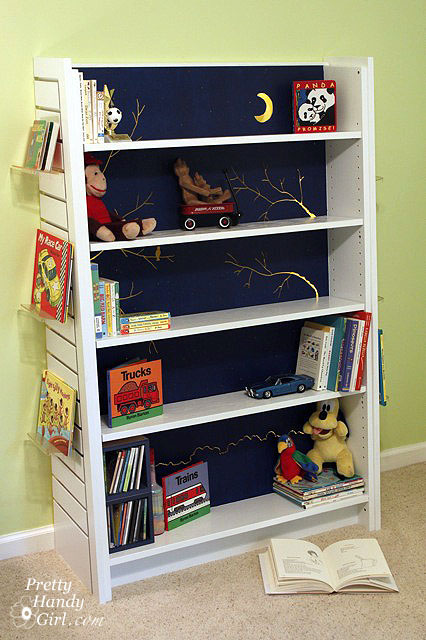
Once the paint has dried completely, re-assemble the bookcase. And screw the end cap halves onto either side of the bookcase.

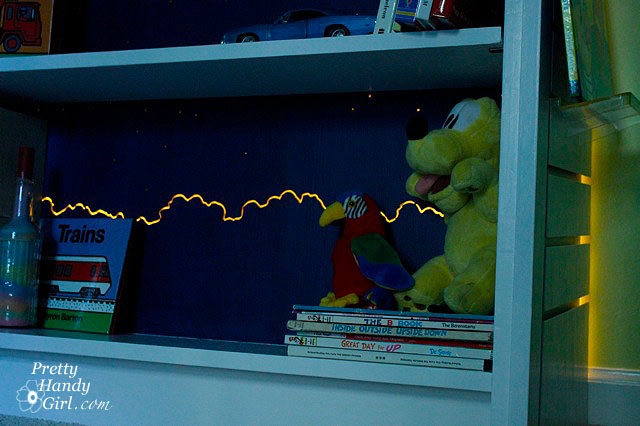
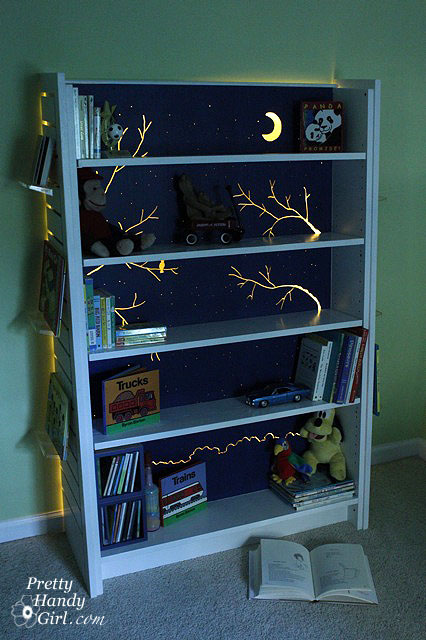
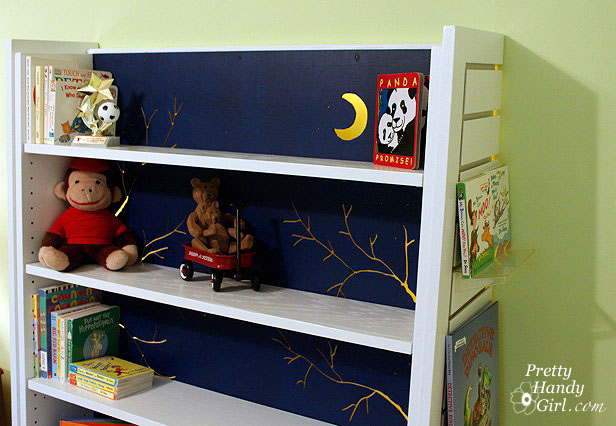
I installed a light rope behind the bookcase (tutorial to come at a later date) and set the lights on a timer. The rope light comes on at dusk and illuminates all the cut outs.

There is a very soft glow emitted from the back of the bookcase.

It provides the perfect amount of light for my son who HAS to have a light on at night.

My only complaint about the rope lights is that they give off a strong plastic odor. But, after a week the smell has dissipated.

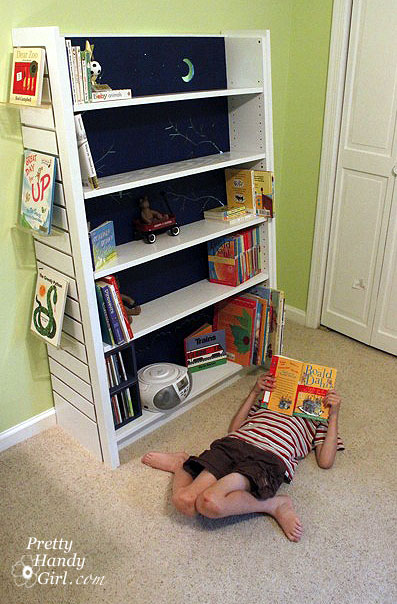
I had the foresight to purchase a few of the clear display stands that slide into the end caps of the bookcase. It makes it easy to display books to pique my son’s reading interests.

Oh look! There he is now! Mission accomplished, reading interest piqued. Yes, I think he is double-jointed and a teacher pointed out that both my son’s sit like that. Must be in the genes.

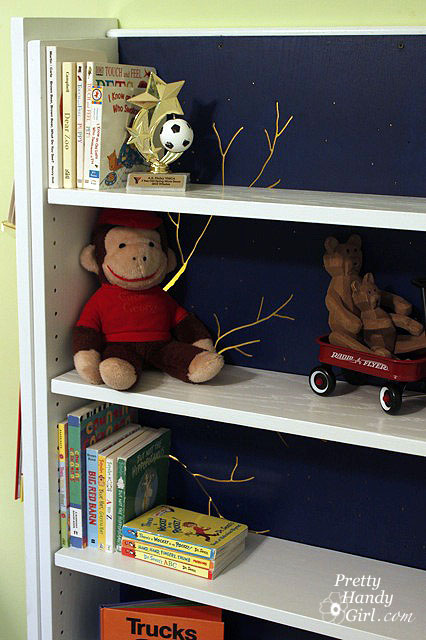
A few more detailed pictures of the bookshelf. This has to be one of my favorite projects I’ve created recently. And it wasn’t very difficult to complete.



My best friend from elementary school will be flying in today from New York. I have a sweet little retreat all made up for her in our guest room. I promise to post pictures of the whole room in the near future (when the sun – and sons – cooperate with me.)
 
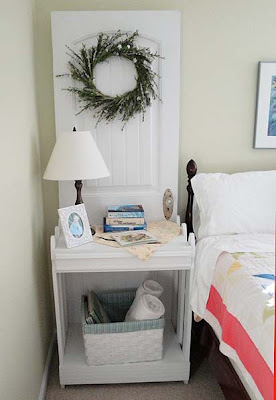
Our guest room is full of discarded treasures: a rebuilt curbside chair, an upholstered bench, a full size bed, and a little curved desk. But, one of the focal pieces in the guest room is a night stand made from a discarded door and leftover picket fence pieces.

 Isn’t it fabulous?!

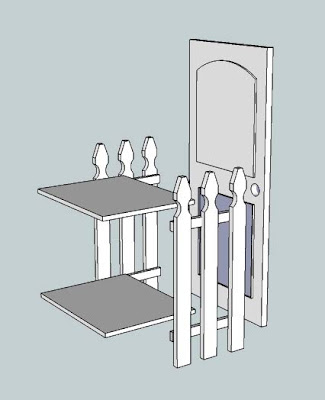
So, here is the tutorial for you. I hope you will excuse my first attempt at using Google Sketch Up. These sketches should give you a pretty good idea how to construct the night stand.

I started by cutting two boards for the shelves. They were cut to the width of the door and the depth of the picket fence sections.

I cut two cleats out of 2″ x 4″ boards (shown in green).

And screwed them to the door (purple circles), making sure that the top of the cleats were level with the top of the horizontal cross boards on the picket fence.

I braced the picket fence pieces to the door using L-brackets.

I laid the two shelves on top of the cleats and cross boards. And drove screws down to hold it in place (purple circles).

Next, I cut some face boards (shown in aqua below) to the same width as the nightstand front.

I used finish nails to nail them to the front, then added some decorative moulding to the face boards.

I used wood putty to fill all the screw and nail holes, and caulk to smooth the seams of the moulding (see here for more details on caulking and filling nail holes.)

Then I painted the nightstand white and accessorized it. I’m still deciding whether I should distress and glaze the nightstand. Feel free to give me your opinion. I am all ears.

Here is my door & picket fence nightstand, all ready for our first guest since re-decorating the guest room.

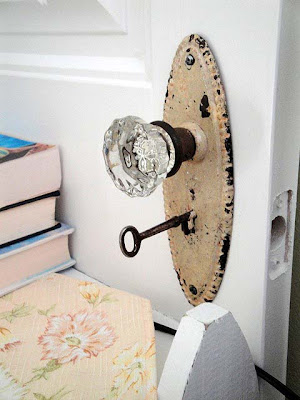
Glass knob and door plate was purchased at NoFo in Raleigh.
If you are ever in the Raleigh, NC area, you MUST eat at NoFo,
then shop upstairs after your meal. 
 
Some books written by my favorite author, Diane Chamberlain.
A goodwill lamp and a picture of my niece who lives too far away!*

*(bold comment solely for the purpose of guilting my sister into moving closer.)
Fresh towels and my Country Living magazines.

All beautified and ready for our visitor!

Sharing with the CSI Project White Challenge:

Visit thecsiproject.com

How often have you removed a screw, accidentally dented your drywall, or had a hole that couldn’t hold a screw anymore? And, how long has that hole stared glaringly at you? Let’s talk about repairing holes.

Today, I will empower you to fix that hole! Or give you the tips and tutorial to handle that future hole.

A month ago, you probably saw this post on turning a closet into a reading nook. I removed the closet doors and needed to patch the screw holes left behind.

Repairing Holes

Patching small holes in wood (or drywall):

Materials:

(I’ve included affiliate links for your convenience. I earn a small percentage from a purchase using these links. There is no additional cost to you. You can read more about affiliate links here.)

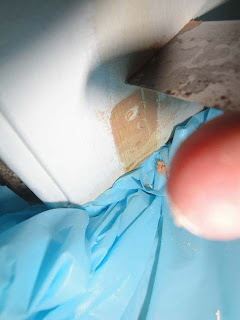
1. Use your putty knife or utility knife to scrape off or cut away any edges of the hole that are not flush with the wall or trim.

2. Put a small amount of putty (or spackle) on your putty knife.

3. Push the putty (or spackle) firmly into the hole as you slide the knife over the hole.

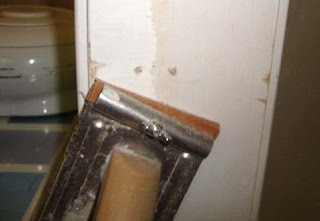
4. Scrape the excess off the surface.

5. Use the damp rag to wipe excess putty (or spackle) off.

6. Wait for putty (or spackle) to dry, and sand smooth.

On the same project, my three year old had nearly pulled the tie backs out of the door casing, leaving two stripped holes. I wanted to hang the tie back up in the same location, so I had to repair the holes and leave it strong enough to hold up to a 3 yr. old!

How to fix a stripped hole in wood:

Materials:
Toothpicks
Wood glue
Damp rag
Hand saw
Sandpaper

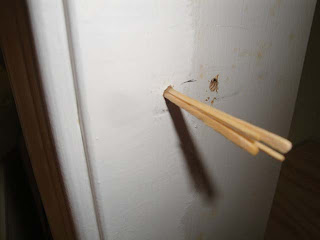
1. Dry fit toothpicks so they are snug in the hole.

2. Remove toothpicks in one bunch and add glue to the tips of the toothpicks and more glue in the hole.

3. Push the toothpicks firmly into the hole.

4. Wipe any excess glue up immediately.

5. When the wood glue dries, saw off the toothpicks as close to the hole as possible (without damaging your trim.)

6. Use the sandpaper to smooth the toothpicks flush with the wood.

7. Follow up with putty if necessary for cosmetic appearance. (You can use the above directions for patching a small hole.)

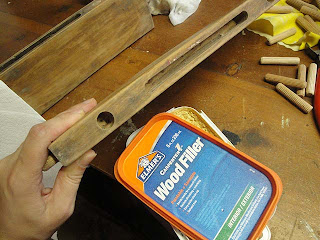
Yesterday I showed you the transformation of a curbside chair named Daisy. She had a few holes that needed filling where I had removed the spindles.

How to fill a hole in wood (non-structural):

Materials:
Wood Putty
Putty Knife
Damp rag
Sandpaper

1. Clean out hole of any dirt or debris.

2. Roll wood putty in hand to fit in hole.

3. Insert putty in hole and then push it in using a pencil or similar blunt object.

4. Continue filling the hole until you are almost flush with the top.

5. Use your putty knive to apply final topping of putty.

6. Wipe excess off with damp rag and create a flush top with the surrounding wood.

7. Putty will shrink slightly when dry, so you may need to add another top layer of putty.

8. Once putty is thoroughly dry, sand it smooth.

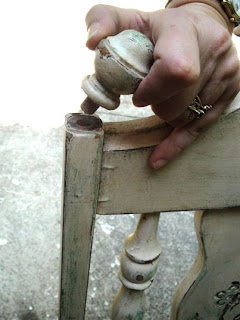
Also in the transformation of a curbside chair named Daisy, I had to add new finials to the top.


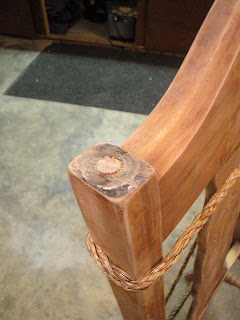
How to fix a slightly larger hole in wood (that needs to be structurally sound):

Materials:
Wooden peg (to size of hole)
Gorilla glue
Wet rag
Hand saw

Sandpaper

1. Dry fit wooden peg so that it fits snug in the hole.

2. Remove peg and dampen inside of the hole.

3. Squeeze in a small amount of Gorilla glue (this glue will expand as it cures.) And insert peg back into hole.

4. Wipe any excess glue up immediately.

5. Clamp peg in place until Gorilla glue is dry.

6. After the glue dries, saw off the top of the peg as close to the hole as possible.

7. Use the sandpaper to smooth the peg flush with the wood.

Screwing into repaired hole:

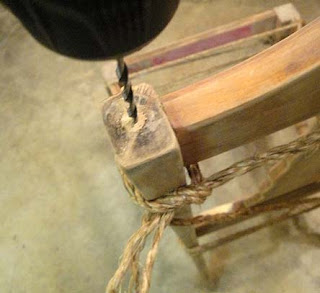
1. Choose a drill bit that is slightly smaller than the screw you are using.

2. Predrill your hole.

3. Screw in your screw (or in my case, the finial).

Also, during the making of the closet turned into a reading nook. I accidentally knocked a hole in the drywall. The hole was too big for just spackle.

Repairing larger drywall holes (up to 3 inches):

Materials:
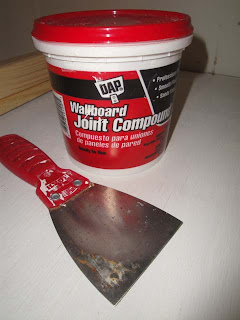
Joint compound
6″ taping knife
Utility knife
Webbed tape (or webbed patch kit)
Sandpaper

1. Use your putty knife or utility knife to scrape off or cut away any edges of the hole that are not flush with the wall or trim.

2. Adhere webbing over the hole.

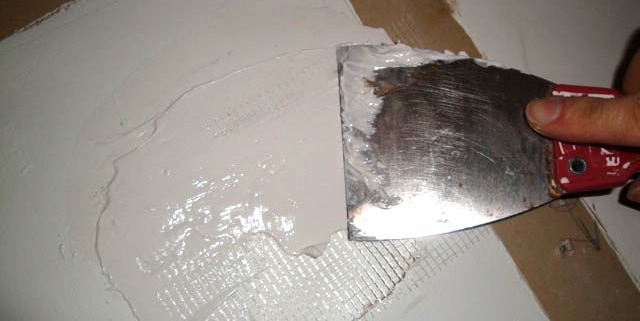
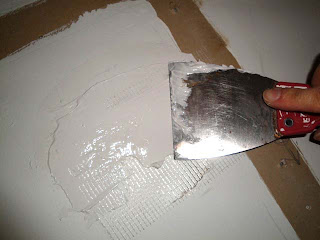
3. Put a small amount of joint compound on your taping knife and push the compound gently into the hole as you slide the knife over the webbing.

4. Extend the compound beyond the taping.

5. Scrape the excess off the surface.

6. Wait for compound to dry and add another layer. Your goal is to have a smooth layer on top that hides the webbing and bumps out ever so slightly above your wall surface.

7. Use damp rag to wipe excess compound off and to smooth any visible edges.

8. Again, wait for compound to dry, and sand smooth so the patch is flush with the wall.

9. The best way to paint over a larger patch job is to use a paint roller and paint at least 2 thin layers of matching wall paint over the repair area.

Repairing holes is easier than it sounds. If you have larger holes or need more information on patching drywall holes, check out this video tutorial.