 Build a Garden Shed
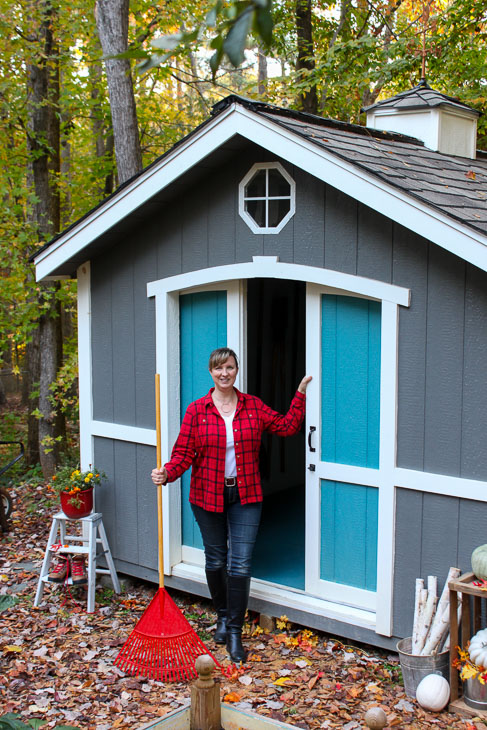
Happy New Year! It’s time to store away all those awesome gifts and maybe create more storage solutions. I’m not sure about you, but our garage was definitely bursting at the seams. That’s why I’m super excited to share with you how to Build a Cute Garden Shed. Before you think that you could never build a shed, I beg to differ! This shed comes in a kit. Most of the pieces are pre-cut for you. And it comes with detailed instructions. It does help to have a friend to help with a few of the heavy lifting steps, but the majority of the build can be done by one person.
Let’s get down to the details. I’ve partnered with Lowe’s Home Improvement to show how you too can build a cute garden shed. Don’t be fooled by the half dozen sheds that are on display in the Lowe’s parking lot. Lowe’s has more than 150 wooden shed kits online waiting for you to explore them! Once you purchase a kit shed, you can customize it to your desires. For example, I looked at tons of sheds online and in person, but ultimately narrowed my choice down to the Cambridge Shed from Lowe’s Home Improvement. The shed wasn’t exactly cute, but it had potential.
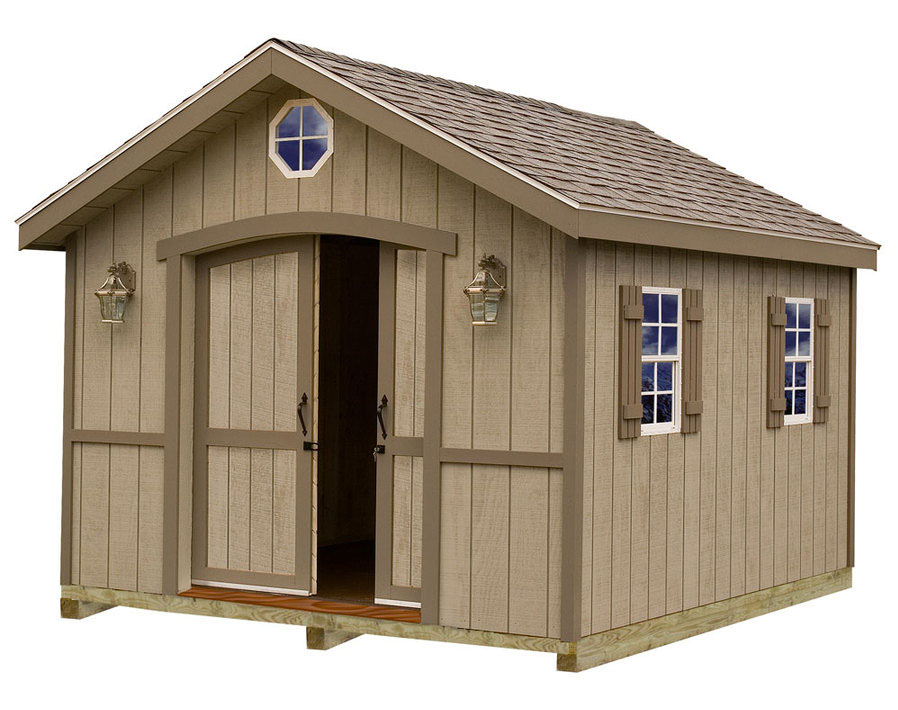
For fun I photoshopped this rendition of the shed with some bright colors on it in our yard. (Note: The windows, cupola and weathervane were options that must be purchased separately. Also, for your needs, the shed kit can be purchased with wood joist flooring system or no flooring if you are building it on top of a concrete pad.)
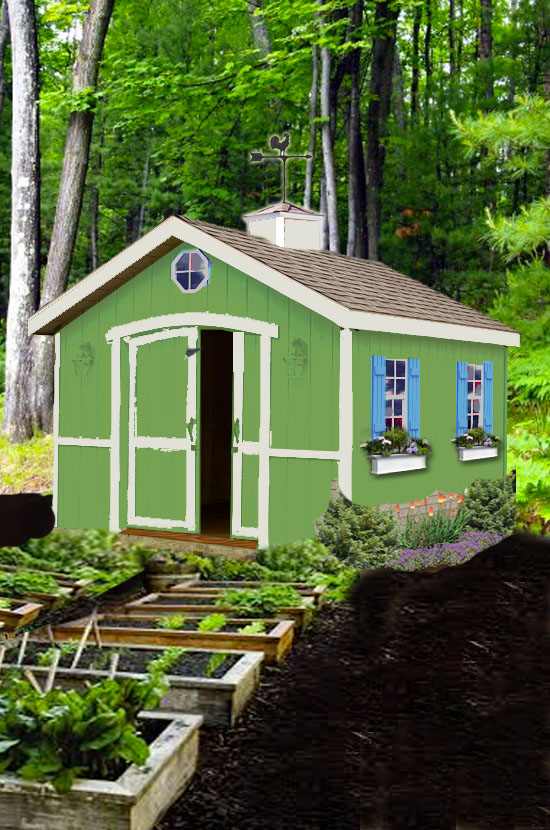
Then I called my neighbor and ran the idea by them since they would see the shed every time they came and went from their house. I nearly choked when the wife said, “Brittany, I’m sure whatever you build will be very tasteful and adorable. It’s not like you would paint the shed a neon green color.” At that moment, the husband opened my email with the green shed picture and he frantically waved to his wife to hush. We all had a good laugh about it, but ultimately I decided to tone down the shed colors to avoid it looking too “noticeable.”
After I received my neighbors’ okay to proceed, I checked our survey and called 811 to have the utilities marked in the yard. Luckily the only thing moved was our compost pile.
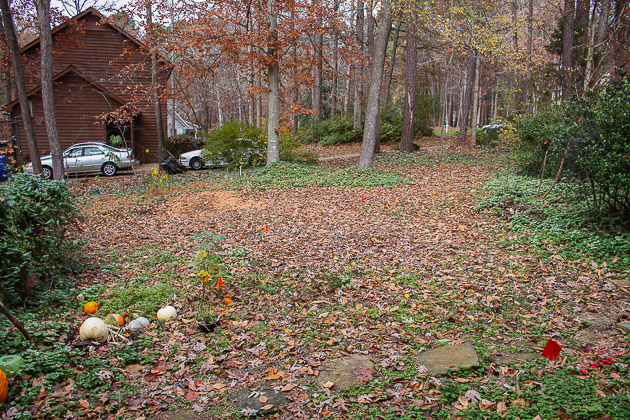
To prepare the site for the shed, I hired a landscape company to install a retaining wall. This helped to level the slope.
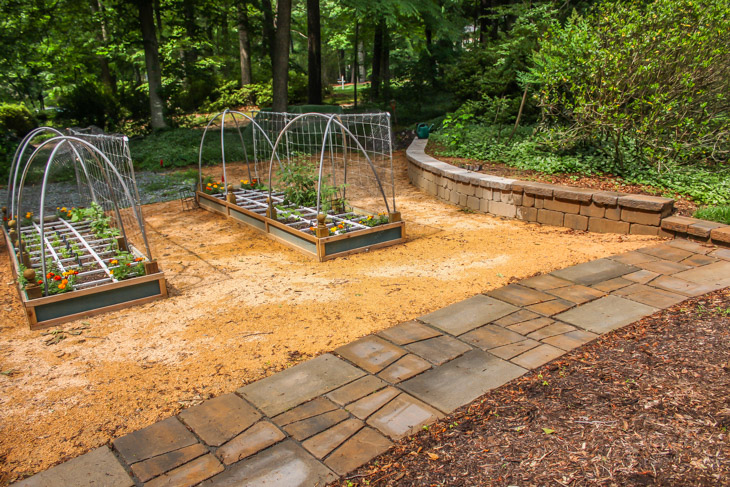
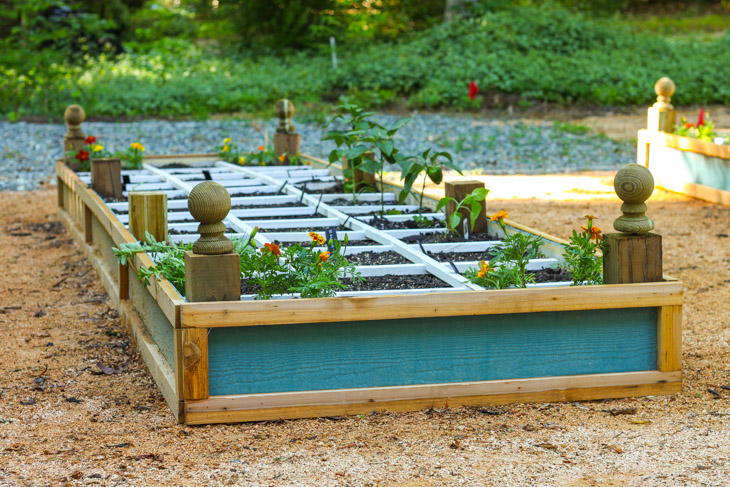
Because the shed was supposed to be a cute GARDEN shed, I built two rot-resistant raised planter beds in front of the shed site. (If you have an eagle eye, you can see the gravel pad behind the planter beds.)
Then life happened and I had a very complicated sinus surgery in Houston, Texas. Thankfully all is well and I can breathe (and smell) so much better. Unfortunately the shed was put on hold until I was given the okay to lift heavy items again. Once I had the doctor’s okay, I jumped into action the next day! (I’m not sure he knew I’d be lifting heavy sheets of siding and hand nailing rafters, studs and roof shingles or he may have made me wait longer. LOL.)
If you are my friend on Instagram, you saw some of the progress pictures from this shed build last summer. I admit, I’m behind in posting about this fabulously cute garden shed. I hope you’ll forgive the delay.
How to Build a Garden Shed from a Kit:
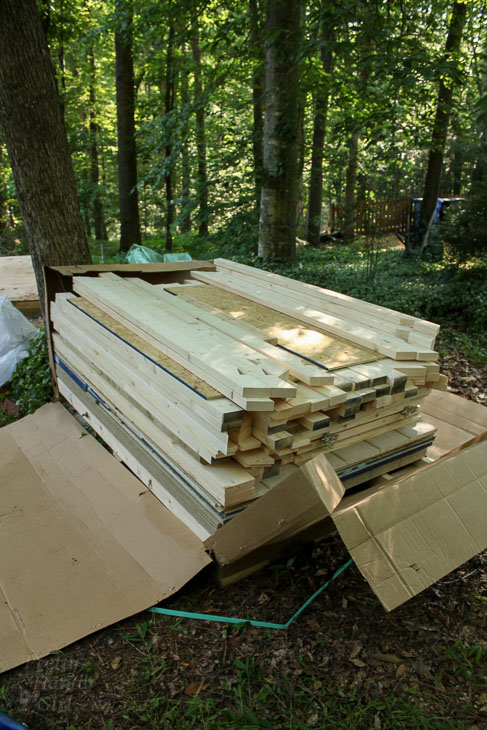
This shed kit was by no means a difficult project for an average DIYer to build. But, it will take longer than a weekend. You will also need to get a helper for several of the steps. Especially when lifting the walls and trusses. Otherwise, most of the shed can be built by one person. Your shed kit will be delivered from Lowe’s and dropped in your yard by a wide forklift machine. Make sure the location you want it delivered is near where you want the shed built and that it can be accessed by the forklift (it needs an 8′ wide radius to maneuver through trees, etc.) Open your box and find the instructions. All the hardware, nails and fasteners should be included in the kit. (Although I did end up needing to buy another box of nails when we ran out: possibly because we bent too many or I used more than necessary.)
Preparation:
Call 811, your local utilities marking service to have all your utilities marked. Check with your city or county Building and Development office to find out what the requirements are for accessory structures on your property. Find out what your setback is and if you need a permit (in our area, the set back is 10 feet and a permit is required for structures over 144 sq. feet.) Level your site and add drainage rock to create a firm base that will not allow water to pool under your shed.
Lay out your site and put up stakes and level strings to delineate where the shed support is to be constructed.
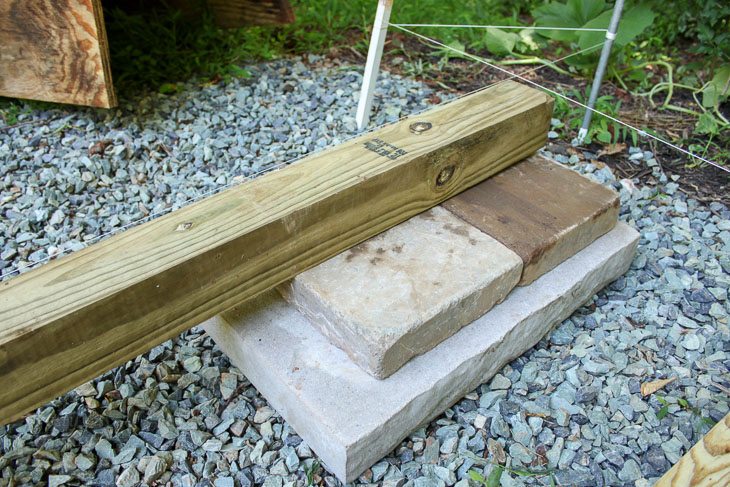
Lay your sleeper posts on the ground and concrete pads or footers if necessary to level.
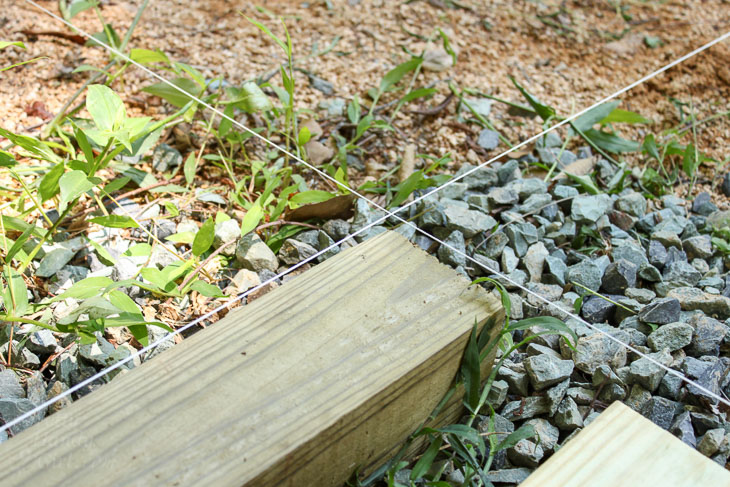
Take your time with this process. A good foundation is important for a well built structure.
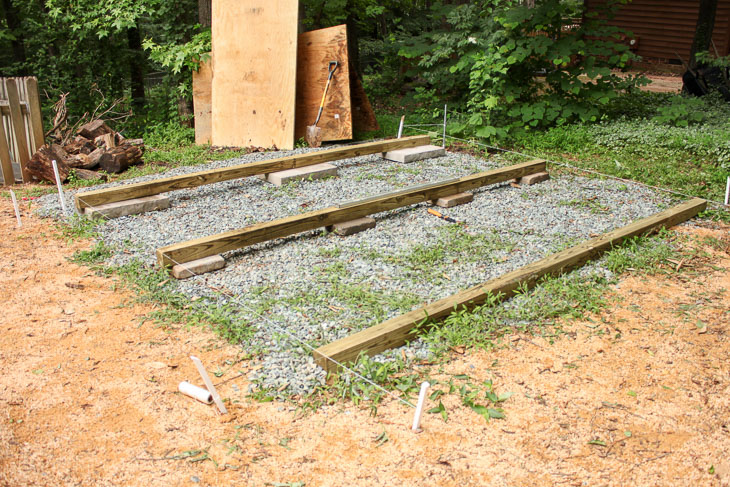
Building the Shed Floor:
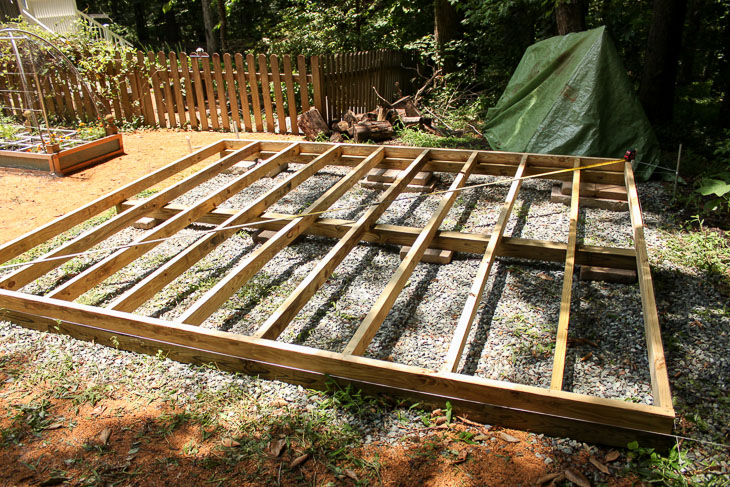
Follow the instructions for your shed. Build the floor system with 2″x6″ pressure treated lumber. Check that your flooring structure is square by measuring from corner to corner.
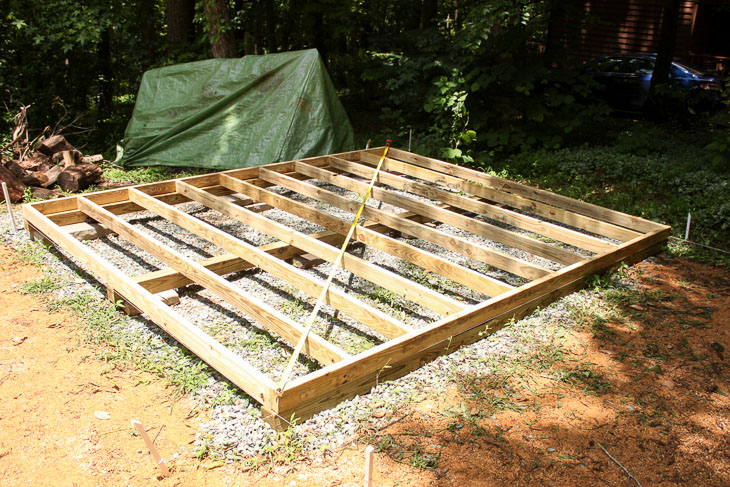
Repeat for the opposite corners. The two measurements must be equal before proceeding.
Lay the plywood flooring on top of the floor joists. (Pro-tip: Use a chalk line to mark where the joists are under the plywood. This will make nailing the flooring to the joists super simple.)
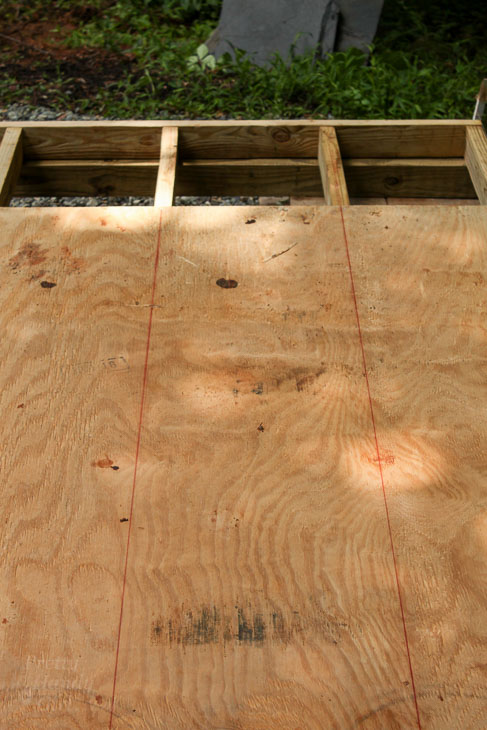
Nail the plywood flooring to the floor joists.
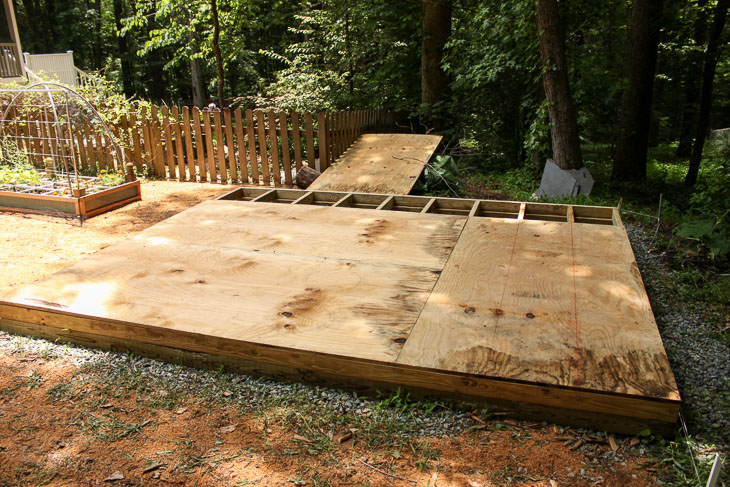
After the plywood flooring is completely installed. Build your roof trusses. Follow the instructions. To build the trusses identically, use shipping blocks to create a template to use for each truss assembly.
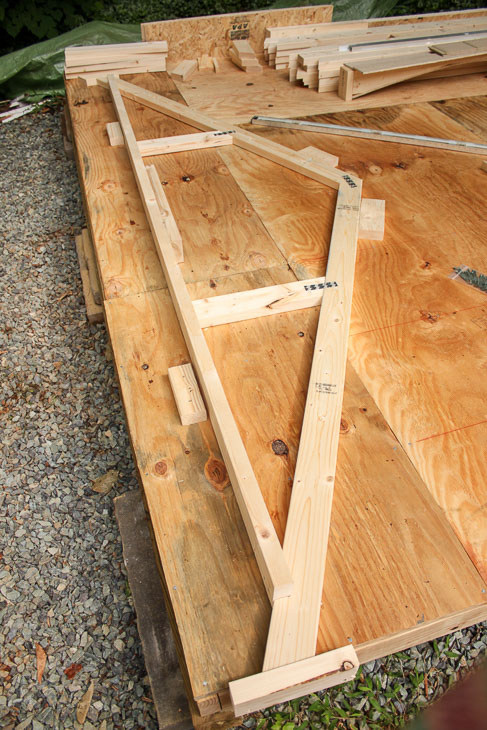
Once the trusses are built, set them aside.
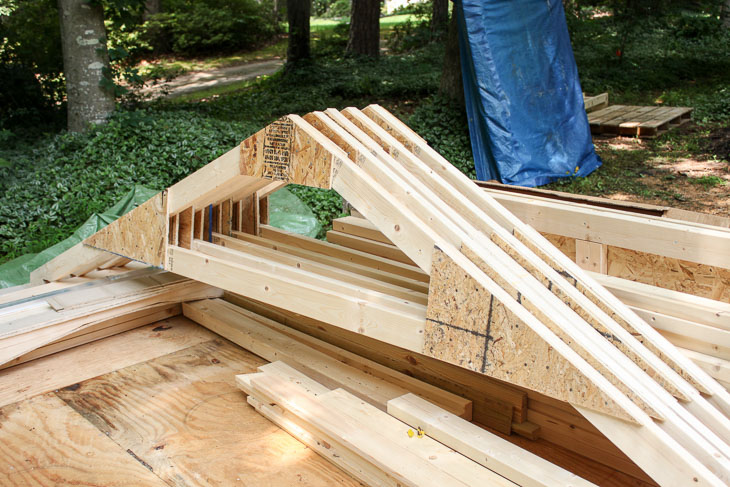
Build your walls according to the plans. Add the exterior panels before raising your walls (with the exception of the front wall).
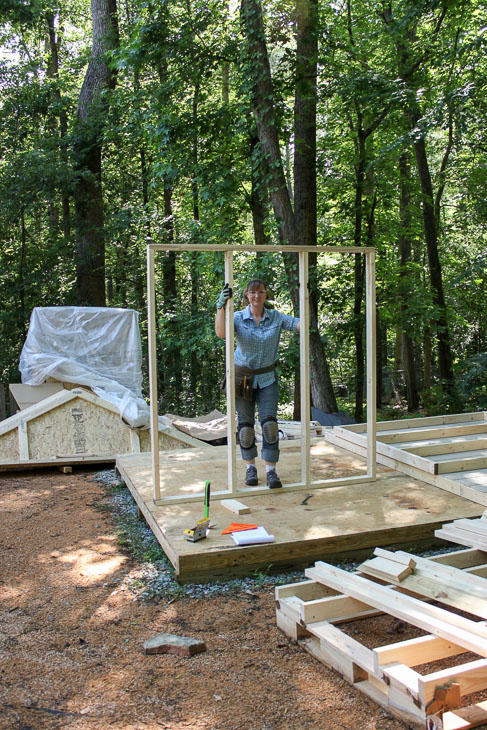
It’s helpful to mark out your stud locations on the top and bottom plate to assure your walls are built plumb and square.
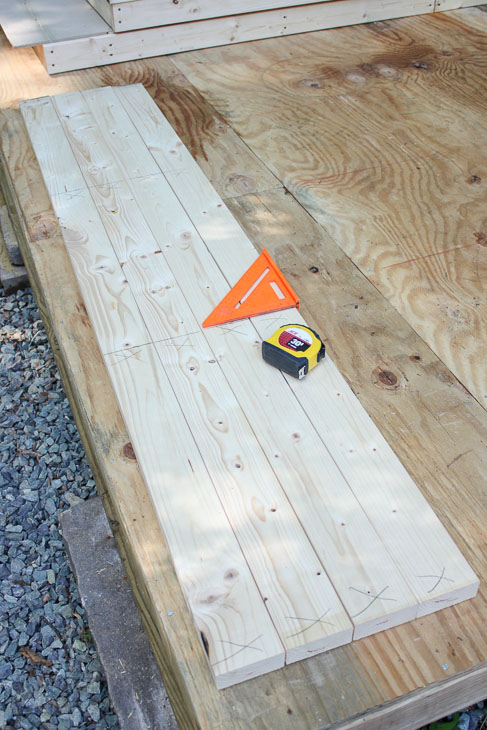
Have a second pair of hands help you erect the walls one at a time. Brace the walls after checking for plumb. Then secure the walls to the flooring by nailing or driving fasteners through the bottom of the wall.
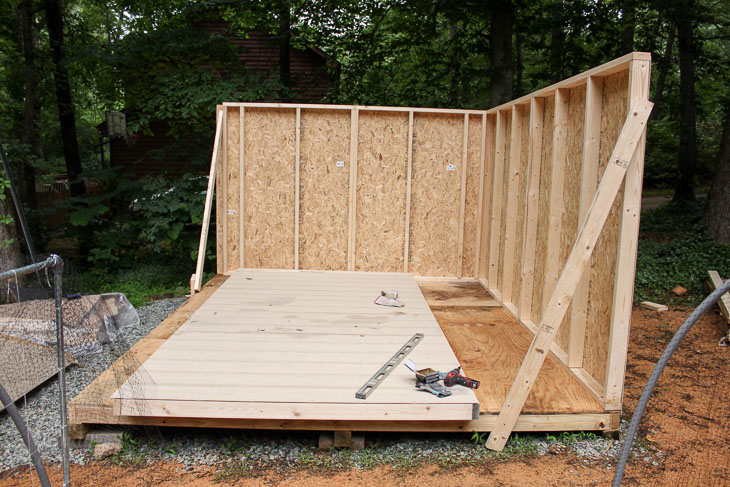
Now give yourself a big pat on the back! The shed walls are up!
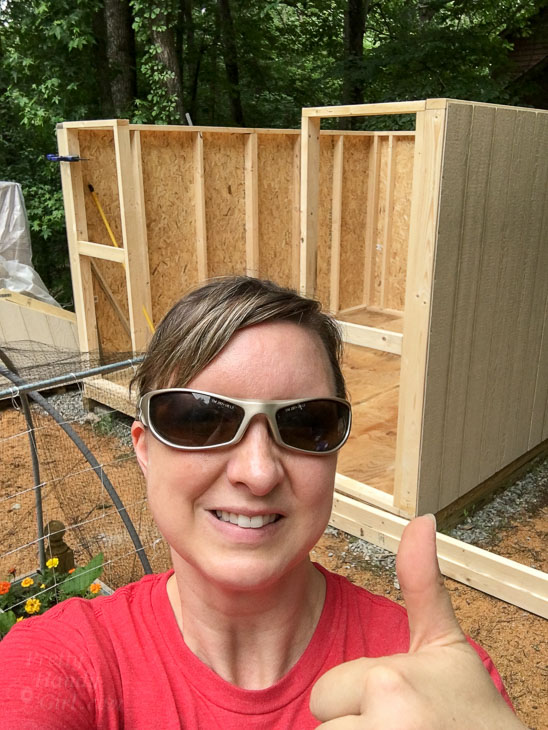
Add the exterior sheeting to the front of the shed.
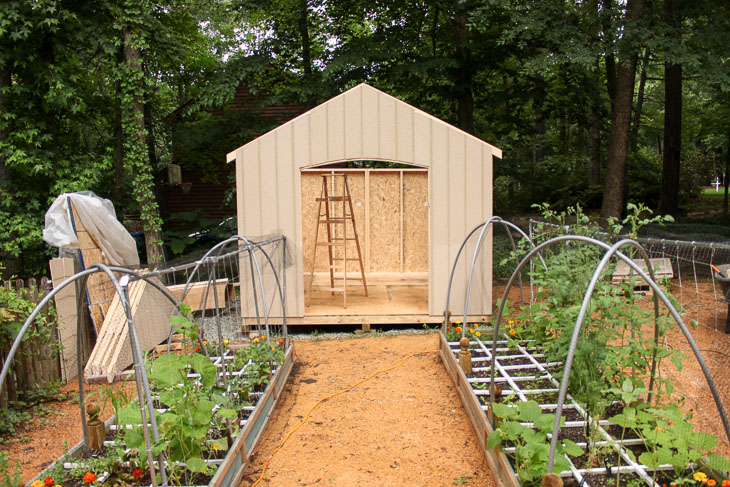
Call in your assistant to help you raise the trusses onto the garden shed.
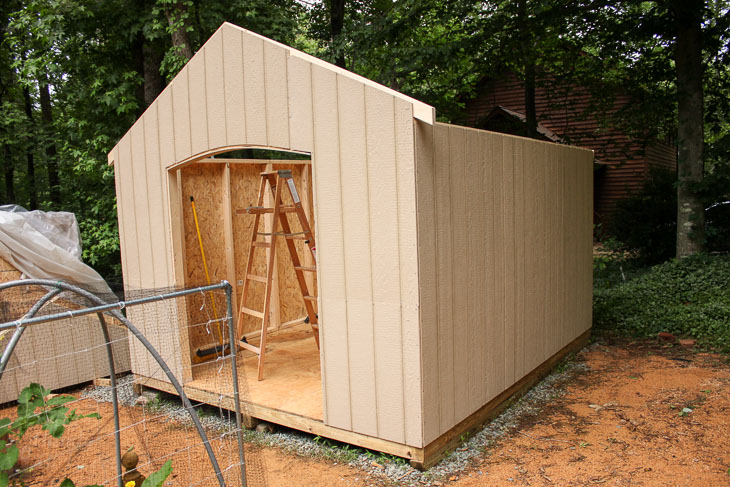
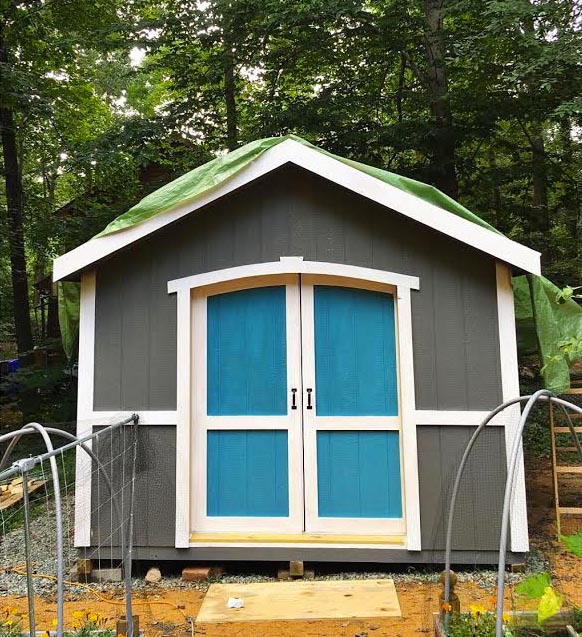
Trusses are installed, but rain was threatening, so we threw up the tarp to cover the shed.
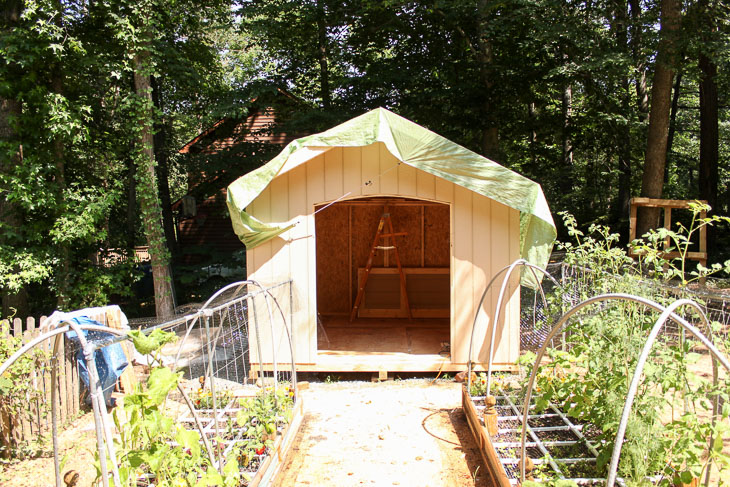
Install the door hardware to hang the sliding doors. Honestly, this was the toughest task. In fact, I’d recommend installing the sliding door track BEFORE adding the roof panels (opposite of what the directions tell you to do.)
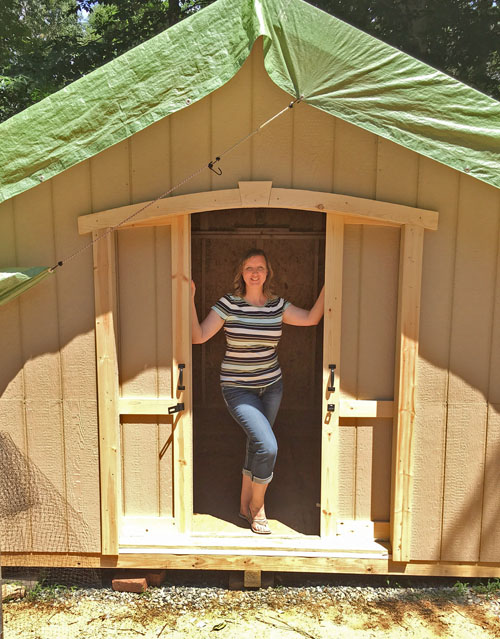
Then you can nail the OSB roof panels to the roof trusses.
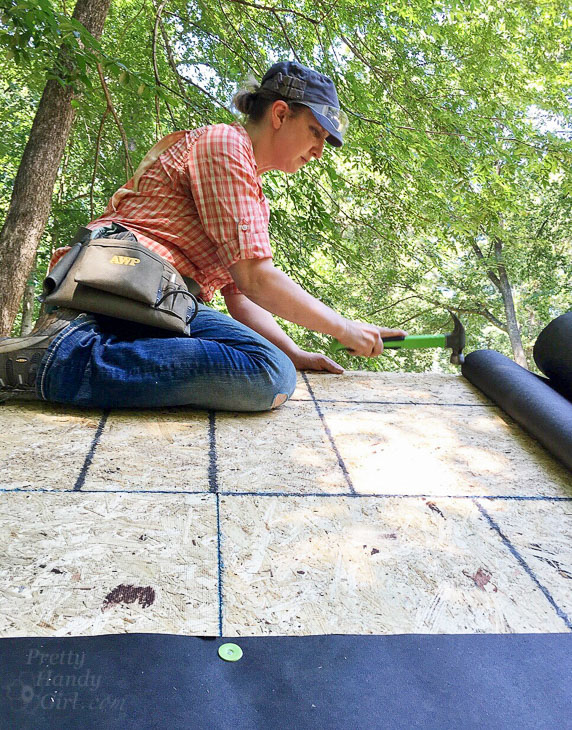
Attach the felt paper on top of the roof. (Trim the overhanging tar paper.)
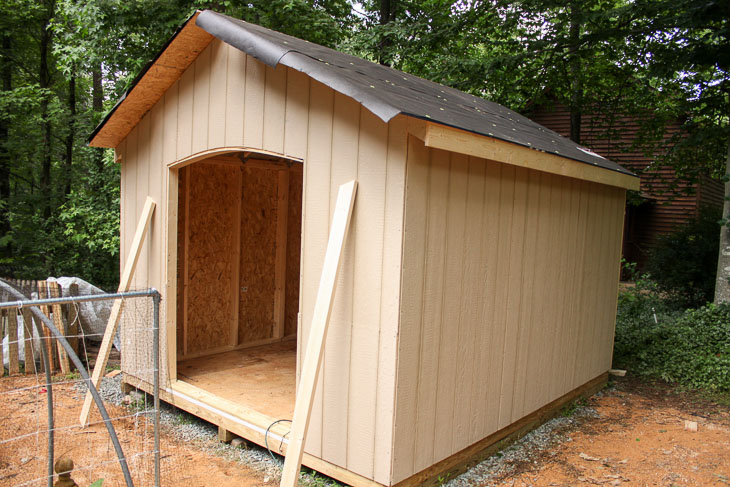
Be sure to install drip edges along all the edges of your roof (not shown).
Install the trim on your shed.
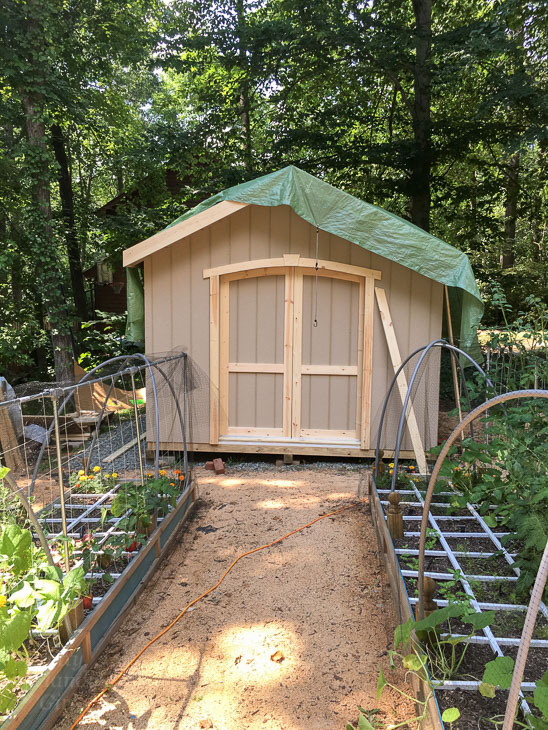
Paint your shed any colors you fancy.
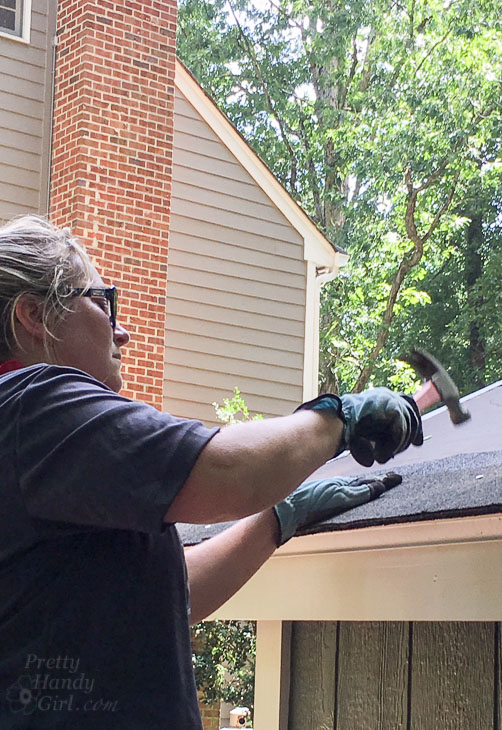
Add your roof shingles starting from the bottom first and work your way up.
Install a cupola and weathervane if you like. After the cupola is installed, add the ridge vents, and shingles onto the ridge vents.
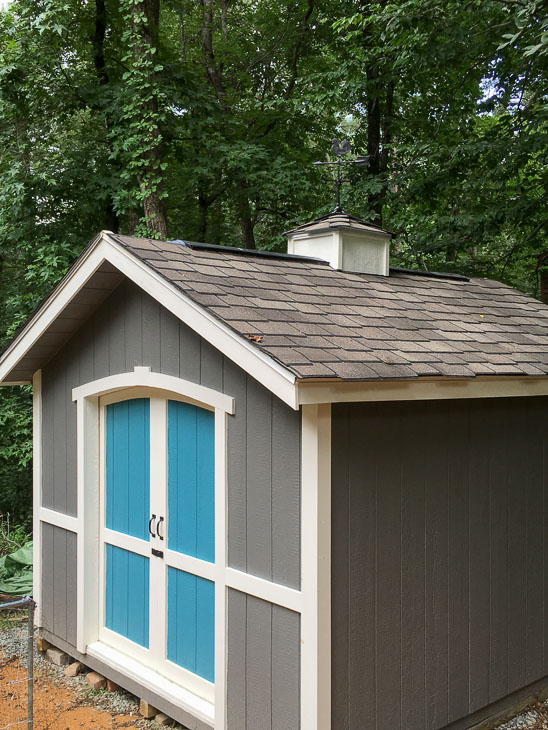
I recommend adding the shingles and weathervane to the cupola AFTER installing it on the shed. This keeps the weight on the cupola down when you have to lift it onto the roof.
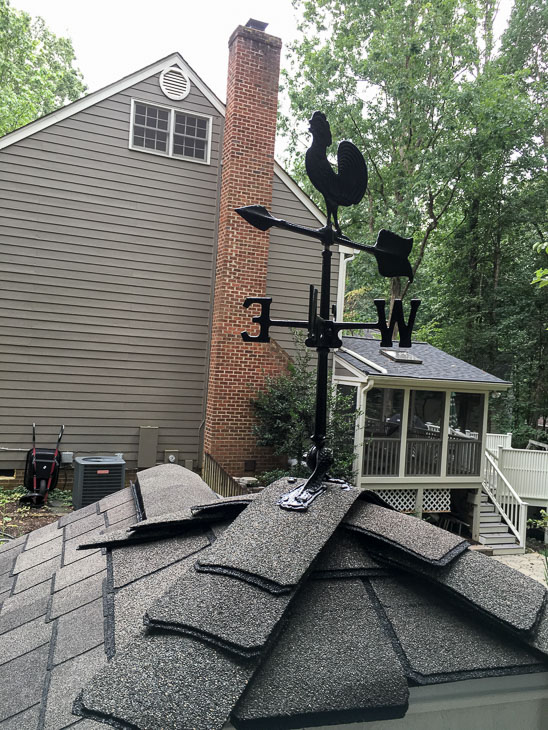
If you noticed the rooster changed colors, your eyes aren’t deceiving you. I spray painted the weathervane a copper color to make it stand out better.
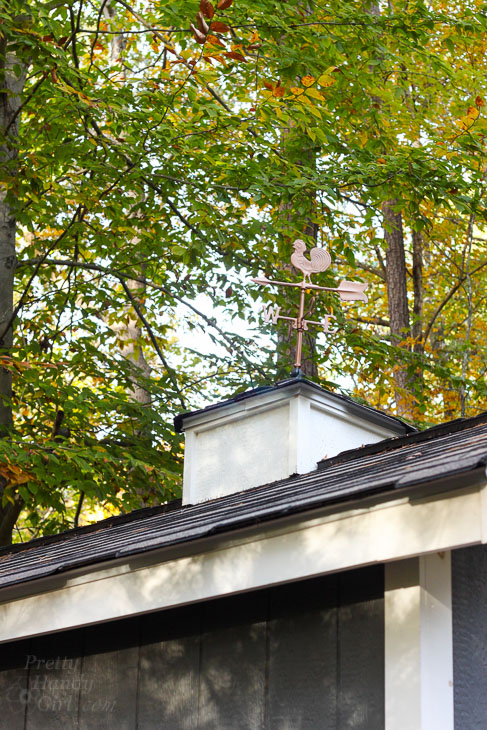
Now stand back and admire the cute garden shed that you built!
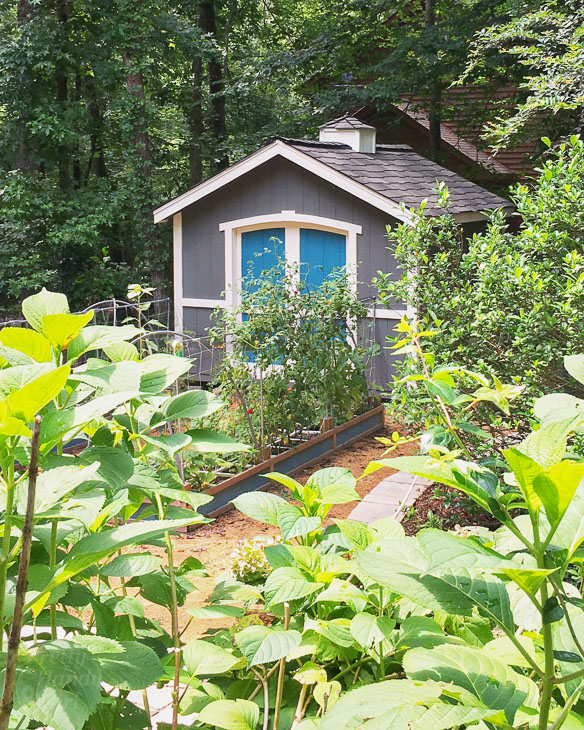
Feel free to add windows and window boxes for a more cottage style feel.
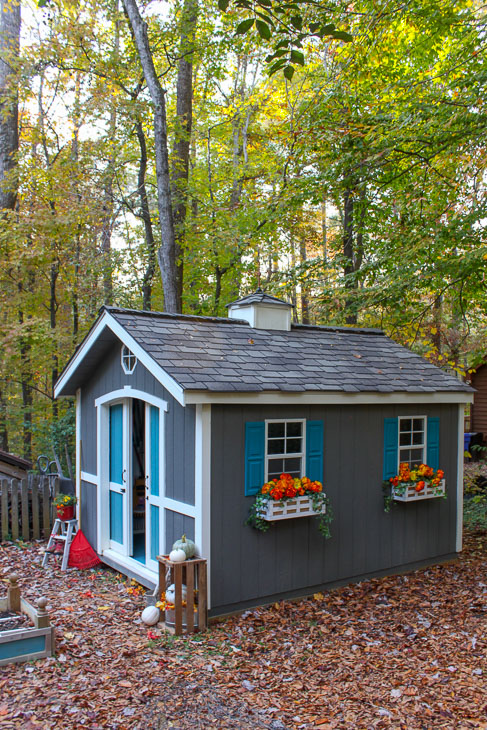
Paint Colors:
- Benjamin Moore Kendall Charcoal Gray
- Benjamin Moore Calypso Blue for the door and shutters
- Trim color is Sherwin Williams Dover White
Source List:
- Cambridge Shed from Lowe’s Home Improvement
- Best Barn Window and Shutters
- Best Barn Octagon Window
- Cupola and Weathervane
- GAF Woodland Cedarwood Abbey Shingles
Want a peek inside the shed?
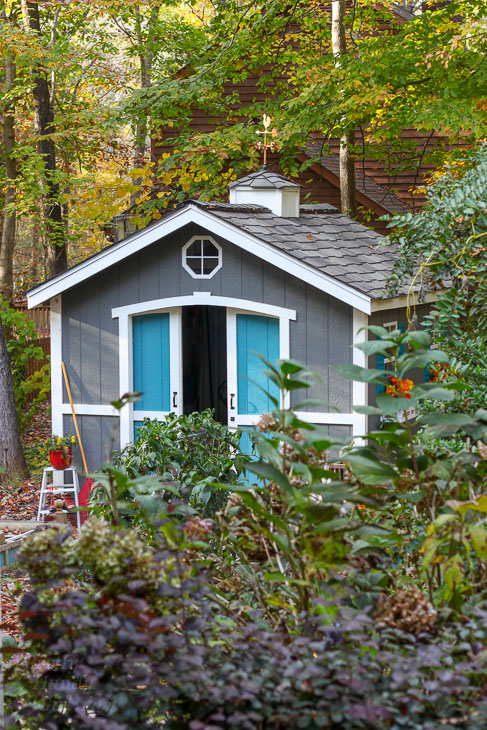
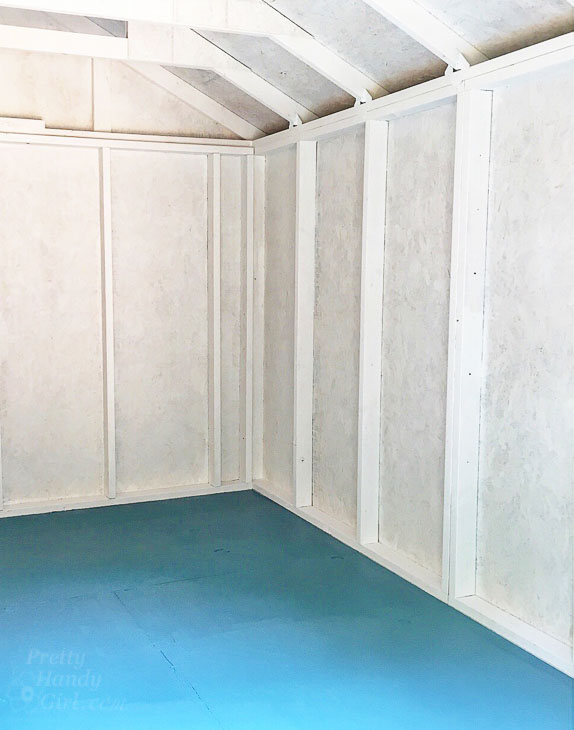
I painted the floors the same color as the doors and primed the walls and ceiling.
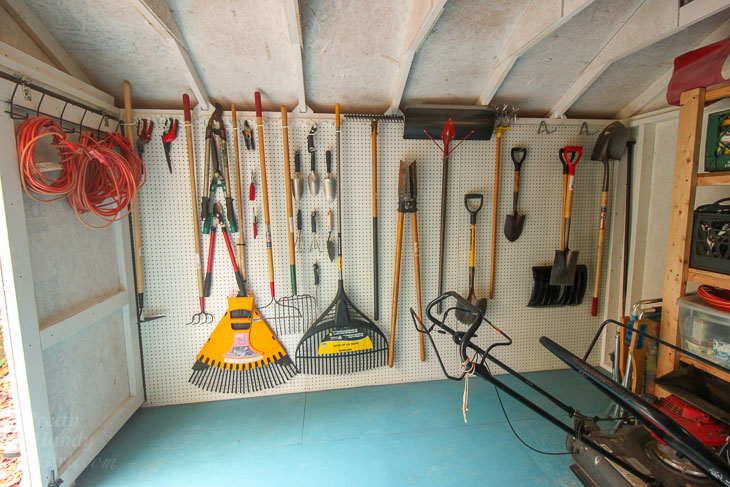
The shed holds all our garden and landscaping tools. I’ll put up a tutorial for adding the pegboard wall next week. For maximum organization, l used pegboard hooks and hangers to maximize the storage.
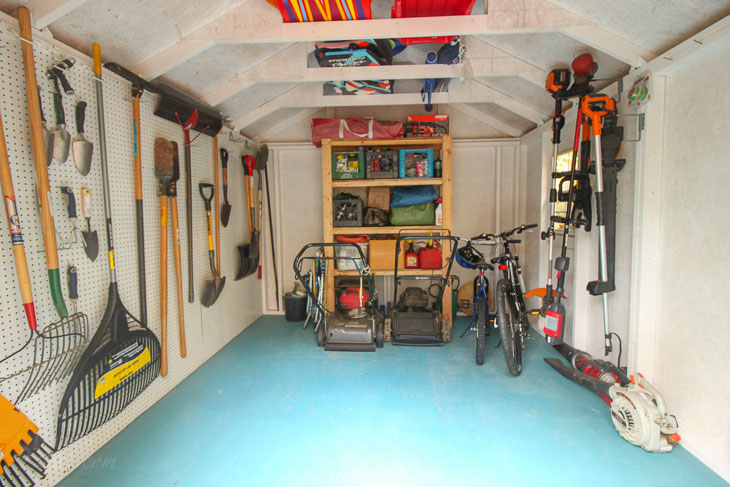
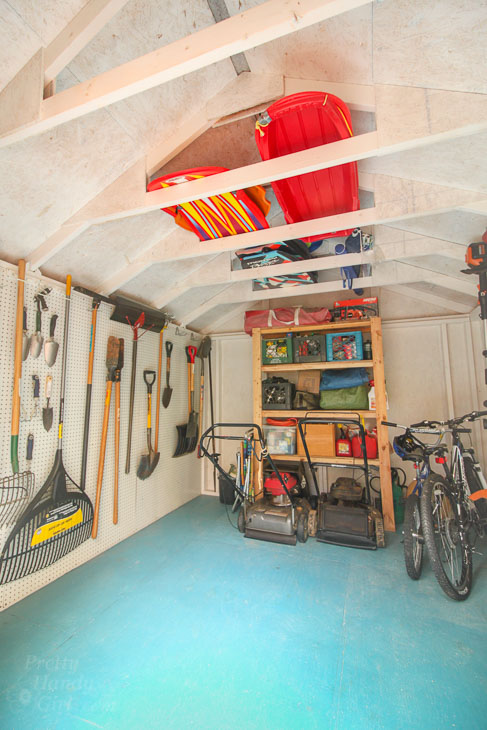
Of course, there is additional storage in the rafters. We have enough room for boogie boards, sleds, and beach umbrellas up there.
I love how my garden shed turned out.
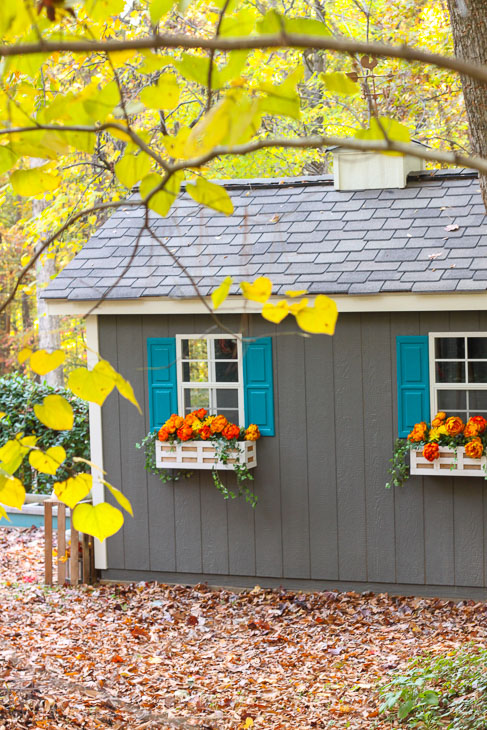
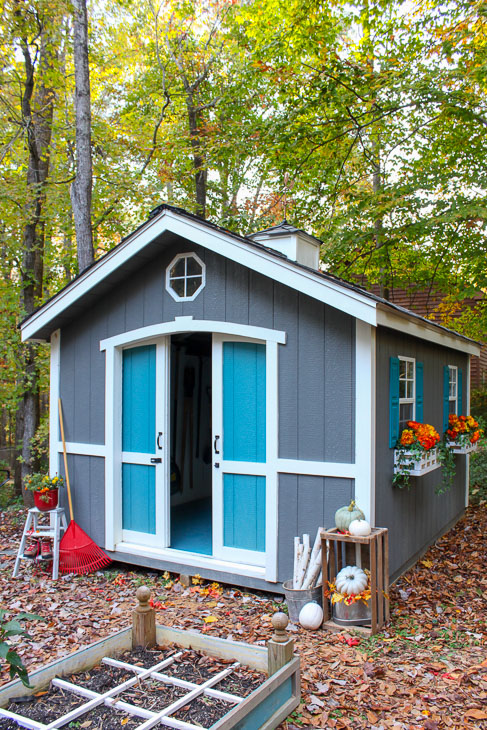
But, best of all, my neighbor likes it too.

I added a fake mirrored window on the back of the shed. Some day I’ll add shutters to the mirrored window.
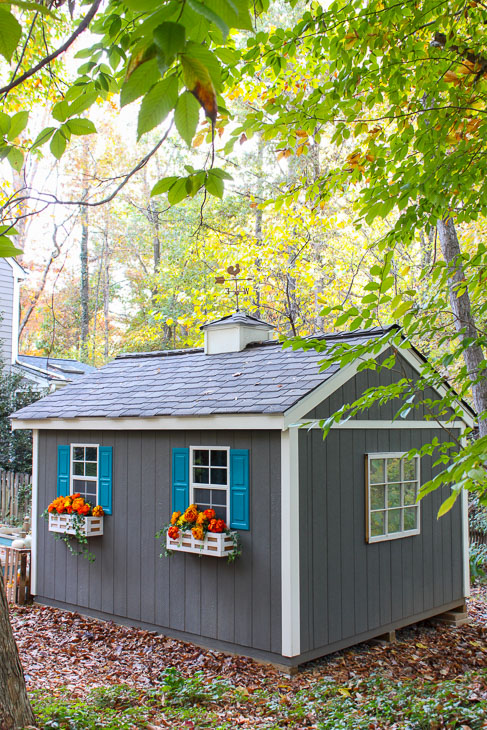
Hope you found the encouragement to build your own garden shed. I’d love to stick around and chat, but the leaves are piling up and need to be raked.
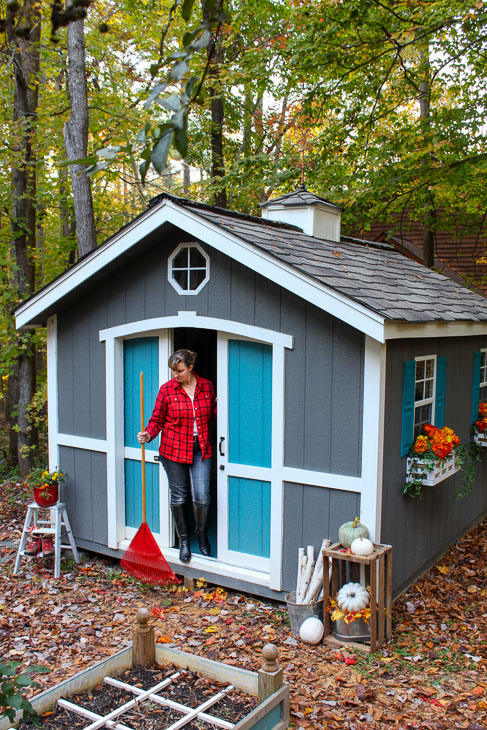
If you want to see the time-lapse video of the shed build, here it is:
Until next time.
![]()
Disclosure: This project was sponsored by Lowe’s Home Improvement. I was provided with materials to build the shed in exchange for sharing the building process with you. I will always let you know if a project is sponsored. All opinions are my own.
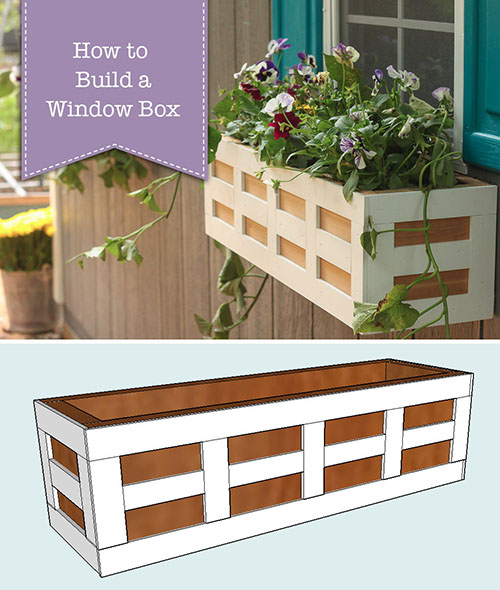
If you liked this post, you’ll love learning how to build the lattice window boxes:

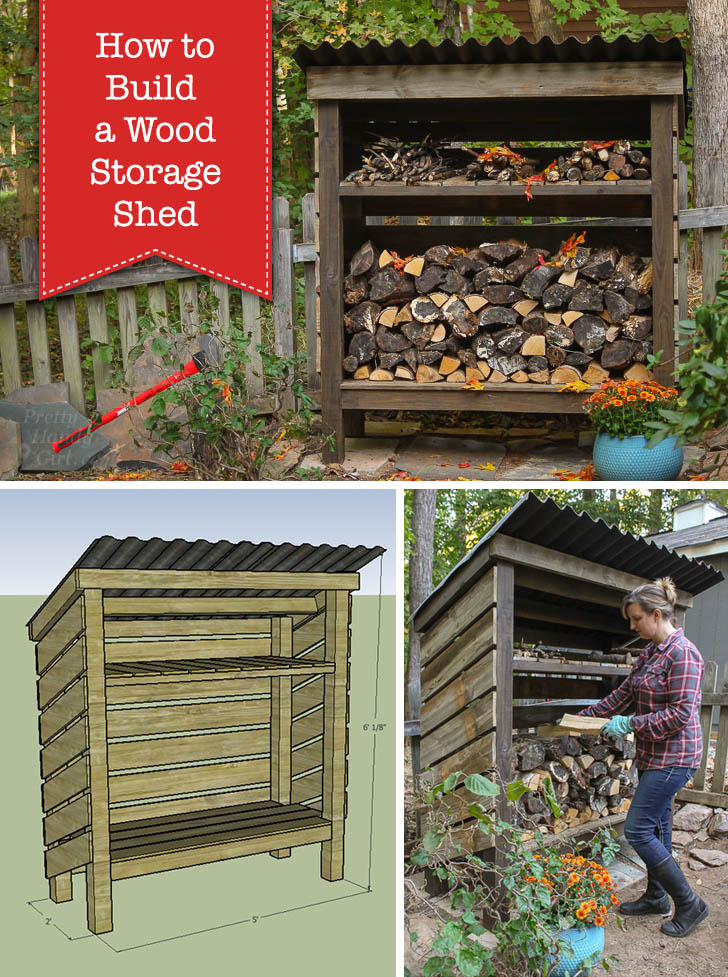



 Build a DIY Tray Box


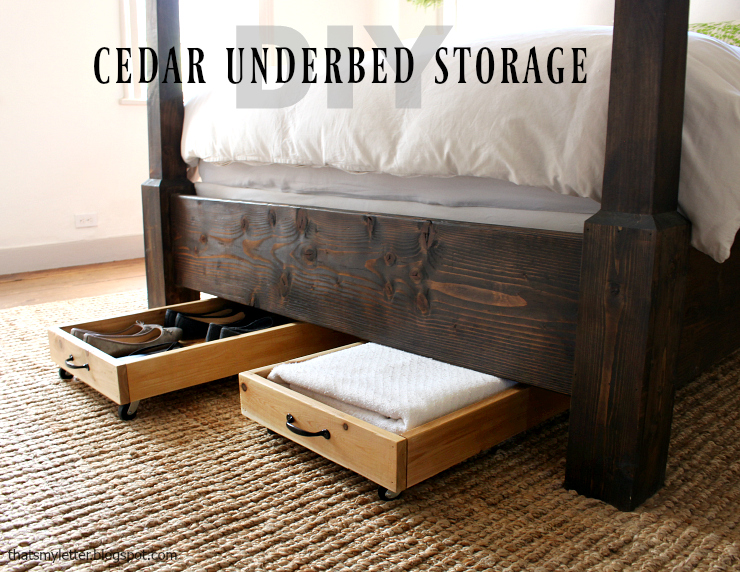
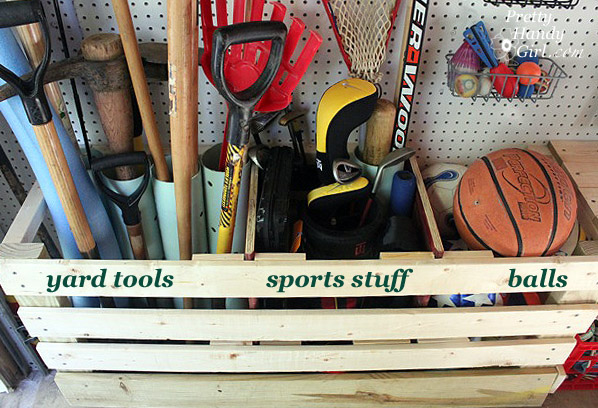 There are so many awesome garage storage ideas in this one post, like this