How to Make a Snowman without Snow
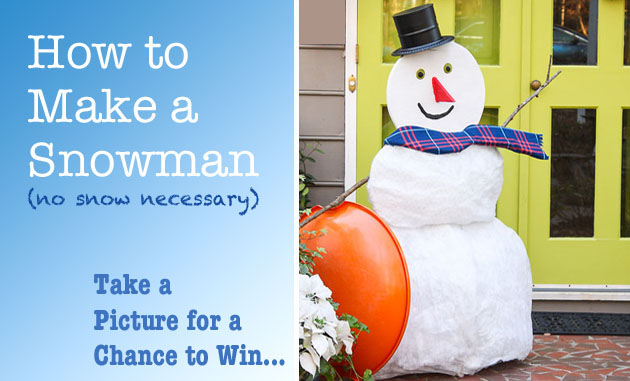
Do you wanna build a snowman? Come on let’s go and play! Ha, my apologies if you have that popular Frozen song in your head now. Do you have snow where you are? We are on the tip of an “epic” winter storm that is rolling into North Carolina right now. I hope we’ll get some pretty white stuff. Unfortunately, we usually get a heaping dose of slick ice and sleet, and not the fluffy white powder.
How to Build a Snowman without Snow:
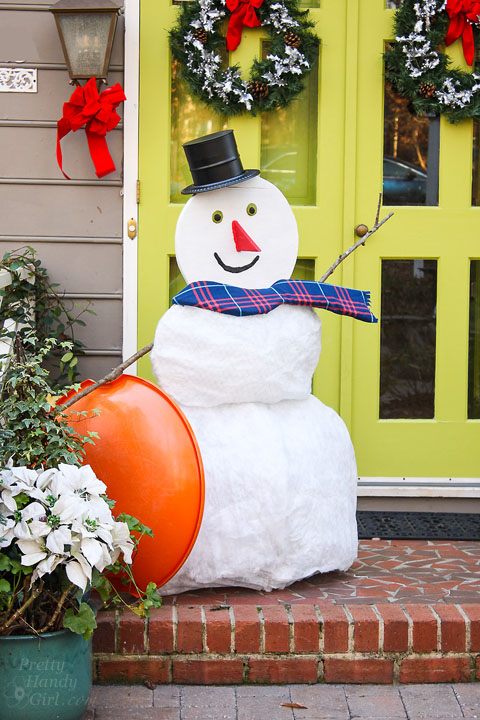
Do you have snow? If not, want some help making your snowman without snow? No worries, I got your back. You’ll need a few tools and supplies to build a snowman without snow. Keep in mind you can substitute any of the materials for something you already have on hand.
Materials:
- Air filters (Use the cheap white ones that are sold in packs of two)
- Scissors
- Gloves
- Blue cut-to-size air filter
- Plywood
- Primer
- Paint roller
- Staple gun (with 1/2″ staples)
- Jigsaw
- Sander
- Marker (or pencil)
- Hot glue gun and glue
- Fabric for scarf
- Sugru Mouldable Glue (for facial features)
- Painter’s tape
- Stove Collar
- Stove Pipe
- Stove Pipe Cap
- Tin snips
- Pliers
- Drill and small drill bit
- Philips head bit for drill
- 2 – 1/2″ wood screws
- 2 branches for arms
- 4 – 1″ wood screws
(I’ve included affiliate links for your convenience. I earn a small percentage from a purchase using these links. There is no additional cost to you. You can read more about affiliate links here.)
Instructions:
Trace a snowman shape onto plywood and cut out the pieces with a jigsaw.
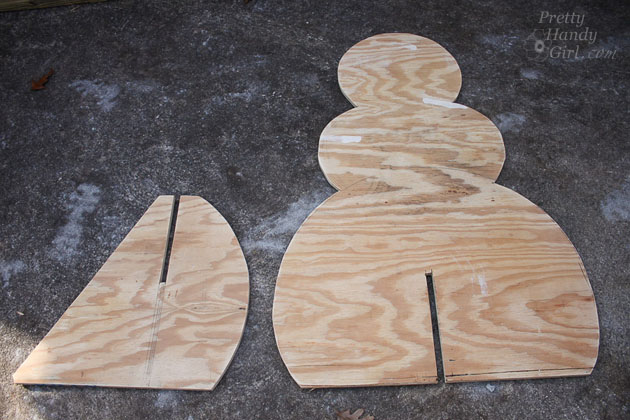
Cut a base piece with a slot in the top and cut a slot in the bottom of your snowman shape.
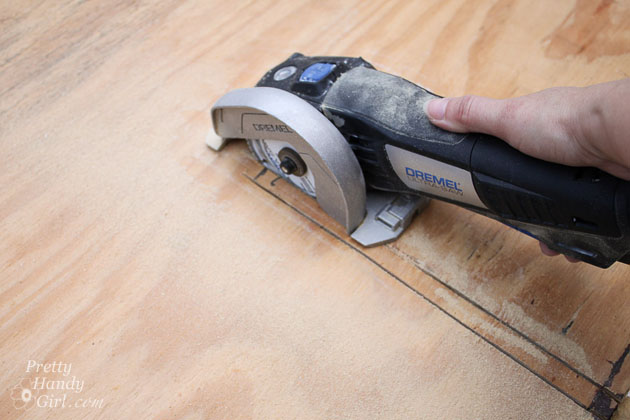
Sand any rough edges off the snowman.
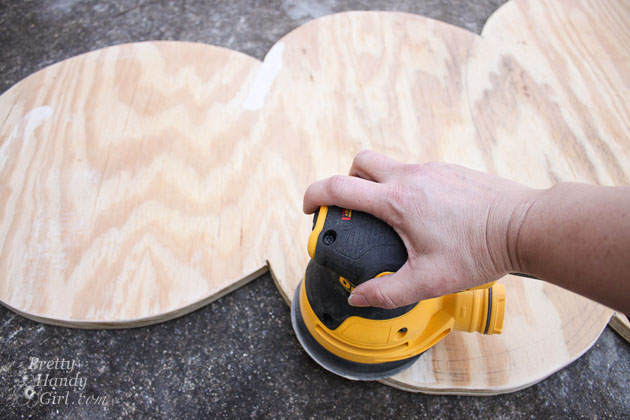
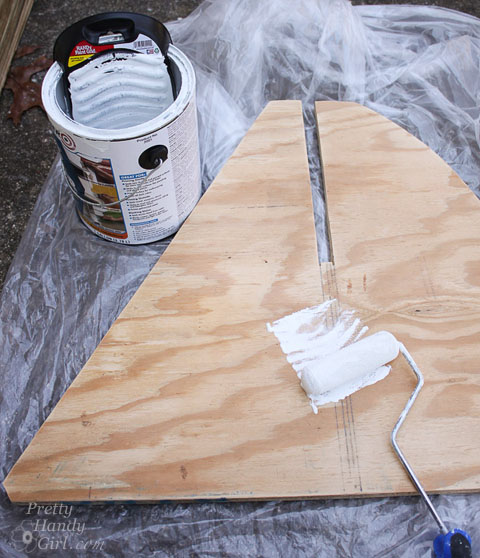
Prime both the snowman and the base.
Cutting the Filters:
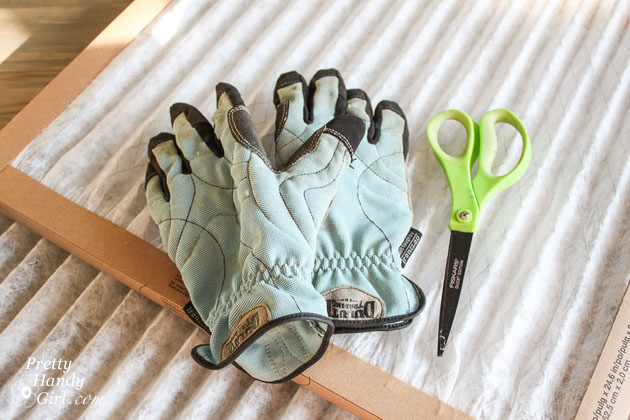
While the primer is drying, open up your air filters and put on gloves. The mesh inside the air filters can cut your hands.
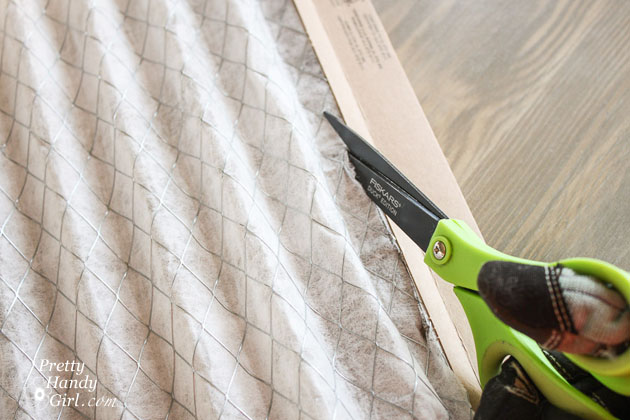
Cut or rip off the cardboard frame.
Pull the filters open to stretch out the accordion pleats.
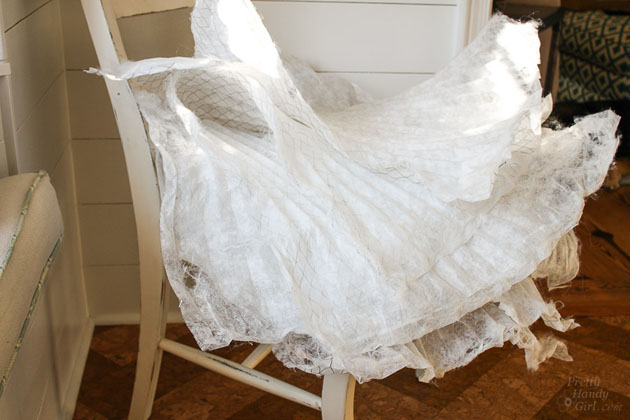
Assemble the Snowman:
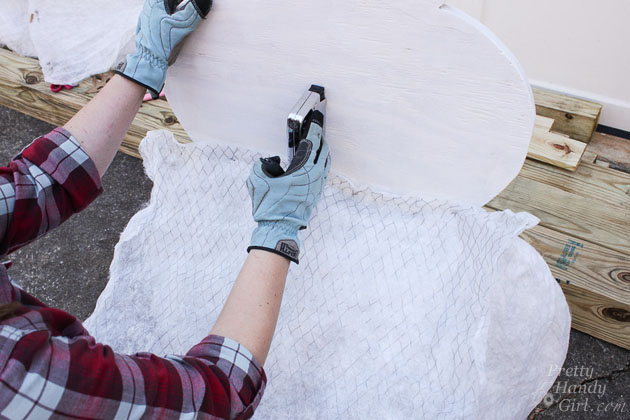
Time to check on Frosty. If the primer is dry, assemble the snowman by sliding the base onto the snowman. Lay a filter over the bottom section of the snowman. Staple the bottom and side edges of the filter to the back of the plywood.
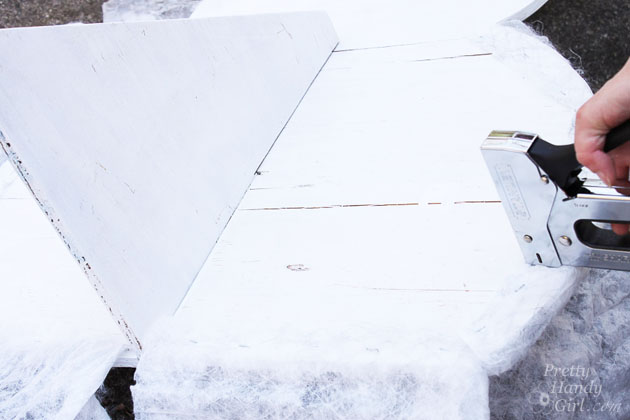
You are creating an open pouch in the front. If your snowman is on the plump side, you might need to use two filters for the bottom section.
Stuff the pouch with bubble wrap or plastic bags. (Any lightweight recycled material will work.)
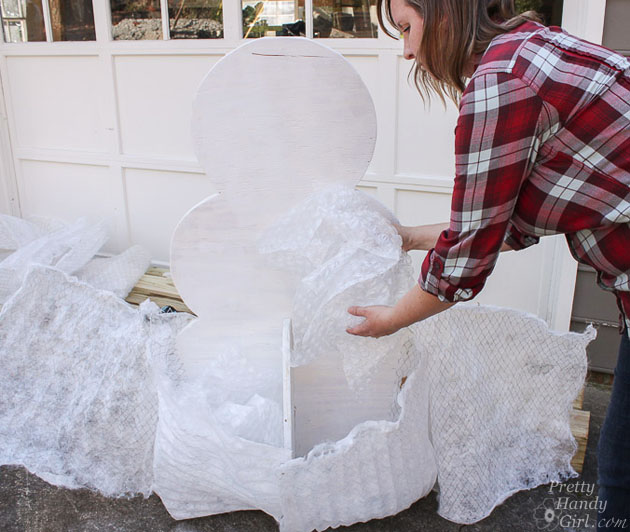
Fold the top of the pouch in toward the plywood and staple it to close the pouch.
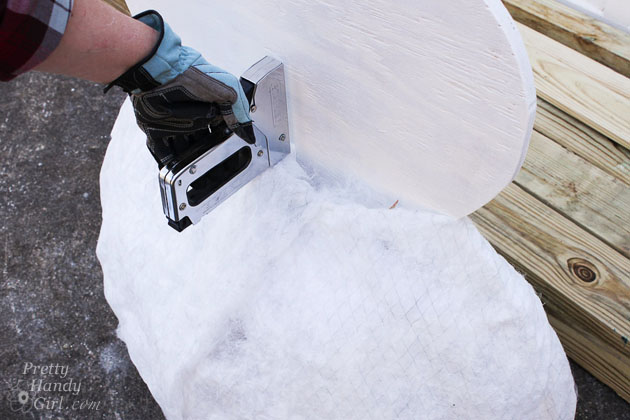
Grab a second filter and staple it on top of the lower pouch as show below. The staples should be hidden when you lift the filter up to create the middle pouch.
Lay more bubble wrap on top of the middle filter.
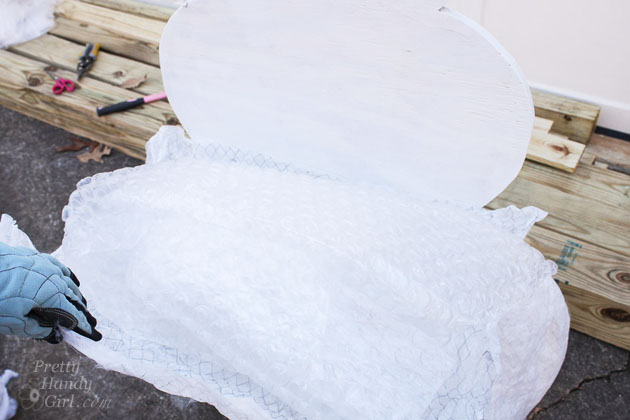
Fold the middle section up and staple the sides to the back of the plywood. Staple the top of the middle pouch closed.

Add Facial Features:
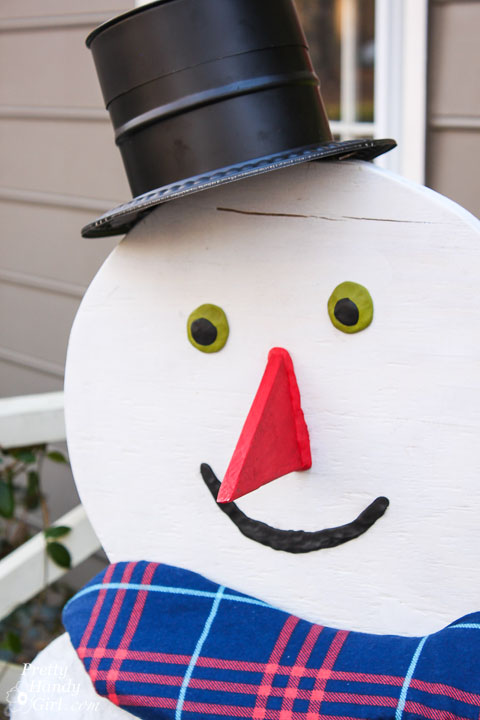
Time to give Frosty a face! Use some Sugru Mouldable Glue rolled into a ball to make eyes. The glue can be shaped into a mouth by making a long “snake” with the glue and pressing it in place. More Sugru pressed around the base of a triangular piece of wood creates a nose. Wrap painter’s tape around the head and over the nose to support it while the glue hardens.
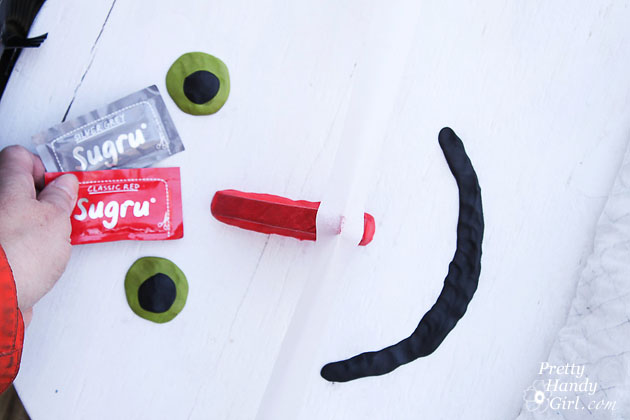
After the Sugru hardens it creates an amazingly permanent bond with the plywood.
Making a Hat out of Stove Pipe Parts:
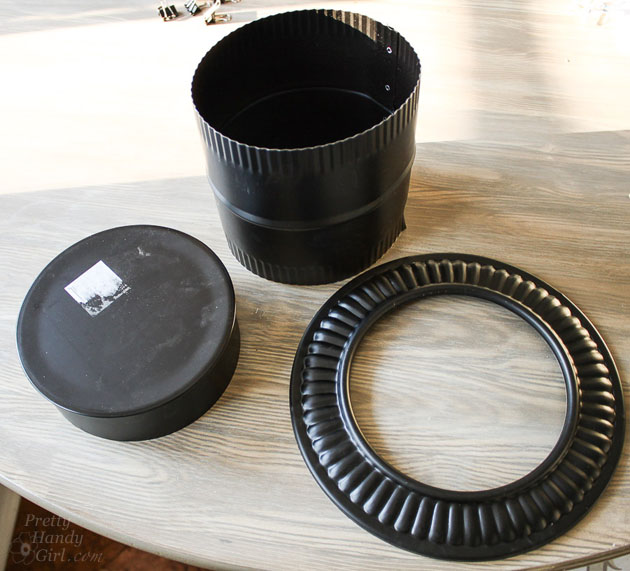
Slide the stove pipe collar onto the pipe and center it (front to back) onto your snowman’s head. Use tin snips to snip where the pipe meets the plywood.
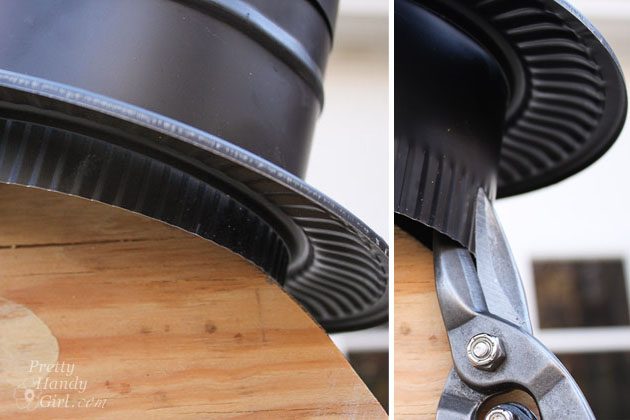
Use pliers to fold the tab inside the pipe.
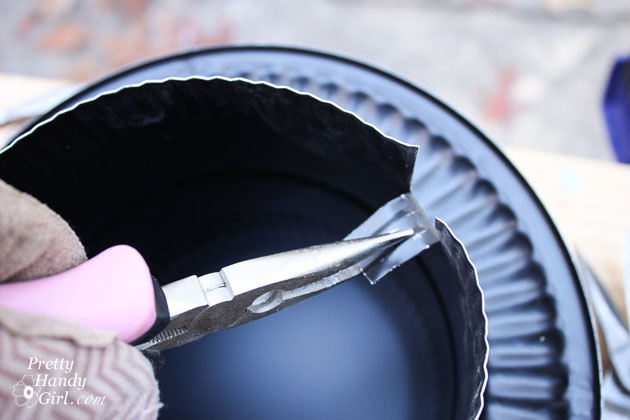
Repeat for the opposite side.
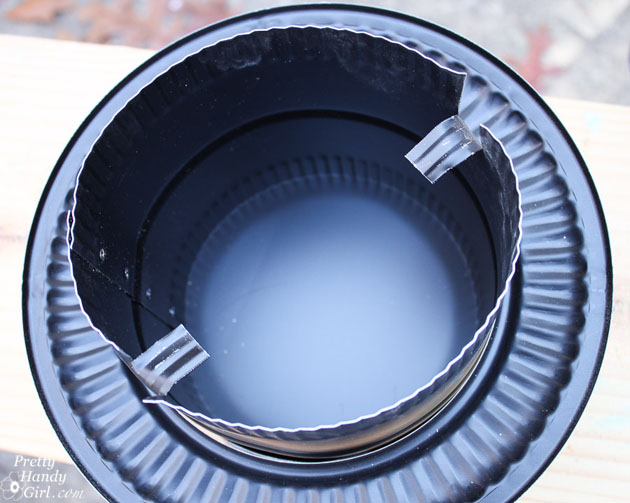
Cut a few more tabs and fold them out to hold the collar in place.
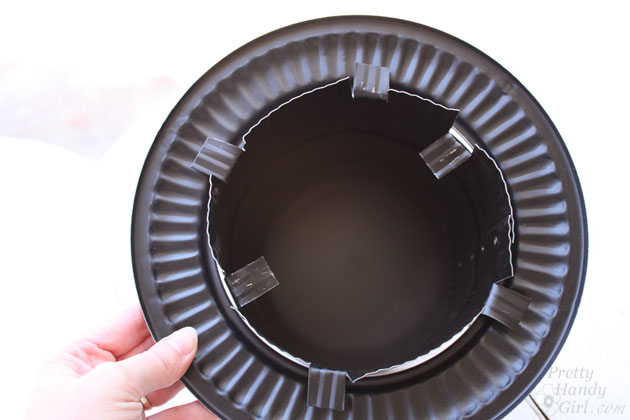
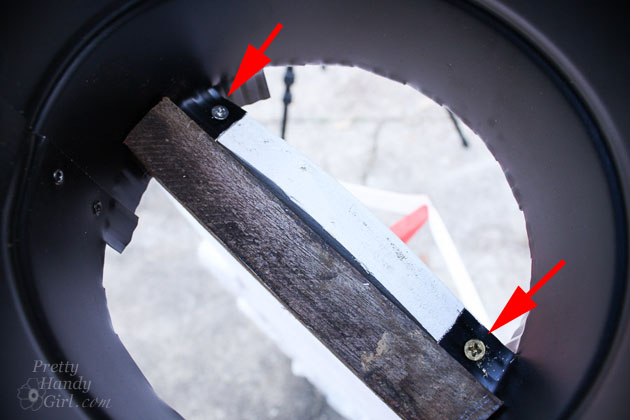
Secure the stove pipe and collar to the snowman’s head by pre-drilling holes into the inner tabs. Then drive one screw into each tab to secure the stove pipe hat.
Place the cap onto the top of the stove pipe.
Making the Scarf:
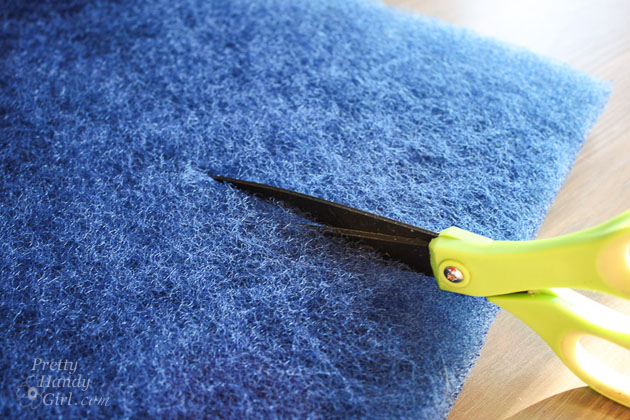
Cut a flying scarf shape out of the blue cut-to-size filter.
Cut fabric slightly larger than the scarf shape.
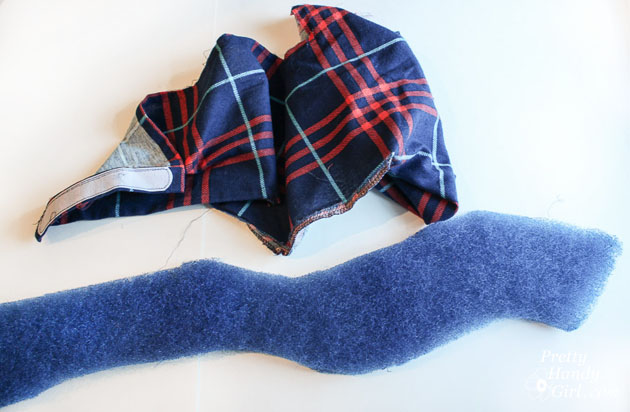
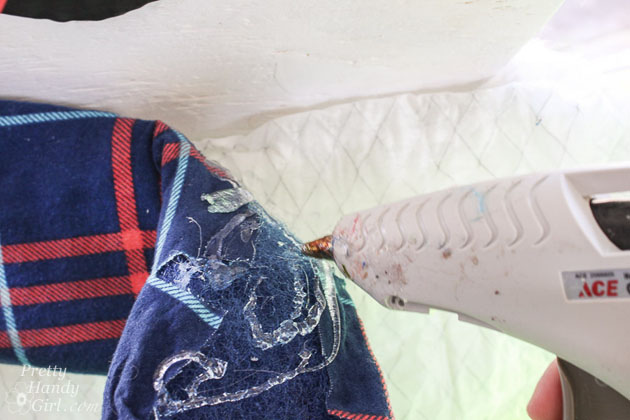
Glue the fabric edges to the back of the filter scarf with hot glue.
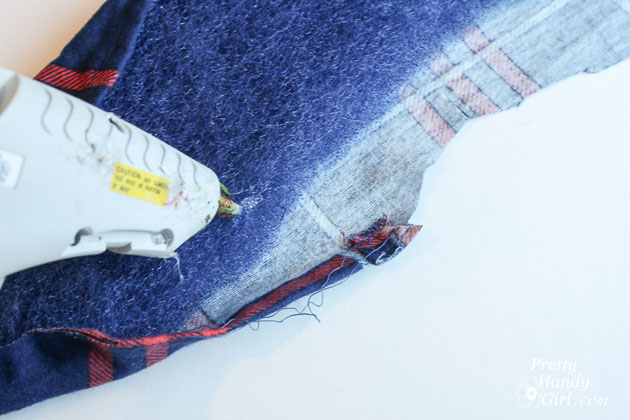
Glue the scarf to the snowman’s neck.
Attaching Snowman Arms:
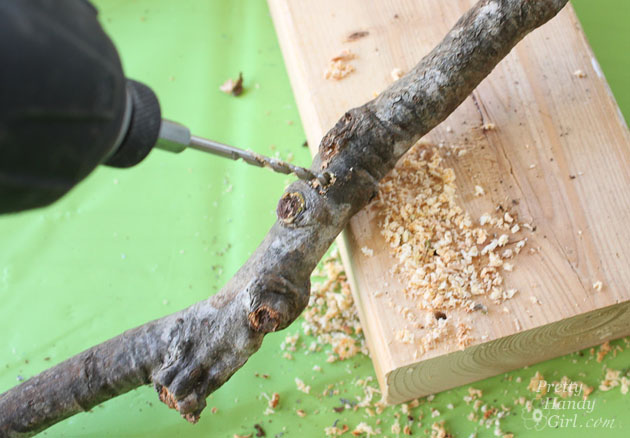
Pre-drill 2 holes into the branch arms.
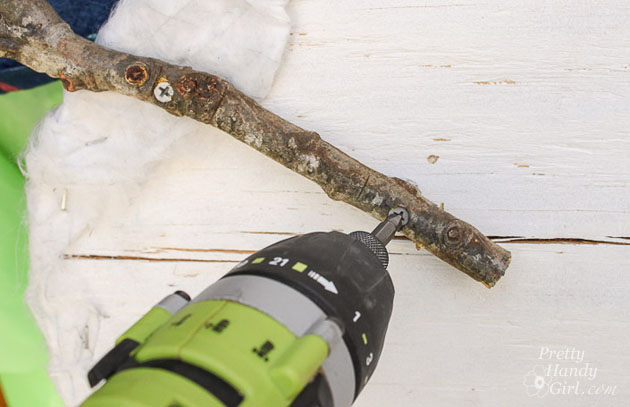
Secure the branch arms to the back of the snowman with 1″ wood screws.
Your snowman is ready for a snowball fight!
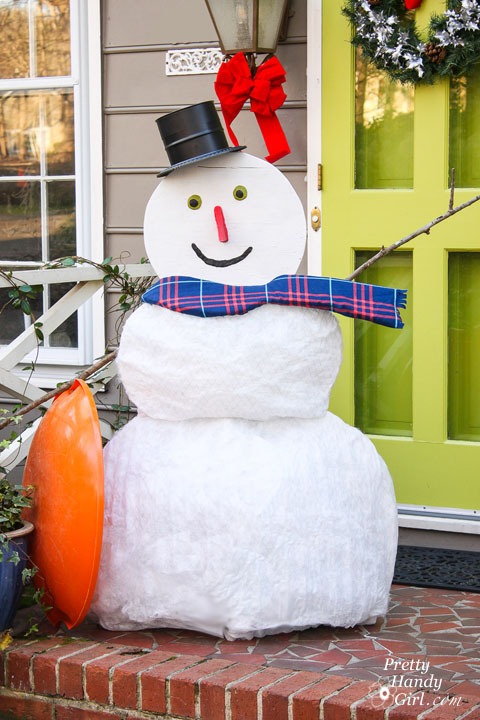
Or just to greet the neighbors.
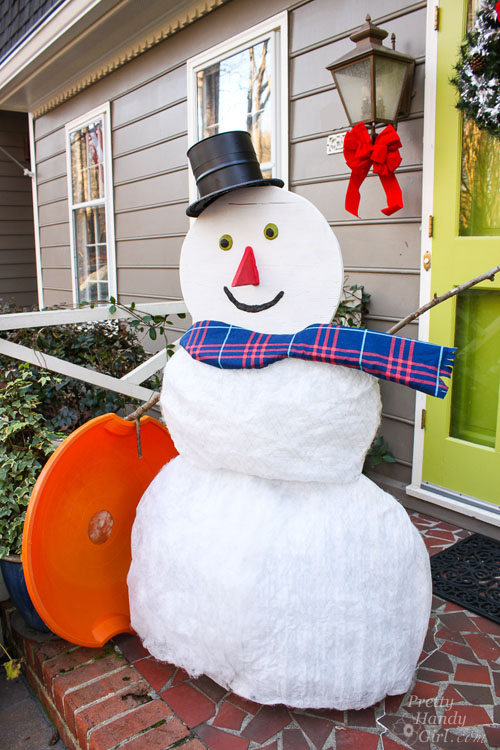
Now go run outside and see if you have snow. If not, you know what to do!
![]()
Disclosure: This is a sponsored post for Service Experts Heating & Air Conditioning. I have been compensated for my time and efforts to promote the unFROZEN Winter campaign. I had no hand in choosing the winner.
Pin for later!


Its a lovely share!!
Is it really so complicated to make as its looking in above images?
but anyhow its looking amazing and cute!!
What a great idea! I hope some of our NC Bloggers get in on this!
Me too! We certainly had enough to make a snowman this past weekend.
So cute and original. I love the hat!
Thanks Julie!
This is pretty cool, but that’s an awful lot of materials to make a snowman… I think I might have to just stick with the traditional snow-based snowmen. If we ever get any actual snow accumulation this year, that is (I’d be fine if we didn’t, to be honest!)
Ha, yes, if you have real snow, go for it!
This is so amazingly cool and creative!