
12 Toys that Help Kids Grow Creatively

For birthdays and holidays I like to buy gifts for my boys, nephew, and nieces that help grow their creativity and in turn boost their self-esteem. These gift ideas help increase creative thinking and problem solving (skills that are on the decline in this ever increasing digital world.) If you want to help that special kid in your life develop his or her right brain and instill confidence in them, check out these 12 Toys that Help Kids Grow Creatively.

(I’ve included affiliate links for your convenience. I earn a small percentage from a purchase using these links. There is no additional cost to you. You can read more about affiliate links here.)
wood-scraps

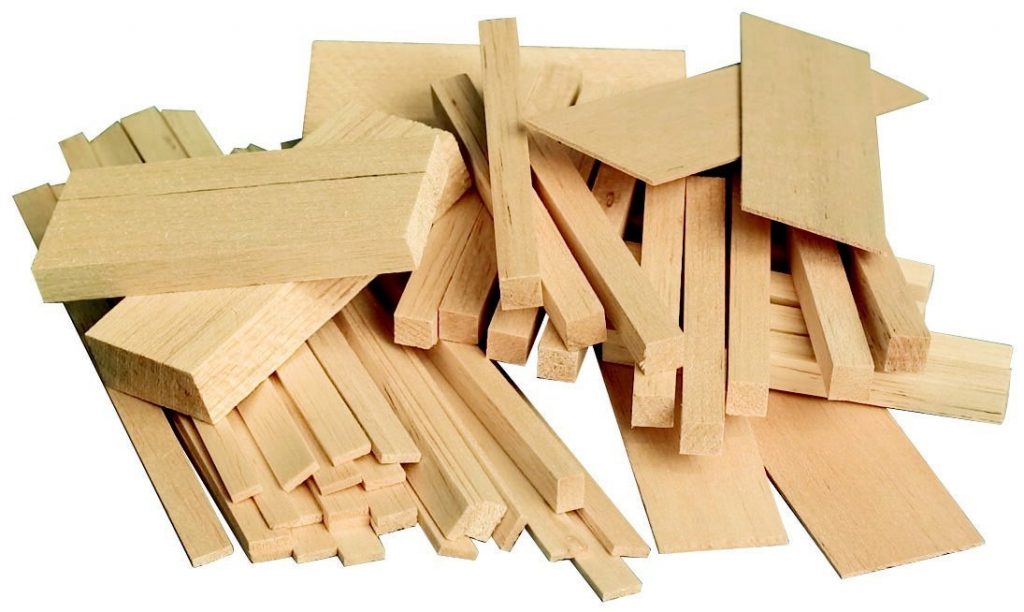
Assorted Balsa Wood (Small set) and (Large set)

Last Christmas my boys each got a box of assorted balsa wood. They love to build ramps for their matchbox cars, buildings for their stuffed animals and other fun creations. Balsa is soft and can easily be nailed, glued or screwed together. Thinner pieces can be snapped or scored with a knife.
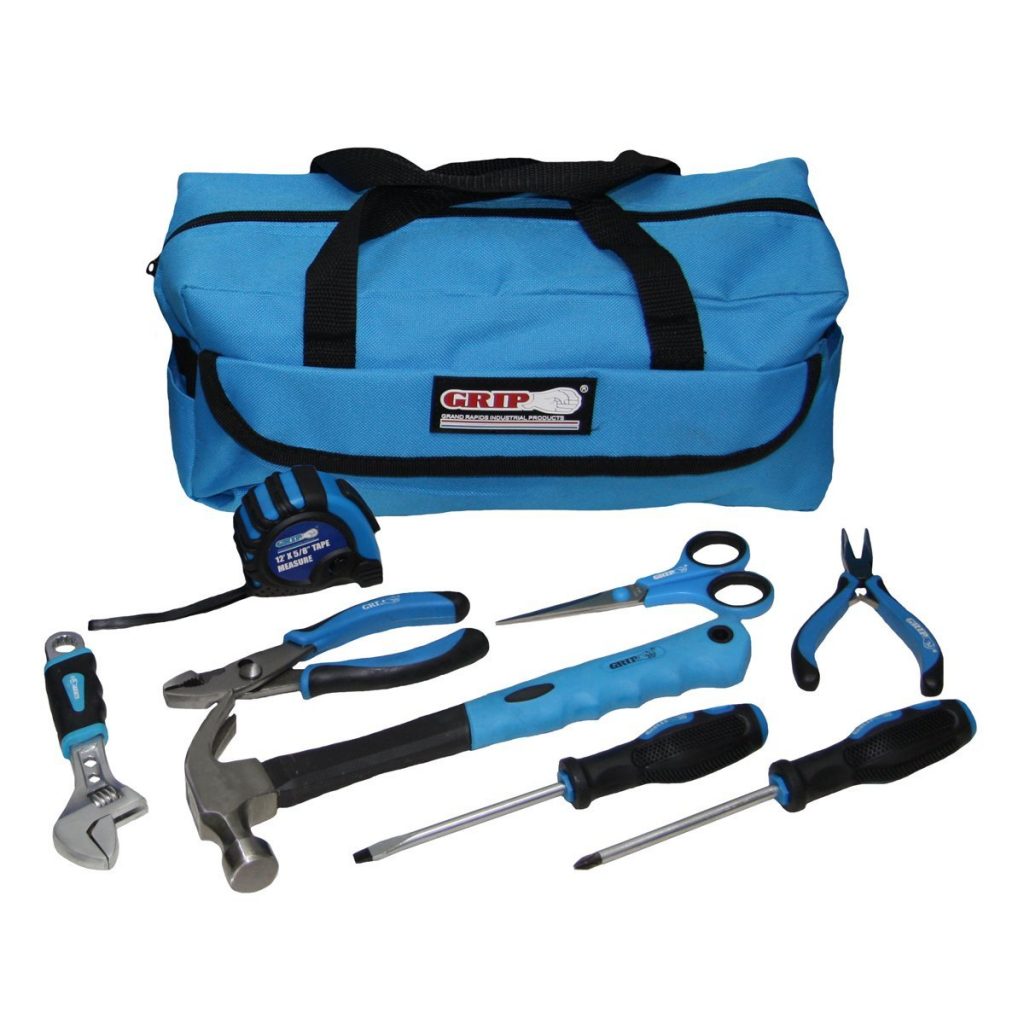
child-size-tool-setChild-size Real Tools

Forget the cheap plastic tools for your child. These are the real deal (only sized for smaller hands.) Purchase a pair of safety glasses and let them loose on that scrap wood!
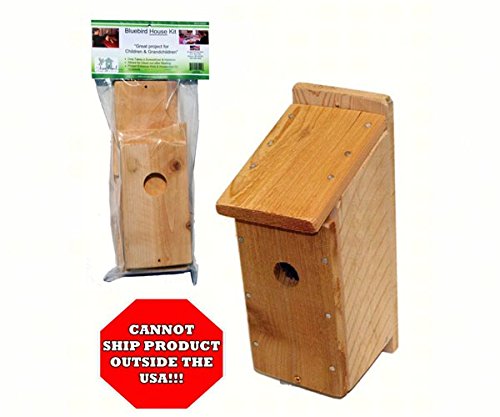
diy-birdhouse-kitDIY Songbird Birdhouse Kit

Work together with your child to make this birdhouse. Hang it in your yard and you’ve helped foster an interest in nature and a sense of accomplishment.
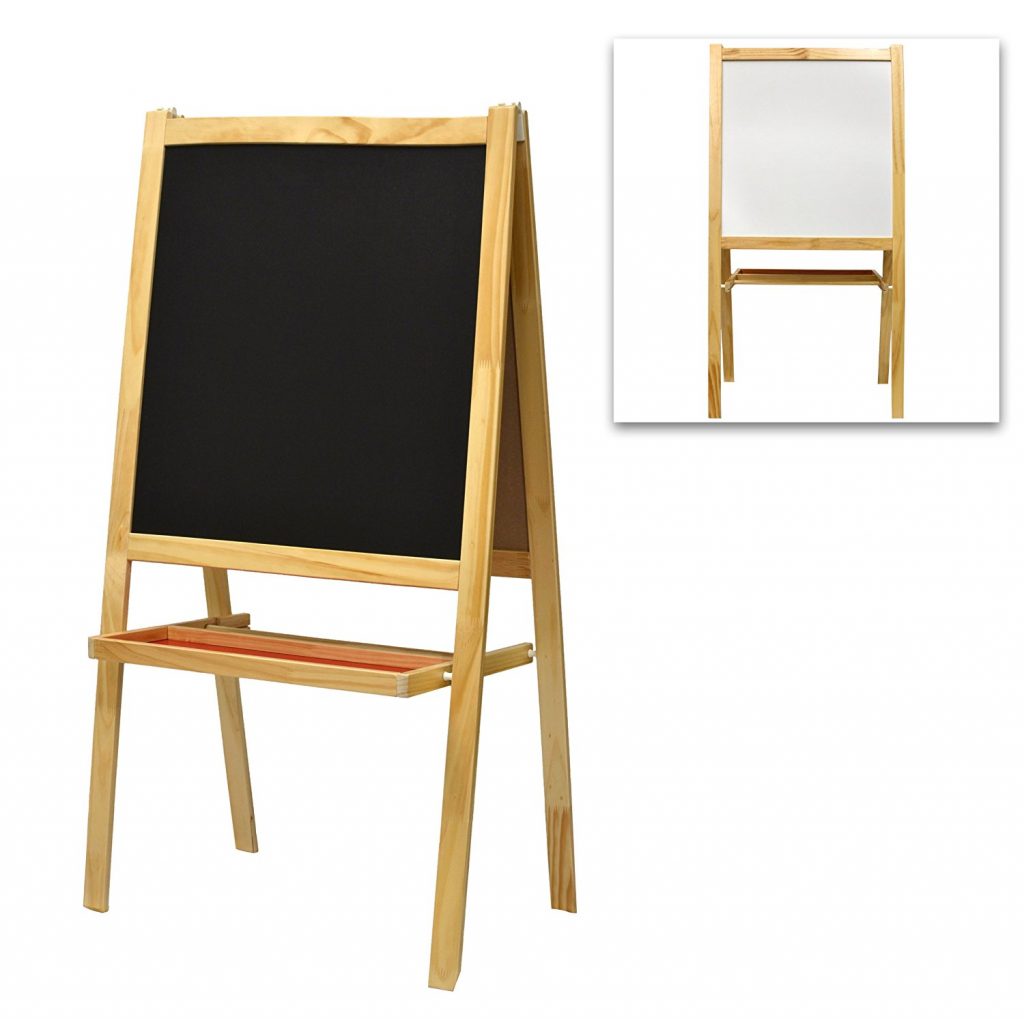
child-easel

Wooden Artist Easel

Although coloring books are nice, nothing helps foster creativity like a blank slate. Leave this easel stocked with chalk, colored pencils, markers and blank paper to inspire your little Picasso.
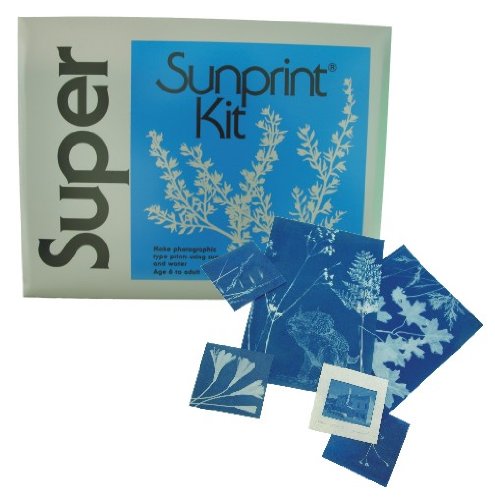
sunprint-paper

SunPrint Paper

This specially coated paper reacts to the sun’s rays. Show your child how to lay items on top of the paper and expose it in the sun. Your child will enjoy creating new art and appreciate a lesson on positive and negative space.
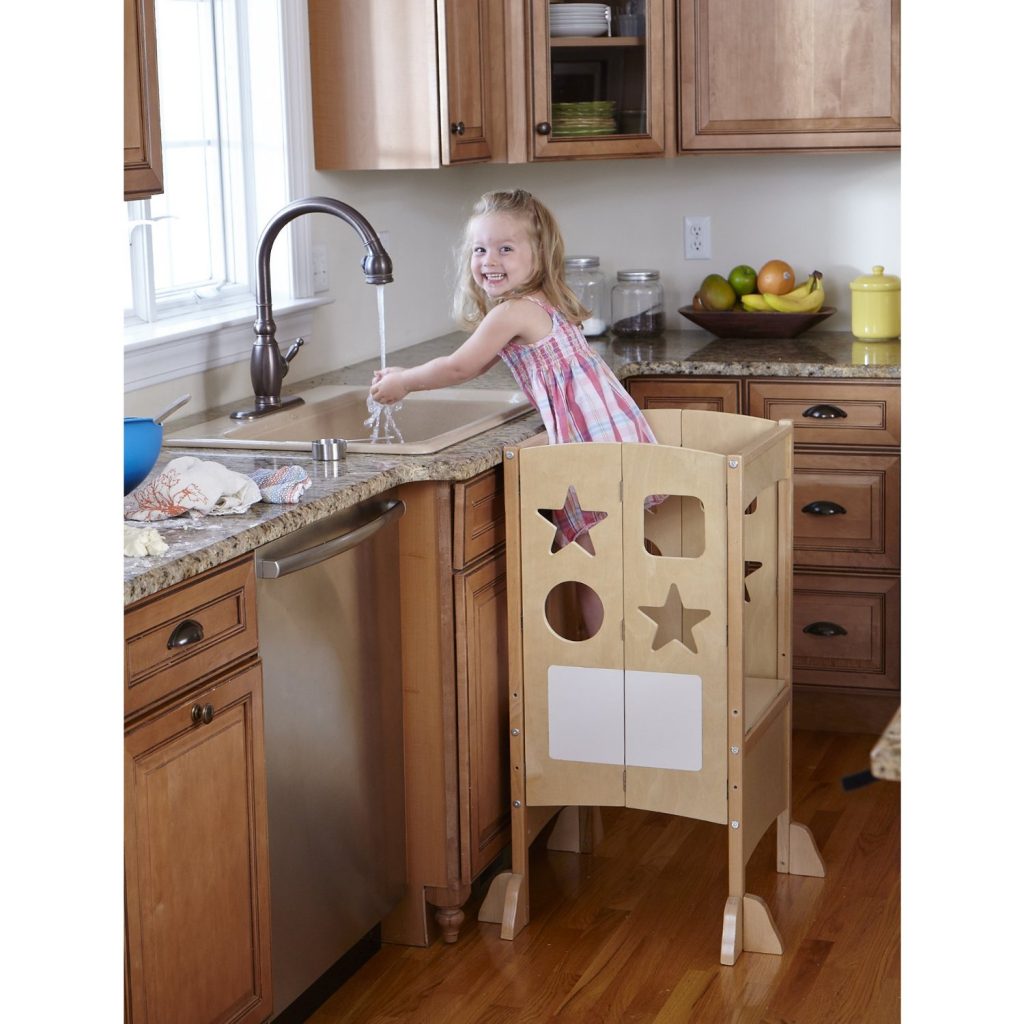
learning-tower

Learning Tower

Help that little one see the world from your angle. While my boys were growing up, we used a learning tower a lot. My sons could safely stand at counter height to help me bake, clean dishes or run mini science experiments.
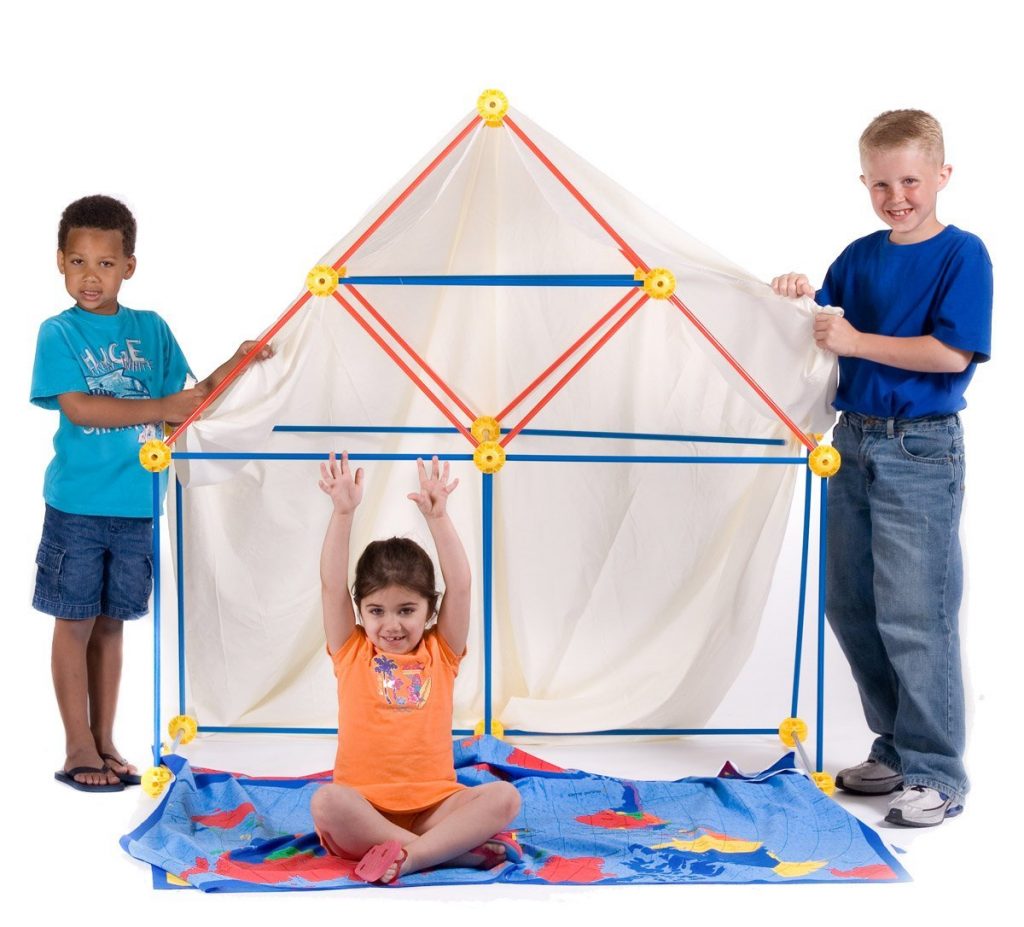
ez-fort

EZ Fort

Forts are an essential part of growing up. Sofa cushions and sheets are all you truly need. But, this set lets your little one explore and learn geometry and construction while they create. The set folds away neatly when not in use.
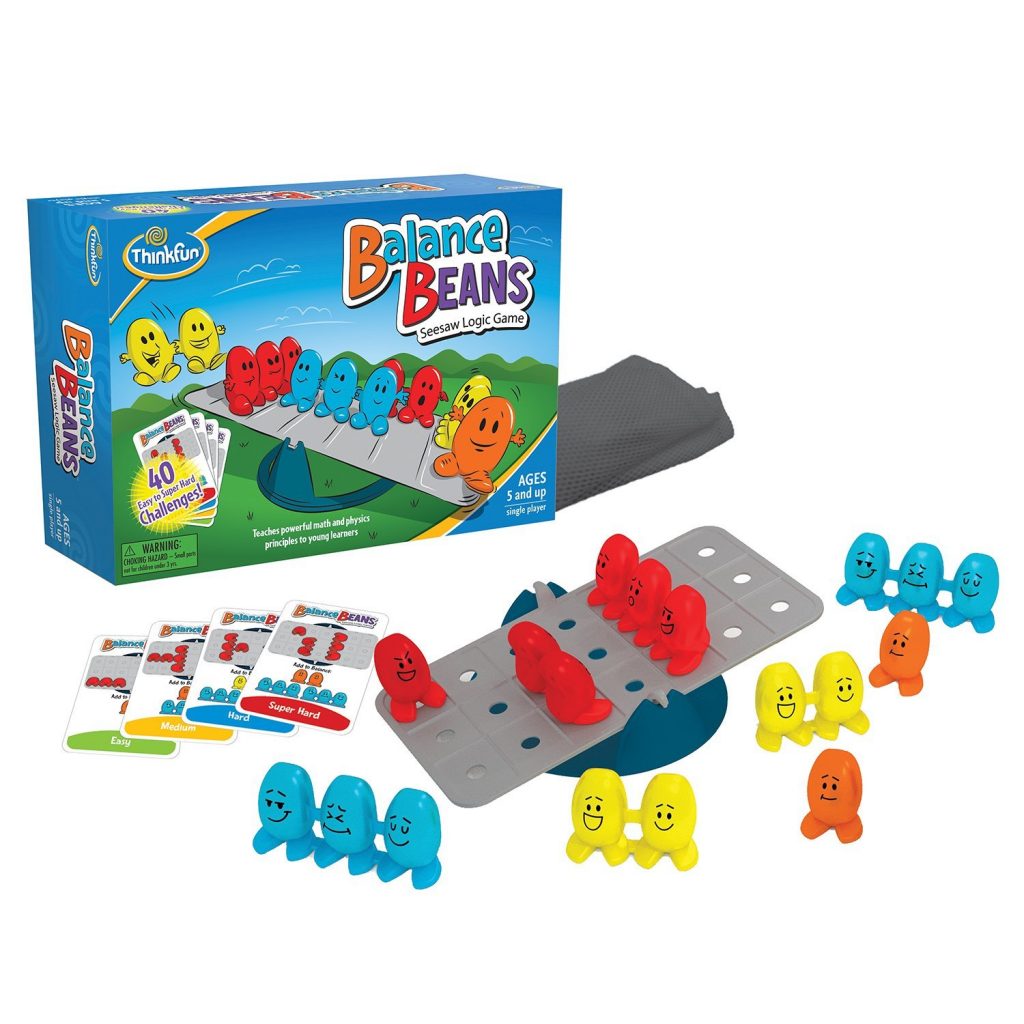
Balance Beans Game

Balance Beans Game

This is a game that my son recently received as a birthday gift. It seemed simple enough, until we started playing. The Balance Beans game cards give you a set number of “beans” you need to use and figure out how to balance them on the board. There are easy cards and there are super hard cards that will truly challenge your brain. It’s definitely a mind bender!
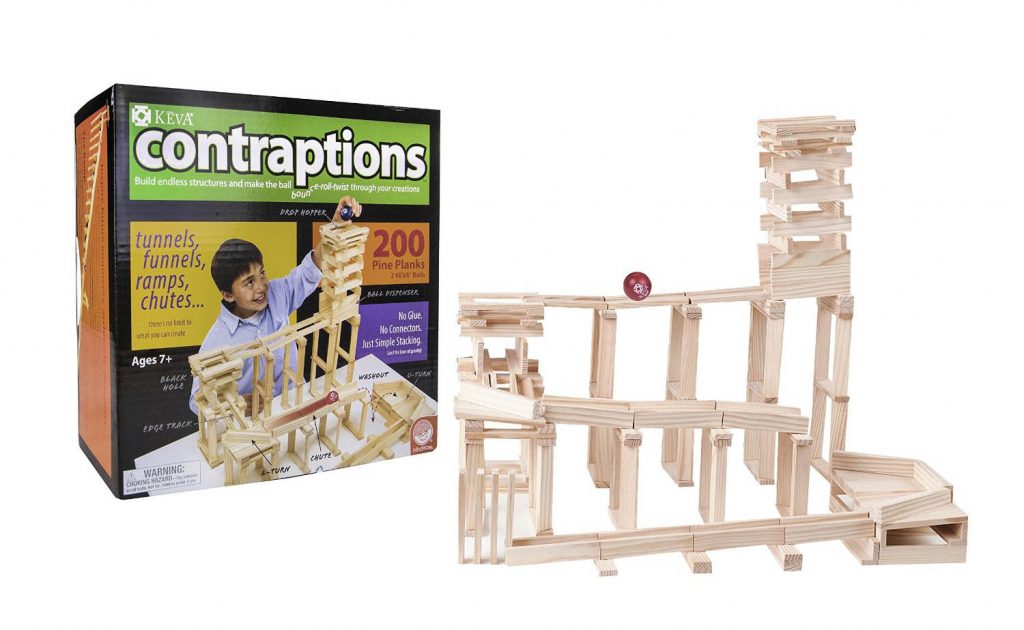
contraptions

Contraptions

This set of blocks is perfect for experimenting with building tunnels, funnels, ramps and chutes. Then send the ball down the track and see how well your structure was constructed.
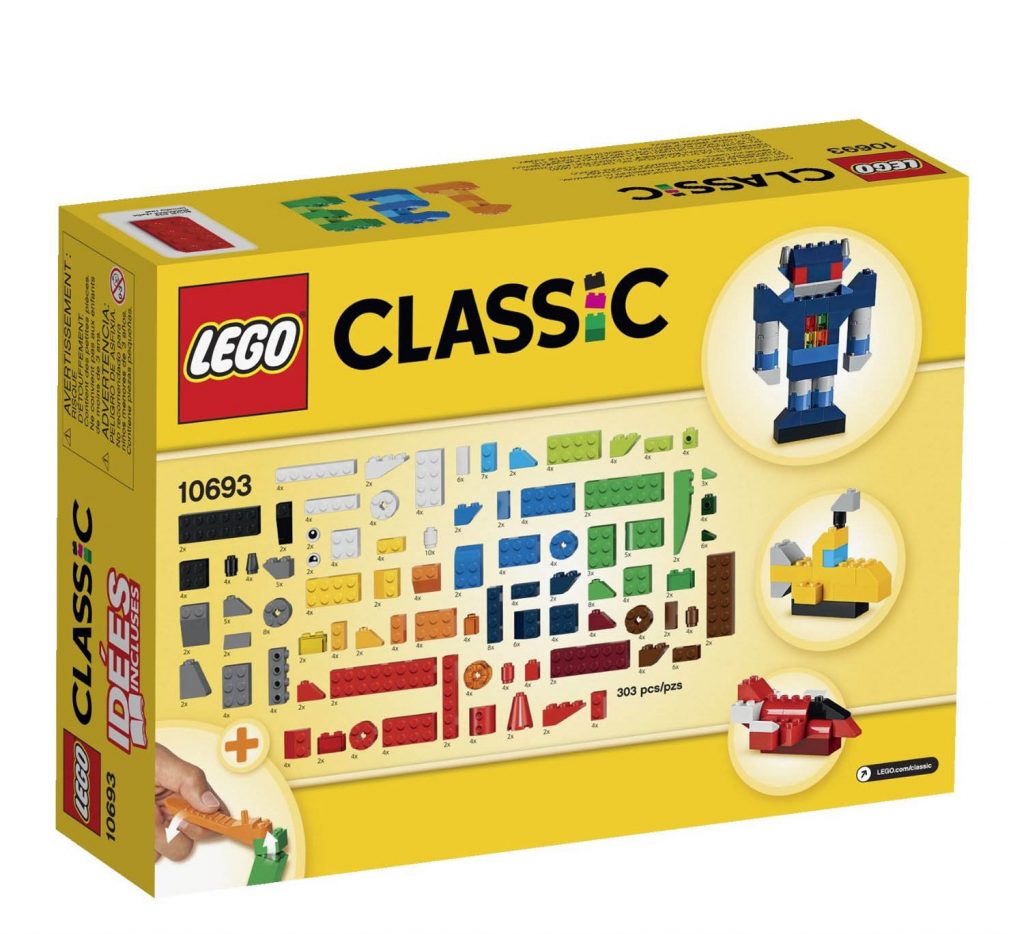
LEGO Classic Set - Finally a non-model set to encourage creativity!

LEGO Classics Set

I’ve had a bone to pick with LEGO for a while now. All the fancy building sets are appealing to youngsters, but once they put together the model, the child assumes they need to buy another set. What happened to good old creative building with a basic set? Thank goodness, LEGO brought back this “Classic Set”. Now your child can truly get creative with LEGOs again.
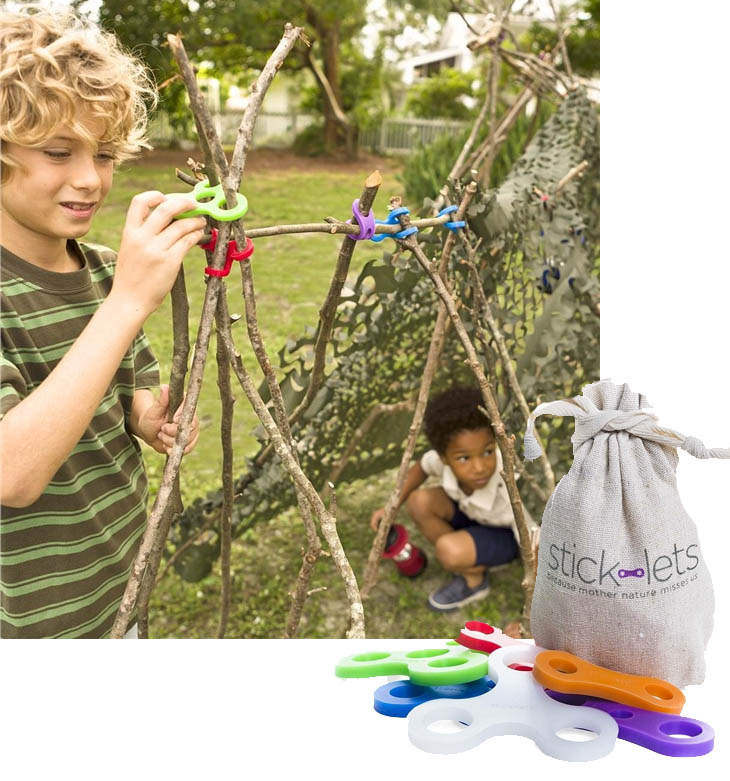
 

Stick-lets | Make forts and structures using the stick-lets connectors and sticks.

Stick-lets Kit

This has to be the coolest way to encourage the kids to play outside. Stick-lets flexible and safe silicone connectors allow kids to connect sticks to create tents, forts and more! Pair this gift with a camo net and you may not see the kids for hours!
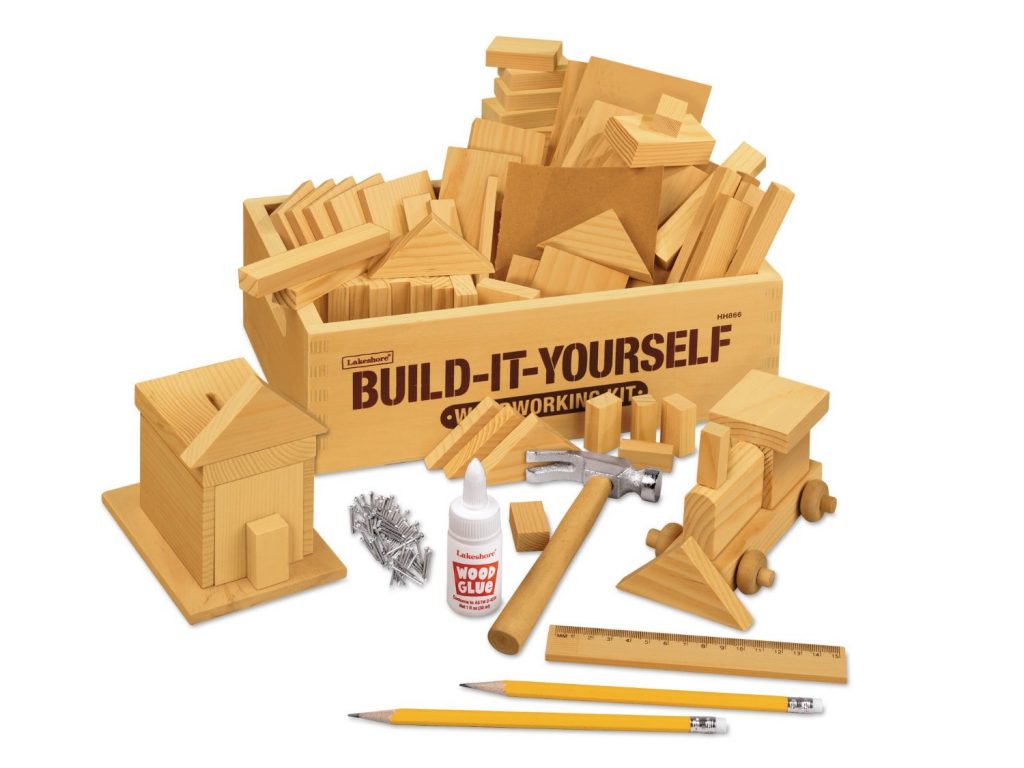
Build It Yourself Child Woodworking Kit

Build-it-Yourself Woodworking Set

I can’t resist this woodworking set that comes with a variety of shapes to encourage creative building projects. Help your child build something they want to play with or something with useful.

Do you have any suggestions for games or Toys that Help Kids Grow Creatively? I’d love to hear your favorites. Let’s empower this next generation and help them flex those creative brain cells.

PHGFancySign

thanksgiving-pie-printable

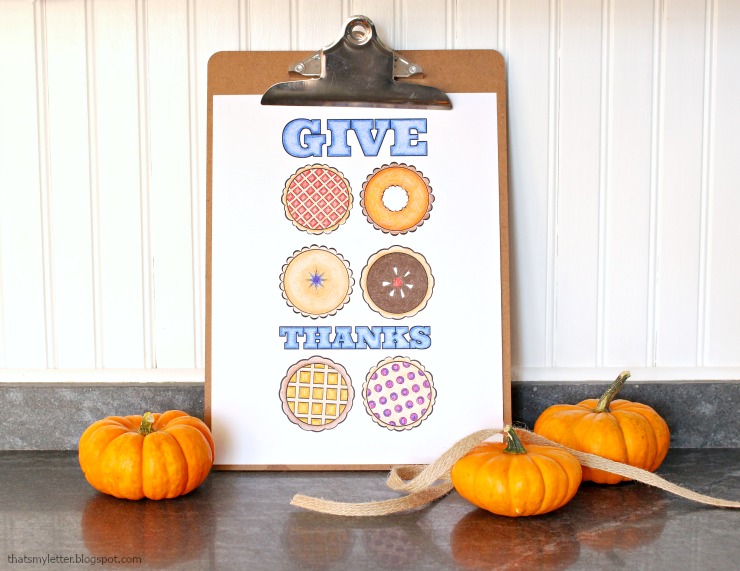
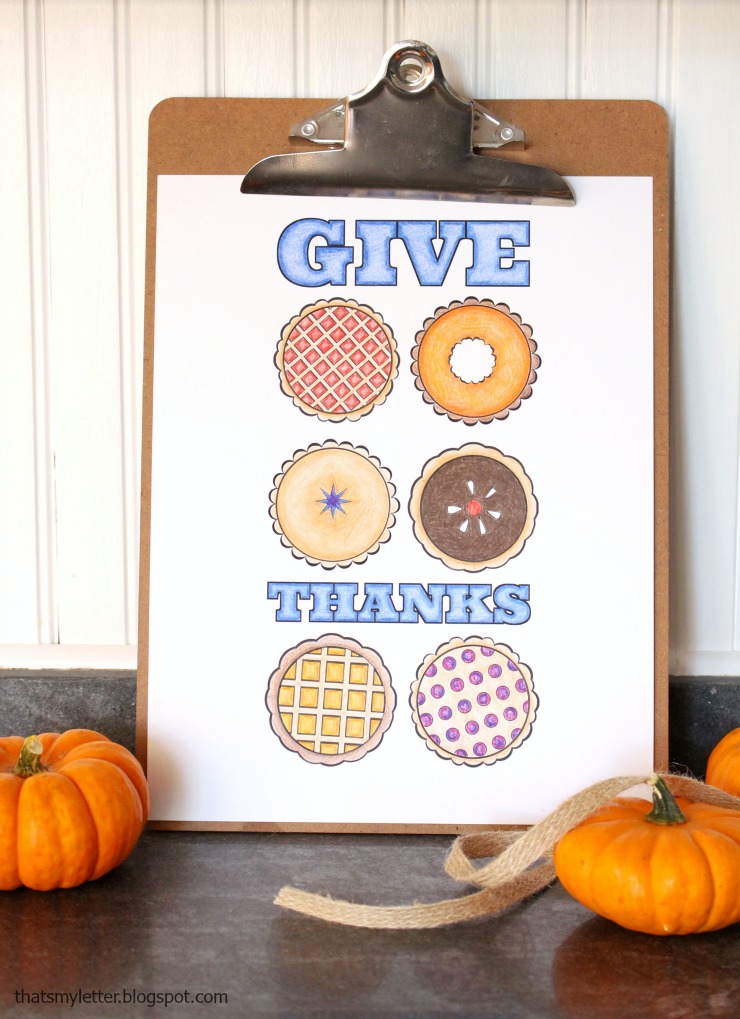
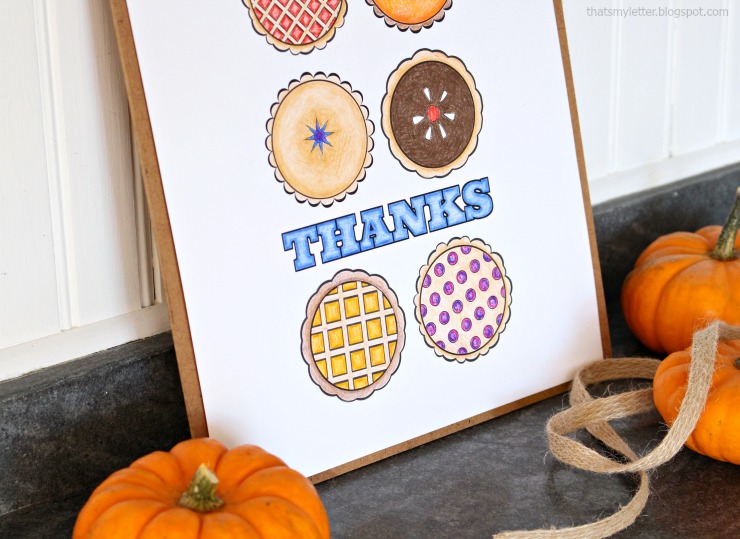
Jaime here today from That’s My Letter sharing a free pie printable.  As we approach the Thanksgiving holiday I was looking for a cute Thanksgiving Pie Free Printable for the kids (and adults) to color but I couldn’t find anything I liked. I designed this ‘Give Thanks’ pie printable for my family and to share with you!

thanksgiving-pie-printable-black-and-white

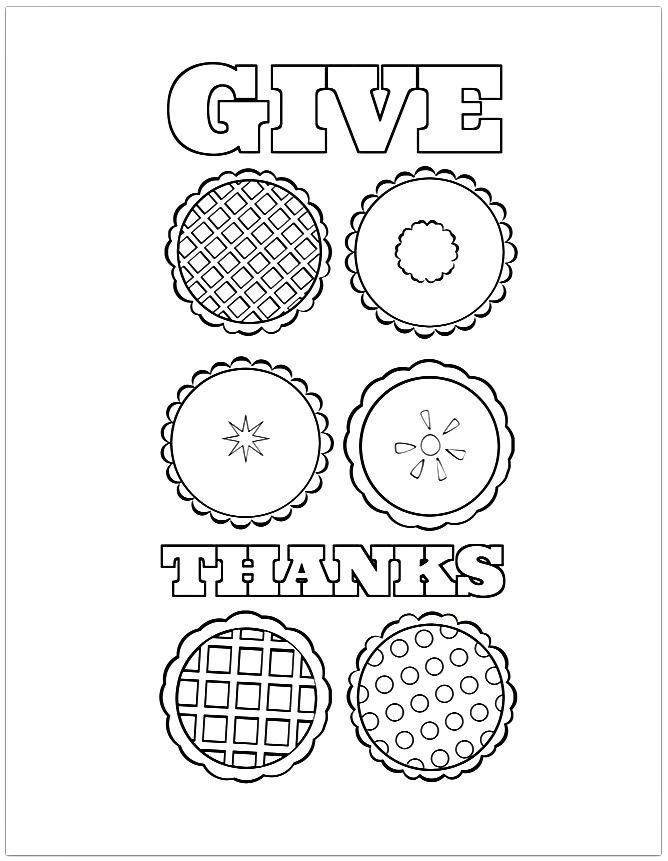
Just like real life, each pie is different and you decide the fillings with zero guilt about calories!  My favorite is pumpkin with all the crust please! And, I do love a pretty lattice pie.

thanksgiving-pie-printable-2

Simply download the free printable here and print as many copies as you like!  I recommend printing on cardstock for a nice thick surface, but regular printer paper works fine too.

Print up a stack and set out colored pencils to keep the kids and guests entertained while the turkey is cooking!

thanksgiving-pie-printable-3

Or let your guests try to guess which pie you’ll be serving. The possibilities are endless with so many pie fillings in all different colors!

Your Thanksgiving guests (especially the little ones) will definitely enjoy this pie printable coloring page.

Pick up this FREE Thanksgiving pie printable for a fun coloring activity to do as a family! | Pretty Handy Girl #prettyhandygirl #printable #thanksgivingprintable

I hope you enjoy this free pie printable coloring page as much as I enjoyed making it.  Happy Thanksgiving!

Jaime signature

~ Read More of My Tutorials ~


Pin for later!

Pick up this FREE Thanksgiving pie printable for a fun coloring activity to do as a family! | Pretty Handy Girl #prettyhandygirl #printable #thanksgivingprintable

DIY Framed Pinboard | Pretty Handy Girl

framed-pinboard-title

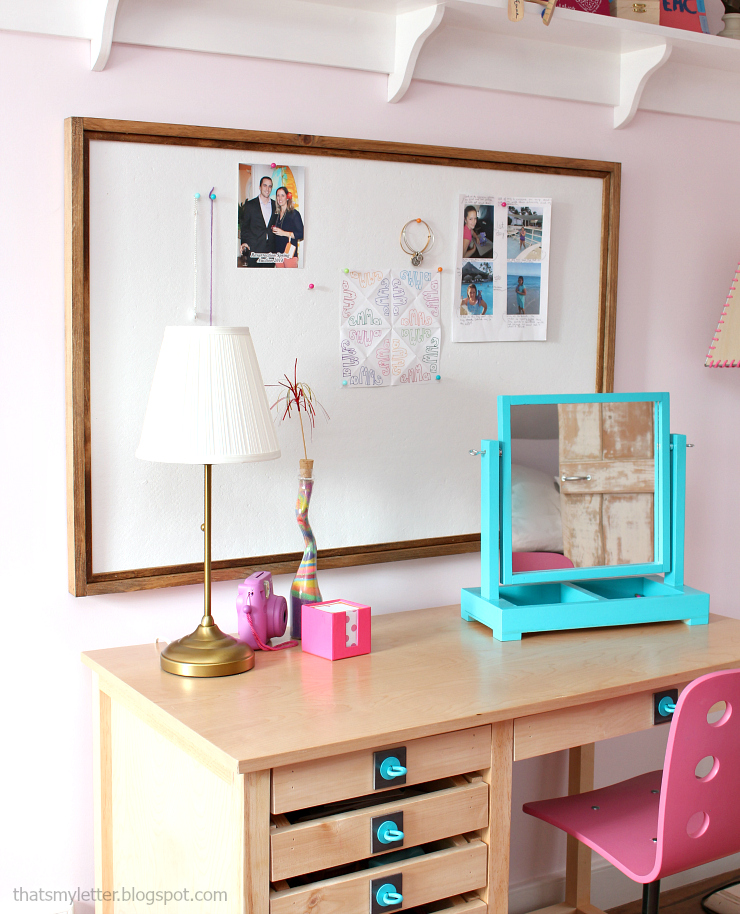
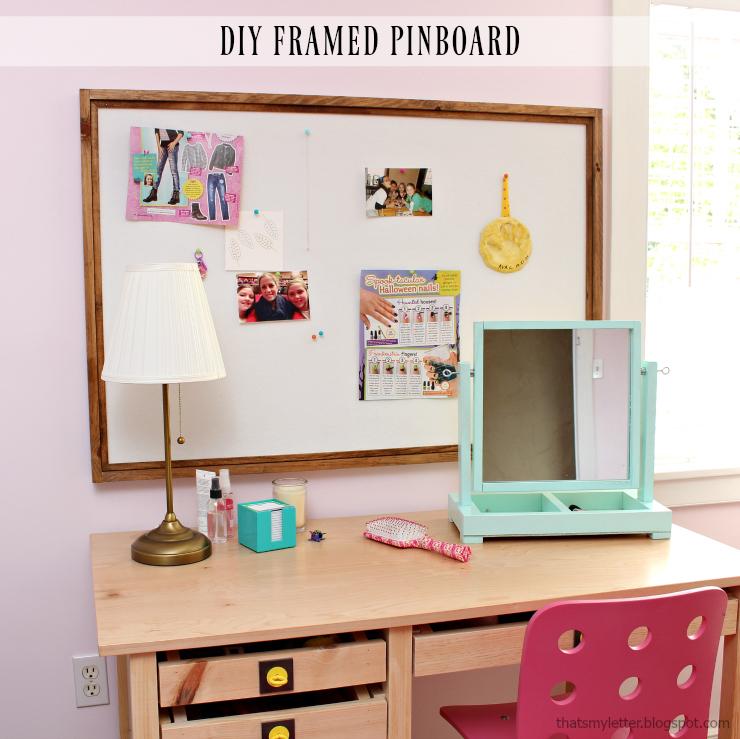
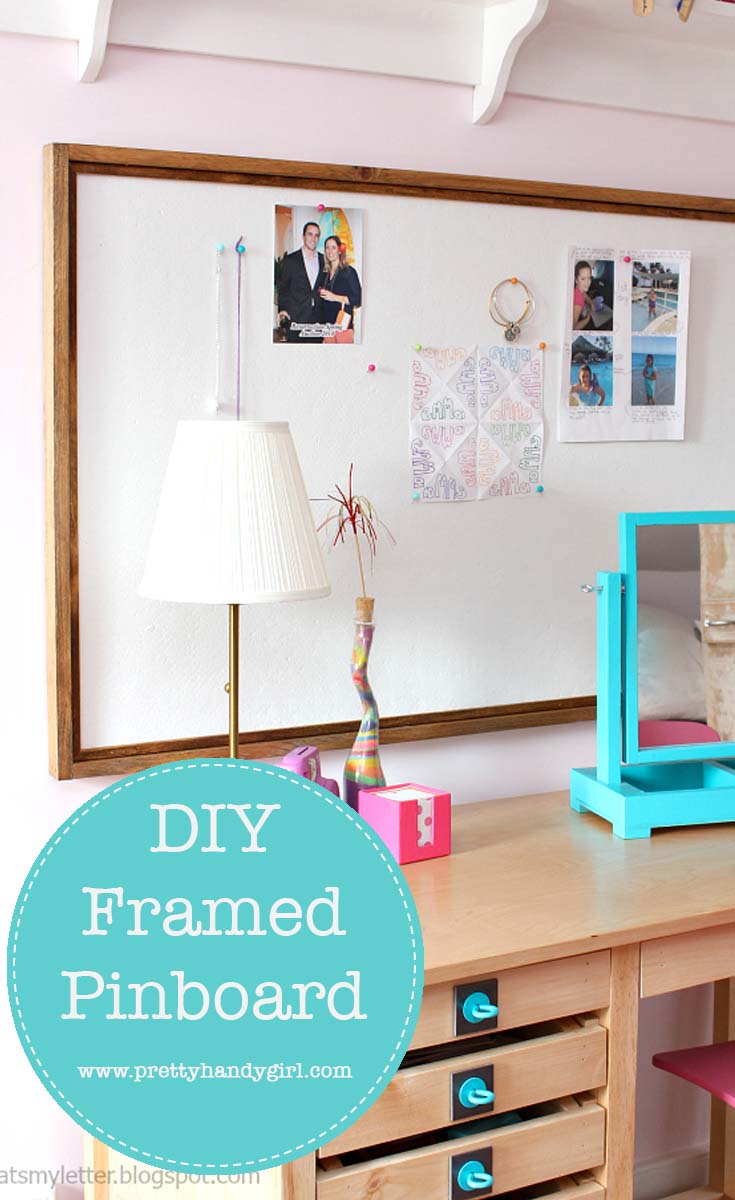
Pretty Handy readers it’s Jaime here today from That’s My Letter sharing how to make a DIY Framed Pinboard. I’m always looking for solutions to make my tween girls’ bedroom space more functional. I decided to take advantage of the wall space and make large framed pinboards for all their bits and pieces.

framed-pinboard-3

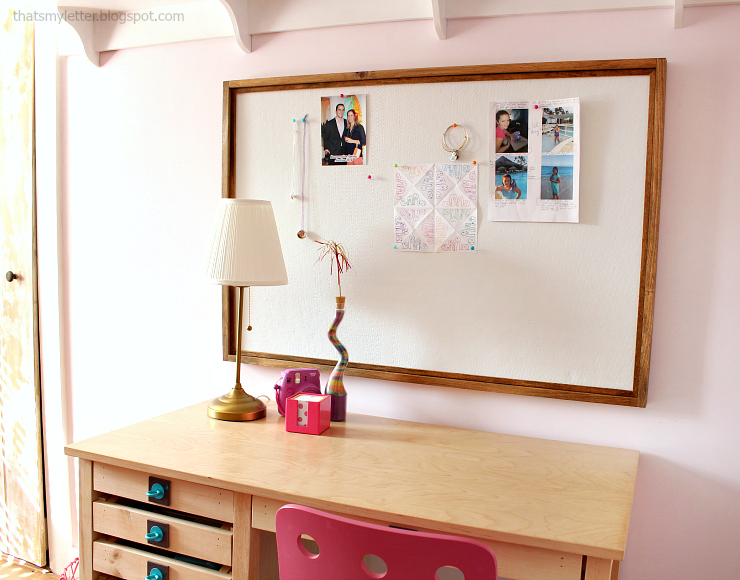
The frame pinboard is the perfect spot to display photos, hang jewelry and keep all the collectibles on display.  This pinboard is made from homasote which is much sturdier than traditional cork and you can paint the homasote any color you desire. Homasote is available in a large 4′ x 8′ sheet which allows you to cut it to any size you like, big or small! Plus, you can make more than one.

(I’ve included affiliate links for your convenience. I earn a small percentage from a purchase using these links. There is no additional cost to you. You can read more about affiliate links here.)

Supplies:

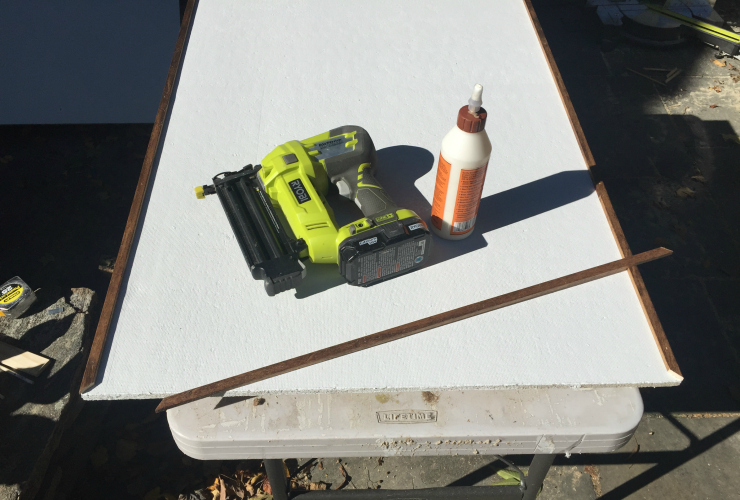
Step 1: Cut the homasote to desired size.  Use a circular saw or table saw (a jig saw will work as it’s a fairly soft material.)  Prime and paint the front side of the pinboard.

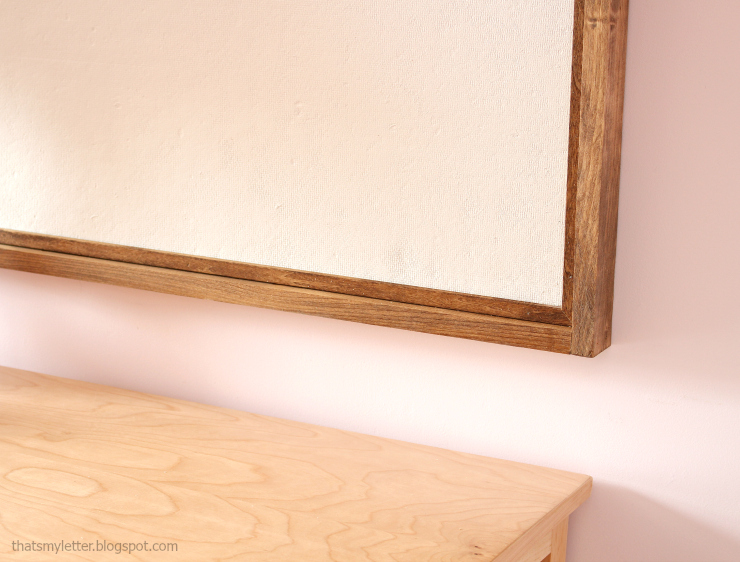
Step 2: Stain the framing pieces prior to attaching to pinboard.  Cut flat moulding to fit around the homasote. Miter both ends at 45 degree angles.  Use wood glue and 5/8″ brad nails to attach flat moulding to homasote.

framed-pinboard-flat-moulding

Step 3: Cut 1×2 boards to fit and secure to side of pinboard. Attach with wood glue and 1 ¼” brad nails.
framed-pinboard-2

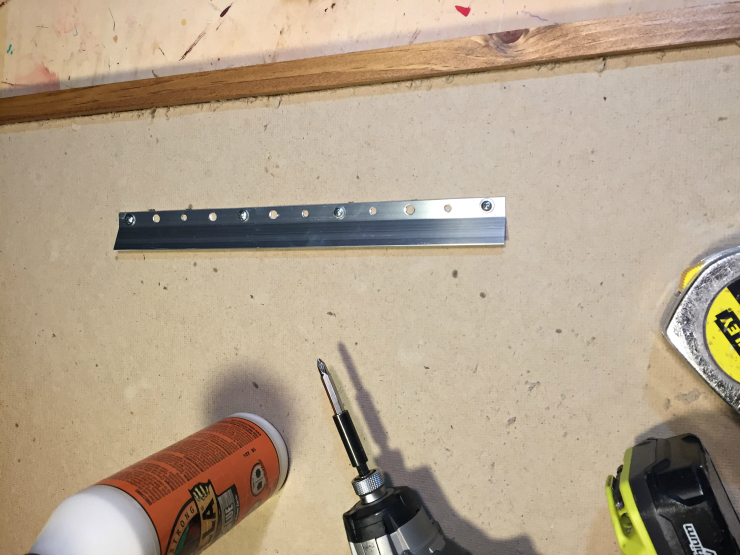
Step 4: Attach a french cleat to upper center back of homasote.

framed-pinboard-back-french-cleat

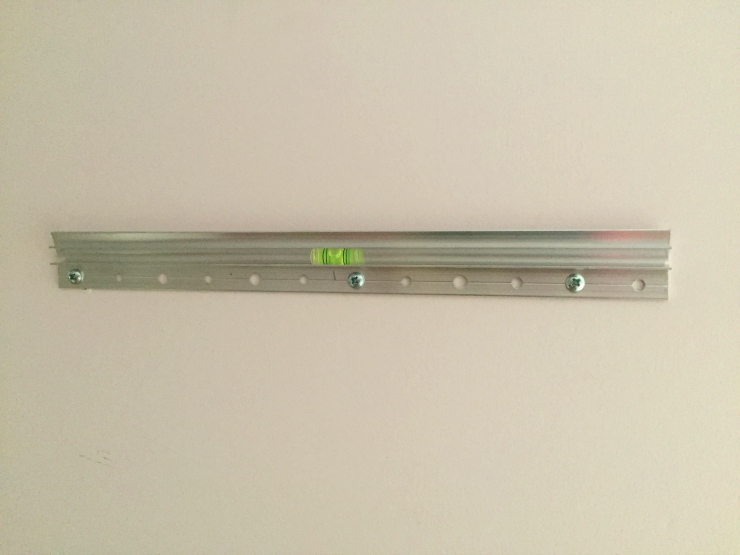
Step 5: Attach wall portion of cleat using wall anchors and screws.  The wall cleat comes with its own level so you can be sure to install properly.

framed-pinboard-wall-french-cleat

Hang and enjoy!  Now my girls have plenty of space to display all their favorite things and enjoy photos and memorabilia without it cluttering up their desks.

framed-pinboard

Do you have a spot for a framed pinboard?  It would look great in your kitchen or mudroom, too.  The framed edge creates a beautiful finished look and you can paint or stain to coordinate with your decor.  Keep making and building all the things!

Jaime signature~Read more of Jaime’s tutorials~


Pin for later!

Woodland Fairy Garden in a Jar | Pretty Handy Girl

Woodland Fairy Garden in a Jar | Pretty Handy Girl

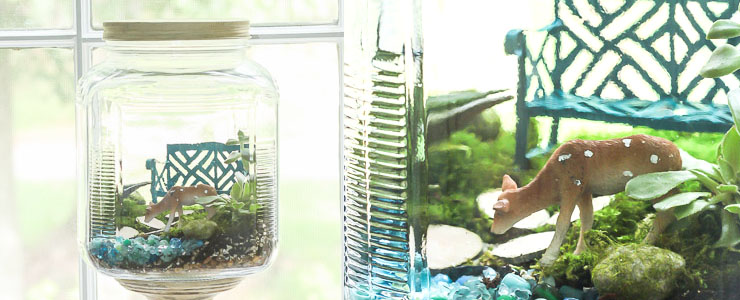
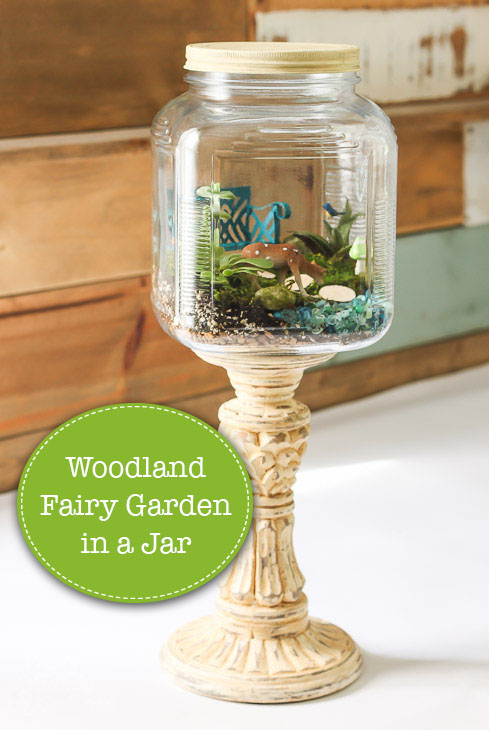
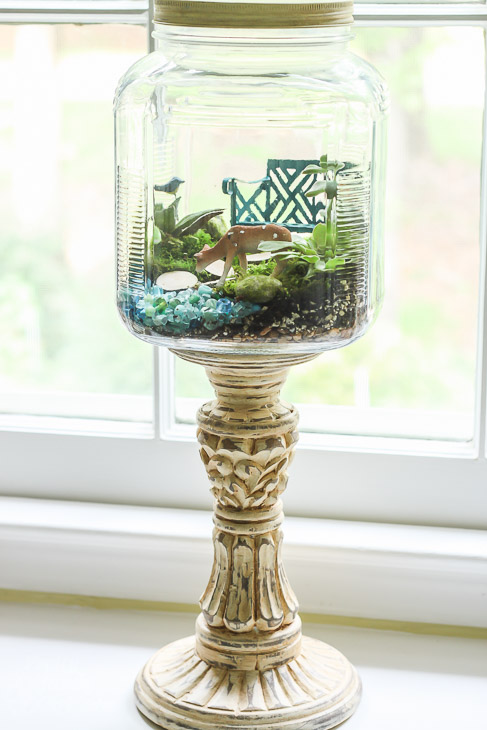
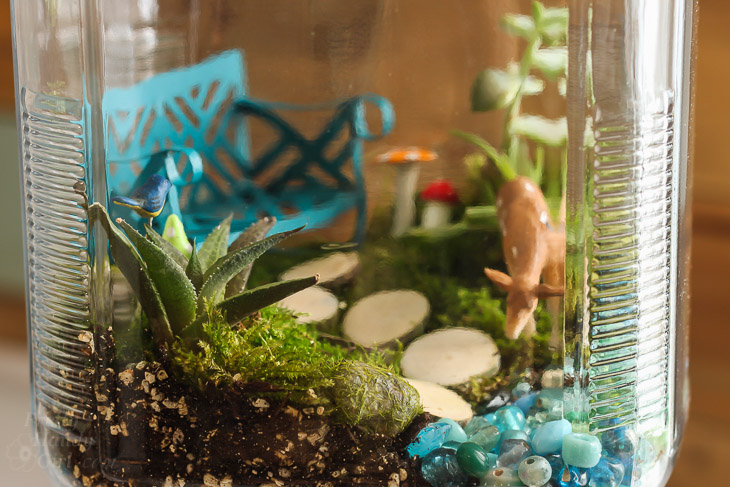
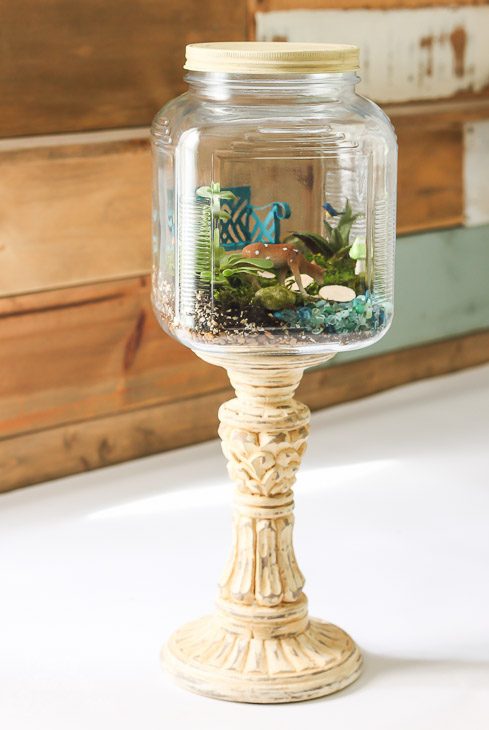
Have you been following Stacy Risenmay’s Styled x3 series? It’s addictive y’all! It’s kind of like the “who wore it best” in the home decorating world, but there’s no shaming. The way it works is Stacy buys three of one item and ships two of them to selected bloggers and keeps the third for herself. Then it’s time for all three recipients to get creative and use it or transform it. It’s so fun to see how each blogger uses the item. Wait until you see how I transformed my item into a Woodland Fairy Garden in a Jar!

styledx3-banner

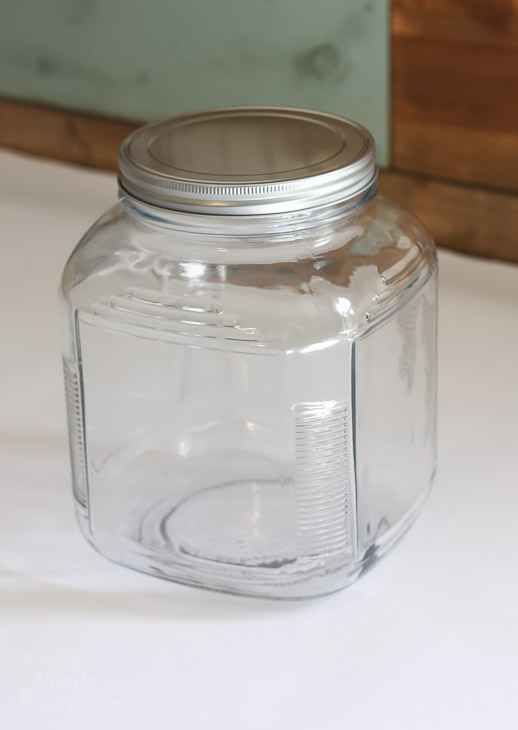
This is what arrived on my doorstep:

Woodland Fairy Garden in a Jar | Pretty Handy Girl

A big ole empty glass container. But, it had so much potential! I could fill it with anything. Part of me wanted to turn it on its side and build a little miniature ship inside. But, then I wised up and decided to create a Woodland Fairy Garden in a Jar. I’ve been dying to create a fairy garden. There’s a fun coffee shop near us that also sells fairy garden supplies. The boys and I love seeing all the fairy gardens there and longed to make one of our own.

Woodland Fairy Garden in a Jar | Pretty Handy Girl

It was a lot fun picking out decorations and creating this fairy garden. Want to make your own? Let’s get to it!

(I’ve included affiliate links for your convenience. I earn a small percentage from a purchase using these links. There is no additional cost to you. You can read more about affiliate links here.)

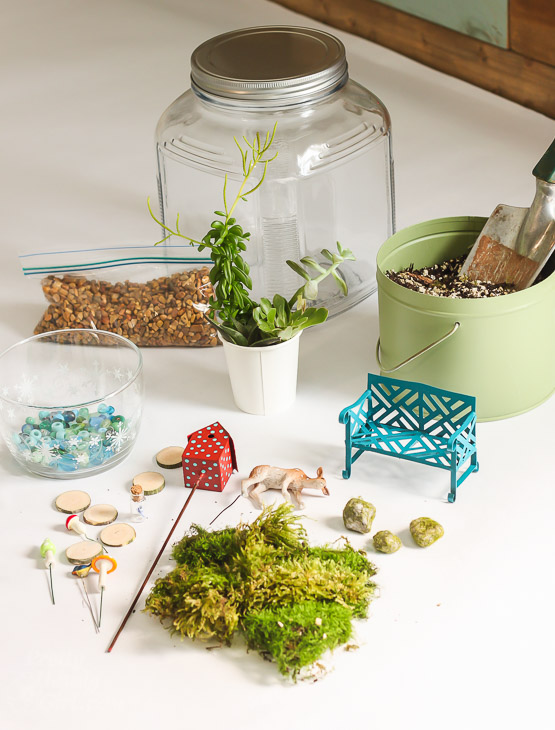
Materials:

Woodland Fairy Garden in a Jar | Pretty Handy Girl

Optional:

Instructions:

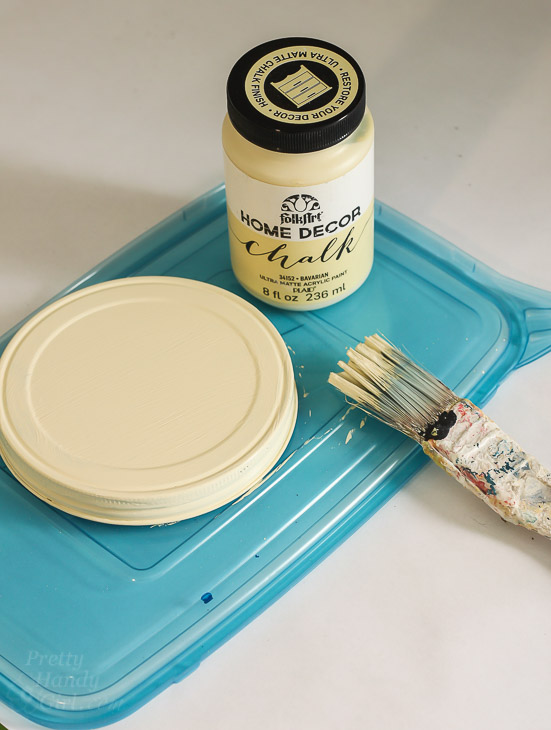
If you want, paint the lid for your glass container using chalk paint. Set it aside to dry.

Woodland Fairy Garden in a Jar | Pretty Handy Girl

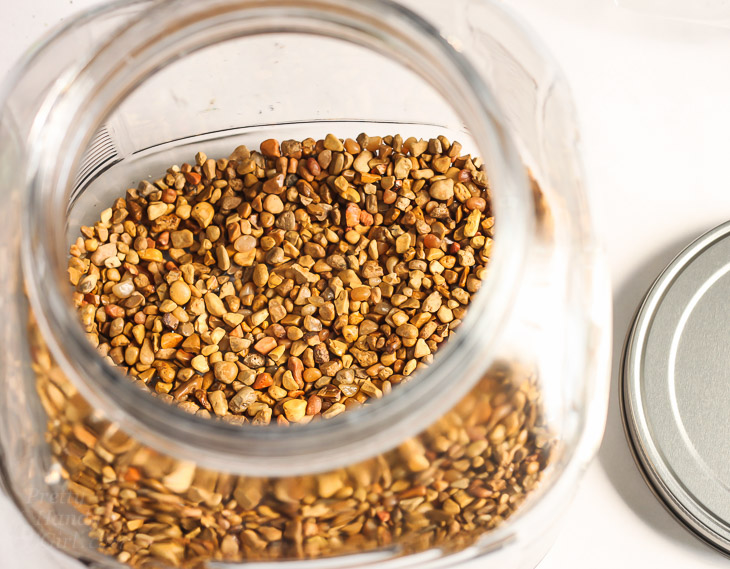
Add pebbles to the bottom of your jar for drainage.

Woodland Fairy Garden in a Jar | Pretty Handy Girl

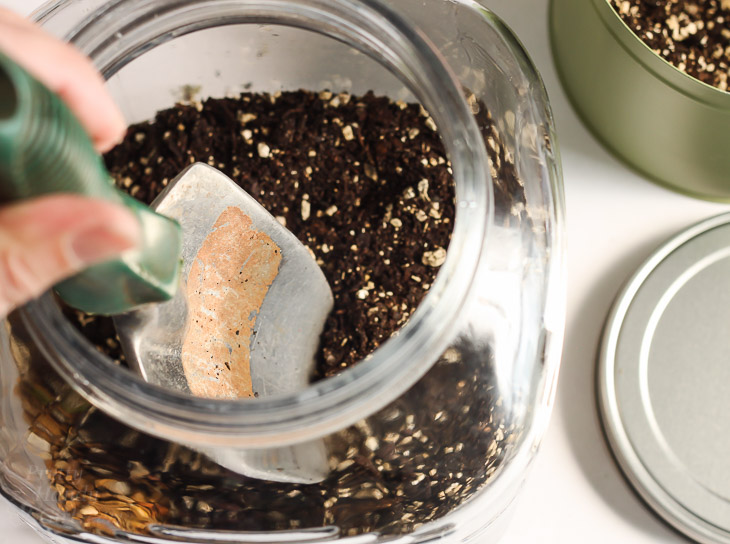
Add a layer of potting soil on top of the pebbles.

Woodland Fairy Garden in a Jar | Pretty Handy Girl

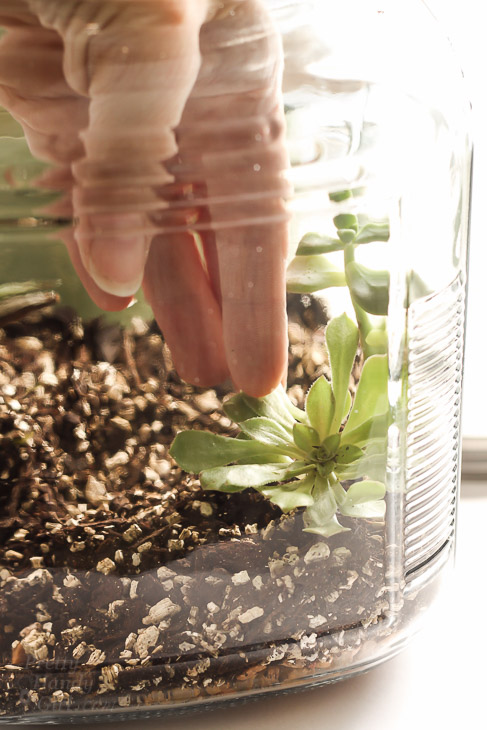
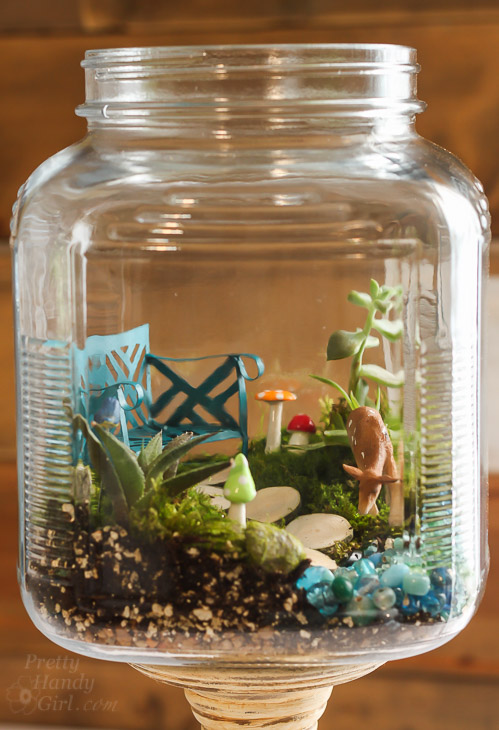
Place succulent plants into the soil.

Woodland Fairy Garden in a Jar | Pretty Handy Girl

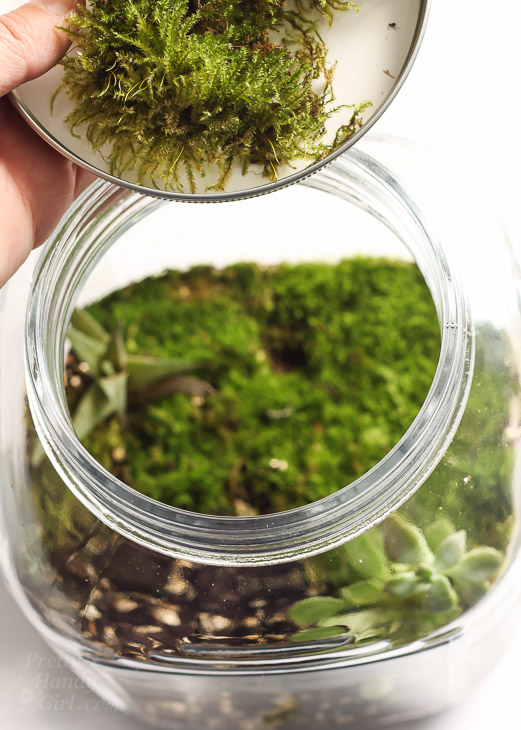
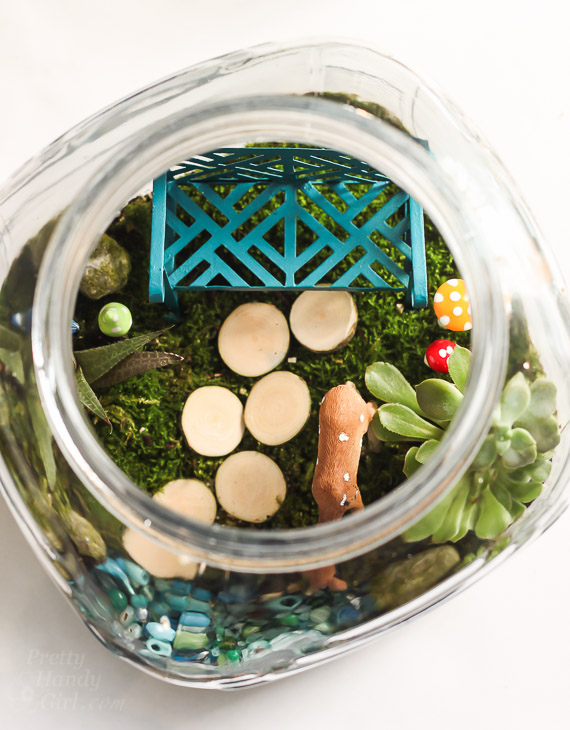
Place moss on top of the dirt and around the plants. Leave room for a water feature if you want one.

Woodland Fairy Garden in a Jar | Pretty Handy Girl

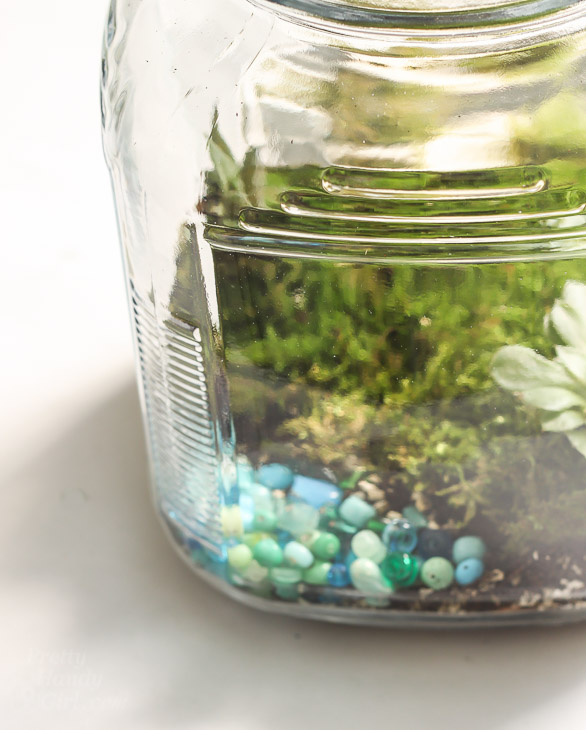
Pour blue beads or crushed glass for your water feature.

Woodland Fairy Garden in a Jar | Pretty Handy Girl

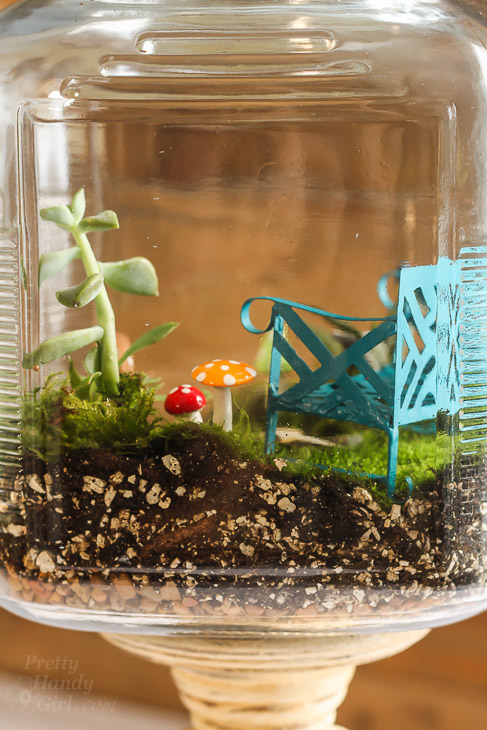
Place the bench and any other large pieces in the container first.

Woodland Fairy Garden in a Jar | Pretty Handy Girl

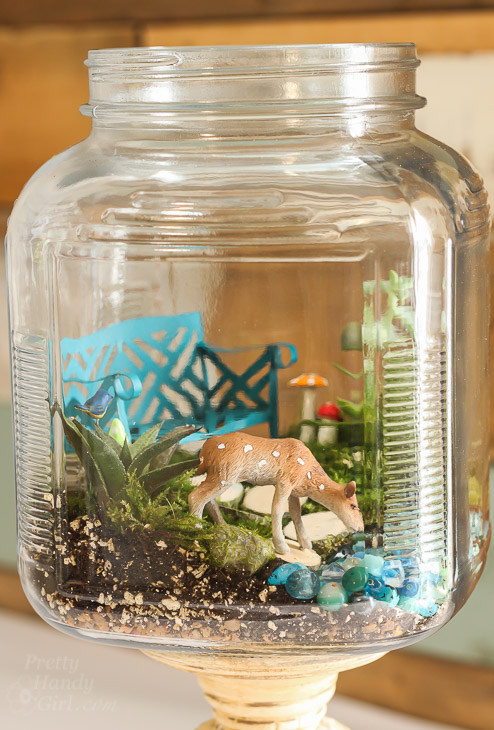
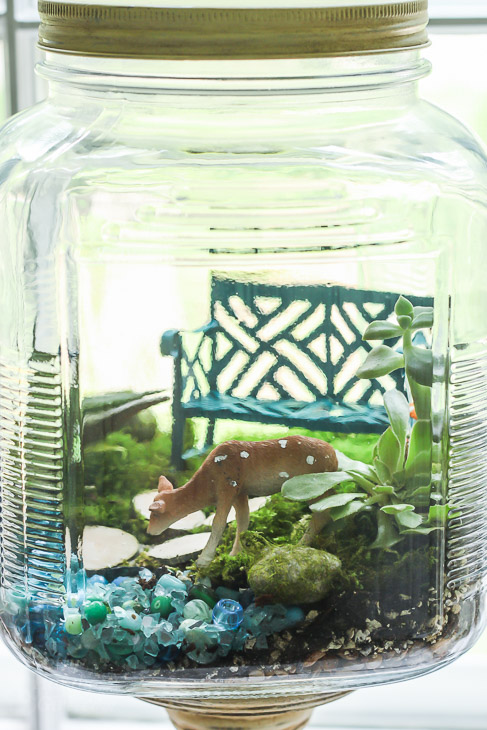
Create a walking path with wood slices, bottle caps, or other flat objects. Add the smaller decorations. Am I forgetting anything? Oh “deer”! For a woodland fairy garden, you should have at least one animal. Add a deer. 😉

Woodland Fairy Garden in a Jar | Pretty Handy Girl

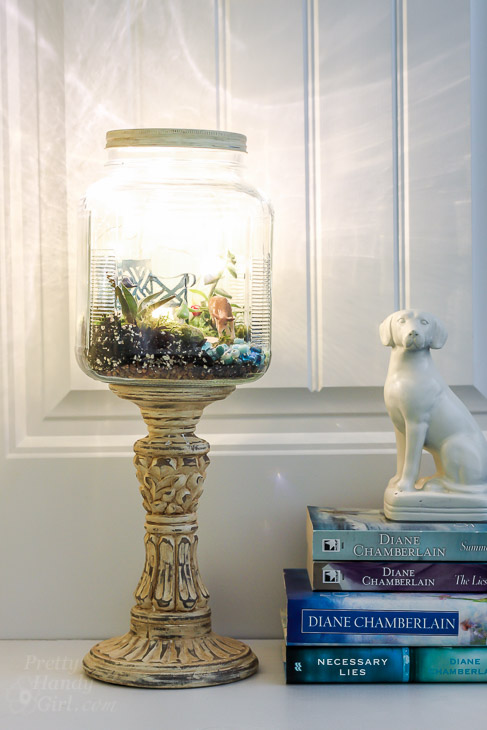
I placed our garden on a candle holder. You don’t need to add the lid unless you are worried about little fingers getting into the garden. Succulents actually don’t need a ton of moisture.

Woodland Fairy Garden in a Jar | Pretty Handy Girl

Woodland Fairy Garden in a Jar | Pretty Handy Girl

It’s fun to move the deer around from time-to-time.

Woodland Fairy Garden in a Jar | Pretty Handy Girl

Woodland Fairy Garden in a Jar | Pretty Handy Girl

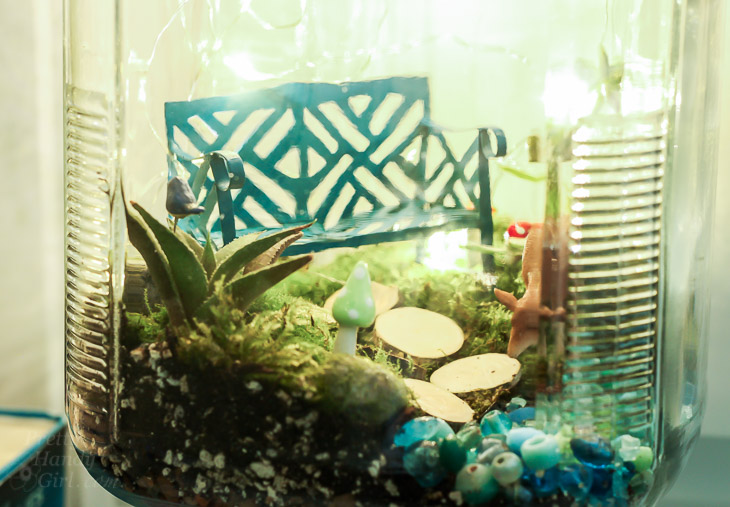
I added some battery powered fairy lights to our garden.

Woodland Fairy Garden in a Jar | Pretty Handy Girl

If you place the fairy garden in a child’s room it would make a whimsical night light.

Woodland Fairy Garden in a Jar | Pretty Handy Girl

Woodland Fairy Garden in a Jar | Pretty Handy Girl

Aren’t you curious to see the other Styled x3 transformations with the same glass container? Go visit Not Just a Housewife and Uncommon Designs.

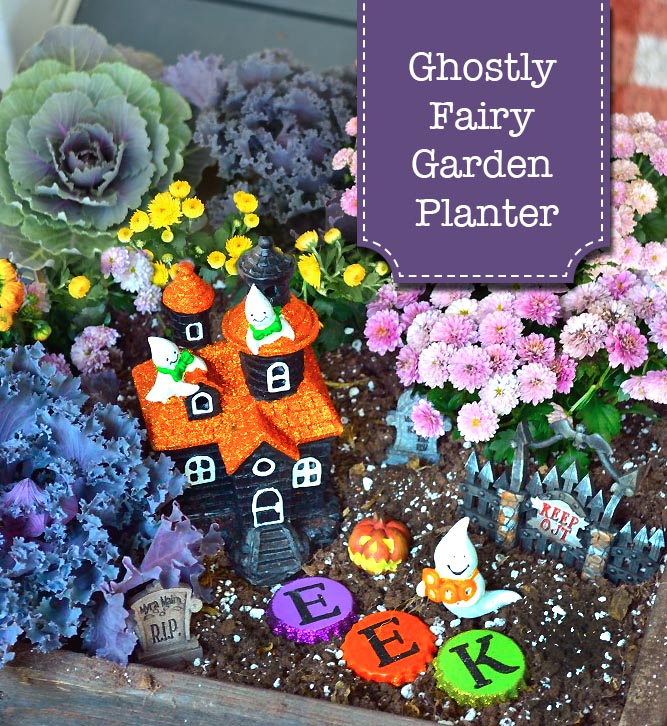
Hope you enjoy making your own fairy garden. Jillian and her crew made this fun Ghostly Fairy Garden for Halloween.

Ghostly Fairy Garden Planter

Have a great rest of your week!

PHGFancySign

DIY Framed Pumpkins | Pretty Handy Girl

framed-pumpkins-title

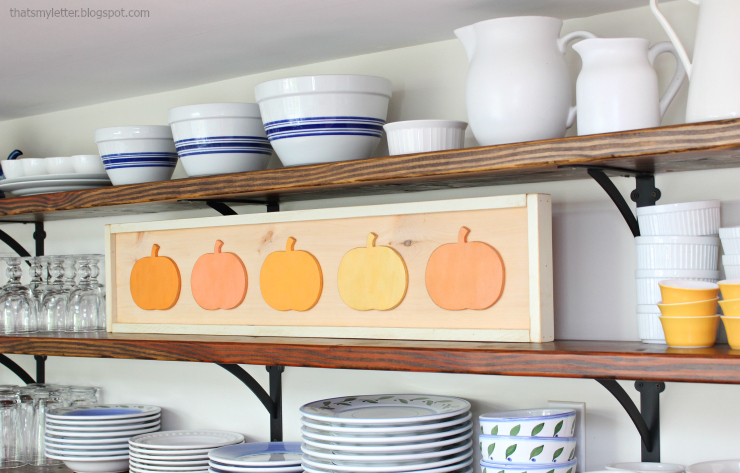
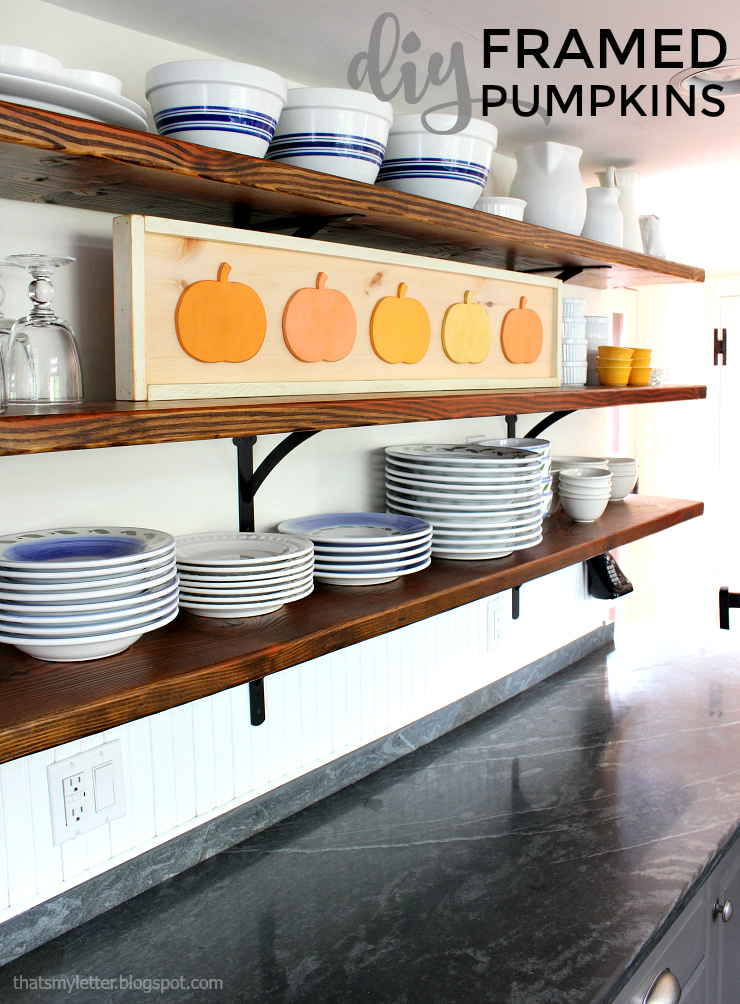
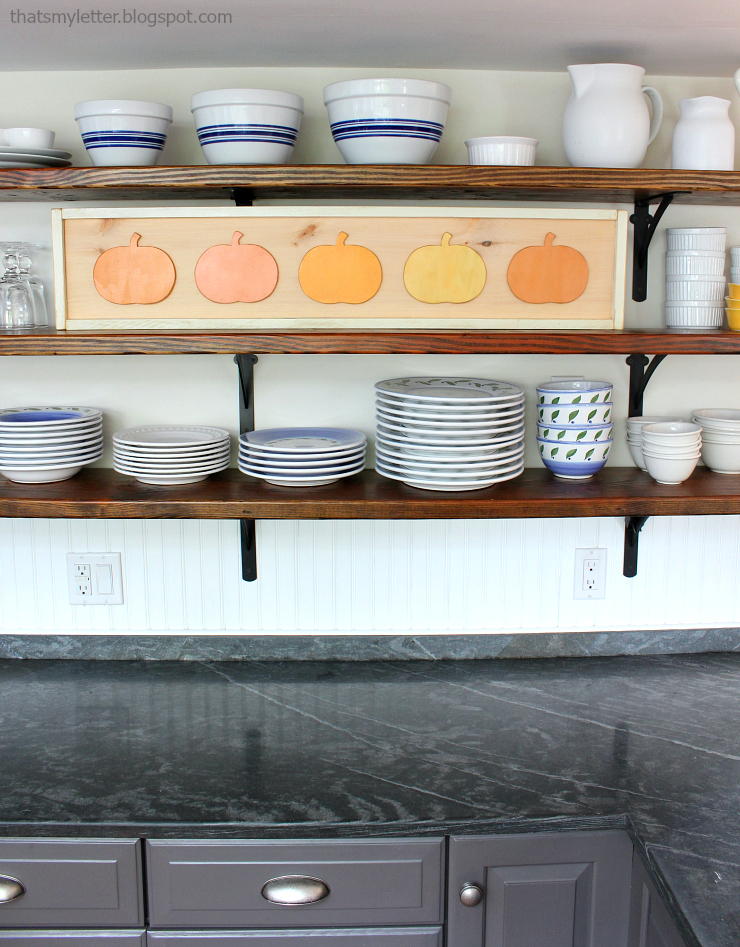
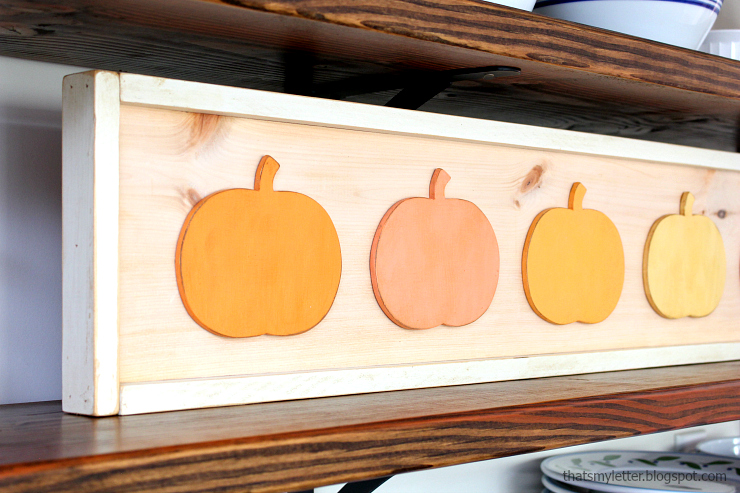
Hooray, Fall is on the way and that means it’s time to bring out all the pumpkins.  Jaime here from That’s My Letter sharing this DIY Framed Pumpkins artwork which is easy, fast, and makes a very big statement for little cost.

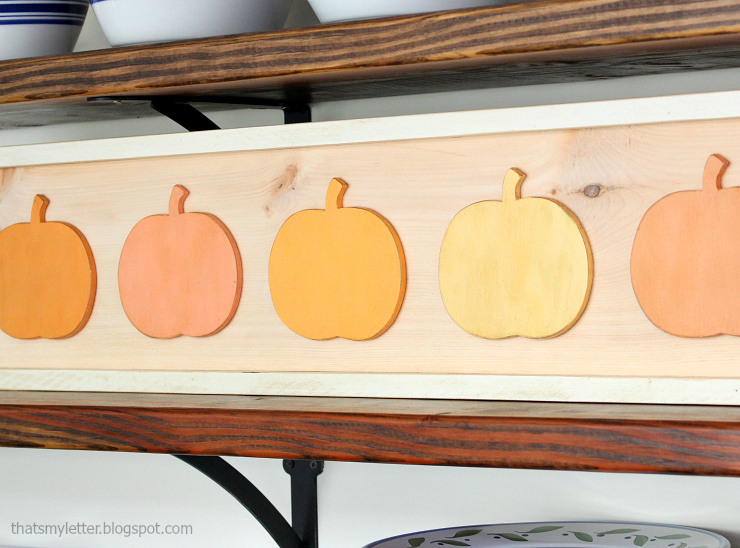
I scoured my scrap wood pile for this project but if you were to go out and purchase the supplies I’d estimate it to cost about $20, including paint for this jumbo pumpkin wall art.  I made five pumpkins because odd numbers are always better when decorating and I have five people in my immediate family so everyone is accounted for.

framed-pumpkins-2

My best advice to make this project easy and fast would be to scour google for a good pumpkin shape that has simple lines.  Once you have your shape, you can adjust the size to fit your background board.  I used a 1″ x 8″ pine board (which is actually 7 1/4″ high) so my pumpkins are about 5″ height and 6″ width each.

framed-pumpkins-3

Amazingly I had five different shades of orange paint on hand, but you could paint them all the same color, add some personalization or even spell out a fun Fall word.

framed-pumpkins-4

(I’ve included affiliate links for your convenience. I earn a small percentage from a purchase using these links. There is no additional cost to you. You can read more about affiliate links here.)

Materials:

Cut list:

  • 1″ x 8″ pine board cut to 40″ length
  • 2 – 1″ x 2″  frame edges cut to 40″ long
  • 2 -1″ x 2″  frame edges cut to 8 ¾” long

Instructions:

Step 1: Print out pumpkin clip art to desired size and cut out shape using scissors.

framed-pumpkins-step-1

Step 2: Trace around pumpkin shape onto 1/4″ plywood scrap piece.  Using a scroll saw cut out pumpkin shapes and sand edges smooth.

Step 3: Prepare background piece (the 1″ x 8″ pine board cut to 40″ length). Lay the two long 1″ x 2″ frame pieces on top and bottom. Lay the short 1″ x 2″ frame edges on the sides.

framed-pumpkins-step-3

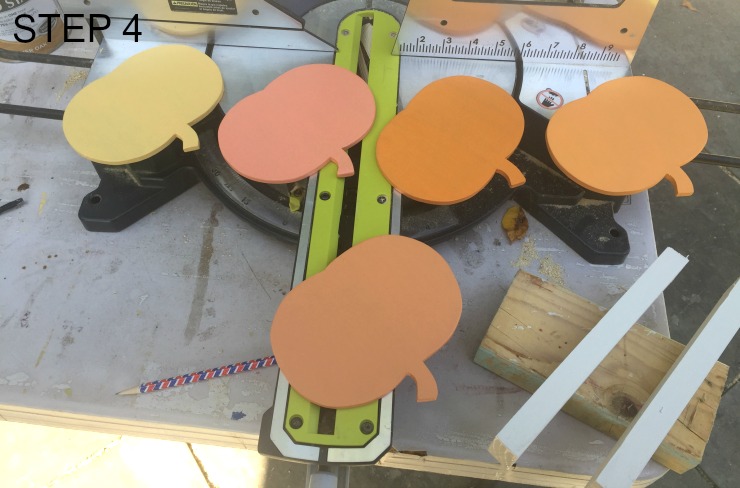
Step 4: Paint pumpkins in various orange colors.  Paint frame pieces off white.

framed-pumpkins-step-4

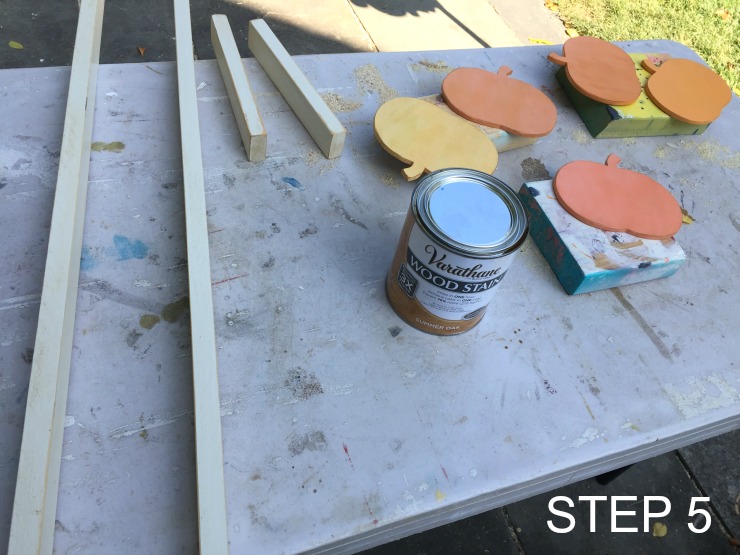
Step 5: Sand the pieces to distress them.  Apply stain along edges using the cloth. (I used Varathane in summer oak.)

framed-pumpkins-step-5

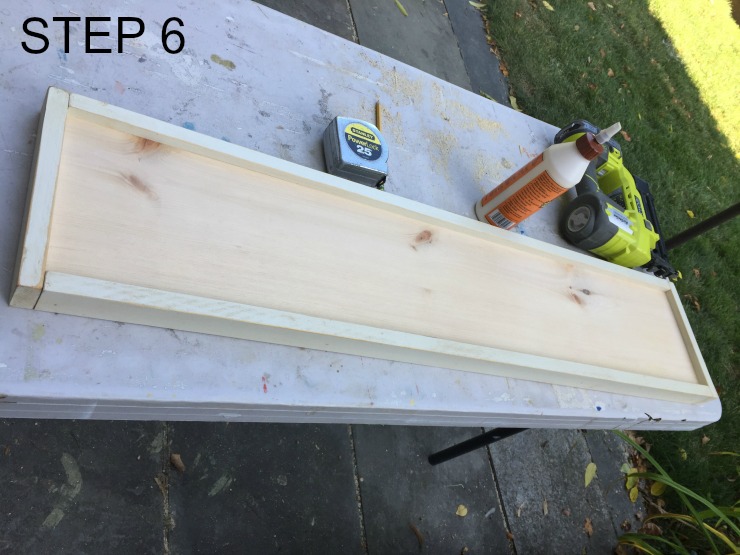
Step 6: Attach 1″ x 2″ frame pieces to the edges of the 1″ x 8″ board using wood glue and 1 ¼” finish nails.

framed-pumpkins-step-6

Step 7: Attach pumpkins to 1″ x 8″ background board using wood glue.  Start at center and measure for equal spacing.

framed-pumpkins-step-7

Let the glue dry and then place framed pumpkins on a ledge, your mantel, or add a sawtooth hanger to hang above a doorway.

framed-pumpkins-1

So many possibilities and just the perfect touch of Fall!

Jaime signature

~Read more of Jaime’s tutorials~